DIY Carrera S Front Brake Pad Replacement
#1
 04-16-2014, 03:45 PM


DIY Carrera S Front Brake Pad Replacement
I couldn't find a good thread showing how to replace the front pads on a 991 Carrera S, so I decided to post one with pictures.
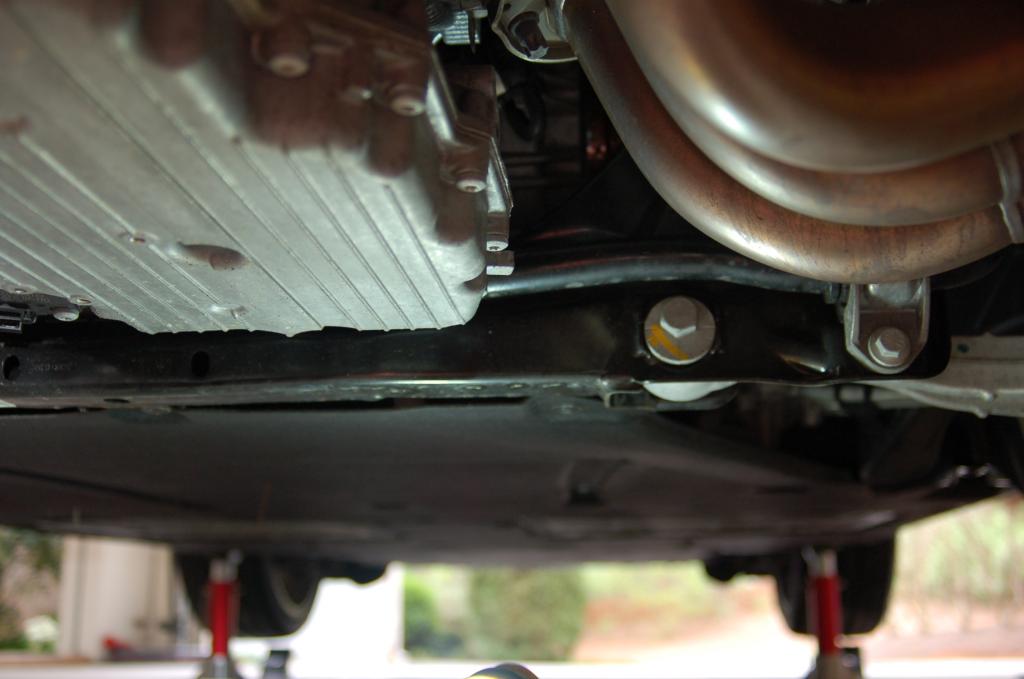
First of all work safe. If you're not familiar with jacking up a car and getting it on stands, then this is not for you. Loosen your lug bolts before jacking the car up. On the 911, the easiest way to get it on stands is to jack from the side rear factory points and get the car high enough to get stands under the front side factory jack point and under the rear crossmember.

Once the car is secure remove the wheels, remove the brake fluid reservoir cap, and then look for the brake pad wear sensor on the inboard brake pad. Grab it with needle nose pliers and pull it out. Make sure you pull it from the sensor itself and not by the wires. There should be a spring loaded clip on the sensor when you remove it.


The 991 uses a style of caliper that requires the entire caliper be removed to replace the pads. Since the brake line entering the caliper is rigid, I removed the bracket that holds the brake sensor harness and brake line in place to allow me to move the caliper without damaging the rigid line. All you have to do is remove one small bolt.

Now release the wiring harness from the bracket to allow some more slack.

Now we can remove the two bolts holding the caliper in place. For this you will need a T55 (torx male) socket.

After the bolts have been removed, wiggle the caliper off of the rotor so you can get to the pads. The pads will then simply slide off of the posts inside the caliper. Before removing the old pads you might want to insert something between the pads and pry them apart slowly to retract the pistons into the caliper.

Install the new pads. I prepared my pads ahead of time with anti-squeal on the contact points.

Once the pads are seated on the posts in the caliper, work the caliper back onto the rotor and reinstall the caliper bolts. Porsche recommends they be replaced when reinstalling the calipers. Torque to 63 ft-lbs. Reinstall the sensor by pressing it into the groove in the inboard pad. The sensor wire then gets pressed into a small channel on the outside of the caliper.
Reattach the bracket you removed earlier and insert the harness grommet back onto the bracket. I also would recommend applying some anti-seize to the hub area that contacts the center of the wheel to avoid the wheels seizing onto the hubs. My car never sees rain, but the wheels were already slightly difficult to remove.

Mount and torque the wheels. Replace the reservoir cap. Apply the brakes a few time before driving to get the pads seated against the rotors. Otherwise, you might be in for a bit of a scare the first time you hit the brake.
Good luck!
First of all work safe. If you're not familiar with jacking up a car and getting it on stands, then this is not for you. Loosen your lug bolts before jacking the car up. On the 911, the easiest way to get it on stands is to jack from the side rear factory points and get the car high enough to get stands under the front side factory jack point and under the rear crossmember.
Once the car is secure remove the wheels, remove the brake fluid reservoir cap, and then look for the brake pad wear sensor on the inboard brake pad. Grab it with needle nose pliers and pull it out. Make sure you pull it from the sensor itself and not by the wires. There should be a spring loaded clip on the sensor when you remove it.
The 991 uses a style of caliper that requires the entire caliper be removed to replace the pads. Since the brake line entering the caliper is rigid, I removed the bracket that holds the brake sensor harness and brake line in place to allow me to move the caliper without damaging the rigid line. All you have to do is remove one small bolt.
Now release the wiring harness from the bracket to allow some more slack.
Now we can remove the two bolts holding the caliper in place. For this you will need a T55 (torx male) socket.
After the bolts have been removed, wiggle the caliper off of the rotor so you can get to the pads. The pads will then simply slide off of the posts inside the caliper. Before removing the old pads you might want to insert something between the pads and pry them apart slowly to retract the pistons into the caliper.
Install the new pads. I prepared my pads ahead of time with anti-squeal on the contact points.
Once the pads are seated on the posts in the caliper, work the caliper back onto the rotor and reinstall the caliper bolts. Porsche recommends they be replaced when reinstalling the calipers. Torque to 63 ft-lbs. Reinstall the sensor by pressing it into the groove in the inboard pad. The sensor wire then gets pressed into a small channel on the outside of the caliper.
Reattach the bracket you removed earlier and insert the harness grommet back onto the bracket. I also would recommend applying some anti-seize to the hub area that contacts the center of the wheel to avoid the wheels seizing onto the hubs. My car never sees rain, but the wheels were already slightly difficult to remove.
Mount and torque the wheels. Replace the reservoir cap. Apply the brakes a few time before driving to get the pads seated against the rotors. Otherwise, you might be in for a bit of a scare the first time you hit the brake.
Good luck!

#4
04-16-2014, 06:03 PM
Haven't done the rears yet although i did order new rear pads. I'll update this thread when i replace them. I assume it is similar unless they are like the old style Porsche calipers where you push two pins through the calipers to release the pads. The rear pads did come with some extra hardware which might be the spring clip that holds the pins in place.
#7
04-16-2014, 07:01 PM
Only if the sensor has worn to where it triggers a warning light or message. It's easy to replace. Unplug the old one from the harness side. Plug in the new one and install it into the pad.
Last edited by mtony; 04-16-2014 at 07:03 PM.
Trending Topics
#8
04-16-2014, 07:10 PM
Great DIY. Thank you very much! This will be very helpful for many.
OH -- and please post this with a link in the sticky DIY section, so we can all find it a lot faster months and years from now! thanks!
OH -- and please post this with a link in the sticky DIY section, so we can all find it a lot faster months and years from now! thanks!

#12
04-17-2014, 05:12 PM
Yes. I have always swapped the dustless pads for track pads when I've tracked my other cars and the potential loss of fade resistance or initial bite has never been an issue.
#14
04-17-2014, 09:48 PM
Actually, before the 991 it was a LOT easier. Just pull two pins. No caliper removal needed. Kind if a shame, it makes track side pad changes just a bit more time consuming.
#15
04-19-2014, 12:42 PM
Excellent work!
You state: "wiggle the caliper off the rotor". My rotors are worn half-way and have a lip at outer edge. How do I clear that lip with the pads. I must somehow push in the pistons enough. Can I just pull and push on the caliper (with legs propped against the rotor!) or does it take more force to get the pistons to move???
Thanks.
Best regards,
CF