When you click on links to various merchants on this site and make a purchase, this can result in this site earning a commission. Affiliate programs and affiliations include, but are not limited to, the eBay Partner Network.
I did a Bi-Xenon projector retrofit on a 993. Here's what it took
I acquired a 993 Turbo last November and let me start by saying: it is one of the best, most charming, and fun cars I’ve ever owned and driven. Having said that, the headlights are what one would expect from the late 90s: crap. Mine has the upgraded Litronic (HID/xenon) lights and even then, they don’t work very well at night.
Conveniently, the OEM headlight assemblies on all Porsche 993s (OEM Halogen, and Litronic) are extremely easy to work on thanks to the fact that they come out of the car easily, and can be disassembled in minutes. Time for an upgrade.
With a few cars in storage in my showroom from a friend here in Atlanta at Motorcar Studio and also RWB Atlanta, I thought it would be cooler to take apart the headlights on Nakai’s personal RWB widebody Cabrio first and document the process for you guys. Ill do mine next.
This conversion on the Litronic-equipped 993’s should really only take you a half hour to do. On halogen equipped cars, figure about 1-1.5 hours, only because you need to run some extra wiring and mount the HID Ballasts in addition to swapping out the projectors inside the lights.
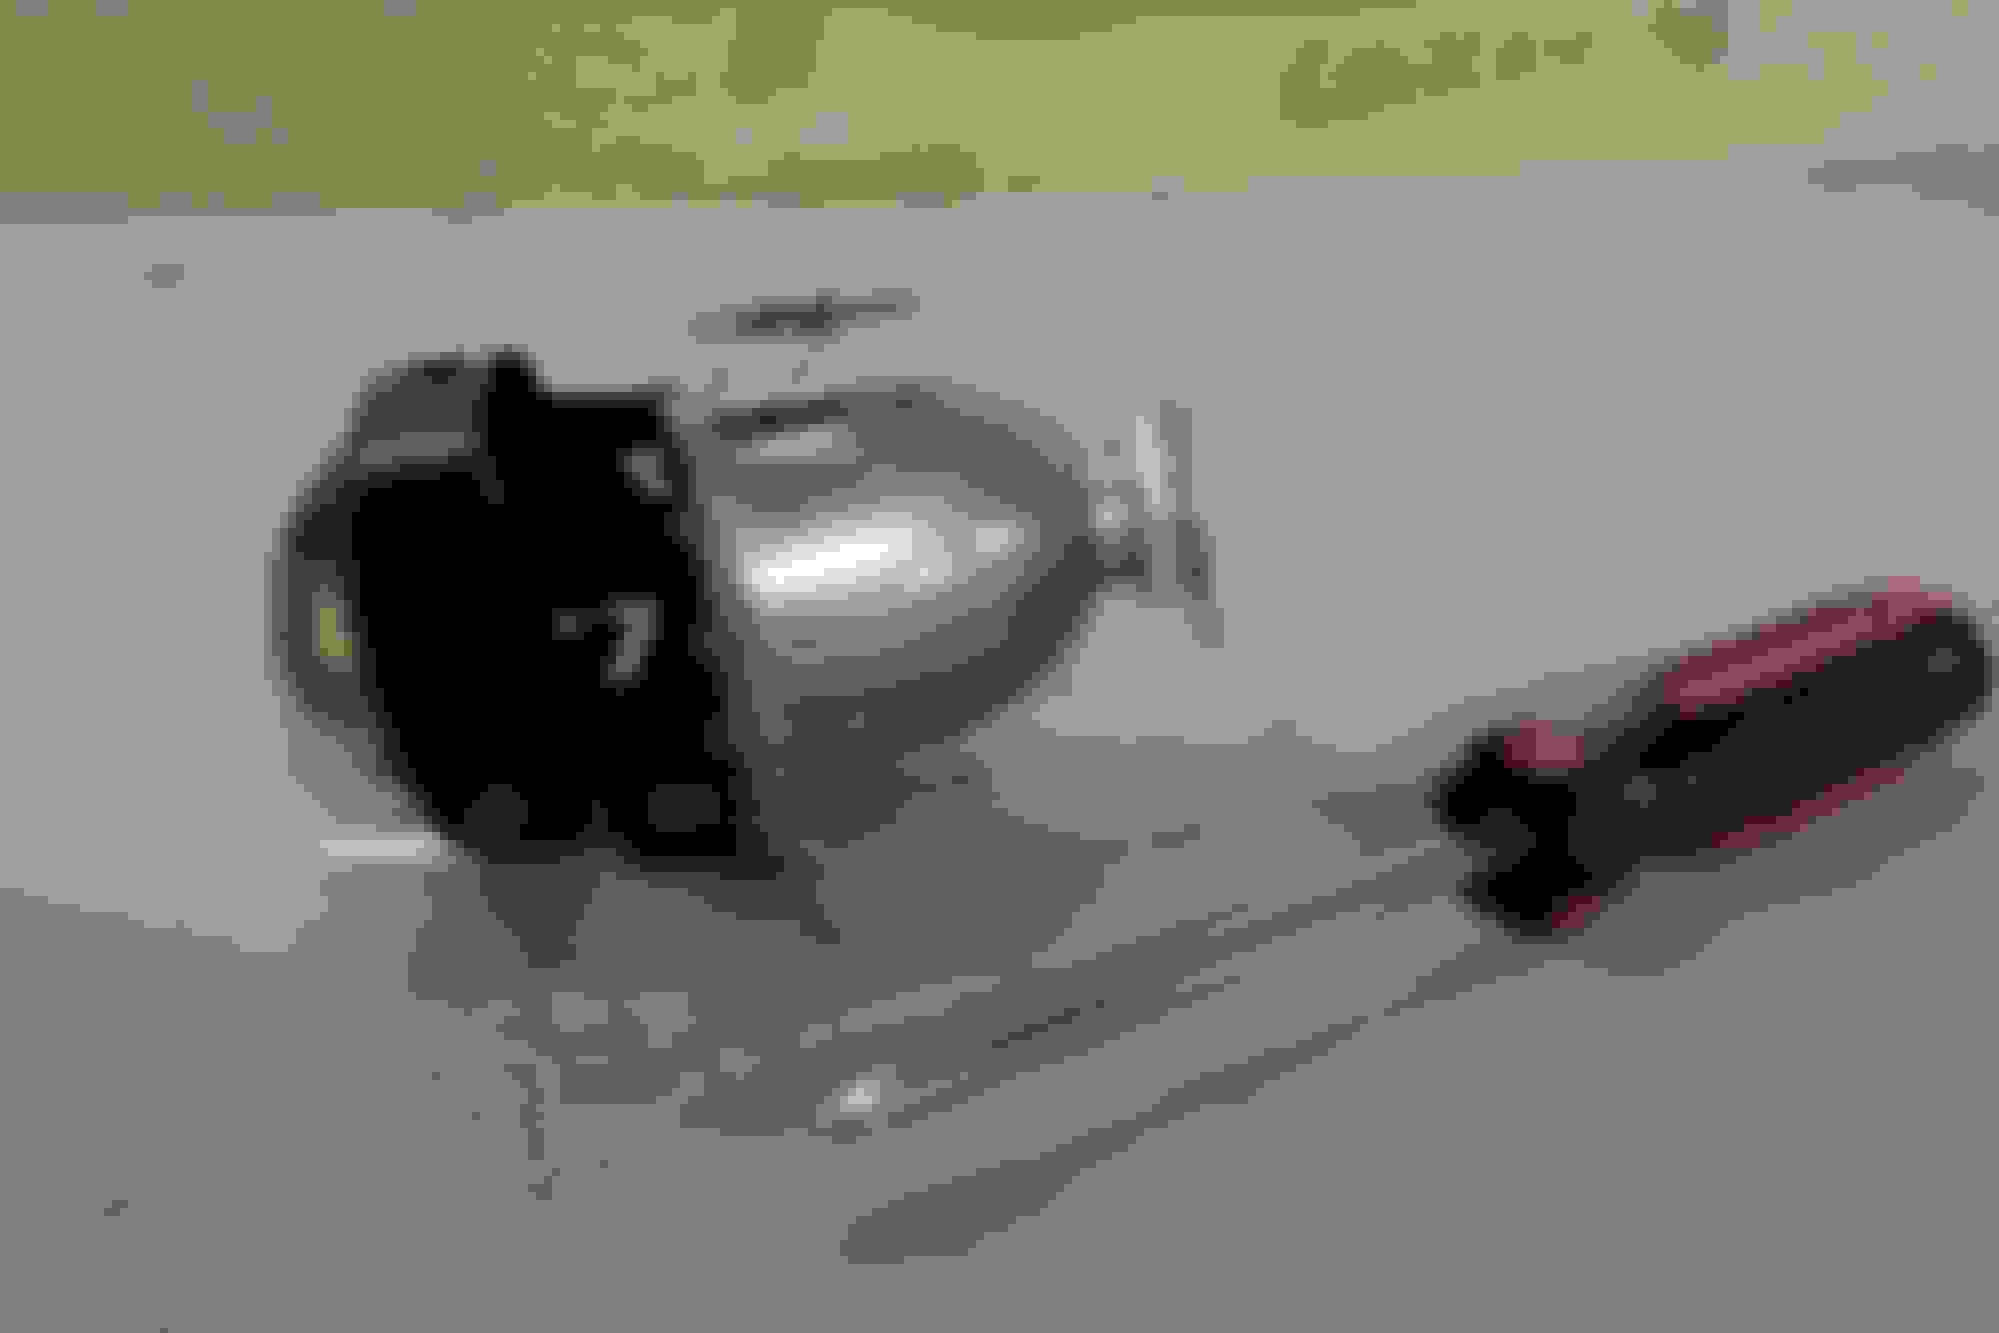
First, the tools. Yep, not much to it. T20 Security Torx bit (security part is important!) a Philips screw driver, and a 7mm wrench.
Now, the parts. This is the Morimoto RetroQuik system for the Porsche 993 from The Retrofit Source. The kit comes with modern bi-xenon projectors (low and high beam), the necessary hardware and brackets to mount them in the 993 headlights, new ballasts and igniters, HID bulbs, and all of the wiring needed to make this plug n play.
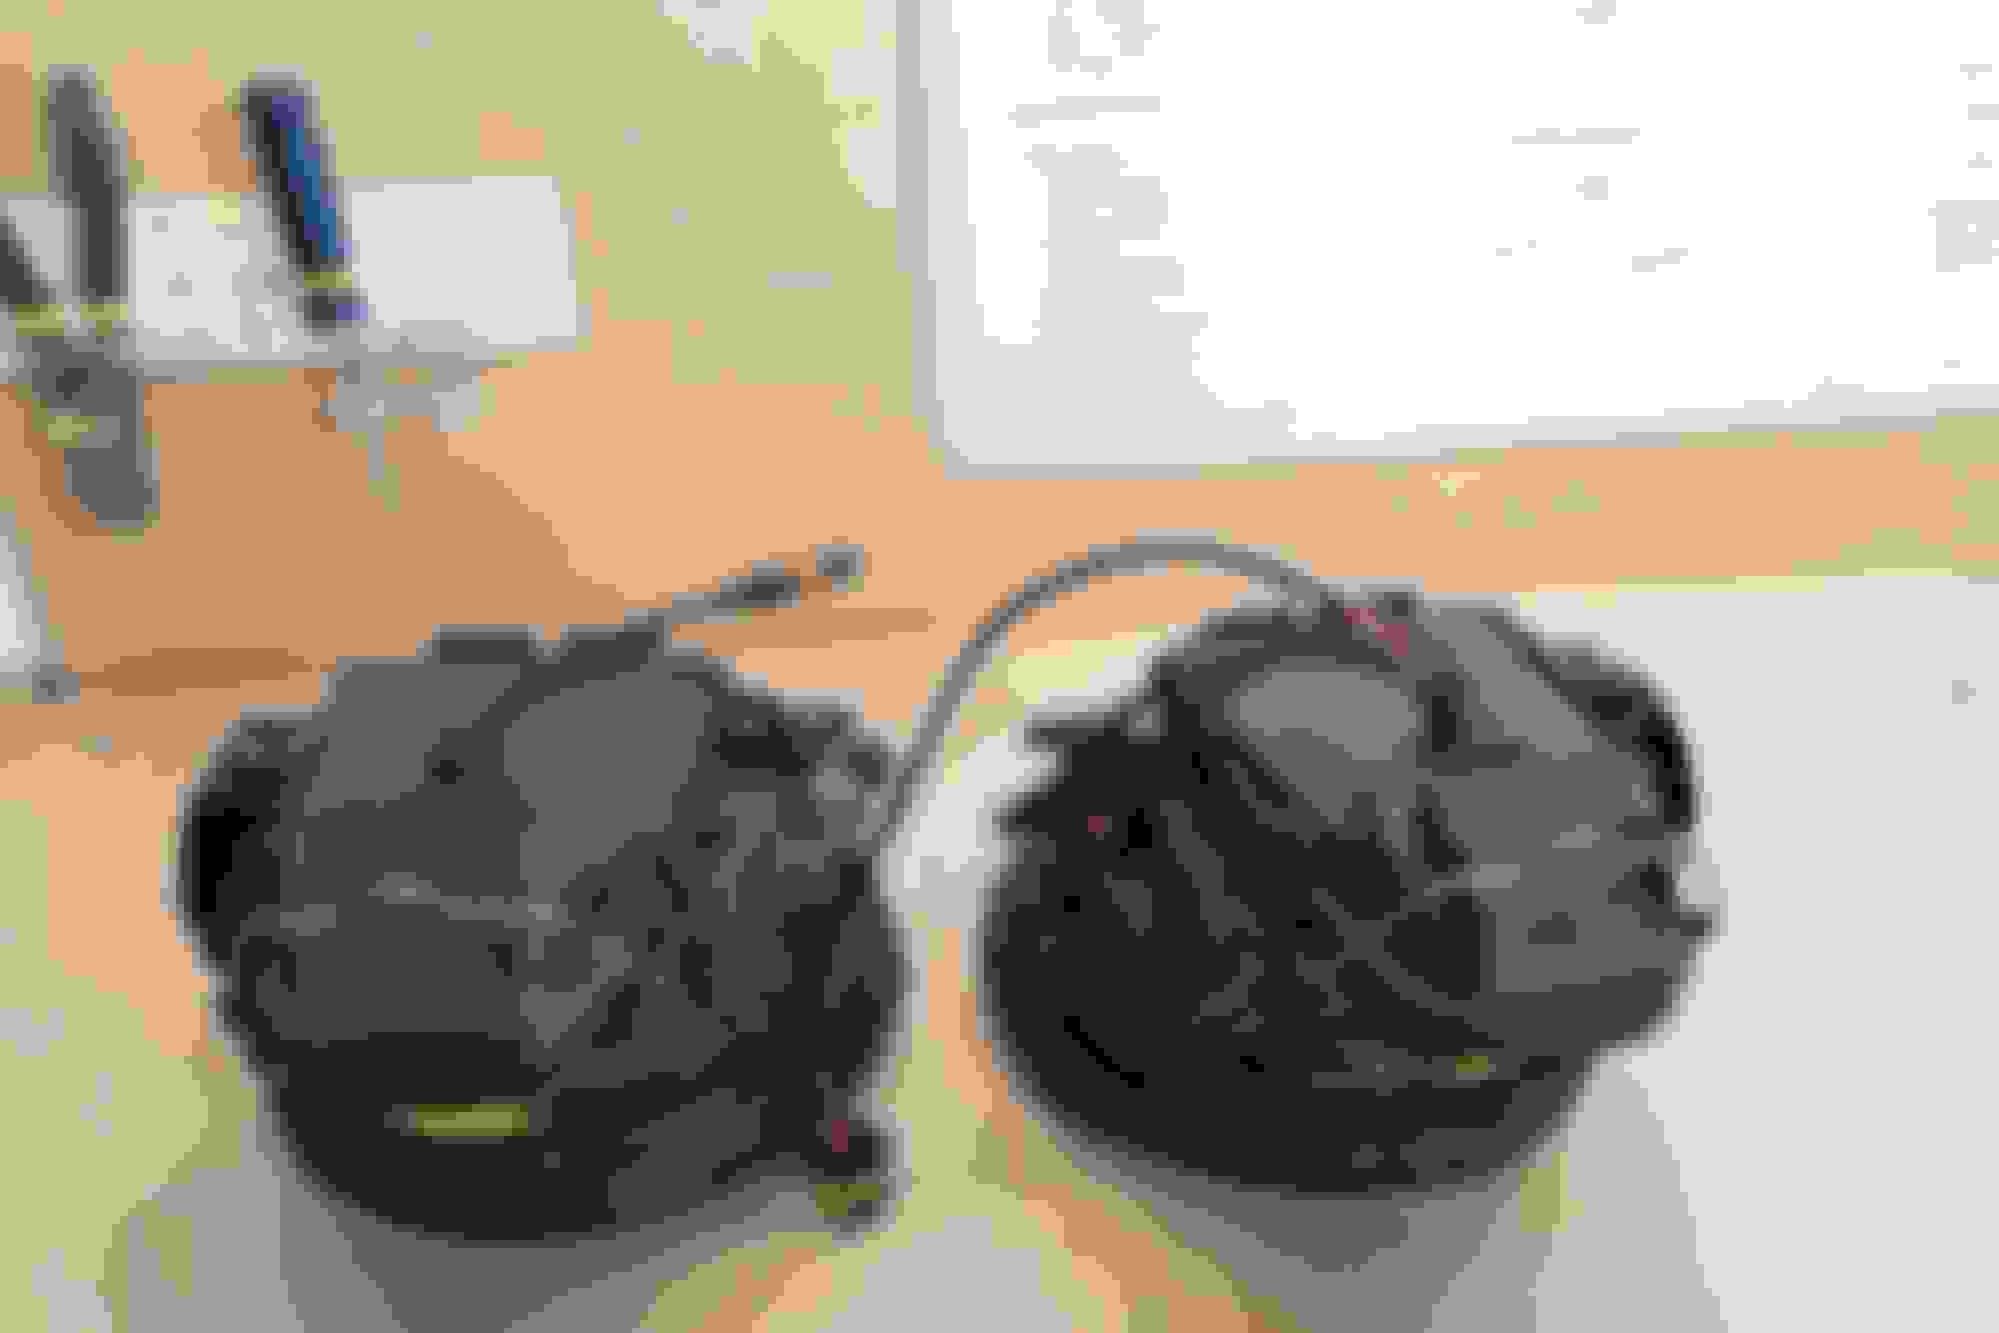
Lets begin! pop the hood and remove each headlight by rotating the latch on each side of the engine bay. You just need to rotate it towards the back to release the headlight. If the headlight seems “stuck” when you’re trying to pull it out, put the lever in the vertical position. I found that helps position the lock so its easy to remove the housing.
And we’re off!!
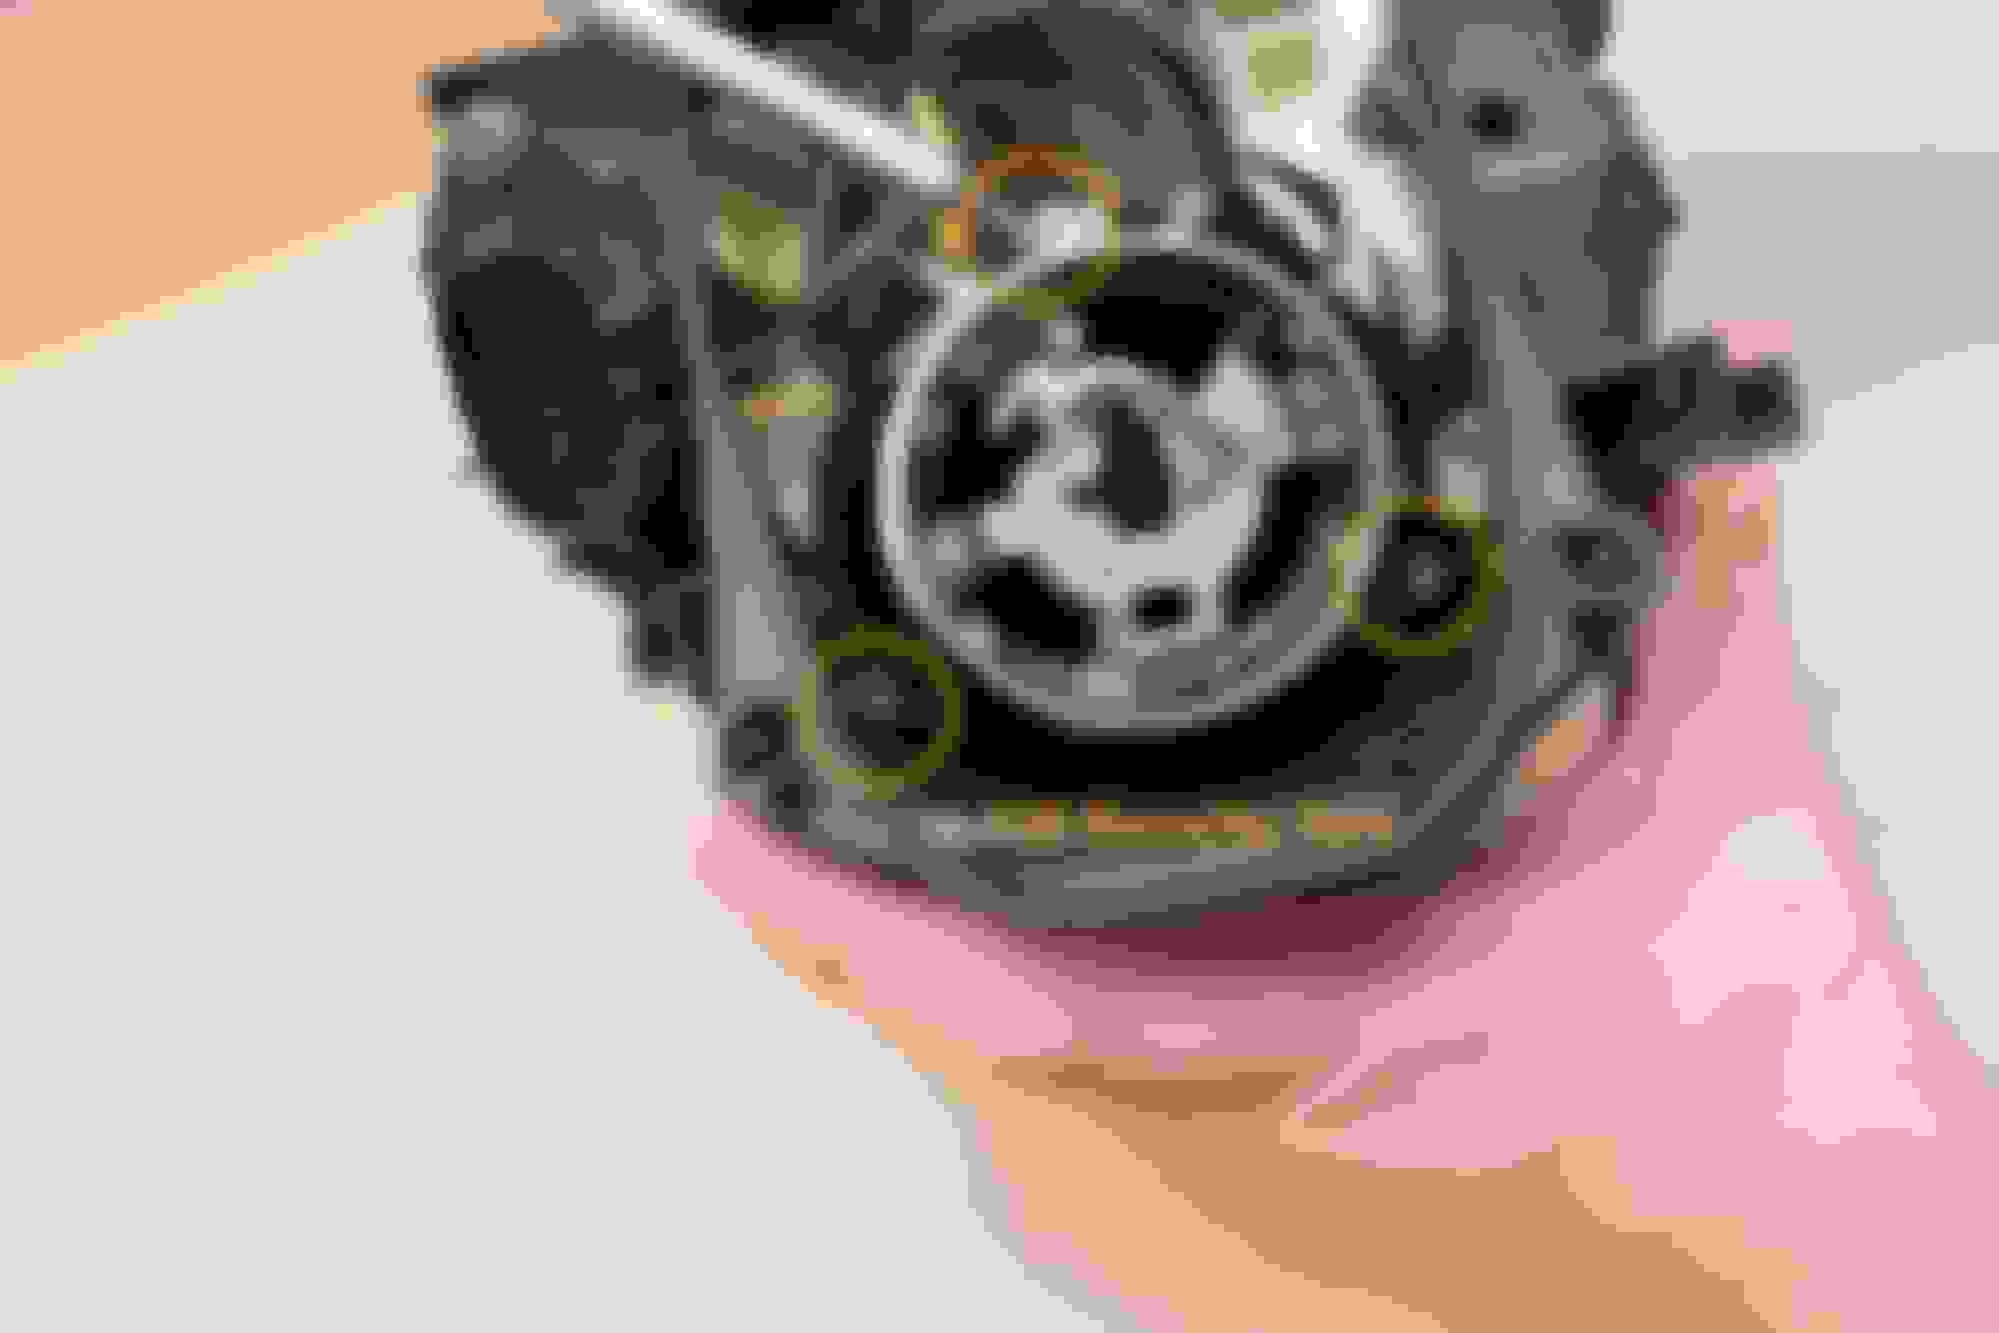
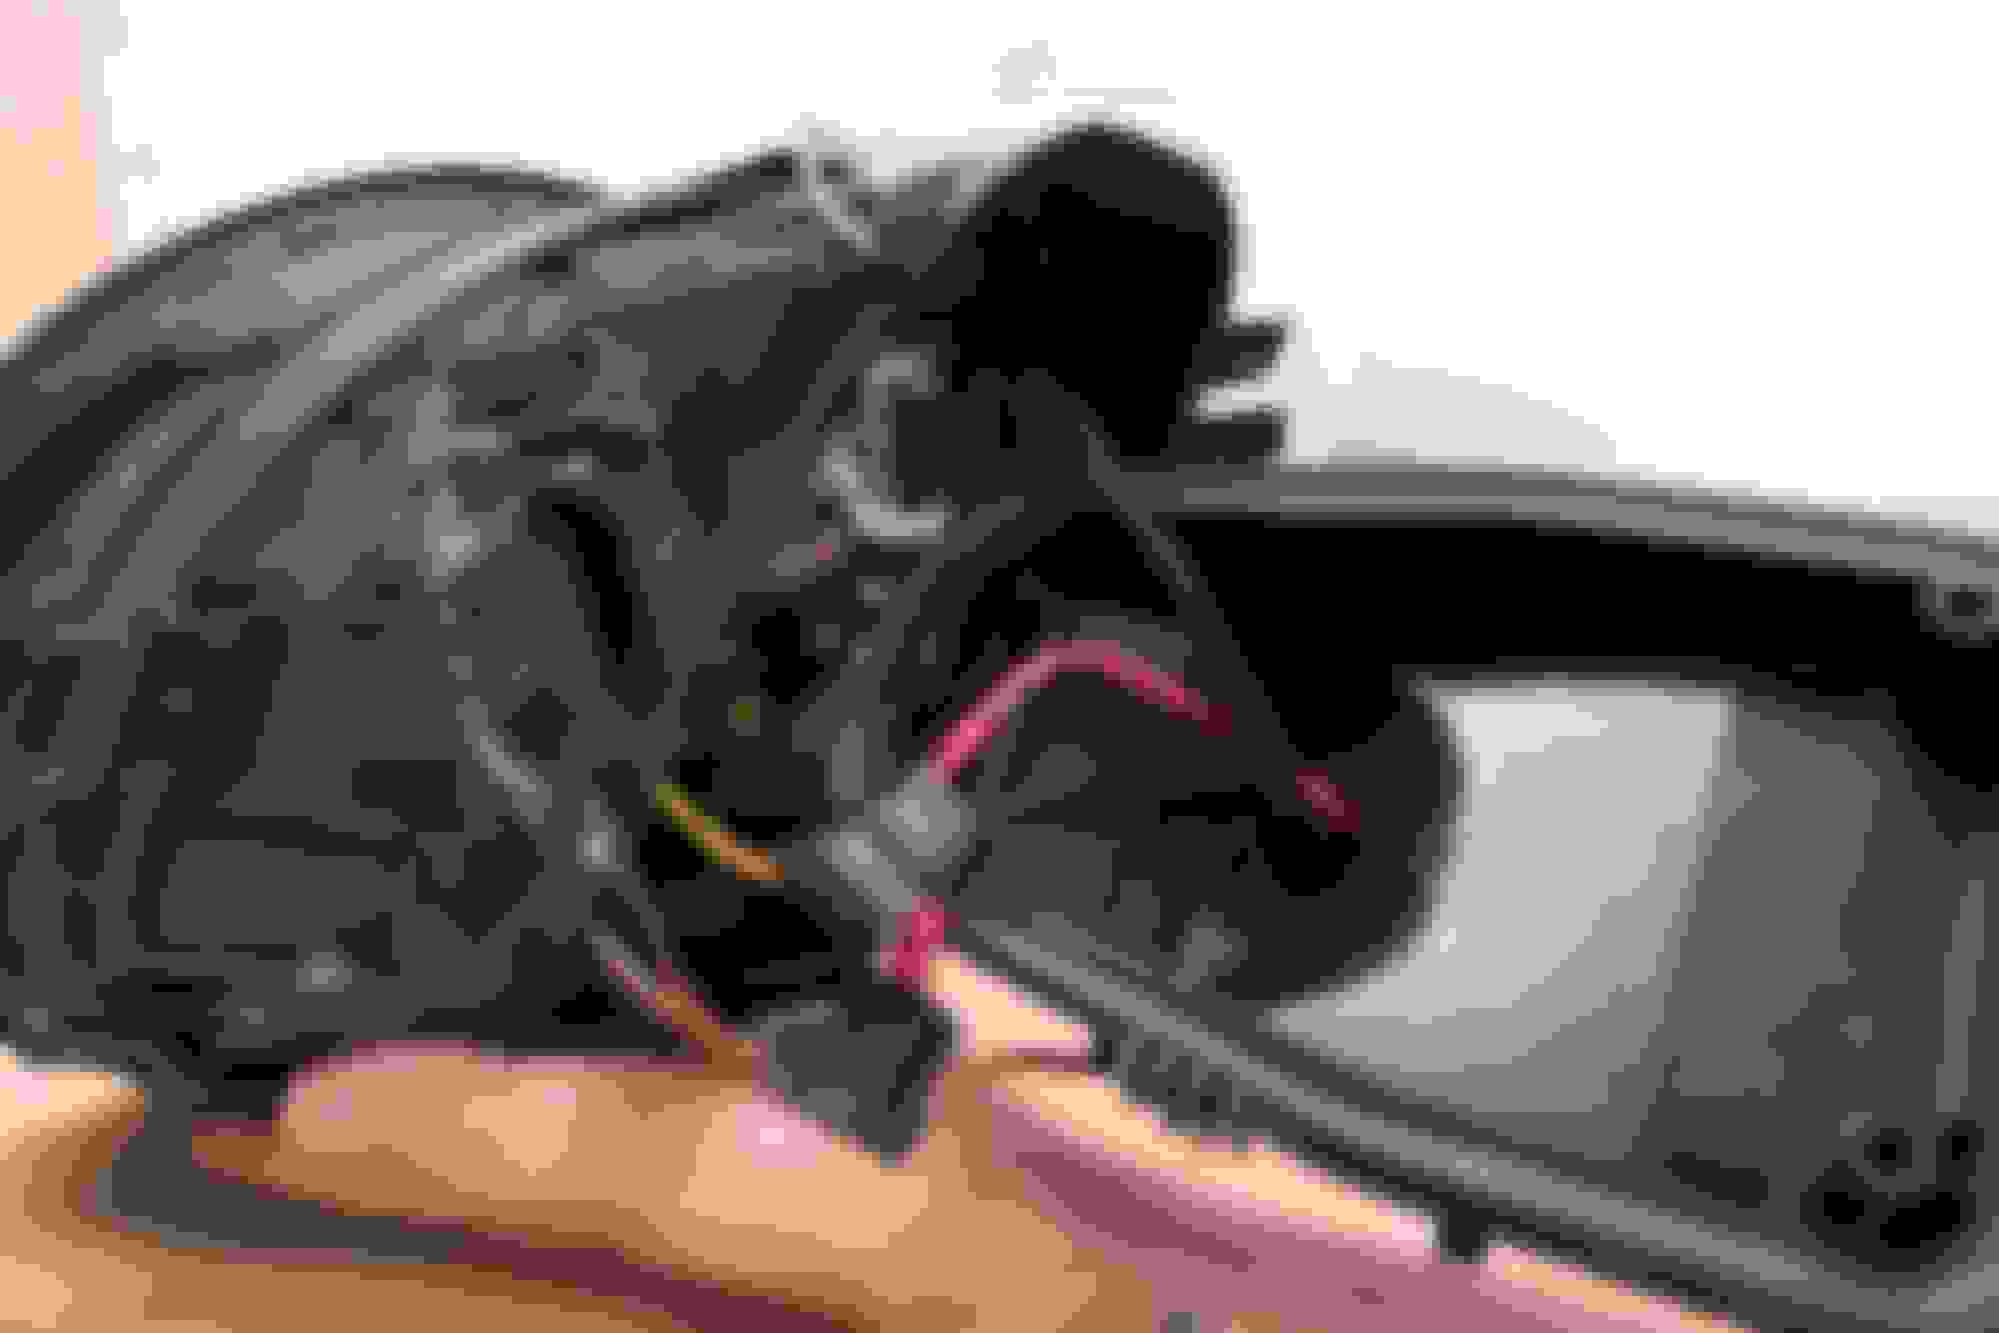
Here is what the inside of the Halogen headlights looks like:
Here is what the inside of the Litronic headlights look like:
Regardless what you have, there will be three T20 Torx security screws that hold the projector into the housing. They can all be accessed and removed just from the back, with no need to take apart the whole headlight. Note: It is important to have a security bit set with the little opening for the dot in the middle of the torx screw. Otherwise you won’t be able to get the projector out.
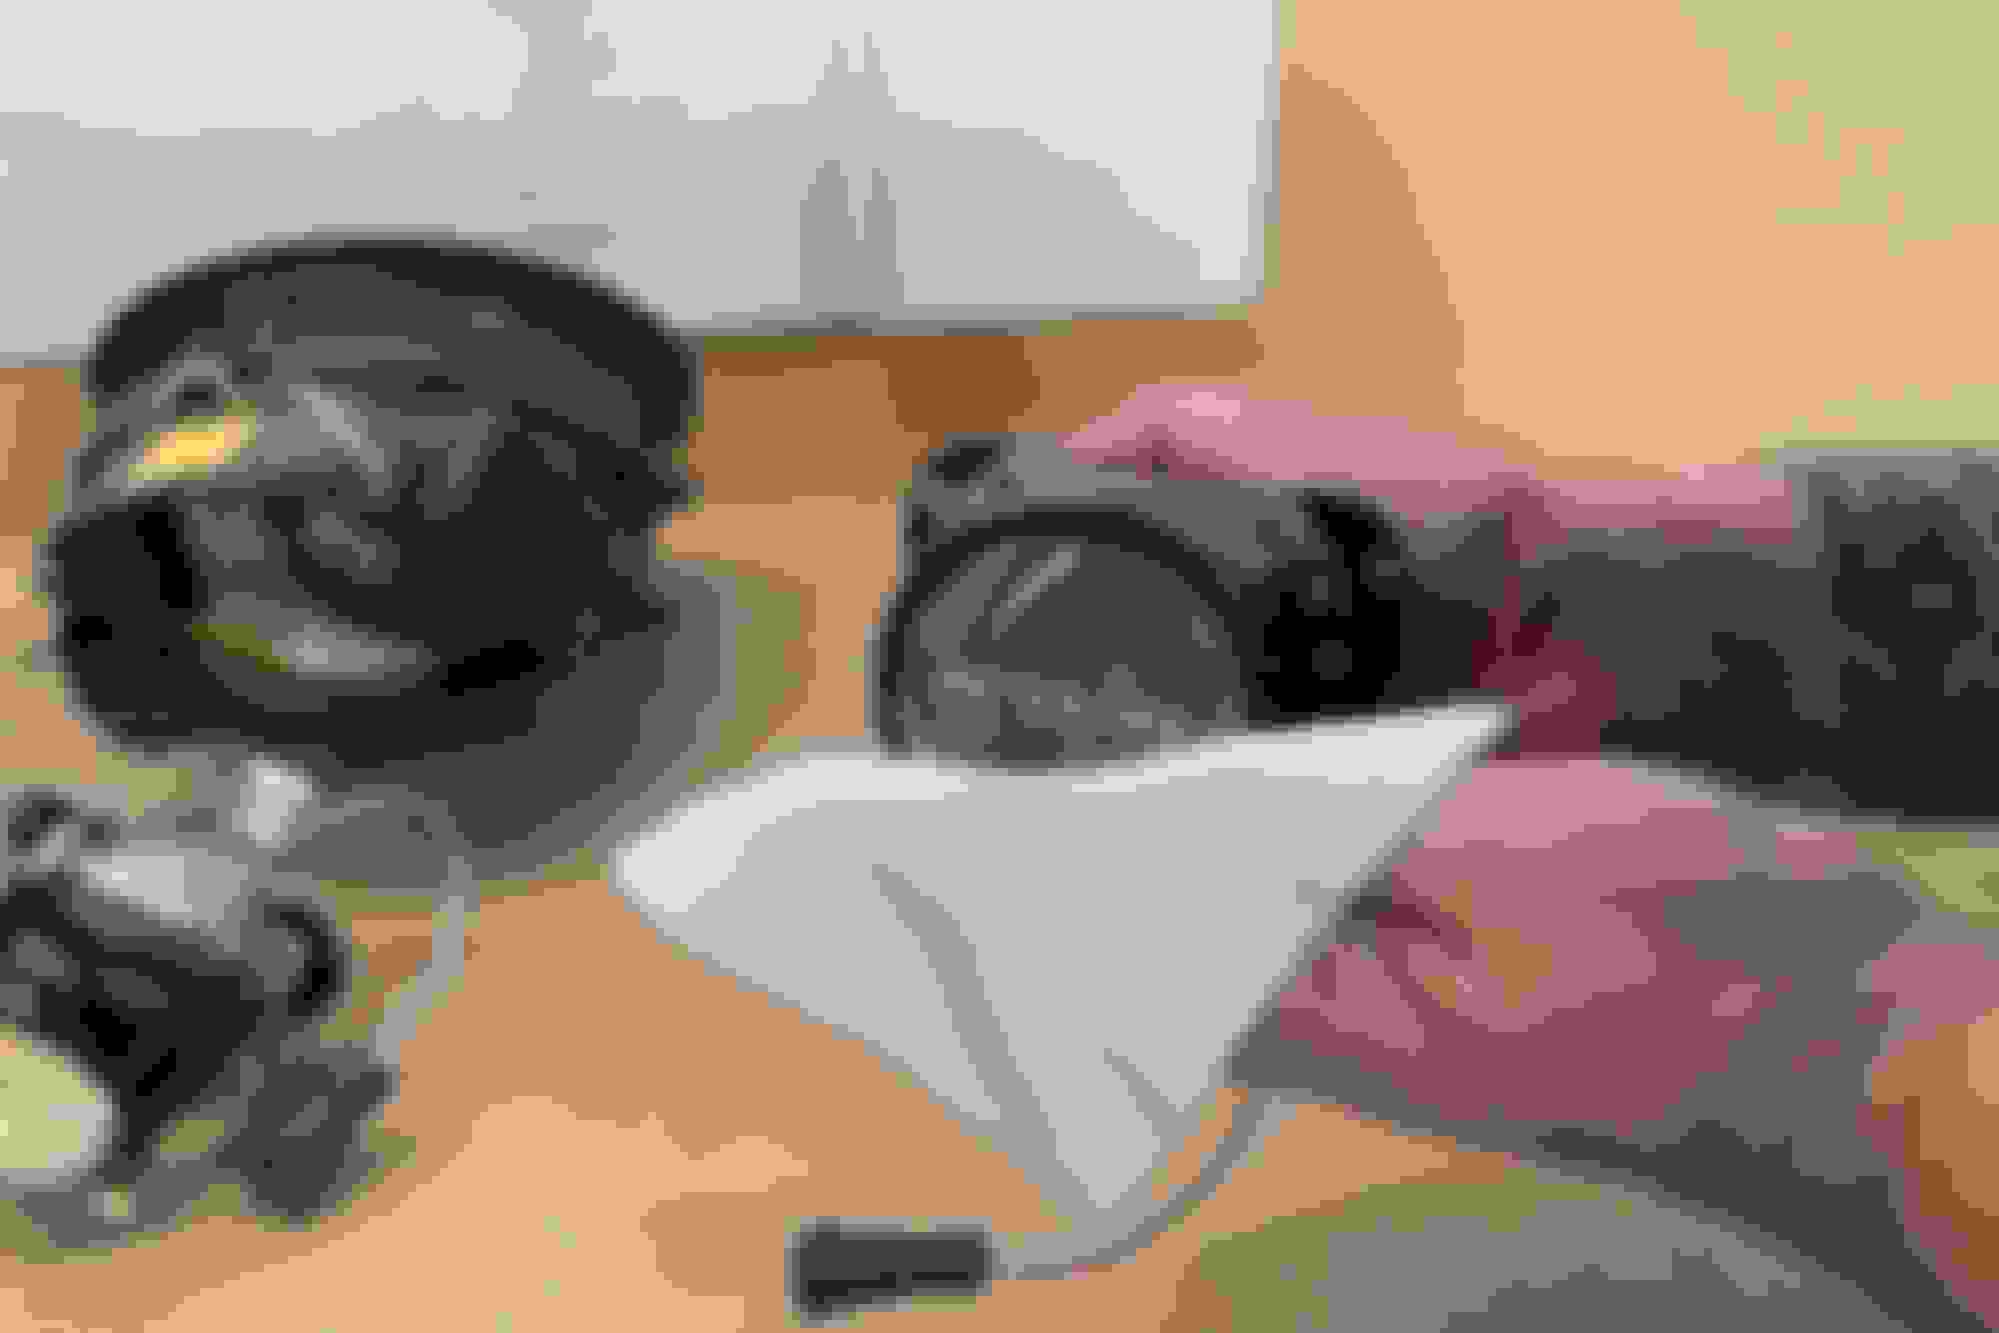
And…removed!
We’re ready for re-assembly already. Start by putting the screws through the 4 holes on the body of the projector and then thread the aluminum spacers on. Tighten everything up.
Next, install the Morimoto 993 RetroQuik adapter bracket onto the screws, and tighten that down with the included lock nuts. (note, see the next photo below first!) It really shouldn’t be necessary to use any locktite here, but if thats your thing - go for it!
Note: Its important to make sure the bracket is facing the right way. There is a cutout on the bracket for the bi-xenon solenoid’s wiring. This is what everything should look like when fully assembled and tightened down.
The projectors and the mounting brackets are now fully assembled and ready to go back in the housings.
Hang on…..clean those projector lenses before re-installing. Nothing worse than finger print smudges inside your new headlights! (it helps to shine a flashlight through the back of the projector to illuminate the lens…that way you can really see if they’re truly clean)
I found it was easier to add the original mounting screws and red rubber washers in through the back of the new bracket first and then put it into the housing from there. The projector/bracket assembly is a little wide to go in straight, so rotate it first, get it in through the back of the housing, and then rotate to the correct horizontal position again. Note: The red rubber washers should go on the top screw hole, and the bottom left (if looking at it from the back). There is no rubber washer on the bottom left mount.
When tightening them: go in a star pattern, just like you’re supposed to do on lug-nuts. You don’t want the projector to end up crooked and one of your beam patterns ends up at at angle: you tightened down one screw more than the other two. You do not need to compress those rubber washers, just tighten the screw until there is contact, and then 2-3 more turns from there. Here. the projectors are now re-installed into the housings (took the front lens off of one just for show…there is no need for that)
There are two “high beam splitters” in the kit, which take the signal from the stock H1 halogen bulb and triggers the high beam solenoid on the new projector at the same time (for double high beams!) The brown and white wires that are plugged into the back of the high beam bulb now should be removed, and then re-connected to the input of the splitter. (Brown = Black, White = Red)
From there, the 9006 (oval shaped) connector goes to the solenoid input wiring on the projector, and the Blue female H1 connectors go back to the H1 halogen high beam bulb.
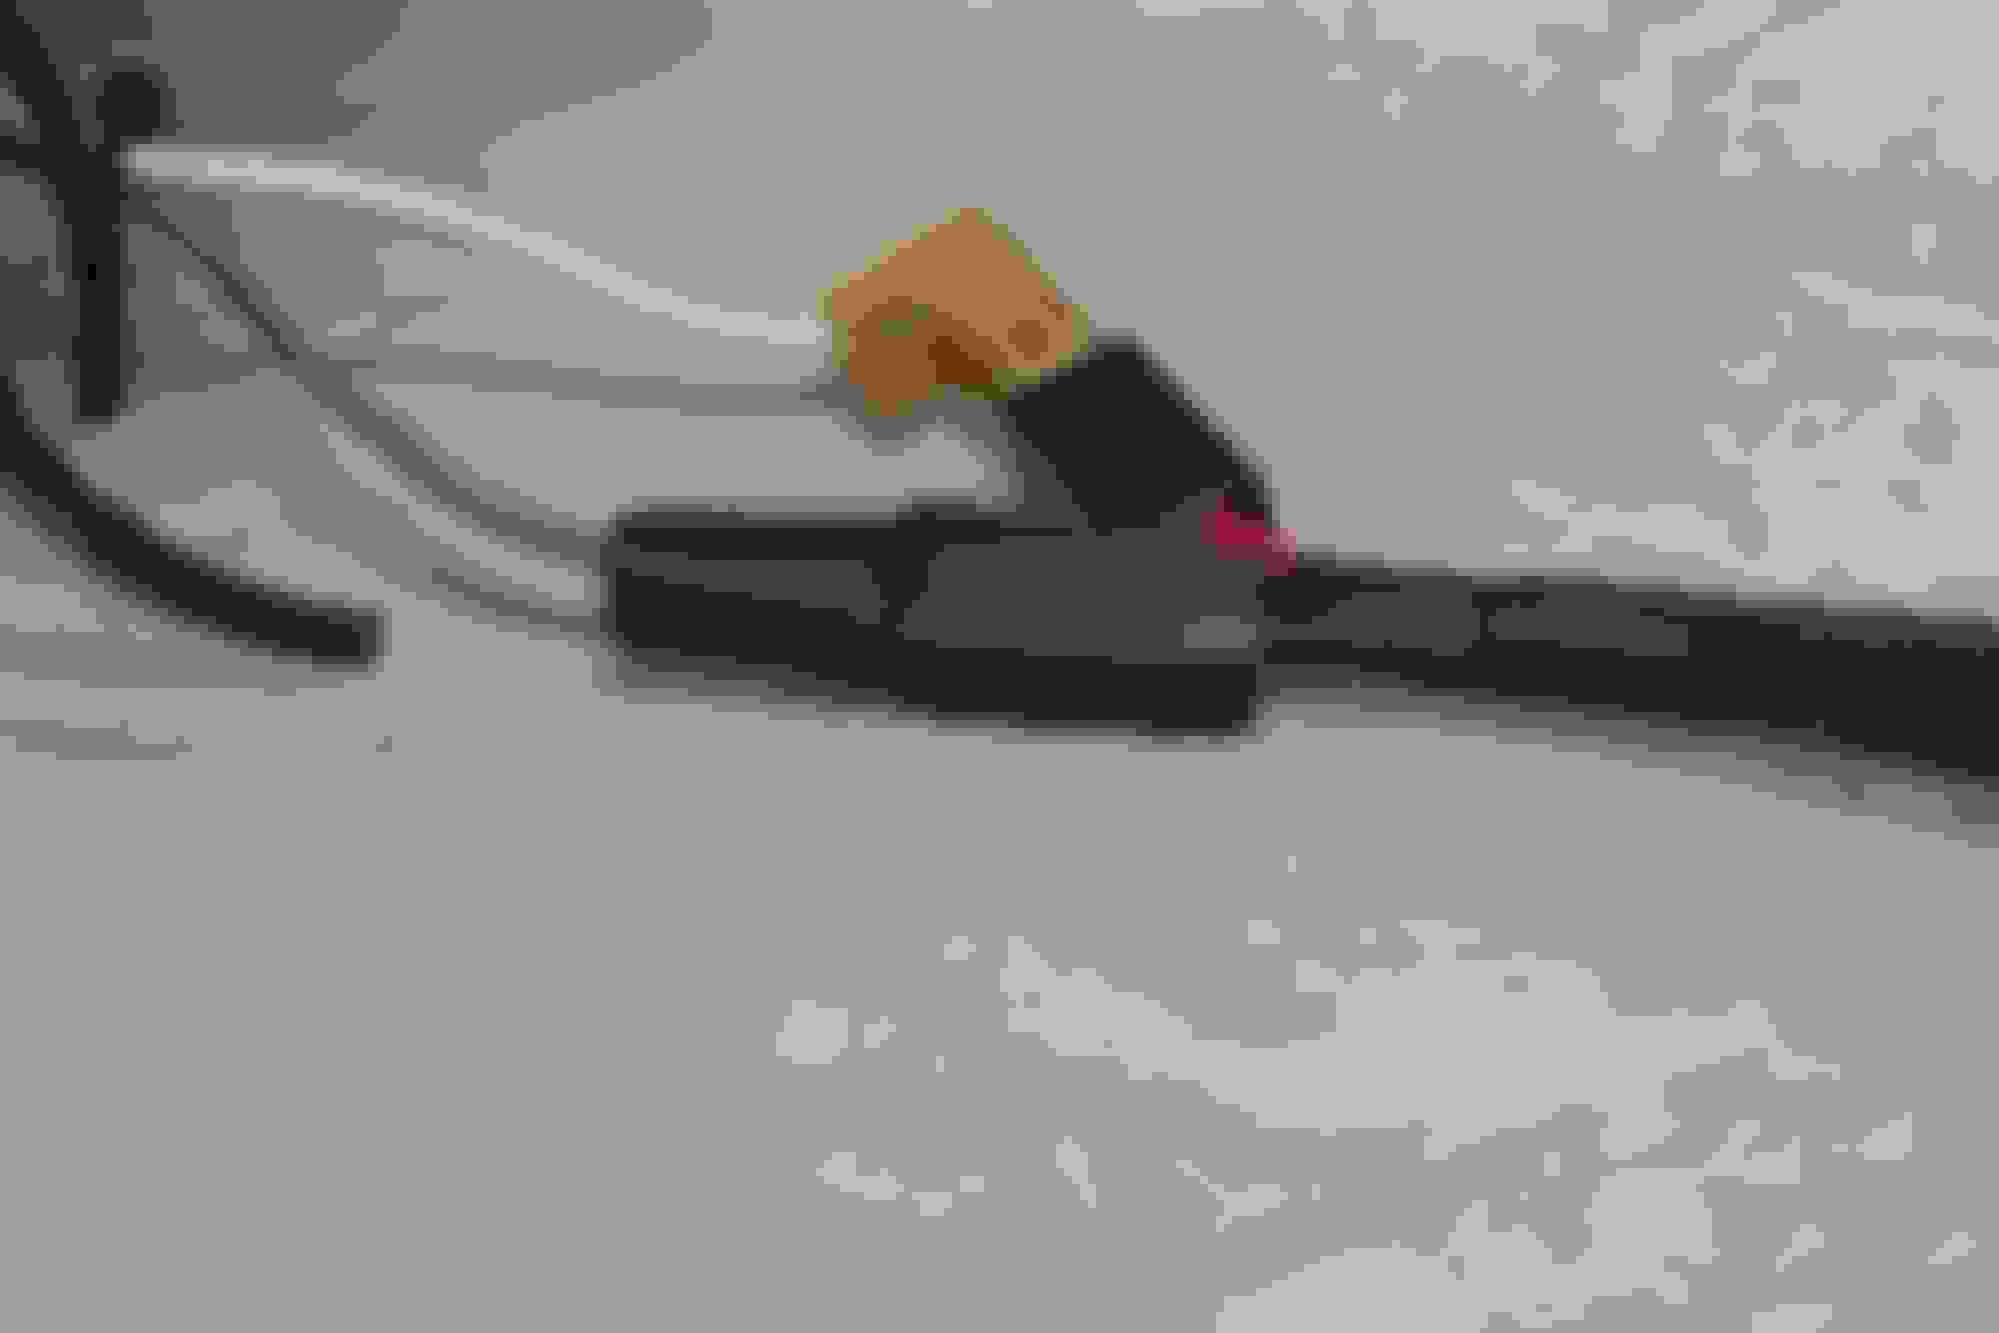
I put a little bit of heat-shrink over the ground wire on the input to the splitter since the OEM one was loose, and un-shielded.
Now onto installing the HID bulbs. First step here: clean the glass of the bulb with the provided rubbing alcohol pads to ensure there are no fingerprints, grease, etc on them.
Clip the bulb into the back of each projector. Note, the ceramic return wire that runs parallel with the glass goes on the bottom. Make sure the bulb is seated nice and flat.
In order to feed the wiring for the new HID bulbs through the back of the headlight, You will need to use a hole-saw to bore a 7/8” hole in each of the housing caps. As you can see, we used a drill press. Be careful!
DRIVERS SIDE ONLY: Use the “pass-through” cable thats integrated with the input wiring of the bulb. Connect the Male/Female spades to the +/- connectors that were originally plugged into the back of your H1 halogen bulb for the low beam. (Yellow > Red, Brown > Black)
This is what the back of the housings should look like once completed. On the passengers side, only the wiring for the bulb itself is exiting through the rubber seal. On the drivers side, the wiring for the bulb and the power pass through cable are coming out the back.
NOTE: If you have the OEM Litronic/HID headlights, you can skip the last 3 steps. Just twist the adapter into the output of your stock igniter, plug that into the cable that runs to the H1 HID bulb, and you’re good. Should look like this (with the loose cable just going straight to the back of the bulb)
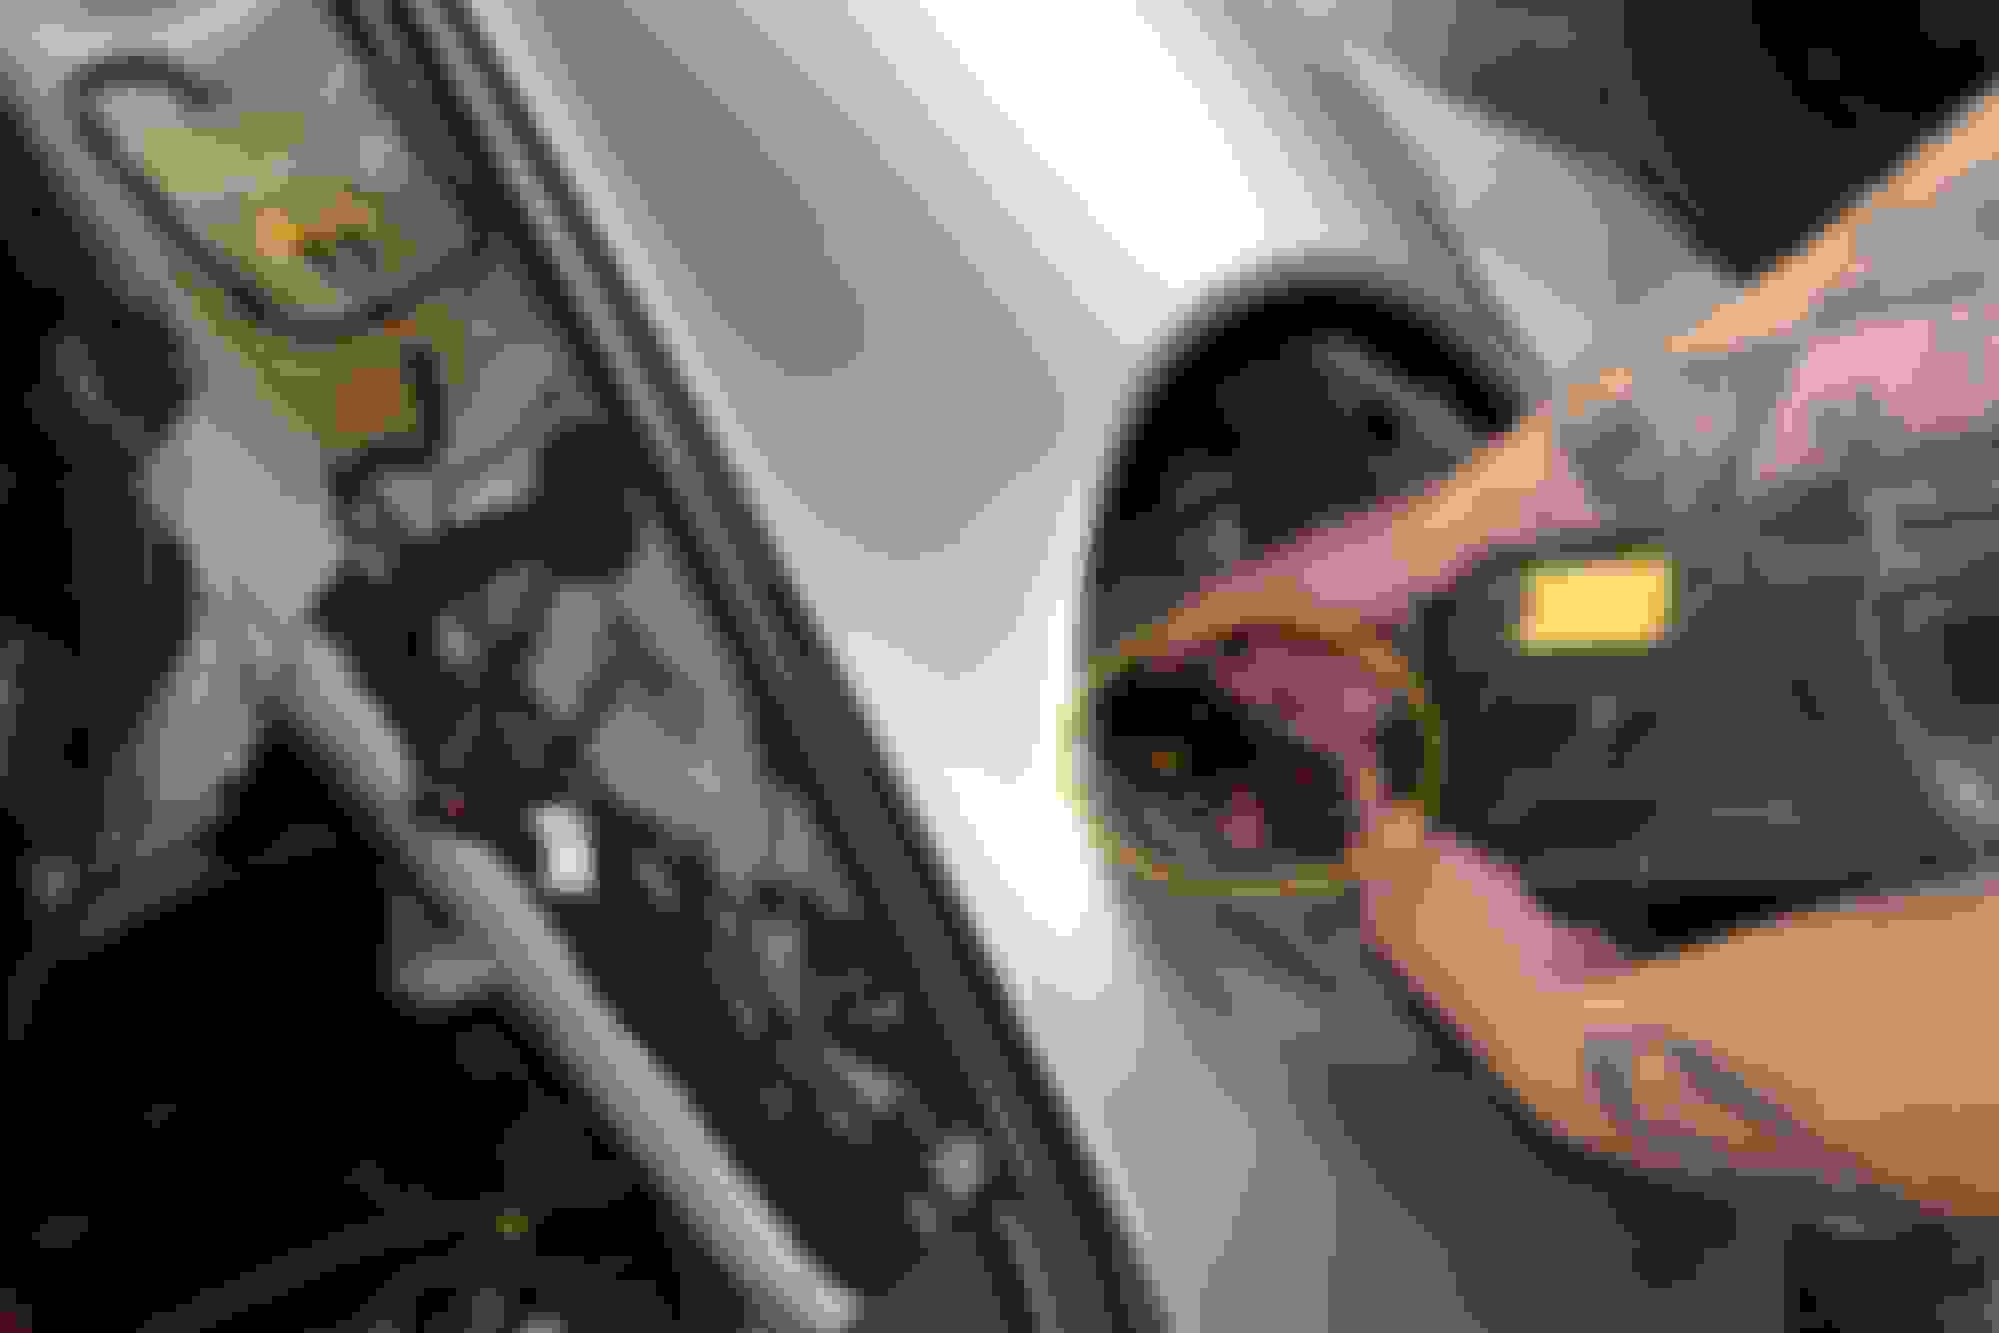
Time to run our wiring! The first step was to feed the igniter cable through a pre-existing rubber grommet. Its a little tight, but you can squeeze it through without much effort.
It may be helpful to have an extra set of hands for this step. Bring the drivers side headlight to the car…have your helper hold the headlight whole you feed the power pass-through wire through that same rubber grommet. (this will serve as the Relay harness input). Then Connect the output of the igniter to the input of the bulb wiring.
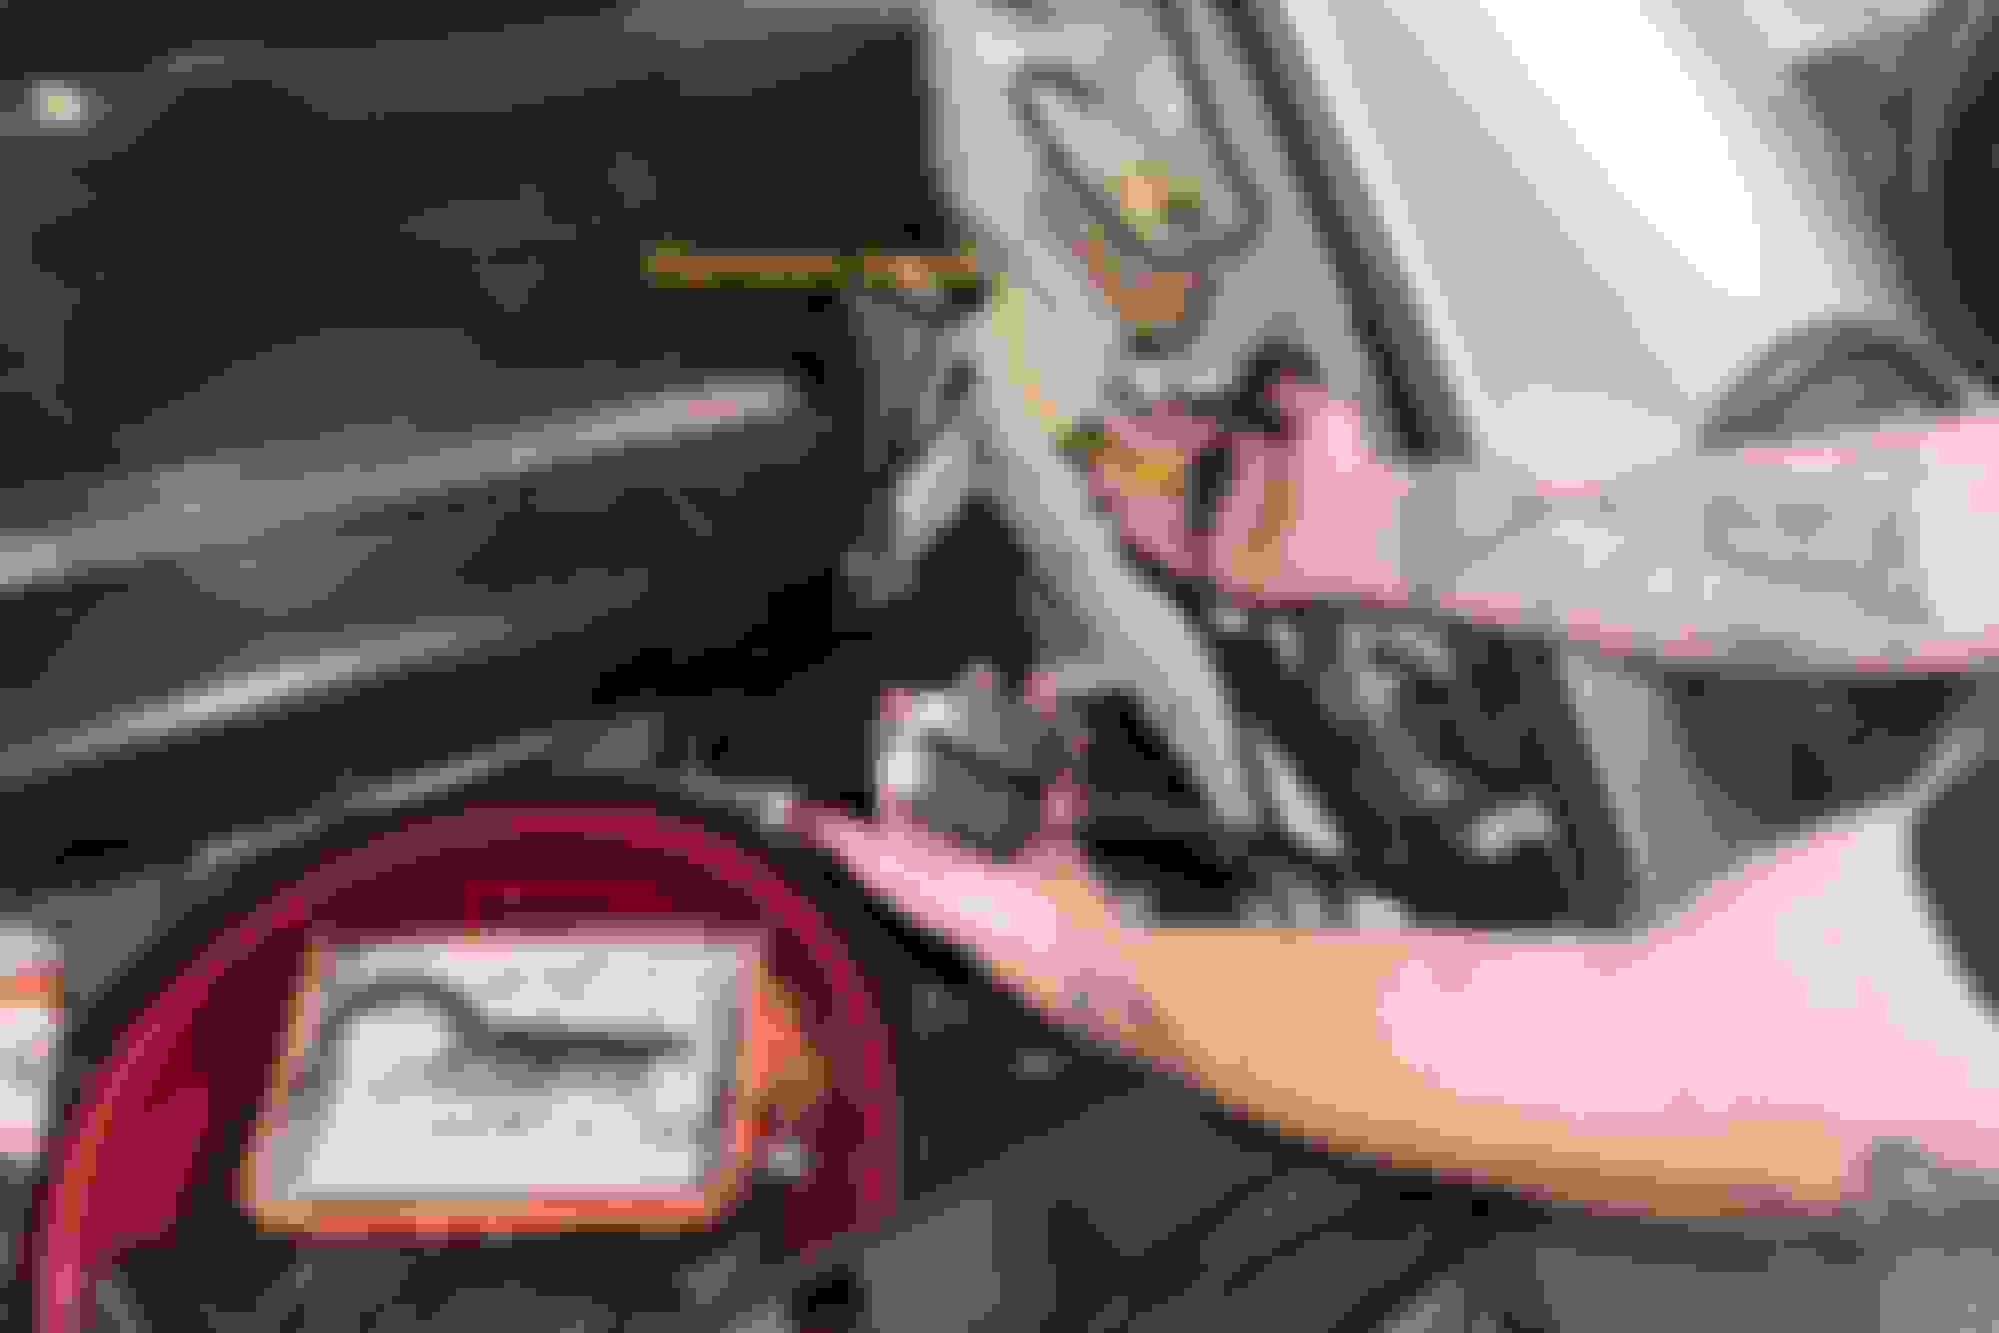
Note: there is a channel guide near the bottom of the headlight that it slides into on the left and right side. If you don’t feed the mounts of the headlight into the channel, it won’t lock in properly.
Lock the headlight back in place, and then connect the input to the relay wire harness to the power pass through cable.
Connecting the harness is pretty self explanatory from here since everything is labeled. It has an output for each ballast computer, and a loop for the positive and ground terminals on the battery (which is right there). We used some self-tapping screws to mount the ballasts to the frame, zip tied the wiring to clean it up, and hung the relays on the harness from the mount underneath the washer fluid reservoir.
Drivers side:
Passengers side:
And you’re done! If the headlights need a little re-aiming, there is a port for an allen key to do so. For tips on aiming headlights, refer to this video:
Project Complete! you’ve now got headlights with optics that are 20 years newer and boy does it show. Just check out these comparison photos that were taken during the conversion.
OEM Porsche 993 Halogen Projector with H1 Halogen bulb:
OEM Porsche 993 Halogen Projector with H1 HID bulb:
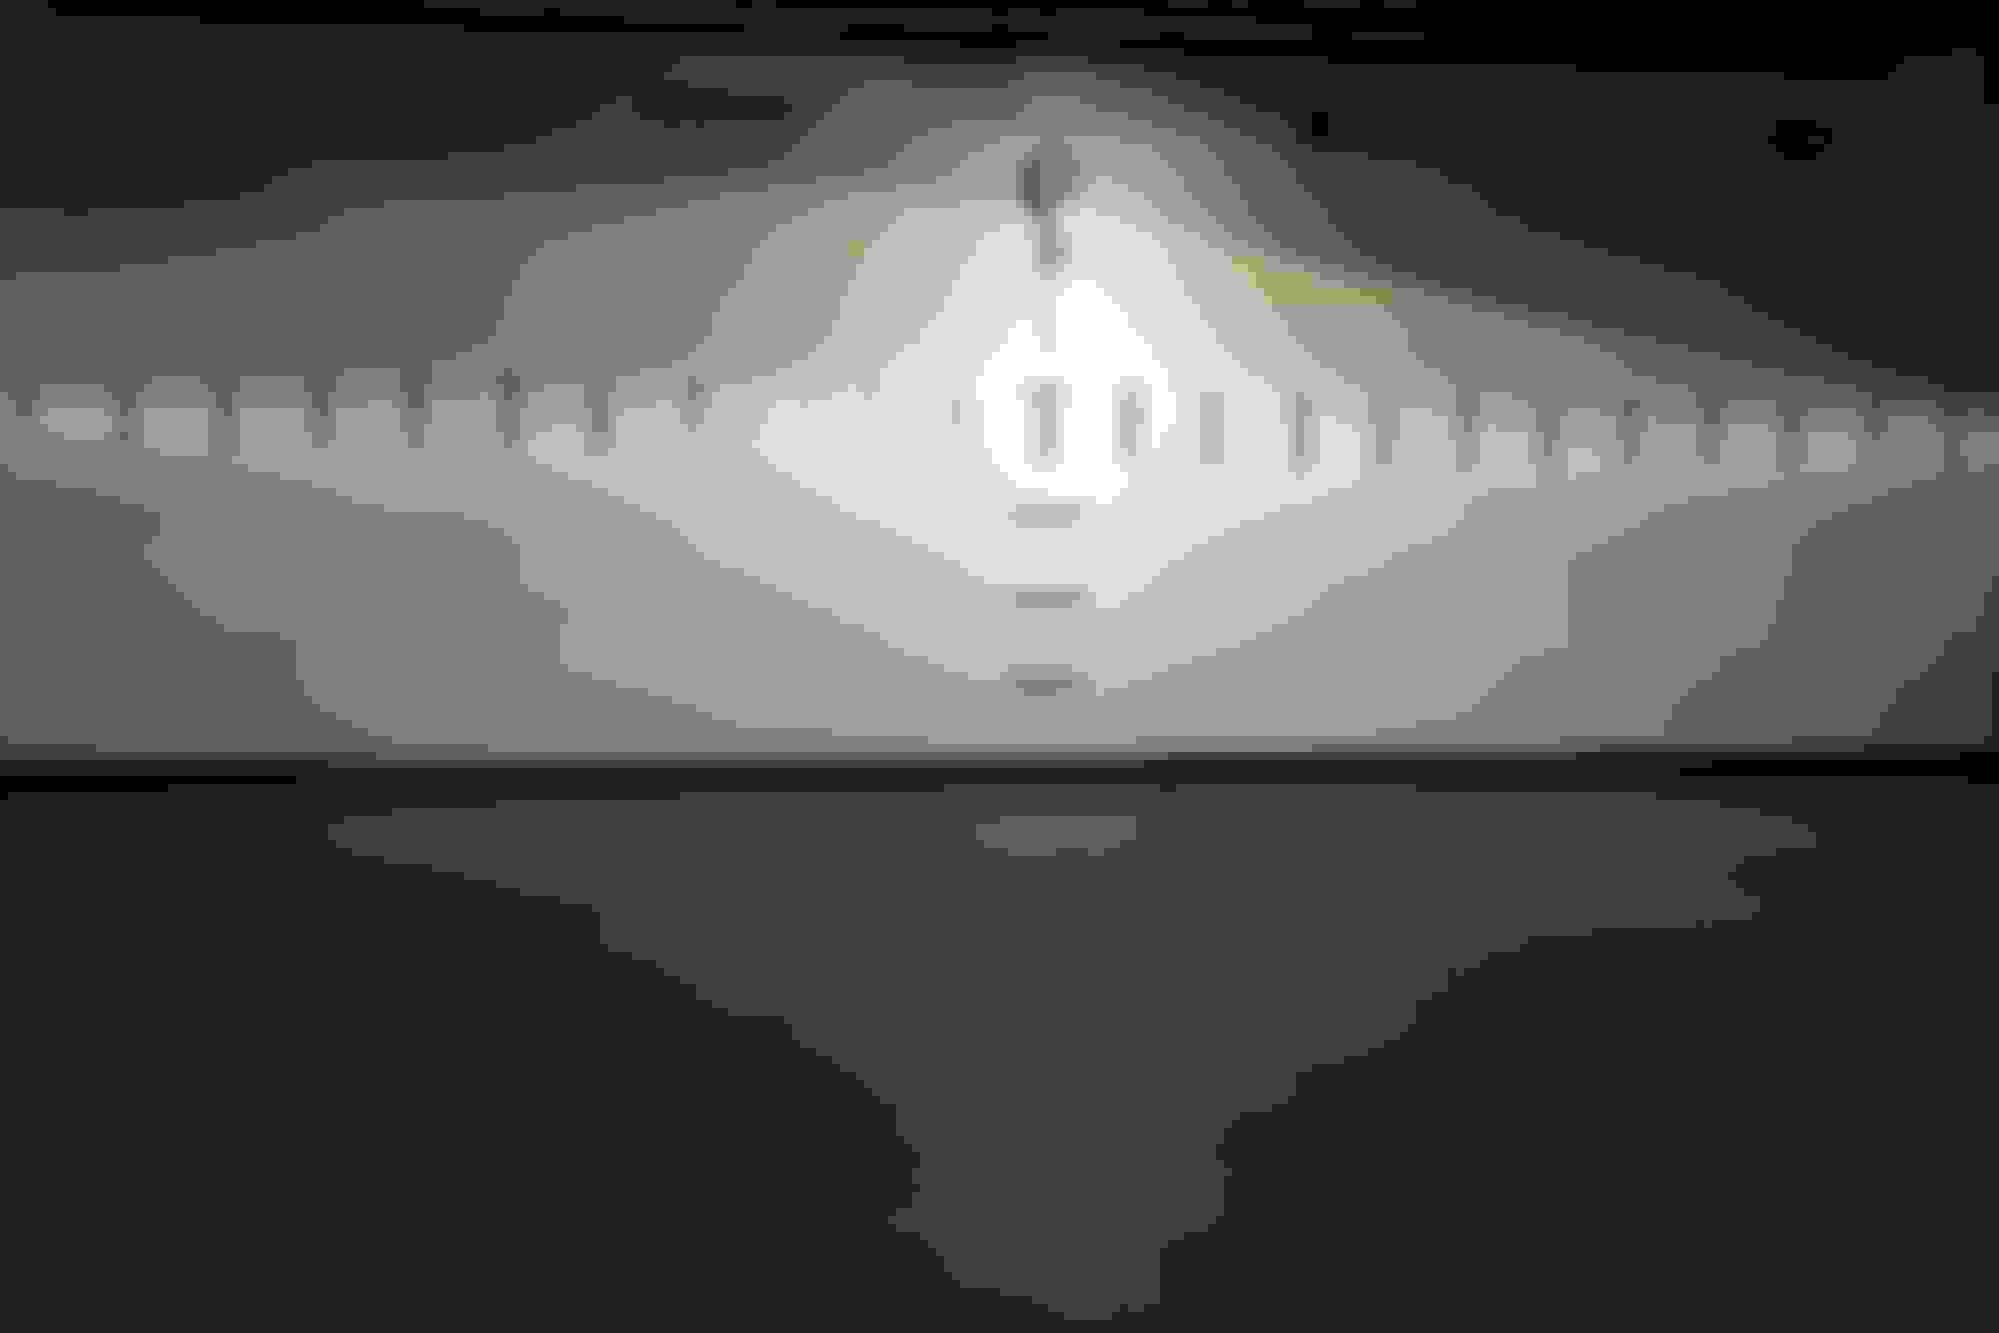
Morimoto Mini H1 7.0 Bi-xenon Projector with H1 HID bulb:
And the high beam too!
Before (with H1 HID in stock projector)
After:
Before:
After:
Enjoy!
Last edited by tacomahogany; 06-01-2016 at 08:26 AM.
Just did this upgrade after seeing your post. I reused my existing HID bulbs and ballasts but the results are still everything I've been looking for in headlight performance for my 993 in the 13 years I have owned my car. It is an important improvement in that it makes the 993 that much easier to live with on a daily basis and therefore helps further the love affair with these wonderful cars. Thanks for turning me onto this retrofit kit. Cheers.
 06-01-2016, 08:06 AM