DIY for Clutch Accumulator W/Pics...
#1
 04-11-2009, 11:57 AM


DIY for Clutch Accumulator W/Pics...
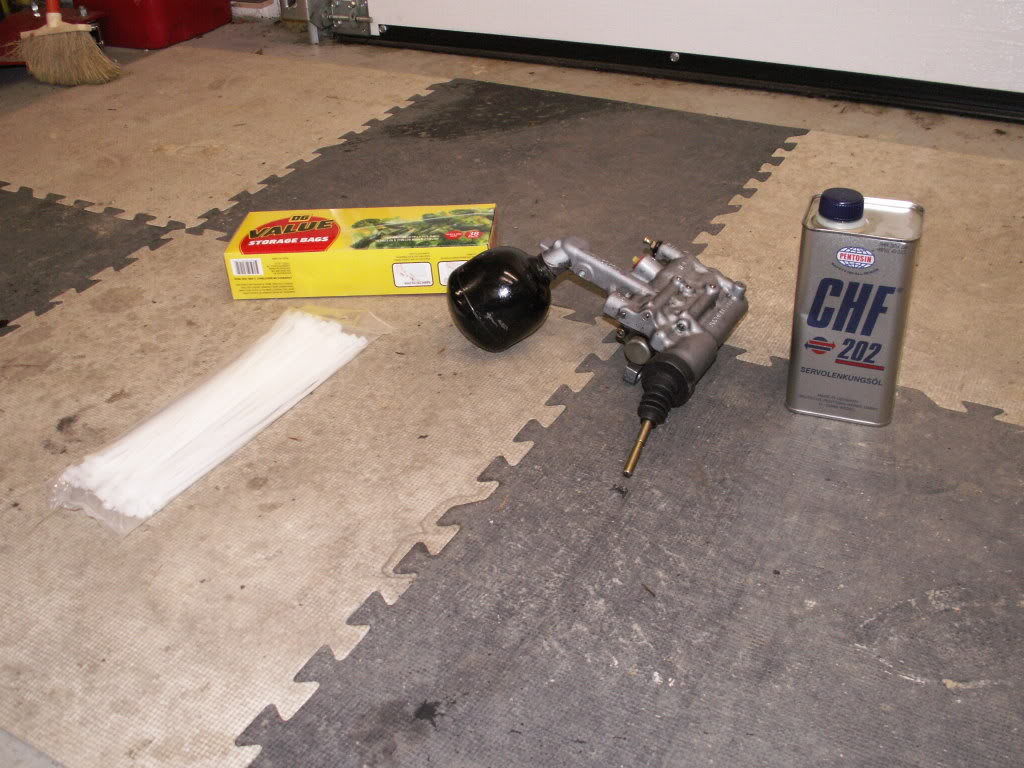
-So After Gunther drove my car and stated "it feels just like when My accumulator went bad, you know the one YOU replaced?", I started thinking... Bet that thing went bad when it was backing out at the track last September. I've swapped these for several other 6speeders, and swapped my own, along with the slave (search here for that back last spring). So I called up Ryan at Suncoast, ordered an accumulator and a Mastercylinder and waited. They came in Yesterday, so Today I swapped them out... Here's what you need, in order to do the job without making a mess or getting bent over at the squeeler/dealer!
Supplies:
Porsche 2001-2005 Clutch Accumulator
http://e-partssales.com/Merchant2/me...ode=996tttrans
Pentson CHF202 - ONE container
1 Gallon Freeser Bags - Cheaper the better
LONG Zip Ties - 2 each...
Shop towel to wipe up spills
Ignore the slave Cylinder this accumulator is attached to... I did that to stave off leaking fluid getting on the shop matt.
Last edited by GT3 Chuck; 11-29-2010 at 08:56 PM.
#2
04-11-2009, 12:06 PM
-Position the rear of the car up in the air and have PLENTY of light on hand. Pop the bonnet and remove the cover for the driver's side cowl, exposing the pentosin reservoir for the clutch master.
Pump the clutch pedal 25 times... It'll get harder as you pump it...
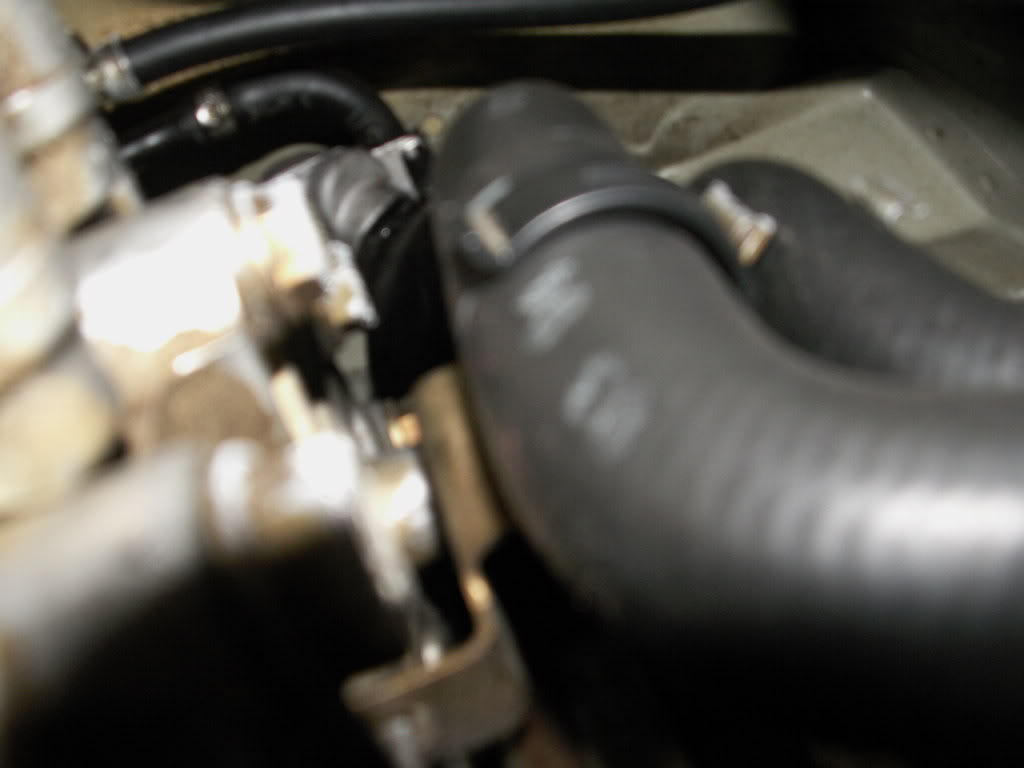
Get under the car and pull the water lines that cross over the drivers rear axle from the bracket that supports them and keeps them from rubbing that axle...
Unbolt the bracket with the 10mm socket/extension/ratchet and lay it aside...Take note of how the notch on the bottom fits in the fin of the differential side cover! This will come in handy when you're starring at it for 5 minutes trying to re-orient it... Cell phone cameras are so handy now days!
Take those long zip ties and tie the two water lines to the hard lines tucked up against the subframe of the car... The tighet you get them to the frame, the better the room to work within!
Now you can see the black ball that is the accumulator, attached to the ear of the slave cylinder!
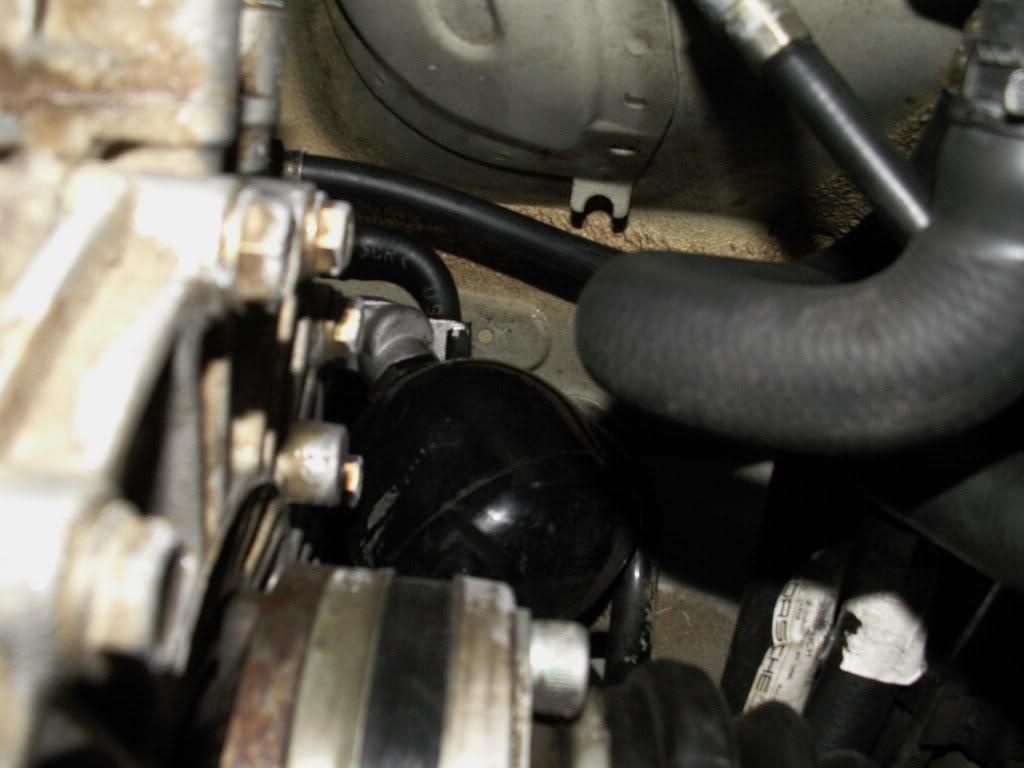
Now grab a freezer bag and place it overtop of the whole assembly, including the back side of the slave "ear"...
Pump the clutch pedal 25 times... It'll get harder as you pump it...
Get under the car and pull the water lines that cross over the drivers rear axle from the bracket that supports them and keeps them from rubbing that axle...
Unbolt the bracket with the 10mm socket/extension/ratchet and lay it aside...Take note of how the notch on the bottom fits in the fin of the differential side cover! This will come in handy when you're starring at it for 5 minutes trying to re-orient it... Cell phone cameras are so handy now days!
Take those long zip ties and tie the two water lines to the hard lines tucked up against the subframe of the car... The tighet you get them to the frame, the better the room to work within!
Now you can see the black ball that is the accumulator, attached to the ear of the slave cylinder!
Now grab a freezer bag and place it overtop of the whole assembly, including the back side of the slave "ear"...
Last edited by GT3 Chuck; 11-29-2010 at 08:57 PM.
#3
04-11-2009, 12:20 PM
-Use the wrench on the boss of the accumulator and remember that you're upside down. Rightie Tightie, Leftie Loosie, but again, you're upside down, so don't forget!
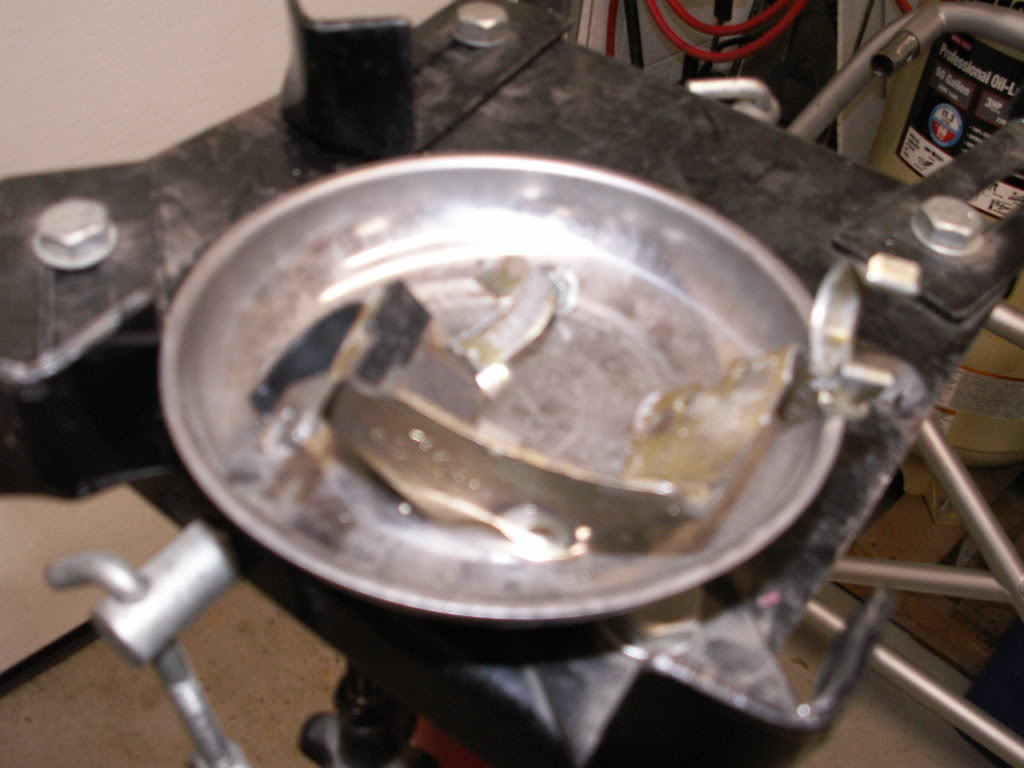
Here's why those bags come in handy...
Sometime even though you do as you're supposed to and PUMP the pedal 25 times BEFORE loosening the accumulator, you CAN get significant spray from the system when you loosen it up. Pentosin is extremely bad on rubber. It'll eat those nice water lines you're trying hard to protect by zip tying out of the way. Usding that freezer bag works very well in keeping that stuff OFF the car/lines/components.
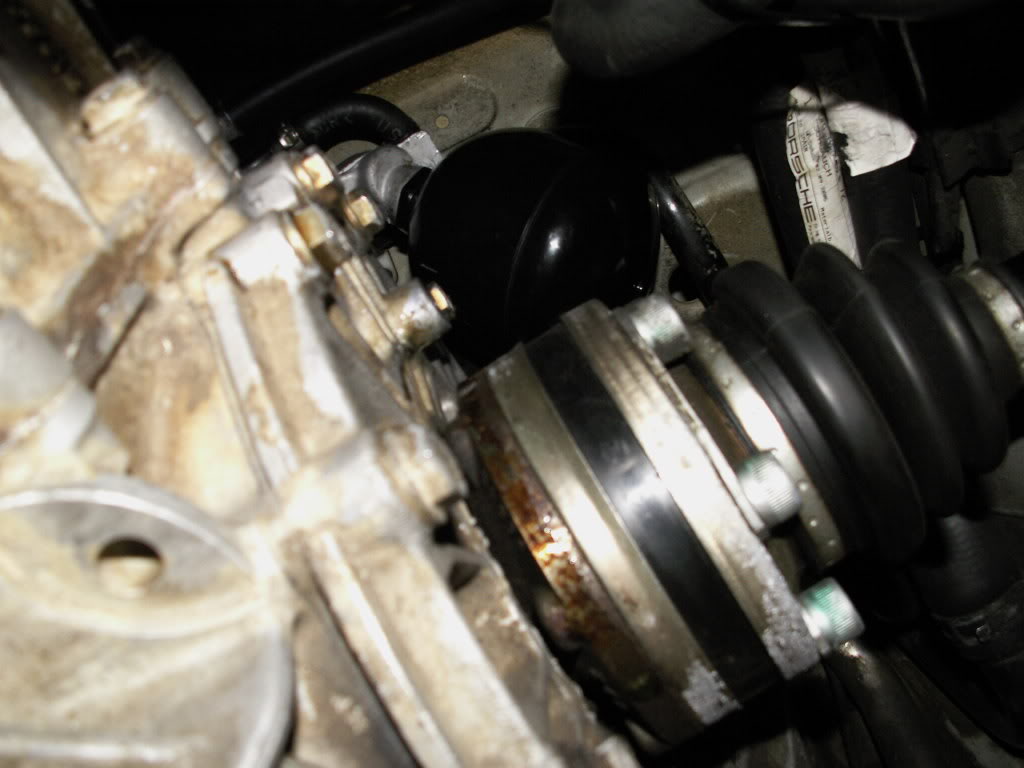
Below is the minimal amount of fluid that dripped out, and that was after the accumulator was removed...
Slave exposed after unit is removed:
Here's why those bags come in handy...
Sometime even though you do as you're supposed to and PUMP the pedal 25 times BEFORE loosening the accumulator, you CAN get significant spray from the system when you loosen it up. Pentosin is extremely bad on rubber. It'll eat those nice water lines you're trying hard to protect by zip tying out of the way. Usding that freezer bag works very well in keeping that stuff OFF the car/lines/components.
Below is the minimal amount of fluid that dripped out, and that was after the accumulator was removed...
Slave exposed after unit is removed:
Last edited by GT3 Chuck; 11-29-2010 at 08:58 PM.
#4
04-11-2009, 12:44 PM
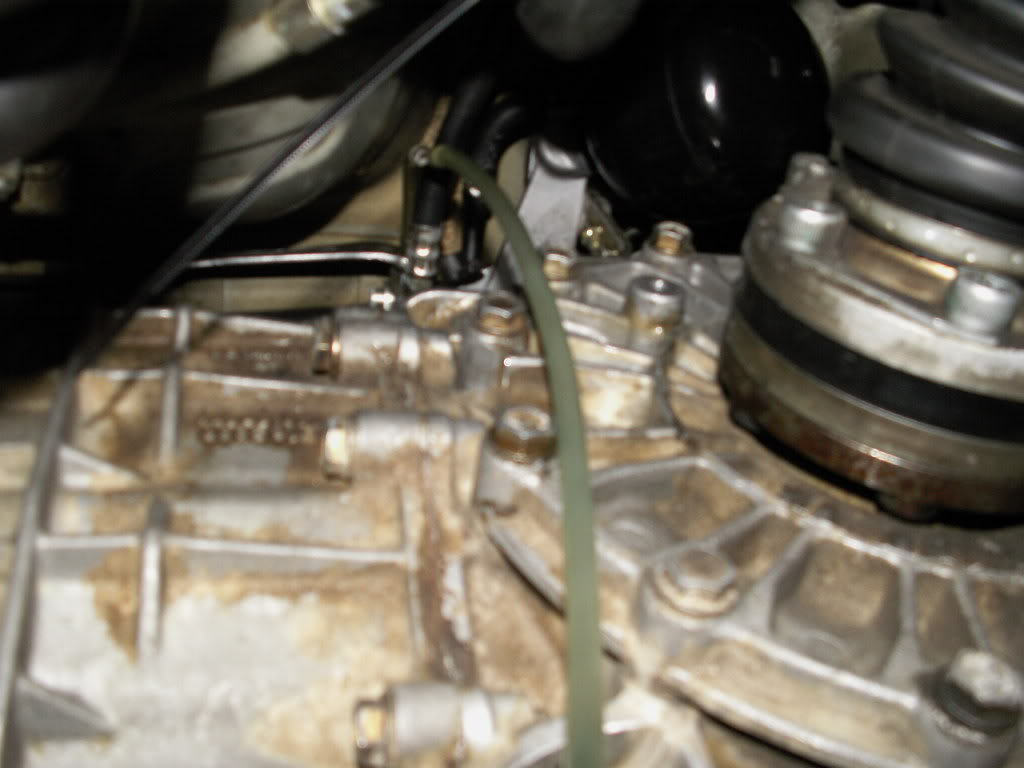
-Wipe up the drippings from the pentosin, and instal the new Accumulator:
Make darned sure you have it tight enough! If you aren't, get a cheater bar (steel stock, pipe, whatever) and make sure to get that last 1/8th of a turn on it to tighten it... Mine backed out at the track, which is why I'm redoing it in this DIY!!!
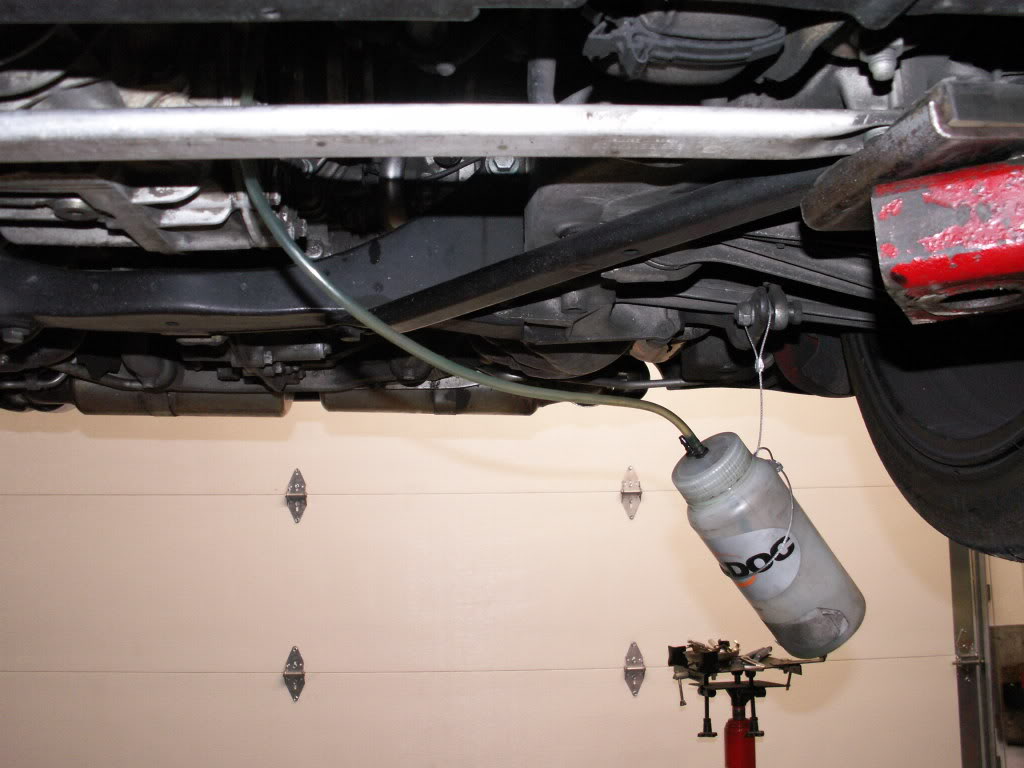
Now attach the catch bottle to the bleeder on the slave:
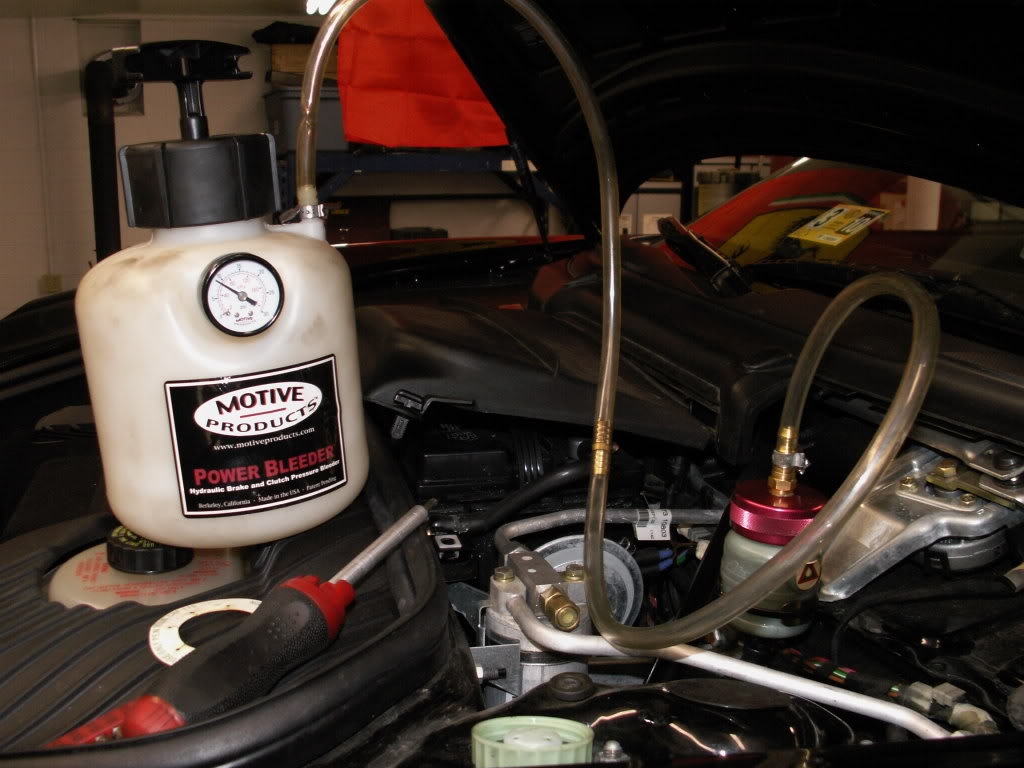
And attach your motiv bleeder to the reservoir, and pump it to no more than 10PSI:
Make darned sure you have it tight enough! If you aren't, get a cheater bar (steel stock, pipe, whatever) and make sure to get that last 1/8th of a turn on it to tighten it... Mine backed out at the track, which is why I'm redoing it in this DIY!!!
Now attach the catch bottle to the bleeder on the slave:
And attach your motiv bleeder to the reservoir, and pump it to no more than 10PSI:
Last edited by GT3 Chuck; 11-29-2010 at 08:59 PM.
#5
04-11-2009, 12:59 PM
-When you crack the bleeder, be mindful of the fact that you have a small amount of fluid that is held in the system. I count to 20 slowly, then tighten the bleeder and check the level in the reservoir. Do NOT let the system run dry or you will NOT be happy... Top off, and repeat the bleed process after pumping the Motiv again to no more than 10PSI!
Once done, no more bubbles showing in the catch can, tighten up the bleeder, put the cap on the bleeder valve, and cut the zip ties... Reinstall the bracket that hold the water lines in place, and install the water lines in the bracket.
Now, start the car and let it idle for 25 seconds. Shut if off and check the level of the fluid in the power steering reservoir. Top off if needed.
Lower the car and you, my friend are done.
This job took my less than an hour, because I've done at least 5 of them... You will probably take about 2 hours your first time, but you'll have the satesfaction of knowing you did it right... if you didn't you'll be able to look the mechanic in the eyes (*in the mirror) and give him what-fer!
Mike
Last edited by GT3 Chuck; 11-29-2010 at 09:00 PM.
Trending Topics
#11
04-11-2009, 03:17 PM
mikelly,
did you also change the master cylinder? How do you know that it has gone bad? Would you also have leakage of fluid in the front resevoir if the master cylinder is bad or does the apply only to the clutch slave?
The reason i ask is that i have had problems with the slave/accumlator.
thanks
did you also change the master cylinder? How do you know that it has gone bad? Would you also have leakage of fluid in the front resevoir if the master cylinder is bad or does the apply only to the clutch slave?
The reason i ask is that i have had problems with the slave/accumlator.
thanks
#12
04-11-2009, 08:06 PM
Hey you are welcome IB and chuck... No really... All those who could have used this info... They can still find it on renntrack...
Last edited by Mikelly; 03-26-2010 at 07:47 PM.
#14
04-11-2009, 08:34 PM
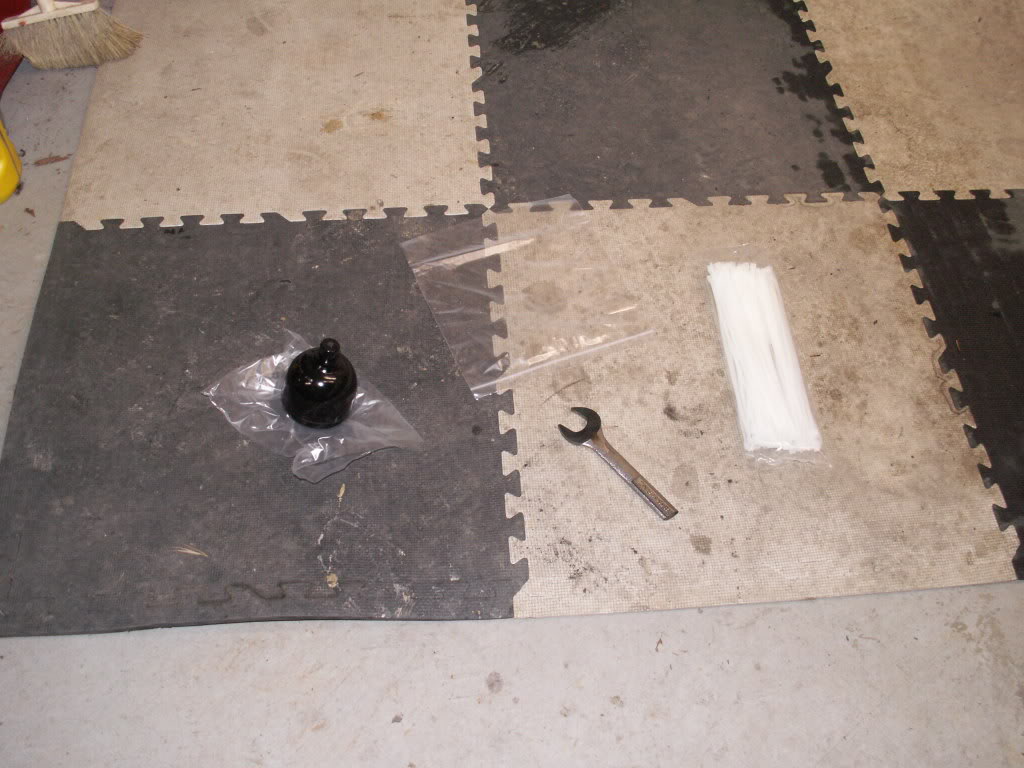
Nice write up. Ive recently installed a new one in mine and didnt know of the "bag" trick, but I wish I did. Even without it I still only had a few drips on the floor.
The custom wrench you have in the pic is the true key to this entire install. Once I figured out what I needed, it took longer to modify the wrench then it did for the entire install, but it was worth it for that last 1/8th of a turn.
The custom wrench you have in the pic is the true key to this entire install. Once I figured out what I needed, it took longer to modify the wrench then it did for the entire install, but it was worth it for that last 1/8th of a turn.
#15
04-11-2009, 09:01 PM
Mike,
THanks for the write up. I went out recently and replaced my slave and accumulator and had a tough time tightening up the accumulator. I had to purchase a new 27mm wrench, and I couldn't get it situated at all the tighten it. For one, it wouldn't fit in the space between the accumulator and the slave, and it was way too long to fit around the transmission. I used a strap type oil filter wrench to tighten as much as I could. After a bunch of bleeding knuckes (even with mechanics gloves on) I figure I have it tight enough. How tight are you making the accumulator? Do you think I should be worried?
THanks for the write up. I went out recently and replaced my slave and accumulator and had a tough time tightening up the accumulator. I had to purchase a new 27mm wrench, and I couldn't get it situated at all the tighten it. For one, it wouldn't fit in the space between the accumulator and the slave, and it was way too long to fit around the transmission. I used a strap type oil filter wrench to tighten as much as I could. After a bunch of bleeding knuckes (even with mechanics gloves on) I figure I have it tight enough. How tight are you making the accumulator? Do you think I should be worried?