When you click on links to various merchants on this site and make a purchase, this can result in this site earning a commission. Affiliate programs and affiliations include, but are not limited to, the eBay Partner Network.
I've been on an alcantara kick after picking up alcantara adaptives from another 6speeder. I've since changed the parking brake trim as well as the shifter.
I've been meaning to recover my lower dash with Alcantara for some time now but finally got around to it earlier today. Each piece I recovered was sourced from Ebay so I still have my factory leather covered pieces. I'll probably install these in the next week or two. End product worked out well although it was a bit tedious on the edges/curved parts. Still, much better than spending $750 (DCSW) or $975 (Ebay).
I used 1/2 yard of material so about $55 worth. Besides the fabric, the only other things needed were rubbing alcohol, 3M 90 adhesive spray, and some contact cement (plus an assortment of scissors).
I still have about 1/2 yard of material and will likely recover a couple additional pieces (some of the door trim, the black plastic piece that sits in the front console, maybe the armrest lid and chrono pod).
I'll share pics installed once I get these pieces in and perhaps some of the other ones done.
That's impressive. I've virtually had my interior completely changed out, for both leather and CF pieces, but at great cost. It felt very satisfying before reading how you handled the craft work yourself. That's so cool. Congratulations, that has to be very gratifying.
Thanks -- I was planning on going CF trim but it is so ungodly expensive for this platform. I absolutely love the "exclusive" leather trimmed options as well. I might still pick up some CF pieces in the future but for now, I need to slow down on the spending on this car .
I have enough material to do one more lower dash and was contemplating doing it and selling. However, it is time consuming so I've decided to stick to my day job instead!
It is actually quite simple..just a bit time consuming.
Supplies:
Alcantara fabric
Only buy authentic Alcantara if you don't want to worry about fading or other issues. Don't mess with microsuede or cheaper look-a-like products without understanding the risk.
There are 2 primary types of Alcantara -- panel ("pannel") or cover. Cover is thicker and meant for seats and what not. Don't buy it for recovering dash pieces as it has little to no stretch. You can also get perforated or non-perforated -- you only want non-perforated. Alcantara comes in 56" (w) rolls and you specify the length you want. 1 yard is enough for just about 2 full sets of lower dash trim if you don't waste.
There is only one distributor of genuine Alcantara in the US - Gulf Fabrics. Retailers order from them. You can also order direct but might find cheaper prices going through retailers (I did). I purchased from http://overland-designs.com/product-category/alcantara/.
Alcantara 9002 (Anthracite) is a common color selection but is a bit darker than the Alcantara you will find as OEM in Porsches. Alcantara 9052 (Dark Charcoal) is the best match and spot on with the factory Alcantara as used on the shifter boot, shifter, steering wheel, trim, etc. However, it appears a shade lighter than the headliner.
Parts to re-upholster
You can either remove your factory pieces or source used ones. For the glovebox, you only need to remove the outer lid which can be done by removing several small torx screws on the furry interior liner of the glovebox. If you have clearance issues simply unlatch the "shock" that suspends the door. Also remove the locking/latch mechanism. Next to the glovebox is a panel that simply pops off. And on the Driver's side, the lower "knee" piece can be removed by pulling out the ignition and headlight switch trim and removing several screws on the bottom of the panel. Carefully unplug harnesses. With the full piece out of the car, you can further disassemble very easily.
After removal, clean each thoroughly with 70% isopropyl (rubbing) alcohol or other solvent to remove dirt, grease, etc. from the surface. Repeat as needed.
Adhesives
All you need is 1 can of 3M Super 90 spray adhesive ($13-15) and 1 small container of contact cement ($5-$7). Both can be found locally at Lowe's/Home Depot or at a fabric/hobby store like Hobby Lobby or JoAnn's. You might also benefit from picking up some cheap disposable brushes (small) to "paint" the contact cement on edges of pieces. To help clamp around edges, I had an assortment of binder clips from work.
Cutting materials
A sharp pair of scissors for cutting big pieces of the material is helpful. A smaller, more precise set of scissors for trimming around edges is also recommended. Finally, a small razor blade or hole punch are useful.
Actual Process:
1. Find a clean workspace with plenty of flat open area. I used my outdoor patio table and put clear plastic sheeting and cardboard on top as excess glue might stick to it otherwise.
2. Lay out your piece of fabric and then place the trim to be recovered on it to try and measure how much to cut. Think about excess fabric needed to stretch to accommodate the contours of the trim piece. Cut the fabric and repeat the process for other trim pieces. Only caveat is that Alcantara has a "grain", so try and keep all panels oriented the same on the fabric so that when you brush it, up-down/left-right go will leave the same impression. You will understand when you get the fabric and run your hand or a soft brush against it.
3. With the fabric side down, spray both the panel to be recovered as well as the Alcantara backing with 3M Super 90. Strive for full/even coverage on the panel itself and go a bit lighter on the fabric backing. At this stage, just get the entire face of the panel and don't worry as much about the sides/back.
4. Working quickly, place the fabric on the panel and firmly press together, rolling your hands or similar across the entire face to get any air out. Within a minute or less the fabric will be very affixed to the panel. Be very mindful of how clean your hands are -- if you get adhesive on the fabric side of the Alcantara it will be very difficult to get out and may ruin the piece, requiring starting again at step 2.
5. Now, it is time to cover the sides/wrap around the back. Determine how much excess you actually need and trim the fabric. Starting at a corner, stretch the fabric to see if it creates wrinkles and how to reposition to avoid. Using either spray glue or brushed on contact cement, apply adhesive. If using contact cement, give it a couple minutes to really become tacky. With the adhesive ready, stretch the fabric over and pull in multiple directions to minimize/avoid any wrinkles. Continue doing this until you are done with the panel. Clamp as necessary/possible using the binder clips.
On the Driver's "knee" panel, you need to be mindful of the openings for the ignition and headlight switches. What I did was thoroughly spray glued and applied a single sheet of fabric over the entire face of the panel. The fabric should be taut over these openings. I then took a punch tool (you can just use a razor blade) and made small holes in the center of each opening and then made a series of cuts in the fabric to allow it to be pulled back into the openings. Same thing with screw holes on the back-bottom of the panel.
If you get a small amount of adhesive on the fabric portion, you can remove if you quickly dab with "Goof off" or "Goo gone" and pick at it with your fingernail.
The Alcantara is removable from your panel in the future. However, there will be a lot of adhesive on it which will be a PITA to clean up. Goo Gone is your friend. This might damage the underlying finish, I don't know. If you are nervous about this all and want to easily remove, you have a couple choices:
1. Buy spare pieces like I did. It doesn't matter if it is scratched or even a different color than your interior -- you are recovering it anyways!
2. Cover the portions to be recovered with 3M Masking Tape (Blue Painter's tape). Make sure there are no air bubbles in the tape. Then, apply the spray adhesive and fabric directly to the masking tape. This way if you need to remove in the future the adhesive mess will be on the tape rather than the panel. You will just need to clean up a bit of masking adhesive, which should be simple.
I can't provide commentary on advanced techniques like stitching pieces together, wrapping really difficult pieces (like the coat hooks on the B pillar), etc.
I will update this post with how-to pictures as I tackle some other odds/ends this weekend.
Nice write up. Are you going to remove your original lower dash and install your new alcantara dash yourself? That would make for a nice DYI with pictures.
Nice write up. Are you going to remove your original lower dash and install your new alcantara dash yourself? That would make for a nice DYI with pictures. Looking forward to seeing it altogether! Best of luck! Cheers
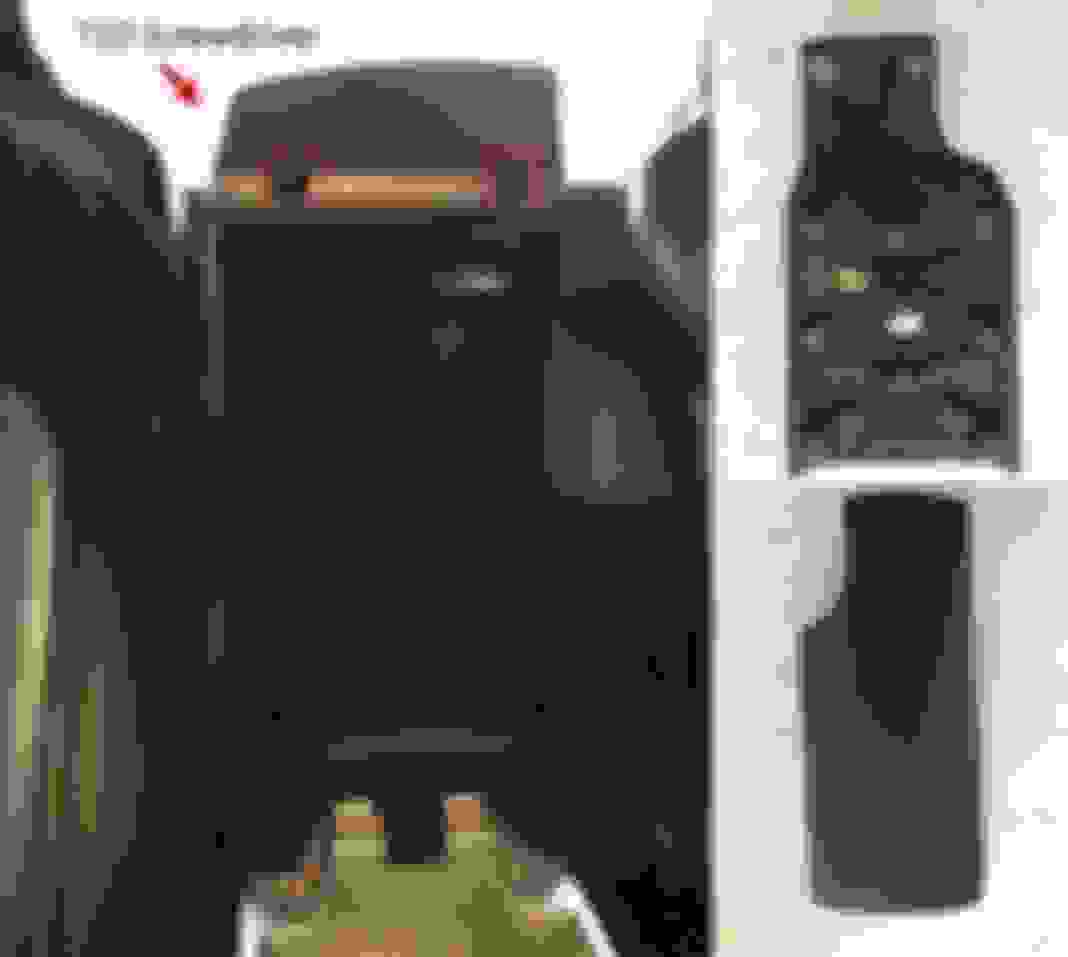
Been traveling a lot lately but had a couple hours of free time today so I decided to recover my rear console armrest as well as the black plastic trim piece that goes under the HVAC/PCM stack.
I sourced the trim piece from Ebay so I could preserve my original. However, I was recovering my OEM armrest lid.
First, I removed it by opening the lid up and unscrewing the 8 T10 screws. Then, to make it easy to revert back to the leather finish in the future, I coated it with masking tape, sprayed glue and used contact cement for the edges.
And, here is the finished product!
I'll post a more detailed DIY when I actually install the lower dash (may not be for another week or so...crazy travel now.
 12-06-2015, 10:00 PM


 .
.