Refinished climate control buttons
#1
 01-07-2012, 08:37 PM

Join Date: Oct 2010
Location: British Columbia, Canada
Posts: 17
Rep Power: 0 

Refinished climate control buttons
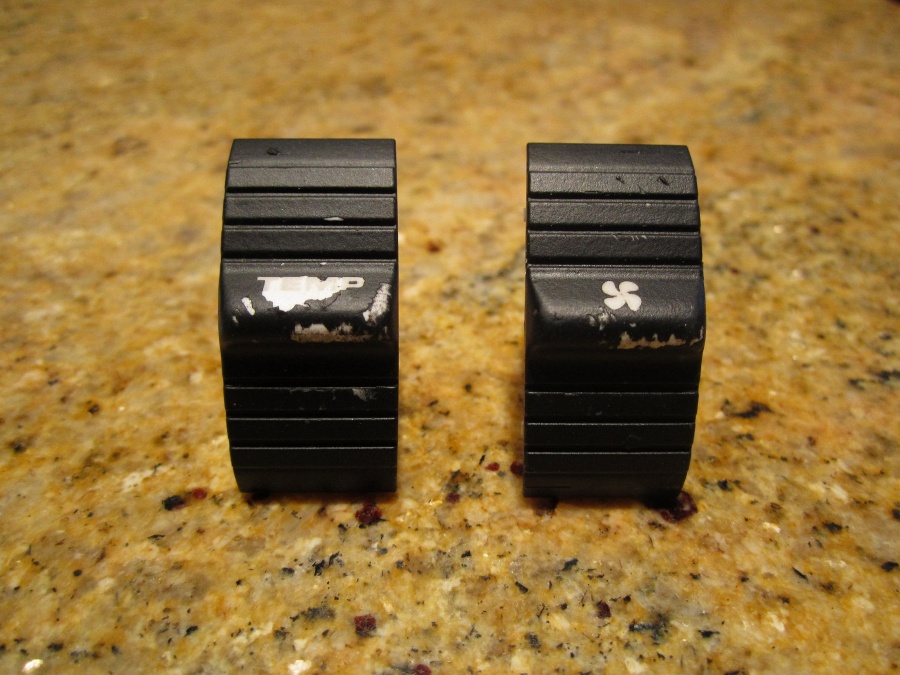
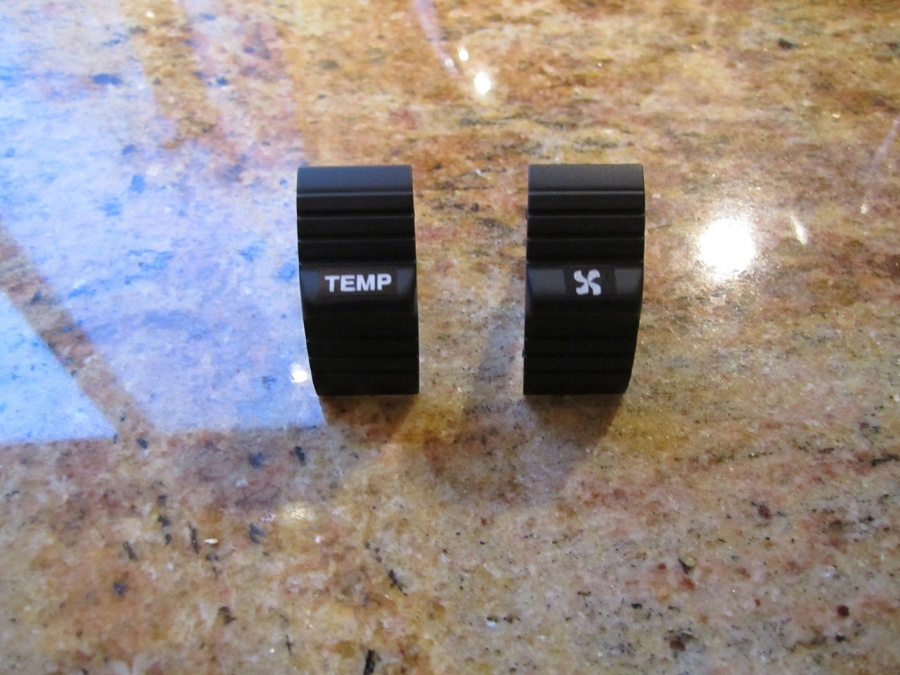
For those that had the flacking buttons, I had them refinished at stickynomore.com. They look great! The wording even lights up with the correct lighting color match. Here are some before and after pictures.
#6
01-07-2012, 08:55 PM
Join Date: Oct 2010
Location: British Columbia, Canada
Posts: 17
Rep Power: 0
I know...I discovered them from their forum. With this frequent problem I am surprised others have not gone this route. It was really quite easy. It must have taken me one hour top to do the job from start to finish.
#7
01-07-2012, 08:57 PM
Join Date: Oct 2010
Location: British Columbia, Canada
Posts: 17
Rep Power: 0
Very easy considering I am not the tinkering type.
Trending Topics
#9
01-07-2012, 09:47 PM
Join Date: Oct 2010
Location: British Columbia, Canada
Posts: 17
Rep Power: 0
The cost was $75 to have my old buttons refinished. They are not new.
Here are some directions:
1) Remove the side carpeted panel that is on the inside of the foot wells beside the PSM on both sides. There is one hex screw.
2) Once the carpeted panels are removed, you will see two hex screws attached to the side panels of the PCM......unscrew those.
3) Slide the the PCM side panels with a slight upward motion and pull towards you. The clip should give at the top.
4) On both sides of the exposed climate control, you will see an opening revealing metal clips. Press both at the same time and slide unit out or one trickis to do one side at the time slightly pulling it out then doing the other.
5) Unplug the black and red plug
6) Back of the climate control you will see 4 hex screw (size 6)....remove.
7) Pull apart exposing circuit board. Remove 9 screws.
8) Gently separate the rubber buttons from the front plate facing down.
9) While holding the plate facing down, reach underneath and push the LCD up very slowly. This is important. There are multiple layers that sit on top of each other that you don't want to loose order of. Carefully place the LCD in a safe place.
10) This is the tricky part. Each switch has two legs that have to be pried Away from each clip. I used small butterknife? You will need to manipulate the switches out. Trust me, they will come out.
I sent them out, got them back and installed.
Hope this helps!


#15
01-08-2012, 06:38 PM
Join Date: Oct 2010
Location: British Columbia, Canada
Posts: 17
Rep Power: 0
I hear you....the buttons were peeling when I got the car and it just started to slowly get worse over time.