When you click on links to various merchants on this site and make a purchase, this can result in this site earning a commission. Affiliate programs and affiliations include, but are not limited to, the eBay Partner Network.
Aston Martin DB9 Differential Fluid Change Instructions
Aston Martin DB9 Differential Fluid Change
Note: I know Aston Martin shop manual says the differential is a "filled for life" unit but maybe these pictures might change your mind. My car has 12955 miles on it and the fluid came out almost black. I have also heard that Aston Martin has changed their position on "filled for life" on the differential and is now recommending every 4 years or 40k miles. Since this is such a simple maintenance item I decided to change the fluid for peace of mind. Hopefully, this will inspire other owners to do the same. After all, parts for these cars are expensive!
Tools:
22mm socket – Fill Plug
14mm allen – Drain Plug
T27 Torx – Rear Transmission skid cover
Drive Ratchet
Fluid Pump – This will aid in filling the differential with gear oil.
New copper washers – For drain and fill plug
Fluid that I used: Mobil 75W90 LS – It’s very important you get the “LS” version as this contains the limited slip additive pack that is required for our cars.
Step 1: Raise the car. The car MUST be leveled in order to change the diff fluid so if you raise the rear make sure the front is raised the same amount. In other words the car should be horizontal.
Step 2: Use the T27 Torx and remove the rear skid cover.
Step 3: Position drain pan under differential housing. Now loosen the fill plug. Remember to always loosen the fill plug first just in case you cannot get the drain plug loose (some fluid will come out when loosen so don’t be alarmed).
Step 4: Remove the drain plug using a 14mm allen. The last genius that changed the diff fluid in my car over tighten my plug (had to use breaker bar)… lucky me!
Step 5: Let fluid drain until differential is empty. Now is a good time to clean the fill and drain plugs. It’s ok for the drain plug to have some metal shavings on it which is completely normal so make sure to clean this plug really well. I used simply green and hot soapy water.
Step 6: After all the fluid is drained now its time to insert the freshly cleaned drain plug and new copper washer and torque to 36.5 lb /ft.
Step 7: Pump the fresh fluid into the differential fill hole until fluid starts to “dribble” out. Once it starts to dribble out put in the fill plug and torque to 36.5 lb /ft.
Step 8: Degrease the bottom of the car as best you can and reinstall transmission skid cover. Torque these bolts to 15-22 lb/ft.
Step 9: Take car for a nice drive and have the satisfaction of knowing you saved some money by doing the work yourself.
Yea I was surprised how dirty it was as well. Seriously, this is such a easy maintenance item I bet my wife could do it! Shoot.. an oil change is more involved than a diff fluid change!
I changed my db9's gear box/differential fluid today.
Had to make multiple trips to auto parts store for small small things.
Could not find washers for both fill and drain plug, had to reuse the old one. Any one knows source and part numbers? I can order few ahead to stock up.
My 2009 DB9 has 19200 miles and fluid which came out was exactly what it looks in picture, black gooey stuff.
I plan to change this fluid again in 3-4 weeks it looked so dirty I even try to flush it with 1 lit of new fluid.
Good for you! This is a very easy maintenance item to do.
There is a little filter on the side of the diff too, make sure you clean that. That should clean most of the oil up. If you look at the picture where the fill plug is that white cap close to the camera is the filter.
There is a little filter on the side of the diff too, make sure you clean that. That should clean most of the oil up. If you look at the picture where the fill plug is that white cap close to the camera is the filter.
a fixer thanks for pointing that out. Unfortunately I missed that. fortunately I had planned to change oil again in few weeks (once I get new copper washer) so I will clean that filter at that time.
Is it ok to just stay it with brake parts cleaner or soak it in degreaser? Or does it need to be changed with new one every time? Or it needs to be replace with new one after so many # of diff. Oil changes?
I don't own an AM but all differential oil turns black within a few thousand miles. The color of the oil isn't a good indicator that it has broken down.
a fixer thanks for pointing that out. Unfortunately I missed that. fortunately I had planned to change oil again in few weeks (once I get new copper washer) so I will clean that filter at that time.
Is it ok to just stay it with brake parts cleaner or soak it in degreaser? Or does it need to be changed with new one every time? Or it needs to be replace with new one after so many # of diff. Oil changes?
Price of that filter is $ 131 at tampa AM dealer.
It's just a screen filter. Clean it out with some brake parts cleaner. Just remove the rubber o ring so u don't swell it up. That's it. No need to replace it. You can get the o ring separate too if u like. But I think it comes in a 10 pack.
I don't own an AM but all differential oil turns black within a few thousand miles. The color of the oil isn't a good indicator that it has broken down.
I changed differential oil on my 2006 BMW 750li at 64k miles for the first time and oil was clear yellow oranges not black. So I guess your theory of black oil not bad is not correct.
Just wanted to update this thread as I changed the fluid again. I did another differential fluid change on my car so I could inspect the filter that AMFixer was referring to. I found the only way to remove that filter was to remove the two bolts that hold on the exhaust pipe that runs along side of the transmission. This gave me just enough room to slide that filter out. Also, be sure to replace the o-ring on the filter and if you want to take it a step further, some three bond 1211 is a good sealant to add around mounting base to give you a second seal. I did not have anything stuck in my filter screen but if you do, definitely keep it eye on it as you may have some big repair bills coming...
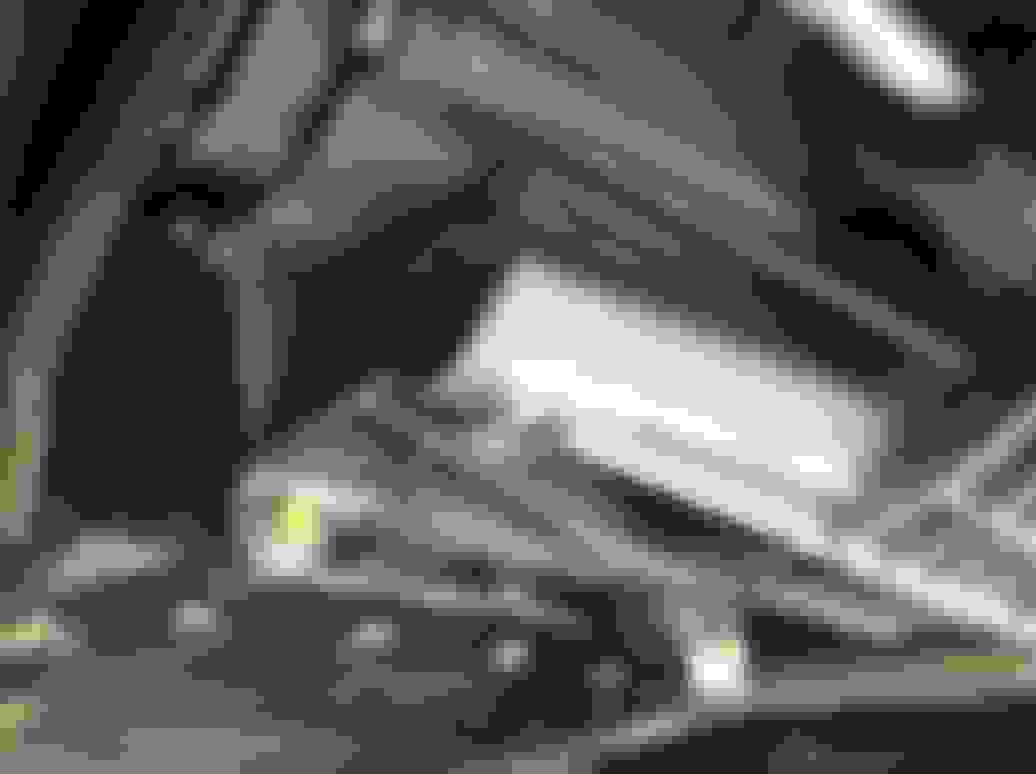
This is what it looks like with the filter pulled out. I had to remove two exhaust bolts in order to get enough room to slide the filter out. Its rather tight even with these bolts removed but very do-able. Just take your time and you will eventually get it out.
These are the exhaust bolts I had to remove.
This is what the filter looks like all cleaned up with a new seal and some threebond 1211 as an added measure.
Dan: Thanks very much for the instructions. My friend and I changed the oil on my 2005 DB9 and his 2009 differentials. In our cars, it was not necessary to remove or loosen the exhaust to get the filter out, but only unfasten the exhaust shield. We did this by removing the two bolts on top of the adjacent exhaust shield which allowed rotation of the shield to provide clearance for the filter to come out. They're easy to reach. A 10mm wrench does the job.
The filter itself is sealed with an "O" ring, so it may take a bit of gentle prying with a plastic tool or similar to get it out. Have a new "O" ready for the re-installation of the filter.
The drain plug uses a 14 mm hex wrench and the filler plug size was different with the earlier car using 20 mm and the later, 22 mm size socket. The filler and drain plugs use a solid copper gasket that can probably be re-used if in good shape, but best to change them.
For orientation, the picture of the differential is taken from inside the left rear wheel looking toward the right rear wheel.
Excellent additions and definitely helps clarify the process more.
I'm glad my post is still helping people maintain their cars. I have since sold my DB9 and went back to Porsche. Good luck with your cars! I hope to be back in a DBS someday.
 04-18-2013, 06:58 PM