Mississippi Paint Pro - Painting my RX7 - Going from the worst to the best
#16
 09-23-2014, 03:13 PM


Join Date: Sep 2013
Location: Starkville, MS
Posts: 53
Rep Power: 13 
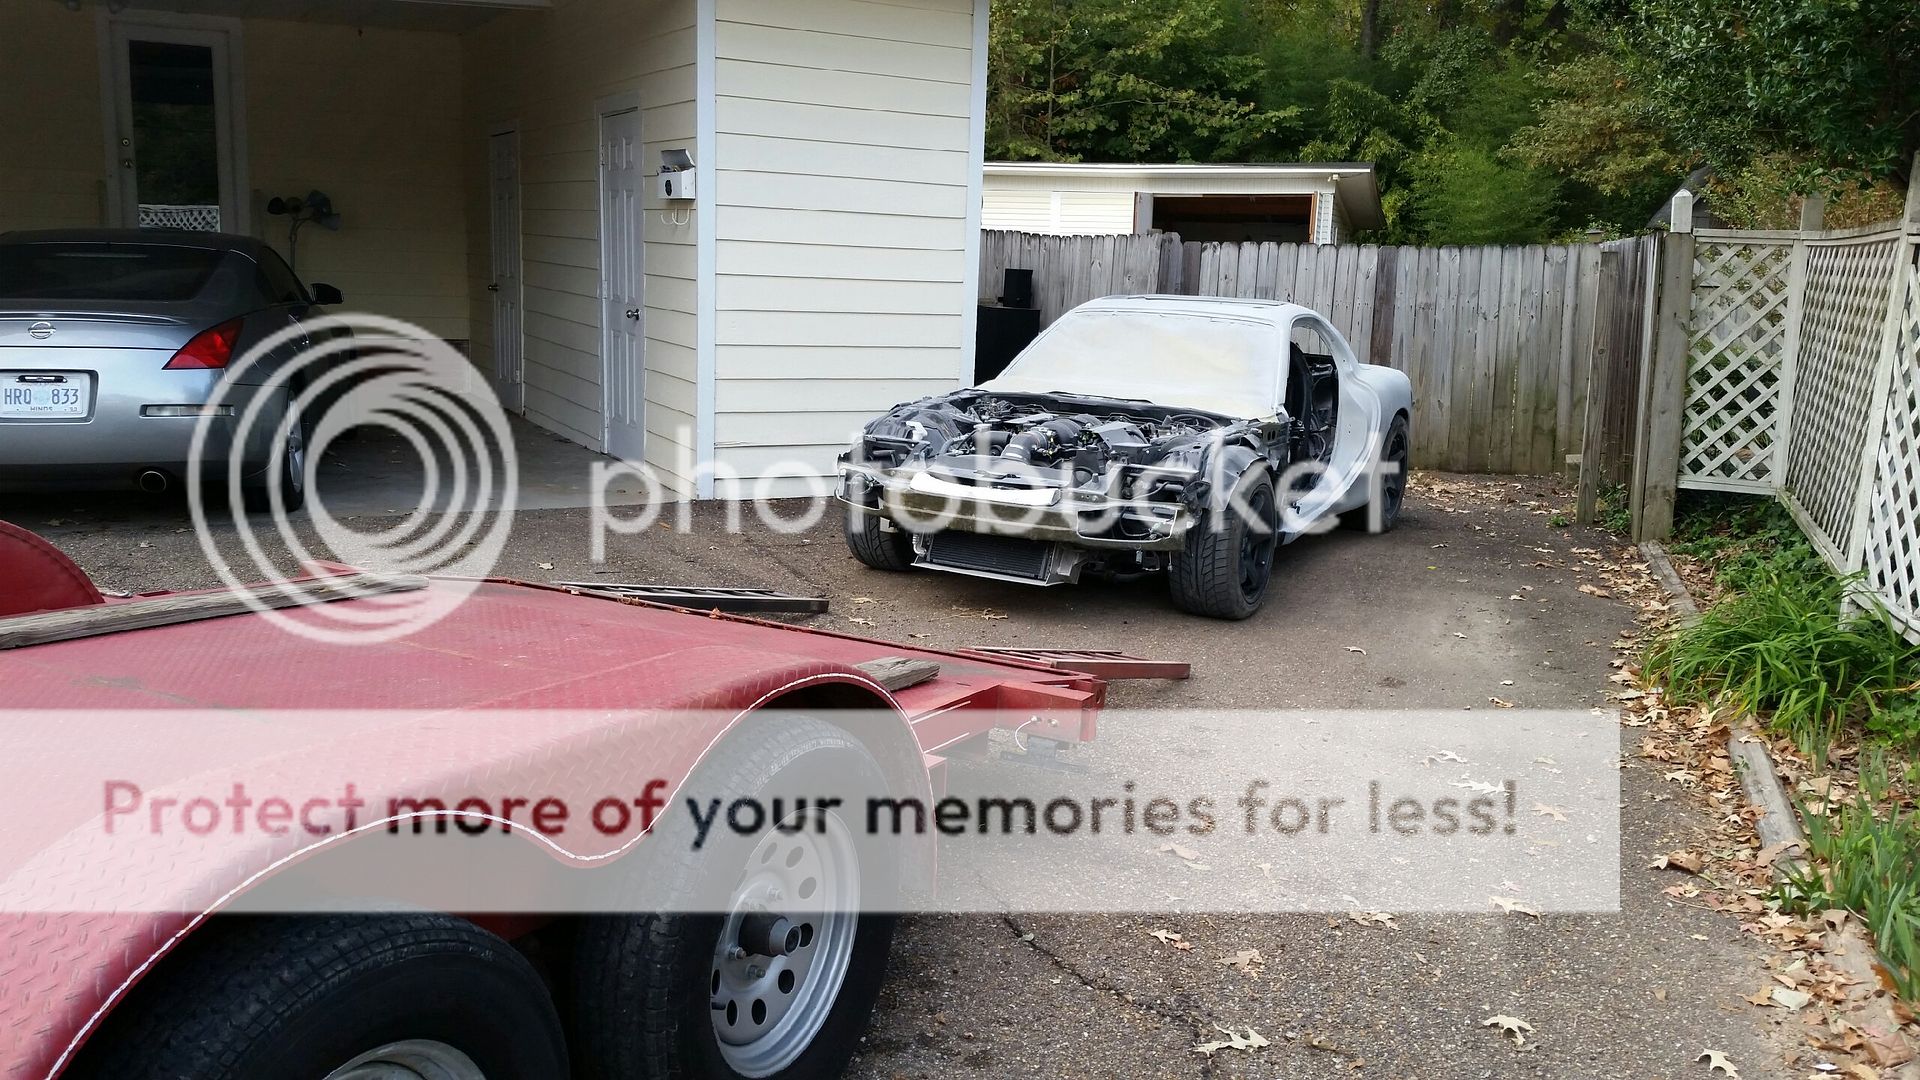
September 18, 2014, 08:36:17 AM
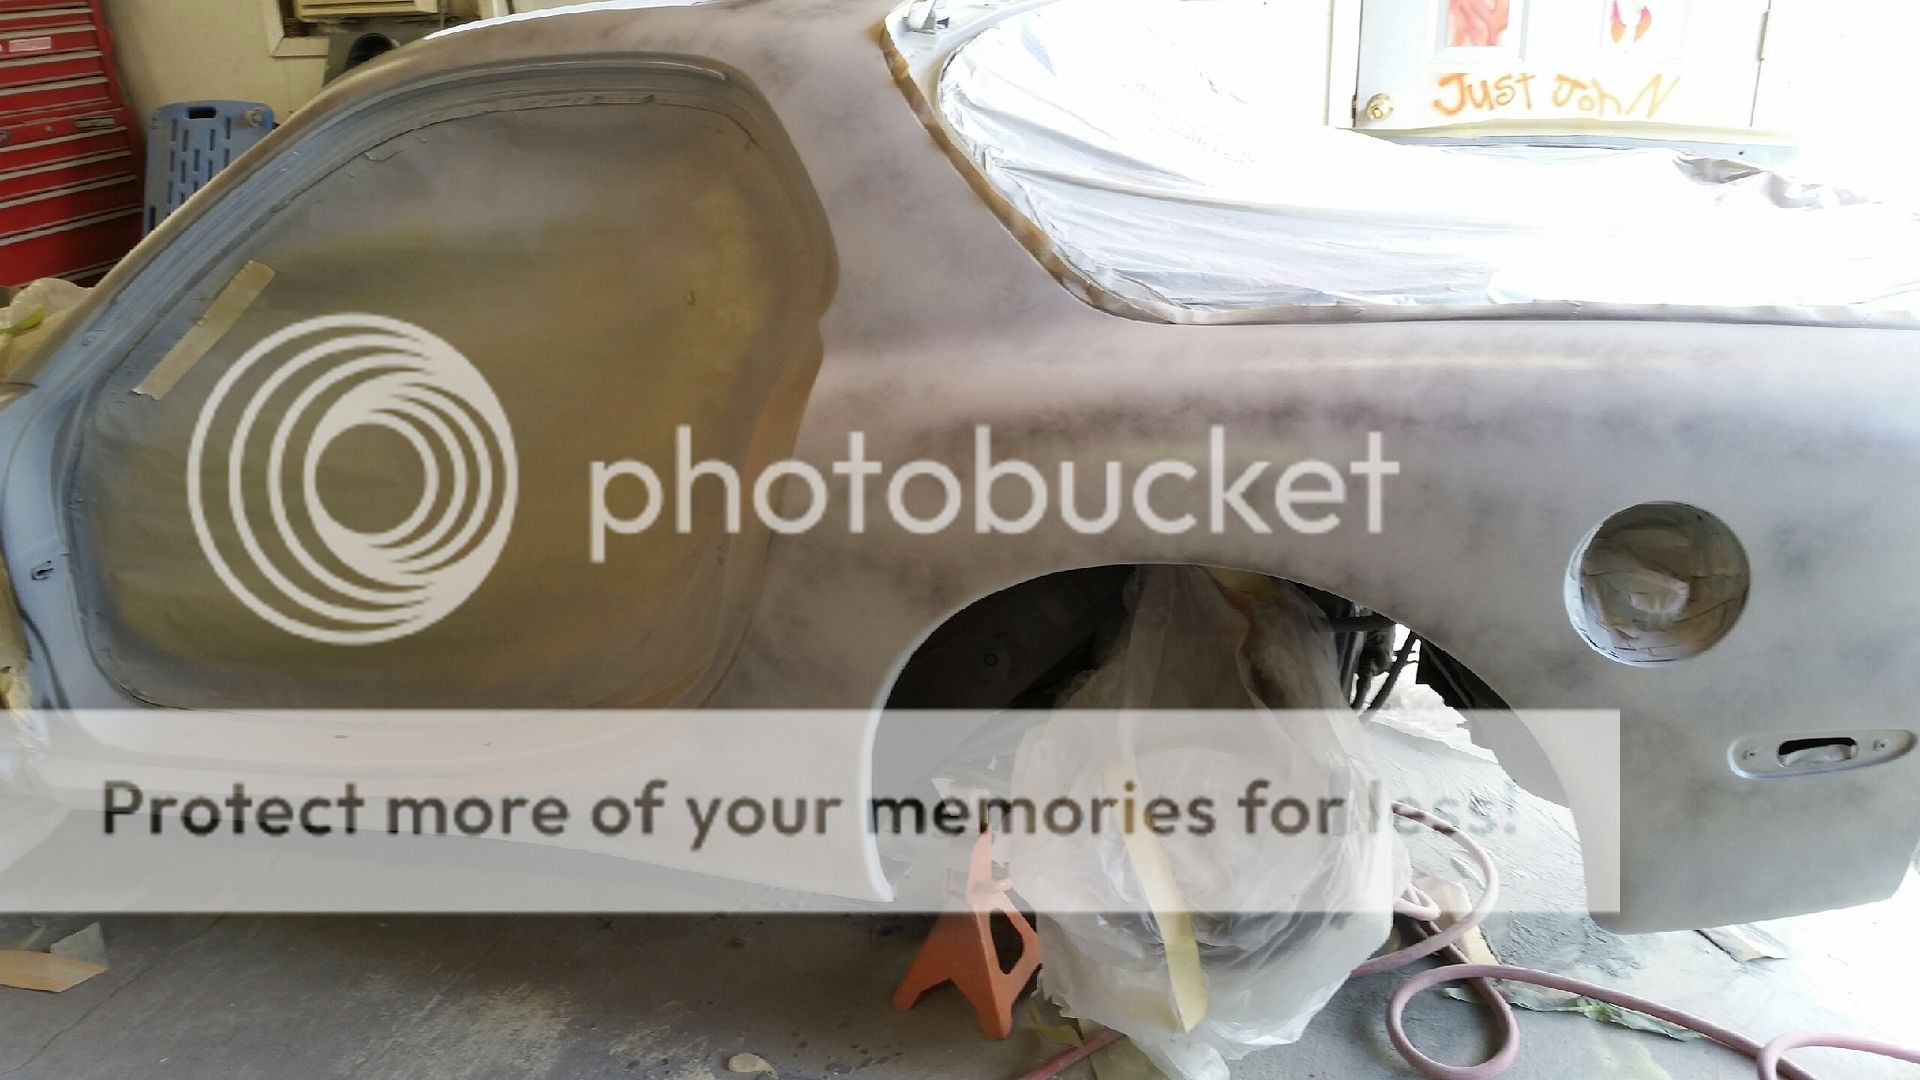
John is still going strong with the prep work
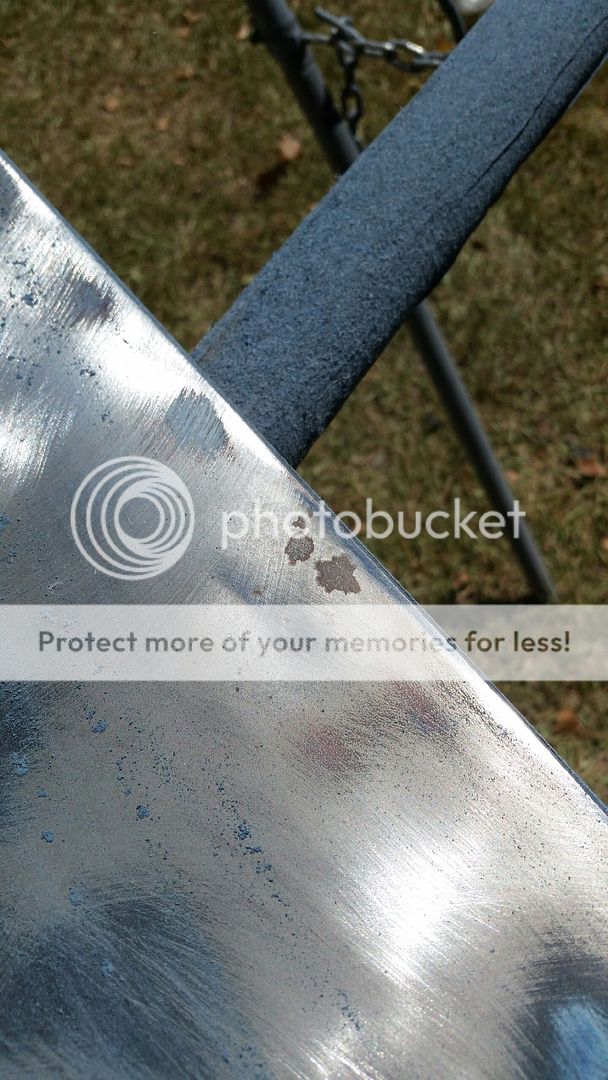
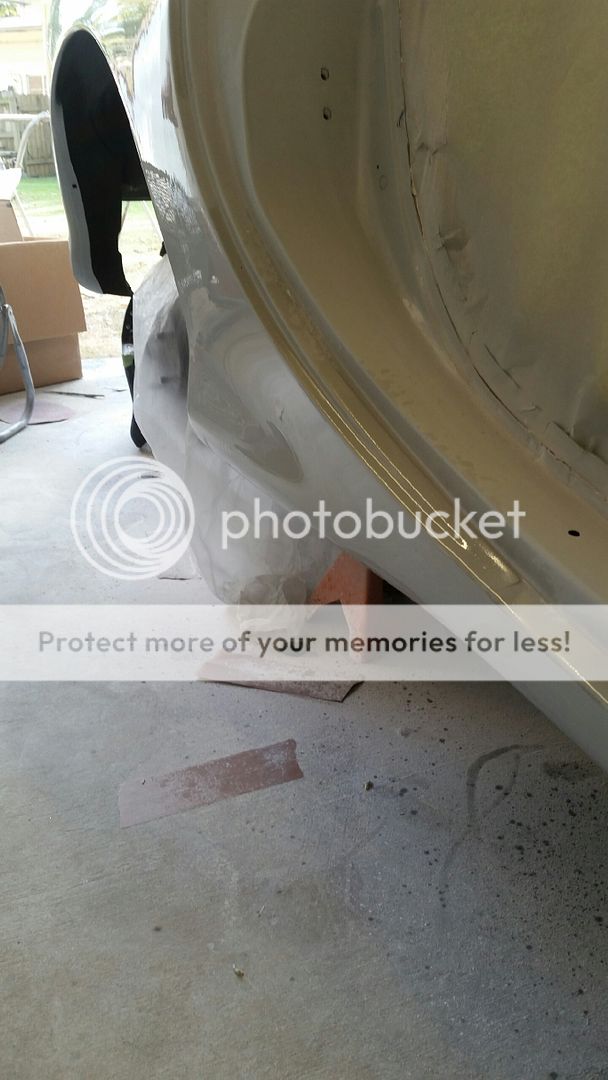
Starting out, he found a problem that honestly, I have overlooked up to this point. I believe this is the frontmost lip of the driver's side rear wheel well.
It's not an area that I rolled, but for some reason it was beat up.... Not for long though
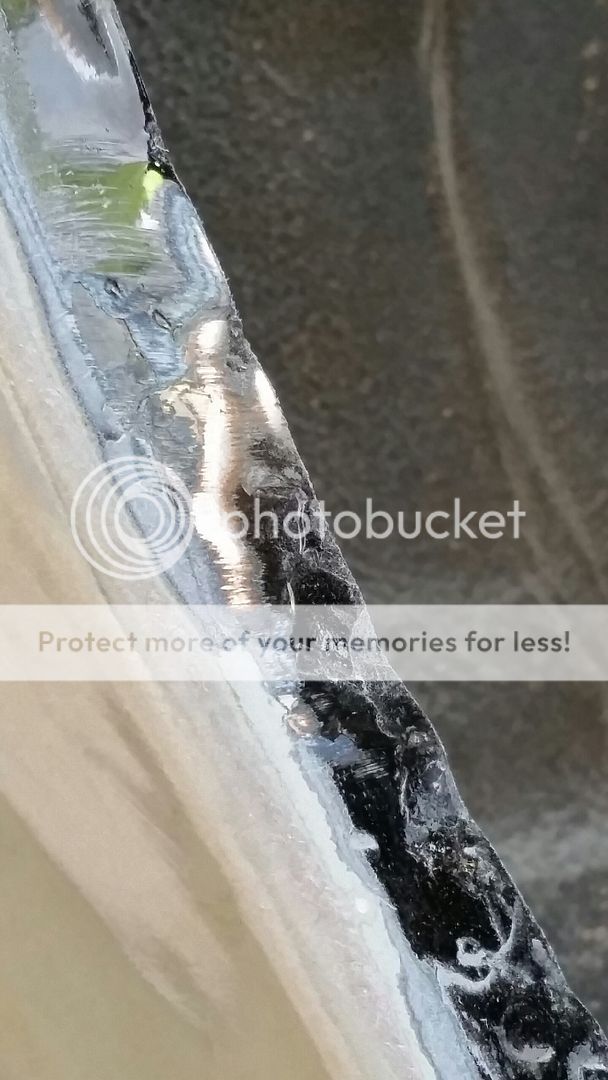
This kind of attention to detail is what sets John apart from other painters and he just keeps doing it over and over I get really excited to see things like this get fixed because it's just like the panel gaps. It's very small stuff like this that makes such a huge difference in the end result.
Oh yeah, John epoxy primed and laid down the guide coat on the main body!

-------------------
September 23, 2014 07:11:08 AM
Quick update from yesterday:
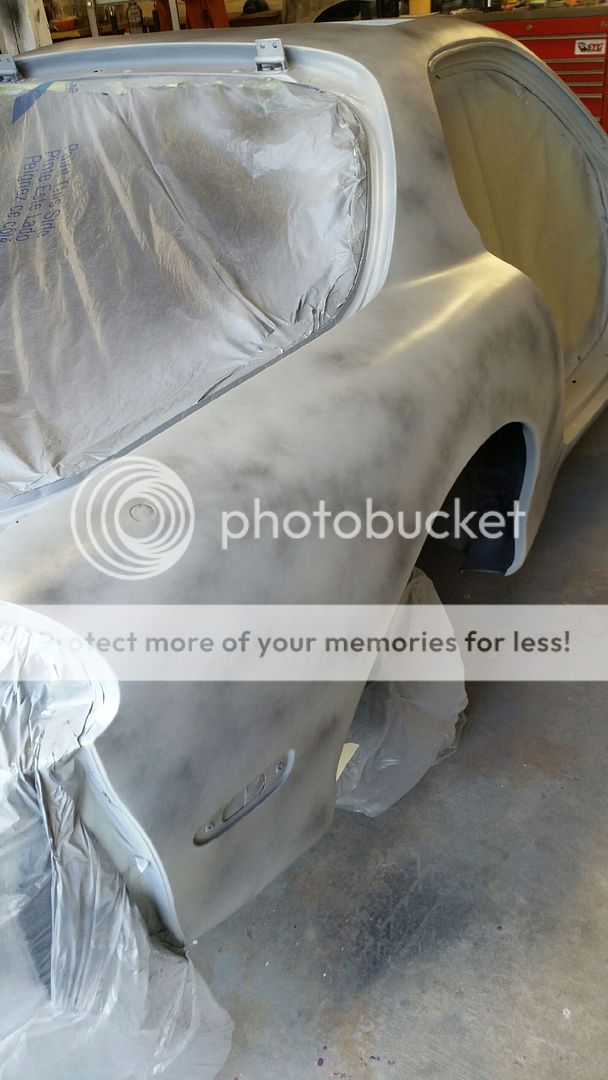
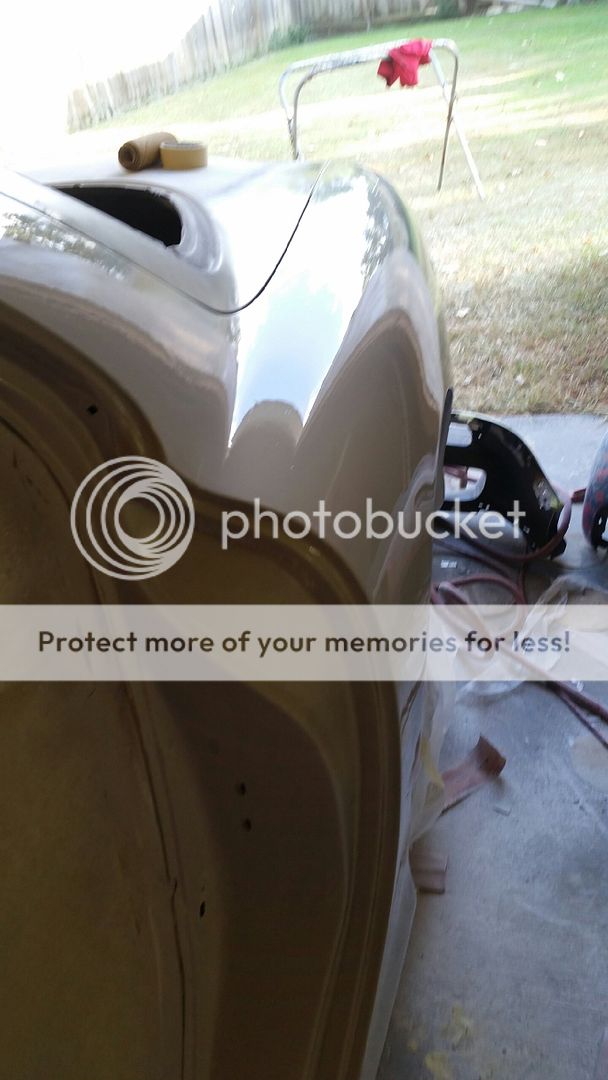
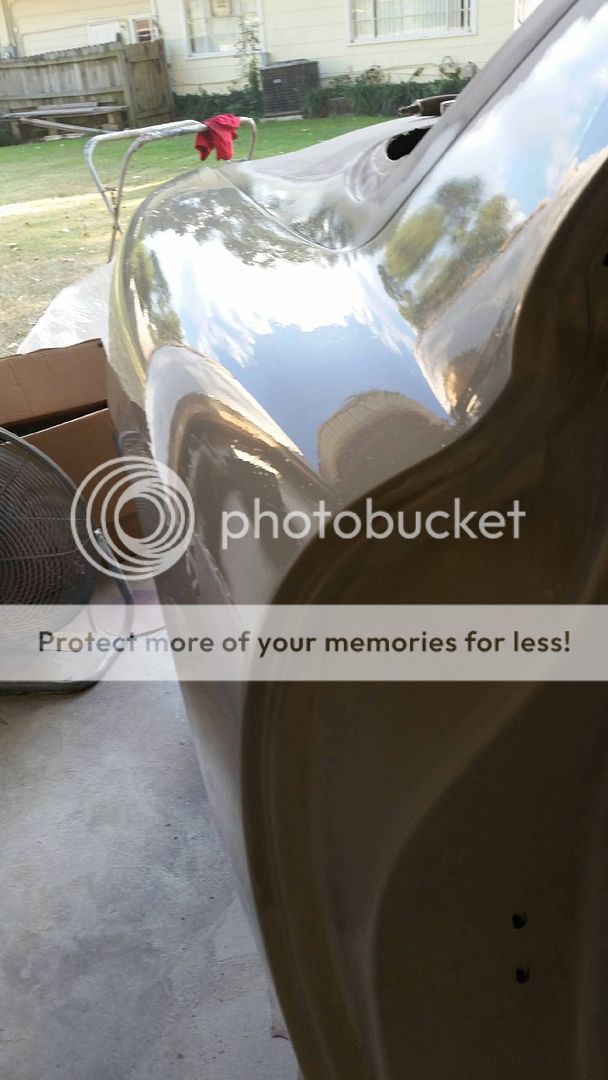
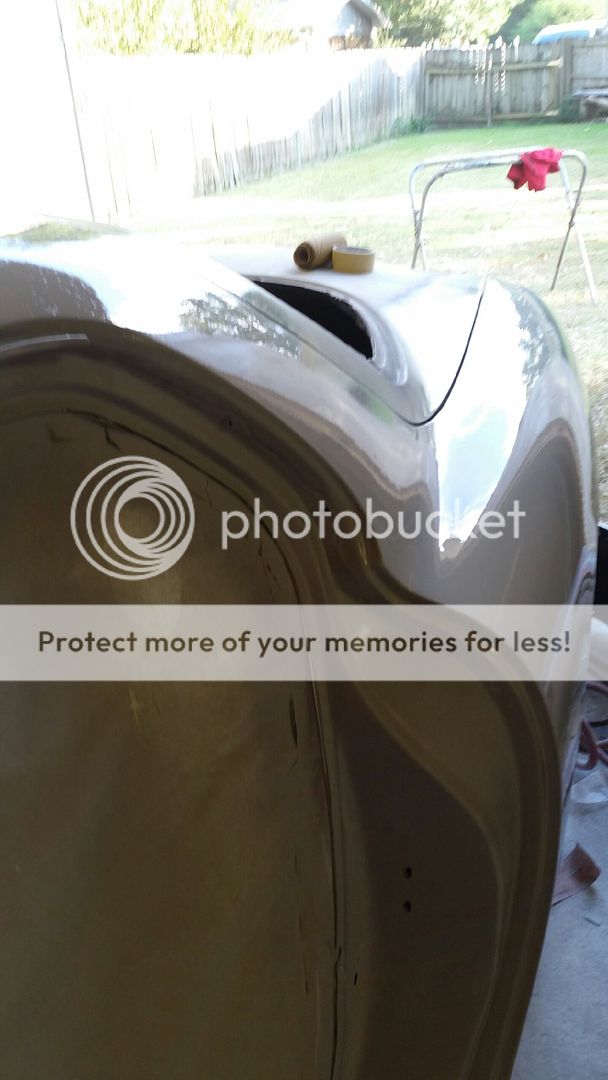
Body has been blocked:
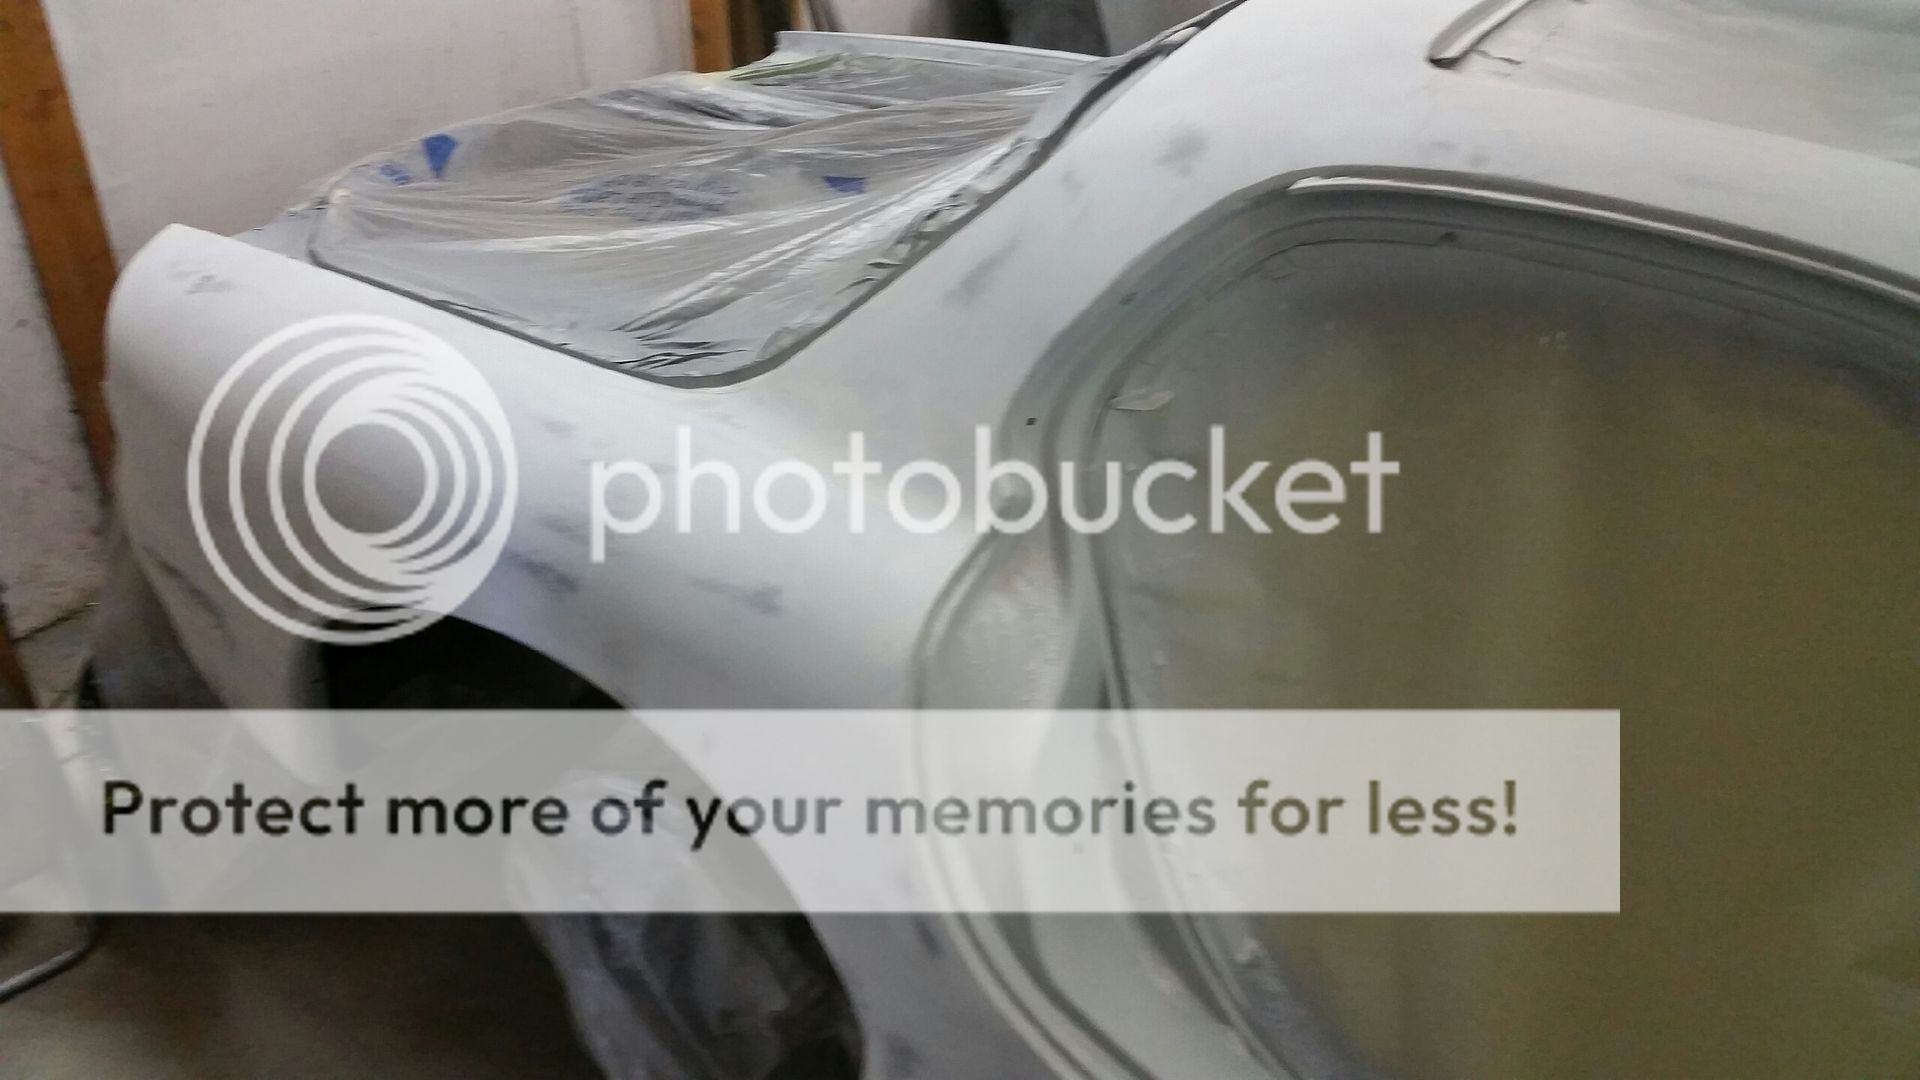
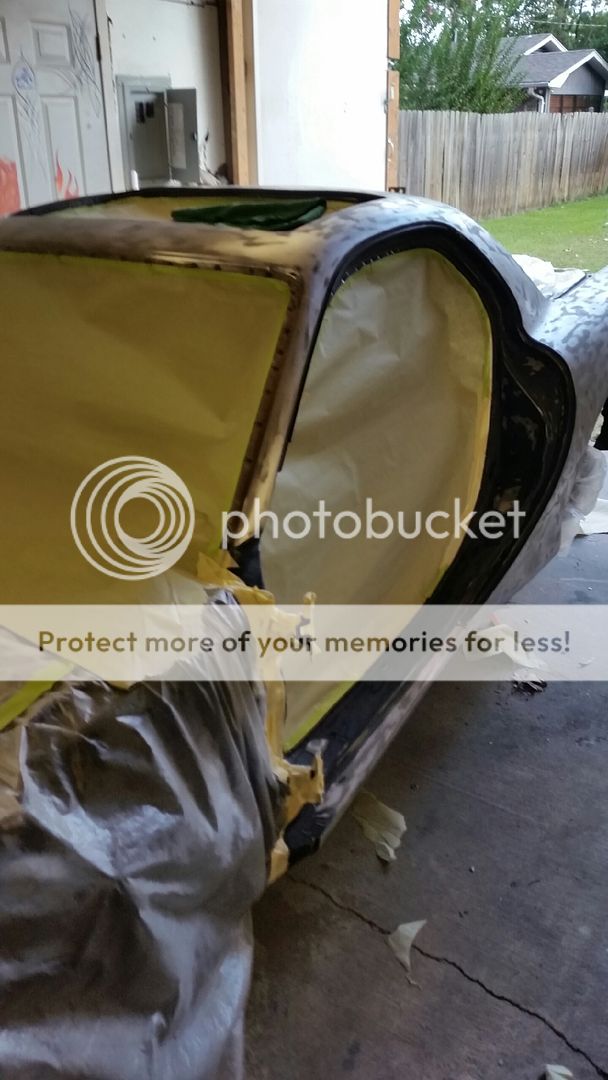
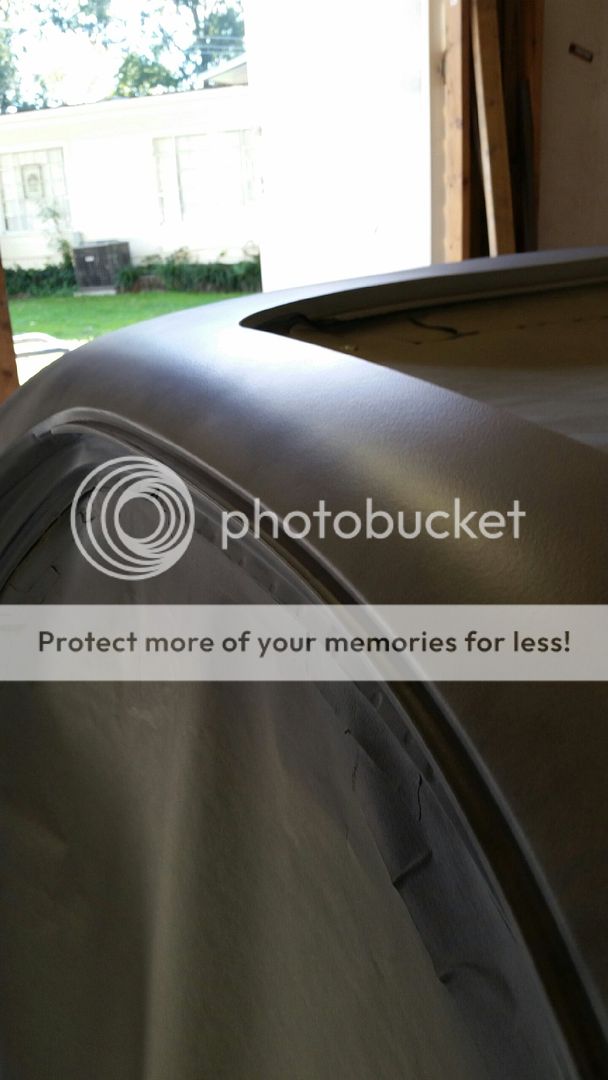
Stripped the sunroof
The image above made me do a double take as I thought the sunroof was aluminum. Apparently its not and I had a rust bubble coming up strong
John is still going strong with the prep work
Starting out, he found a problem that honestly, I have overlooked up to this point. I believe this is the frontmost lip of the driver's side rear wheel well.
It's not an area that I rolled, but for some reason it was beat up.... Not for long though
This kind of attention to detail is what sets John apart from other painters and he just keeps doing it over and over
I get really excited to see things like this get fixed because it's just like the panel gaps. It's very small stuff like this that makes such a huge difference in the end result.Oh yeah, John epoxy primed and laid down the guide coat on the main body!
-------------------
September 23, 2014 07:11:08 AM
Quick update from yesterday:
Body has been blocked:
Stripped the sunroof
The image above made me do a double take as I thought the sunroof was aluminum. Apparently its not and I had a rust bubble coming up strong
#17
09-23-2014, 03:14 PM
Join Date: Sep 2013
Location: Starkville, MS
Posts: 53
Rep Power: 13
Sorry for posting 150+ images on one page. It's a visual process haha!
I'll post more pics as John finishes up the car. I expect he'll probably be done in another month or so.
Lane
I'll post more pics as John finishes up the car. I expect he'll probably be done in another month or so.
Lane
#18
09-23-2014, 04:08 PM

I can attest to Hybrid10 ( aka John Arbuthnot) 's work , he's painted a couple race bikes for me and his attention to detail is second to none. I'd say it helps that he started as a body man that now paints rather than just someone who took up painting so he knows the job inside and out .
#19
09-24-2014, 06:32 AM
Join Date: Sep 2013
Location: Starkville, MS
Posts: 53
Rep Power: 13 I can attest to Hybrid10 ( aka John Arbuthnot) 's work , he's painted a couple race bikes for me and his attention to detail is second to none. I'd say it helps that he started as a body man that now paints rather than just someone who took up painting so he knows the job inside and out .
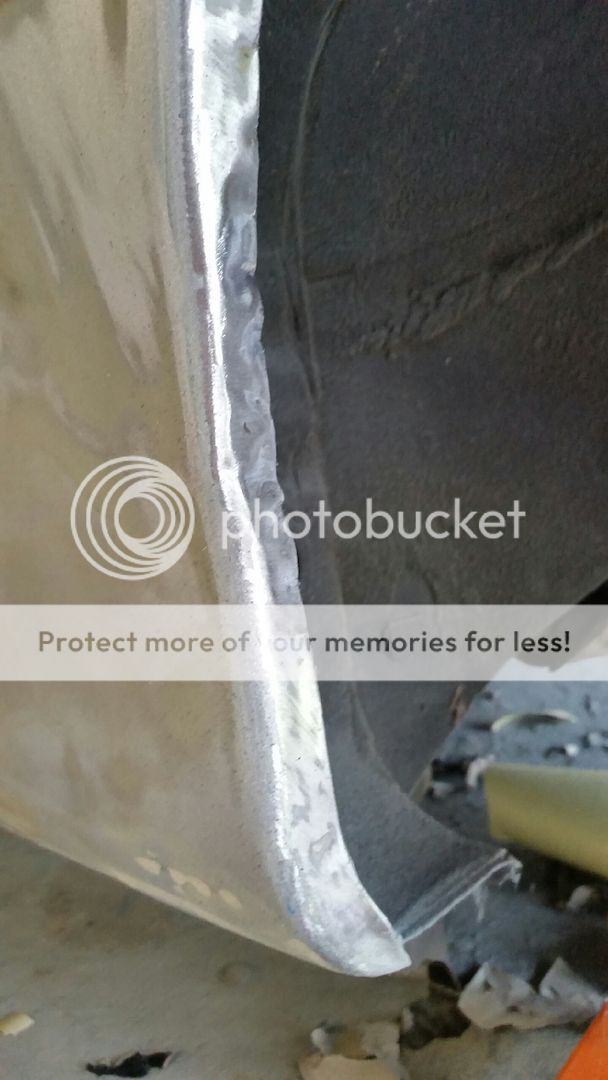
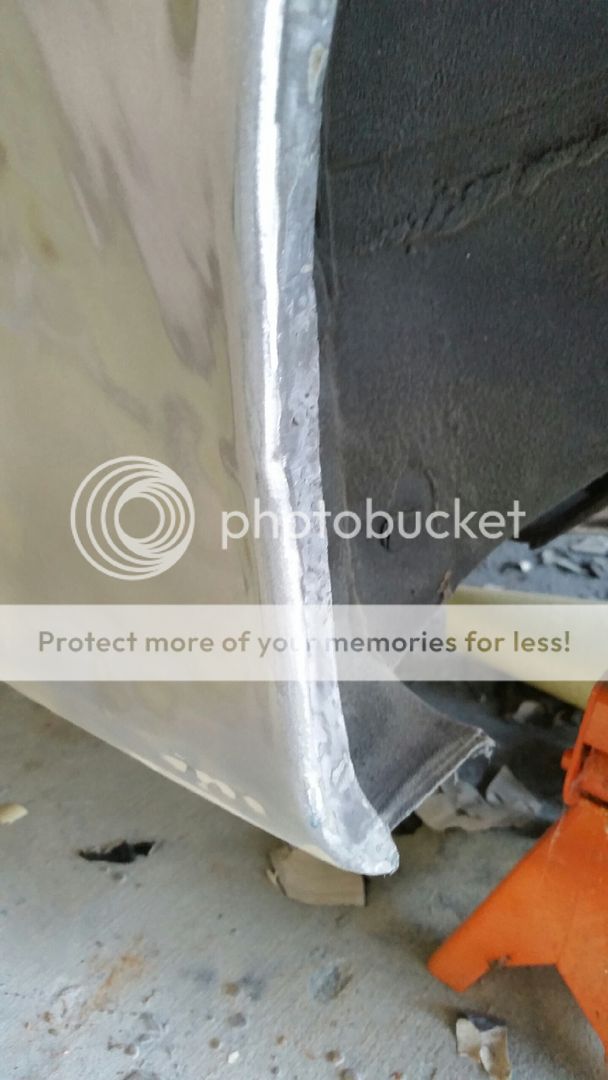
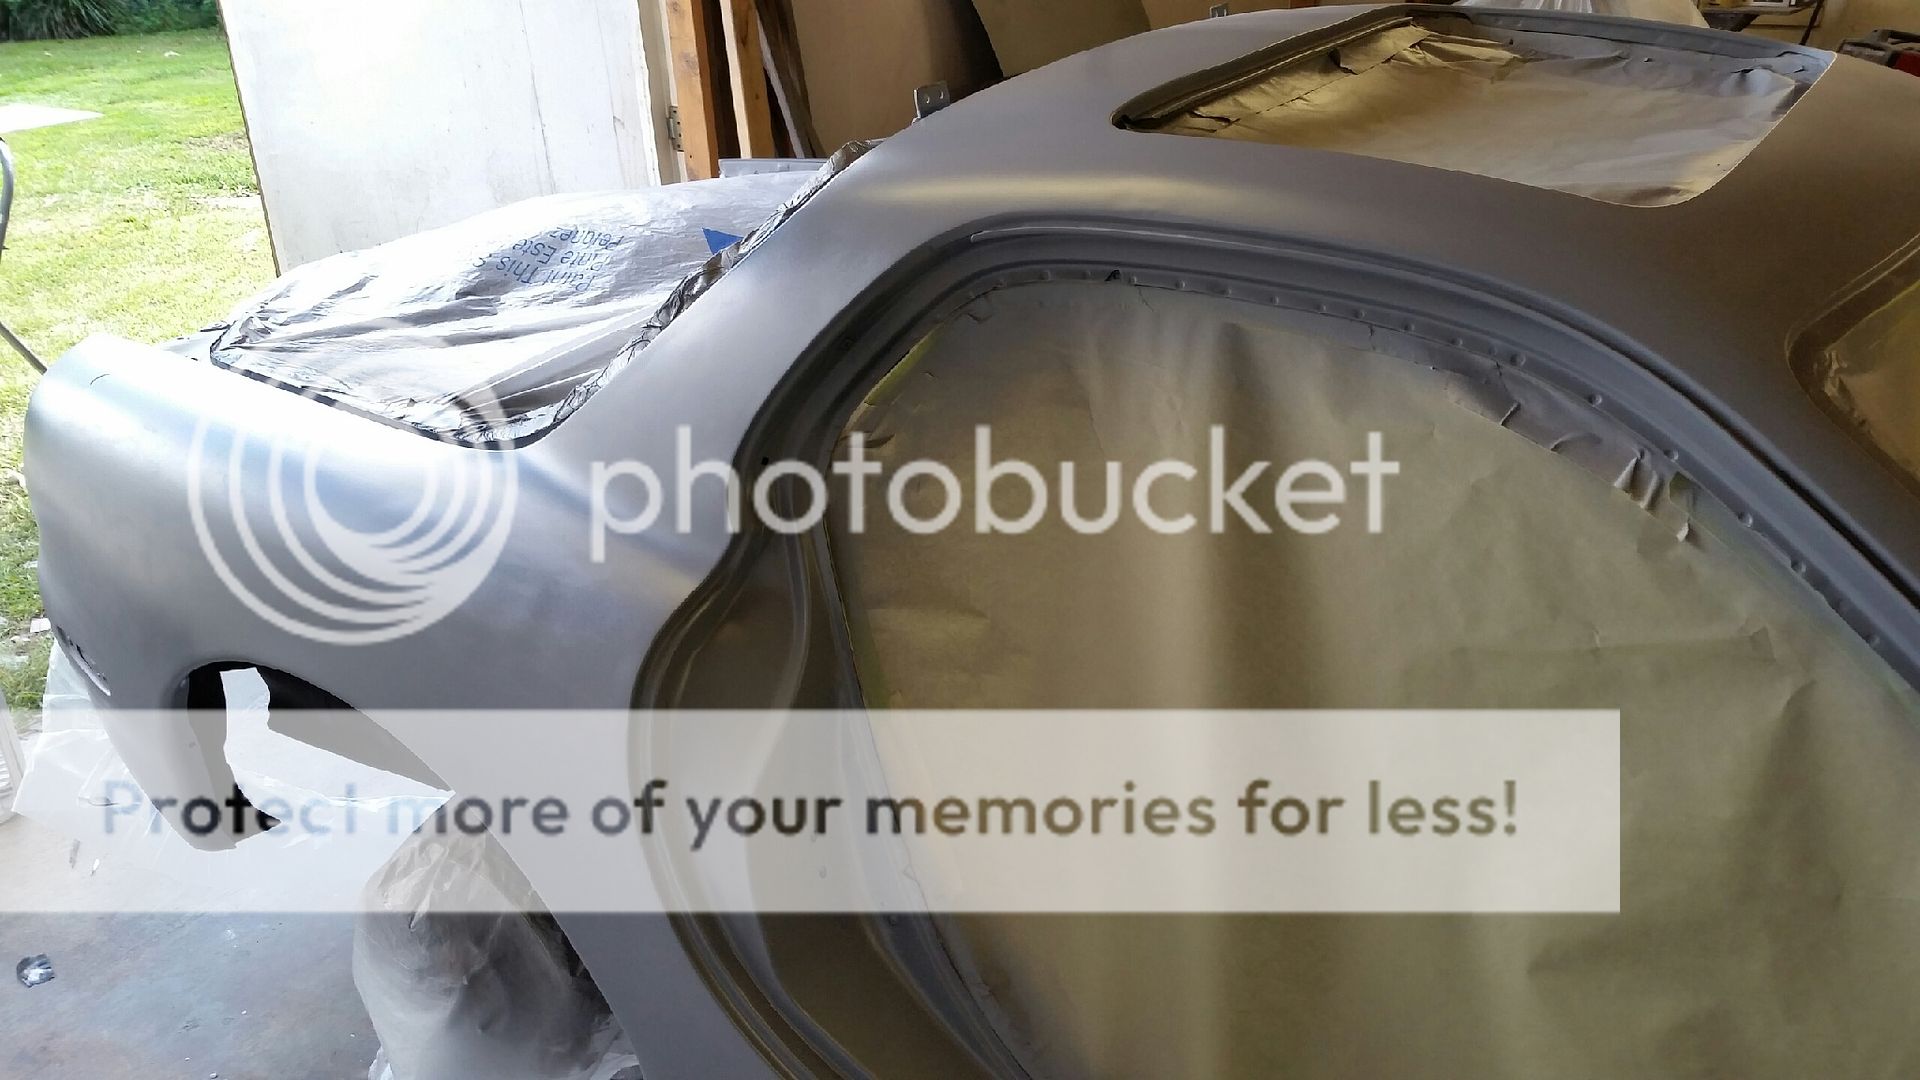
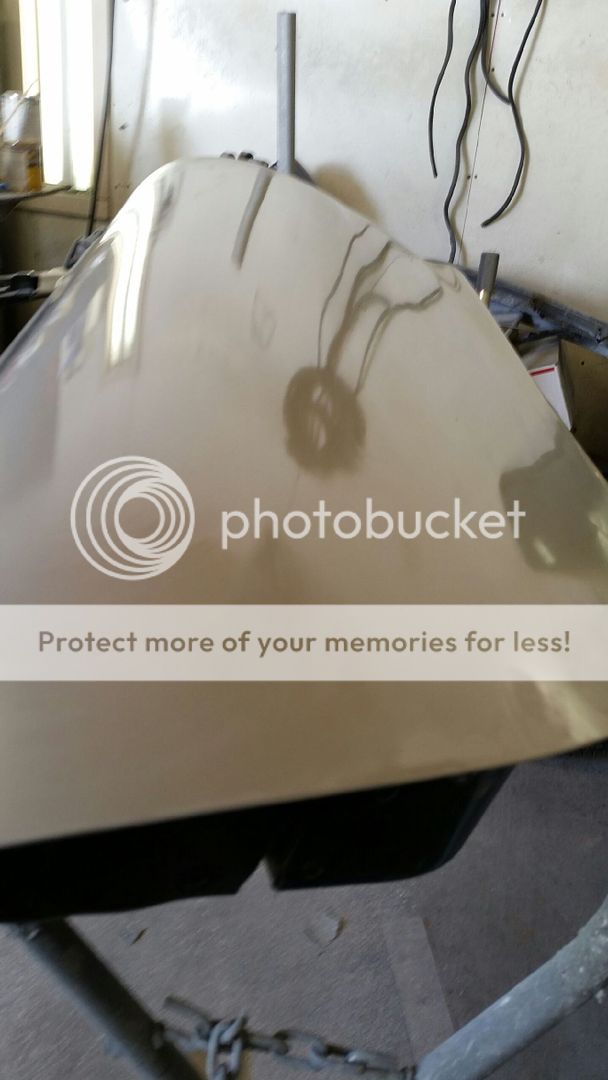
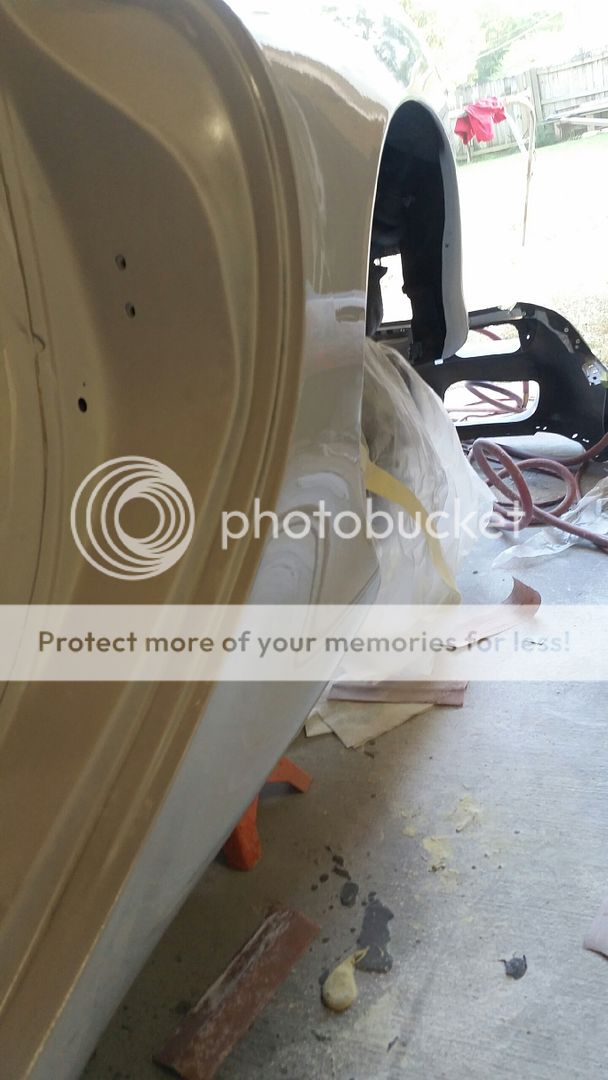
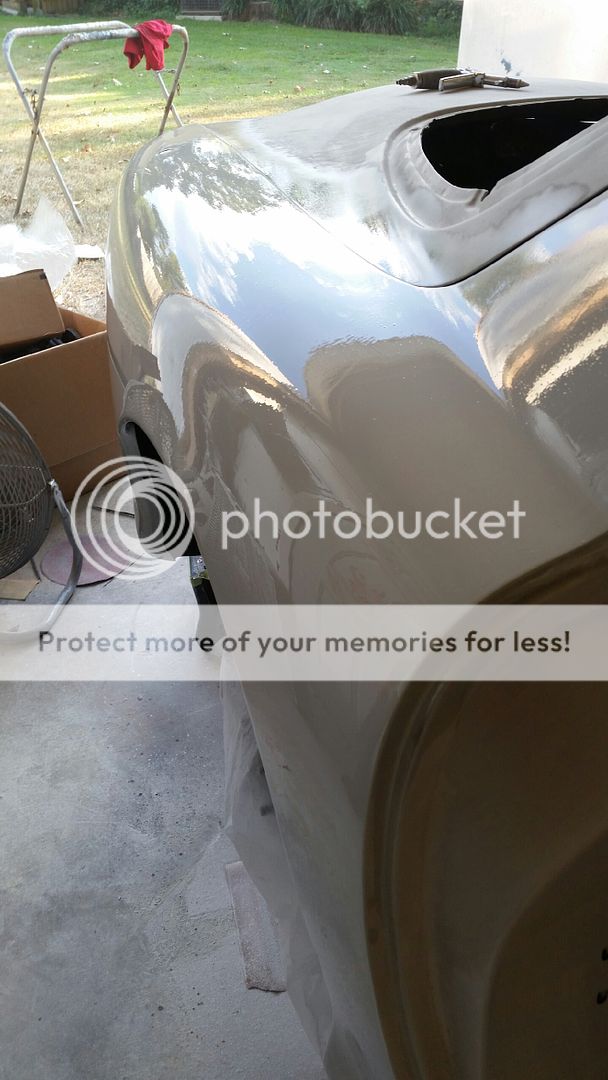
Slicking everything out:


Getting close to getting its final prime
Here's a shot of the completed repair to the frontmost lip of the driver's side rear wheel well from post 16
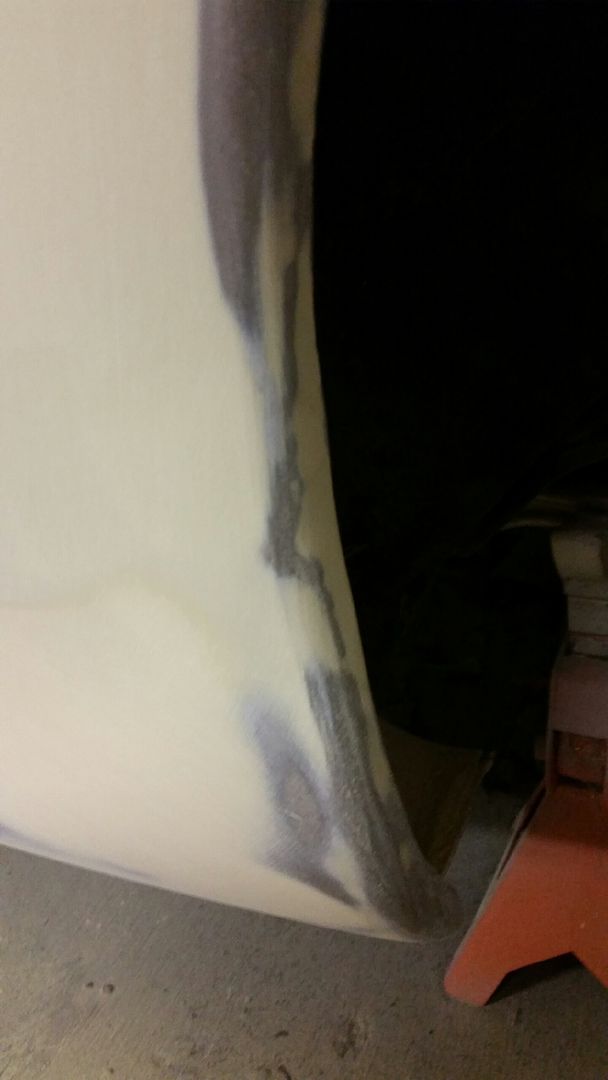
Lane
#20
09-25-2014, 07:03 AM
Join Date: Sep 2013
Location: Starkville, MS
Posts: 53
Rep Power: 13
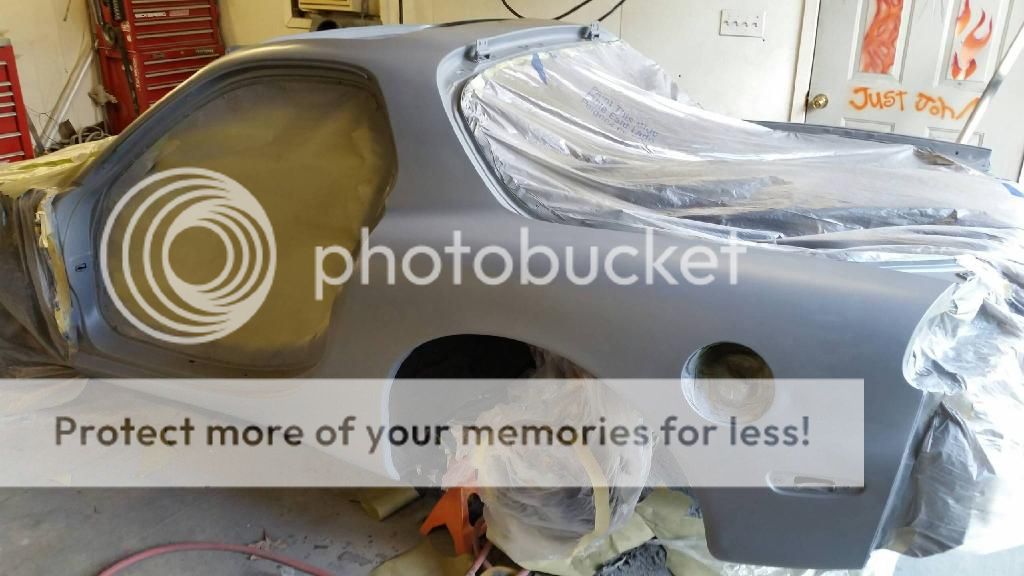
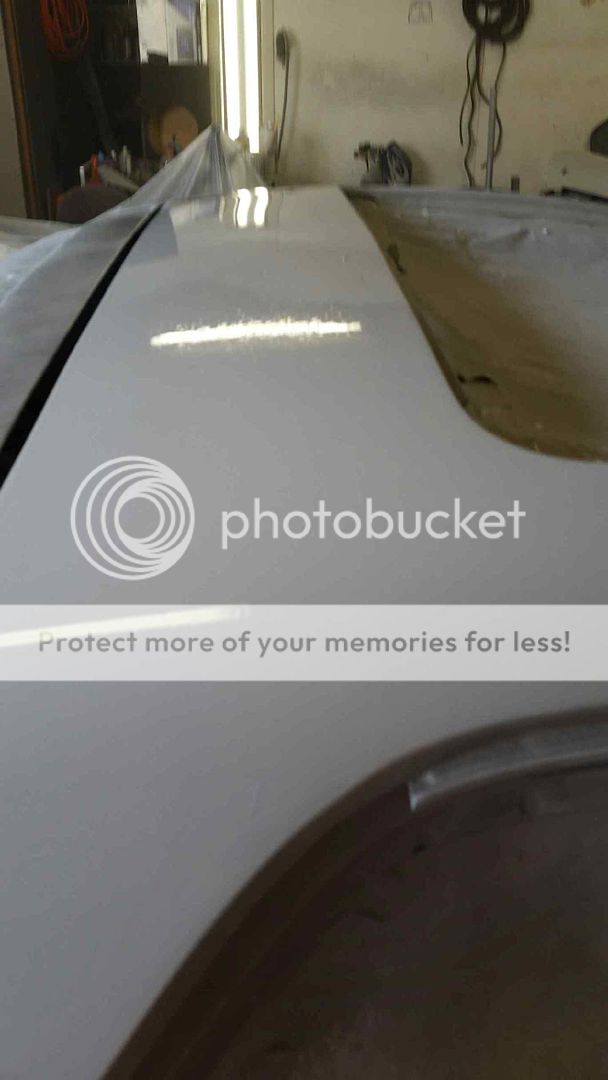
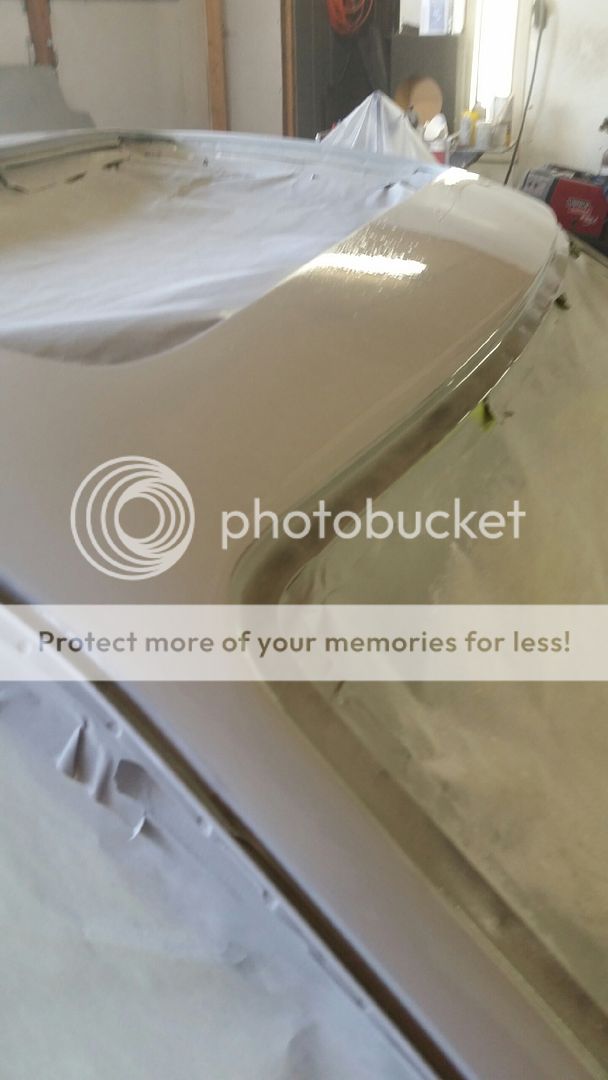
John's been getting his hustle on!
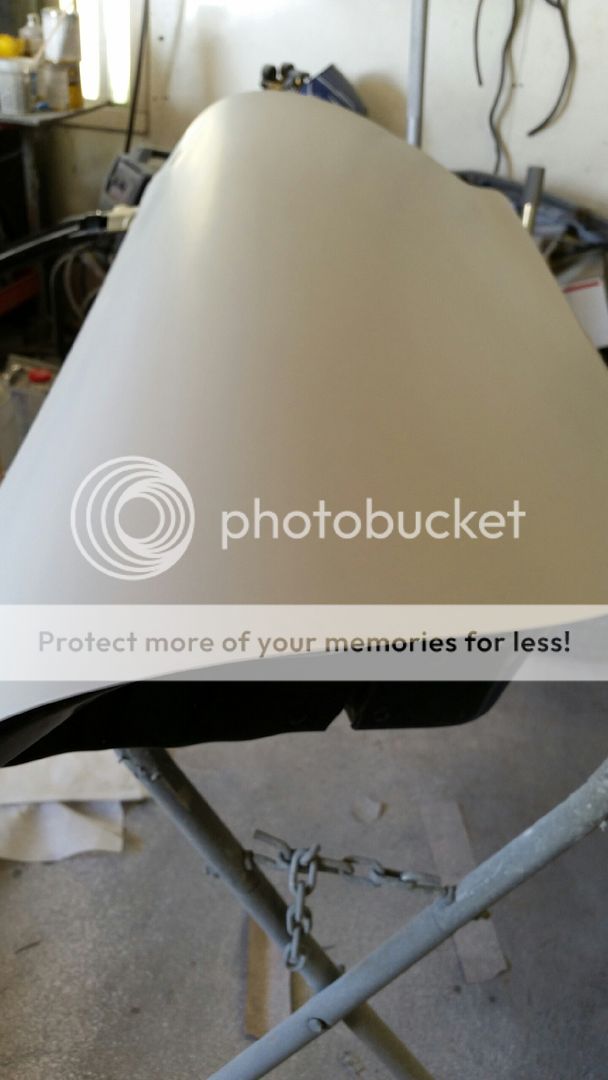
Slippery when wet - Primering over the body work from yesterday
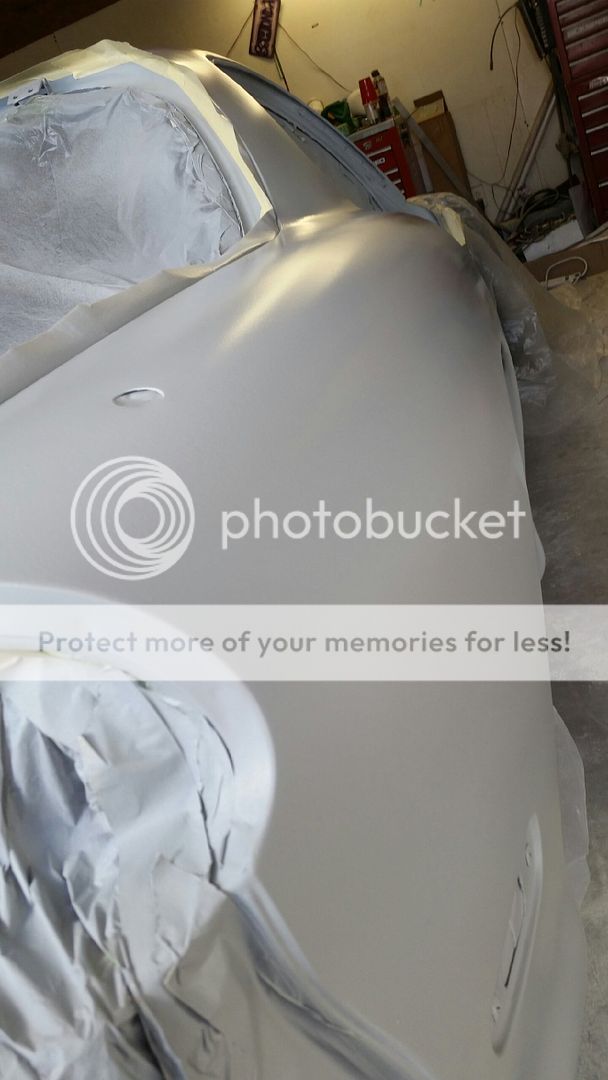
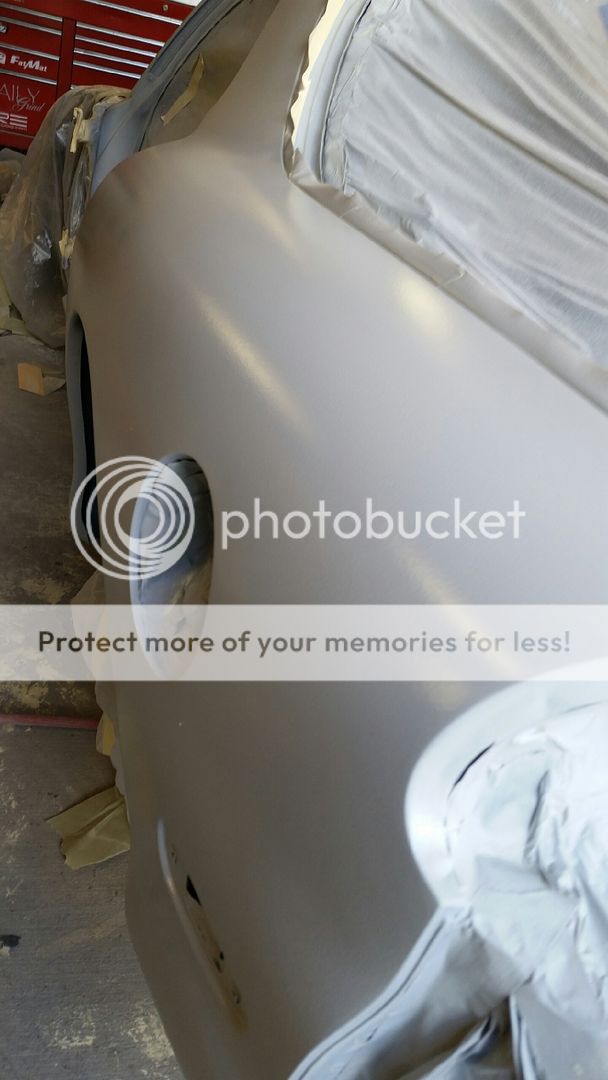
Drying out:
Guide coat applied for next blocking:
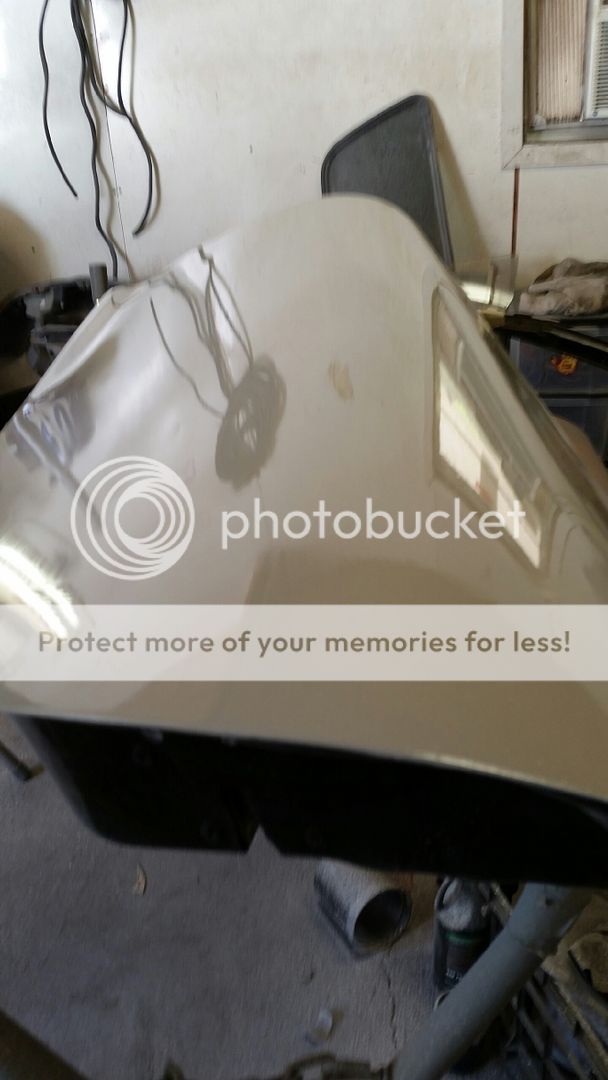
Roof shots:
Lane
Slippery when wet - Primering over the body work from yesterday
Drying out:
Guide coat applied for next blocking:
Roof shots:
Lane
#21
09-26-2014, 07:10 AM
Join Date: Sep 2013
Location: Starkville, MS
Posts: 53
Rep Power: 13
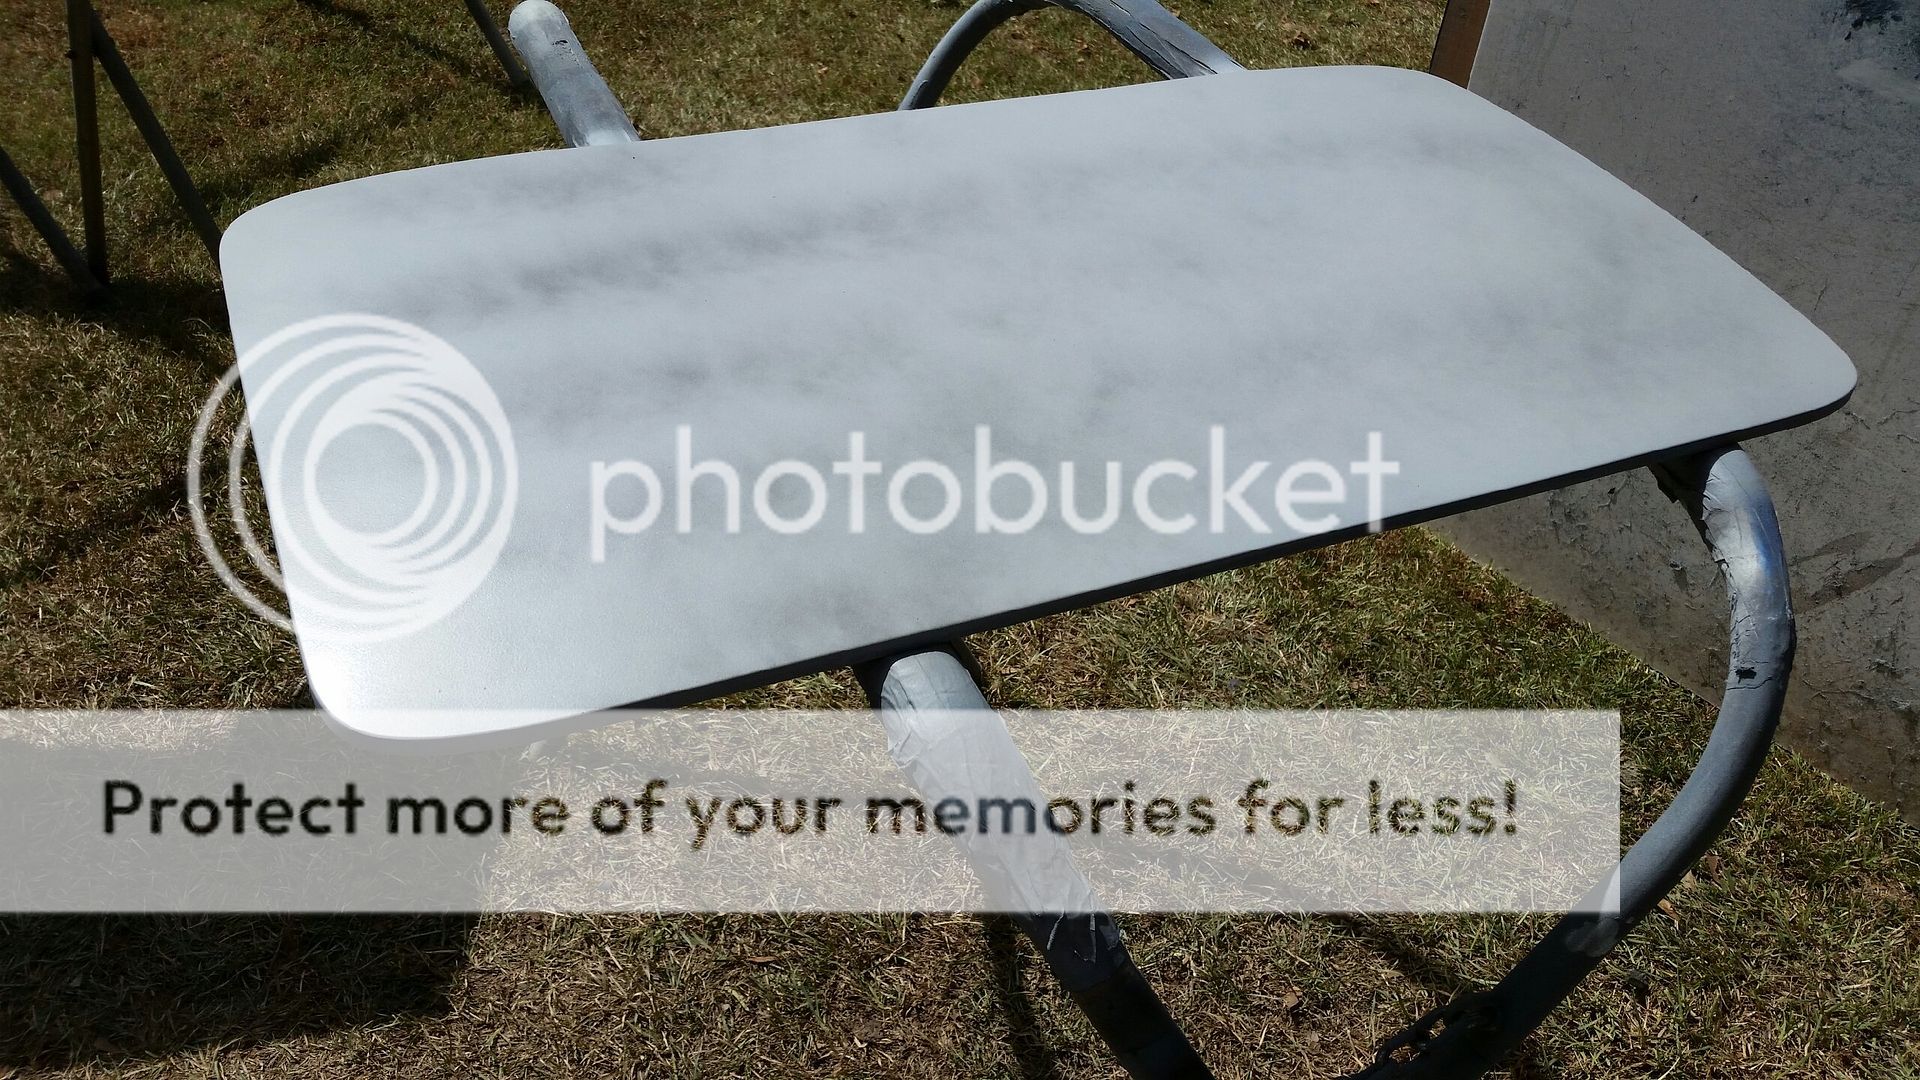
John finished epoxy priming and guide coating the sunroof. It's ready for its final blocking:
John also did the final blocking of the doors yesterday:
THEN! He took some glamor shots by wiping pre-cleaner on the doors and photographing the reflections!!! It's not perfect as the stuff evaporates fast and wiping it on causes rag streaks, but it gives you an idea of what John's been working so hard on:
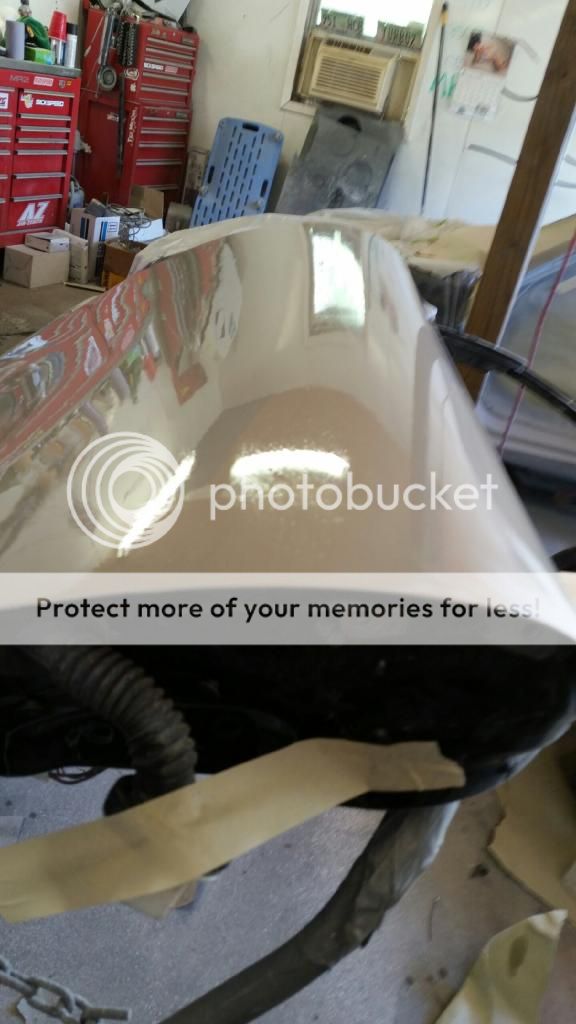
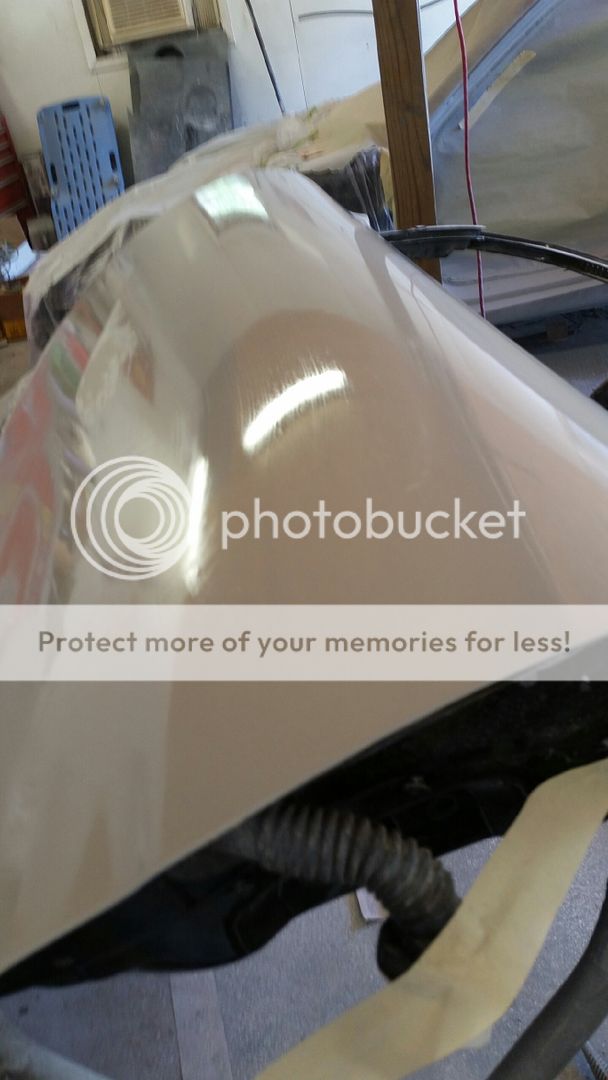
That ladies and gentlemen is what separates the men from the boys lol! Its the reason John spent 2 weeks+ on just the door and skimmed them at least 3 times to get them perfectly level. Once again, I am reminded how extremely lucky I am to have stumbled across a paint pro that has standards this high and is the reason I wanted to share the work, so more people have access to his skills
Can't wait until that deep rich black is on them!
Lane
John also did the final blocking of the doors yesterday:
THEN! He took some glamor shots by wiping pre-cleaner on the doors and photographing the reflections!!! It's not perfect as the stuff evaporates fast and wiping it on causes rag streaks, but it gives you an idea of what John's been working so hard on:
That ladies and gentlemen is what separates the men from the boys lol! Its the reason John spent 2 weeks+ on just the door and skimmed them at least 3 times to get them perfectly level. Once again, I am reminded how extremely lucky I am to have stumbled across a paint pro that has standards this high and is the reason I wanted to share the work, so more people have access to his skills
Can't wait until that deep rich black is on them!
Lane
#22
09-30-2014, 07:46 AM
Join Date: Sep 2013
Location: Starkville, MS
Posts: 53
Rep Power: 13
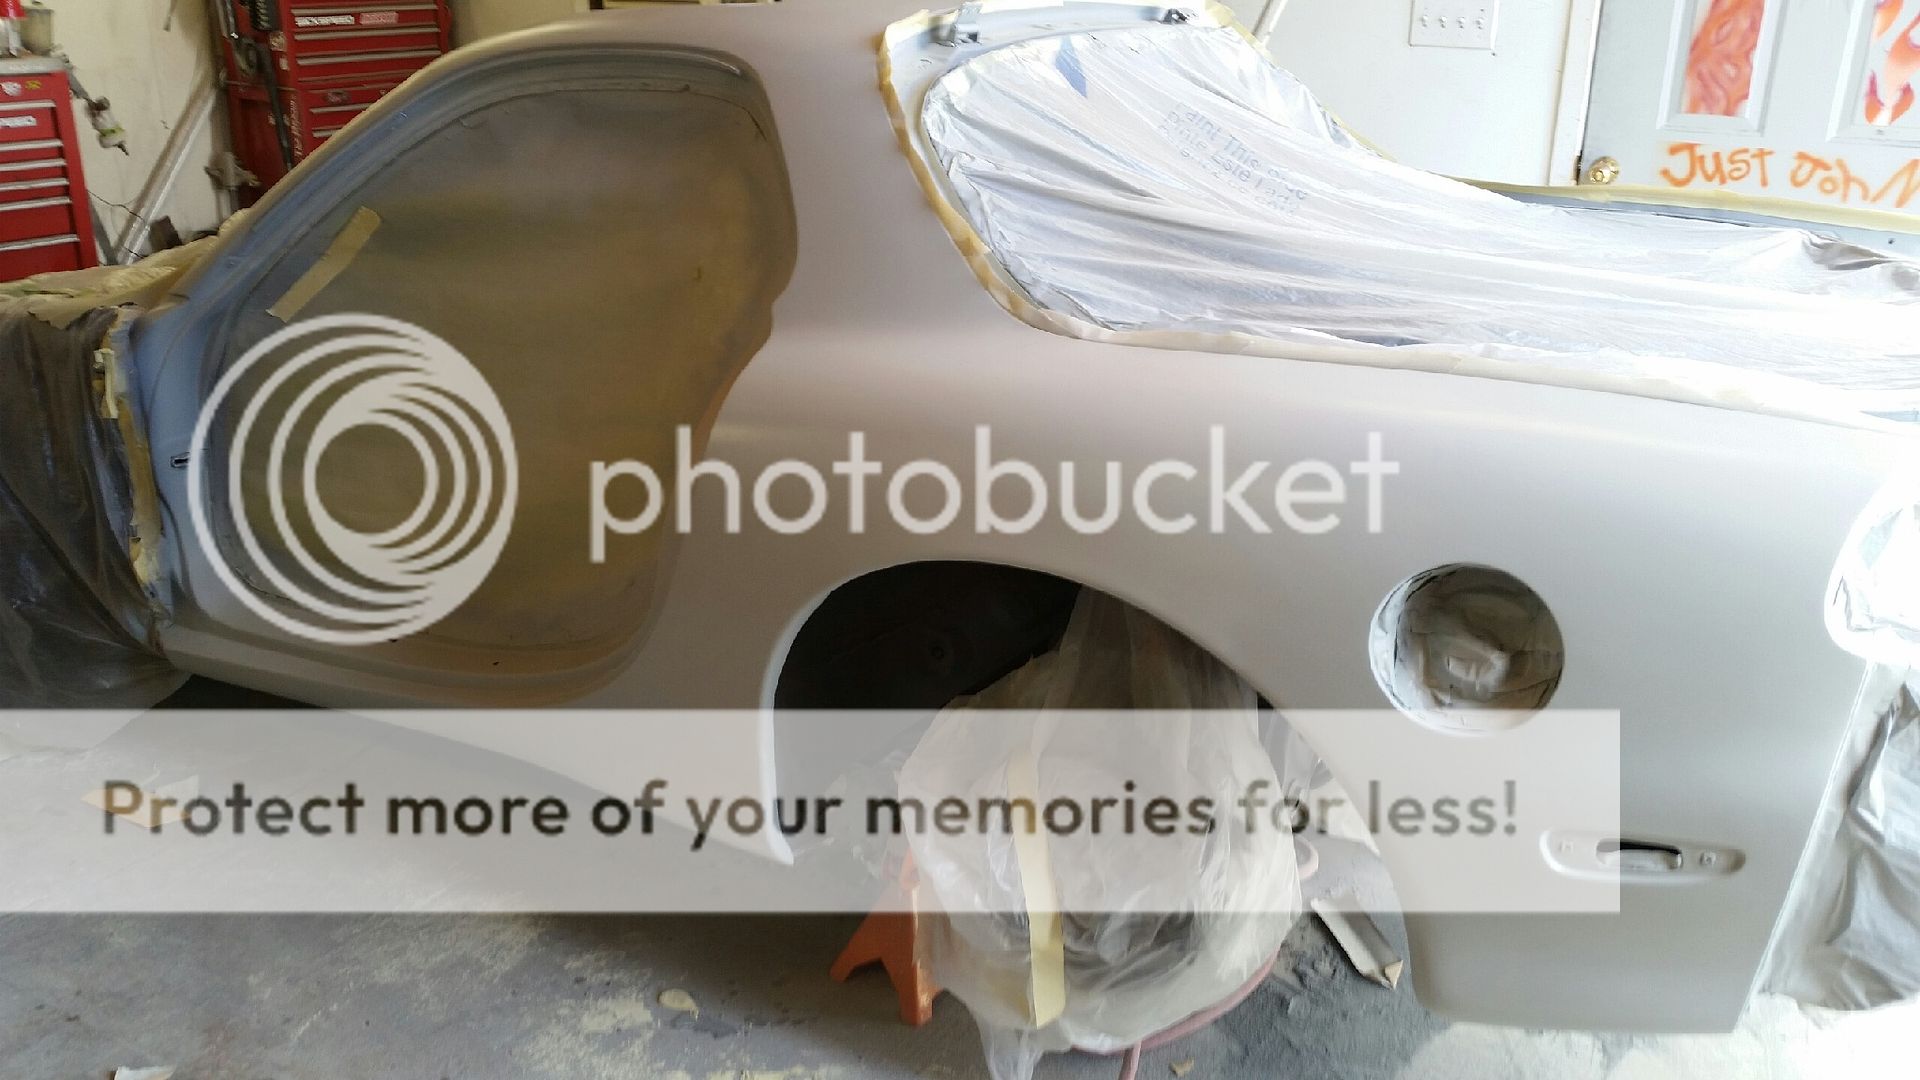
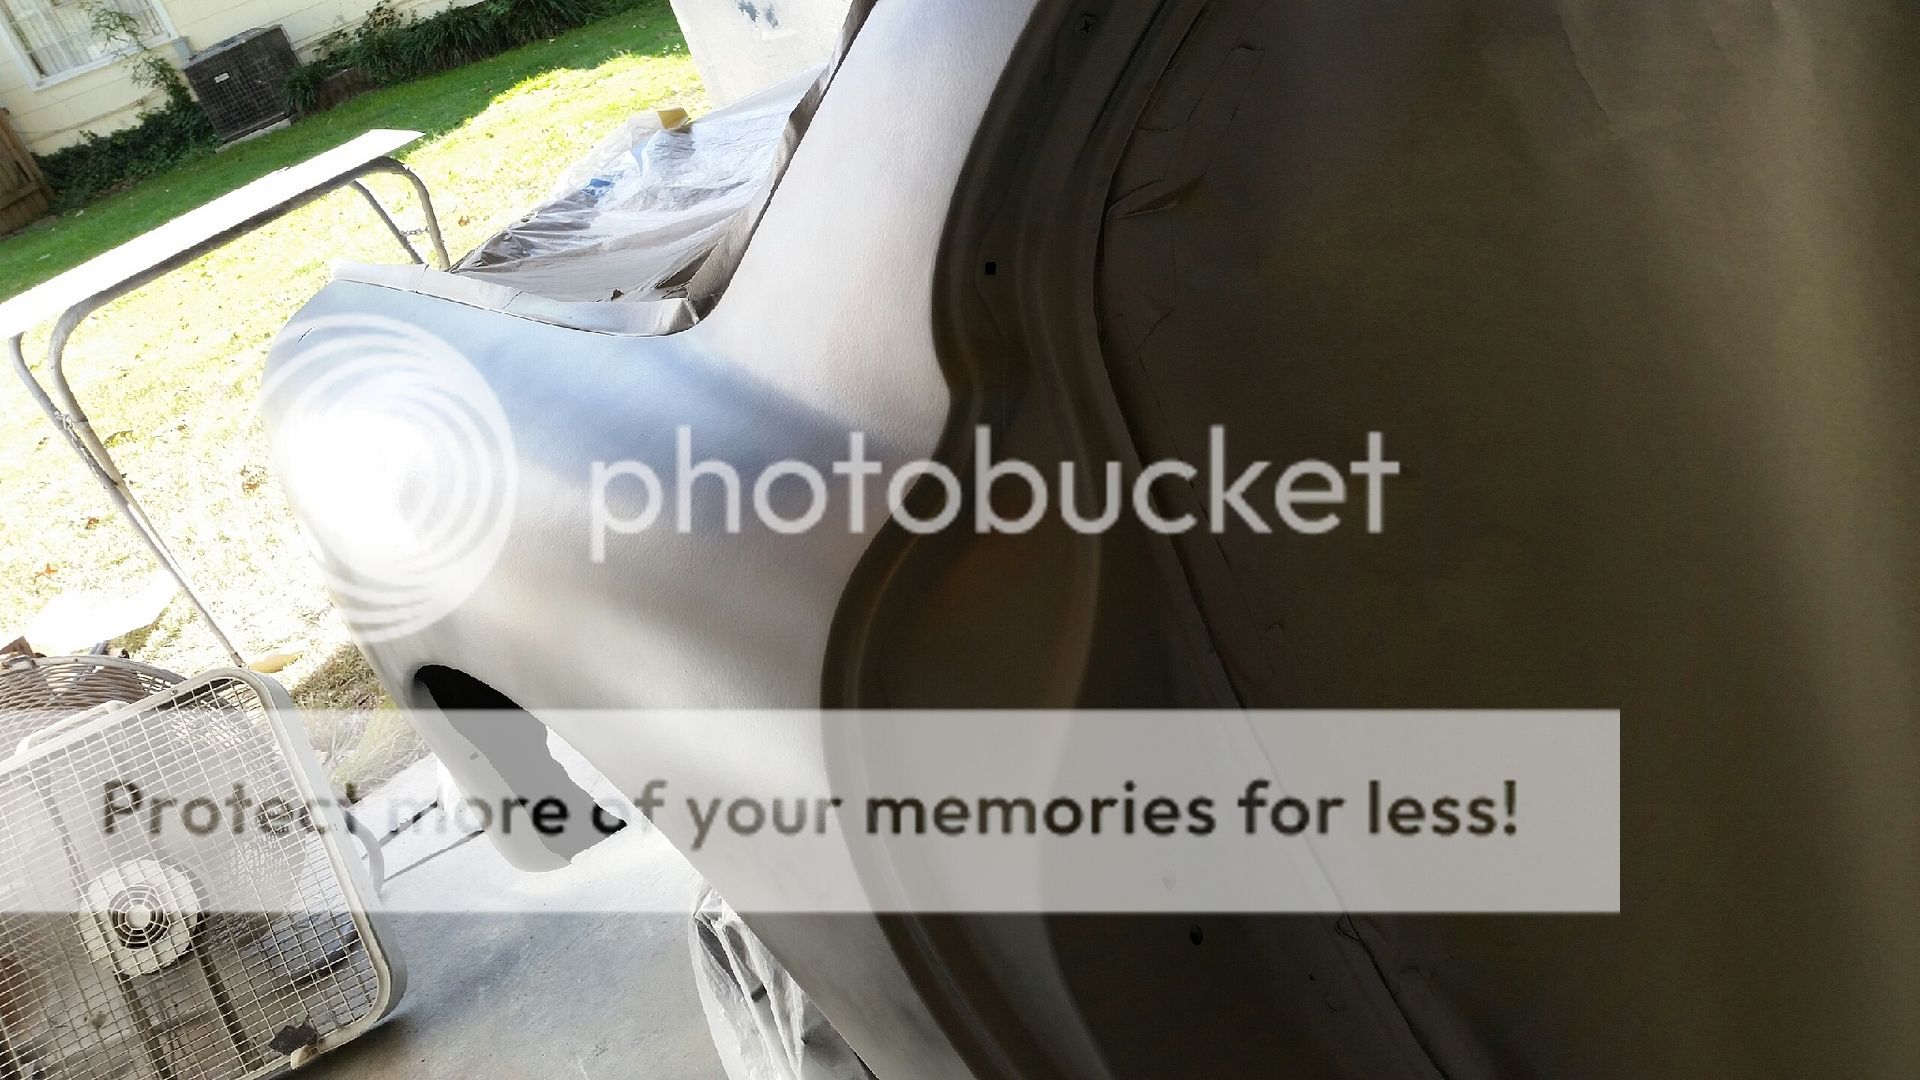
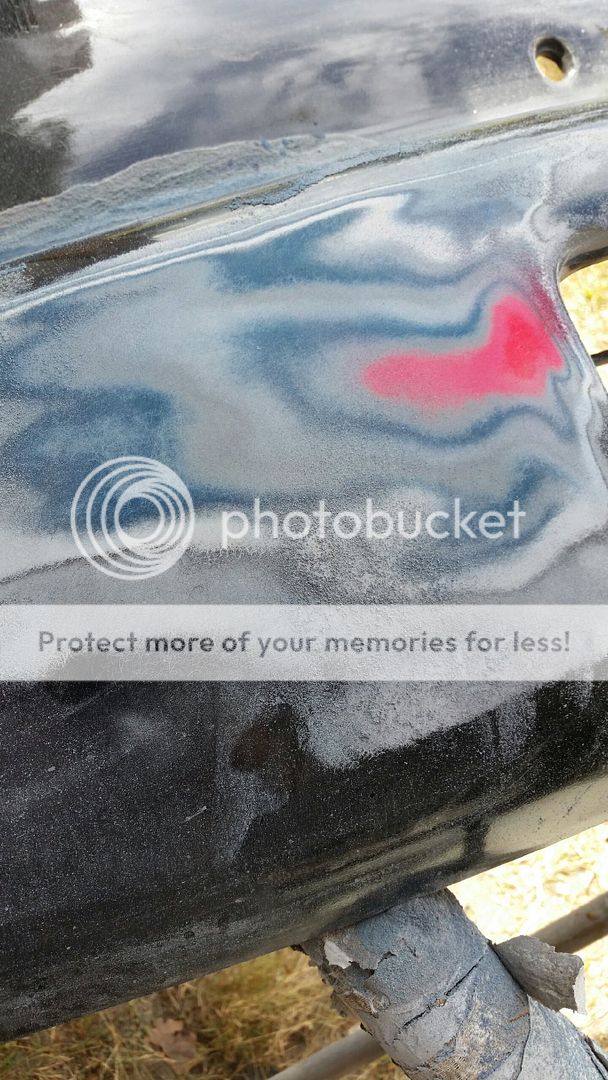
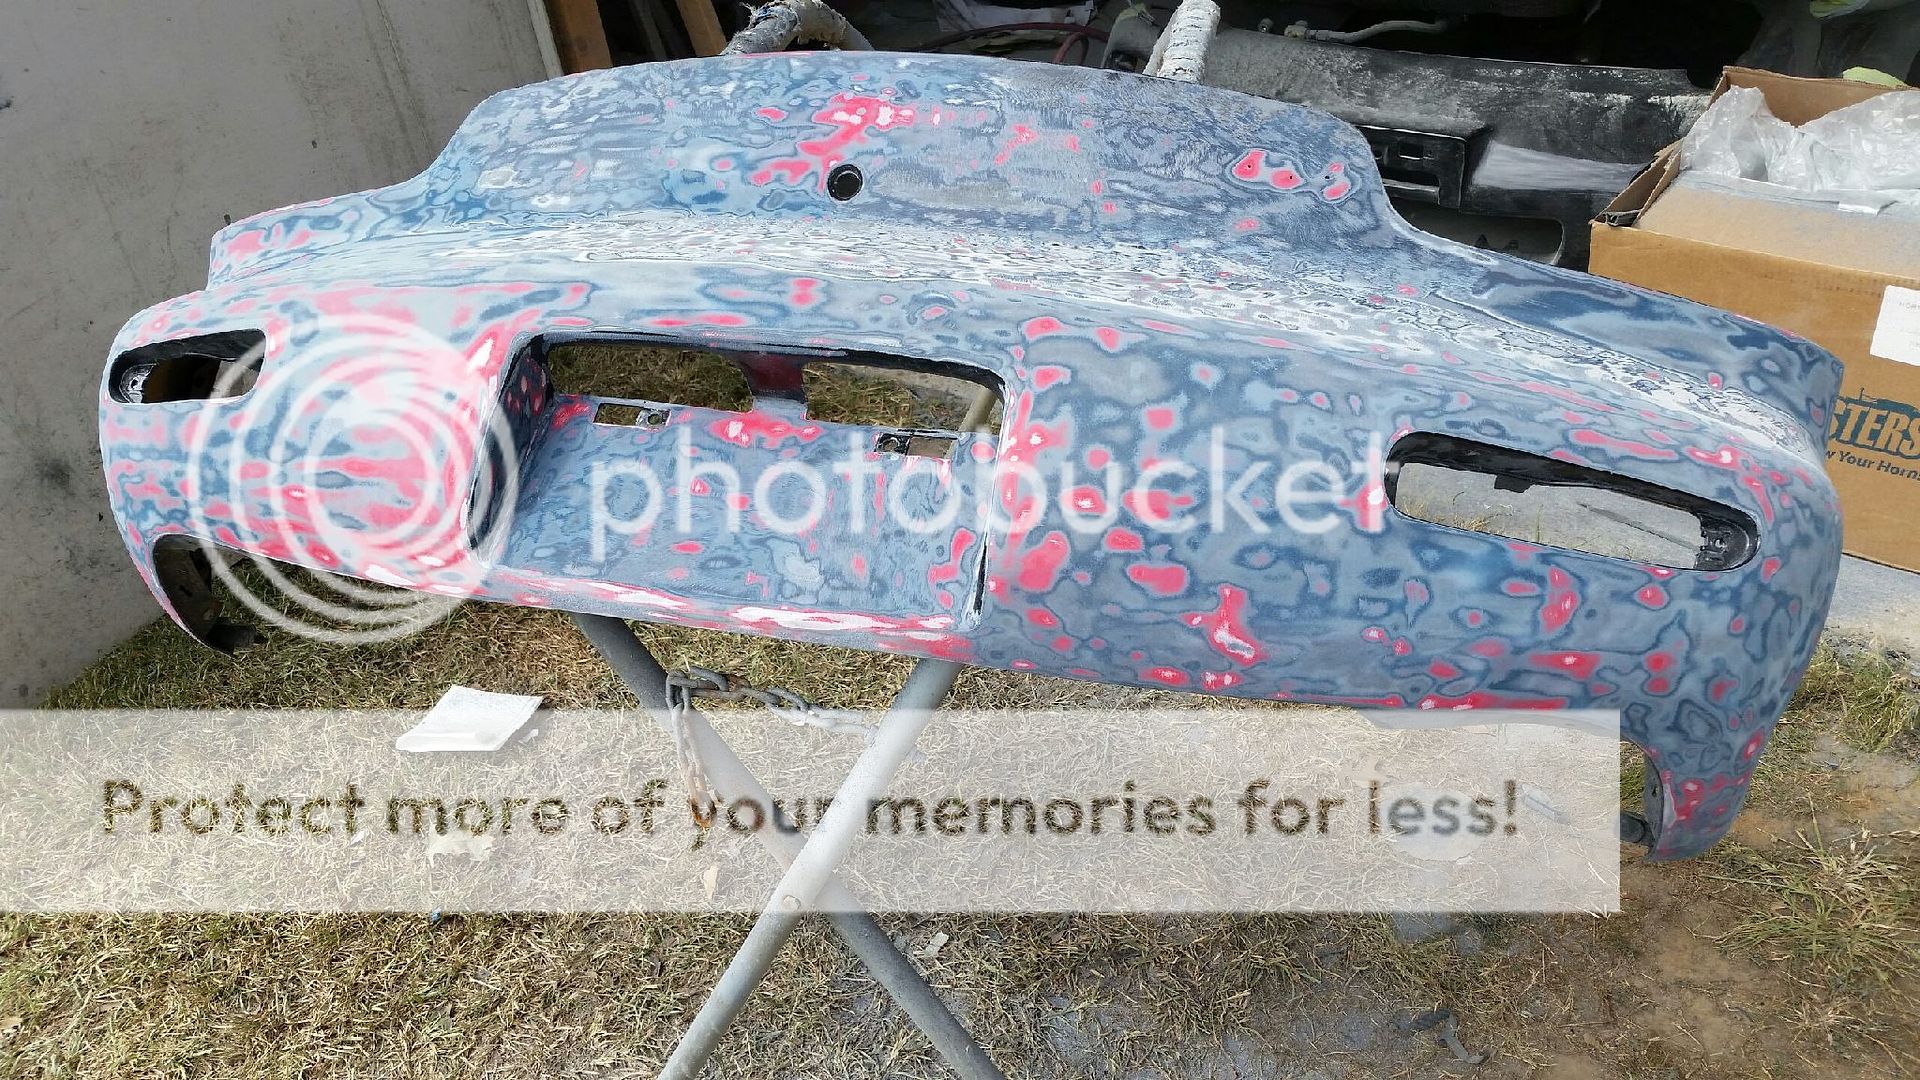
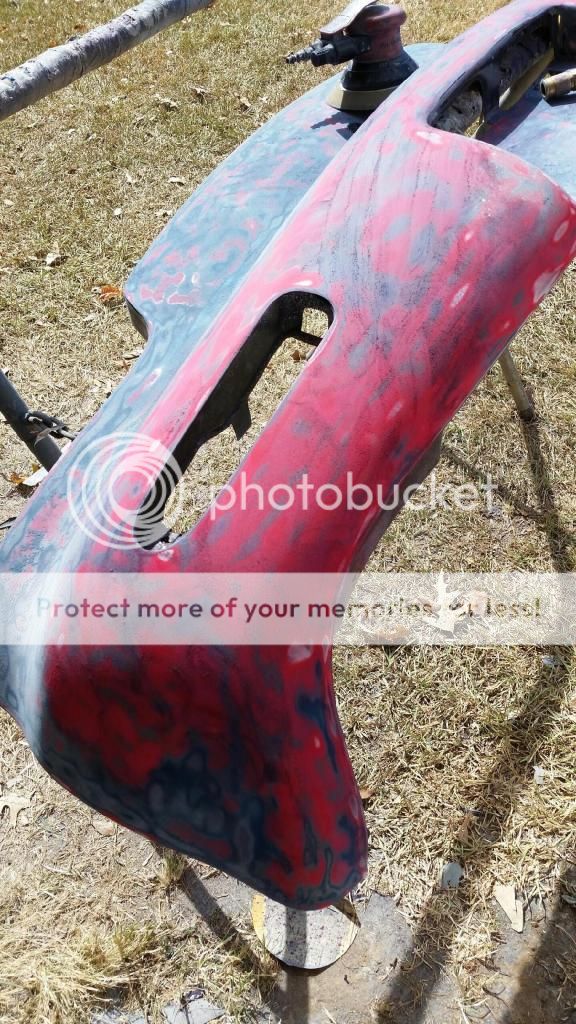
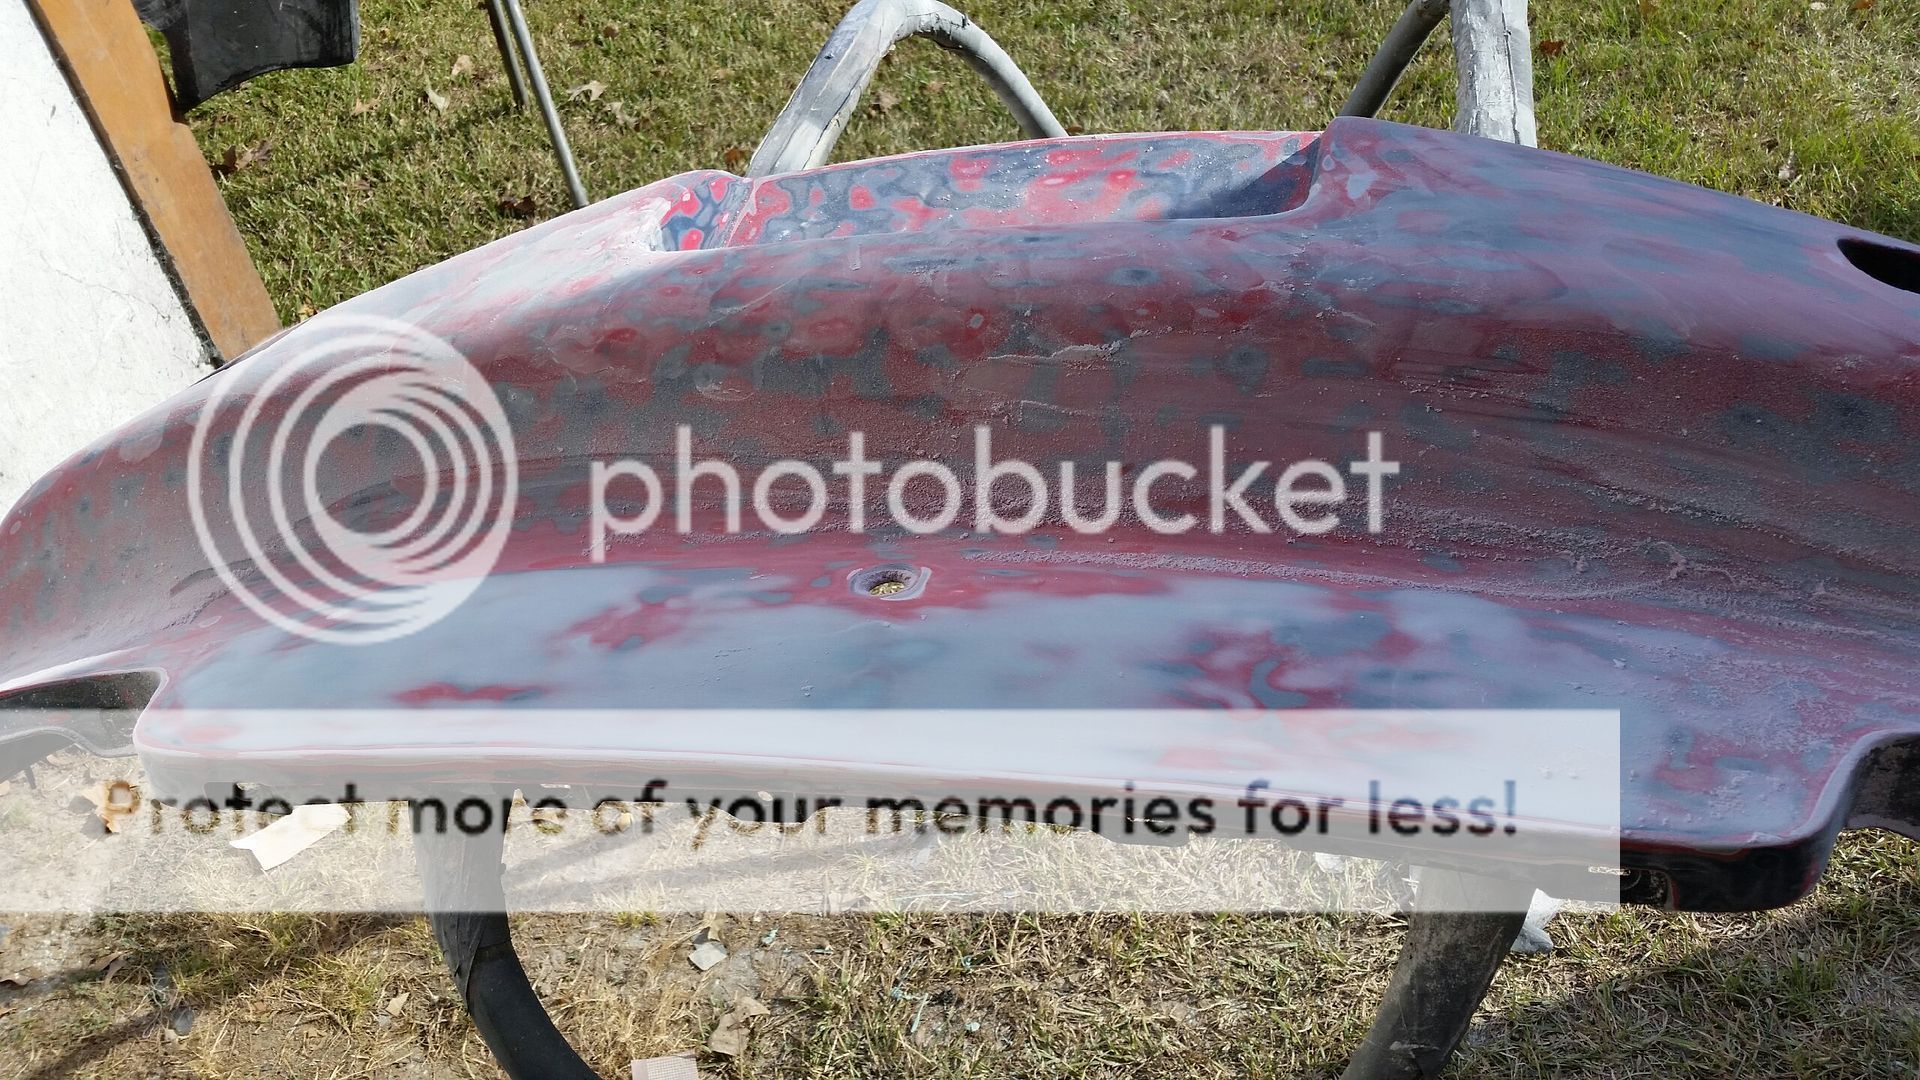
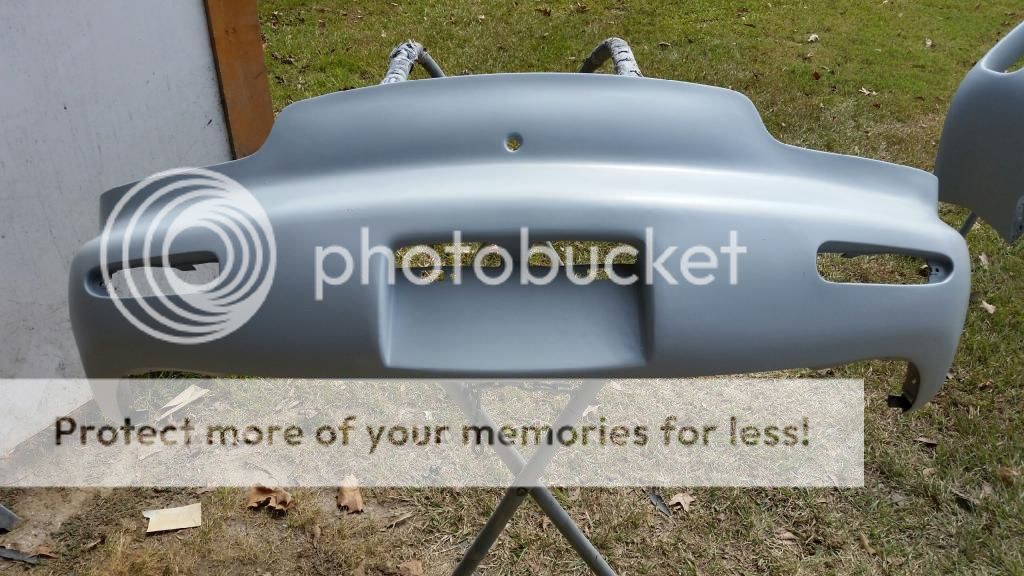
Last week John started working on the rear bumper. Found out it's not original and came red from the factory. The difference in color is actually helping John prep the bumper as its giving him a visual queue for when its time to stop sanding. The factory paint and primer is hard to beat on the composite parts so that's where John will stop and that's where we'll base the new paint job:
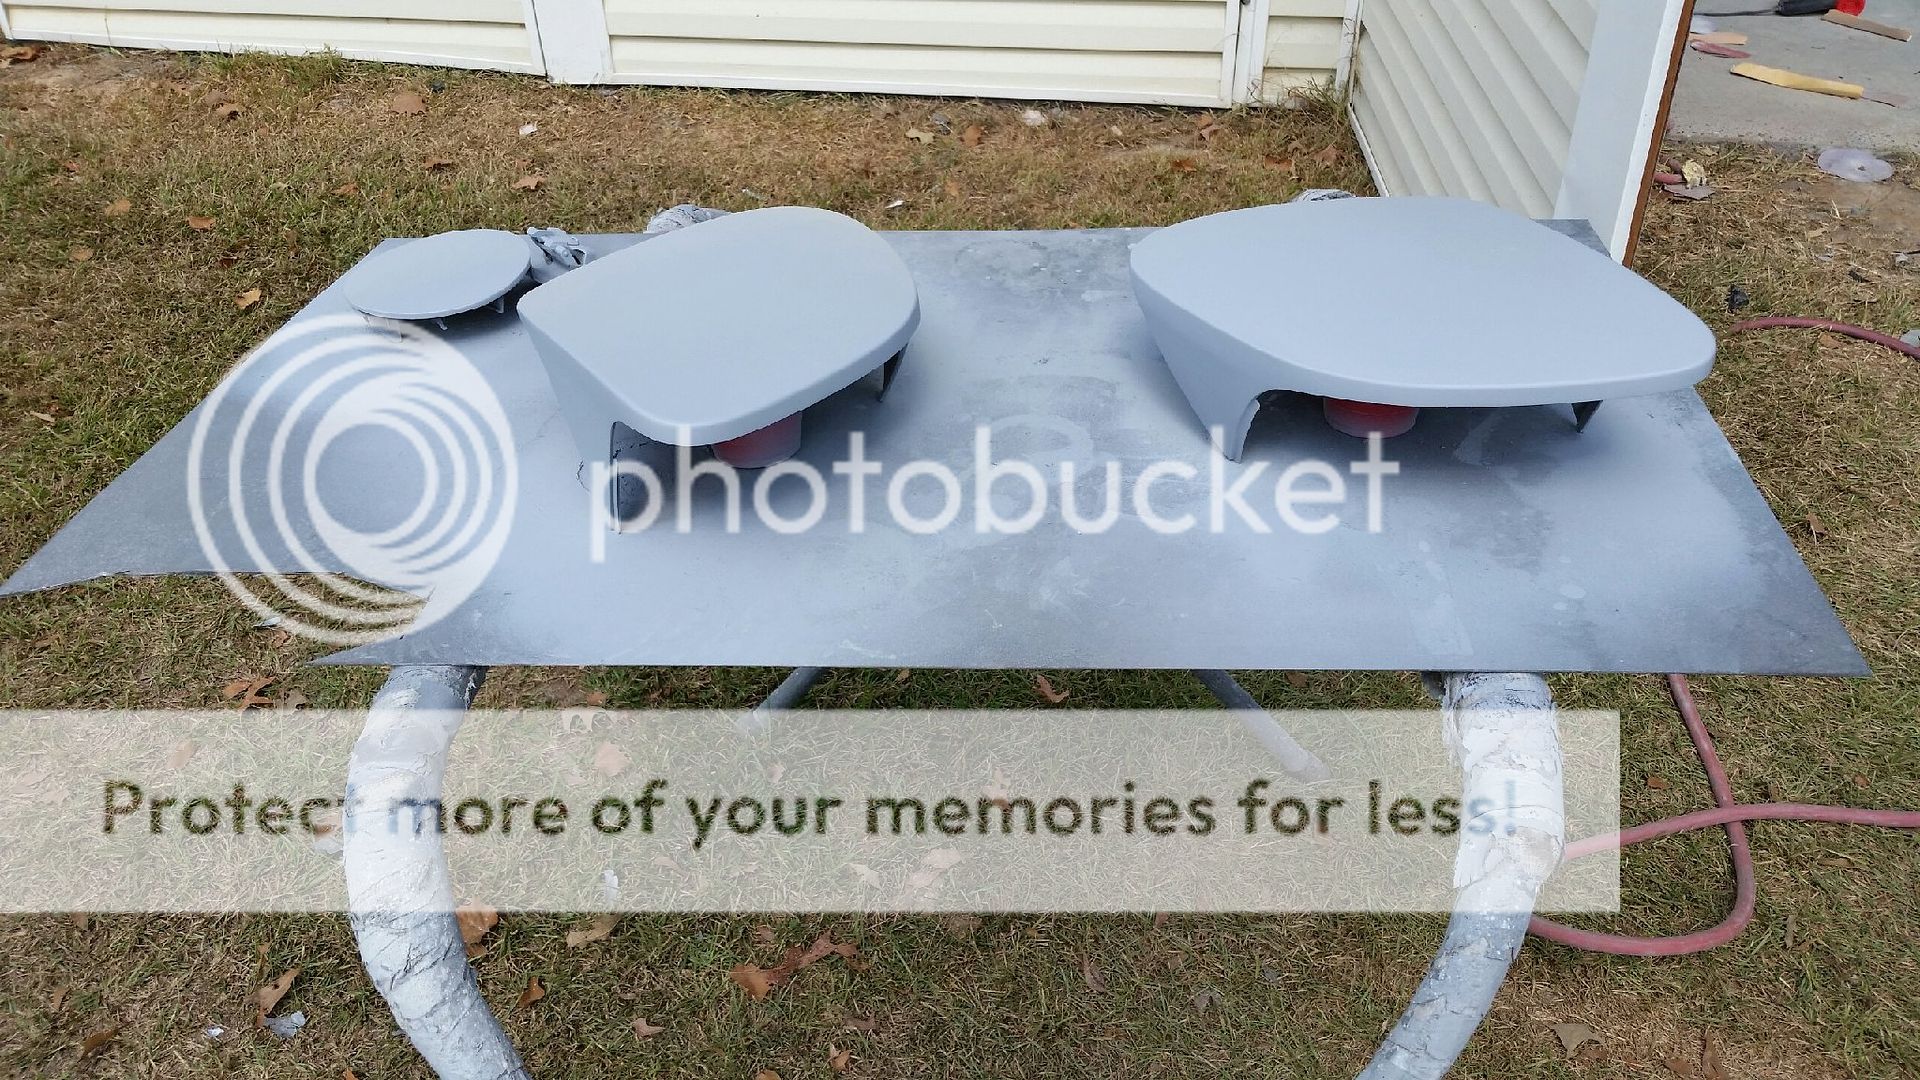
I also got a pleasant surprise on Sunday. John routed a trip he was taking through Starkville so I was able to meet him and fill up his trunk with parts
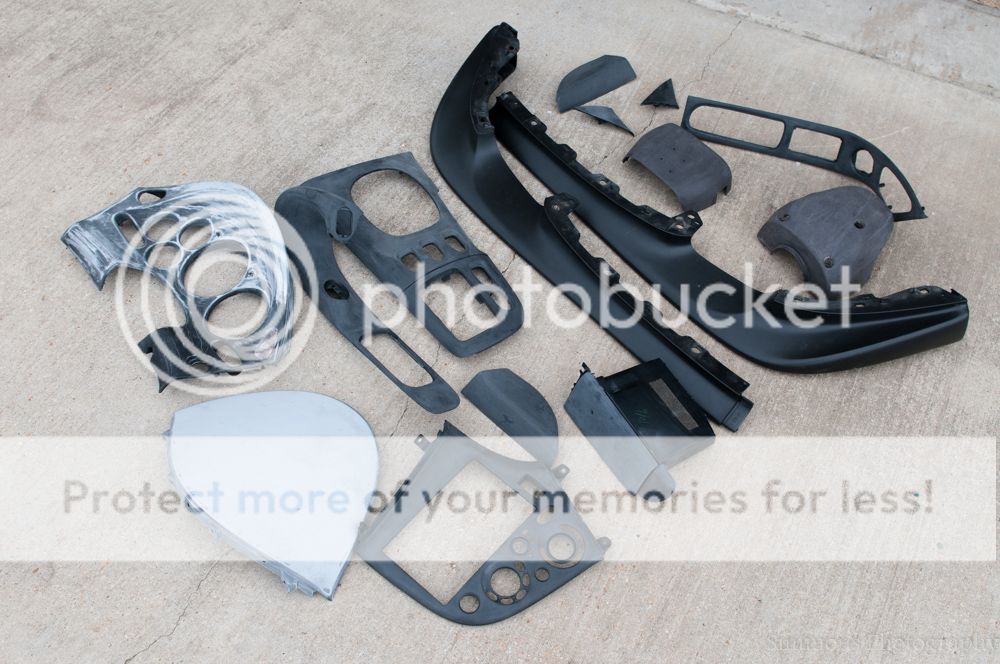
The above is what I've been working on with my almost non-existant free time. I've been stripping and repairing my interior panels in anticipation of being painted by John. Since the visit was a surprise I wasn't completely finished. In fact, you can see the actual cluster surround is only about 1/3 of the way stripped. Additionally, there are parts that will need to be sanded to whatever grit John wants to start with and there was 1 piece (driver's side door triangle) that will require extra work as I didn't strip it correctly and it ended up fuzzy which I think John called furring a panel. Apparently its something that can happen to plastic/composite panels if you're a newb and don't know what you're doing
I will say that the stripping was an absolute chore. I dealt with a lot of acetone to get the gooey stock coating off before I was able to sand. It's been a couple of months of working on it since I haven't had a lot of time to dedicate to it. Hopefully I helped and didn't just create more work for John though
We're going to try and find a slightly textured black paint to coat them with. My emphasis is on durability.
You may also notice I handed over my 99 spec lip. After talking it over with John we've decided to paint the front and rear lip / valance to go along with my painted rockers. May sound odd, but I'm thinking its going to look great. 94+ Mr2s had painted front lips and its a sharp look. I'm hoping it'll really stand out once its done.
Lane
I also got a pleasant surprise on Sunday. John routed a trip he was taking through Starkville so I was able to meet him and fill up his trunk with parts
The above is what I've been working on with my almost non-existant free time. I've been stripping and repairing my interior panels in anticipation of being painted by John. Since the visit was a surprise I wasn't completely finished. In fact, you can see the actual cluster surround is only about 1/3 of the way stripped. Additionally, there are parts that will need to be sanded to whatever grit John wants to start with and there was 1 piece (driver's side door triangle) that will require extra work as I didn't strip it correctly and it ended up fuzzy which I think John called furring a panel. Apparently its something that can happen to plastic/composite panels if you're a newb and don't know what you're doing
I will say that the stripping was an absolute chore. I dealt with a lot of acetone to get the gooey stock coating off before I was able to sand. It's been a couple of months of working on it since I haven't had a lot of time to dedicate to it. Hopefully I helped and didn't just create more work for John though
We're going to try and find a slightly textured black paint to coat them with. My emphasis is on durability.
You may also notice I handed over my 99 spec lip. After talking it over with John we've decided to paint the front and rear lip / valance to go along with my painted rockers. May sound odd, but I'm thinking its going to look great. 94+ Mr2s had painted front lips and its a sharp look. I'm hoping it'll really stand out once its done.
Lane


#25
10-03-2014, 10:36 AM
Join Date: Sep 2013
Location: Starkville, MS
Posts: 53
Rep Power: 13
Another quickie in terms of photos today but some good stuff to document
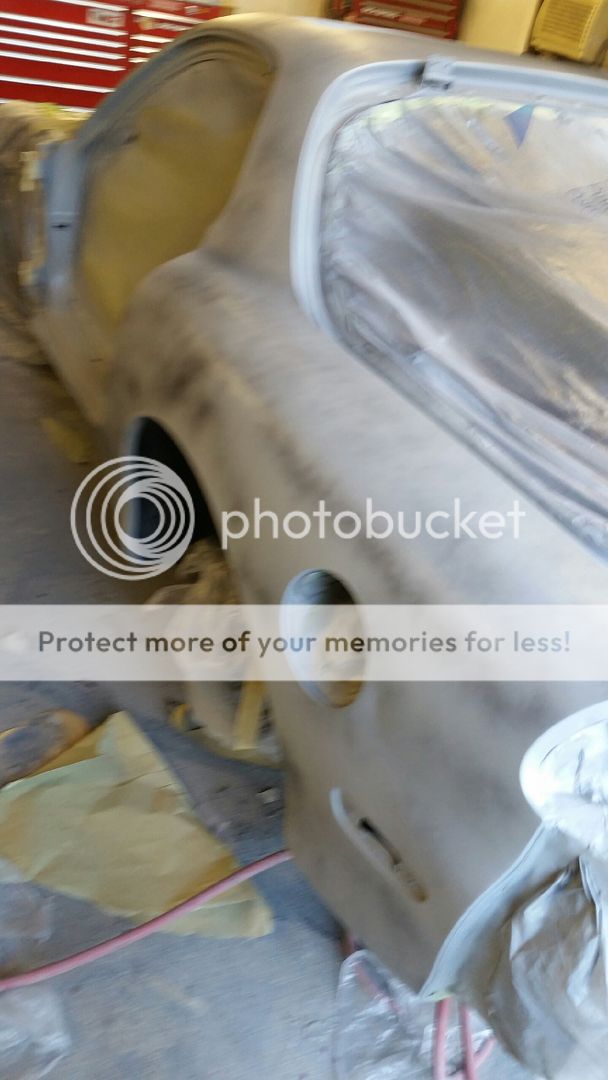
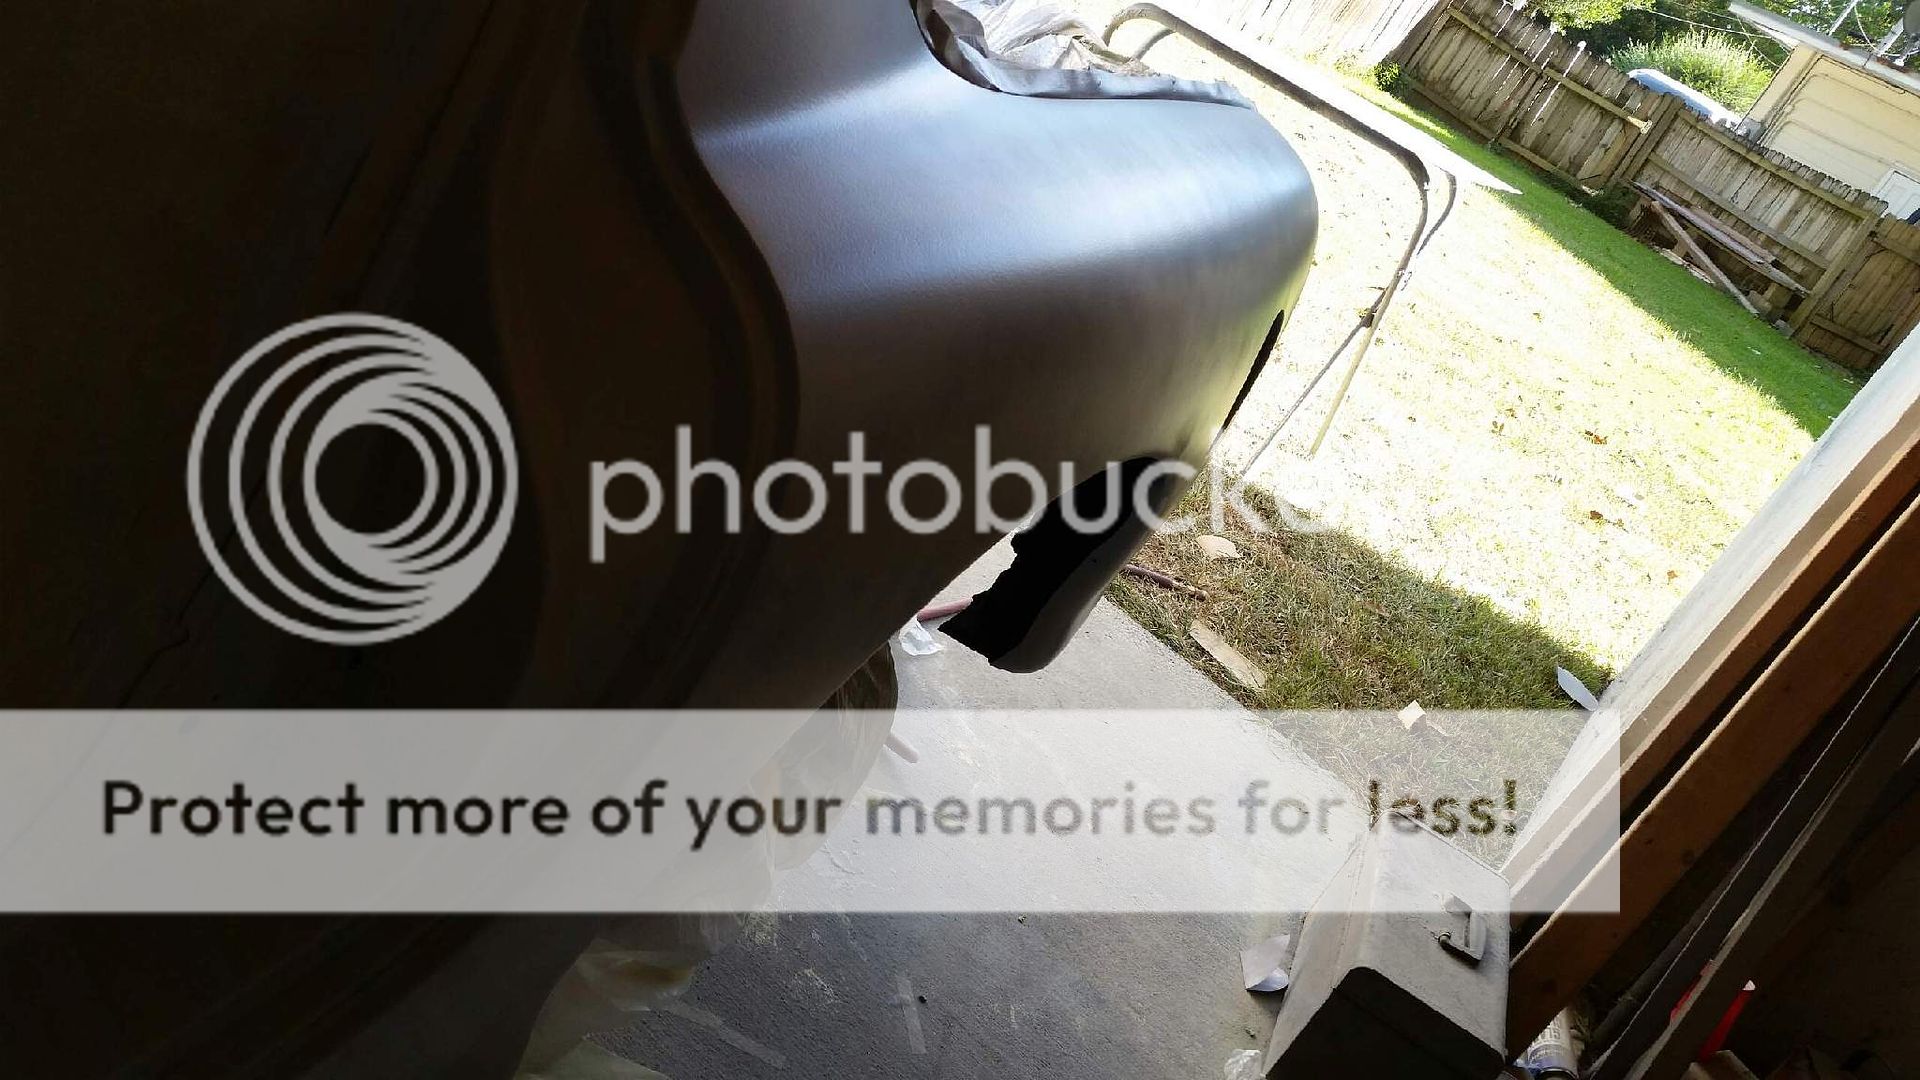
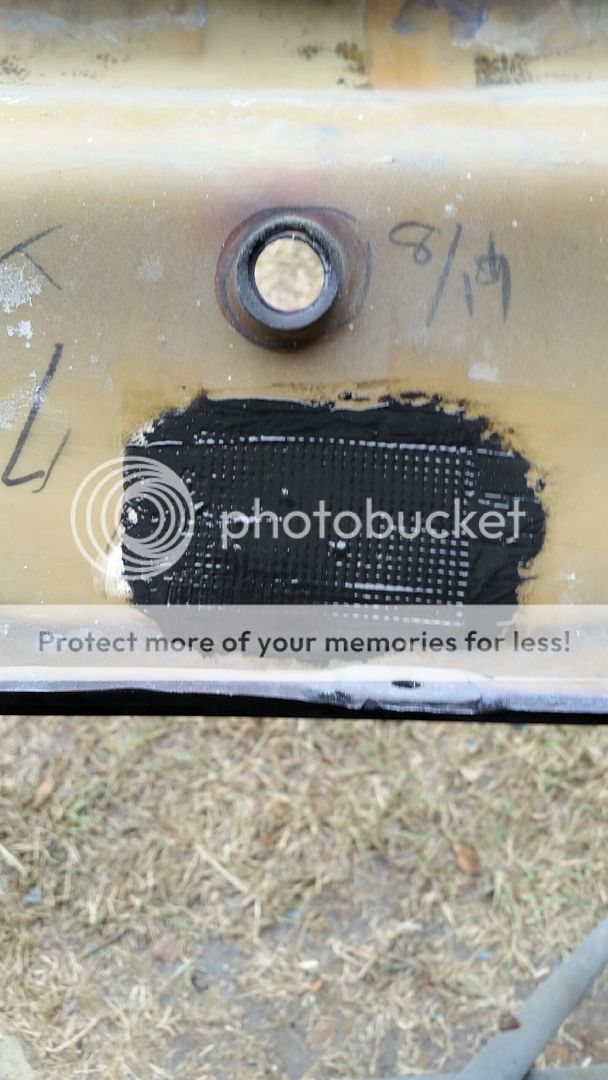
The rear bumper prep is almost done:
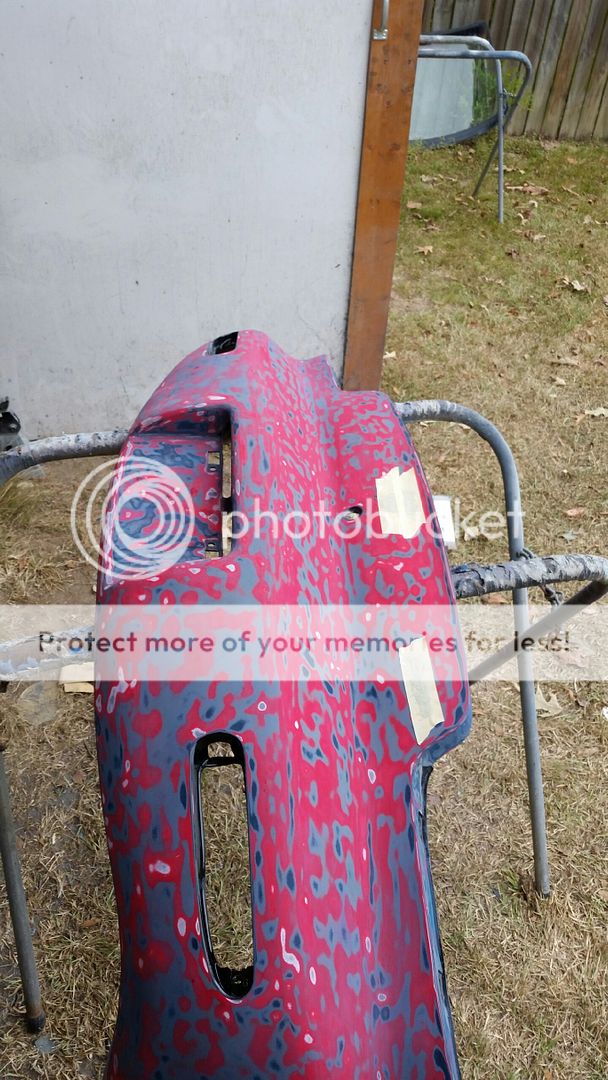
Its been a slow and labor intensive process as John has had to do almost all of it by hand, but I think we're just about ready to get it primed.
One thing John worked on yesterday was getting the emblem holes sealed. He ground the backside of the holes, re-drilled them, put a strong two part epoxy in the holes, then covered that with a reinforced mesh nylon that's made for fixing cracked bumpers. After that he put epoxy over the mesh to reinforce the epoxy in the holes which basically makes the bumper solid. The epoxy does have a different expansion rate than the bumper but once it cures he'll grind a low spot on the outside of the bumper and use the flexible filler to cover the epoxy and slick it out. The flexible filler will have an expansion rate similar to the bumper but we both understand that there's a possibility the holes may still show up on hot days. It's just the nature of the beast, but its as good of a solution as I could ever ask for.
Lane
The rear bumper prep is almost done:
Its been a slow and labor intensive process as John has had to do almost all of it by hand, but I think we're just about ready to get it primed.
One thing John worked on yesterday was getting the emblem holes sealed. He ground the backside of the holes, re-drilled them, put a strong two part epoxy in the holes, then covered that with a reinforced mesh nylon that's made for fixing cracked bumpers. After that he put epoxy over the mesh to reinforce the epoxy in the holes which basically makes the bumper solid. The epoxy does have a different expansion rate than the bumper but once it cures he'll grind a low spot on the outside of the bumper and use the flexible filler to cover the epoxy and slick it out. The flexible filler will have an expansion rate similar to the bumper but we both understand that there's a possibility the holes may still show up on hot days. It's just the nature of the beast, but its as good of a solution as I could ever ask for.
Lane
#26
10-08-2014, 03:09 PM
Join Date: Sep 2013
Location: Starkville, MS
Posts: 53
Rep Power: 13
Update:
John found out that my paint cap door was also red and there were scraches behind it on the quarter leading to the rear bumper. Apparently a PO was airbraking with the fuel door and caught it on something causing it to tumble down the side and scratch up the rear bumper. This is the going theory for why those two parts weren't factory.
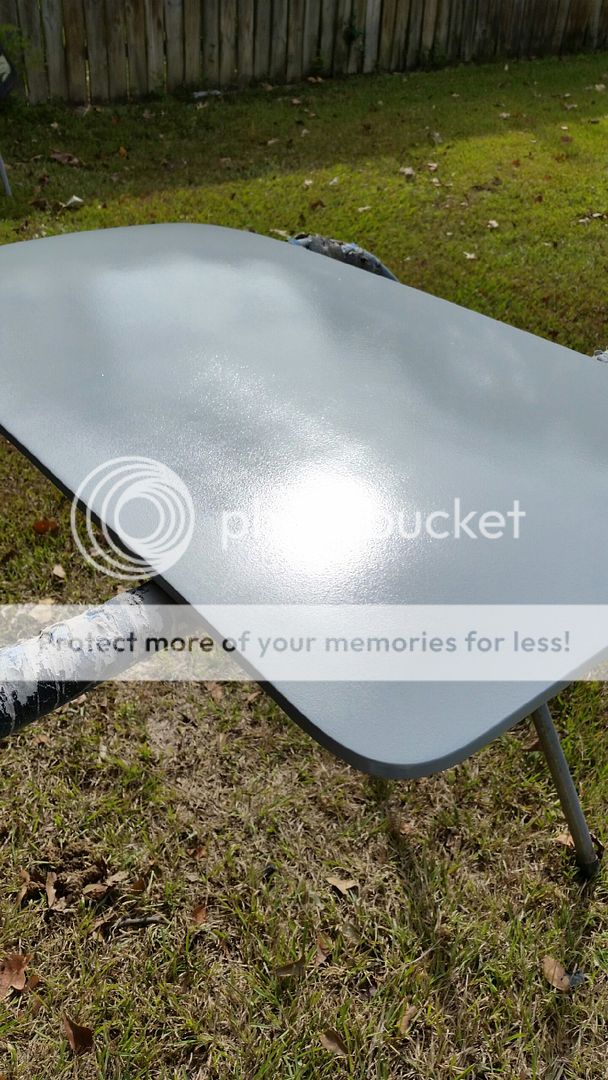
John finished stripping the sunroof, primed it, and got the guide coat on:
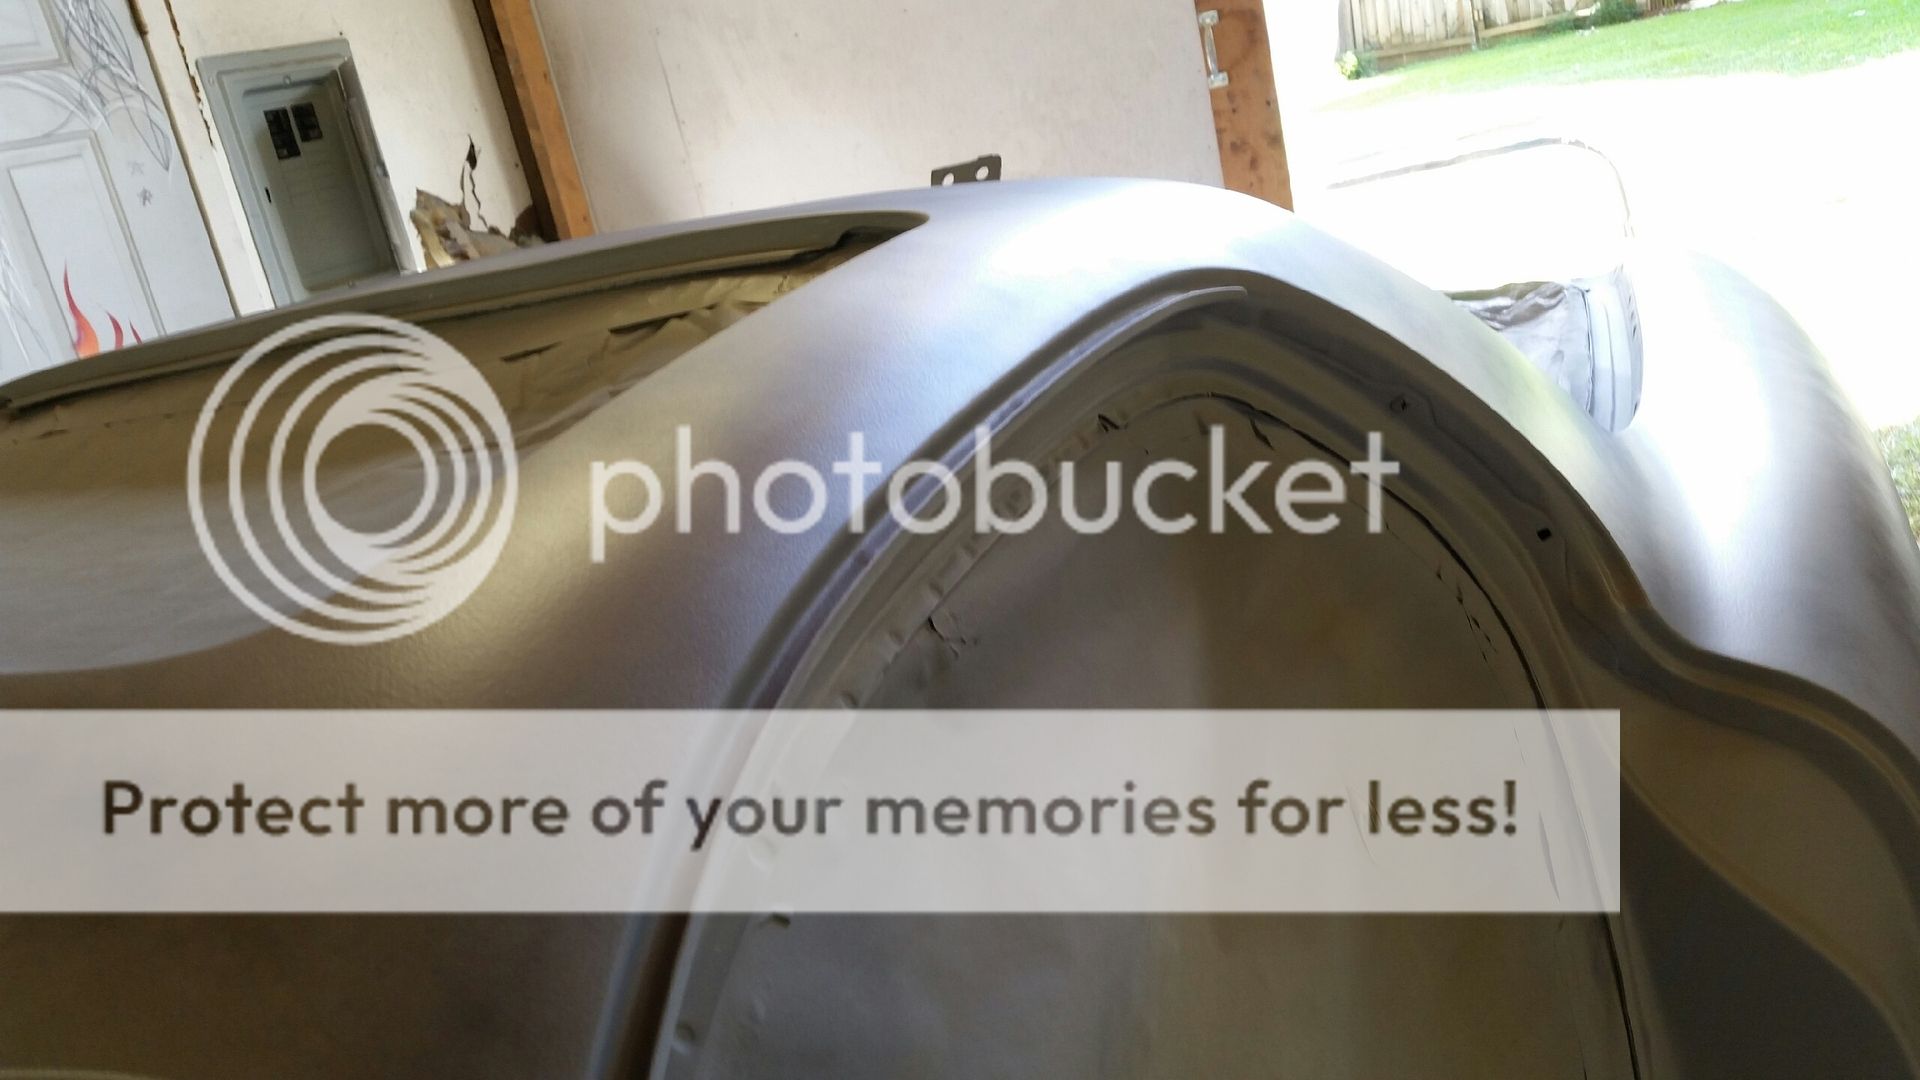
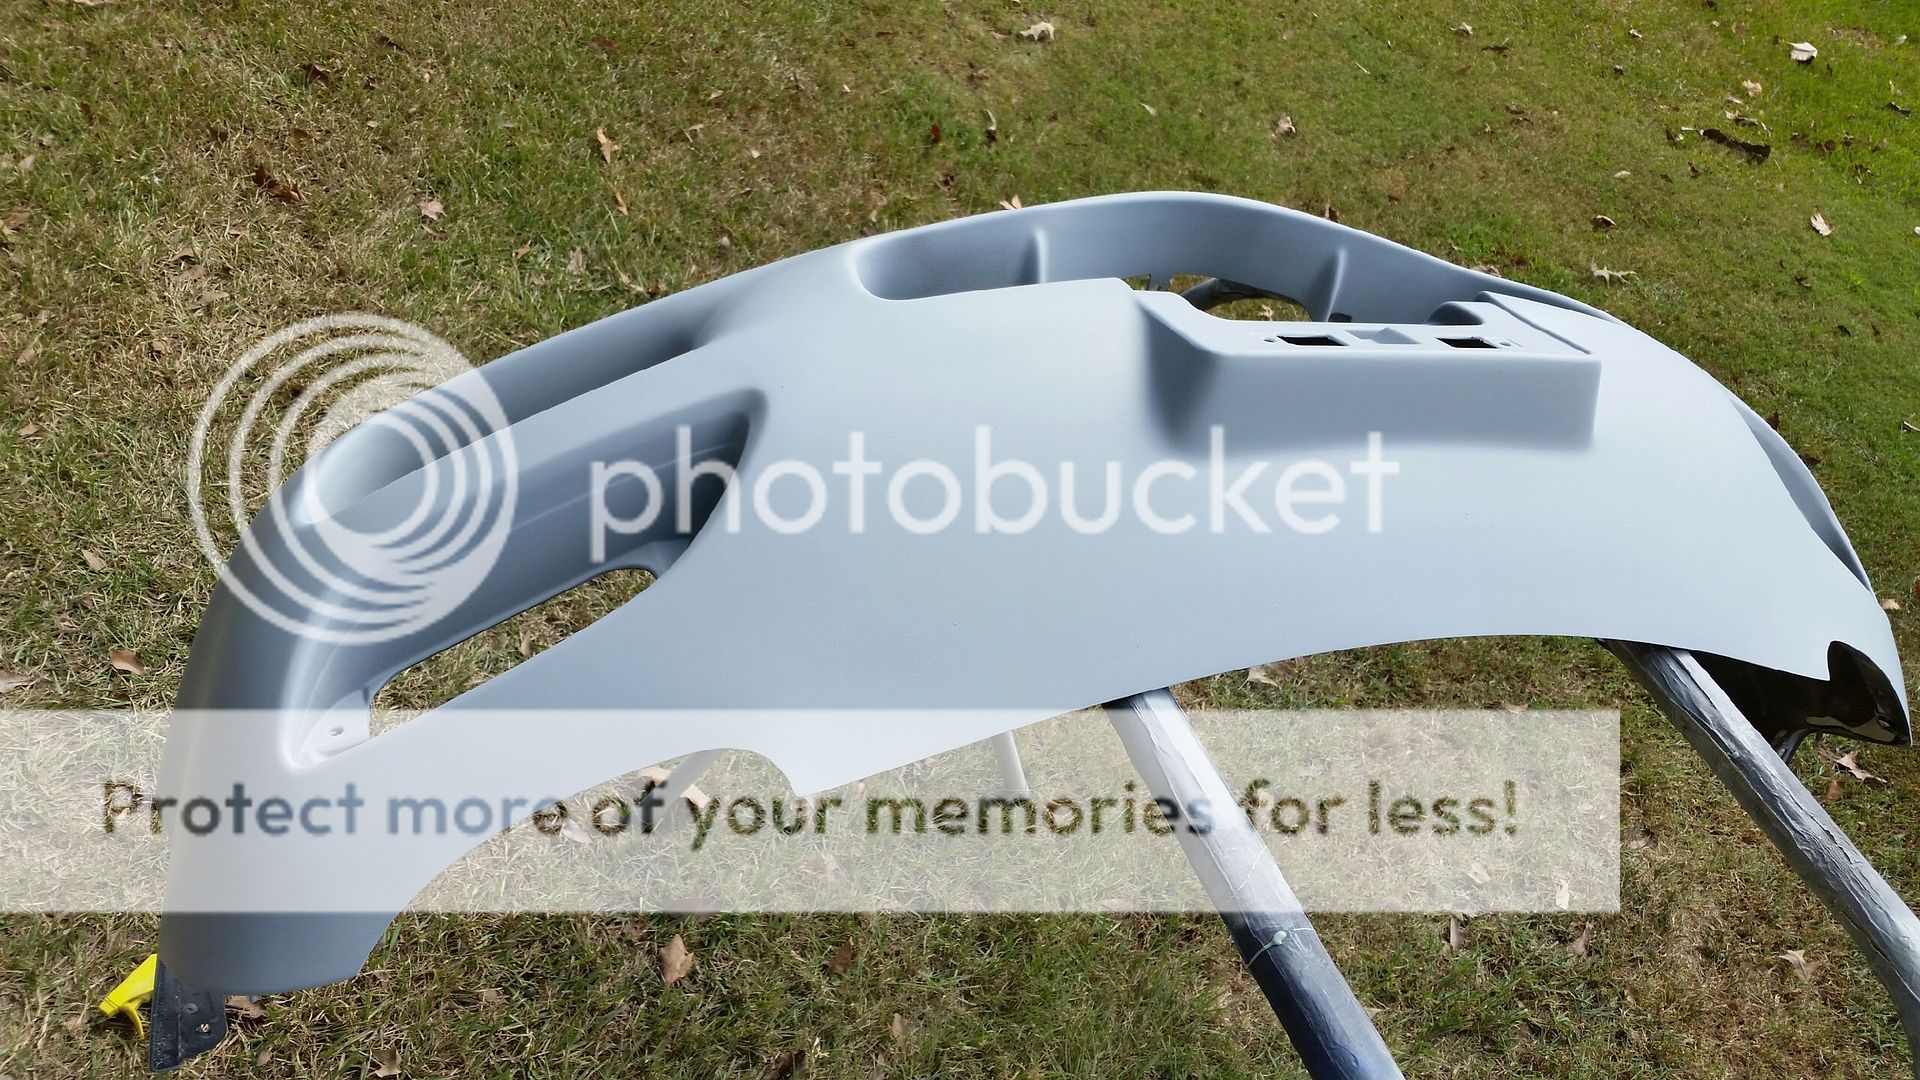
Additionally he's been putting a lot of fine detail work into my front and rear bumpers. Apparently the last shop had trouble filling the emblem holes in the front bumper and did it twice shooting the top of the bumper twice. John had to redo the work completely:
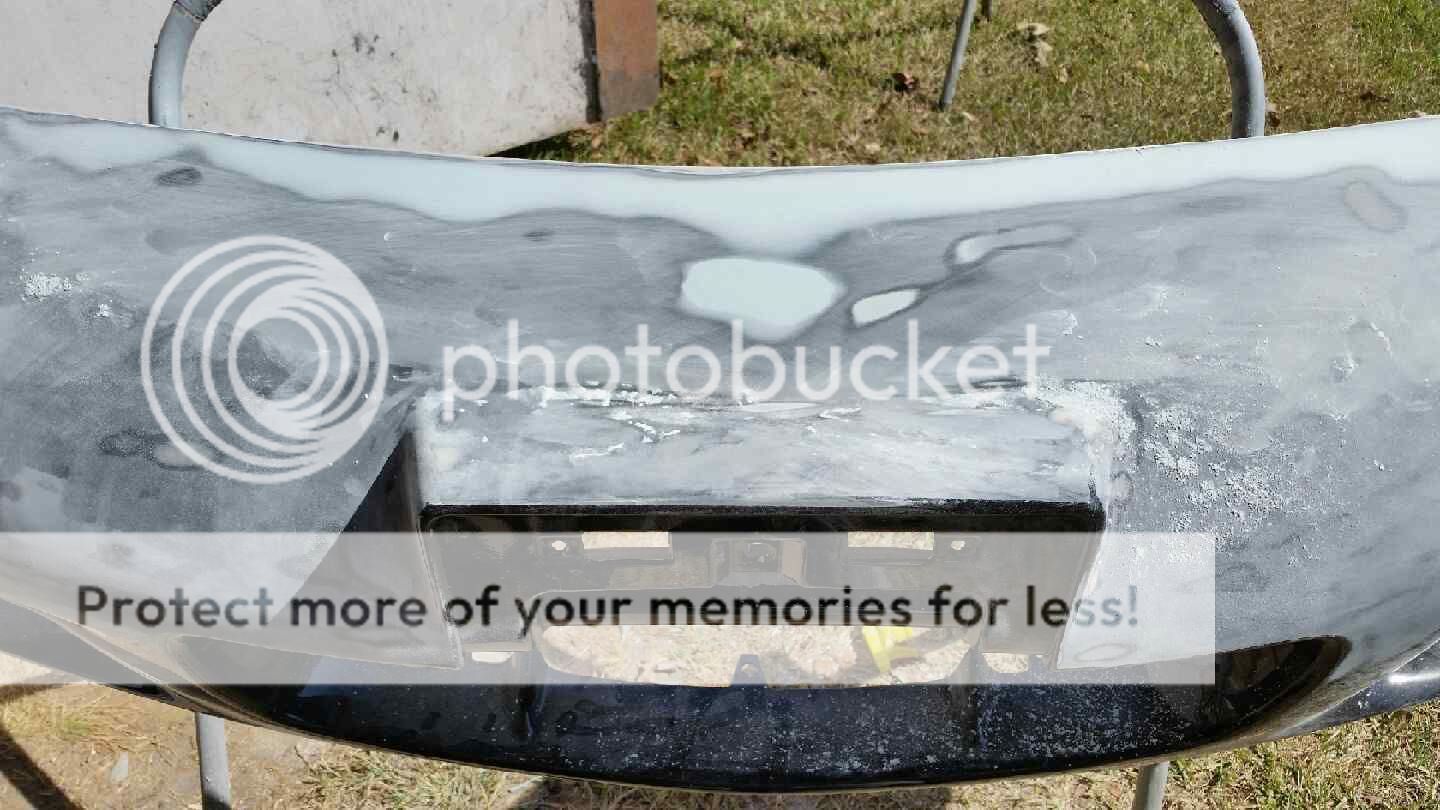
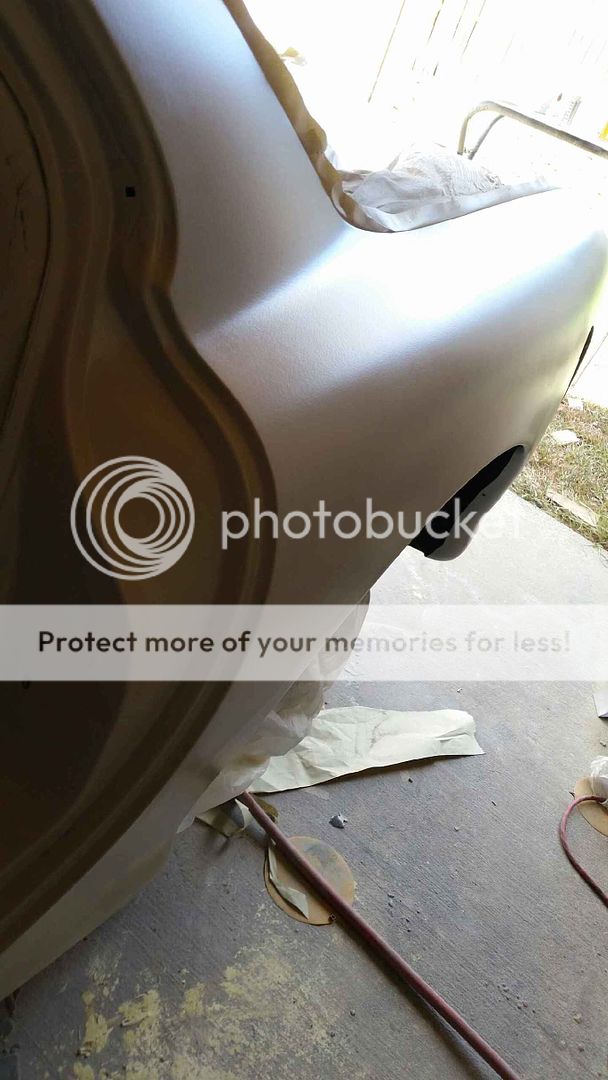
Rear bumper approaching its final prime prep stages:
Primer town!
Finally, it's not really something John has been photographing but he's taking a lot of time getting the hood perfect. There was a spot where the PO dropped the hood on a 102mm TB that has taken quite a bit of work to get perfect as well as some slight hand prints where the bumper meets the hood caused by hard closes I guess. It's tedious work but he's putting the time into it to get it perfect. John's planning on hopefully getting the hood final primed tomorrow or fiday and final block sand the hood, sunroof, and trunk.
Only things left to prep are the fender vents, mirrors, front lip, and rear valance! After that it's paint time!!!
Hoping to get the jambs painted next week!
Lane
John found out that my paint cap door was also red and there were scraches behind it on the quarter leading to the rear bumper. Apparently a PO was airbraking with the fuel door and caught it on something causing it to tumble down the side and scratch up the rear bumper. This is the going theory for why those two parts weren't factory.
John finished stripping the sunroof, primed it, and got the guide coat on:
Additionally he's been putting a lot of fine detail work into my front and rear bumpers. Apparently the last shop had trouble filling the emblem holes in the front bumper and did it twice shooting the top of the bumper twice. John had to redo the work completely:
Rear bumper approaching its final prime prep stages:
Primer town!
Finally, it's not really something John has been photographing but he's taking a lot of time getting the hood perfect. There was a spot where the PO dropped the hood on a 102mm TB that has taken quite a bit of work to get perfect as well as some slight hand prints where the bumper meets the hood caused by hard closes I guess. It's tedious work but he's putting the time into it to get it perfect. John's planning on hopefully getting the hood final primed tomorrow or fiday and final block sand the hood, sunroof, and trunk.
Only things left to prep are the fender vents, mirrors, front lip, and rear valance! After that it's paint time!!!
Hoping to get the jambs painted next week!
Lane
#27
10-21-2014, 07:25 AM
Join Date: Sep 2013
Location: Starkville, MS
Posts: 53
Rep Power: 13
*Update* or lack of updates haha.
Y'all may have noticed that the frequency of updates has declined lately. When we first got started John was working only on the nights and weekends. Then he was working on the car full time for a few weeks. Now, as we near the finish line, John has been working on an extremely exciting plan for his own paint business. I can't spill all the beans yet or share any pictures but lets just say I don't think we're going to have to take my car to a competitors paint booth in a few weeks to lay down the base and clear
I'll break the news officially once John is done and then we'll resume the paint pr0n :cheers:
Lane
#28
10-26-2014, 09:52 AM
Man, this is one helluva thread! Some great progress on your ride. Jeez! It's gonna be awesome when done!!!
Keep us posted!!!!!
Keep us posted!!!!!