991

991 PCM 3.1 Removal - Part 2

  #1  
Old 08-30-2014, 09:07 AM
plenum's Avatar
Registered User
Thread Starter
Join Date: Dec 2013
Location: Chalfont, PA
Posts: 678
Rep Power: 53
plenum has a brilliant futureplenum has a brilliant futureplenum has a brilliant futureplenum has a brilliant futureplenum has a brilliant futureplenum has a brilliant futureplenum has a brilliant futureplenum has a brilliant futureplenum has a brilliant futureplenum has a brilliant futureplenum has a brilliant future
991 PCM 3.1 Removal - Part 2

This is the second part DIY for removing the PCM 3.1 unit from the dash of a '14 991 C4S.

Visit Part 1 if you need to remove the right and left side trim pieces....

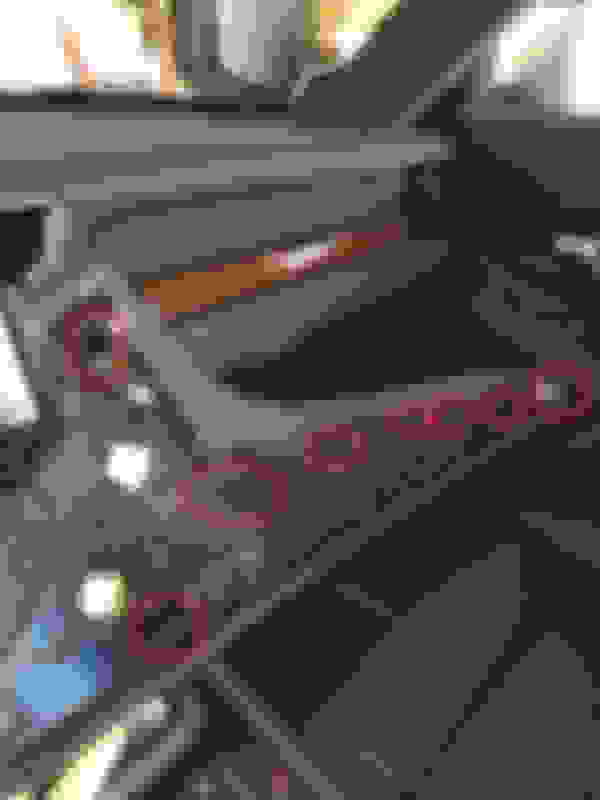
In previous steps, we've removed the two console trim pieces. Here I've indicated all of the female receptacles in the console that the trim piece connects-to:


In this pic I indicate the slot where the "hook-tab" connects - you don't want to break this one off (see further down for a pic of the tab)!


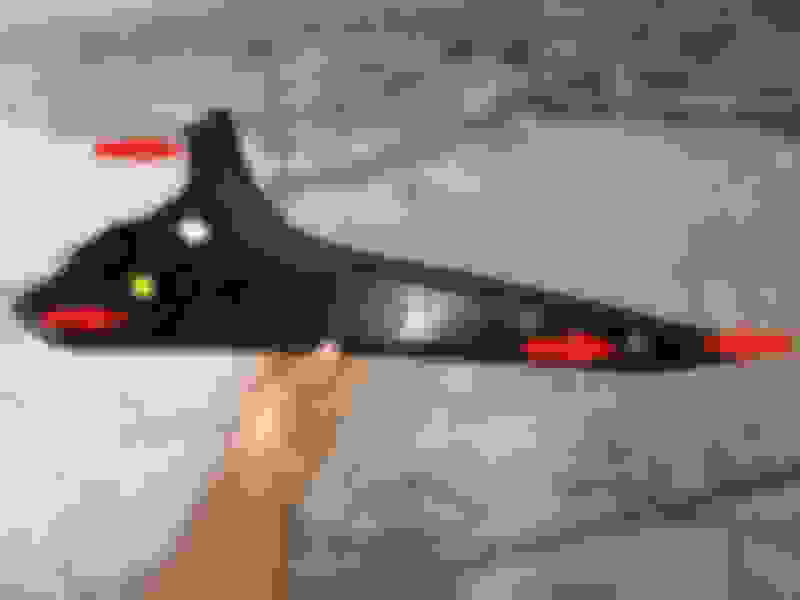
Here's a pic of the passenger side trim piece removed:


And in these shots I circled all the little tension tabs on the reverse side of each piece. There are a lot of them!


There is one tab that is really fragile, and it is more of a "hook" tab that has to clamp into its' connection point under the dash - here is a pic highlighting this tab... Also, note at the top there is a tab that simply insert straight-ahead into the console next to the PCM unit in the dash.


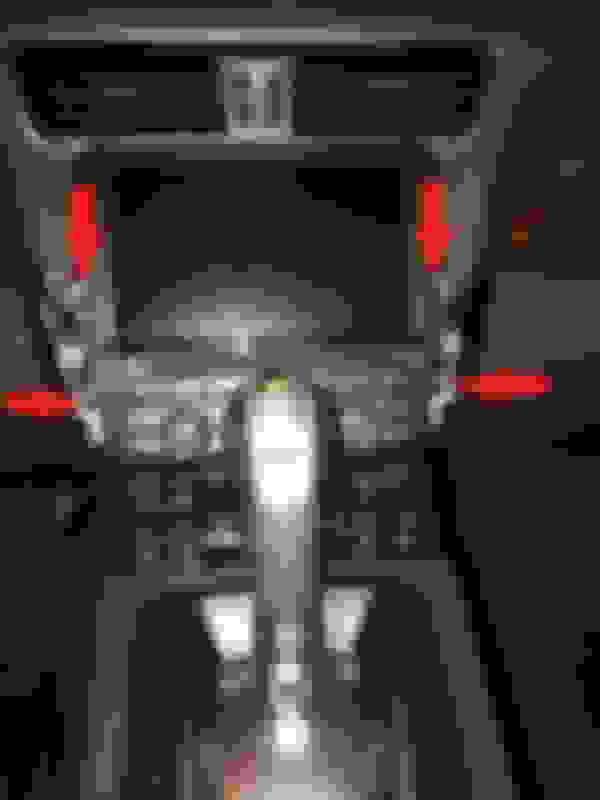
With the trim panels removed, you have now exposed the PCM unit screws to each side of the PCM unit.
Indicated in this pic are the 4 T-25 screws that you need to remove from the PCM unit to get it out of the dash:


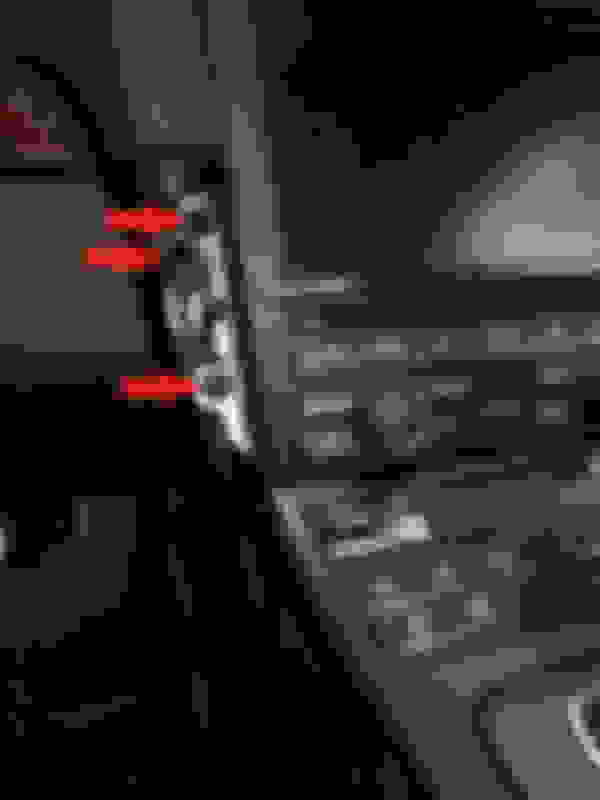
And here are close-ups of the right / left side screws (I also indicate the hole where one of the trim piece tabs inserts straight-forward)


Cover the area directly below the PCM unit, and move the gear selector back


Remove the screws...


Gently pull the unit out of the dash


When you have the unit out far enough to reach the cables in the rear of the unit, you will want to disconnect everything. Be CAREFUL how you remove the connectors -- if you pull too hard on the wires you can pull them out of the connector module! So gently work the connectors out.

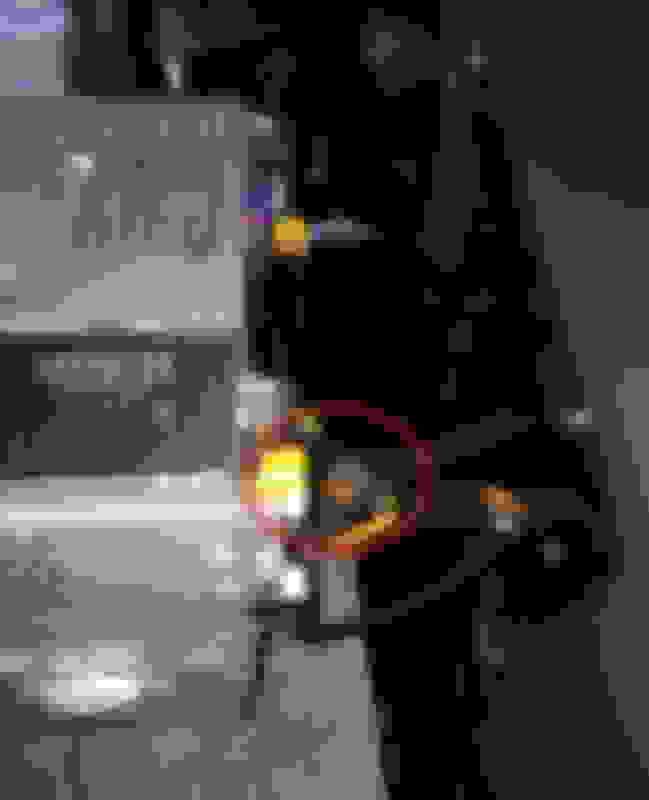
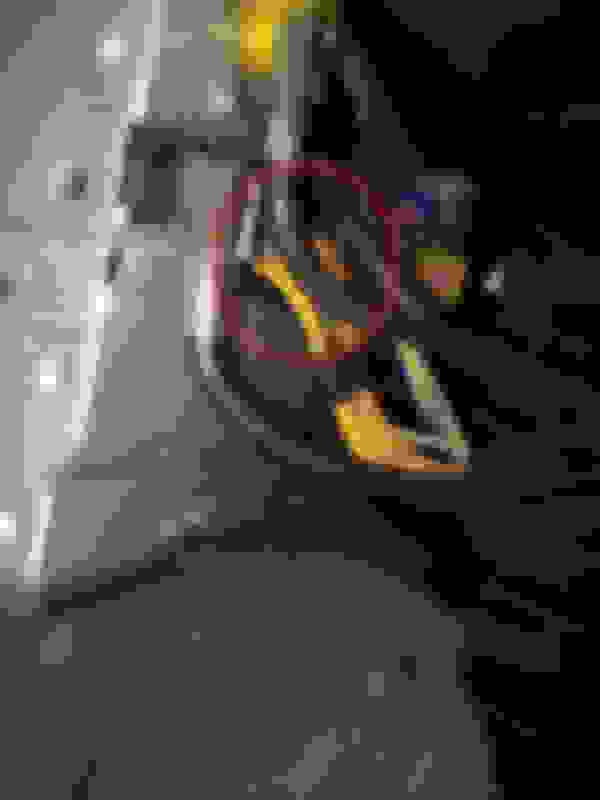
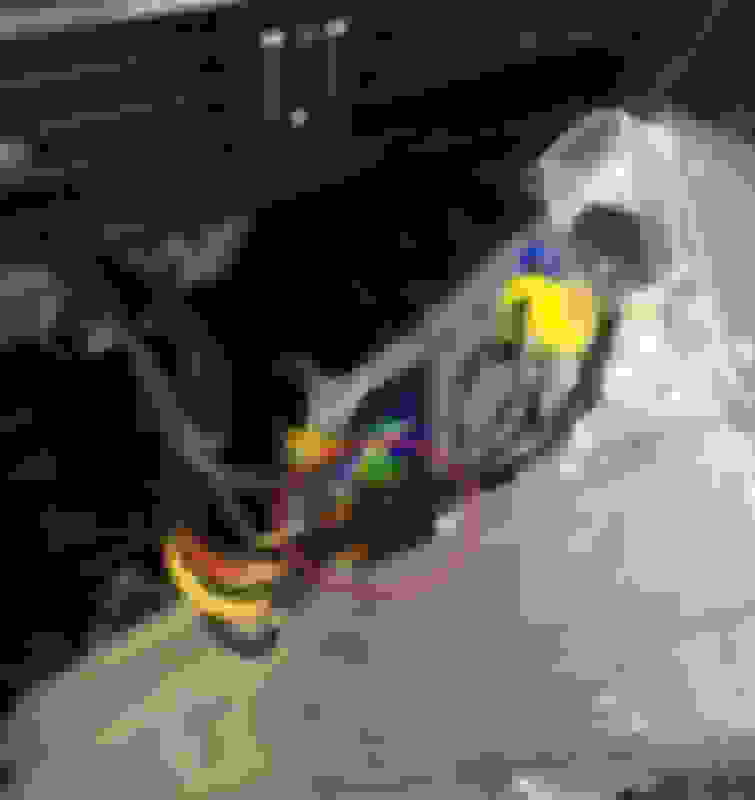
Here are some pics of the rear of the PCM unit (I've circled the wire bundle that you want to focus-on for integrating something like the NAV-TV plug-and-play harness....)


If you are adding a different NAV-TV connector, like the RGB3.1 or the AV970 kits, you will have to remove the unit entirely so that you can put it on a bench and open the case. Unless you have to I would avoid breaking the warranty seals on the unit until after warranty period ends. You don't want any problems you have before then to be blamed on your modification!

Interestingly, I was expecting a large warning label about voiding warranty, but all I found was this little white label...


That's it for now! I don't have the NAV-TV unit yet to actually connect everything, but I will soon and will put together another DIY showing the process of making the connections, and wiring-up a camera from the rear.

To put everything back the way it was, simply reverse the steps above!

For previous steps, Go To Part 1.
 
  #2  
Old 08-30-2014, 09:34 AM
dxb4232's Avatar
Registered User
Join Date: Jun 2014
Location: Dubai
Age: 38
Posts: 164
Rep Power: 30
dxb4232 has much to be proud ofdxb4232 has much to be proud ofdxb4232 has much to be proud ofdxb4232 has much to be proud ofdxb4232 has much to be proud ofdxb4232 has much to be proud ofdxb4232 has much to be proud ofdxb4232 has much to be proud ofdxb4232 has much to be proud ofdxb4232 has much to be proud of
Will be waiting on the DIY on the camera install


Thank you again jawells1
 
  #3  
Old 08-30-2014, 12:33 PM
ChuckJ's Avatar
Registered User
Join Date: May 2010
Location: Dallas
Posts: 2,806
Rep Power: 174
ChuckJ Is a GOD !ChuckJ Is a GOD !ChuckJ Is a GOD !ChuckJ Is a GOD !ChuckJ Is a GOD !ChuckJ Is a GOD !ChuckJ Is a GOD !ChuckJ Is a GOD !ChuckJ Is a GOD !ChuckJ Is a GOD !ChuckJ Is a GOD !
Thank you jawells1, that was outstanding. I too am looking forward to seeing the camera install.

BTW did you install the wood trim or was that from the factory?

ChuckJ
 
  #4  
Old 08-30-2014, 01:38 PM
PorscheCrazy's Avatar
Registered User
Join Date: Dec 2012
Location: New York
Posts: 1,496
Rep Power: 91
PorscheCrazy has a reputation beyond reputePorscheCrazy has a reputation beyond reputePorscheCrazy has a reputation beyond reputePorscheCrazy has a reputation beyond reputePorscheCrazy has a reputation beyond reputePorscheCrazy has a reputation beyond reputePorscheCrazy has a reputation beyond reputePorscheCrazy has a reputation beyond reputePorscheCrazy has a reputation beyond reputePorscheCrazy has a reputation beyond reputePorscheCrazy has a reputation beyond repute
AWESOME stuff!! Thanks!
 
  #5  
Old 08-30-2014, 06:47 PM
plenum's Avatar
Registered User
Thread Starter
Join Date: Dec 2013
Location: Chalfont, PA
Posts: 678
Rep Power: 53
plenum has a brilliant futureplenum has a brilliant futureplenum has a brilliant futureplenum has a brilliant futureplenum has a brilliant futureplenum has a brilliant futureplenum has a brilliant futureplenum has a brilliant futureplenum has a brilliant futureplenum has a brilliant futureplenum has a brilliant future
Originally Posted by ChuckJ
Thank you jawells1, that was outstanding. I too am looking forward to seeing the camera install.

BTW did you install the wood trim or was that from the factory?

ChuckJ
Thank you! I love doing this stuff, and more importantly sharing....

The wood trim was a factory option, Mahogany intertior trim.
 
  #6  
Old 08-30-2014, 07:05 PM
STG991's Avatar
Registered User
Join Date: Apr 2014
Location: Midwest
Posts: 1,349
Rep Power: 186
STG991 Is a GOD !STG991 Is a GOD !STG991 Is a GOD !STG991 Is a GOD !STG991 Is a GOD !STG991 Is a GOD !STG991 Is a GOD !STG991 Is a GOD !STG991 Is a GOD !STG991 Is a GOD !STG991 Is a GOD !
Unbelievable instructions! Great job.
 
  #7  
Old 09-03-2014, 08:45 AM
dux's Avatar
dux
dux is offline
Registered User
Join Date: Jul 2012
Location: Just visiting the planet
Posts: 1,055
Rep Power: 85
dux has a reputation beyond reputedux has a reputation beyond reputedux has a reputation beyond reputedux has a reputation beyond reputedux has a reputation beyond reputedux has a reputation beyond reputedux has a reputation beyond reputedux has a reputation beyond reputedux has a reputation beyond reputedux has a reputation beyond reputedux has a reputation beyond repute
How can this man only have 16 rep points???

Come on people, show the man some love for his tireless efforts and endless DIY contributions.
 
  #8  
Old 09-03-2014, 09:42 AM
SM_ATL's Avatar
Registered User
Join Date: Feb 2012
Location: Brussels
Posts: 2,164
Rep Power: 157
SM_ATL Is a GOD !SM_ATL Is a GOD !SM_ATL Is a GOD !SM_ATL Is a GOD !SM_ATL Is a GOD !SM_ATL Is a GOD !SM_ATL Is a GOD !SM_ATL Is a GOD !SM_ATL Is a GOD !SM_ATL Is a GOD !SM_ATL Is a GOD !
Originally Posted by dux
How can this man only have 16 rep points???

Come on people, show the man some love for his tireless efforts and endless DIY contributions.
Done!
 
  #9  
Old 09-03-2014, 10:39 AM
wanlong's Avatar
Registered User
Join Date: Sep 2014
Location: Toronto
Posts: 20
Rep Power: 0
wanlong is on a distinguished road
GREAT DIY! Thank you! and I am waiting for more!
 
  #10  
Old 10-04-2015, 11:37 AM
BlackBeanChicken's Avatar
Registered User
Join Date: Oct 2015
Location: MIssissauga
Age: 60
Posts: 1
Rep Power: 0
BlackBeanChicken is on a distinguished road
USB Port in glove

Does swapping the head unit, provide a USB port in the glove box as well?
 
  #11  
Old 10-04-2015, 02:45 PM
PorscheCrazy's Avatar
Registered User
Join Date: Dec 2012
Location: New York
Posts: 1,496
Rep Power: 91
PorscheCrazy has a reputation beyond reputePorscheCrazy has a reputation beyond reputePorscheCrazy has a reputation beyond reputePorscheCrazy has a reputation beyond reputePorscheCrazy has a reputation beyond reputePorscheCrazy has a reputation beyond reputePorscheCrazy has a reputation beyond reputePorscheCrazy has a reputation beyond reputePorscheCrazy has a reputation beyond reputePorscheCrazy has a reputation beyond reputePorscheCrazy has a reputation beyond repute
I wonder if we can switch out the 991.1 head unit and replace it with the larger 991.2 head unit??
 
  #12  
Old 10-04-2015, 11:51 PM
tron786's Avatar
Registered User
Join Date: Feb 2015
Posts: 76
Rep Power: 13
tron786 is on a distinguished road
991 PCM 3.1 Removal - Part 2

Originally Posted by PorscheCrazy
I wonder if we can switch out the 991.1 head unit and replace it with the larger 991.2 head unit??
I'll do it after you.
That's the single most important update of the 991.2 that appeals to me.
 
Related Topics
Thread
Thread Starter
Forum
Replies
Last Post
eclip5e
Automobiles For Sale
8
04-28-2022 12:38 AM
gulf gt
Aston Martin
46
08-27-2015 10:27 AM
The Oss
Automobiles For Sale
2
08-24-2015 08:19 PM
Regent
Automotive Parts & Accessories For Sale/Wanted
0
08-21-2015 11:14 AM
ppwchiang
991
7
08-20-2015 10:28 AM


Thread Tools
Search this Thread
Rate This Thread
Rate This Thread:
You have already rated this thread Rating: Thread Rating: 0 votes,  average.

Quick Reply: 991 PCM 3.1 Removal - Part 2


All times are GMT -6. The time now is 11:17 PM.