When you click on links to various merchants on this site and make a purchase, this can result in this site earning a commission. Affiliate programs and affiliations include, but are not limited to, the eBay Partner Network.
This past Winter I ordered up a few things from DB Carbon for my turbo,.. A CF steering column cover and the door spears.
I wasn't aware they were using used parts as cores.
Anyway,.. the steering column cover went on fine,.. but I'm having trouble with the door spears.
It turns out Porsche didn't mean them to be replaceable. They have about 9 plastic pins molded into the back of them that get inserted through holes in the door panels, and then the tips of those plastic pins get melted over into a mushroom,.. using a plastic-welding process. This probably explains why you can't buy them from places like Suncoast.
Anyway,.. to get them off,.. you must drill the melted mushroom bit on the back-side,.. and sort of crack them off. Do it right with drill-bit just over 1/4" dia,.. and you end up with most of that plastic pin remaining. (Still not enough to protrude through the holes in the door panels,.. but enough to be right AT the holes.) You can then drill a tiny hole in what's left of the pins and use screws and washers to re-attach the spears.
Well,. the used ones I got were removed by someone that used too small of a drill bit,.. and they drilled almost all the way through most of the pins, so what's left of the pins are hollow. Some of the pins / pin-bases are just plain shattered.So there's no way I can use screws & washers on most of them.
Also, the door panel is 2 layers thick in some places,.. and the pins serve to hold the layers together.
I contacted DB Carbon and they said they inspect all the used parts they start with and that I should clamp the spear to the door (I have no clamps with that kind of reach,.. and then use an automotive panel-bonding adhesive to glue it all together.
I'm both disappointed and nervous. My driver's door panel is in pieces. I'm thinking I may need to cut bait and acquire a used door panel.
Yeah, that stinks.. I've replaced these in 3 different cars (Bumperplugs painted) and BP doesn't do cores on them (they buy new and paint) for this very reason..
BTW, I used that excellent P9 article to do it.. very easy if your parts arent hosed up ..
I'd probably return them if it were me.. sorry for your troubles.
I just installed mine which I also got from DB. Unfortunately the pieces i got had a combination of fully broken pins and some that are hollow. The instructions you linked are very good, it definitely helped me finish the job.
Once I had the new door spear tightly into place using the screws in all the areas that I was able too, I had 3 or 4 holes remaining on each side due to the pin being fully broken. What I did was I broke or soldered off us much plastic I could from the old door spear, I broke them into very small piece and dropped them into the hole and slowly melted them inside the hole using a soldering iron, effectively creating a pin. Took a while and it was a messy and stinky job but it worked. Keep in mind that you have to hold the door spear tightly into place (I used my hand, clamp would be better) for sometime (2-3min) until the new plastic dries otherwise it will move when it is still hot. My hand would sleep several times during the process due to holding it so tight, took several breaks in between
FYI, the hollow pins are ok as long as you can reach them with the screw you will be fine. Surprisingly it will hold very well even if very little of the screw thread is tightened in the hollow pin. Just make sure you do not over tighten as the screw will pop out the other side and damage the CF.
Last edited by BHR997.2TT; 03-05-2018 at 02:03 PM.
I just installed mine which I also got from DB. Unfortunately the pieces i got had a combination of fully broken pins and some that are hollow. The instructions you linked are very good, it definitely helped me finish the job.
Once I had the new door spear tightly into place using the screws in all the areas that I was able too, I had 3 or 4 holes remaining on each side due to the pin being fully broken. What I did was I broke or soldered off us much plastic I could from the old door spear, I broke them into very small piece and dropped them into the hole and slowly melted them inside the hole using a soldering iron, effectively creating a pin. Took a while and it was a messy and stinky job but it worked. Keep in mind that you have to hold the door spear tightly into place (I used my hand, clamp would be better) for sometime (2-3min) until the new plastic dries otherwise it will move when it is still hot. My hand would sleep several times during the process due to holding it so tight, took several breaks in between
FYI, the hollow pins are ok as long as you can reach them with the screw you will be fine. Surprisingly it will hold very well even if very little of the screw thread is tightened in the hollow pin. Just make sure you do not over tighten as the screw will pop out the other side and damage the CF.
This is sage advice. I installed a set once from Exclusive Options (leather) and screws didn't always work. This process melting plastic pieces works like a charm.
Been working on it for a couple of days (the first door panel).
I did the plastic welding method, taking plastic off the old spear to melt plastic onto the CF spear to rebuild the pins.
Then drilled holes in the center of the pins with a 5/64 " drill bit. Then using #4 screws and washers from Home Depot. ( a combination of 3/8" and 1/2").
The one at the very rear cracked when I tried putting a screw in it,.. so I used JB Weld for that one. Screws on the other 8.
PRO TIP. The silver pull handle has a nub on the bottom of it that need to fall into a hole at the bottom front,.. and depress a pin switch. There is adjustment on the bottom of the mechanism inside the door. When you put that piece back on,... test fit the handle first with the screw,.. then adjust so it works right before tightening the 3 screws on the inside of the mech.
ONE PROBLEM STILL. The handle has a counter-weight inside at the bottom,... as well as a rubber bumper inserted into the CF spear behind the handle,... all so that when you release the handle you hear a satisfying deep thunk as the handle snaps closed.
My handle hits the cf spear. I would presume that DB carefully sands away material from the used spears in critical areas so that after applying the carbon and clear that things still fit.
Apparently not. My silver pull handle hits the CF at the top and a little bit at the bottom,... preventing it from closing all the way. It no longer hits the rubber bumper,.. and letting go if the handle produces a high-pitch crack as it slams home onto the CF. Like a screwdriver handle hitting a piece of plastic.
My steering wheel is off at DCTMS,.. so my battery is not connected,.. so I have not been able to check if the handle is closing enough.
What now? I guess mu only options are grinding on the CF (which would be VERY visible when opening the door),.. of grinding away material from the silver painted handle.
This is soooooo ghetto.
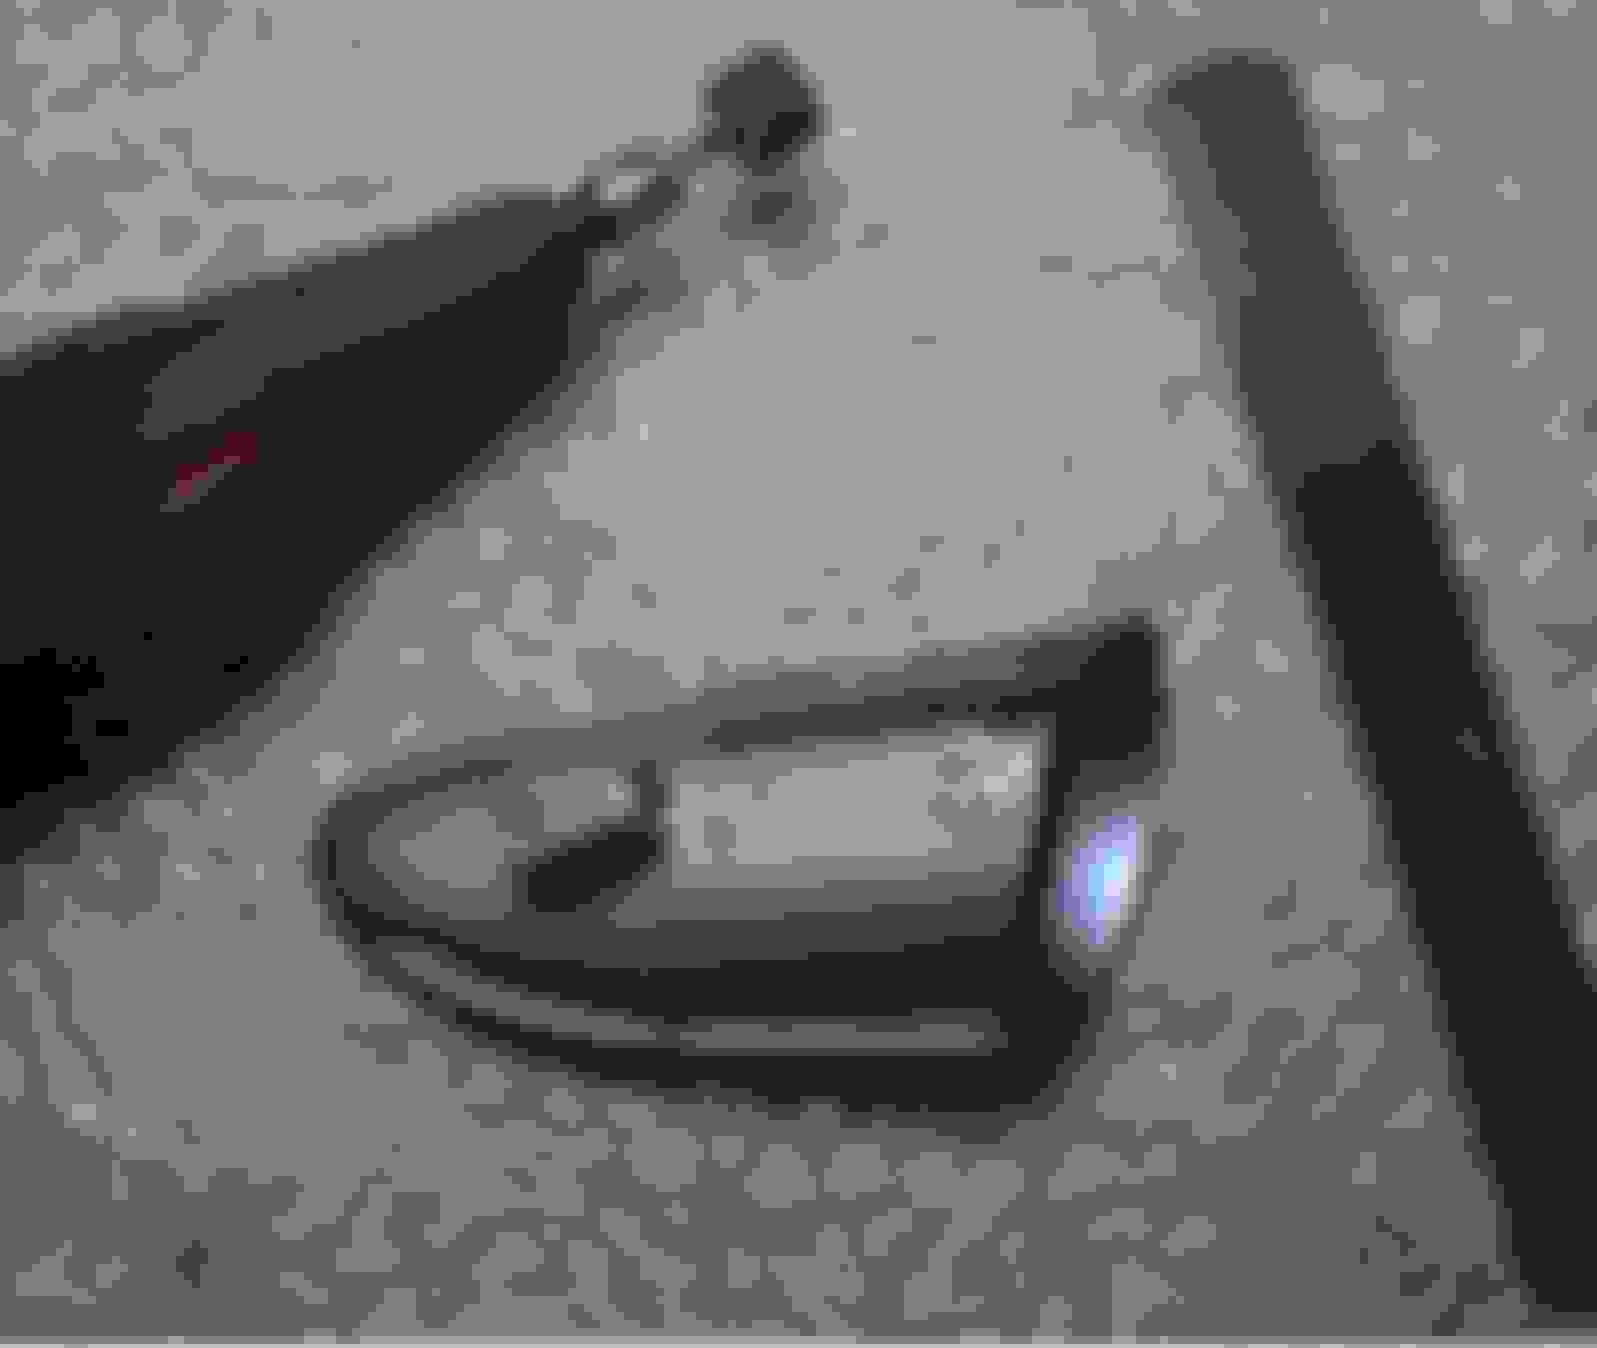
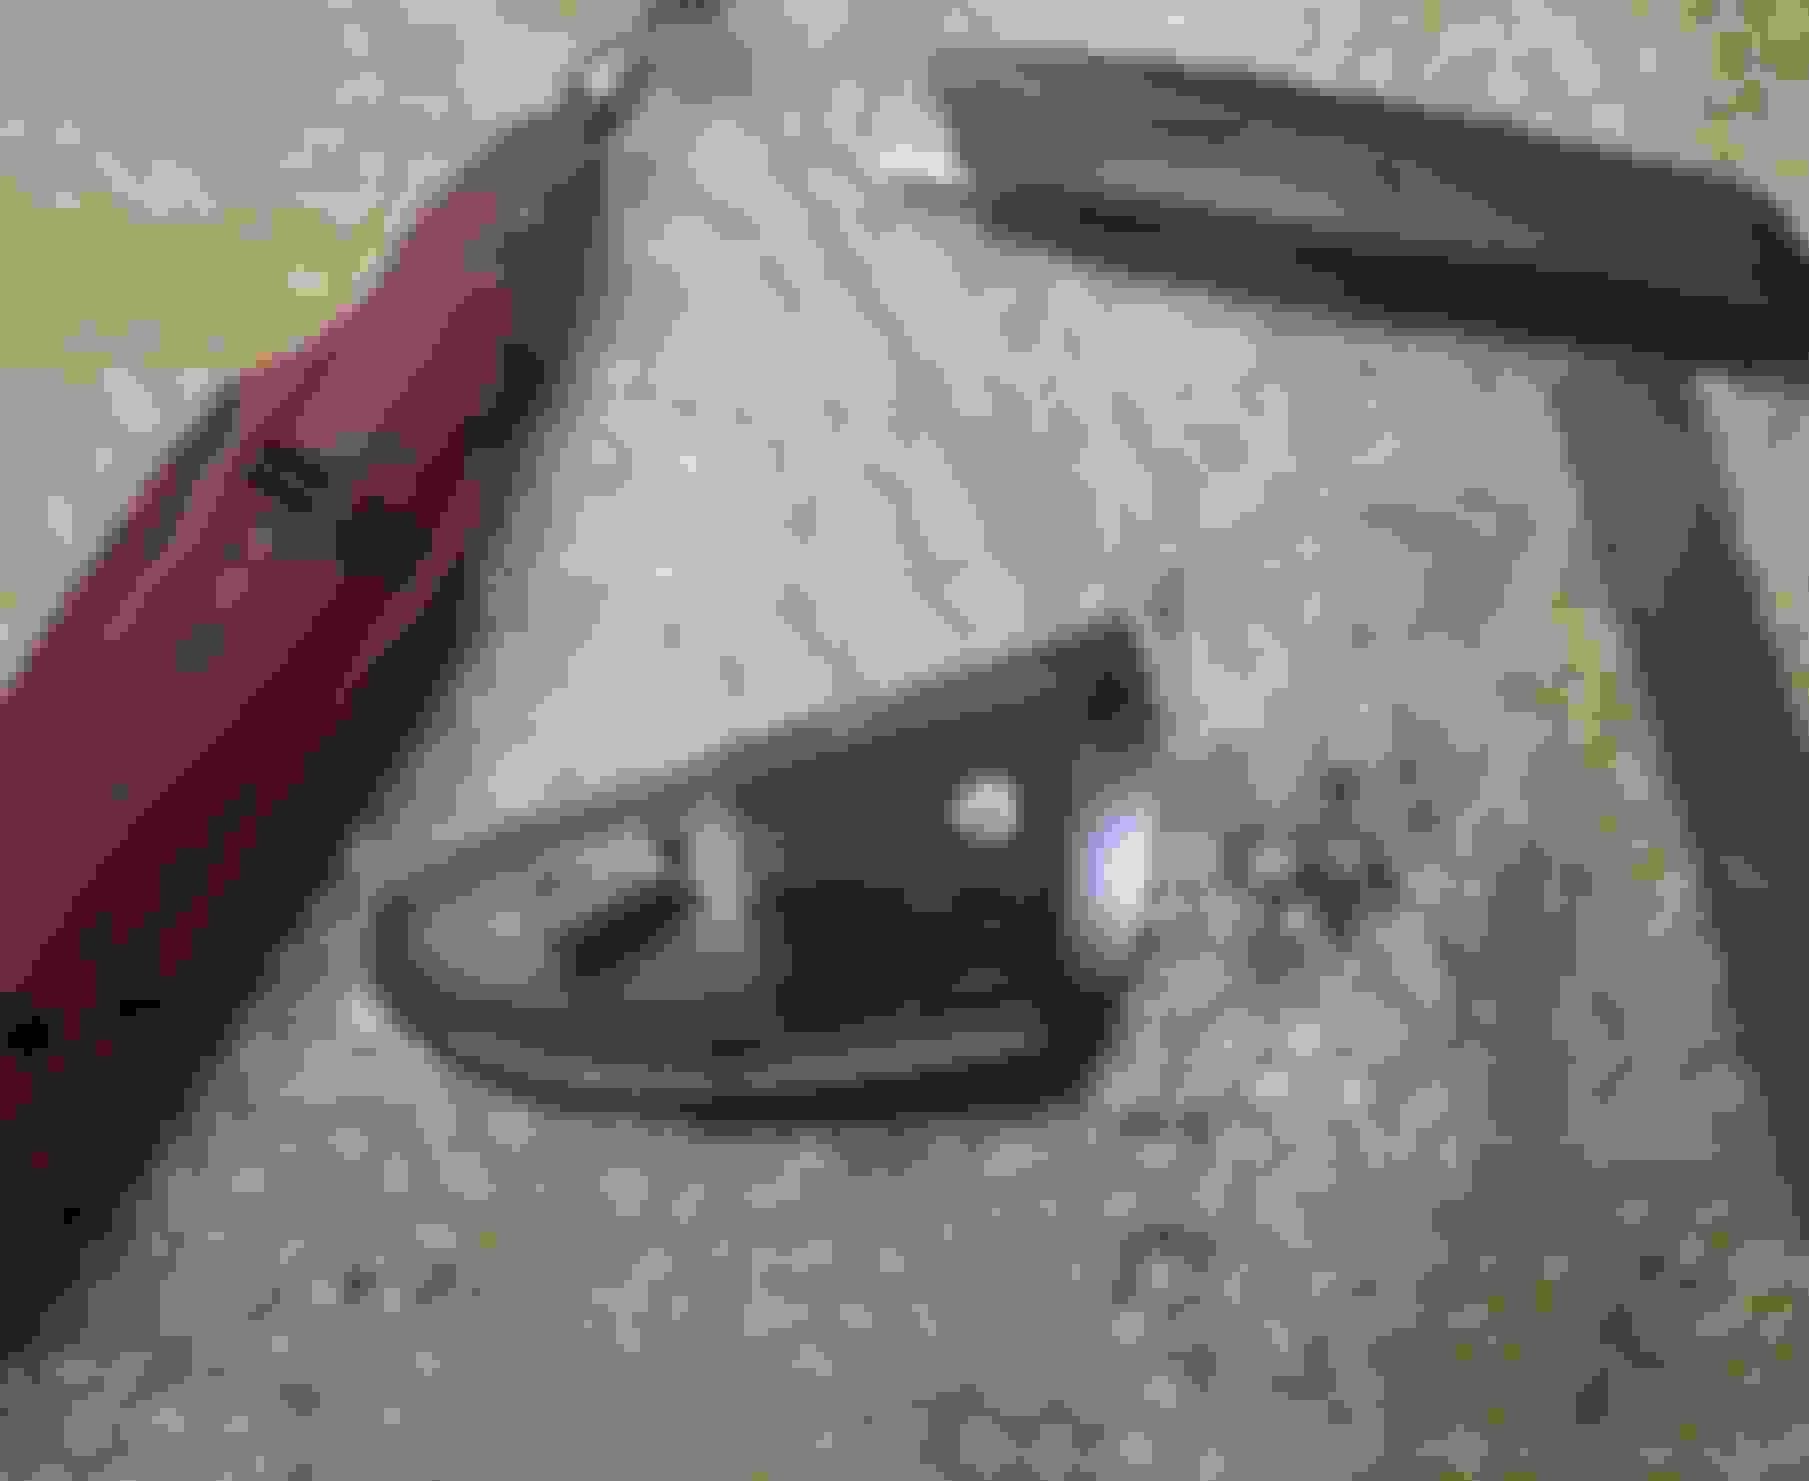
Here's a couple of pics.
First pic with small red arrow showing the biggest problem area.
Third pic with the yellow line is where the door spear SHOULD probably end.
Got out the belt sander and some files and removed enough material that it closes all the way now. (So when its closed,.. you can push in on the silver handle and see move a tiny bit,.. so you know it's sitting on the rubber bumper and not riding high on the CF).
Also,.. after the grinding,.. I can now hear the micro switch click as I gently let it close.
I'm guessing the micro switch unlocks the doors (when you pull the interior handle). I'd also guess that if it doesn't get depressed,.. it isn't going to let you lock that door.
Anyway. All done. Looks decent,.. though the top edge is pure black as the CF doesn't wrap up over the top edge. Oh well.
Now to decide if I'm going to do the passenger side. Think anyone would notice if only one was done? LOL.
In case anyone is lost about "bumper" and "micro-switch",.. here's a pic showing the bumper (yellow arrow) and the micro-switch (green arrow).
I think you did a better job than most. I had the same problem on both sides with the handle hitting the spear rather than the bumper.
Too bad that Duckstu didn�t contact us any further, we received no information about any issue - just one mail with the question how to install the used OEM base parts.
If we didn�t take enough care on the edge of the door handle or whyever it was missed at our final end control to notice that it went too thick - we would have directly replaced the issued part as it does not work like that and to modify any attachment part we would never ask any customer!
If we can help any way also when things are finished already, please let us know.
Few of our products are based on used OEM parts, but just in perfect condition w/o anything broken or damaged. Those originally melted together parts are an different story and requires an acceptable solution.
The passenger side spear had pins in a lot better condition. In fact the top 3 at the front were in near perfect shape with holes already pre-drilled. I only had to add plastic to 4 or 5 of the pins.
But again I had to remove substantial amounts of material from the silver door pull to get it to close properly. Well,... close to properly. Not sure that's ever really possible. Neither side really hits the bumpers correctly. The face of the spear is thicker because of the carbon,.. but the bottom of the bumper recess isn't moved outward,... so the bumper sits more flush than it does on a stock spear.
I removed a LOT of material from the back of the handle with files and a Dremmel (with small drum-sander), leaving a round silver pad untouched where it lands on the bumper to get it to hit THAT,.. instead of going "clack" onto the CF.
Here is the driver's side marked. (This side was easy,.. as there was a wear mark where the bumper had repeatedly hit it over the years.)
And here is the finished product.
I'm thinking that perhaps this isn't a part that should be getting the CF treatment. The clearances are rather important. The handle must land a certain way to sound right and to engage the pin switch.
I have lots of tools and a good grasp of what's needed for a proper fit. but I don't think most of my car friends do. Definitely an above average DIY. The required skill lever is more along the lines of an inter-cooler upgrade than the brake rotor replacement type job I was expecting..
Can't wait to drive the car now. Just have to wait 3 weeks'ish for my steering wheels to get back from DCTMS.
 03-05-2018, 09:50 AM