When you click on links to various merchants on this site and make a purchase, this can result in this site earning a commission. Affiliate programs and affiliations include, but are not limited to, the eBay Partner Network.
I finally took delivery of a 2005 Continental GT with 41k miles on it. Of course it is not perfect and I would never buy a perfect car either. Most of the fun is working on it
My wing was not working when I got the car and the yellow faulty wing light was on my display. If I press the wing up/down button, I could hear the motor, but the wing was permanently in the down position. I just want to share how I fixed it. Remember I am no expert.
The only special tool required for this job is a set of torx wrenches. It seems like Bentley really likes torx building the Continental.
First thing you have to do is to remove the trunk lining, ehh boot. Its a British car.
Remove the warning triangle mount and there is another screw opposite side of the interior release handle. The lining is a snap on/off type, so you can just pull it off. It is not required, but you could use a panel removal tools set:
Make sure not to rip any of the electrical connections to the lining when pulling it off. After the lining is pulled off, carefully disconnect any electrical connections to it. The Boot should look something like this after removing the lining:
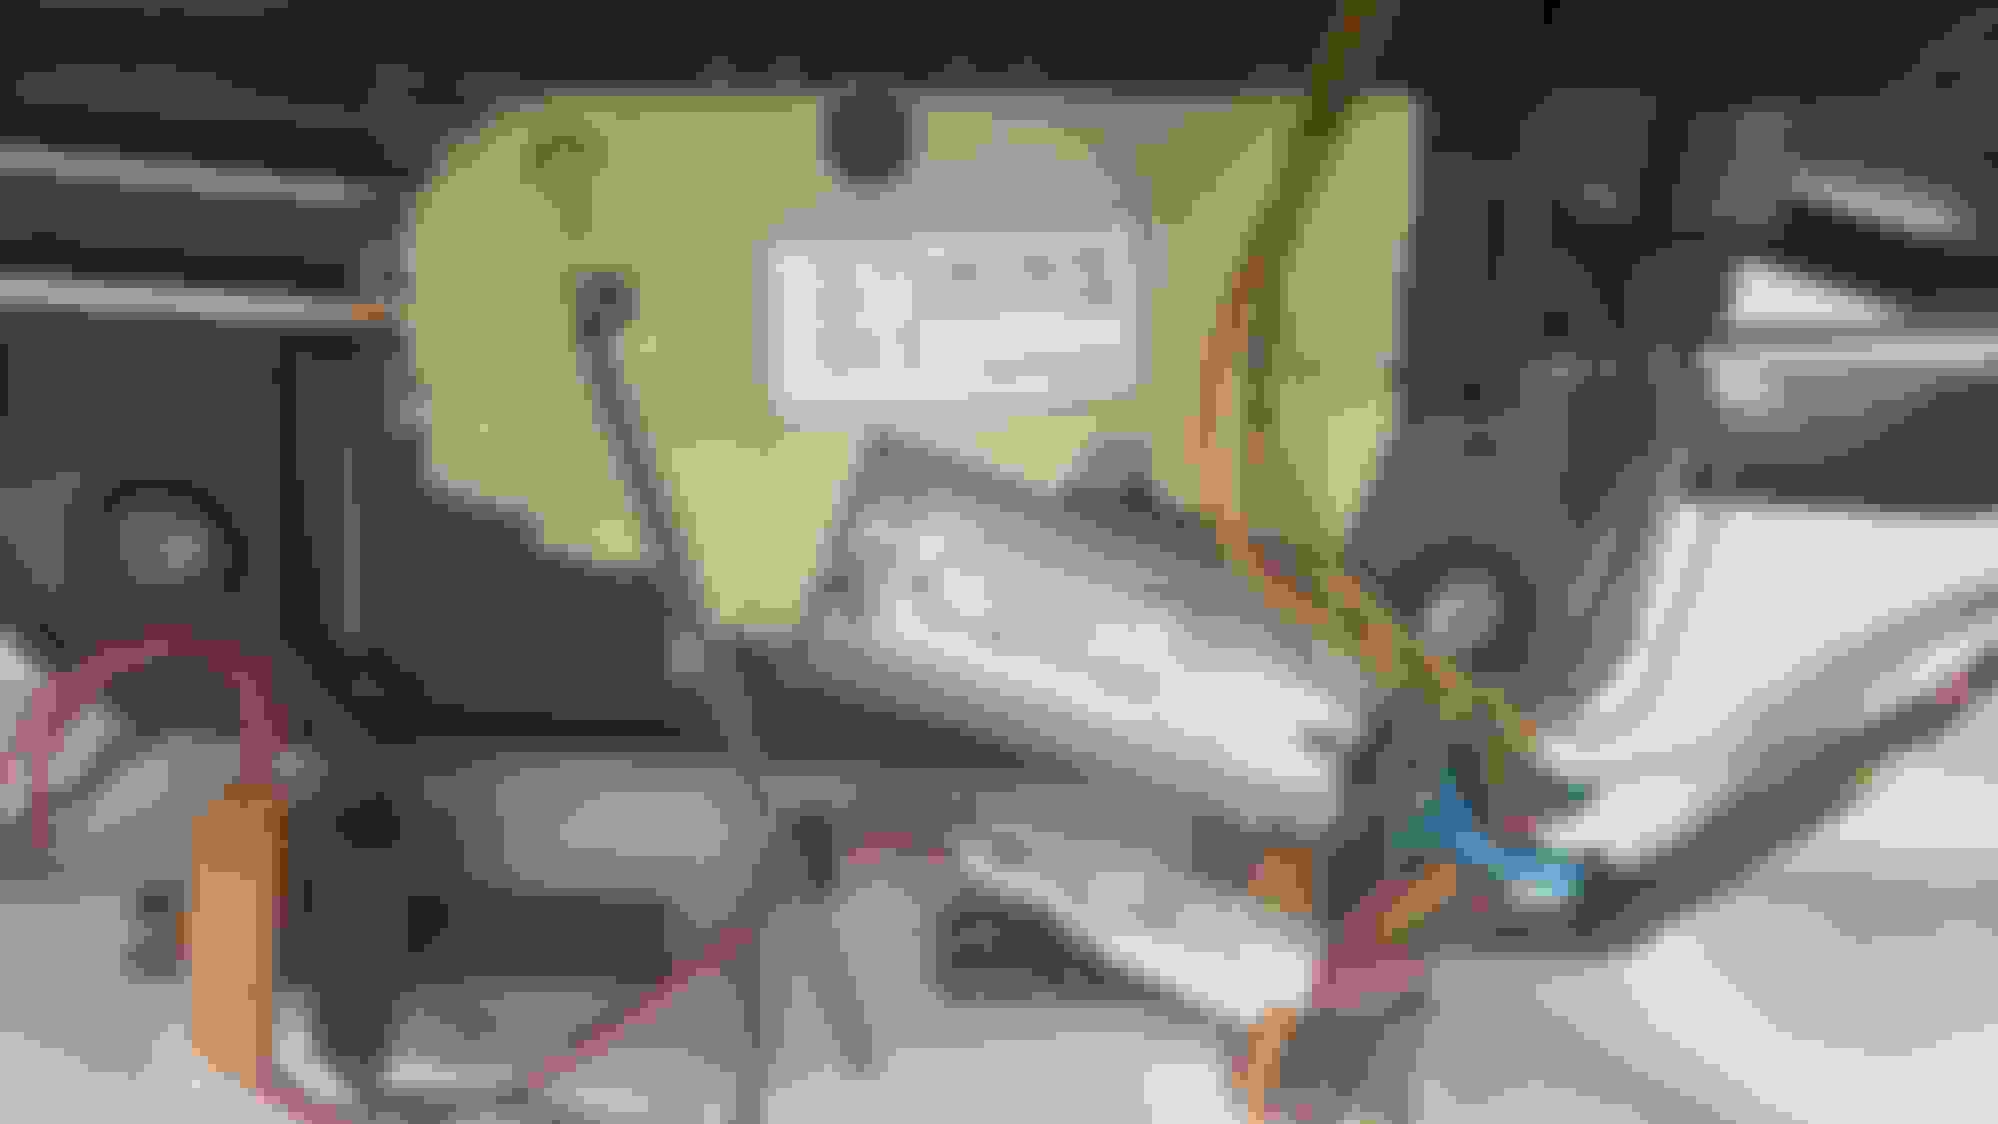
Right smack in the middle is the motor operating the wing. It operates in a way, it pushes two runners through a tube moving the wing up and down. it frequently happens, that the gear which pushes the runners will slip and skip a couple of notches. The gear usually slips because, lack of lubrication and the wing mechanism binding. After the gear has shifted position with the runners it will break the holding mechanisms for the tubes due to misalignment. Below is an illustration what the broken holding mechanism looks like:
The white wire is the runner. The black cylinder on top is the holding mechanism securing the tubes in place. The silver tube on top is supposed to be mated with the silver piece on the bottom and the black cylinder is supposed to hold the tubing in place. The runner is supposed to run inside the tube pushing the wing up/down. When the runner is out of alignment it will pop the tube off when the wing hits its maximum position due to excessive force.
Next, we have to remove the motor, so we can clean the gear and adjust it properly with the runners.
Here is what the motor looks like removed. The gear is what is pushing the runners back and forth.
Above is what the runners look like inside the tubing. They are notched for the gear to move up and down. after the motor is removed, you should now be able to manually move the wing to its top location. and re-attach the holding tubes again.
Sorry for the fuzzy image, but above you can see how the cylinder attach to the tubing when properly fitted. After re-attaching the tubes, go ahead to make sure the teeth on the runners are clean. Then re-lubricate them and the wing mechanism. You should be able to raise and lower the wing fairly easily without binding when it is properly lubed.
Pull the wing up in to its maximum up position and then press the wing up button inside the car ensuring proper positioning of the motor.
Remount the motor.
You could manually test the wing by using an Allen wrench like below:
After remounting, test the wing by pressing the wing down button inside the car. The wing should easily come down and the yellow wing light in the dash should also turn of. Operate the wing a few times up and down before remounting the Boot lining.
Hopefully this helps
Cheers,
Zaos
Last edited by Zaos; 11-21-2014 at 01:29 PM.
Reason: missing picture attachments
Mine had the same problem, unfortunately though the 'black holding cylinders' had stripped threads from coming apart. Bentley no longer supply any spares for this wing mechanism as it's been re-designed twice, and wanted �1000 + VAT for a complete new wing mech. I had a local garage manufacture two stronger holding cylinders and this has done the job for me.
 11-21-2014, 09:57 AM