When you click on links to various merchants on this site and make a purchase, this can result in this site earning a commission. Affiliate programs and affiliations include, but are not limited to, the eBay Partner Network.
It's always worth checking the electric vacuum pump too after having the vacuum lines repaired. Mine burned out due to overheating when my lines split.
I got one from an Audi A8 as a replacement as it's the same part number.
Actually there are different circuits of vacuum, and a electric vacuum pump that supplies the vacuum to the brake booster, the vacuum lines on top of the transmission, and others, these vacuum circuits do get vacuum from the intake a Zaos stated, but these same circuits also get vacuum from the electric pump when the engine is at a low vacuum RPM, such as the turbos building positive pressure in the intake, not vacuum, so, that is why when the lines are cracked and leaking and you press the brake pedal you will hear the electric vacuum pump run on, the vacuum pump is located behind the fender liner on the drivers side as shown in picture.
Also just a note, for others who may read Zaos' thread here for vacuum leaks, and those people may have a Flying Spur, I have read in the past on other threads some saying the "lines may be leaking on top of the trans" in reference to a Flying Spur, the only problem is the FS never had the vacuum lines on top of the trans, the lines and solenoids are located up behind the air intake manifold on the FS, along with the other lines along the firewall (steering rack) same as GT, see pic of FS engine trans combo, I have looked at many 06/07 FS engine/trans packages and none ever had the vacuum lines on the trans, I have only seen the VL on the trans with the 04/05/06 GT engine/trans packages, the 07 and forward GT years have the vacuum lines and solenoids just like the FS, up behind the air intake manifold, and of course along the firewall as stated.
.
Great news!!! I have a 2008 GT Speed. I was very concerned that I might be facing the Vac leaks of the earlier GTs. Thank you for your input and picture.
Having to roller carts like these are invaluable when installing the engine. Not only can you move them, you can also lower/raise them
SLOWLY putting the engine back in to the car. Or should I say putting the car down on the engine
I was having some trouble aligning the secondary engine mounts to the chassis. Rigged this contraption up, so I can move the engine just enough for the bolts to align.
Last edited by Zaos; 02-12-2017 at 09:37 PM.
Reason: spelling
Monday Feb 13 2017 1:30am .... may I be first of many in awe of your project....notice that you fabricated a bracket on trans to level while installing....both you and Johnny are extraordinary examples of ingenuity and putting on a seminar here in Bentley....We are all looking forward to Johnny achieving seemingly impossible, which I have no doubt he will do, adapting new engine, rewiring harness all without lift and specialty tools....I just cannot figure out how he will do it...and he isn't even Swedish...JimB
....I see in the process of lowering body it was very tight, to protect some lines you put the metal sign in between, very smart, improvising as conditions present...yesterday because of our drought curing deluge, I had to drive 50 yards through 1-foot of water, slowly, she seemed to handle it fine...guess I should ask Johnny, he is Bentley Submarine specialist...only residual of battery disconnect for 2 weeks is driver side rear window seems to be in short drop position, not 100% up, it is perhaps 99% up...I tried hallway down, hold 2 seconds, up all way 99%...I'll try again today...thanks JimB
While putting back the engine I decided fixing my clouded headlights, using some sandpaper and rubbing compound. My products of choice are the 3M perfect-it professional compounds level 1 to 3
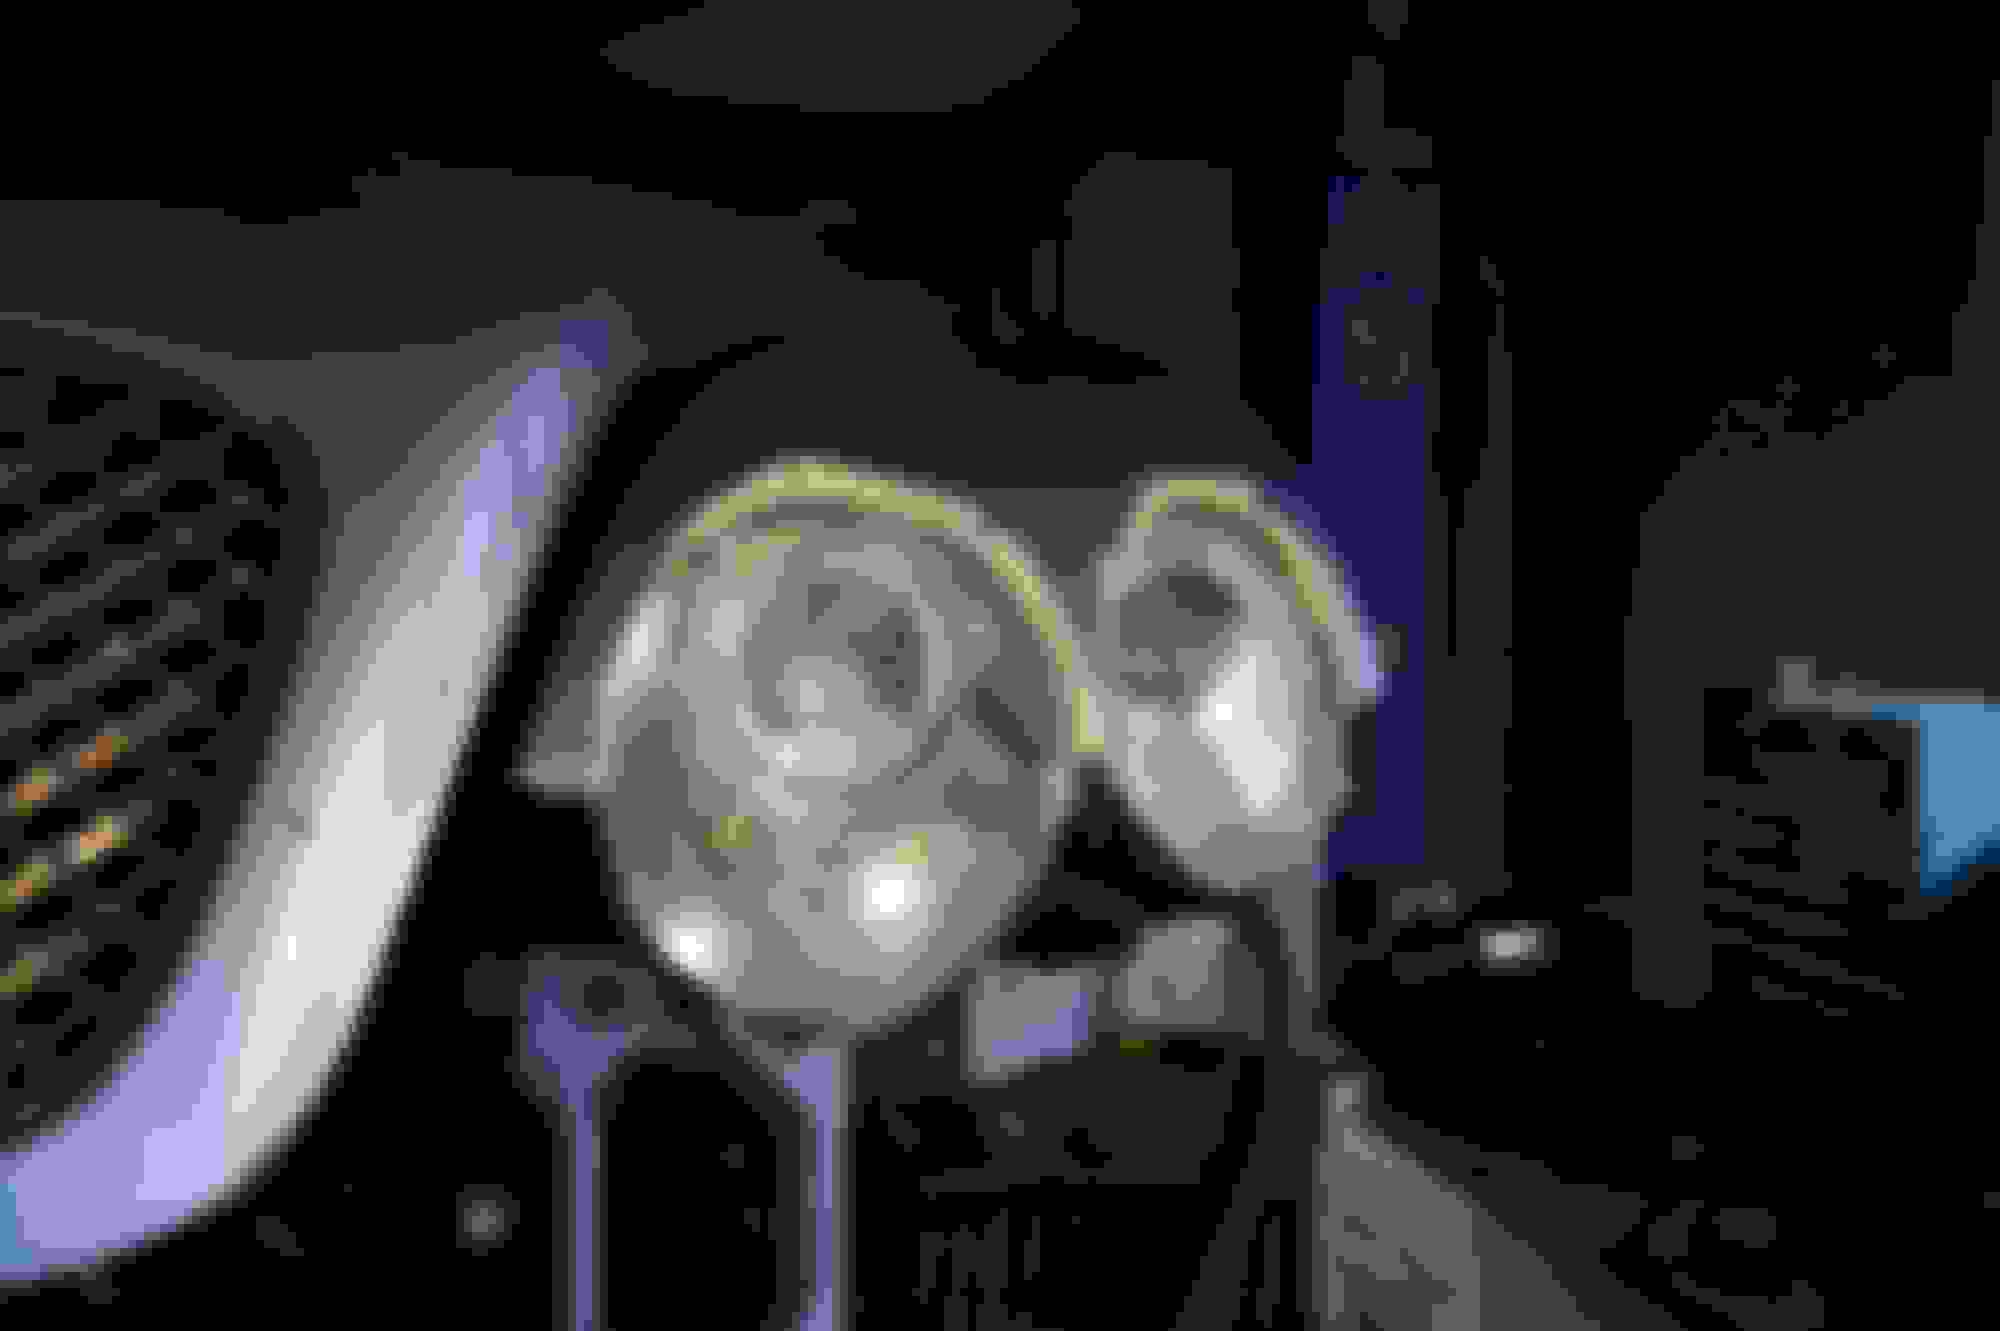
Here is what my hazy lights looks like before
First, use masking tape, protecting the paint
start buffing the lenses. I started with 1200 grit sand paper. Then 1500, and finally 2000 grit
After sanding the lenses looks REALLY hazy. No worries though. After applying rubbing and polishing compounds, the lenses will look like new again
Lifting the radiator assembly into place. It was a little tricky getting all those quick connect radiator hoses to actually click into place
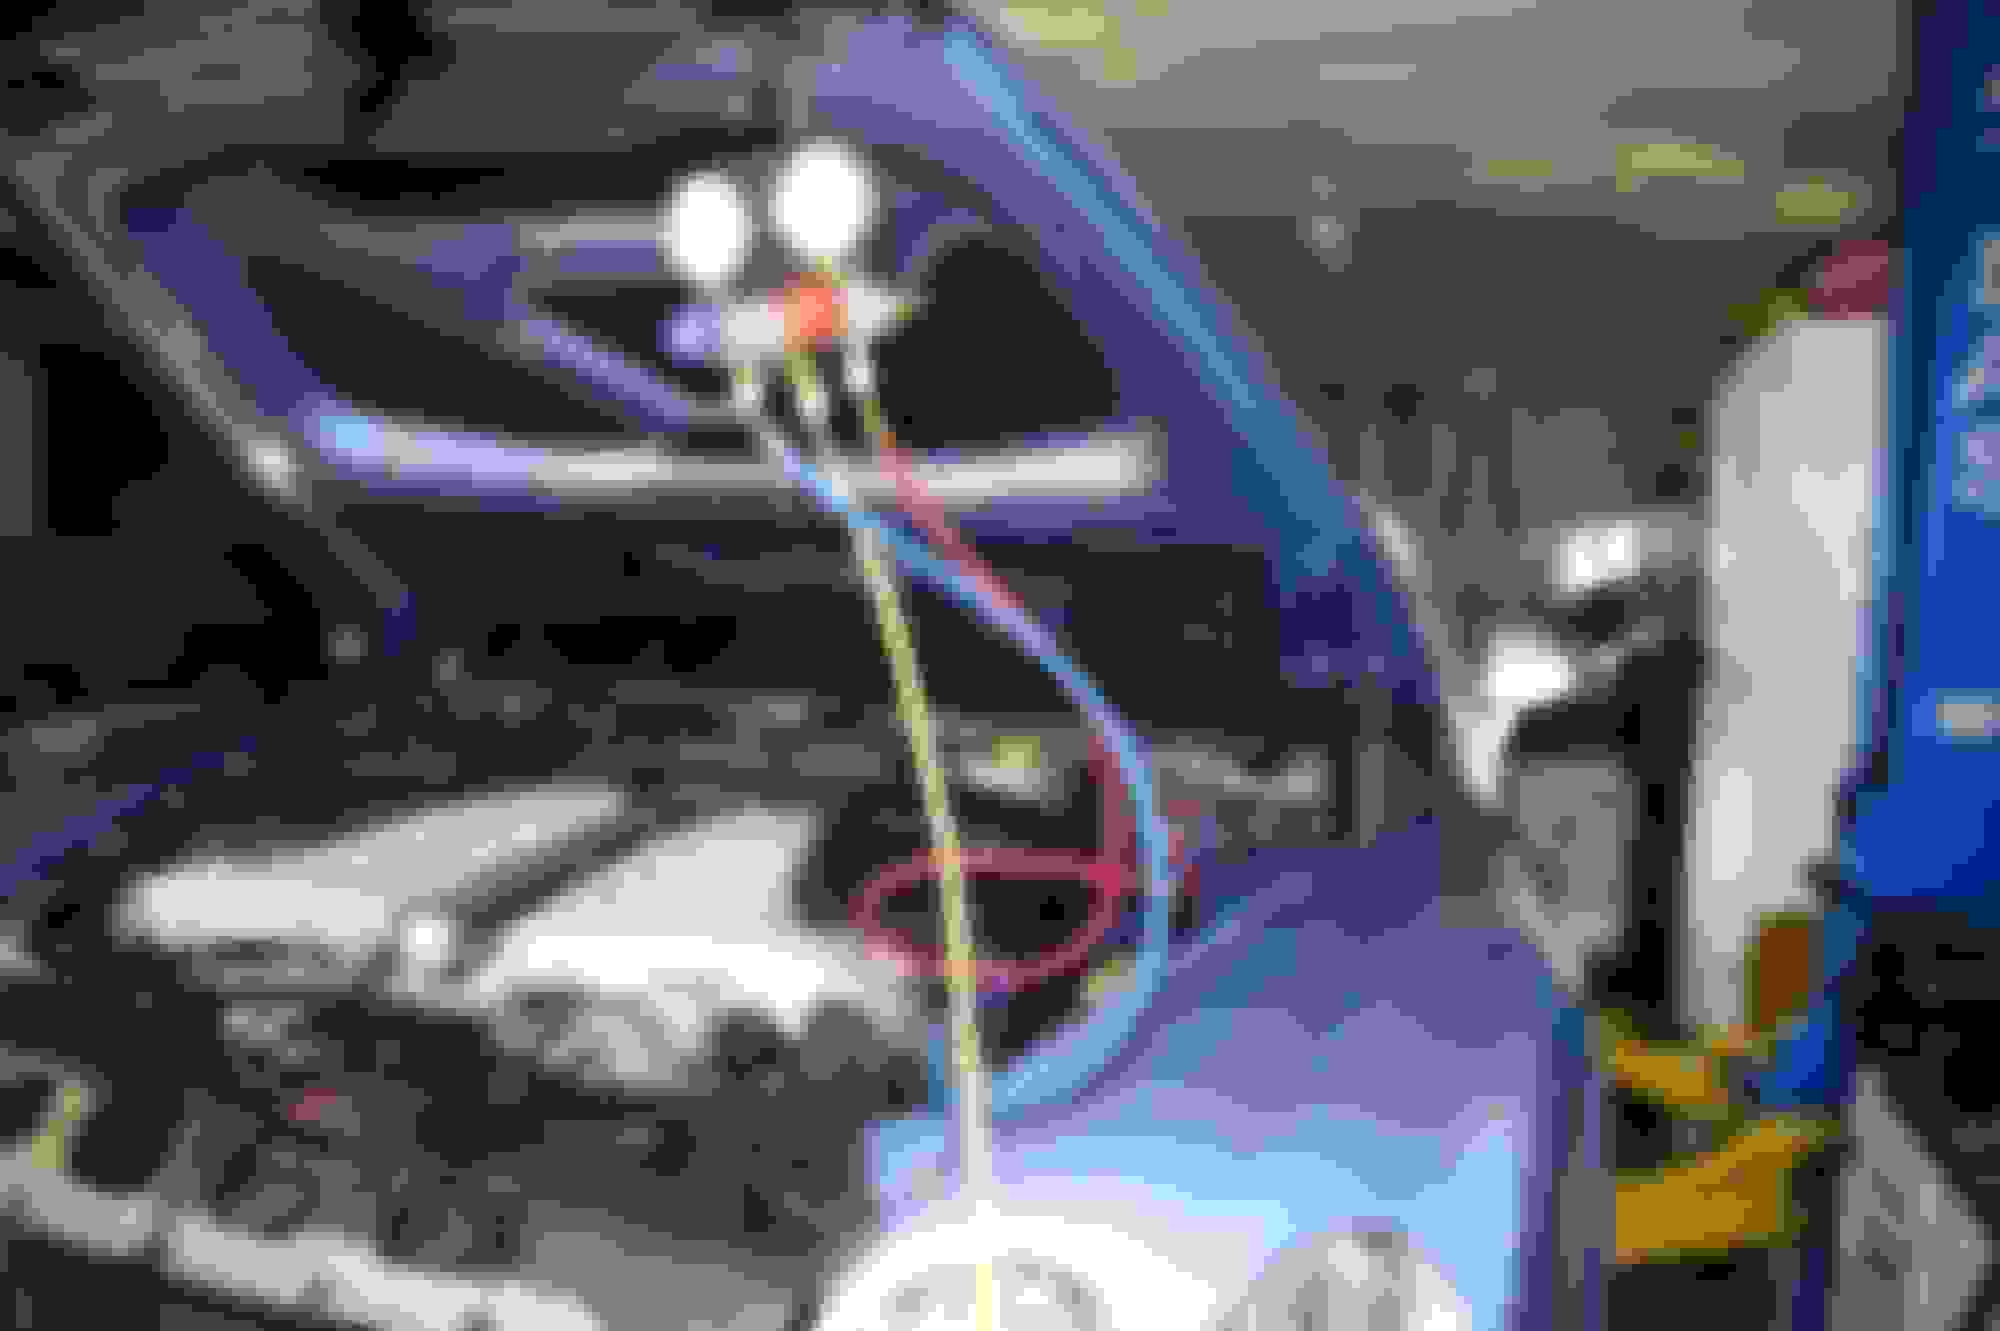
After everything is put together, it is time to recharge the AC system. First, inject just 1 oz or so AC compressor oil. When removing the AC radiator, you only lose the oil in the lines and not much more. The rest of the compressor oil is still inside the AC compressor.
Then you have to vacuum out the AC system using a vacuum pump for 45 min or so. After that put a little less than 2 twelve oz cans of R134 into the system (600-660 grams)
....truly amazing that your back on road already...what was most difficult three (3) things about doing the job...are all systems functioning....that lift is really key...your wife must be a saint...everyone should have a lift...maybe in the next life...
....now Johnny's trip without a lift is beyond amazing...what goes after amazing...
I actually saw an IBM executive before an audience stretch for the adjective...he blurted out
"unnatural act" .... So that must be what Johnny is doing...JimB
Hello Zaos,
First off, beautiful job you did there !!
Next, I have a member (Louis) on AW asking about how you did the locking clamps on the CV boot, are they new, if so, did they come with the boot, or separately, the pic looks like you reused them, just not sure.
Thanks !
....Hello Zaos...a lot of us out here love the pictures, they are very helpful to illustrate the construction of our Bentleys...for us who know little about the inner workings and plumbing...could you please identify the various cooling radiators that appear in your picture above...I presume the largest one is the main cooling engine radiator...but the rest...also very perplexing is that nothing substantial appears as the bumper foundation/supports...how does bumper gain its strength to protect the fragile radiators...you know what I mean...
Thanks JimB
...Hello Zaos or Johnny...do you have pictures of the Bumper assembly...how does one remove the front bumper...what are the steps...
...The new Lenovo lap top is amazing, just getting familiar with it...later will try to download the software for Autel...JimB
Hello Zaos,
First off, beautiful job you did there !!
Next, I have a member (Louis) on AW asking about how you did the locking clamps on the CV boot, are they new, if so, did they come with the boot, or separately, the pic looks like you reused them, just not sure.
Thanks !
If you order the Bentley Part ($60), you get everything you need. You could also do it for around $20 if you purchase the separate components.
The clamps are one time use only. To remove the CV boot, you have to cut the clamps. If you look at the pics, you will see a hump on the clamps. You will need side cutter pliers or something squeezing the hump together, tightening the clamp.
could you please identify the various cooling radiators that appear in your picture above...how does bumper gain its strength to protect the fragile radiators...you know what I mean...
Thanks JimB
Well, the big radiator is for engine cooling. The smaller one on top of the big radiator is a transmission cooler:
The one in front of the radiator is the AC cooler:
The ones on each side are charge coolers:
Finally, the one, hanging down next to the creeper is for power steering cooling:
~ZaOs~
 02-11-2017, 05:20 AM