When you click on links to various merchants on this site and make a purchase, this can result in this site earning a commission. Affiliate programs and affiliations include, but are not limited to, the eBay Partner Network.
As mentioned in previous treads, my car is suffering from cracked vacuum line syndrome, which is a common ailment on earlier Continentals. Instead of forking out $5K or so to the dealer, I decided to do the job myself.
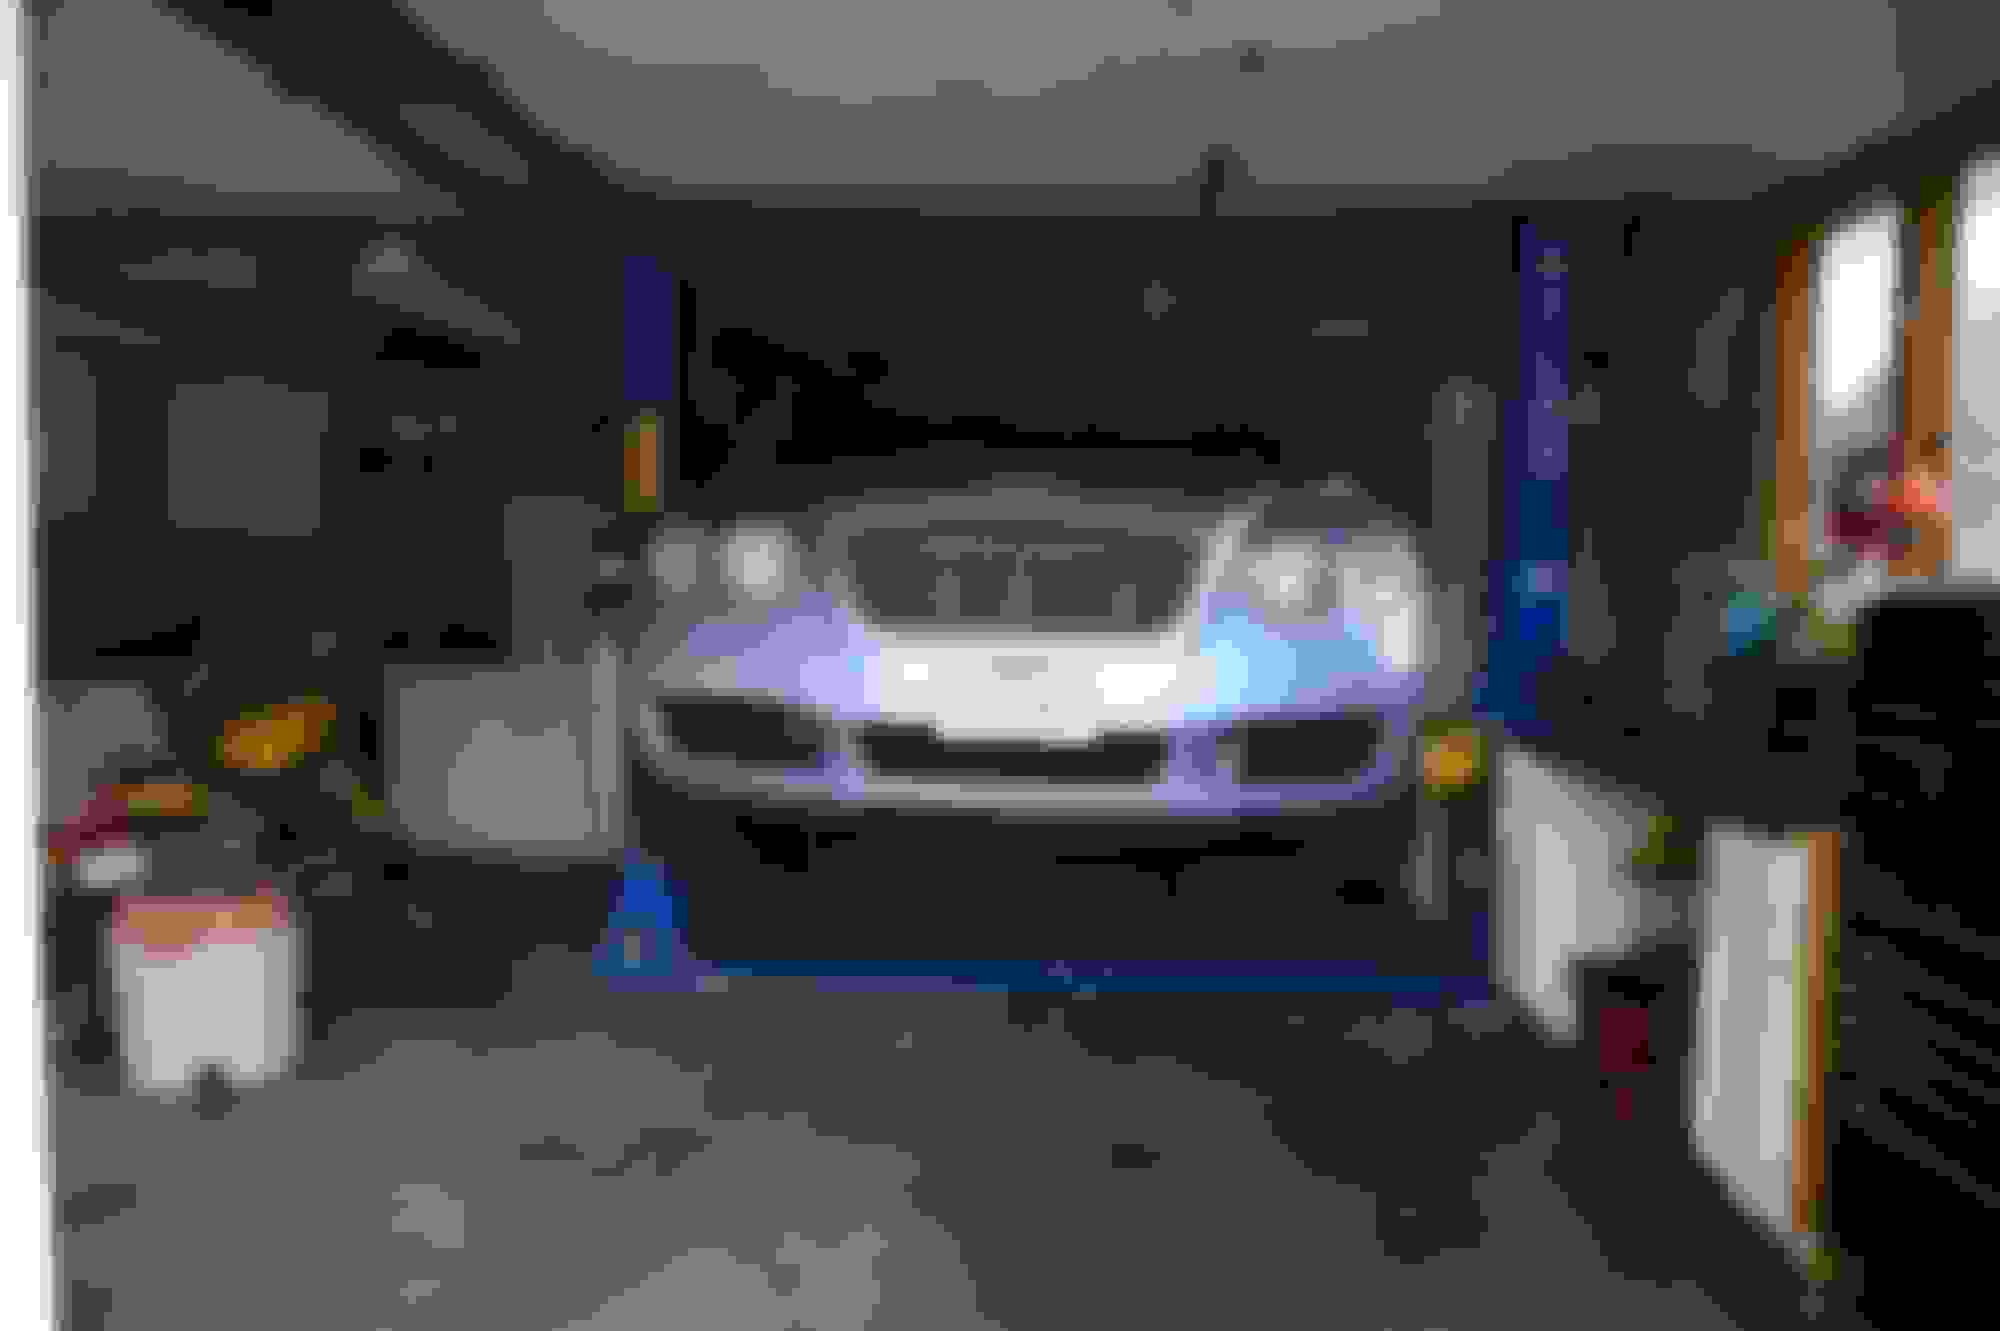
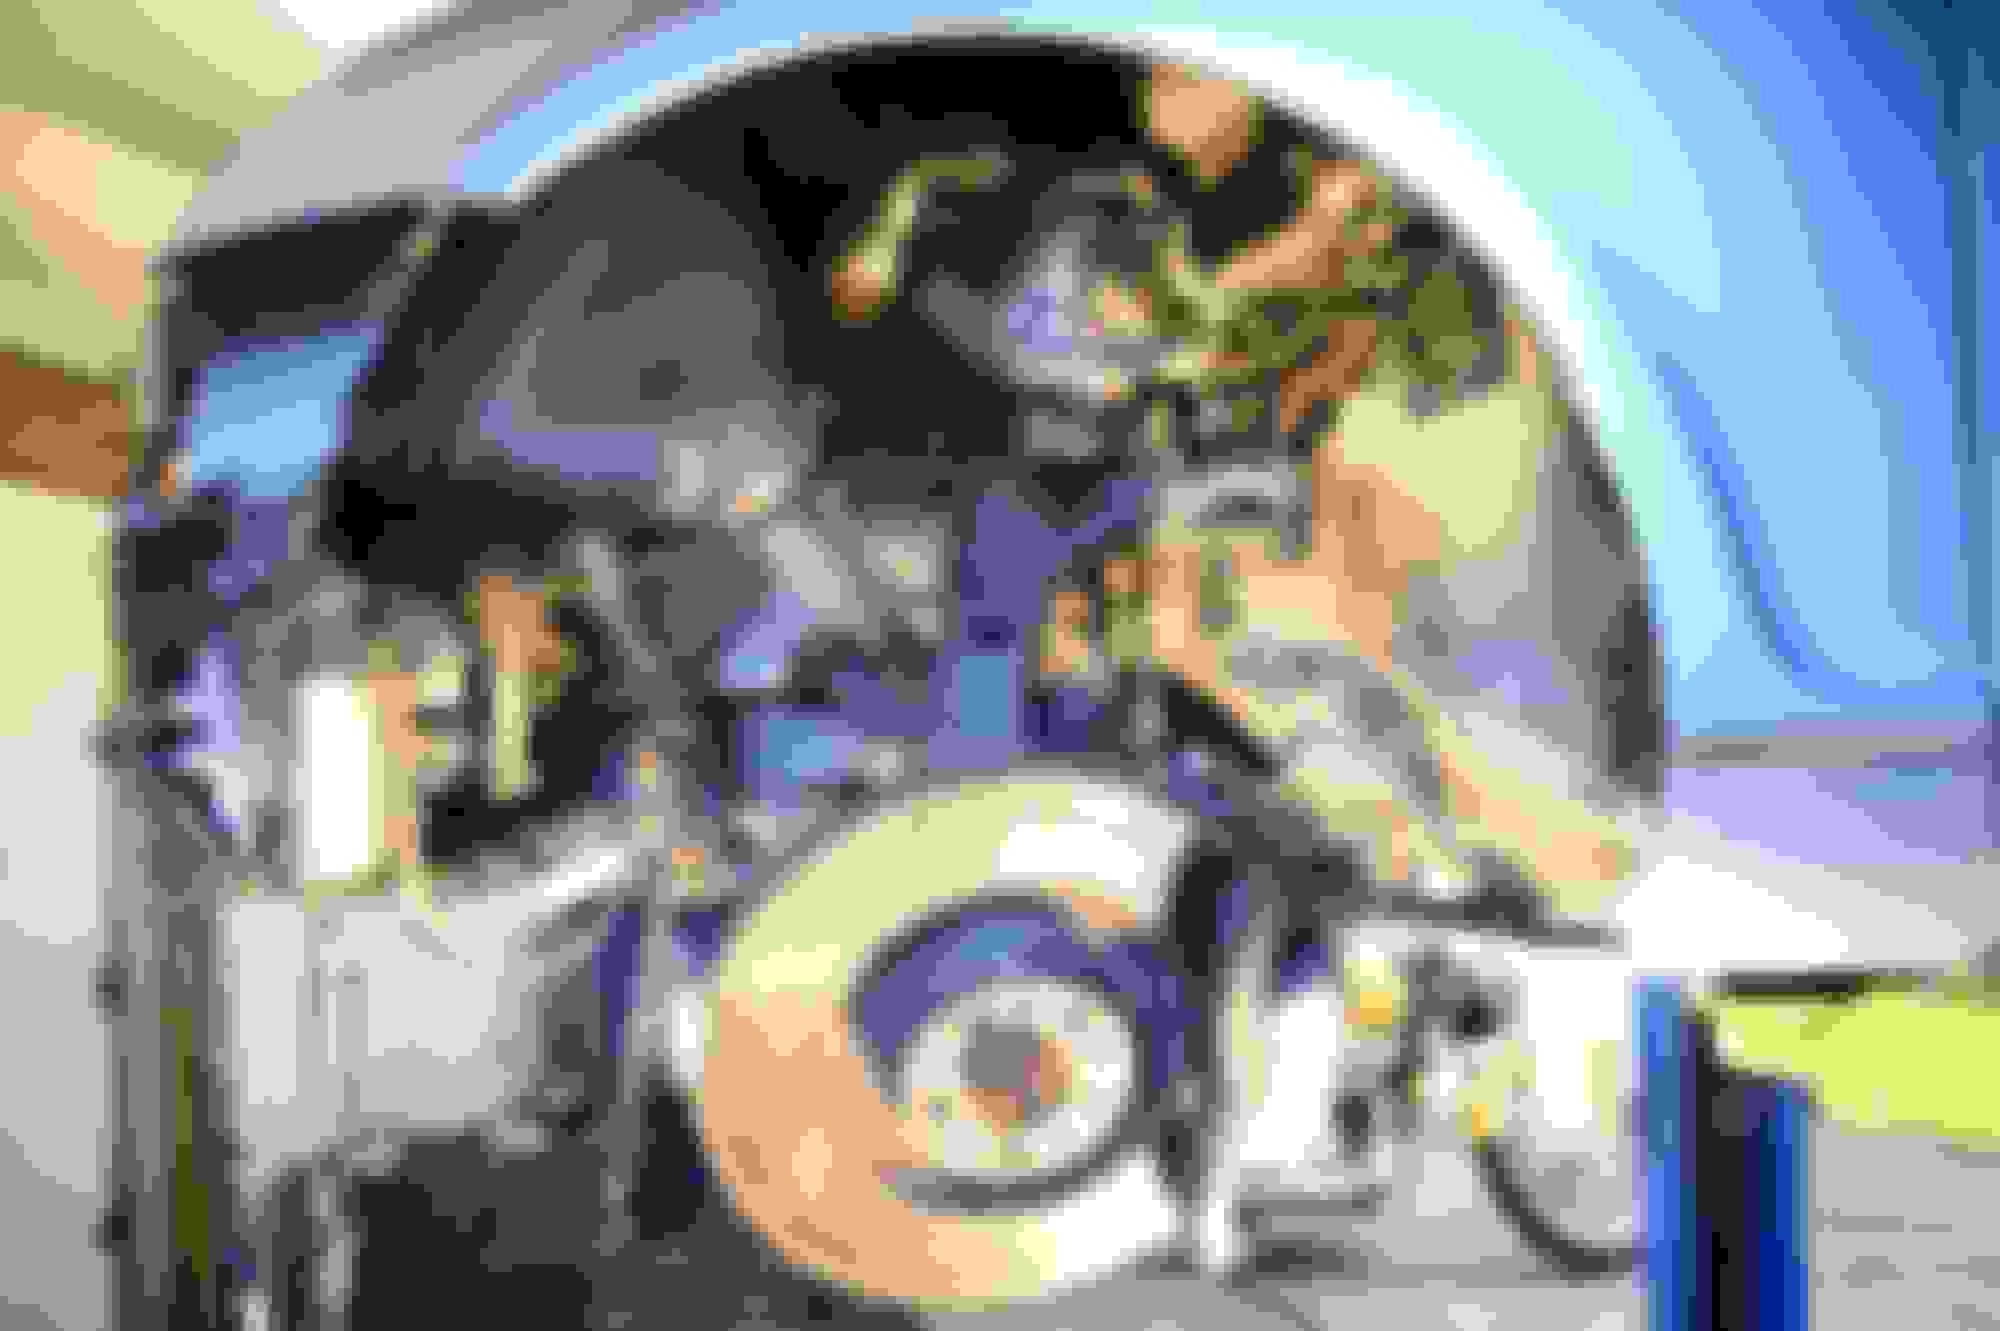
Before I begin, I convinced my wife in purchasing a 2 post car lift first. I must say, it was one of the best purchases I ever done. I was able to fit an Atlas BP8000 in my tiny garage with only 9 ft ceilings inside:
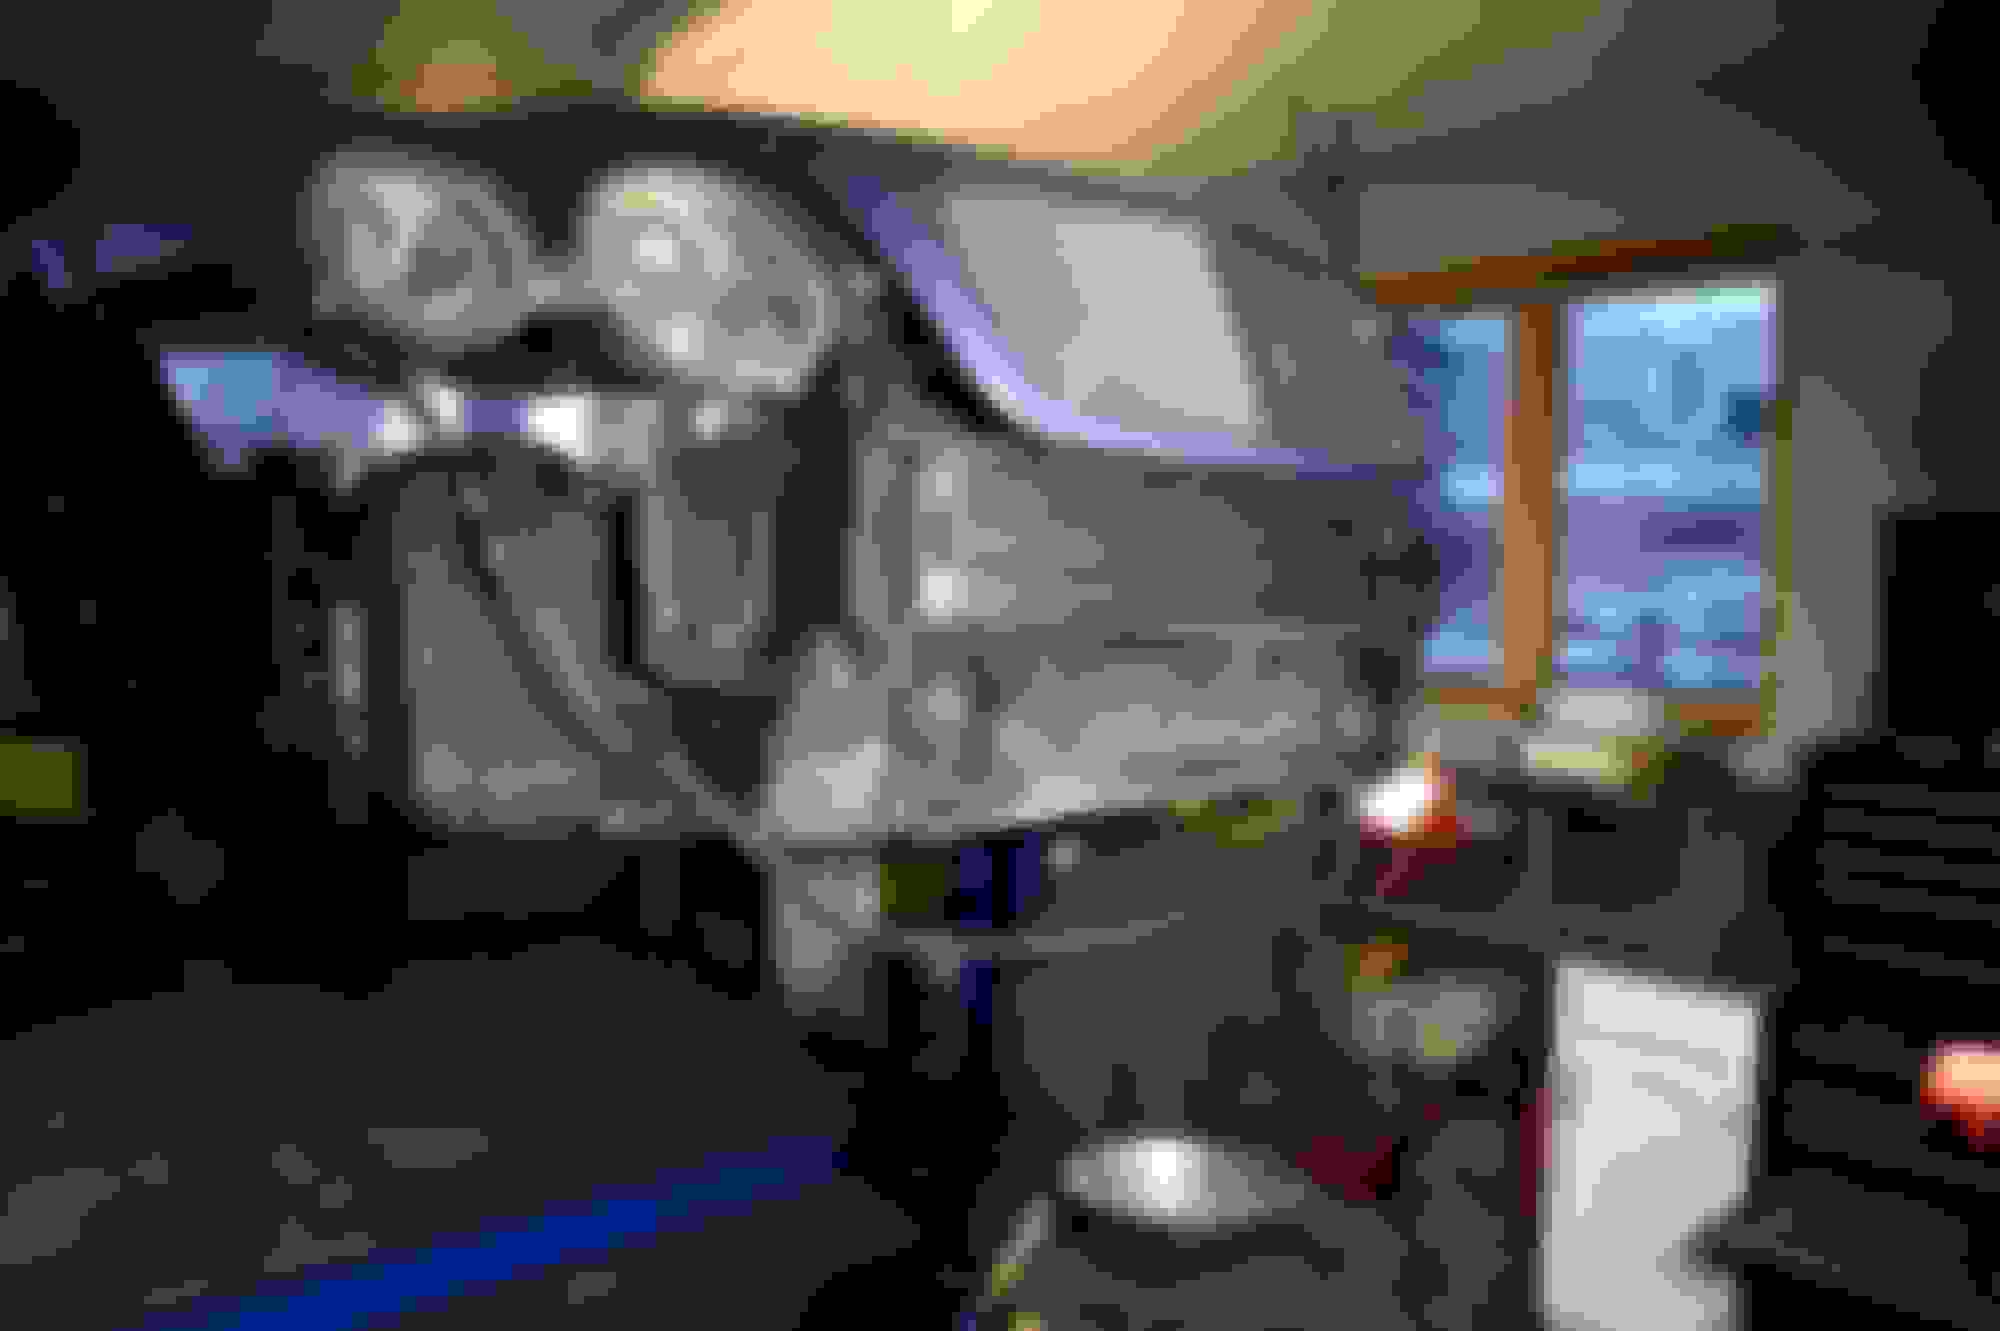
Lift installed and ready to start disassembling
First and easiest step to remove the bumper cover and wheel wells
Evacuate the AC, drain coolant, and power steering. Then remove the radiator assembly.Be careful not ripping out any electrical connectors or hoses.
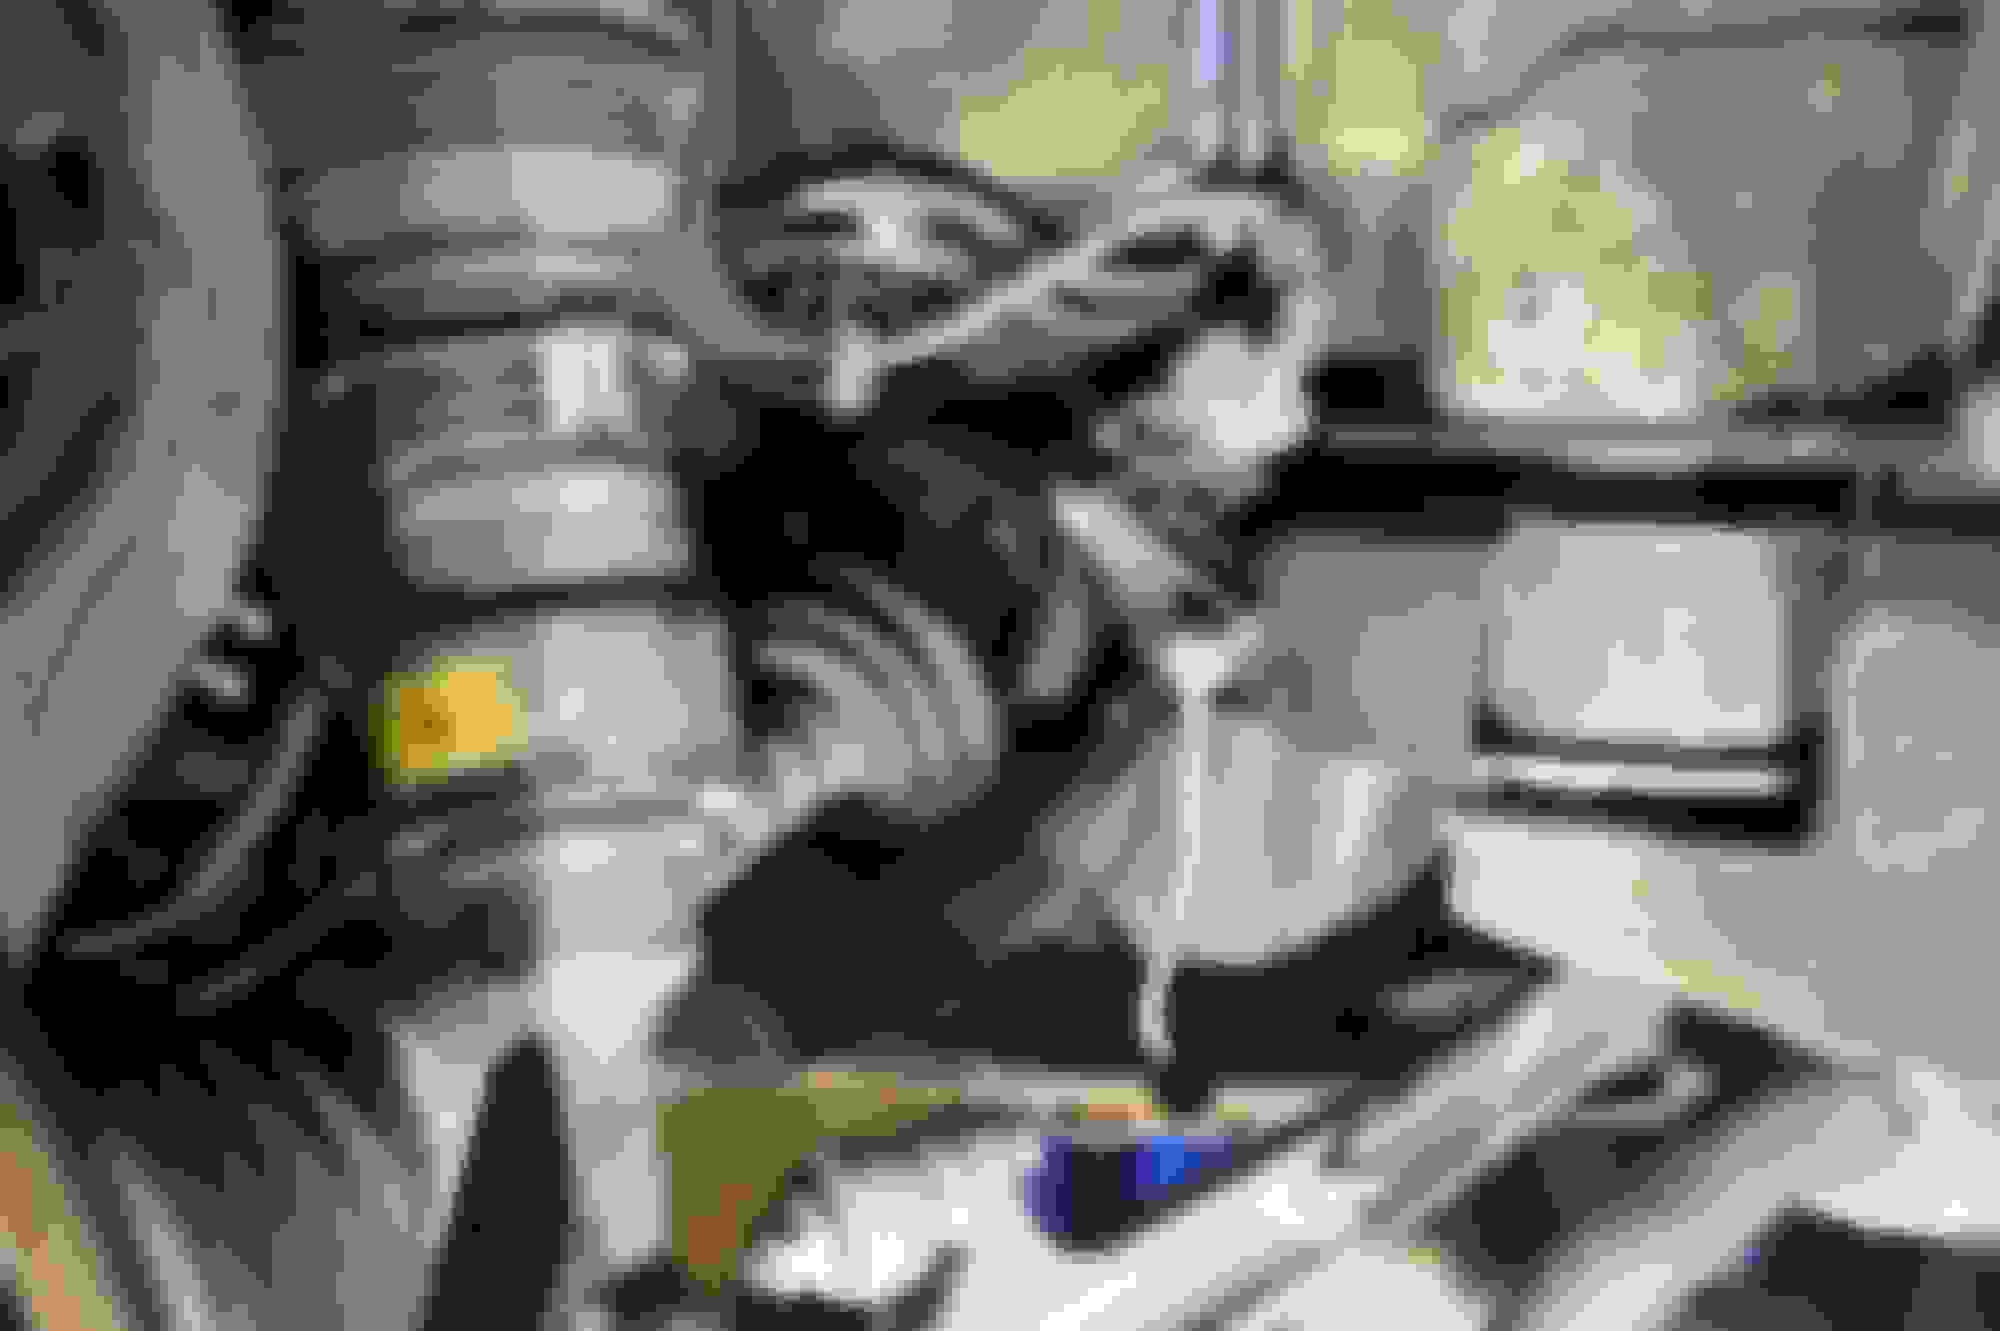
After removing the radiator assembly, you may find you need to replace the serpentine belt like mine here in the picture
Remove the plastic cover right below the windshield to expose and disconnect all electrical connectors going to the engine. Oh, I forgot to mention, before I started, I disconnected both negative cables to my batteries.
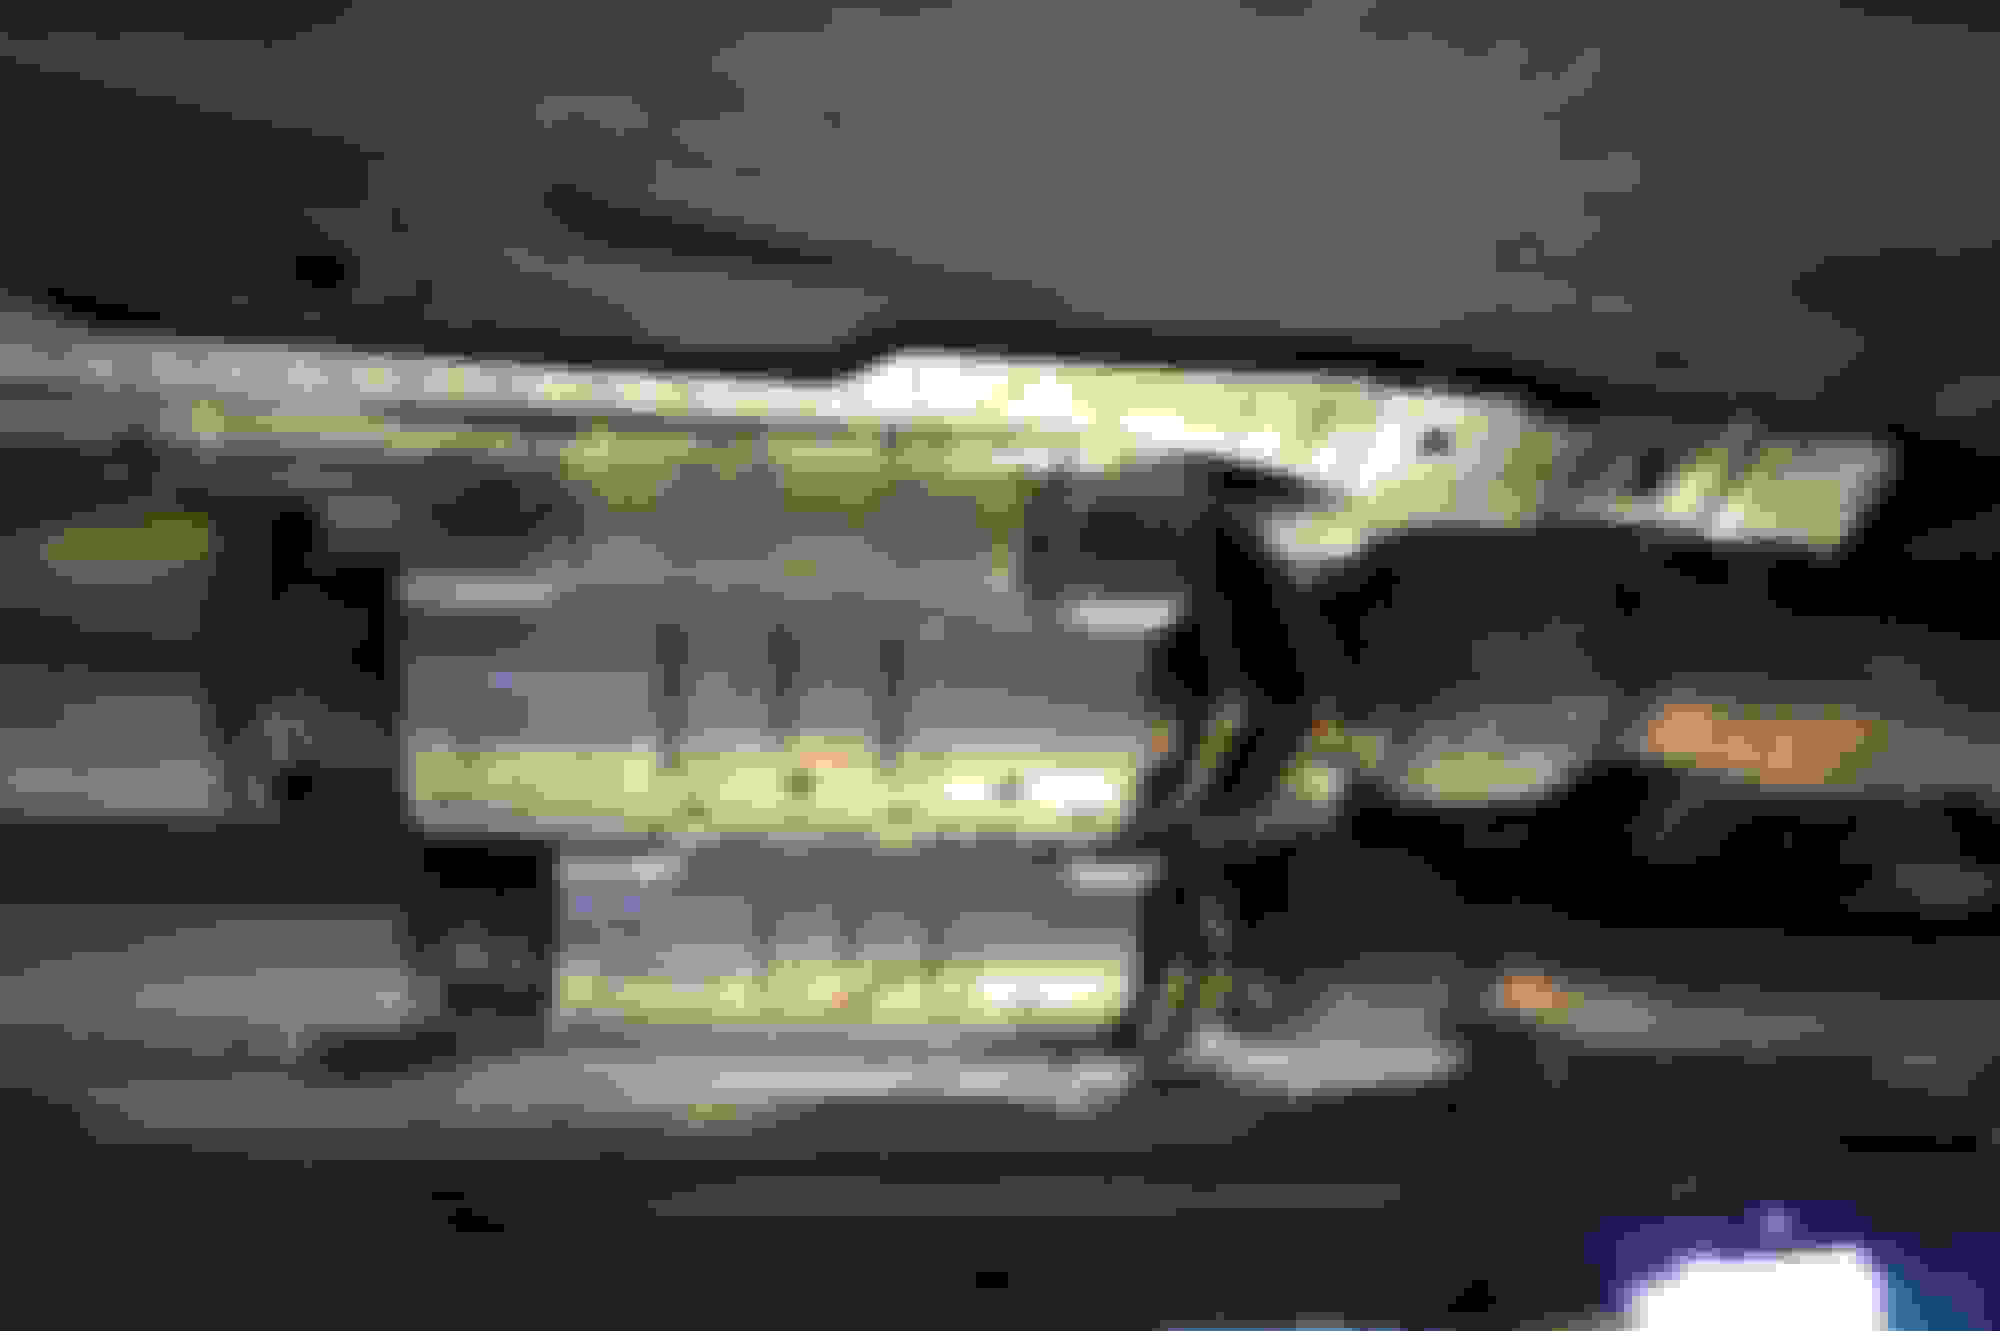
Main wire loom removed
Removing the midsection exhaust
Exhaust removed
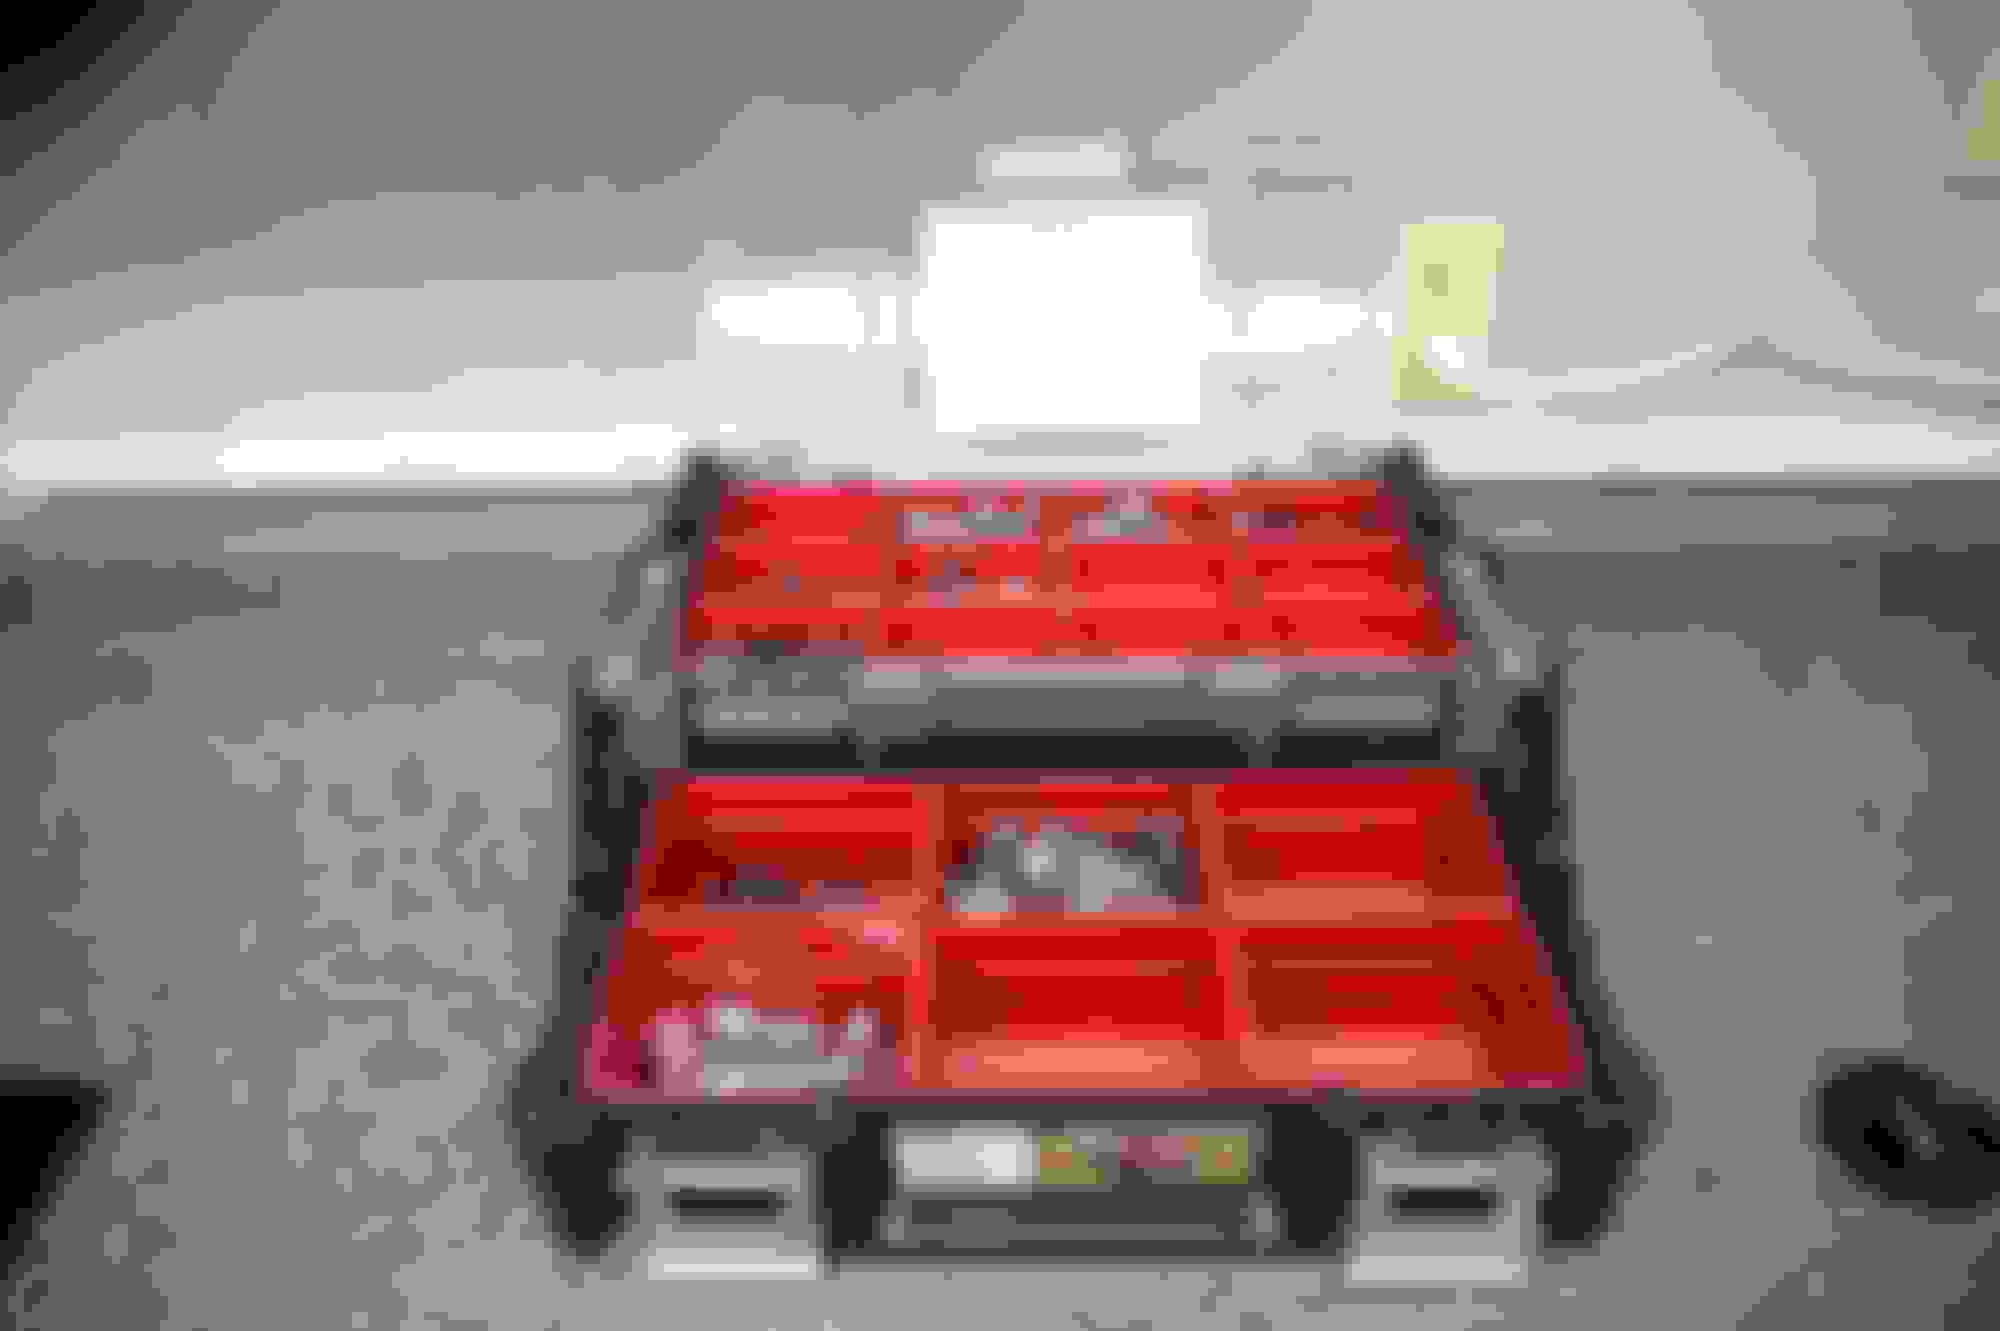
Here is how I keep all my screws and bolts organized
Now to removing the front suspension. I opted to keep the airshocks still connected to the engine. Removing the top shock tower, steering rack, and brake calipers. Do not disconnect the hoses to the calipers. I used some old wire coat hangers and hung the calipers from the chassis.
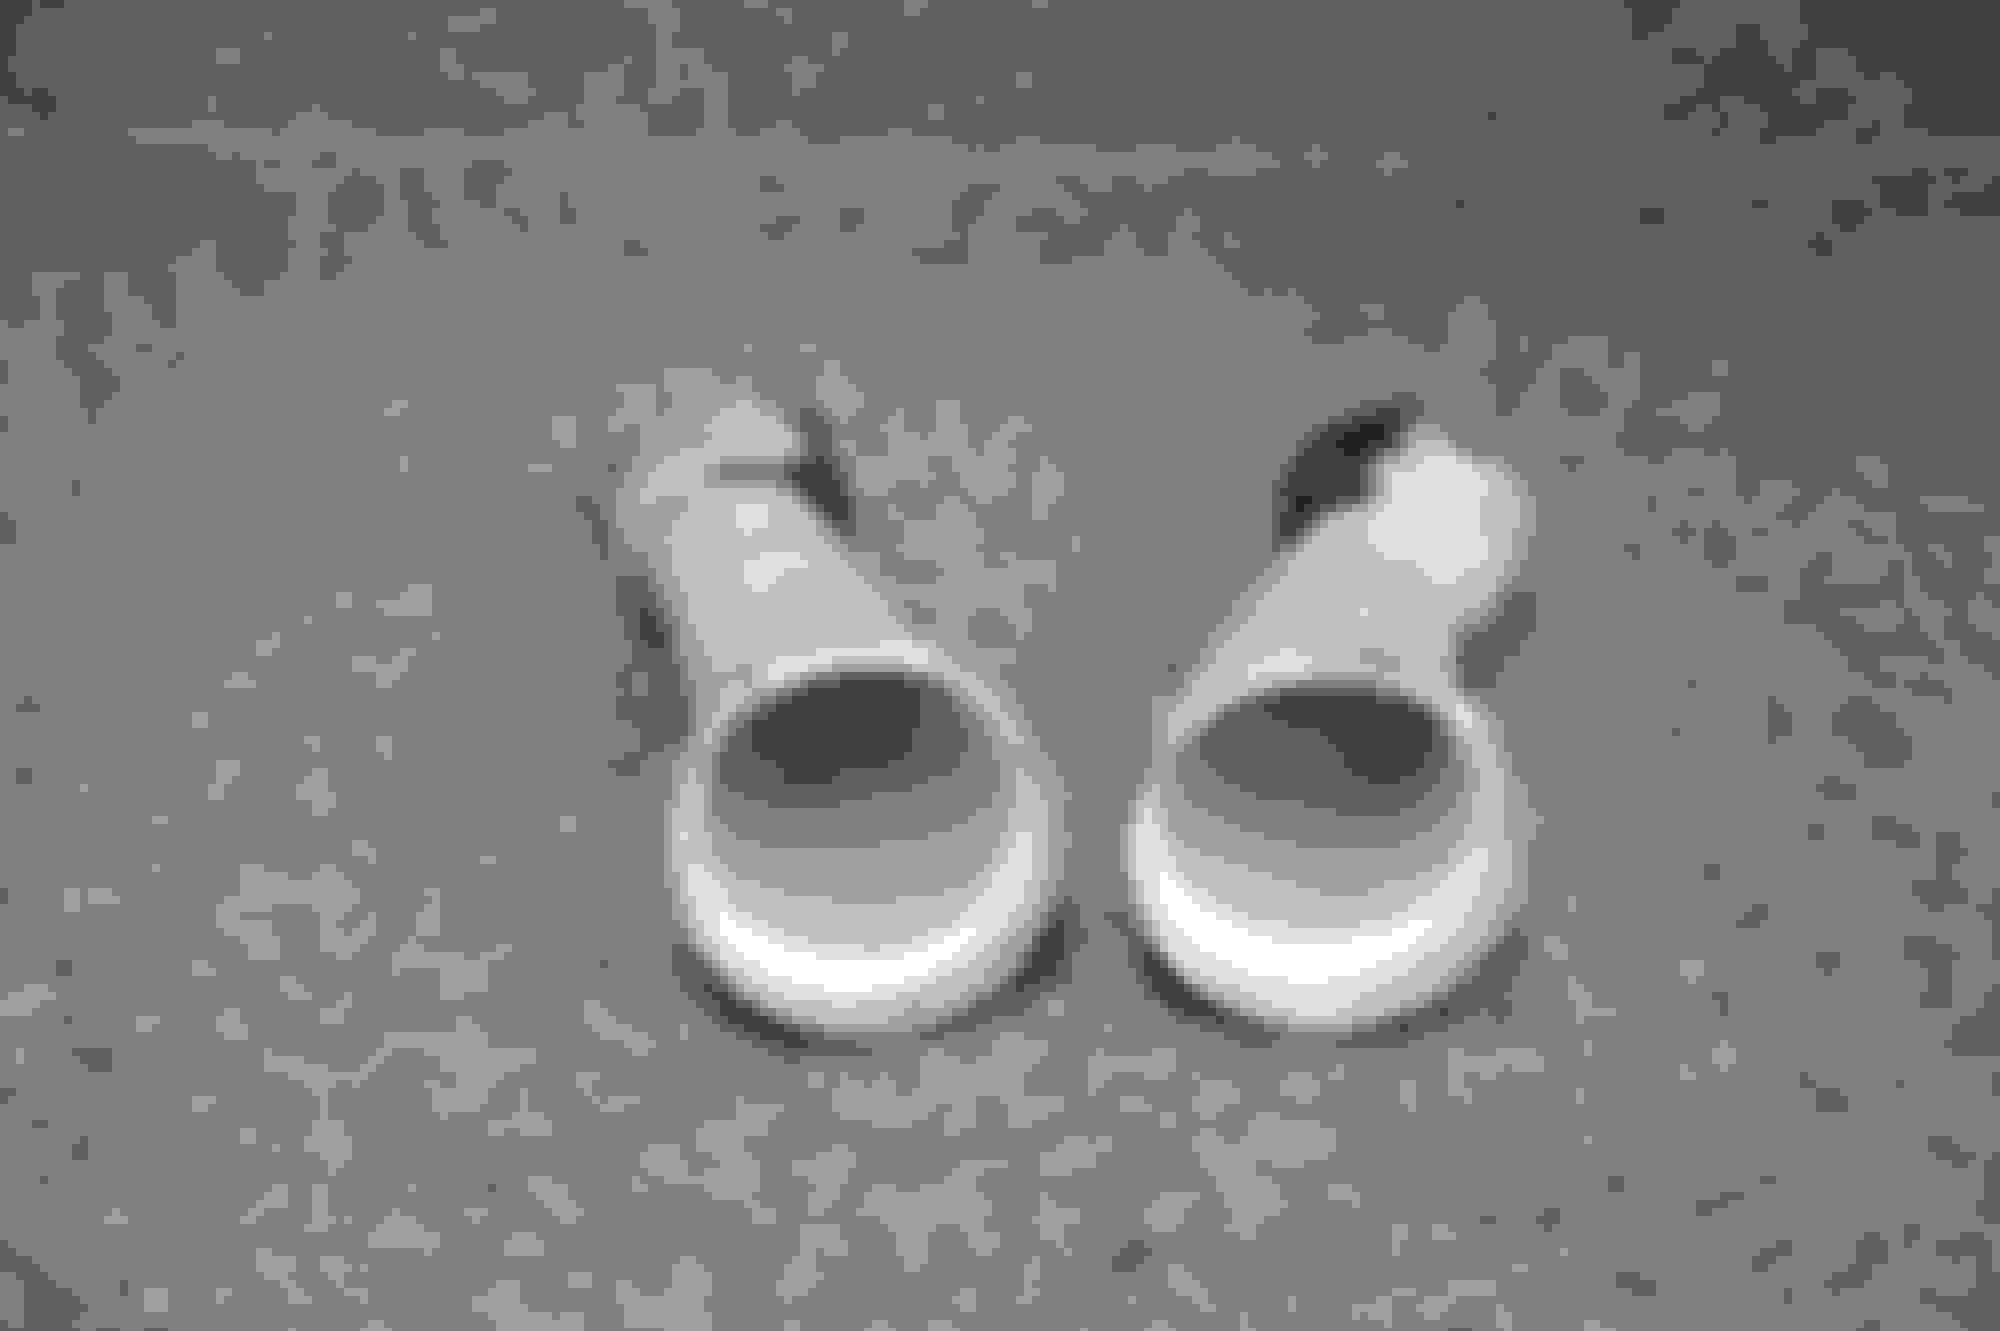
Ouch, discovered bad CV boot. Luckily, luckily it is only $20 to replace
Here is how I am supporting the transmission
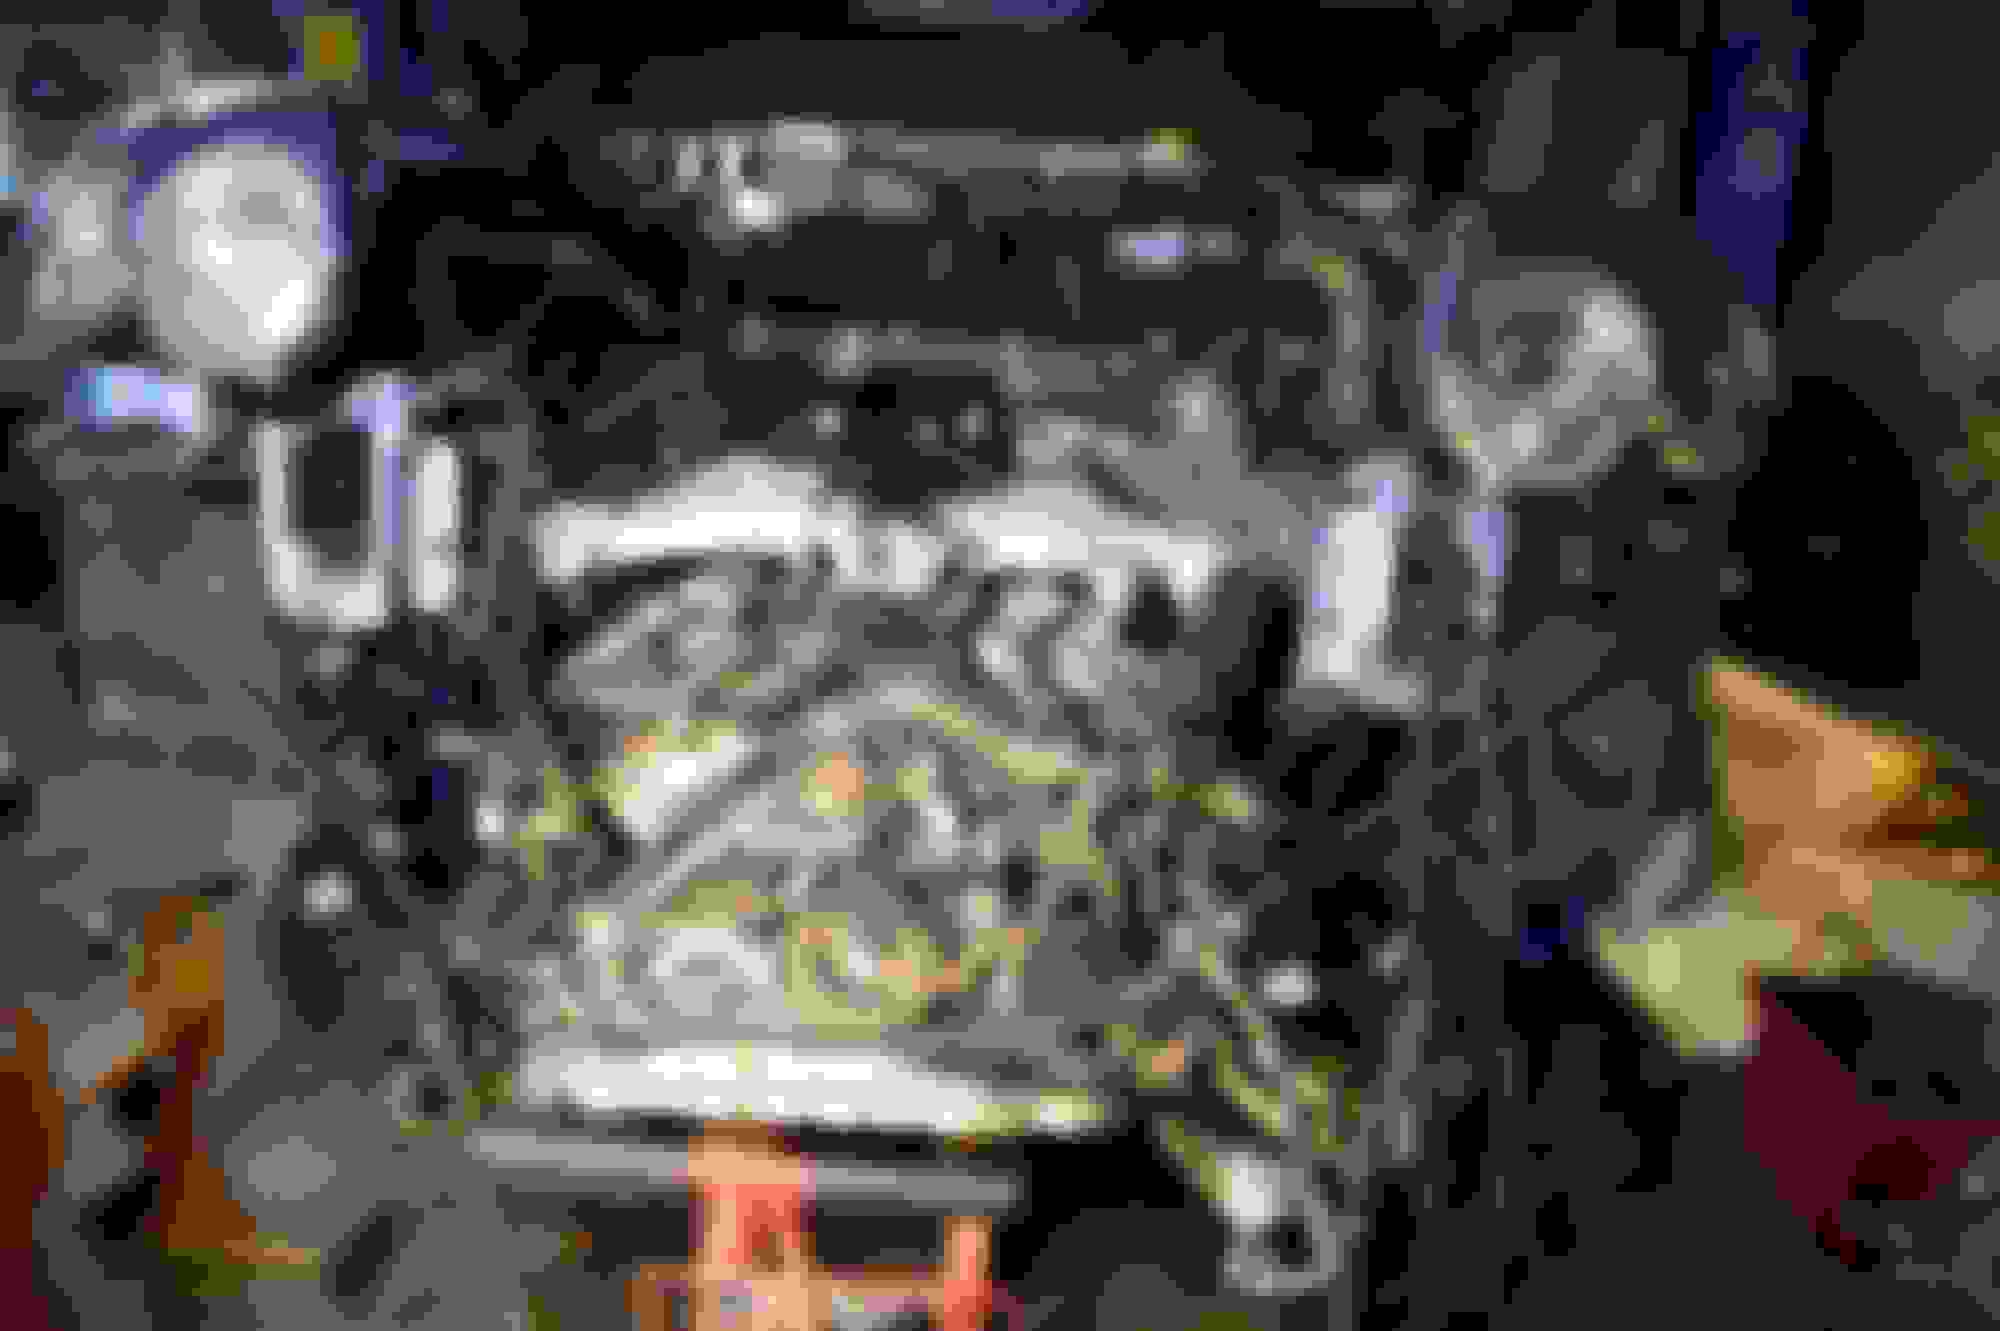
And here the engine
Taking the engine out is actually not too bad. You just have to be really careful and make sure all gets disconnected, so you don't rip anything out . The hardest part for me was figuring out how to remove the air induction pipes.....
Air induction pipes They have this little springy thing, you have to insert a screw driver into the tab opening and turn. The spring does not have to move much to be able to remove the pipes.
Starting to lift the body VERY carefully, making sure nothing is still connected or obstructed
Little further Almost and DONE. Engine removed
Time to take a break. Next update will be on my vacuum issues
Last edited by Zaos; 01-31-2017 at 08:33 AM.
Reason: timelimit
....your the man...I don't think anyone can top your project...what do you do in your spare time....question....after battery change, both my rear windows will go down all the way but will only go up 75%....this happened at same time main batt went flat, does same thing with new battery....I really would like to secure car since I am in a 100 car garage under our condo here in San Francisco....I want a lift like yours, you have a very understanding wife, how did you bribe her...Tiffany or Cartier... JimB 2010 Speed
I, for one, will follow your updates on the engine-lift with utmost fascination and respect. Maybe i'll have the guts to try this myself also when the time comes. Anyway....if I can show the wife I REALLY need the 2-post hoist, she will let me have it installed already.
In your endeavor I'm especially curious how you'll work around not having the 'engineout-jig' .
..question....after battery change, both my rear windows will go down all the way but will only go up 75%....this happened at same time main batt went flat, does same thing with new battery
There is a process adjusting the windows:
Pinch Protection Adaptation
Make sure the window in question is completely closed.
Use the driver door window buttons to operate the window(s).
Roll down the window and keep holding the button down for 2 additional seconds after the window is already fully opened.
Roll up the window and keep holding the button up for 2 additional seconds after the window is already fully closed.
....bet I've done something you haven't....changed tire and wheel in my garage using only the tools in the boot, including jack...on serious...are you using guidance from a shop manual...how else would you ever remember where everything goes....the last time I pulled an engine was in 1956 in my motherinlaw back yard....had to use a come along and build an overhead support with 2x6's...1954 Buick Skylark...took out DynaFlow put in old Packard 4 on the floor, then blew engine at drag strip...crazy things we do
....you say make sure subject window (s) are fully up...that's the problem...both rear windows will not go all up...only go 75% up...front windows no problemo....JimB
Oh no, I am definitely fabricating metal ones. Also doing the same with the ones inside the firewall, which plastic lines also commonly suffers from the same fate.
Hello Zaos,
How about the two hoses on the right side wheel well (passenger), did you catch them before, or after a little stretching..... ?
Nice lift and air tools, no lift for me and all by hand tools.
Also if you contact Jason Giannetti at 516-398-2016 he has some line sets all ready to go, I dropped off two bad sets a little while back for him to remake in metal, so you can grab mine now if needed, he will tell you how much, ALSO either way you choose to go, with Jason or you making them, be sure to call him as it is NOT just the lines on the trans with the earlier vehicles, it is also the lines on the body (firewall).
EDIT: I see you know of the firewall lines, great !
Last edited by Johnny Hotspur GT; 01-31-2017 at 05:23 PM.
...
....you say make sure subject window (s) are fully up...that's the problem...both rear windows will not go all up...only go 75% up...front windows no problemo....JimB
Hello Jim,
Just to be sure, you are in the vehicle with both doors shut when you are trying to put up the rear windows, correct ?
....Hello Johnny....took the 10Speed 100 miles down the Coast Road (Rt1)...like magic all the red signals went away. How in the world did the clock keep track of right time with both batterys disconnected 2 weeks (computer witchcraft)...even the windows got with the program....as far as I can make out only the one (1) button switch that controls all 4 windows is not functioning...not worrying about that now...Amazon is something else, yesterday am I ordered a CTEK 7002, it arrived last night...I have the CTEK 7000 trickle charger that came with car but damned if I can find where one is to plug it in car...no alligator clips, just a plug doohickey .... Great to have car on road again... Thanks to both of you for your invaluable assistance...JimB
As mentioned in previous treads, my car is suffering from cracked vacuum line syndrome, which is a common ailment on earlier Continentals. Instead of forking out $5K or so to the dealer, I decided to do the job myself.
Before I begin, I convinced my wife in purchasing a 2 post car lift first. I must say, it was one of the best purchases I ever done. I was able to fit an Atlas BP8000 in my tiny garage with only 9 ft ceilings inside:
Lift installed and ready to start disassembling
First and easiest step to remove the bumper cover and wheel wells
Evacuate the AC, drain coolant, and power steering. Then remove the radiator assembly.Be careful not ripping out any electrical connectors or hoses.
After removing the radiator assembly, you may find you need to replace the serpentine belt like mine here in the picture
Remove the plastic cover right below the windshield to expose and disconnect all electrical connectors going to the engine. Oh, I forgot to mention, before I started, I disconnected both negative cables to my batteries.
Main wire loom removed
Removing the midsection exhaust
Exhaust removed
Here is how I keep all my screws and bolts organized
Now to removing the front suspension. I opted to keep the airshocks still connected to the engine. Removing the top shock tower, steering rack, and brake calipers. Do not disconnect the hoses to the calipers. I used some old wire coat hangers and hung the calipers from the chassis.
Ouch, discovered bad CV boot. Luckily, luckily it is only $20 to replace
Here is how I am supporting the transmission
And here the engine
Taking the engine out is actually not too bad. You just have to be really careful and make sure all gets disconnected, so you don't rip anything out . The hardest part for me was figuring out how to remove the air induction pipes.....
Air induction pipes They have this little springy thing, you have to insert a screw driver into the tab opening and turn. The spring does not have to move much to be able to remove the pipes.
Starting to lift the body VERY carefully, making sure nothing is still connected or obstructed
Little further Almost and DONE. Engine removed
Time to take a break. Next update will be on my vacuum issues
Zaos, great job on the removal. It looks very complicated. I guess there is no short cut to accessing the vacuum lines. I look forward to seeing how they are routed on top of the trans area. Thank you for the pictures and sharing your experience during the removal
Ron
 01-30-2017, 08:02 PM