Bentley From the original 3 Litre to the current Continental GT and Mulsanne

Interior Project

  #1  
Old 10-21-2018, 09:25 AM
BWings's Avatar
Registered User
Thread Starter
Join Date: Mar 2018
Location: Lakewood Ranch, Fl
Posts: 1,007
Rep Power: 61
BWings has much to be proud ofBWings has much to be proud ofBWings has much to be proud ofBWings has much to be proud ofBWings has much to be proud ofBWings has much to be proud ofBWings has much to be proud ofBWings has much to be proud ofBWings has much to be proud ofBWings has much to be proud of
Interior Project

Thought I'd trow out a small project on which I am working for my 05 GT. My interior is all saddle. I've seen some pics of tu-tone black saddle interiors that I really liked. I started out looking at how many changes I could make that look good and relatively easy to implement. After doing that, I realized, I could make ongoing changes to create more balanced contrasts between black and saddle and they don't need to be done all at once.

Another strict criteria I have is to preserve and maintain the original factory parts. That way, reversing what I do is easy and relatively cost free. But, it also means searching out replacement parts for the changes. For the first phase I decided to change the following:

Steering wheel to a black 3 spoke
Greashift **** to black
Console Armrests to black
Some select Burl Walnut dash insert pieces to piano black.
Black floor mats

Changes will be on the lines of this pic, but I won't do door panels or dash board on first pass.


I found the 3 dash inserts I am changing to piano black at a wrecker. They came complete with vents, clock, etc, but here they are stripped and ready to prep for paint.


Now, after wet sand, etching primer, black base, several clear coats, color sand, polish with 3M professional rubbing compound, polishing and ultrafine compounds and a final Zymol wax coat, the dash panels look like this:


I found the black armrests at the same dismantler and they are arriving tomorrow (Monday). Once they are here, I will switch over all the pieces I now have in black. Remove and store all the original factory pieces. Then decide how I want to continue the project in the future.


Last edited by BWings; 10-21-2018 at 10:16 AM.
  #2  
Old 10-24-2018, 05:06 AM
BWings's Avatar
Registered User
Thread Starter
Join Date: Mar 2018
Location: Lakewood Ranch, Fl
Posts: 1,007
Rep Power: 61
BWings has much to be proud ofBWings has much to be proud ofBWings has much to be proud ofBWings has much to be proud ofBWings has much to be proud ofBWings has much to be proud ofBWings has much to be proud ofBWings has much to be proud ofBWings has much to be proud ofBWings has much to be proud of
First step is done. Took about two hours to switch over the black parts I had ready to install, but I played around with cleaning a lot of leather edges that are impossible to reach. I know I can reverse and return to factory stock now easily in less than two hours. In the forward direction, however, I might try more black around the steering column, the console and possibly the door cards. But the door cards I would do in a tutone.

I have to say, it would be very hard for me to return to the older 4 spoke wheel. Really love the 3 spoke.


  #3  
Old 10-25-2018, 10:22 PM
Rons GT Speed's Avatar
Registered User
Join Date: Jun 2016
Location: Santa Rosa Claifornia
Age: 84
Posts: 134
Rep Power: 13
Rons GT Speed will become famous soon enough
Originally Posted by BWings
First step is done. Took about two hours to switch over the black parts I had ready to install, but I played around with cleaning a lot of leather edges that are impossible to reach. I know I can reverse and return to factory stock now easily in less than two hours. In the forward direction, however, I might try more black around the steering column, the console and possibly the door cards. But the door cards I would do in a tutone.

I have to say, it would be very hard for me to return to the older 4 spoke wheel. Really love the 3 spoke.


BWings, I think it looks great! make the interior to your liking. Excelent Interior color. Show more as you continue customizing. Personally I think you cannot ruin the interior with your additions.
Ron
 
  #4  
Old 10-27-2018, 05:52 PM
Johnny Hotspur GT's Avatar
Administrator
Join Date: Jul 2014
Location: Montgomery NJ
Posts: 3,212
Rep Power: 1002
Johnny Hotspur GT Is a GOD !Johnny Hotspur GT Is a GOD !Johnny Hotspur GT Is a GOD !Johnny Hotspur GT Is a GOD !Johnny Hotspur GT Is a GOD !Johnny Hotspur GT Is a GOD !Johnny Hotspur GT Is a GOD !Johnny Hotspur GT Is a GOD !Johnny Hotspur GT Is a GOD !Johnny Hotspur GT Is a GOD !Johnny Hotspur GT Is a GOD !
parts

Hello BWings,
You can have this for the cost of shipping to add to making your column black, it does have a few marks, but sanding and painting black should conceal them.
. https://www.6speedonline.com/forums/...arts-here.html
.


  #5  
Old 10-27-2018, 08:44 PM
TeamJones1962's Avatar
Registered User
Join Date: Oct 2015
Location: Indianapolis
Posts: 823
Rep Power: 52
TeamJones1962 has much to be proud ofTeamJones1962 has much to be proud ofTeamJones1962 has much to be proud ofTeamJones1962 has much to be proud ofTeamJones1962 has much to be proud ofTeamJones1962 has much to be proud ofTeamJones1962 has much to be proud ofTeamJones1962 has much to be proud ofTeamJones1962 has much to be proud of


NICE!!!! How hard was it to change the steering wheel out?
 
  #6  
Old 10-28-2018, 04:37 AM
BWings's Avatar
Registered User
Thread Starter
Join Date: Mar 2018
Location: Lakewood Ranch, Fl
Posts: 1,007
Rep Power: 61
BWings has much to be proud ofBWings has much to be proud ofBWings has much to be proud ofBWings has much to be proud ofBWings has much to be proud ofBWings has much to be proud ofBWings has much to be proud ofBWings has much to be proud ofBWings has much to be proud ofBWings has much to be proud of
Originally Posted by Johnny Hotspur GT
Hello BWings,
You can have this for the cost of shipping to add to making your column black, it does have a few marks, but sanding and painting black should conceal them.
. https://www.6speedonline.com/forums/...arts-here.html
.


Johnny:

Thanks for the offer. Coincidentally, I negotiated one from a breaker on Friday. It is black already so I will have no prep/painting to do. I've shopped these for a couple months. There are lots of them out there, but they all are missing the two ears/covers that surround the shift paddles and stalks. Looks like yours are too. Also, the one I got has the black leather dress hood attached.

Thanks again, I'm good on this part.
 
  #7  
Old 10-28-2018, 04:50 AM
BWings's Avatar
Registered User
Thread Starter
Join Date: Mar 2018
Location: Lakewood Ranch, Fl
Posts: 1,007
Rep Power: 61
BWings has much to be proud ofBWings has much to be proud ofBWings has much to be proud ofBWings has much to be proud ofBWings has much to be proud ofBWings has much to be proud ofBWings has much to be proud ofBWings has much to be proud ofBWings has much to be proud ofBWings has much to be proud of
Originally Posted by TeamJones1962


NICE!!!! How hard was it to change the steering wheel out?

The steering wheel took less than 30 minutes, but I'm not new to this rodeo. I've done a number of R/Rs on other cars - Vettes, Jaguars. Took ten minutes to get the old wheel off, but then I spent 15 minutes getting the gauge surround off and switched over to the piano black. I made a tool to remove the 4 spoke wheel which made releasing the air bag a two minute job. The 3 spoke air bag releases a little differently.

The 3 spoke wheel I bought is new. I don't have the heated wheel option and neither do any of these new wheels that are out there for sale, so it was a simple plug/play with no VCDS coding necessary.

I did have one minor problem though and had to remove/replace the 3 spoke wheel again the next day. For some strange reason, and not sure if they're all this way, the timing mark was off by one tooth. So I had to go through the entire process again to retime the wheel one tooth clockwise.
 

Last edited by BWings; 10-28-2018 at 09:48 AM.
  #8  
Old 10-28-2018, 06:10 AM
Johnny Hotspur GT's Avatar
Administrator
Join Date: Jul 2014
Location: Montgomery NJ
Posts: 3,212
Rep Power: 1002
Johnny Hotspur GT Is a GOD !Johnny Hotspur GT Is a GOD !Johnny Hotspur GT Is a GOD !Johnny Hotspur GT Is a GOD !Johnny Hotspur GT Is a GOD !Johnny Hotspur GT Is a GOD !Johnny Hotspur GT Is a GOD !Johnny Hotspur GT Is a GOD !Johnny Hotspur GT Is a GOD !Johnny Hotspur GT Is a GOD !Johnny Hotspur GT Is a GOD !
BWings,
That's the way to do it, glad you found one in black, I do have the two pieces also, they just didn't make the photos earlier.

Johnny


.

Originally Posted by BWings
Johnny:

Thanks for the offer. Coincidentally, I negotiated one from a breaker on Friday. It is black already so I will have no prep/painting to do. I've shopped these for a couple months. There are lots of them out there, but they all are missing the two ears/covers that surround the shift paddles and stalks. Looks like yours are too. Also, the one I got has the black leather dress hood attached.

Thanks again, I'm good on this part.
 
  #9  
Old 10-28-2018, 12:04 PM
John Fiammetta's Avatar
Registered User
Join Date: Dec 2017
Location: switzerland
Age: 61
Posts: 414
Rep Power: 53
John Fiammetta has a reputation beyond reputeJohn Fiammetta has a reputation beyond reputeJohn Fiammetta has a reputation beyond reputeJohn Fiammetta has a reputation beyond reputeJohn Fiammetta has a reputation beyond reputeJohn Fiammetta has a reputation beyond reputeJohn Fiammetta has a reputation beyond reputeJohn Fiammetta has a reputation beyond reputeJohn Fiammetta has a reputation beyond reputeJohn Fiammetta has a reputation beyond reputeJohn Fiammetta has a reputation beyond repute
How do you remove the panal above the glove box .
I want to fit it better as the near centre lower popper keeps popping off opening up a gap - not so good fit .
many thanks in anticipation.
 
  #10  
Old 10-28-2018, 12:28 PM
Johnny Hotspur GT's Avatar
Administrator
Join Date: Jul 2014
Location: Montgomery NJ
Posts: 3,212
Rep Power: 1002
Johnny Hotspur GT Is a GOD !Johnny Hotspur GT Is a GOD !Johnny Hotspur GT Is a GOD !Johnny Hotspur GT Is a GOD !Johnny Hotspur GT Is a GOD !Johnny Hotspur GT Is a GOD !Johnny Hotspur GT Is a GOD !Johnny Hotspur GT Is a GOD !Johnny Hotspur GT Is a GOD !Johnny Hotspur GT Is a GOD !Johnny Hotspur GT Is a GOD !
Removal

Hello John,
Putting your fingers into the vent and giving a good yank will dislodge the trim on the vent side, then work a plastic trim removal tool to remove the side opposite the vent, BUT, PLEASE Be very careful with any type of tool you use as you could leave marks, or indentations in the leather, I believe I just pulled the vent side out as stated, but then just worked my fingers over to the other side, don't pull out on to far of an angle as you may bend the pins attached to the trim.

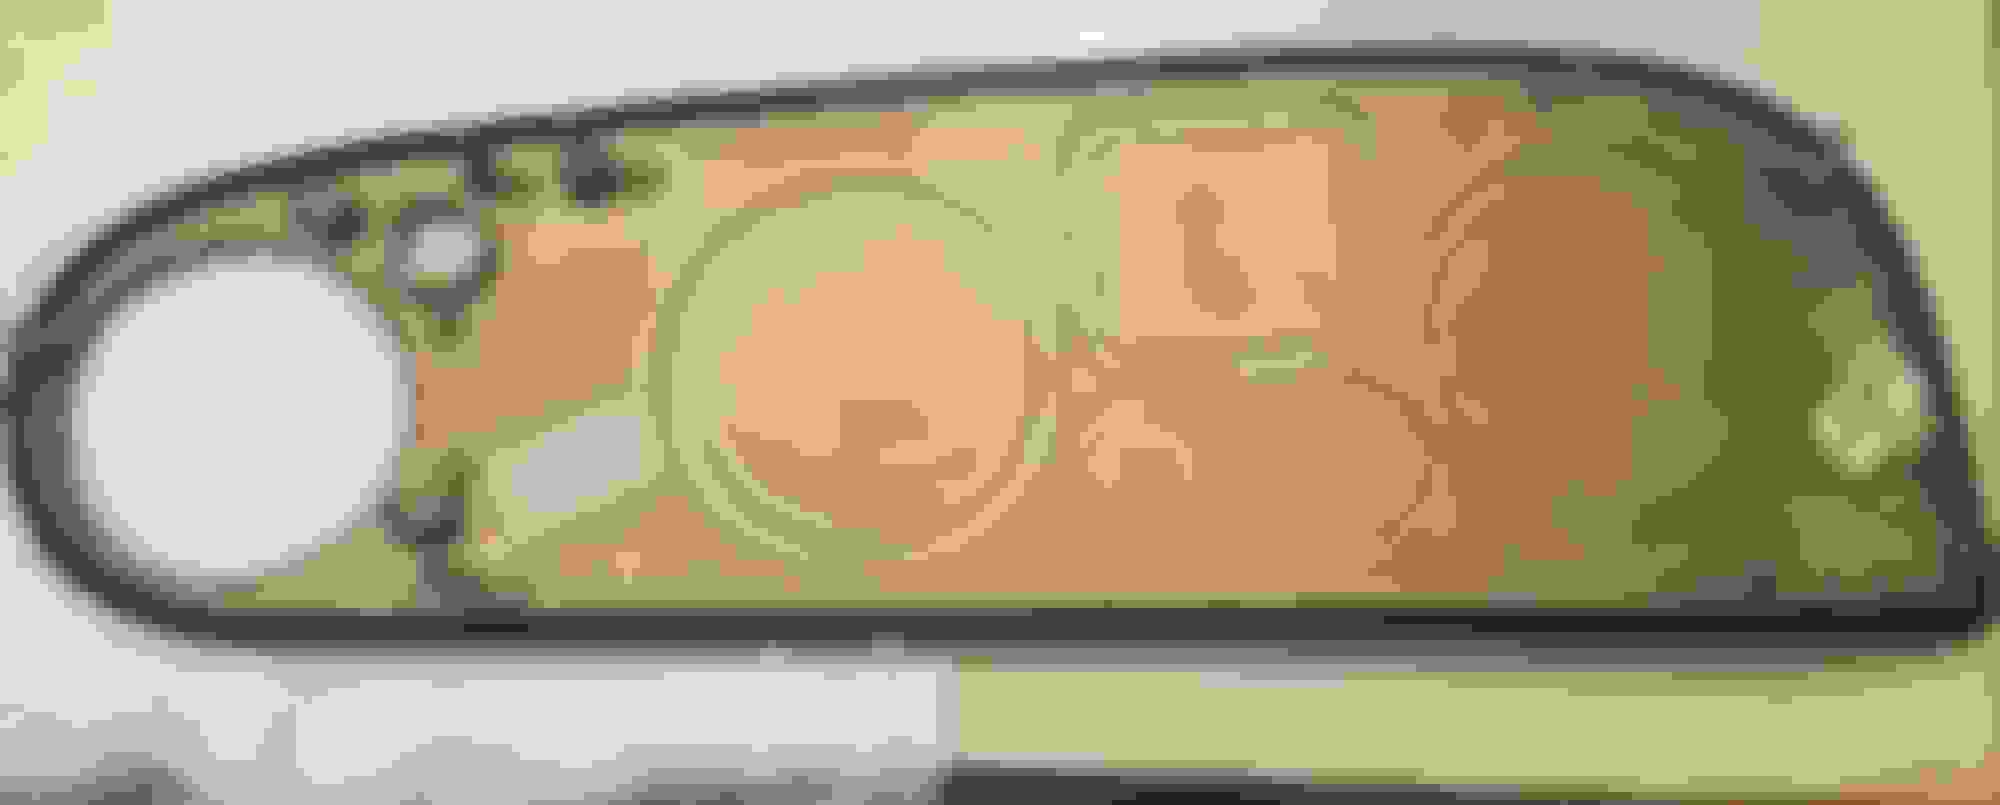
Also note, there are no mounting pins in the center, only at the ends as pictured.

Johnny J J

.


Originally Posted by John Fiammetta
How do you remove the panal above the glove box .
I want to fit it better as the near centre lower popper keeps popping off opening up a gap - not so good fit .
many thanks in anticipation.
 
  #11  
Old 10-28-2018, 01:46 PM
John Fiammetta's Avatar
Registered User
Join Date: Dec 2017
Location: switzerland
Age: 61
Posts: 414
Rep Power: 53
John Fiammetta has a reputation beyond reputeJohn Fiammetta has a reputation beyond reputeJohn Fiammetta has a reputation beyond reputeJohn Fiammetta has a reputation beyond reputeJohn Fiammetta has a reputation beyond reputeJohn Fiammetta has a reputation beyond reputeJohn Fiammetta has a reputation beyond reputeJohn Fiammetta has a reputation beyond reputeJohn Fiammetta has a reputation beyond reputeJohn Fiammetta has a reputation beyond reputeJohn Fiammetta has a reputation beyond repute


It’s this one that pops out . Thx J H , I,ll try tomorrow ( unscrew the organ stop ) and report back with new thread
and pics to show the issue .
 
  #12  
Old 10-28-2018, 02:02 PM
Johnny Hotspur GT's Avatar
Administrator
Join Date: Jul 2014
Location: Montgomery NJ
Posts: 3,212
Rep Power: 1002
Johnny Hotspur GT Is a GOD !Johnny Hotspur GT Is a GOD !Johnny Hotspur GT Is a GOD !Johnny Hotspur GT Is a GOD !Johnny Hotspur GT Is a GOD !Johnny Hotspur GT Is a GOD !Johnny Hotspur GT Is a GOD !Johnny Hotspur GT Is a GOD !Johnny Hotspur GT Is a GOD !Johnny Hotspur GT Is a GOD !Johnny Hotspur GT Is a GOD !
No need to unscrew the organ stop, the vent assembly is bolted to the wood trim.

Johnny.

.


Originally Posted by John Fiammetta

( unscrew the organ stop )
 
  #13  
Old 10-28-2018, 02:24 PM
BWings's Avatar
Registered User
Thread Starter
Join Date: Mar 2018
Location: Lakewood Ranch, Fl
Posts: 1,007
Rep Power: 61
BWings has much to be proud ofBWings has much to be proud ofBWings has much to be proud ofBWings has much to be proud ofBWings has much to be proud ofBWings has much to be proud ofBWings has much to be proud ofBWings has much to be proud ofBWings has much to be proud ofBWings has much to be proud of
Just one add to JHs reply. Notice in his first two pics, there is a solid tapered pin next to two of the snap-in (bullet) pins, one in each corner. These align and fit into guide slots along with the snap pins that lock/unlock the panel.

Because of these tapered guide/locator pins, (and on all 3 dash panels) the dash panels do not lend themselves to fully releasing from only one long end. Instead, they were meant to come out/install more like straight out/in. I agree with johnny, I used the vent, reaching in with a couple of fingers on one end, but I did use an upholstery tool on the other end to gently prod along the opposite end.

BTW, if you pull hard just on the vent end, the panel will bind up on the vent as well. Also, on the reinstall, since these pins can get a little corroded in place over time making them difficult to remove/insert, I coated all of the pins with a very small touch of dielectric grease, so next time out they won't need the same amount of force.
 
  #14  
Old 10-28-2018, 03:08 PM
John Fiammetta's Avatar
Registered User
Join Date: Dec 2017
Location: switzerland
Age: 61
Posts: 414
Rep Power: 53
John Fiammetta has a reputation beyond reputeJohn Fiammetta has a reputation beyond reputeJohn Fiammetta has a reputation beyond reputeJohn Fiammetta has a reputation beyond reputeJohn Fiammetta has a reputation beyond reputeJohn Fiammetta has a reputation beyond reputeJohn Fiammetta has a reputation beyond reputeJohn Fiammetta has a reputation beyond reputeJohn Fiammetta has a reputation beyond reputeJohn Fiammetta has a reputation beyond reputeJohn Fiammetta has a reputation beyond repute
Thx guys .
 
  #15  
Old 10-29-2018, 07:10 AM
John Fiammetta's Avatar
Registered User
Join Date: Dec 2017
Location: switzerland
Age: 61
Posts: 414
Rep Power: 53
John Fiammetta has a reputation beyond reputeJohn Fiammetta has a reputation beyond reputeJohn Fiammetta has a reputation beyond reputeJohn Fiammetta has a reputation beyond reputeJohn Fiammetta has a reputation beyond reputeJohn Fiammetta has a reputation beyond reputeJohn Fiammetta has a reputation beyond reputeJohn Fiammetta has a reputation beyond reputeJohn Fiammetta has a reputation beyond reputeJohn Fiammetta has a reputation beyond reputeJohn Fiammetta has a reputation beyond repute
Dash panal gap fix

Following the good advice here-https://www.6speedonline.com/forums/...r-project.html

I managemend to fix a long standing bug


Before see the gap RHS just keeps unpopping

Cover off ,came off easy once you know how Lower LHS # clip holder ,not the cause here .

It was a loose clip I thightened them up , pressed the edges together and squeezed the rear bit closer so it would grip more .You can test on the panal while it’s out before refitted to test the grip

Done gap normal / gone
panal fits tight .
 

Thread Tools
Search this Thread
Rate This Thread
Rate This Thread:
You have already rated this thread Rating: Thread Rating: 0 votes,  average.

Quick Reply: Interior Project


All times are GMT -6. The time now is 02:32 PM.