When you click on links to various merchants on this site and make a purchase, this can result in this site earning a commission. Affiliate programs and affiliations include, but are not limited to, the eBay Partner Network.
Fired up the car at the body shop today with my smartphone audio recorder. Attached is an audio clip of what she sounds like with the HHR intake, Evoms Diverter Valves, IPD Plenum, FVD Intercoolers, Fabspeed Secondary Cat Bypass Pipes, cargraphic medium sound performance muffler, and Maxspeed Motorsports Interlocking oval tips.
The phone is on the rear bumper for the start (warm start) and a few blips. The hood is currently not on the car so the intake and turbo sound is more pronounced than it actually will be.
Sounds really aggressive when revving it but still idles pretty quiet, just deeper - so far, I think this combination may be a winner.
Hallelujah - out of the blue today, 2 of the 3 PCCB brake kit boxes delivered. I now have in-hand all 4 calipers, all 8 pads, pad sensors, and 2 PCCB rotors. Hoping the 3rd box with the other 2 rotors arrives tomorrow.
The condition was as great as they looked like in the photos - if I didnt' know better, you can't tell them apart from brand new - they're that clean. And they're ginormous - the front caliper is probably as long as my forearm.
Can't wait to get this car put back together, painted, and back on the road with all the updates.
Happy to report that without any pre-delivery notification that the remaining 2 rotors arrived today in perfect condition. I now have a complete set of PCCBs for my Pepper
The shop is now working on the initial fitment of the Misha widebody kit. Most pieces are fitting well and they're making some fine adjustments so that the finished product will look flawless. Already did some preliminary surface work to the passenger fender, then gave it a quick shot of primer.
Body Kit fitment work continues and they're doing a phenomenal job. The door edges will be completely blended with the flares so you won't be able to tell that pieces have been added...
...and the way they're blending the flares into the body makes for a seamless transition.
They're working on the Driver's Side Rear wheel area next and have already done some of the rough work
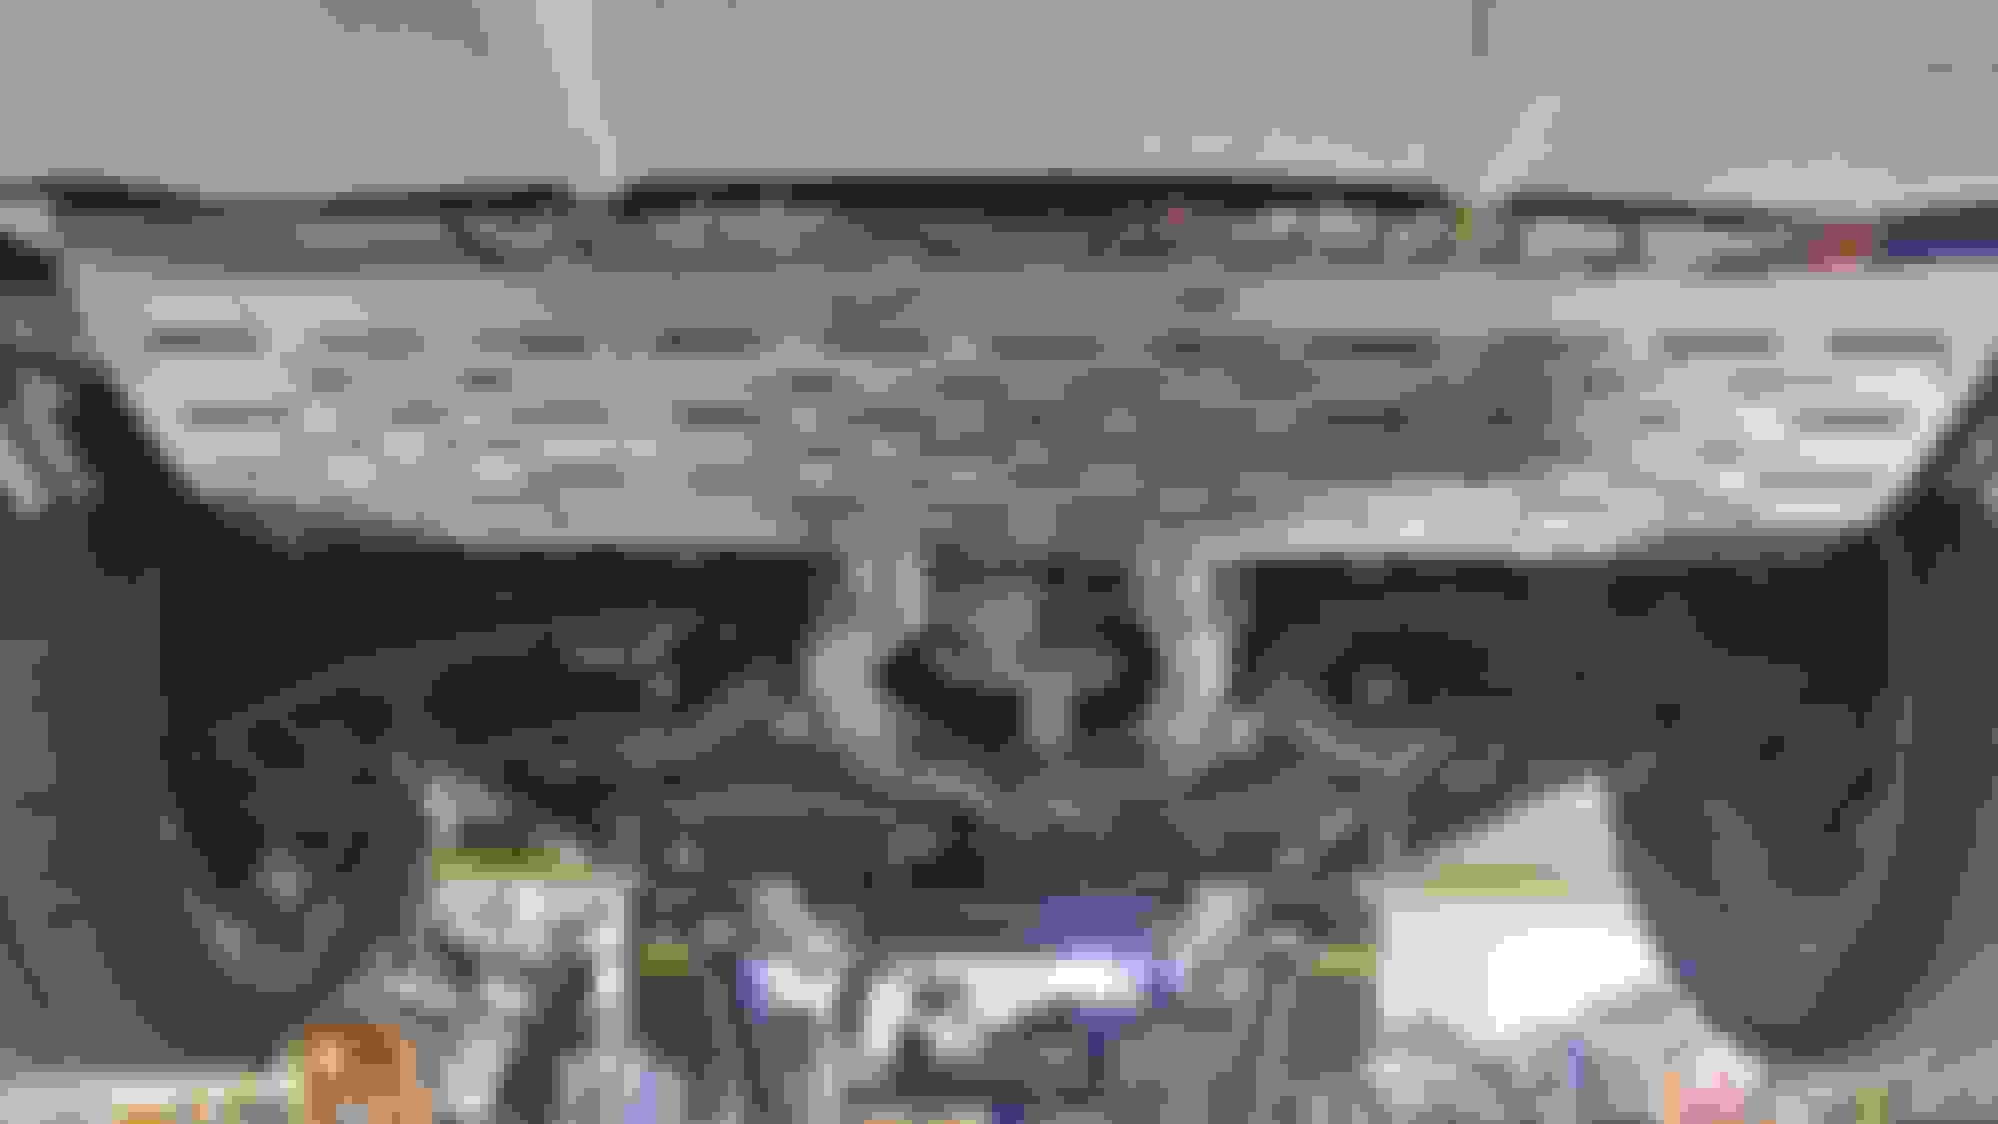
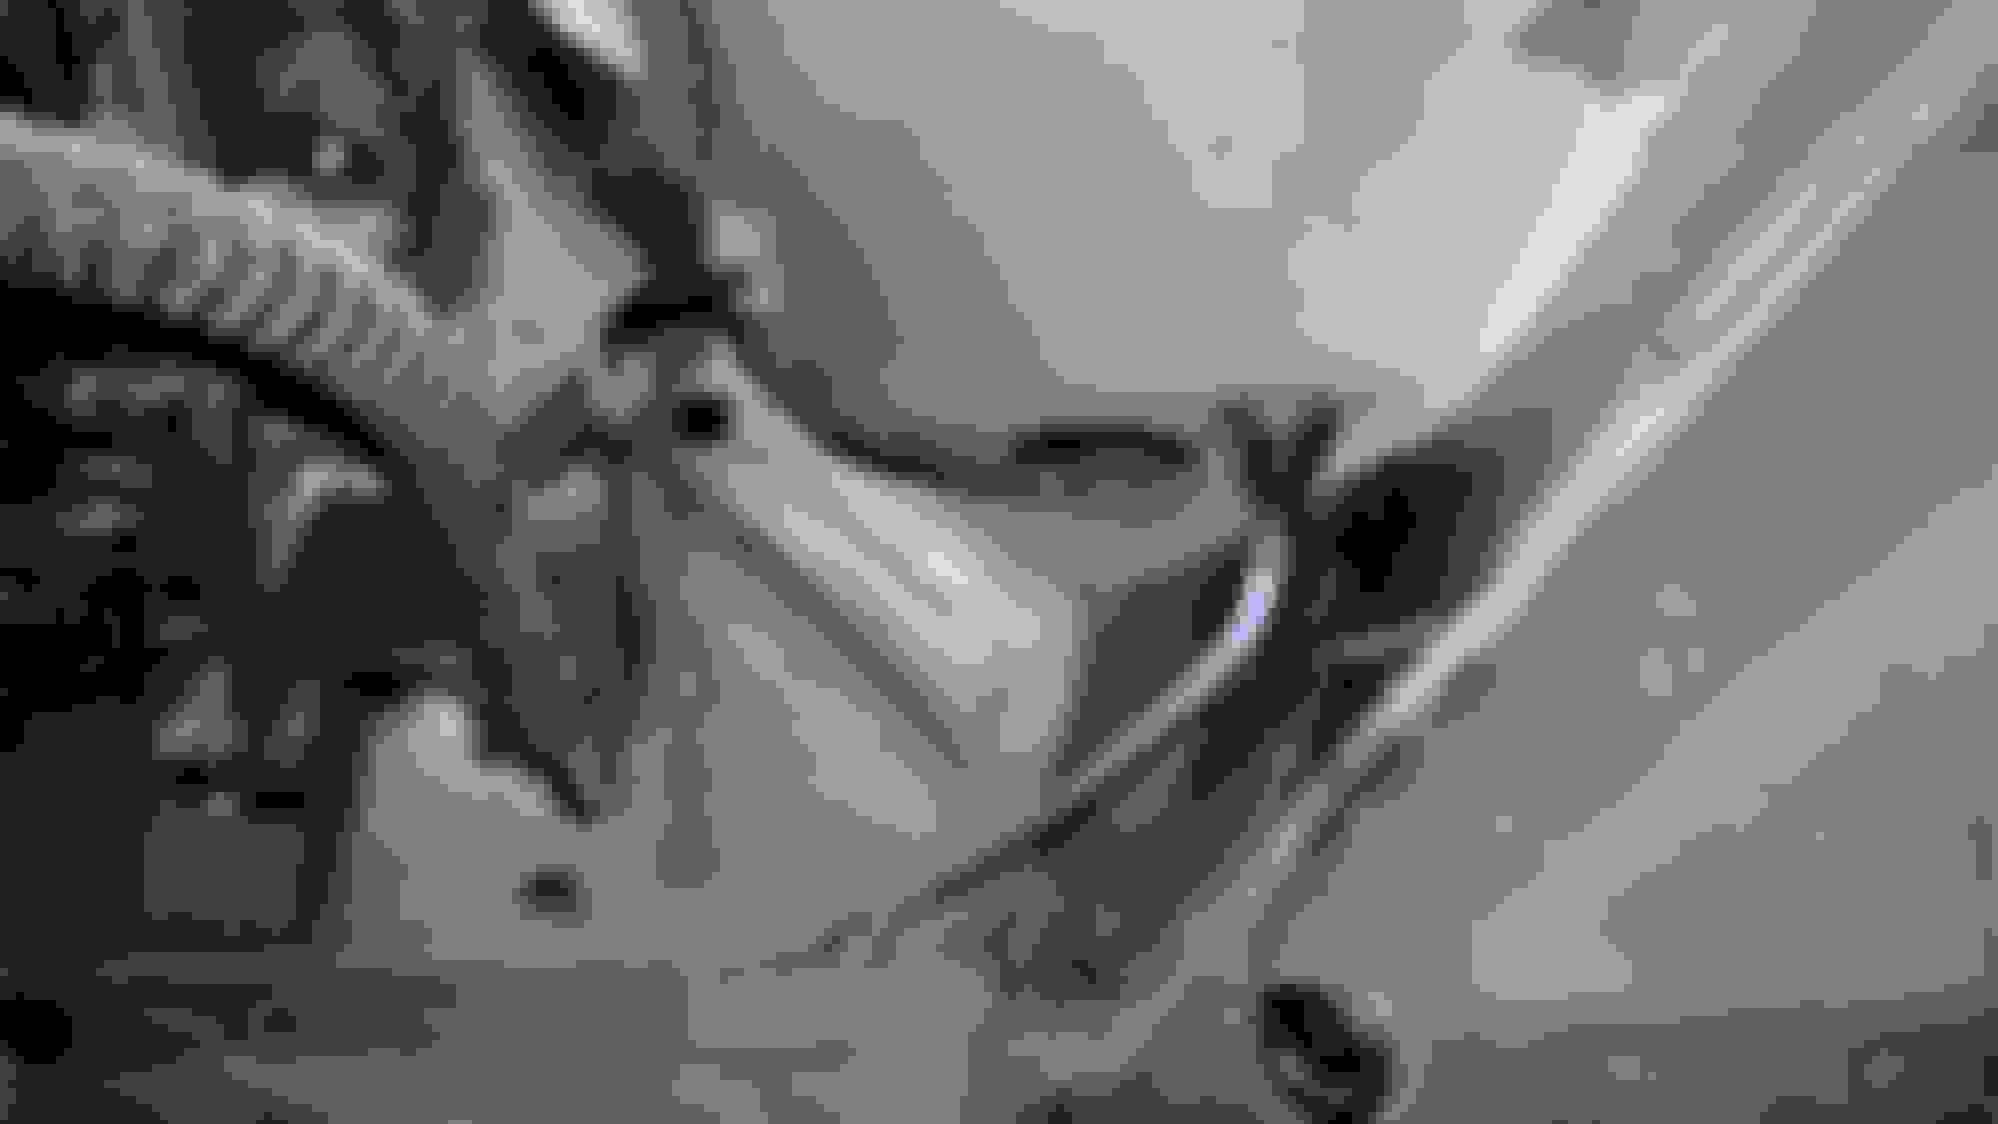
The way they're attaching the flares is pretty impressive. First they remove all the paint in that area to get to bare metal. Then the use an adhesive called Panel Bond to bond the fiberglass to the metal. When I researched this 3M product, it has amazing reviews, and body shops are actually using this in place of welding with superb results. But in addition to the panel bonding, they are using about a 1/2" hole saw to remove a few plugs from the outer edge of the flare, using that as an access hole, and screwing the flare to the body, then replacing the material that was removed by the hole saw, filling, and smoothing everything. The screws help to hold the flare tight while the panel bond is curing, and with them being glued and screwed, they will hold up over the long haul. In this pic you can see the 3 locations where the holes were drilled and then repaired.
This small section in grey primer is essentially done and ready for final blending with the surrounding areas and eventually paint.
Looks like you found a good shop, which isn't easy!
Thanks and absolutely. The owner and is wife are friends of ours too. I wouldn't have taken on this project without prior experience with them. It's the same shop that painted my wife's 997 pink pearl, did the RUF rear bumper on my car, and the Aero mirrors on my 928 Spyder. Their rates are excellent too.
Visited the Cayenne project again this week - progress continues but slowly as the shop has had a lot of collision repair work as of late and that's what "pays the bills" and lets them work on my stuff for me on the side. They're working from the rear of the car forward on both sides. They've done some further priming, fitting, sanding, and blending, and have done the rough work for the long flare extensions on both rear doors. Passenger side rear door had some parking lot dings corrected and has been resprayed in grey primer as an interim step. Also gives you a good shot of the holes and attaching method that secure the flares to the body in addition to the panel bond adhesive being used. Photos from the perspective above show how well the multiple pieces transition from the rear door to the rear quarter when they come together, even though they're not finished yet.
Hasn't been a lot of progress the past couple weeks as the body shop owner and his wife have been on vacation. There has been a bit more work done to the driver's side rear fender flare and it looks like it's almost completely smoothed in and pretty close to being primed.
However, after following a number of threads about water inside the Cayenne cabin, I decided that while the body shop has a lot of my car apart for the widebody conversion that it would be really easy to take a look at some of these drains everyone has been talking about. I'm trying to address anything that might be a future failure point while this body project is going on so the car is as trouble-free as possible once I put it back on the road.
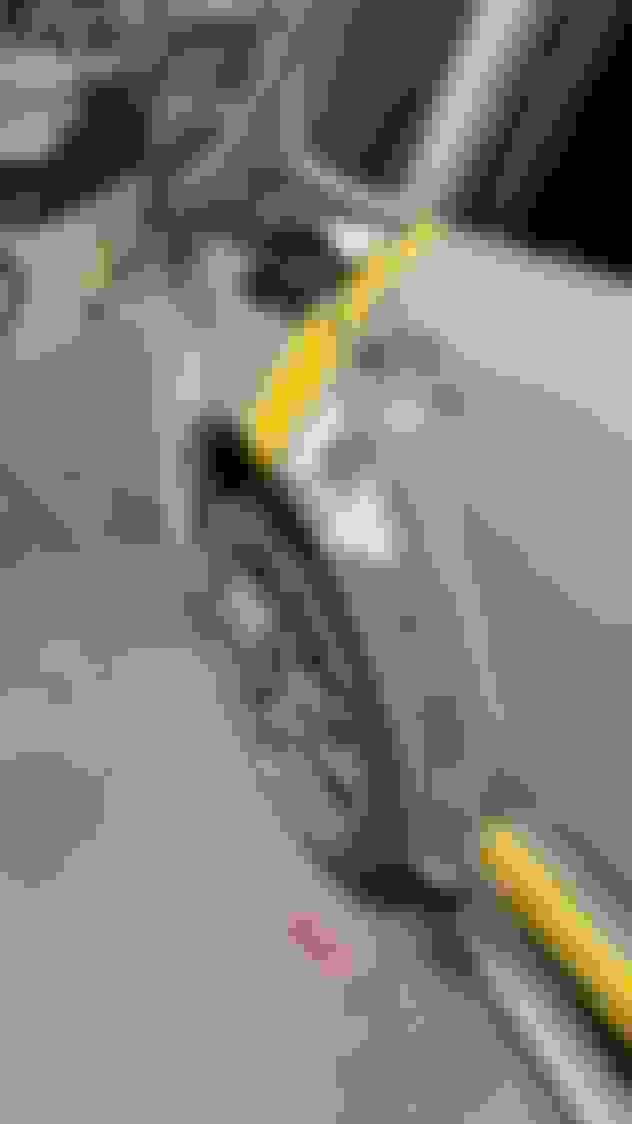
I pulled the star mouth off the passenger side cowl drain and everything looked fine. Went over to the drivers side and did the same thing, and what was trapped in there was a ton of leaves and junk. This project has been going on for so long that all the junk was completely dry, but I bet it would have only been a matter of time before I had an issue with the junk causing water to back up into the cabin. I removed and star mouth grommet and and am leaving them off as this Cayenne will never be fording a river with the hopes that the larger pieces of junk that end up in there will not be able to get out much easier.
Here's a pic of the hole (next to the purple hose) where that star mouth or birds mouth drain grommet goes (same place on the other side) and then a pic of the junk I was able to break-up and pull out with my finger. These holes are behind the inner fender liner at the backside of the front wheels.
I've also read that there are 3 rubber grommets / drains on each side near the rocker panel, but even with the rockers removed from the car couldn't locate them. Are these on the 958s only or also on the 955s & 957s. If on the older cars can someone post a picture of where and what these look like.
Been traveling quite a bit recently, but had an opportunity to check on the progress this morning and things are now moving along nicely. The body shop expects to be done around late August, then I still need to do some fitment and adapter fabrication to make the 958 PCCB setup work on my 957 so expected total completion date is probably late September.
First look at the Onyx White Pearl Effect Metallic the vehicle will be wearing when complete is on the tops of the front fenders.
Here's today's photo set
Molded in and primed flare with first look at the final color - Onyx White Pearl Effect Metallic
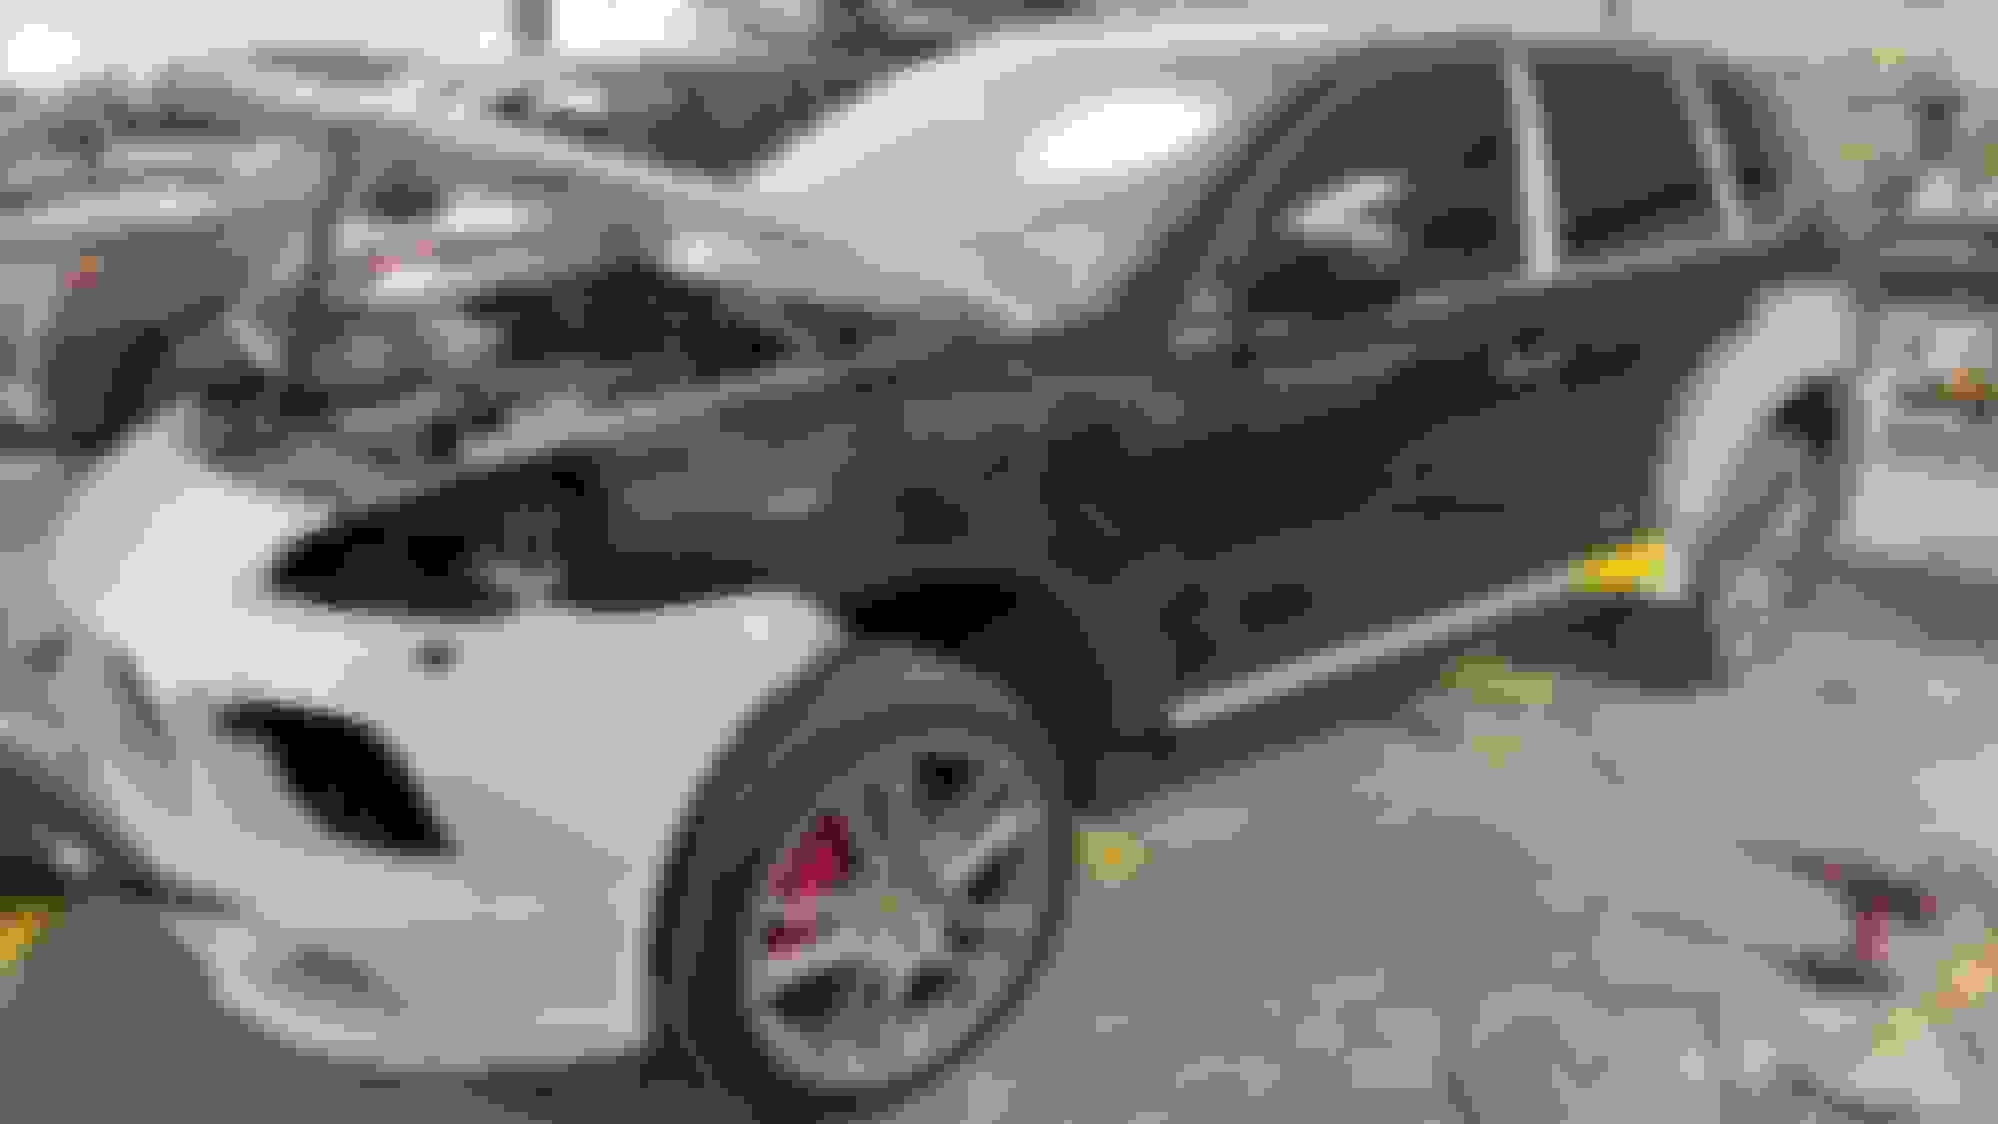
Driver's Side with both flares and Rocker panel
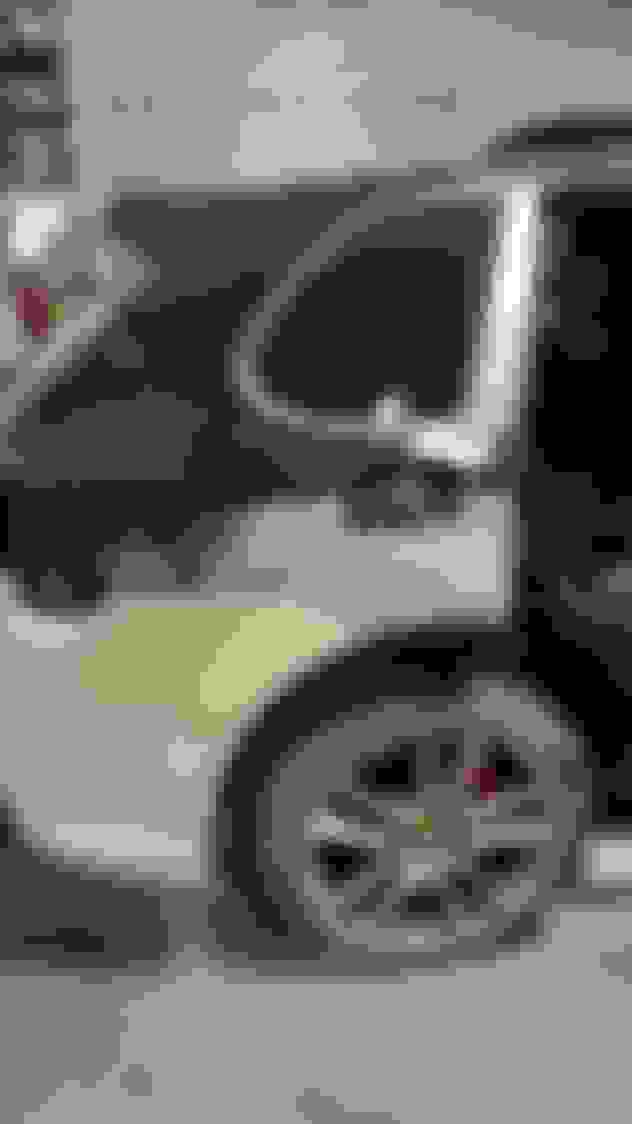
Driver's side rear where rocker panel meets fender flare
Close-up of final paint color with flash - Onyx White Pearl Effect Metallic
HHR Intake with heat shield and hydrophobic cover over K&N Filter
Been traveling quite a bit recently, but had an opportunity to check on the progress this morning and things are now moving along nicely. The body shop expects to be done around late August, then I still need to do some fitment and adapter fabrication to make the 958 PCCB setup work on my 957 so expected total completion date is probably late September.
First look at the Onyx White Pearl Effect Metallic the vehicle will be wearing when complete is on the tops of the front fenders.
Here's today's photo set
Molded in and primed flare with first look at the final color - Onyx White Pearl Effect Metallic
Driver's Side with both flares and Rocker panel
Driver's side rear where rocker panel meets fender flare
Close-up of final paint color with flash - Onyx White Pearl Effect Metallic
HHR Intake with heat shield and hydrophobic cover over K&N Filter
FVD Intercooler & Evoms billet Diverter Valve
Have you driven it with the CAI kit installed? I made a set for my 955 but it ended up performing worse. I have a Softronic tune so I contacted Scott and he said to go back to stock airboxes because CAI doesn't work for several reasons. It ended up cutting the boost in half or less for some reason. He didn't elaborate and it makes no sense to me but I've seen it. Just a thought.
Have you driven it with the CAI kit installed? I made a set for my 955 but it ended up performing worse. I have a Softronic tune so I contacted Scott and he said to go back to stock airboxes because CAI doesn't work for several reasons. It ended up cutting the boost in half or less for some reason. He didn't elaborate and it makes no sense to me but I've seen it. Just a thought.
I put the stock boxes back in this last weekend.
Interesting. No, I won't get to do the first drive until the bodywork is completed, so we'll see how it goes. I can always revert back to stock if necessary. Prior to the project I had been running K&N filters in my stock airboxes, with an ipd plenum, which worked well. Figured with the better Intercoolers, less restrictive muffler, and higher performance Diverter valves, the less restrictive intake would round out the package. Maybe it will need a Fabspeed or FVD tune to bring it all together. We'll see, but thanks for the input.
 02-07-2017, 06:26 AM