When you click on links to various merchants on this site and make a purchase, this can result in this site earning a commission. Affiliate programs and affiliations include, but are not limited to, the eBay Partner Network.
Rear Pads and Rotors DIY 2010-2014 (turbo non-pccb if it matters)
I just did the pads and steel rotors on the rear axle and just thought I'd share the steps I took in case someone else was going to attempt it. This is from the perspective of someone who is mechanically inclined, but basically has no experience working on cars.
The hardest part was disconnecting the brake pad wear sensor connector just because I didn't understand the retention mechanism until I youtube'd it (link in the steps). The brake pad dampers (between the back of the brake pad and pistons) also rusted onto my old brake pads, which were annoying to pry off.
Hex Bit (10mm) *For Caliper Bolts* *Be Warned from Youtube I've seen Porsche use hex, torx and triple square for caliper bolts on the same model car/brakes*
Phillips head screw driver
Rotors, Pads, Brake Wear Sensors OEM from Pelican Parts. *May want to also replace hardware (per axle) such as the caliper bolts 4x, rotor screws 4x and the 2x brake retention spring. These are considered consumables by Porsche, but I reused mine.
Steps:
1. If Air Susp: Put car in high susp mode and turn off air controller by holding high position button for 20 seconds. The dash screen will tell you when it's off.
2. Make sure e-brake is off. No need for service positioning.
3. Open Brake Fluid Cap in the engine bay. Drain a little bit if it's super full like near the top.
4. Loosen Wheel Bolts with Breaker Bar, 19mm socket and Wheel Lock Key when needed, while car is on the ground.
5. Jack car up with lift using corner lift points (I'm doing one wheel at time).
6. Remove all wheel bolts. Remove wheel by grabbing it at the back and pulling off if it's a bit stuck.
7. Disconnect brake pad wear sensor harness. Identical to this one (
8. Take harness out of holder on both female and male end of harness. Should be easy after it's disconnected.The side that is NOT going to the caliper needs to be rotated to be removed from the holder clip and only after the harness has been disconnected.
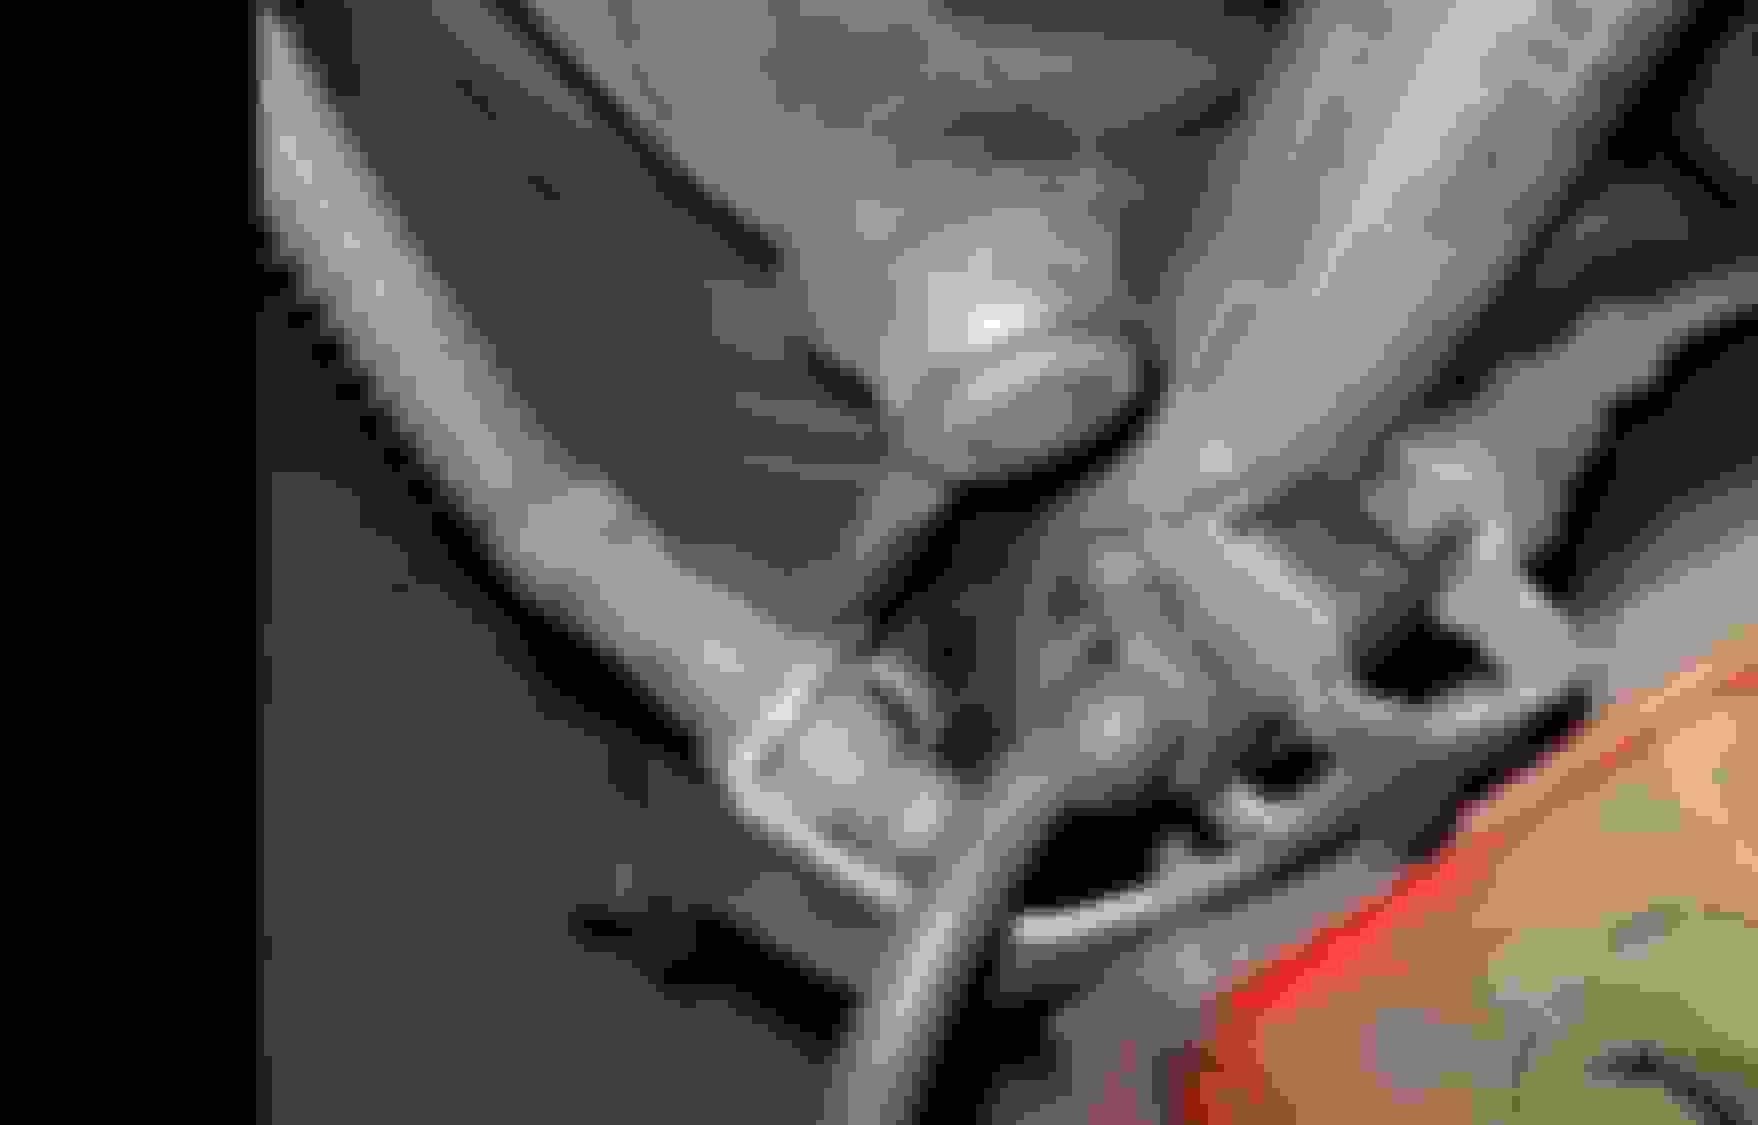
9. Using a flat head from the back of the caliper pry back the brake pads against the piston to compress them just a smidge.
10. Remove caliper mounting bolts 2x using breaker bar or a ratcheting wrench and 10mm hex bit.
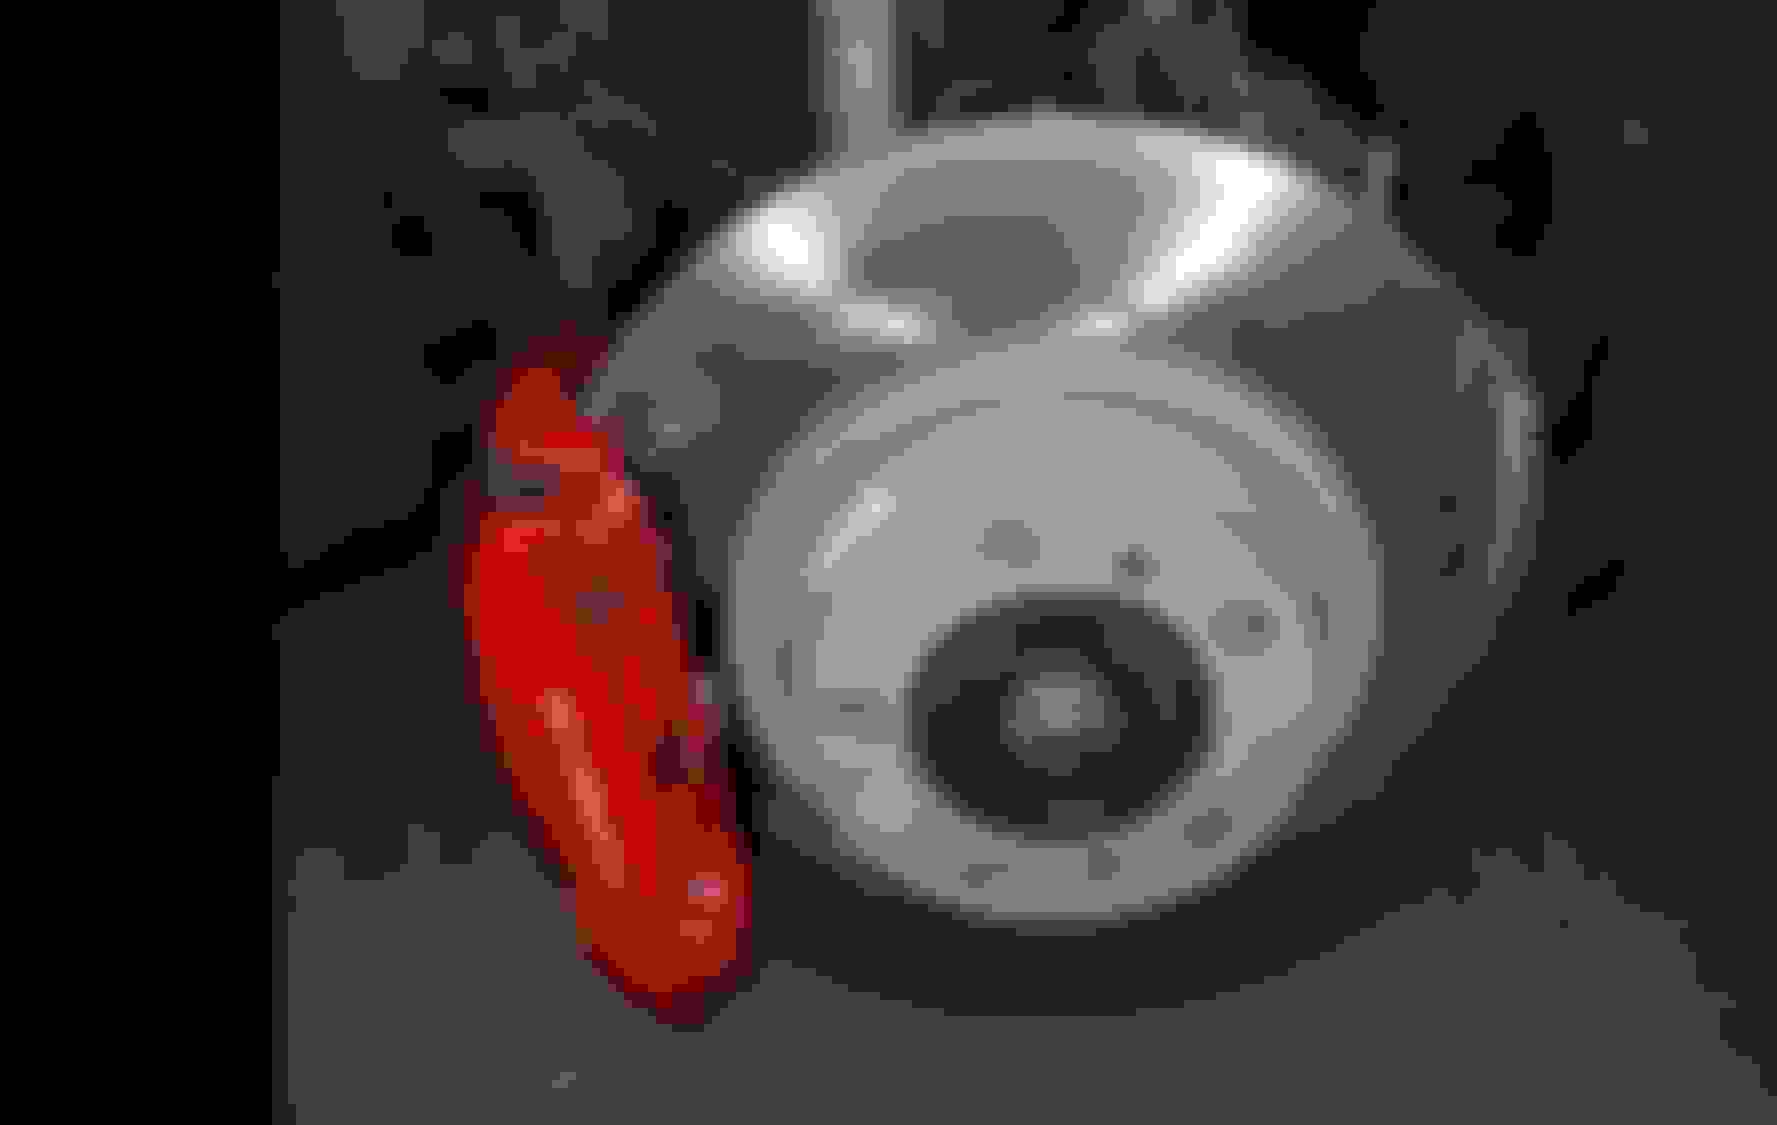
11. Pull caliper off of rotor and place to the side on a box or something so that the brake line is not being pulled on.
12. Remove 2x rotor mounting screws (phillips head)
13. Pull off rotor and replace with new rotor and reinstall mounting screws (may want to use new screws) (hand tight). The spec is actually like 3.5 ft-lbs.
14. Using your hands, pull against the old brake pads still inside the caliper and compress back the pistons all the way. It maybe easier to do this against the pad damper back plate after removing the pads themselves.
15. Remove old brake pads and pry off wear sensor (I couldn't save my old ones. You could even cut it to make it easier.). Remove old wear sensor entirely from caliper.
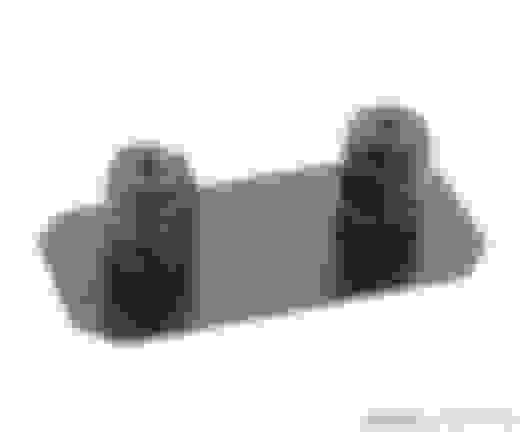
16. If the brake pad damper between the pistons and brake pads are rusted onto the brake pads then take the brake pads out first then pry it off and then reinstall into the pistons. These dampers insert into the pistons and look like this:
17. Apply brake quiet to your new pads per directions. Replace brake pad retention spring now if you are using a new one.
18. Insert new brake pads into the caliper.
19. Install new brake pad sensor from the back of the caliper and inserting where obvious into the wire guides. This is one of the harder parts. You want to guide the sensor into the pads from the back opening of the caliper.
20. Place caliper back onto the rotor and remount caliper bolts (may want to use new bolts) using 63 ft-lbs. Reconnect brake pad wear sensor harness.
21. Install wheel guide bolt into the most 12 o-clock-ish position on the wheel hub.
22. Reinstall wheel with help of guide using a cross pattern.
23. Only torque semi-tight before lowering car back to ground.
24. Once car is on ground torque wheel bolts to 118 ft-lbs
25. Reinstall brake fluid cap and top off if you removed some fluid at the start.
26. Pump brakes until you feel them.
27. Complete
If I remove the 2 Philips head screws from the rotor Will it will come off ?
Removing the wheel hub nut isn't required ? Reason im asking is I don't have a socket on hand that size.
Once the two screws are out the rotor will come off after jiggling it a bit and pulling. No need to remove any other fasteners. It came off really easily for me.
Thanks for the step by step instructions. I completed the rear pad and rotors on my 2010 TT yesterday. The only difficult part is connecting the brake pad sensors. If you totally removed the caliper and worked on a bench with it that would make it much easier, but after a few minutes and lots of cursing they snapped in. I am surprised the rotors didn't last more than 20k miles though. Dealer said they all needed to be replaced but they don't look that bad to me. They wanted $4800 parts and labor to do the brake job. This seemed outrageous to me since these are not carbon ceramic. Approx $1600 in parts from the internet and about 30 minutes labor per wheel at home instead, gets the job done.
Remember that the caliper bolts are considered consumables and should be replaced with new.
I am going to tackle the front brake pads and rotors today. If anyone has any tips or hints please let me know.
Glad it helped. I made some edits regarding the various consumable hardware.
For the front.
You need an M14 triple square male bit for the front rotor caliper bolts. The front caliper bolt torque is also 104 ft-lbs. Rotating the wheel towards you helps get better access to the caliper. Other than that it should be the same just more annoying since everything is bigger and heavier.
I finished replacing pads and rotors on the front of my 2010 TT yesterday. As suggested here in this thread, it wasn't a horrible job to do.
Passenger side was completed without turning the wheels, however doing so would have made it a little easier to put in the sensors.
Drivers side required the wheels turned inward to put the caliper back on with new pads installed since they were thicker than the old ones and the brake line seems really tight/short. Then turned outward to help get the pad sensors installed. Even though many write ups say you need a M14 triple square male bit, my bolts (red calipers) were simply hex heads. The triple squares would not fit.
There are a couple video's on youtube that can be of some help. Just be warned that in one of them the guy opens the power steering cap and says that it is the brake fluid reservoir, which of course it is not.
Be very careful with the sensors, they are cheap plastic and break easily. I had to reuse one of the old sensors as my new one had a chunk of plastic break off when I tried to snap it onto one pad.
Thanks to the OP for the helpful DIY thread and messages!
8. Take harness out of holder on both female and male end of harness. Should be easy after it's disconnected.The side that is NOT going to the caliper needs to be rotated to be removed from the holder clip and only after the harness has been disconnected.
Thanks for your post. Just to get oriented with step 8, by rotating it, do you mean looking from the backside of the caliper where the retaining clip is visible? I can't see how you disconnected the sensor from the pads plus how to take the sensors off all together if they need replacing.
The rotating action is literally what the guy does in the posted Youtube video in my original post from the 11 second to 15 second mark. The Panamera wire harness bracket is identical.

 08-30-2017, 10:22 PM