When you click on links to various merchants on this site and make a purchase, this can result in this site earning a commission. Affiliate programs and affiliations include, but are not limited to, the eBay Partner Network.
I am writing this guide to help people to modify their 2005-2011 Porsche 911, Cayman or Boxster from a Tiptronic to a paddle shift steering wheel. They are far better to use on a track, autocross or spirited canyon drive than the standard clunky tiptronic buttons as they prevent accidental shifts and encourage correct wheel handling.
I wanted to be able to return the car to completely stock if necessary, so this mod only changes a secondhand used steering wheel bought for this purpose, nothing at all is modified on the car or the original steering wheel. You may choose to modify your own steering wheel directly, which would save you up to $300.
I would rate this as a 3/10 on the difficulty scale.
I am happy to modify this DIY with feedback or other advice. This work is done at your own risk, I take no responsibility for you skinning your knuckles, damaging your car or anything else by using these instructions!
Total time taken to modify and install the wheel was about 4 hours, including some trial and error, taking pics and notes. The replacement wheel was a used one that I bought off ebay for $150. I bought the AMG paddle shifters from an online Mercedes parts supplier and the steering wheel harness from my local dealer, who I persuaded to price match with online suppliers. I based this writeup on the one done by user �PFBZ� on Rennlist and I have used some of his writeup and some of his photos as mine were blurred when I checked them. http://rennlist.com/forums/987-981-7...onversion.html
Tools needed
Sockets
Triple square for steering wheel bolt
T20 torx to remove steering wheel trim panels
Ratchet
Wrenches
4mm Allen wrench to pop airbag out of old steering wheel.
3 or 4mm Allen for the bolts to secure the paddles to the wheel
Other tools
Soldering iron and solder
Craft knife
Drill (and several 3-6mm bits)
M4x.7 tap to create a thread in the paddle shifters
Multimeter
Consumables and parts
Manual transmission Porsche steering wheel ($150 - $250 on ebay)
Mercedes AMG paddle shifters, part number: A171 267 00 46 (approx. $130)
Tiptronic steering wheel wiring harness, part number: 997.612.674.02 ($90 - $120)
Heat shrink
Electricians tape
Loctite Blue threadlock
2 M4 bolts with 0.7 pitch.
Step 1
Remove the 2 plastic trim panels from the new wheel using a T20 torx. (They are already removed in this pic below, for clarity)
Spend a fair amount of time deciding precisely where you want the paddle shifters to be located. I am very pleased with the location of mine, which are easily reached by my finger tips without stretching or holding the wheel unnaturally).
When you are satisfied, create a paper template of the base of the paddle shifter. Note the paddle has a larger section trim piece which should cover the edges of the hole you cut into the wheel.
Step 2
Mark the edge carefully with a marker pen and cut it out with a craft knife, all the way down to the metal.
Keep test fitting the paddles as you cut to make sure your hole is not too large that the trim doesn�t cover it.
Tap holes of paddle shifters to accept the M4 bolts.
Step 3
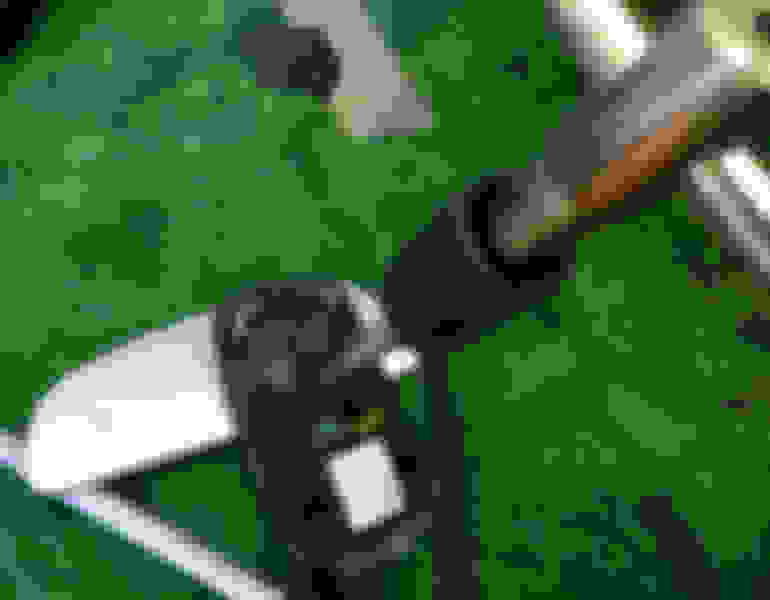
When you are satisfied with the final fit of the paddles, drill 2 holes, the first one is for the mounting bolt (the other for the paddle shift wiring). You will need to carefully mark the location of the hole for the bolt.
There is a fair amount of flexibility where you drill the wiring hole. Make sure you remove (deburr) any rough edges on the wiring hole. I used the wire sheathing here to protect the wires from chafing in the hole.
Feed the wiring through the wiring hole and mount the paddle in place. Bolt it in place using the M4 bolt from the inside of the wheel.
Make sure that the paddle shifters operate correctly by connecting a multimeter across the wires and check that operating the paddle creates a short circuit (7 ohms or less).
(One of my paddles needed to be slightly re-positioned in order to allow the paddle to close completely and operate the switch.)
Feed the wiring through the lower, smaller hole in the trim panel and bolt it back in place using the T20 torx bolt.
Repeat these 2 steps for the other paddle.
Step 4
Clean away any trace of metal swarf, foam debris etc.
You are now ready to wire up the tiptronic wiring harness.
There are 6 connectors on the harness:
Orange multiplug for the steering column connector
Green airbag connector
Yellow airbag connector
Black horn connector
White left tiptronic connector
White right tiptronic connector
Follow the cable from the multiplug to the tiptronic connectors and cut it just before it forms the T.
Strip off the harness sheath and bare the copper for the 5 of the 6 wires (2x black, red, blue, white.)
The yellow cable will not be connected, the remaining should be soldered to the paddle shifters wiring as below:
When you have soldered it, test the paddle shift operation again with the multimeter, and check for any inadvertent shorts to other wires. If all is OK, apply heatshrink to the soldered connections then wrap the harness in electrical tape.
The paddle shift wheel is now finished.
Step 5
Go to the car and ensure the steering wheel is dead straight ahead.
Disconnect the negative terminal on the battery and wait a few minutes.
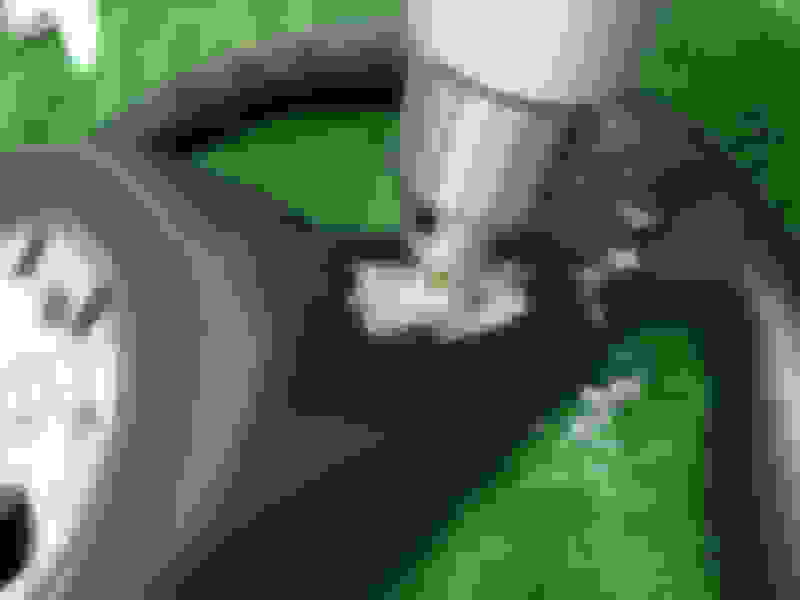
Using a 3 or 4mm allen wrench, remove the airbag by poking the release spring through the small hole at the bottom of the steering wheel. You may need to use a reasonable amount of force to pop it, then gently pry the airbag out of the wheel.
Disconnect all connectors of the tiptronic wiring harness except the 2 for the tiptronic switches (which are not accessible anyway).
Remove the triple square bolt from the center of the steering wheel and then remove the wheel.
Step 6
Lay the 2 steering wheels next to each other and route the wiring on the paddle shifter wheel in the same way as the factory tiptronic wheel.
Install the paddle shift wheel in same way that you removed the old wheel, but don�t bolt the wheel on yet.
Connect all the electrical connections and loosely place the airbag in the wheel (don�t click it into place yet).
Connect the battery and start the car. Check operation of the paddle shifters by holding your foot on the brake pedal and putting it into drive. As you click the Upshift and Downshift, the indicator on the instrument cluster should show the gears shifting.
If all operates correctly, turn the car off and disconnect the battery again.
Apply new thread lock to the steering wheel bolt, torque it up tightly, then push the airbag into place.
Reconnect the battery and the job is finished.
Notes
After reconnecting the battery, I got a fault code for �PSM inactive� on the dashboard.
If you do too, you may need to reset the steering angle sensor using a Durametric system. I have a Durametric Pro and I went into the 'PSM - activations' section, then initiated a recalibration of the wheel sensor by turning it 20 degrees left then 20 degrees right. I cleared the fault code and then it was all good to go.
I was informed that this fault will also clear on its own if you simply take the car for a drive.
Im sure this has been beaten to death, but I want to lower my 997.1 4s, is there a diy? what springs, and is it worth doing coil overs? I have PASM, some of the threads I have found are pretty old,
thanks in advance for your time, also if anyone is looking to unload some springs/coil overs lmk
 03-11-2016, 12:05 AM