When you click on links to various merchants on this site and make a purchase, this can result in this site earning a commission. Affiliate programs and affiliations include, but are not limited to, the eBay Partner Network.
So I thought I'd post some DIY material that I actually captured on spur of the moment... Ok, I was bored. Consider this a prep project for a Rear Video Camera install DIY, as these are the steps you will need to follow to install an interface like the NAV-TV PCM3.1XG-CAM video source. Actually, you would need to follow these steps for just about ANY installation requiring interface with the PCM dash unit!
(If you want to simply skip to the end where there are pics of the rear of the PCM unit / wiring, Go To Part 2.)
The entire process of removing 2 trim pieces and screws holding the PCM unit in place took approx 30 minutes -- a lot less if you aren't stopping to take pictures! First time you remove the trim pieces go slow, take your time....
First, make sure you have the following tools ready:
T-25 Torx
Nylon / Plastic Interior Trim Tools
Soft towel or other cloth (you will want to cover the console / shifter area when you pull the PCM head unit out of the dash)
NOTE: Although you'll notice my unit has power during the DIY, I would recommend that you disconnect battery / power so that you don't run into any electrical "issues" while pulling the unit out. Also make sure you are grounding occasionally to something metal, not just the PCM housing....
First, put your seats as far back as they'll go, put on some good tunes, and start to remove the trim panels on each side of the center tunnel. These pieces in my case are covered in leather, so I was very careful not to do anything to scratch them.
Also Note that these pieces can also be tricky to remove. DON'T be too forceful and simply yank it off, as there are a couple of tabs/pins that can break-off. Once that happens I don't think there is much you can do to fix, and you may end-up with a squeaky center console or something!
Let's get started!
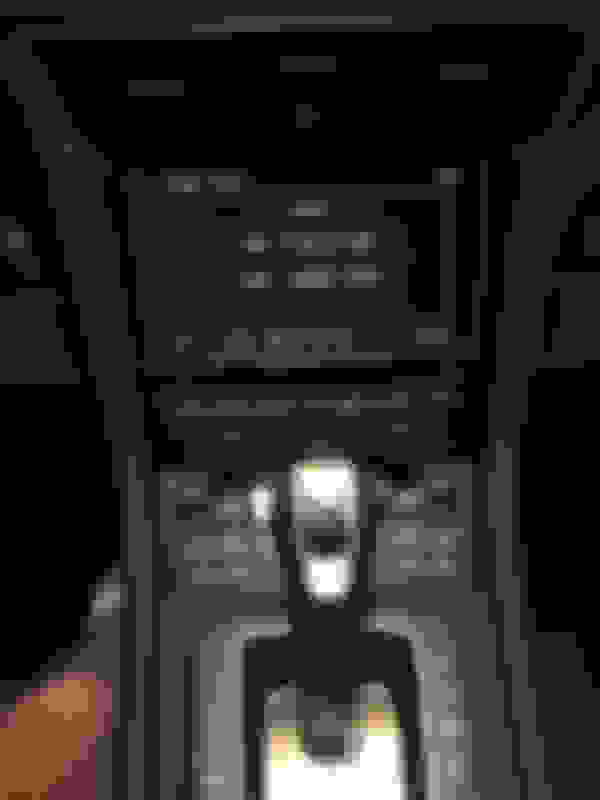
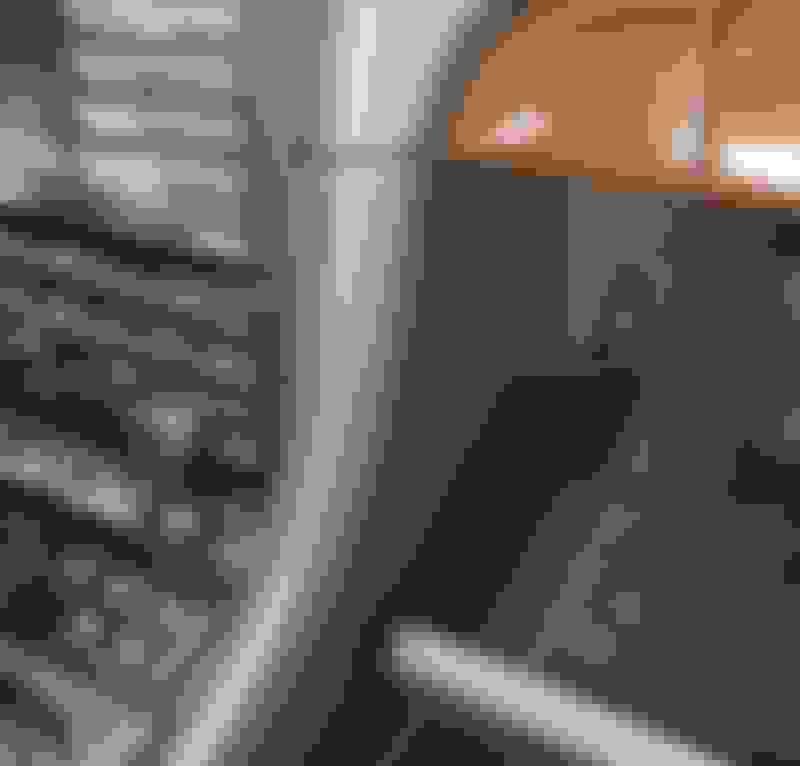
Here's a pic of the console area in my car. On my '14 C4S I've got leather surfaces and PDK. You may find it easier to pull the PCM unit out if you move the gear selector back, but you don't have to.... if you are very careful and have small hands!
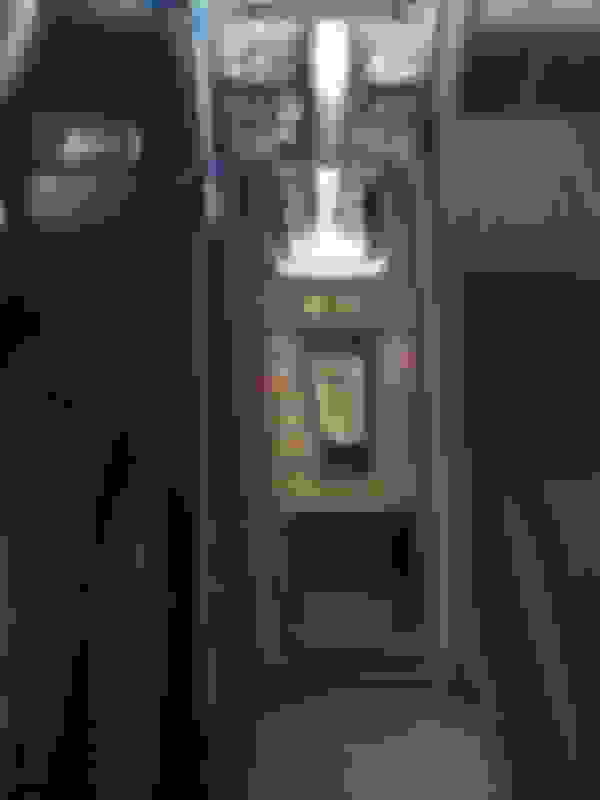
Another pic of the area
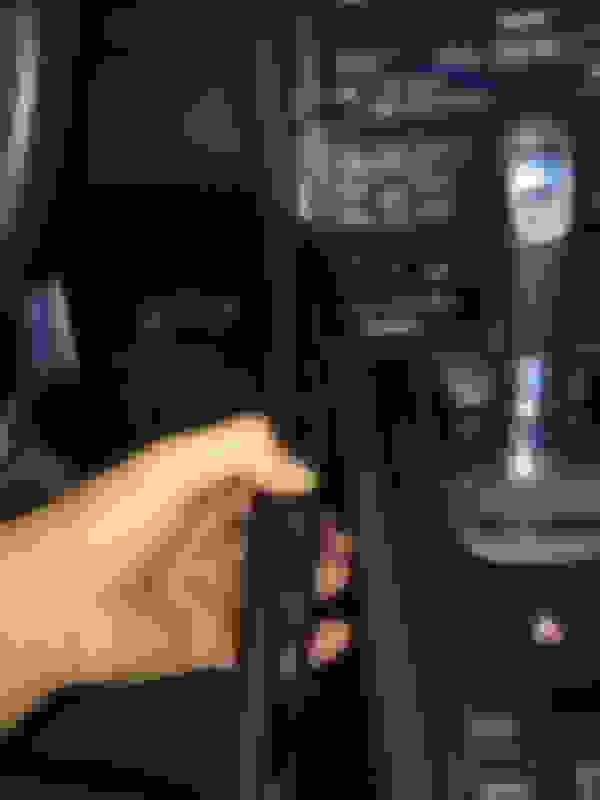
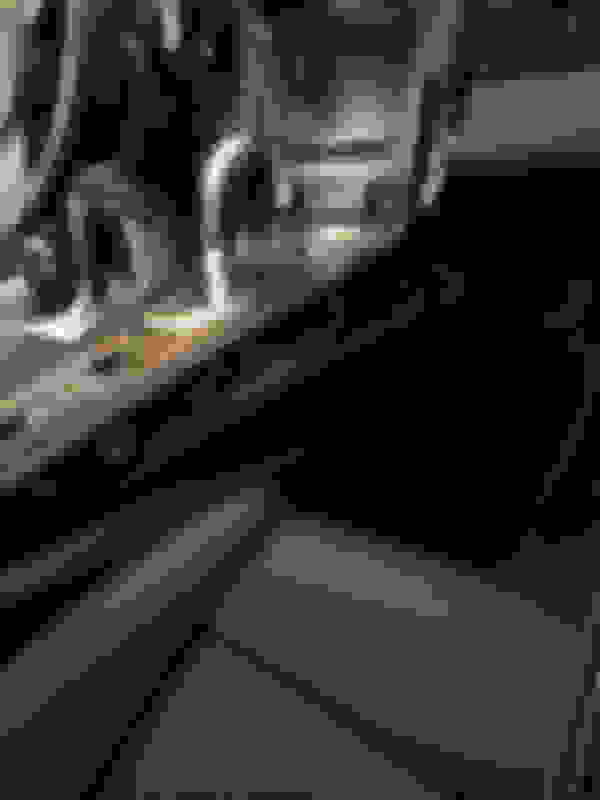
Start at the smaller, pointed end near the center console storage bin, and carefully work the tension tabs out of each connection point moving towards the dash. Using the trim tools is a huge help. I found that wedging behind the trim and gently pushing out away from the console worked well, and for the last tab close to the dash putting the tool in from the bottom and pushing out while pulling towards me helped a lot!
I started on the left, or driver's side...
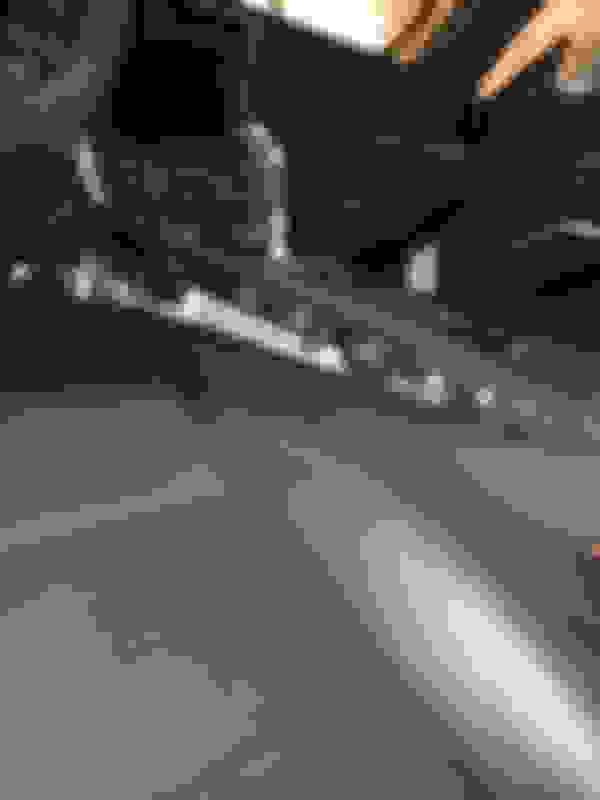
You need to be very careful not to just yank the panel straight-out away from console, as there is a hook-tab that is very easy to snap-off if you don't work it backwards out of it's retaining hole first....
And here I am pulling the right or passenger side trim off...
On the passenger side, you can lower the glove box door to give yourself a bit more wiggle-room to work the trim panel off...
Here are a pics of the trim piece removed from various angles (both sides)
You now have the two trim pieces off, and can move on to removing the PCM unit from the dash.
Thank you very much for the detailed instructions!
I am always doing customizations to my various vehicles, but I never seem to remember (or more honestly I'm just too lazy) to bring the camera out to document my work.
This kind of write up will save a lot of aggravation and possibly broken parts, so I greatly appreciate you taking the extra time during your install.