Murcielago Exhaust Install
#1
 02-08-2009, 02:59 PM


Murcielago Exhaust Install
So I pretty much google everything to figure out how to do something. I was not able to find any help on a Murcielago exhaust install, so I went on blindly.
I thought I would write this in case anybody else wants to do this themselves.
Anyways, this was an install of a Lambo of Orange County muffler and factory secondary cat bypass pipes. The secondary cat bypass pipes are a Euro-spec piece as the Euro cars didnt have the 2ndary cats.
So here we go:
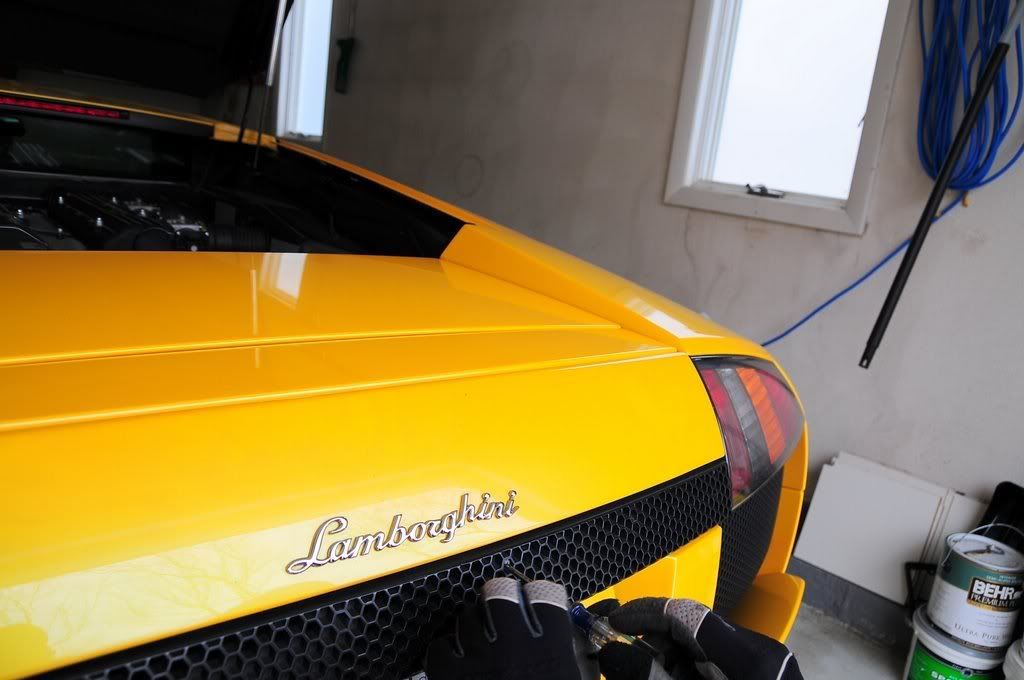
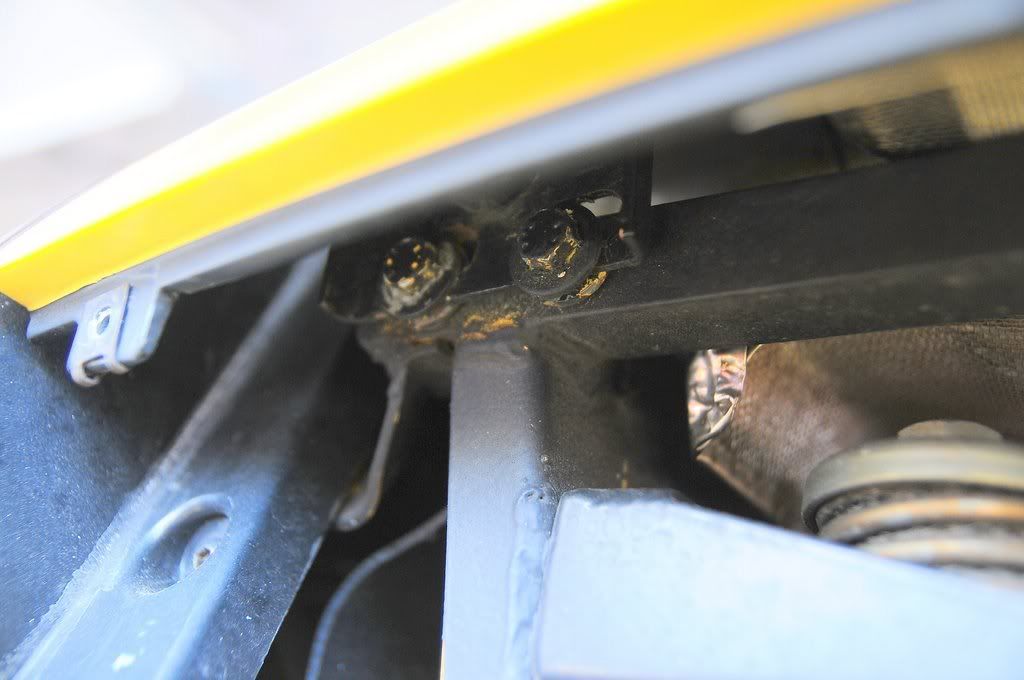
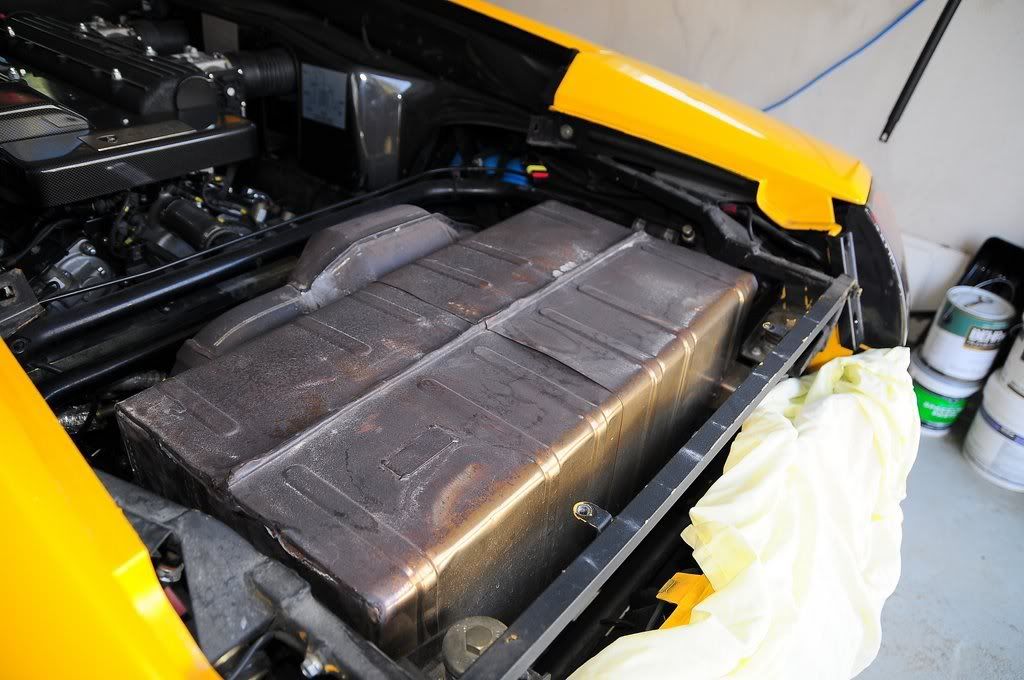
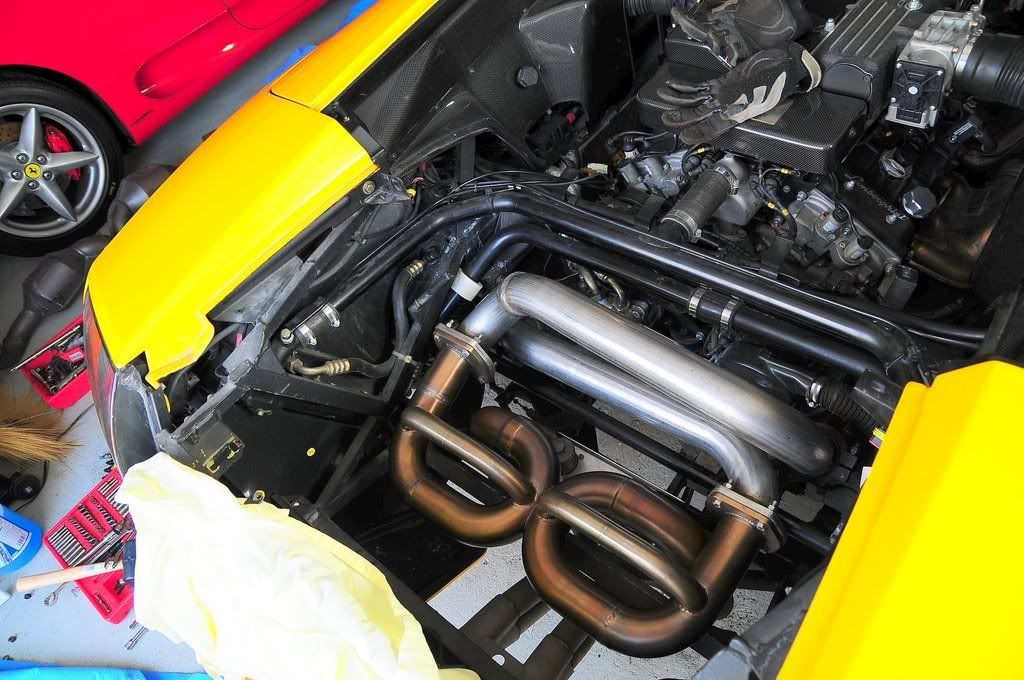
1. Here's what it looks like at the start:
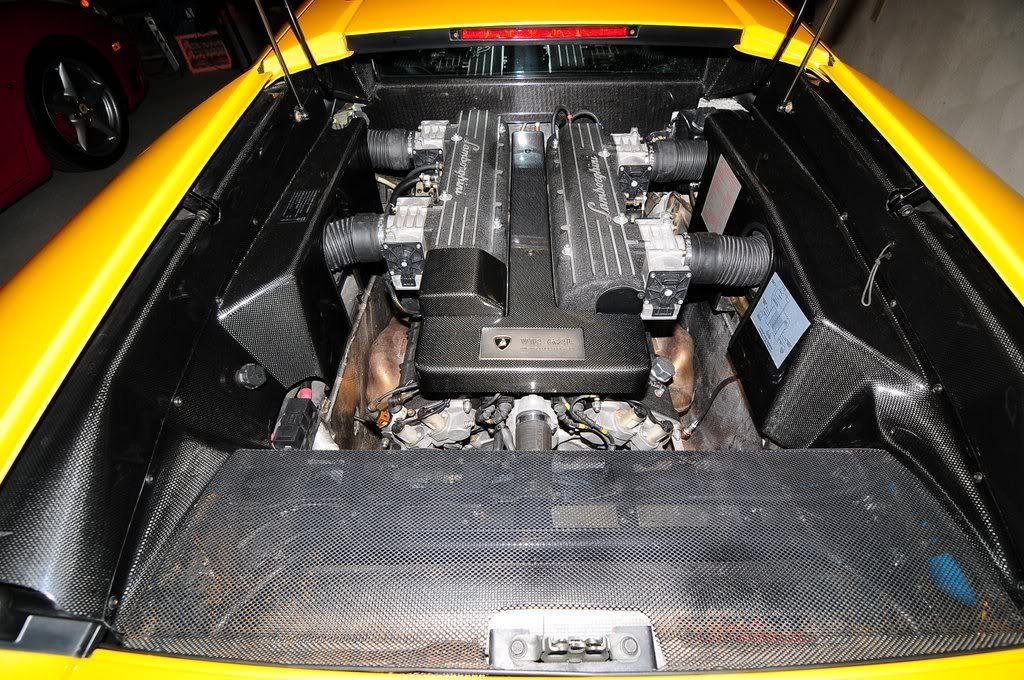
2. You'll start by removing the mesh screen in the pic above. its held on by Philips head screws along the top lip of it, and a few along the lower lip of it:
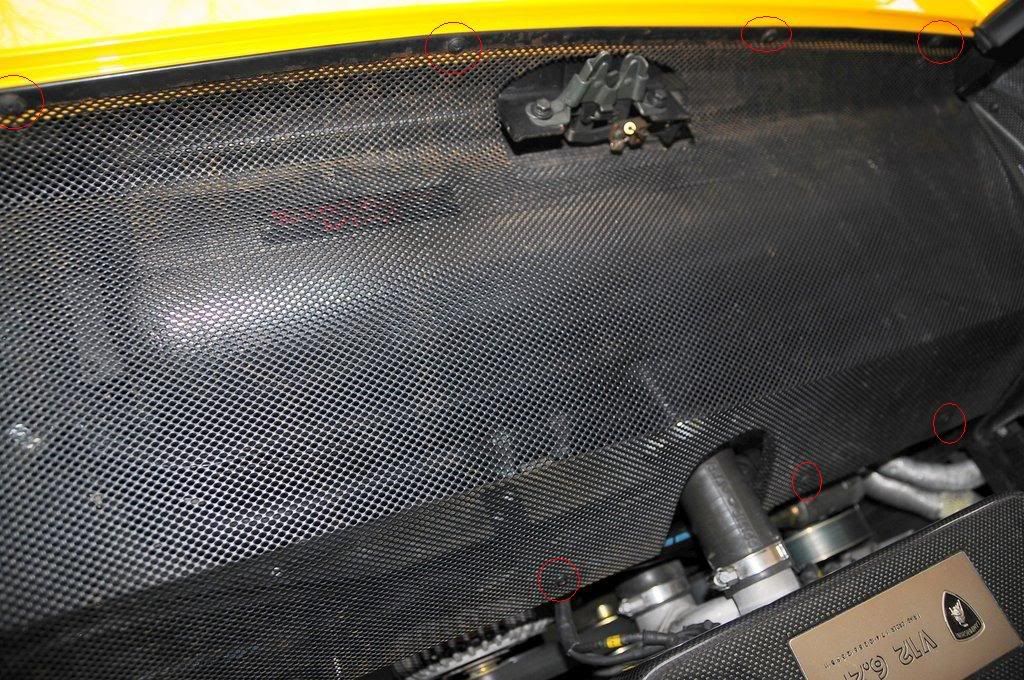
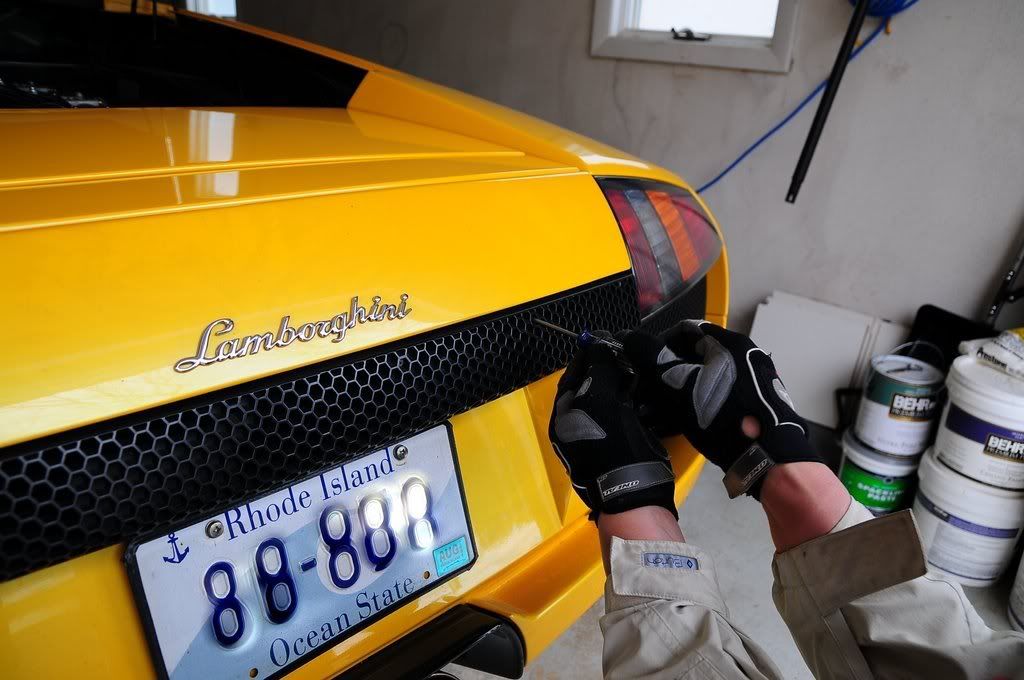
3. Next remove two bolts holding down rear decklid. I forgot to take a pic of them, but they are right where the arrow is pointing:

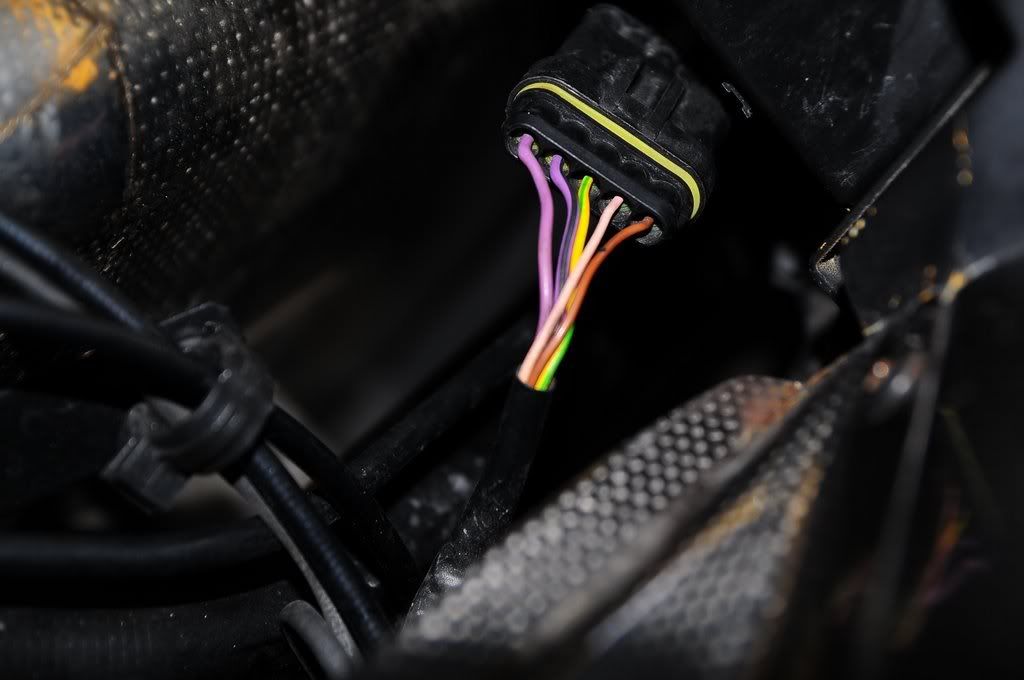
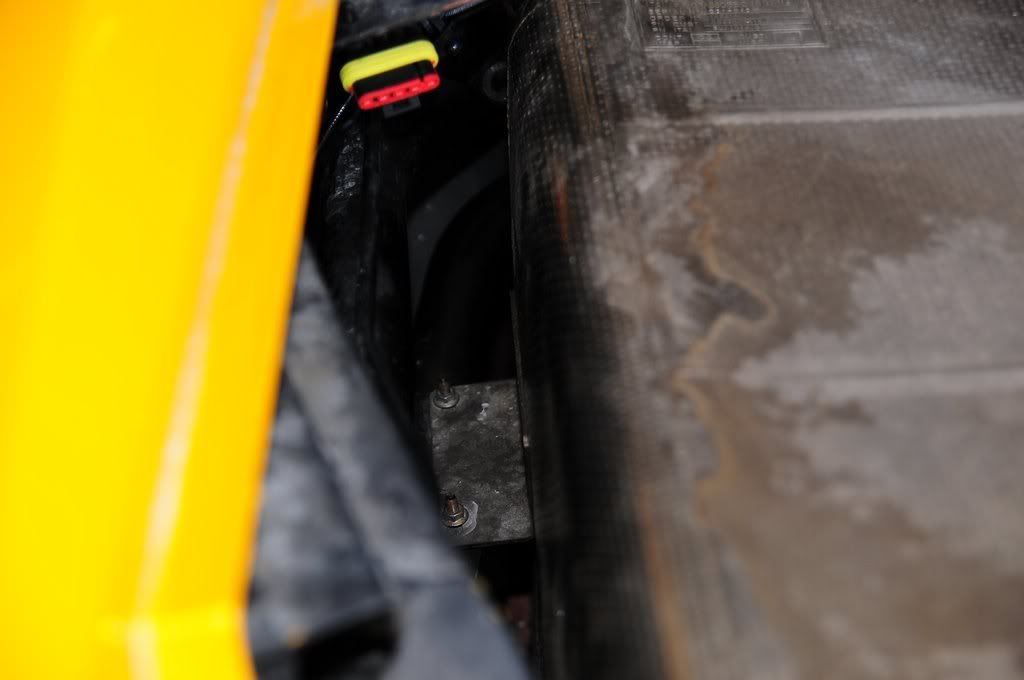
4. Disconnect the two wiring harnesses at both of these corners. You can see the bolt head and wire harness in the corner in this pic:
close up of the harness:
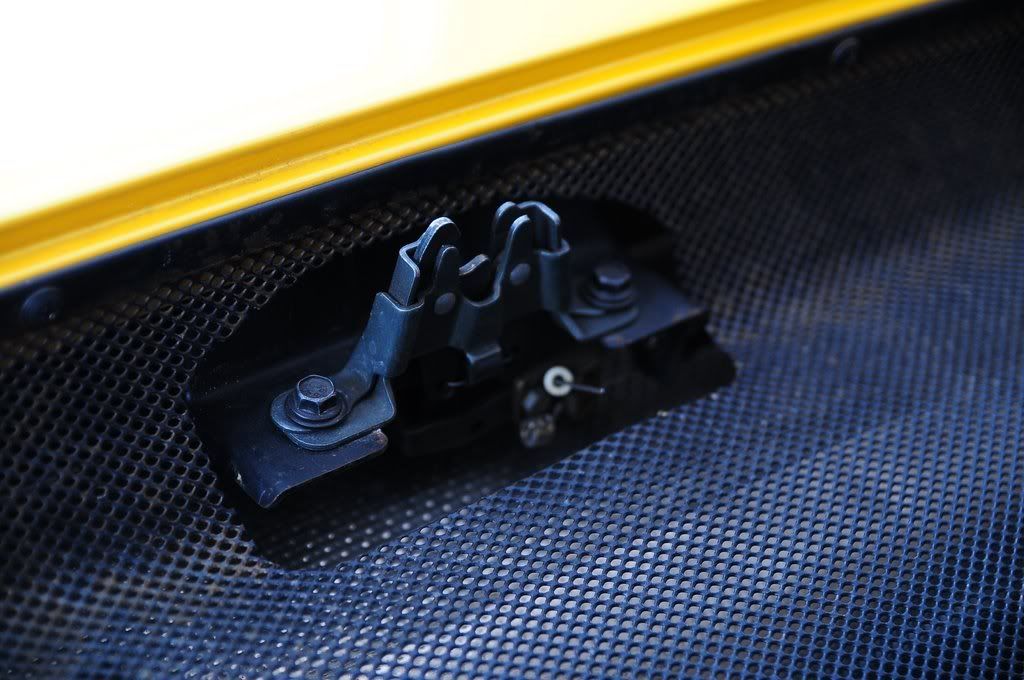
5. Remove the hood latch by removing the two bolts right on the latch:
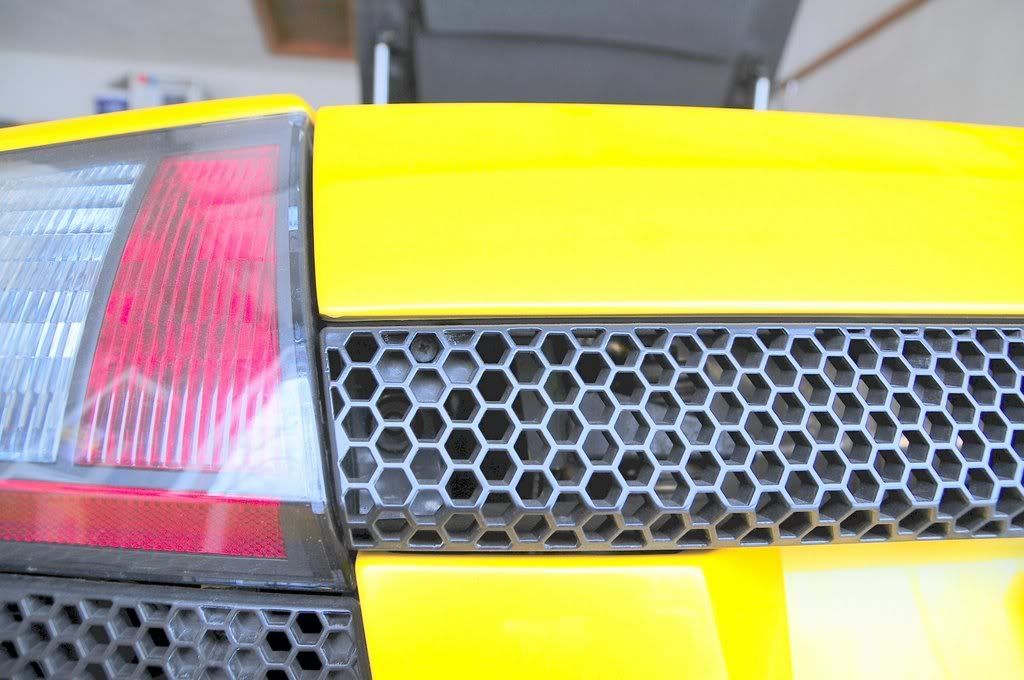
6. Next you need to remove the mesh screen at the tail. It's held by a bunch of Phillips screws hidden in the octagons:
7. The license plate lights are stuck in this piece. I dont have pics, but you either need to let this mesh part dangle (but take tension off the license plate wires), or you can remove the lights (which is what I did). They are held by two small screws. Its pretty self explanatory.
8. Once you remove that grill, you need to remove two 10 mm bolts in each corner of the rear part of the rear decklid. It's tricky to get these off, but a standard open wrench works.
to be continued below...
I thought I would write this in case anybody else wants to do this themselves.
Anyways, this was an install of a Lambo of Orange County muffler and factory secondary cat bypass pipes. The secondary cat bypass pipes are a Euro-spec piece as the Euro cars didnt have the 2ndary cats.
So here we go:
1. Here's what it looks like at the start:
2. You'll start by removing the mesh screen in the pic above. its held on by Philips head screws along the top lip of it, and a few along the lower lip of it:
3. Next remove two bolts holding down rear decklid. I forgot to take a pic of them, but they are right where the arrow is pointing:
4. Disconnect the two wiring harnesses at both of these corners. You can see the bolt head and wire harness in the corner in this pic:
close up of the harness:
5. Remove the hood latch by removing the two bolts right on the latch:
6. Next you need to remove the mesh screen at the tail. It's held by a bunch of Phillips screws hidden in the octagons:
7. The license plate lights are stuck in this piece. I dont have pics, but you either need to let this mesh part dangle (but take tension off the license plate wires), or you can remove the lights (which is what I did). They are held by two small screws. Its pretty self explanatory.
8. Once you remove that grill, you need to remove two 10 mm bolts in each corner of the rear part of the rear decklid. It's tricky to get these off, but a standard open wrench works.
to be continued below...
#2
02-08-2009, 03:12 PM
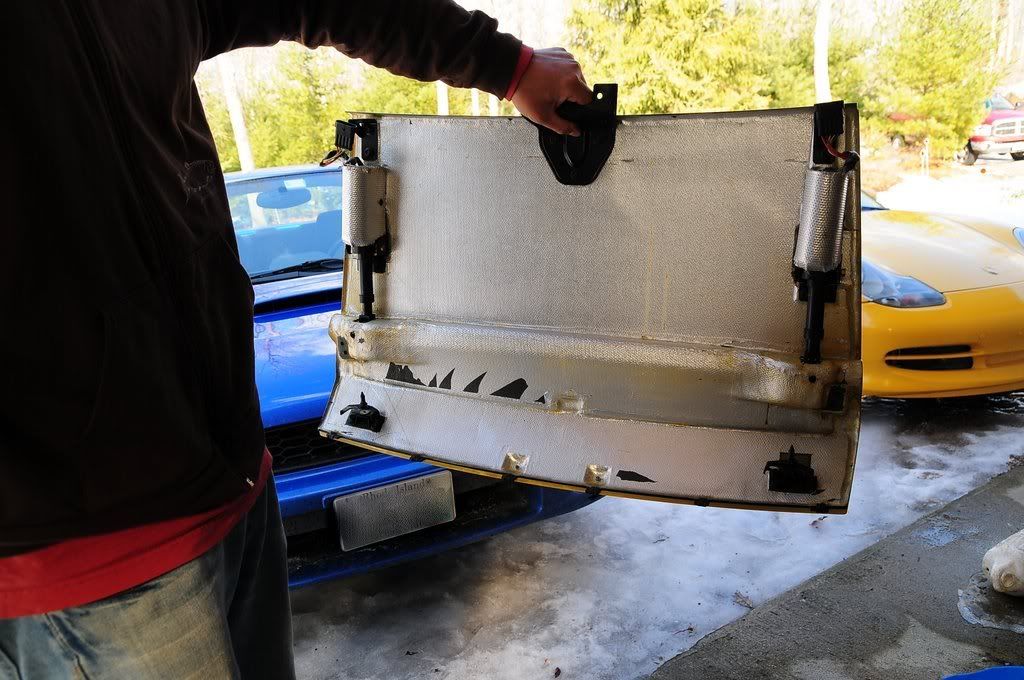
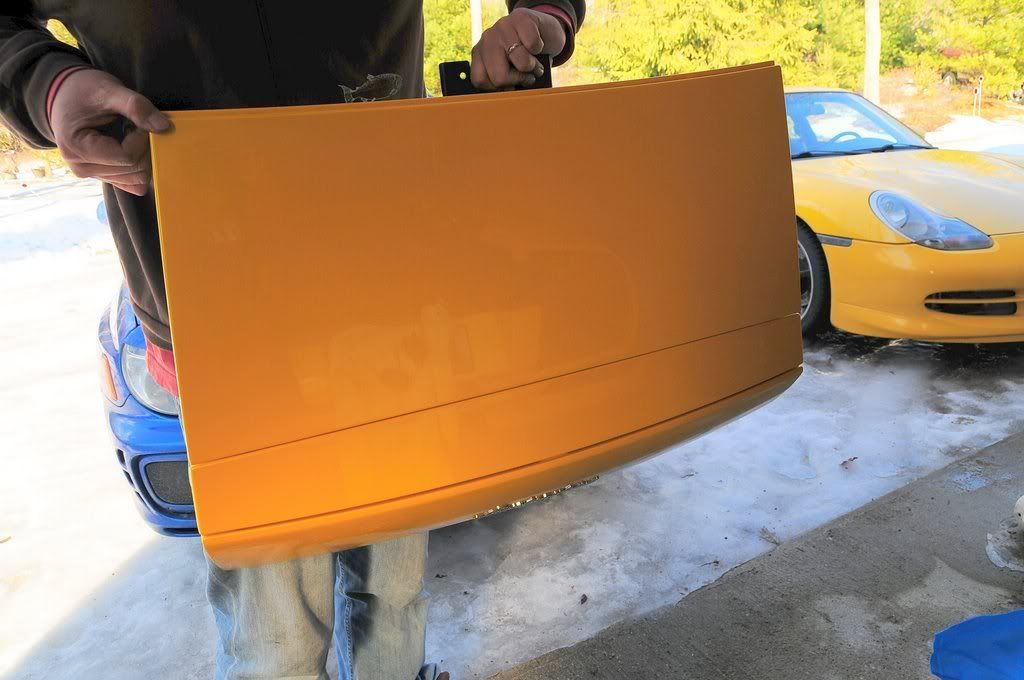
9. Once you get those 4 bolts off, and everything else we already got off, the rear decklid is free to remove:
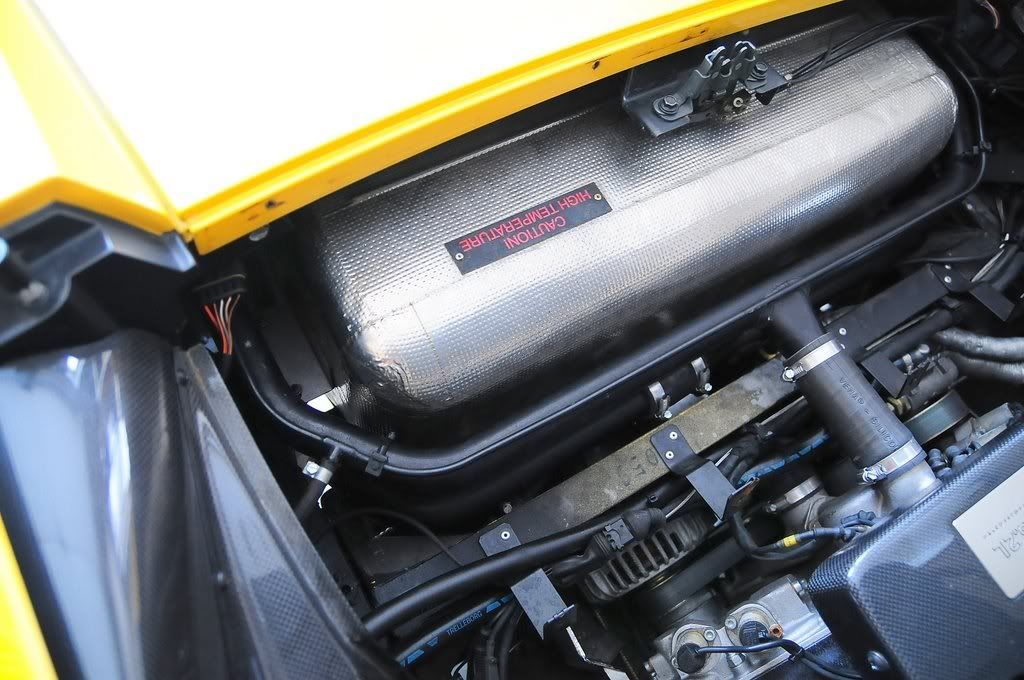
10. Now you remove the heatshield. The heatshield has two bolts right on top of it (forgot to take pic but you cant miss them). Then there are two tiny nuts on each side. These are somewhat deep:
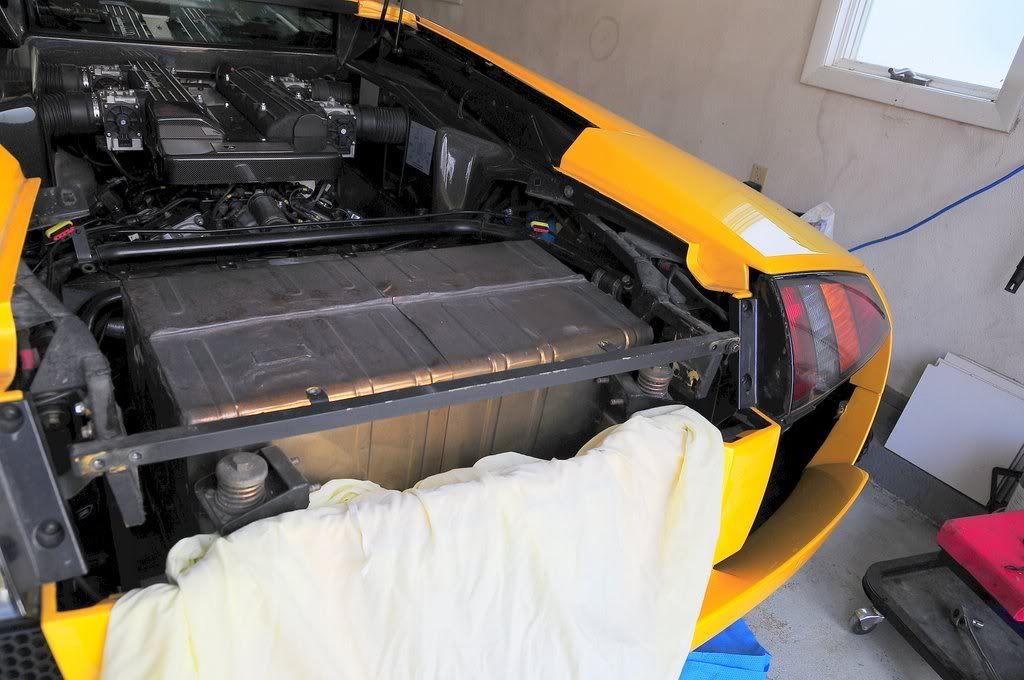
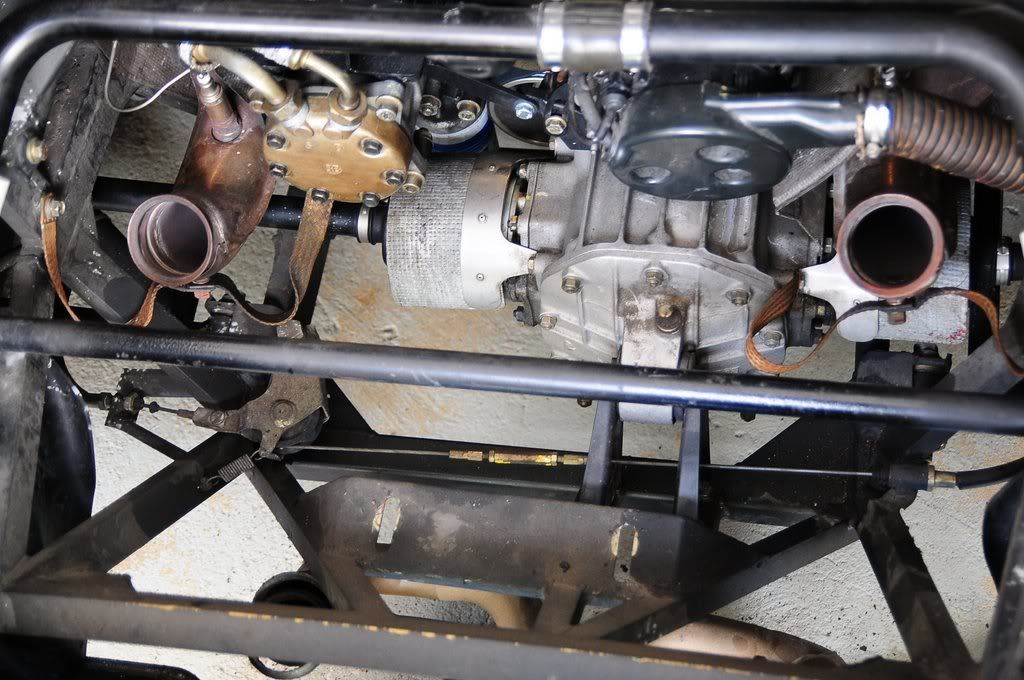
11. The heat shield should pull kind of straight up and out. After its removed, it should look like this:
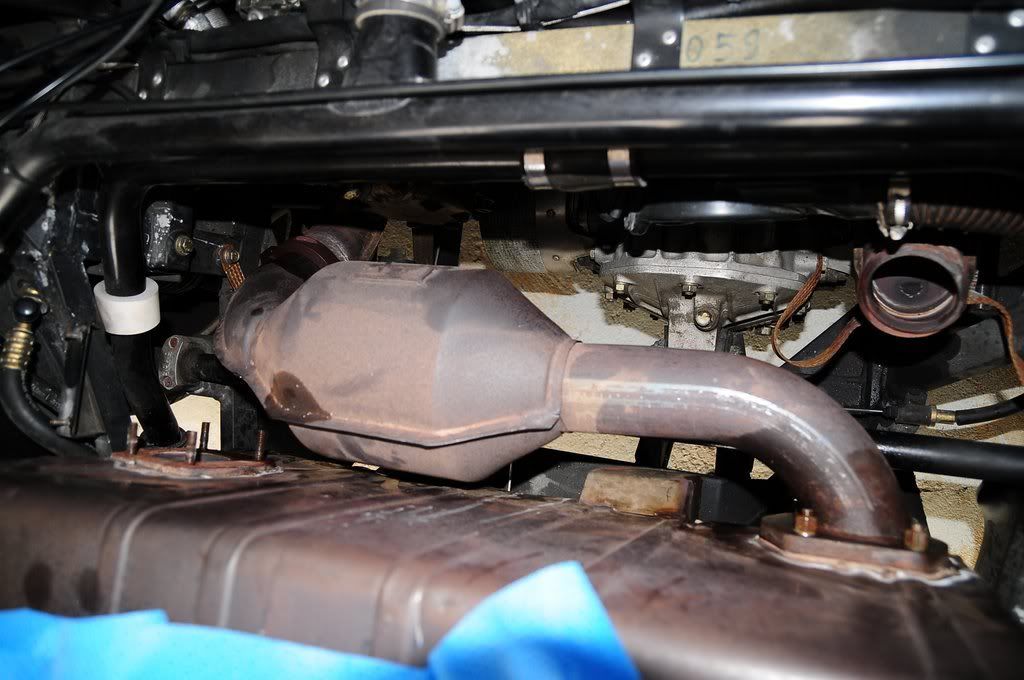
12. Next to remove is the upper secondary cat. It is held in place by a clamp at the end closer to the motor (no pic of it) and 4 nuts bolted to the muffler:
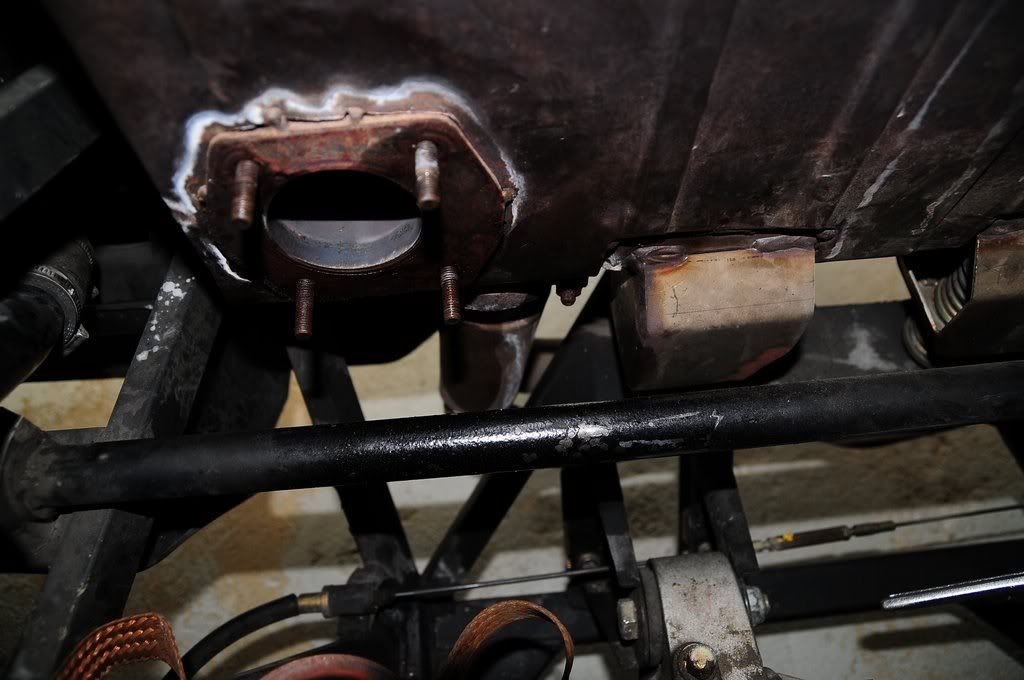
13. This is what it looks like after removing upper 2ndary cat:
14. Next remove lower 2ndary cat. Same deal for this. I dont have pics for it. but its pretty self-explanatory.
15. Next you need to remove the exhaust tips. they are held by the same clamps as the 2ndary cat pipes. You can access these from the top and front, after the 2ndary cats have been removed:
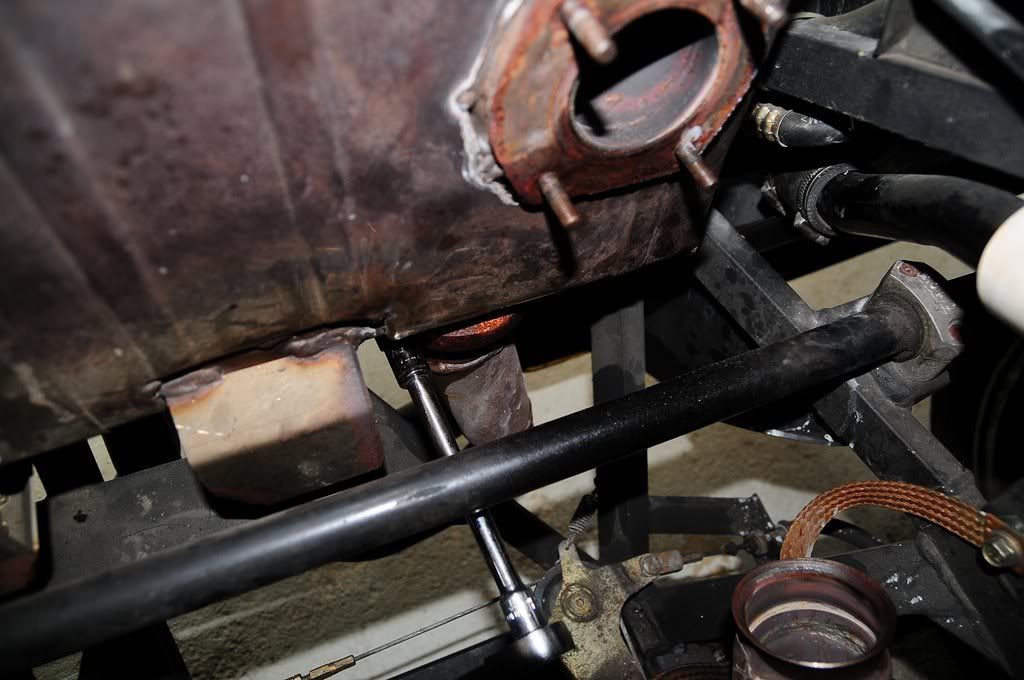
Tough to see in pics, but just slide under car and you can see where they are. You can just see the shadow of one nut from the clamp in this pic:
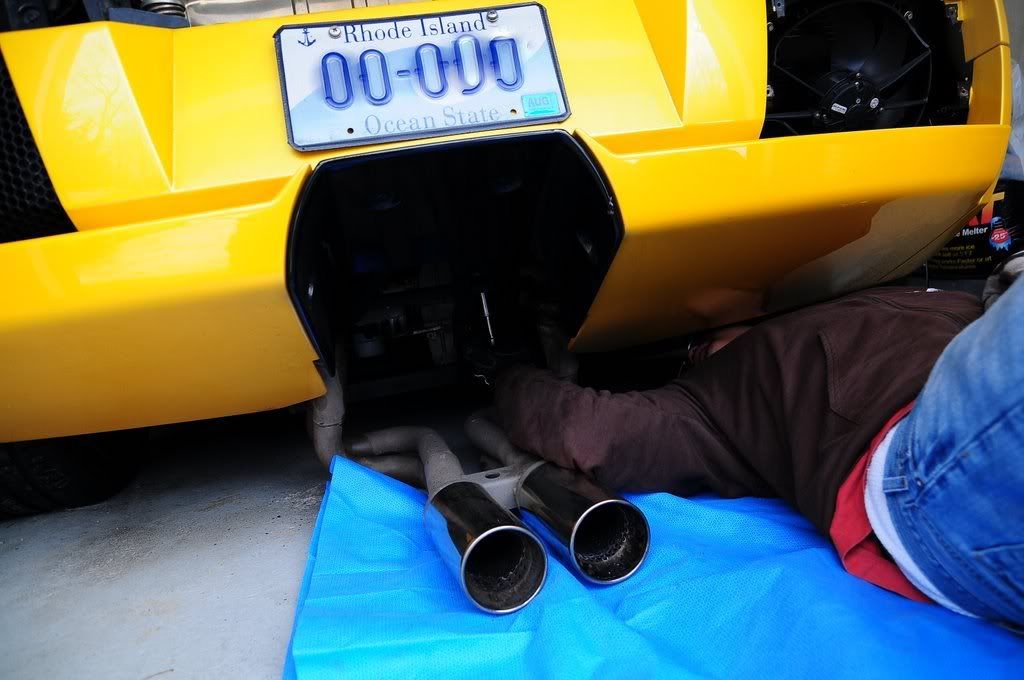
Now the exhaust tips are free, but if you didnt jack up the car like me, you cant actually pull the tips out. So, what I did, was leave the tips on the ground, til re-installation:
continued below...
10. Now you remove the heatshield. The heatshield has two bolts right on top of it (forgot to take pic but you cant miss them). Then there are two tiny nuts on each side. These are somewhat deep:
11. The heat shield should pull kind of straight up and out. After its removed, it should look like this:
12. Next to remove is the upper secondary cat. It is held in place by a clamp at the end closer to the motor (no pic of it) and 4 nuts bolted to the muffler:
13. This is what it looks like after removing upper 2ndary cat:
14. Next remove lower 2ndary cat. Same deal for this. I dont have pics for it. but its pretty self-explanatory.
15. Next you need to remove the exhaust tips. they are held by the same clamps as the 2ndary cat pipes. You can access these from the top and front, after the 2ndary cats have been removed:
Tough to see in pics, but just slide under car and you can see where they are. You can just see the shadow of one nut from the clamp in this pic:
Now the exhaust tips are free, but if you didnt jack up the car like me, you cant actually pull the tips out. So, what I did, was leave the tips on the ground, til re-installation:
continued below...

#4
02-08-2009, 03:24 PM
16. Now we will remove the giant muffler. There are two bolts holding the bottom of the muffler to the chassis. These are 17 mm bolts you access straight from the bottom. I dont have pics of this. but slide under the car and they are right there. Also, the muffler is held to the rear corners of the car with two brackets.

You can see in this pic, we unbolted the brackets and flipped the bracket around as we're about to pull muffler:
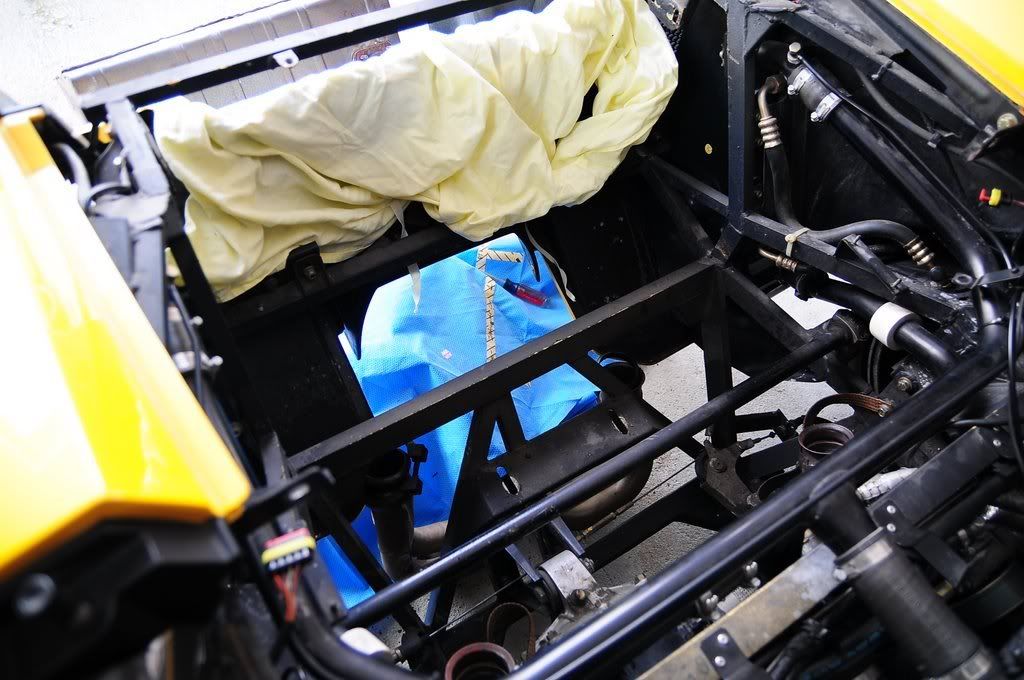
So now the muffler is free and you can lift it out. It's heavy (about 60 lbs). Not impossible though as I pulled it out with just my wife helping me:
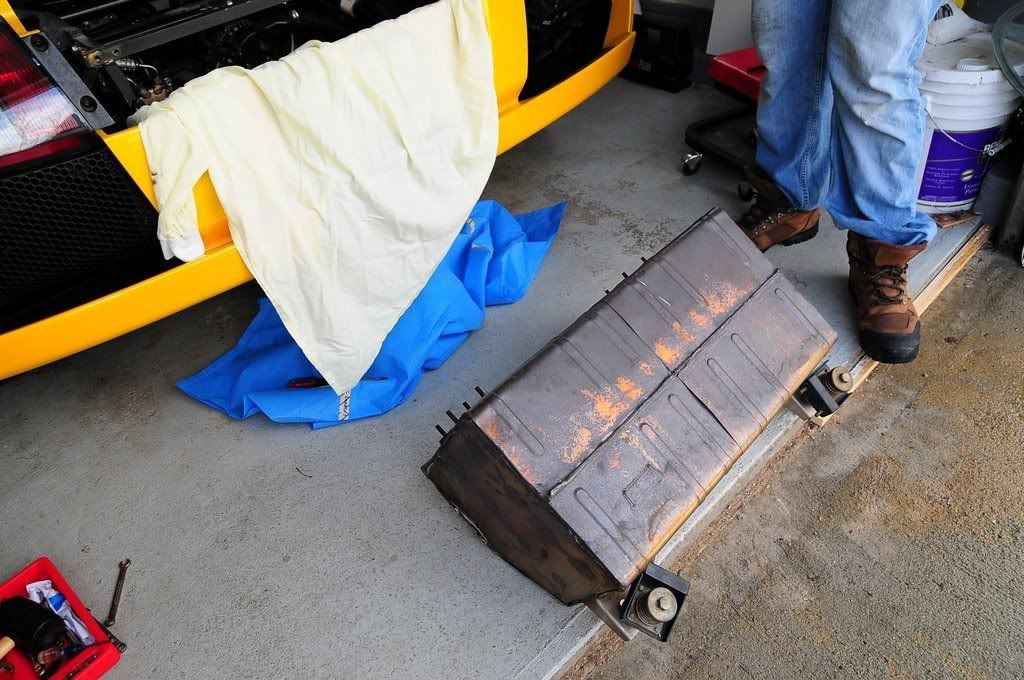
Couple of pics of the empty space:

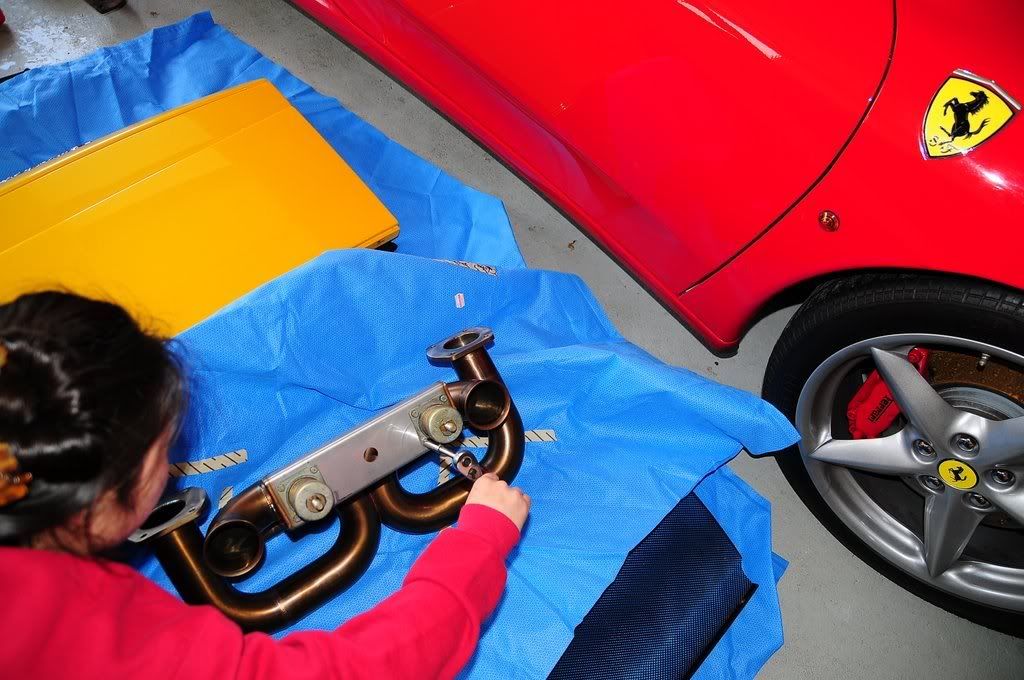
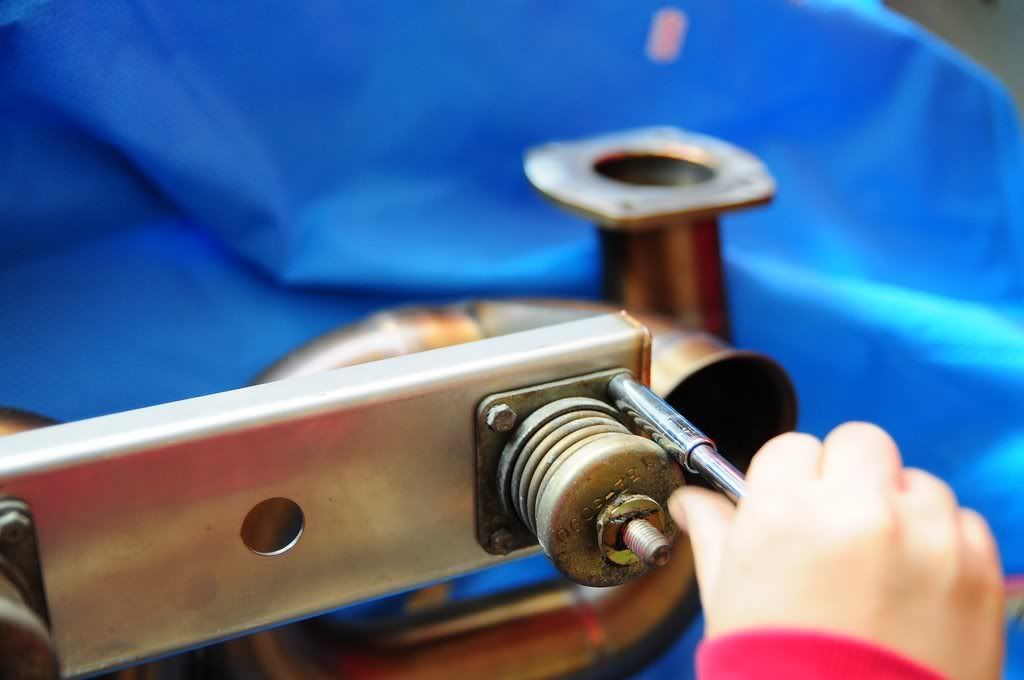
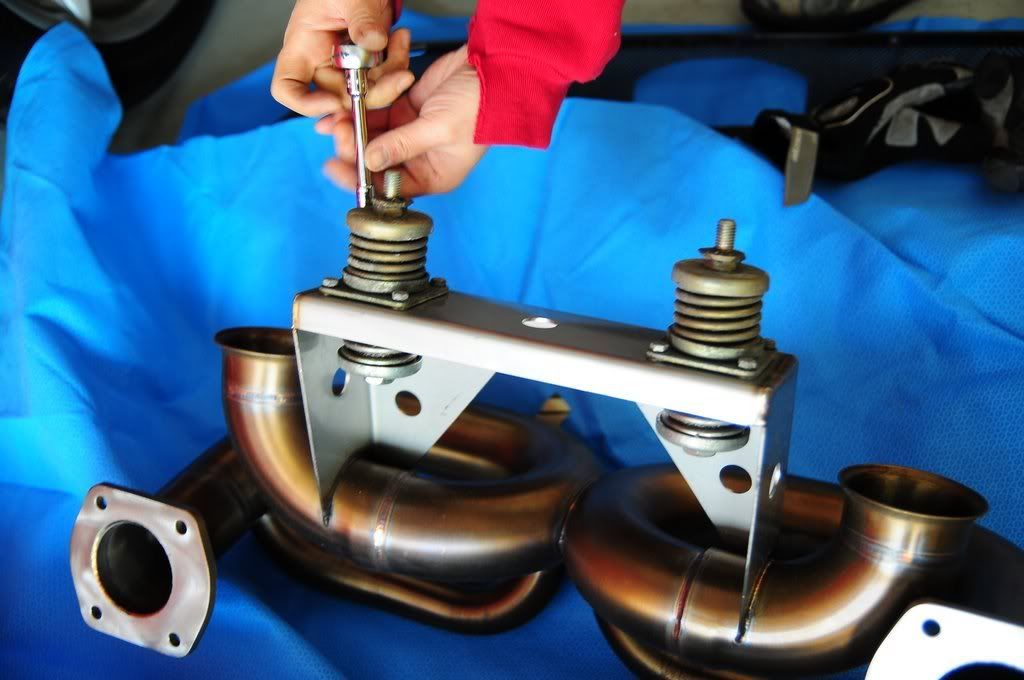
now you need to grab the springy bolts from the bottom of the muffler and attach them to the aftermarket muffler. They are held with small bolts:
17. Next mount the muffler in:
cont...
You can see in this pic, we unbolted the brackets and flipped the bracket around as we're about to pull muffler:
So now the muffler is free and you can lift it out. It's heavy (about 60 lbs). Not impossible though as I pulled it out with just my wife helping me:
Couple of pics of the empty space:
now you need to grab the springy bolts from the bottom of the muffler and attach them to the aftermarket muffler. They are held with small bolts:
17. Next mount the muffler in:
cont...
#5
02-08-2009, 03:35 PM
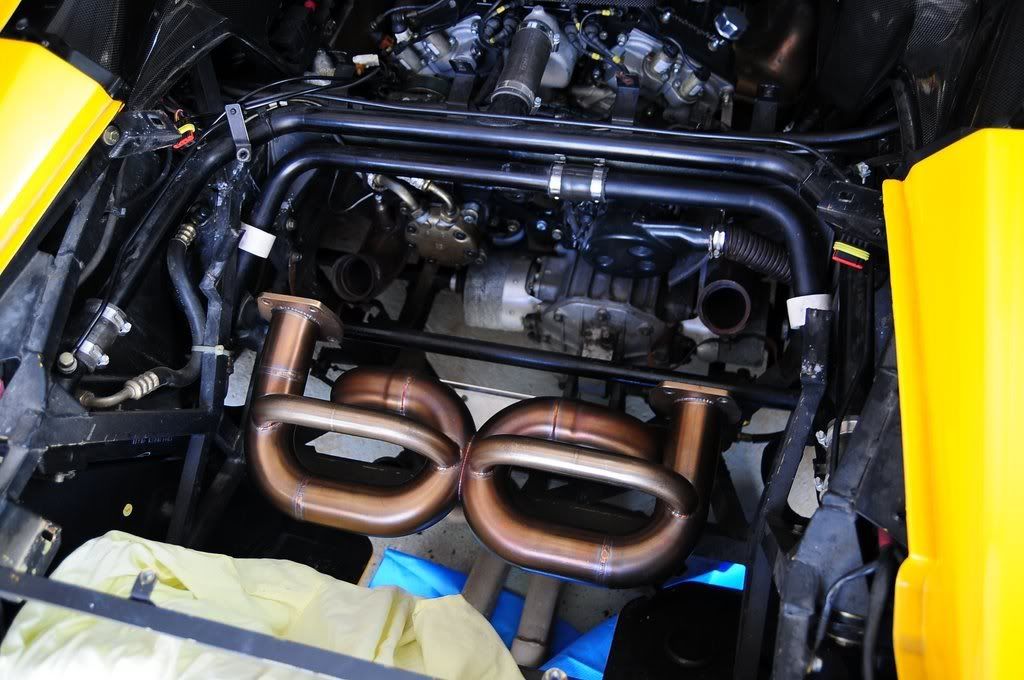
18. Next bolt in the lower 2ndary cat bypass pipe. Keep all the bolts loose as you may need to wiggle things around to get exhaust tips straight:
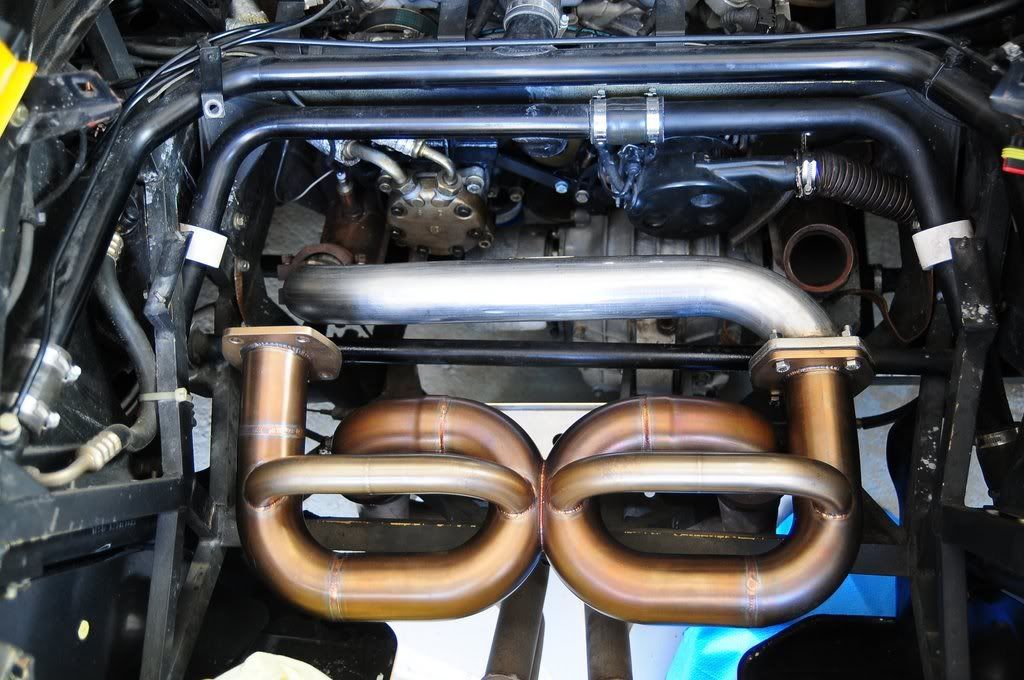
19. Then upper bypass pipes goes in next:
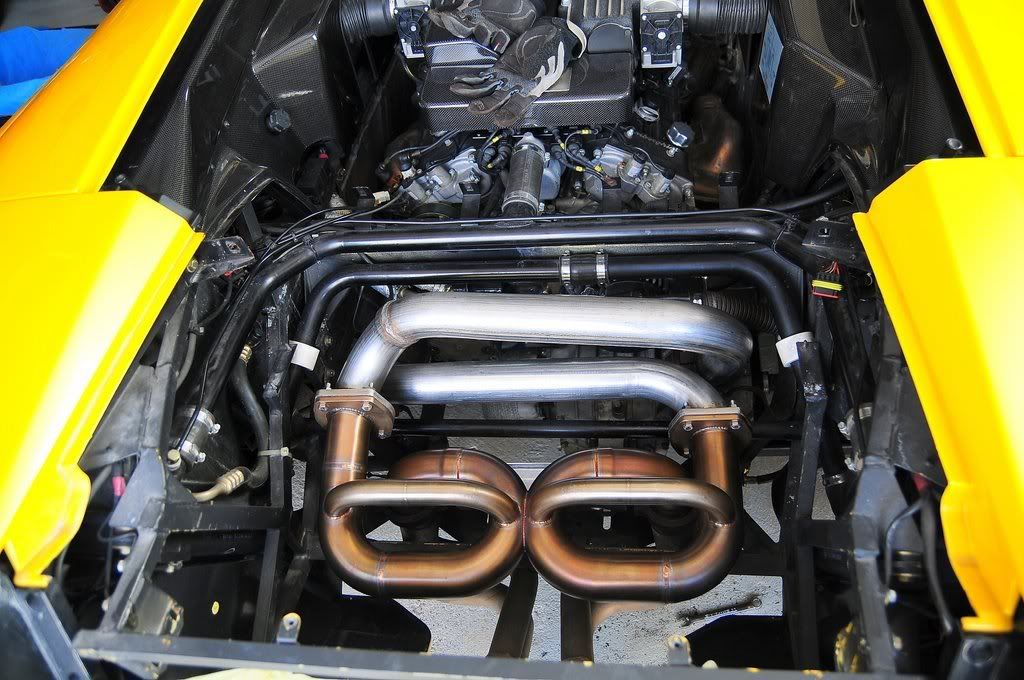
20. Then install tips (I got no pics of that). Once you get the tips in the middle you can start tightening everything up.
21. The rest is the reverse of the beginning. Just put everything back on as you took it off. Oh, I didnt put the heatshield back on. It will save weight and the new muffler is so much smaller, its not near the rear decklid.
A few thoughts:
- I fired up car after all the exhaust pieces were on to make sure everything was good and not leaking.
- Also try to spray PB Blaster or Liquid Wrench on all the exhaust bolts before you work on them. Like, as soon as any of the exhaust bolts are visible, just drench them in the lubricant. Let it sit and penetrate because those clamps can be a pain to get off.
- Take your time and go slow. I was tired by the end and when I put the rear decklid I slipped a bit and got a clearcoat scratch. Boo! Hopefully it will buff out.
If anybody has any questions, post them up and I'll do my best.
19. Then upper bypass pipes goes in next:
20. Then install tips (I got no pics of that). Once you get the tips in the middle you can start tightening everything up.
21. The rest is the reverse of the beginning. Just put everything back on as you took it off. Oh, I didnt put the heatshield back on. It will save weight and the new muffler is so much smaller, its not near the rear decklid.
A few thoughts:
- I fired up car after all the exhaust pieces were on to make sure everything was good and not leaking.
- Also try to spray PB Blaster or Liquid Wrench on all the exhaust bolts before you work on them. Like, as soon as any of the exhaust bolts are visible, just drench them in the lubricant. Let it sit and penetrate because those clamps can be a pain to get off.
- Take your time and go slow. I was tired by the end and when I put the rear decklid I slipped a bit and got a clearcoat scratch. Boo! Hopefully it will buff out.
If anybody has any questions, post them up and I'll do my best.

Trending Topics
#8
02-09-2009, 07:36 AM
just from my cell phone, which really sucks. prior to buying this exhaust, i watched all the clips on you tube. those clips also dont do it justice.
it's loud, and if you're standing behind it, you can feel it in your chest. i have a 360 with a capristo stage 3, and that motor sings. this thing seems bassier/boomier.
i just wish the snow in my driveway would melt, so i could take it out already.
it's loud, and if you're standing behind it, you can feel it in your chest. i have a 360 with a capristo stage 3, and that motor sings. this thing seems bassier/boomier.
i just wish the snow in my driveway would melt, so i could take it out already.
#9
02-13-2009, 09:54 PM

The rear muffler is heavy & awkward in the position it sits plus carrying it over the painted parts is nerve racking
")
#11
02-14-2009, 06:41 AM
Porsche >>> Ferrari > Lamborghini about = Corvette
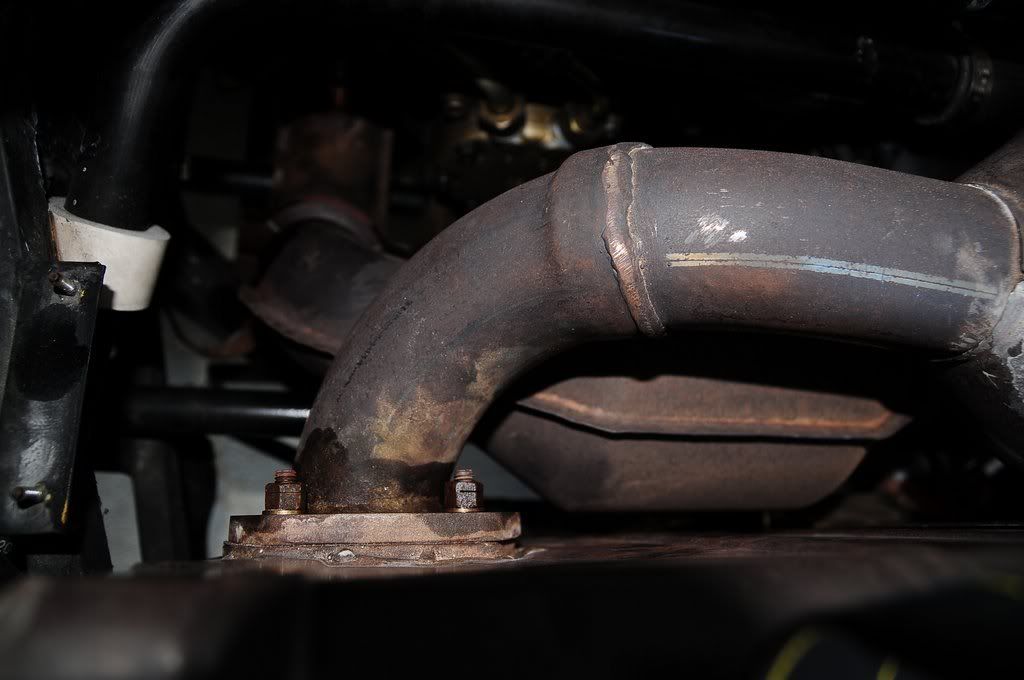
check out these ugly welds:
https://www.6speedonline.com/forums/...n-quality.html


#13
02-14-2009, 11:23 AM

Banned
Join Date: May 2005
Location: Wayne/Passaic, NJ
Posts: 250
Rep Power: 29 
Awesome write up BTW!