996 Turbo / GT2 Turbo discussion on previous model 2000-2005 Porsche 911 Twin Turbo and 911 GT2.

How to repair seat heater cushion

Thread Tools
 
Search this Thread
 
Rate Thread
 
  #16  
Old 07-05-2013, 06:50 AM
Ed Hess's Avatar
Registered User
Join Date: Jul 2013
Location: Chester Spring, PA
Posts: 1
Rep Power: 0
Ed Hess is on a distinguished road
Retrofit

I'm interested in doing a retrofit on my 04 tt. Did anyone make a list of parts needed to do it and how to add the switch?

Thanks.

Ed
 
  #17  
Old 07-05-2013, 04:17 PM
NBTBRV8's Avatar
Registered User
Join Date: Mar 2011
Location: Australia
Posts: 178
Rep Power: 25
NBTBRV8 is just really niceNBTBRV8 is just really niceNBTBRV8 is just really niceNBTBRV8 is just really niceNBTBRV8 is just really nice
Originally Posted by Ed Hess
I'm interested in doing a retrofit on my 04 tt. Did anyone make a list of parts needed to do it and how to add the switch?

Thanks.

Ed
https://www.6speedonline.com/forums/...ting-996t.html
 
  #18  
Old 12-31-2016, 03:22 PM
jeffz's Avatar
Registered User
Join Date: Aug 2016
Location: Mesa,AZ
Age: 68
Posts: 51
Rep Power: 0
jeffz is an unknown quantity at this point
Update

This is the best thread I found on this subject. I'd like to add my recent experience.
Prices are higher now. The element was $98.45 and the bottom cushion was 108.11 at my local P dealer.
The new foam was identical to the old, except for the addition of a thin layer of black foam over the seating surface. This combined with the heating element made it impossible for me to push all 10 of the white plastic pins thru the holes in the black plastic base that supports the foam cushion. IMO, the pins should be made double the present length to make it easier to push/pull them thru to where they seat, and multiple seating grooves instead of just one at the top. But the wire stays and hog rings do most of the work.
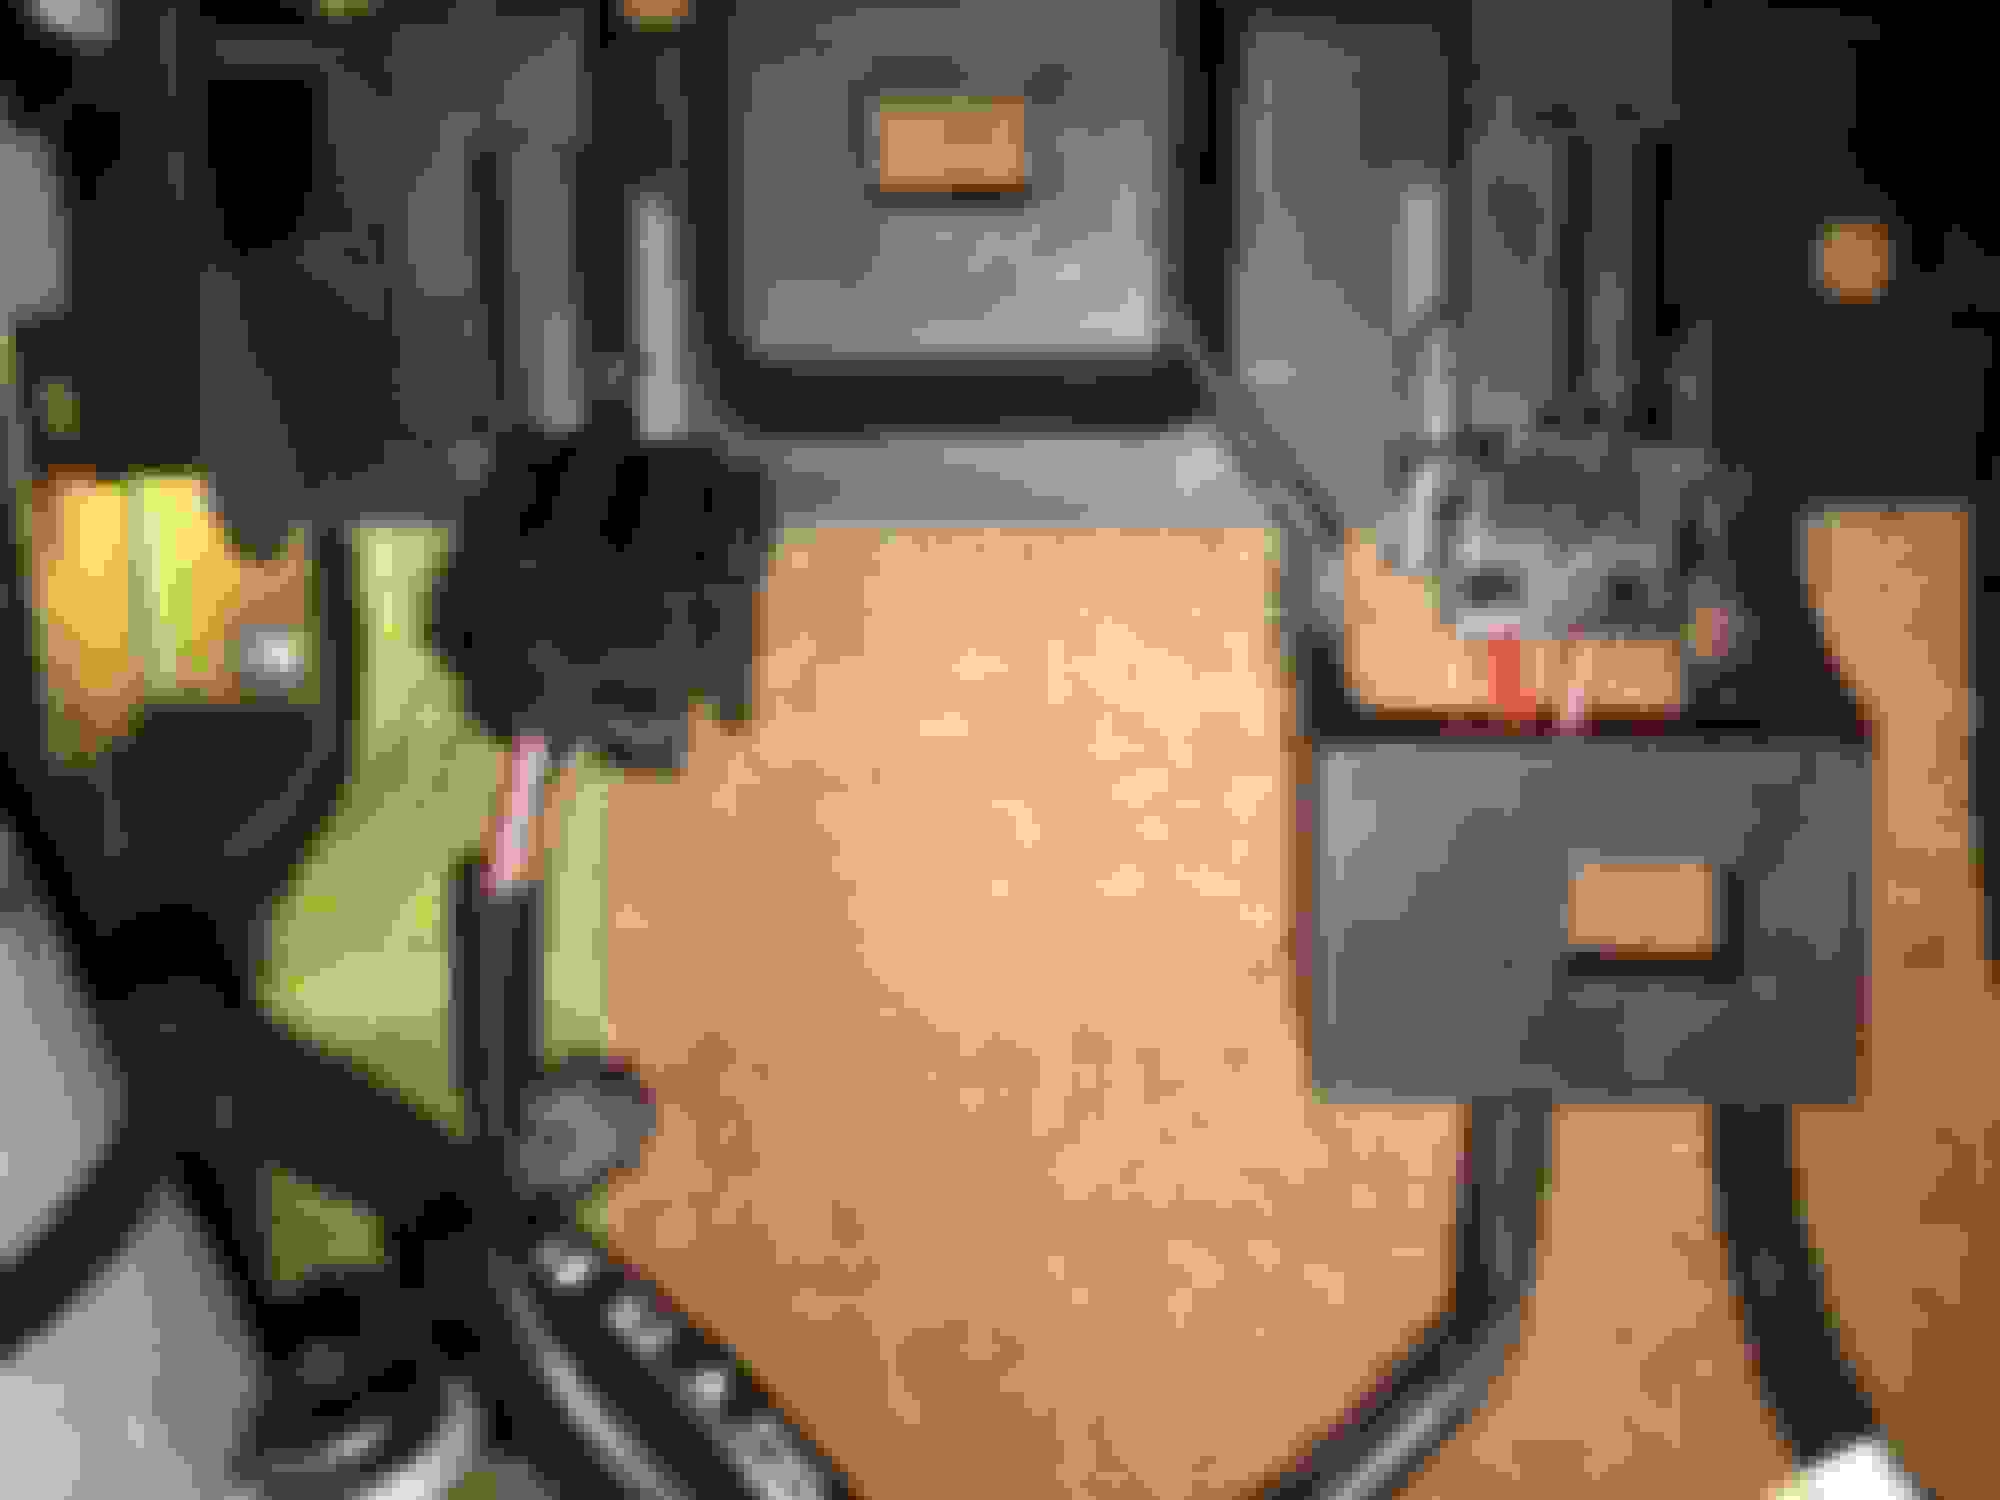
Old and new foams. Chunks came out of the old foam when I tried to peel the element off. Hence the purchase of new foam cushion.


The new element was identical to the old.


This is the board for the seat memory unit.


Someone had a Q. about the heater module. Mine was attached to the bottom cushion. The gold anodized bracket and screw are in the upper left here.


Thanks again to the OP for this thread.
 
  #19  
Old 12-31-2016, 05:48 PM
NBTBRV8's Avatar
Registered User
Join Date: Mar 2011
Location: Australia
Posts: 178
Rep Power: 25
NBTBRV8 is just really niceNBTBRV8 is just really niceNBTBRV8 is just really niceNBTBRV8 is just really niceNBTBRV8 is just really nice
It looks like the contour of the new foam is different to the old still, that is what I found too.
 
  #20  
Old 01-01-2017, 02:08 PM
jeffz's Avatar
Registered User
Join Date: Aug 2016
Location: Mesa,AZ
Age: 68
Posts: 51
Rep Power: 0
jeffz is an unknown quantity at this point
Originally Posted by NBTBRV8
It looks like the contour of the new foam is different to the old still, that is what I found too.
Seems like it in the photo, but they are both the same shape. The original seat cover fits the bolsters perfectly. The mould marks in the bottom of both foams were slightly different. I wonder if the new foam will turn yellow, too.
 

Last edited by jeffz; 01-03-2017 at 11:25 AM.
  #21  
Old 03-21-2018, 08:36 AM
DrMEMS's Avatar
Registered User
Join Date: Feb 2014
Location: San Jose, CA
Posts: 19
Rep Power: 0
DrMEMS is on a distinguished road
Hi @NBTBRV8. Your photos of replacing the heater in the backrest have disappeared. Can you post them again? I'll be doing this job myself shortly.
 
  #22  
Old 03-21-2018, 07:48 PM
Slider's Avatar
Registered User
Thread Starter
Join Date: Apr 2010
Location: Victoria, BC
Posts: 2,165
Rep Power: 215
Slider Is a GOD !Slider Is a GOD !Slider Is a GOD !Slider Is a GOD !Slider Is a GOD !Slider Is a GOD !Slider Is a GOD !Slider Is a GOD !Slider Is a GOD !Slider Is a GOD !Slider Is a GOD !
I did a seat cushion DIY - it's here. The pictures are still there...
 
  #23  
Old 03-21-2018, 07:52 PM
DrMEMS's Avatar
Registered User
Join Date: Feb 2014
Location: San Jose, CA
Posts: 19
Rep Power: 0
DrMEMS is on a distinguished road
Thanks slider, but was asking about the backrest, not the bottom. I can't figure out how to take the backrest apart.
 
  #24  
Old 03-21-2018, 07:53 PM
Slider's Avatar
Registered User
Thread Starter
Join Date: Apr 2010
Location: Victoria, BC
Posts: 2,165
Rep Power: 215
Slider Is a GOD !Slider Is a GOD !Slider Is a GOD !Slider Is a GOD !Slider Is a GOD !Slider Is a GOD !Slider Is a GOD !Slider Is a GOD !Slider Is a GOD !Slider Is a GOD !Slider Is a GOD !
Ah, sorry - haven't had to do the back yet - I thought this might help.
 
  #25  
Old 03-23-2018, 09:17 PM
NBTBRV8's Avatar
Registered User
Join Date: Mar 2011
Location: Australia
Posts: 178
Rep Power: 25
NBTBRV8 is just really niceNBTBRV8 is just really niceNBTBRV8 is just really niceNBTBRV8 is just really niceNBTBRV8 is just really nice
Originally Posted by DrMEMS
Hi @NBTBRV8. Your photos of replacing the heater in the backrest have disappeared. Can you post them again? I'll be doing this job myself shortly.
I am no longer hosting them, but if you PM me your email address I can probably email them through.
 
  #26  
Old 03-23-2018, 10:59 PM
DrMEMS's Avatar
Registered User
Join Date: Feb 2014
Location: San Jose, CA
Posts: 19
Rep Power: 0
DrMEMS is on a distinguished road
PM sent.
 
  #27  
Old 04-02-2018, 05:57 PM
fpb111's Avatar
Registered User
Join Date: Feb 2011
Location: chatham nj
Age: 74
Posts: 80
Rep Power: 17
fpb111 is on a distinguished road
One way to get the white plastic pins through your new seat cushion is to thread a loop of piano wire through the pin and then through the foam/pan and use it to guide/help pull pins through to the seat pan.
I did all of them, then pulled all of the wires through (make them plenty long) and then flipped the assy over and leaned on the pan to compress things and pulled each of the pins through until I could grab them with the pliers to snap them in.
 
  #28  
Old 09-24-2018, 02:51 PM
R324U's Avatar
Registered User
Join Date: Sep 2018
Location: Chicagoland
Age: 56
Posts: 2
Rep Power: 0
R324U is an unknown quantity at this point
Originally Posted by NBTBRV8
I am no longer hosting them, but if you PM me your email address I can probably email them through.
I would like to get those pics if possible. Sent you a message NBTBRV8
 
  #29  
Old 09-28-2018, 08:35 PM
NBTBRV8's Avatar
Registered User
Join Date: Mar 2011
Location: Australia
Posts: 178
Rep Power: 25
NBTBRV8 is just really niceNBTBRV8 is just really niceNBTBRV8 is just really niceNBTBRV8 is just really niceNBTBRV8 is just really nice
Originally Posted by R324U
I would like to get those pics if possible. Sent you a message NBTBRV8
Email sent.
 
  #30  
Old 10-03-2018, 12:26 PM
R324U's Avatar
Registered User
Join Date: Sep 2018
Location: Chicagoland
Age: 56
Posts: 2
Rep Power: 0
R324U is an unknown quantity at this point
Thank you sir, received the email and pics!


You have already rated this thread Rating: Thread Rating: 1 votes, 1.00 average.

Quick Reply: How to repair seat heater cushion


All times are GMT -6. The time now is 04:32 PM.