When you click on links to various merchants on this site and make a purchase, this can result in this site earning a commission. Affiliate programs and affiliations include, but are not limited to, the eBay Partner Network.
Having not seen the front setup yet, what do you mean by removed to steering linkage? Do you mean the tie rod?[/QUOTE]
Yes, Tie Rod end. We loosened nut, used penetrate, then re-installed nut with a 1/8 inch gap. A couple of taps with a punch on thread center, and tie rid dropped free. Didn't need separator tool.
Yes, Tie Rod end. We loosened nut, used penetrate, then re-installed nut with a 1/8 inch gap. A couple of taps with a punch on thread center, and tie rid dropped free. Didn't need separator tool.
Ok cool.
- Remove half shaft from pumpkin all the way out to avoid binding
- Disconnect tie rod end
- Disconnect control arm from frame?
Did you do anything with the half shaft ends to protect them once removed? Sorry for all the questions. Figure that its better to ask now than when Im in the middle of it.
- when you carefully lower complete steering knuckle, the half shafts will free up from differential. But there is only so much room in there, so use caution not to bind them on other components. This is where 4 hands and two sets of eyes are helpful. You have a lot going on. Especially to keep away from body panels. I don't think you need to worry about the inner flange. It will just retract with arm a few inches.
- When you re-install, you want to go slow and reverse this to get couplers back together. You could mark flanges to assure same alignment, but we didn't.
-You can see in picture control arm out of the retainer plate and frame connection. This end is fixed. The end at steering knuckle is adjustable and sets caster.
- hope the pictures help.
Just FYI... you don't need to remove the 6 bolts on the joint at the front diff. The axles are held in the front diff with simple snap rings. Simply pull the strut assembly down and out at the same time and the axle will "pop" out of the diff.
When you re-install just turn the brake rotor to line up the splines on the shaft to the diff and "pop" it back in.
This would be helpful, but hadn't seen that described previously. Do you have a picture by chance? When I looked at exploded view I see a circlip, but didn't expect to be able to pull shaft out of flanges? From your note, the axle comes out at differential side, correct?
This would be helpful, but hadn't seen that described previously. Do you have a picture by chance? When I looked at exploded view I see a circlip, but didn't expect to be able to pull shaft out of flanges? From your note, the axle comes out at differential side, correct?
Right, the axle will pop out of the front diff. The clip is just a snap ring and will let the axle loose (and subsequently capture it again) with just a little pressure. The wheel carrier being bolted to the ball joint, strut, etc. is what really holds the axle in the front diff securely.
Sorry I don't have a pic, I was in a hurry to get things done as I already booked an alignment and corner balance before I had it done, but when you pop the axle out of the front diff you will see the splines behind the boot that actually engage the diff internally.
BTW you shouldn't loose any diff fluid either, assuming you have both sides of the car up at the same level.
One more note on this "method" is that after removing the brake caliper, and tie rod end from the wheel carrier, I poped the spring off the mount and wound it down the strut. This allows you to compress the strut itself as you are pulling it down and out, which gives you enough room to get it out of the fender well.
The part you will be looking at is #2 in this parts diagram, and #4 is the snap ring I'm referring to, the axle parts diagram doesn't show the front diff.
Great info! What is the advantage of doing it with the snap ring VS removing the 6 bolts?
Is it easier to get it back together if you do the 6 bolts? If I understand correctly it is harder to align if you do it with the snap ring?
Can you "wind" the spring down whether you do the snap ring or the 6 bolts?
I'm getting ready to do coilovers on mine too
Originally Posted by mxracer
Right, the axle will pop out of the front diff. The clip is just a snap ring and will let the axle loose (and subsequently capture it again) with just a little pressure. The wheel carrier being bolted to the ball joint, strut, etc. is what really holds the axle in the front diff securely.
Sorry I don't have a pic, I was in a hurry to get things done as I already booked an alignment and corner balance before I had it done, but when you pop the axle out of the front diff you will see the splines behind the boot that actually engage the diff internally.
BTW you shouldn't loose any diff fluid either, assuming you have both sides of the car up at the same level.
One more note on this "method" is that after removing the brake caliper, and tie rod end from the wheel carrier, I poped the spring off the mount and wound it down the strut. This allows you to compress the strut itself as you are pulling it down and out, which gives you enough room to get it out of the fender well.
The part you will be looking at is #2 in this parts diagram, and #4 is the snap ring I'm referring to, the axle parts diagram doesn't show the front diff.
Great info! What is the advantage of doing it with the snap ring VS removing the 6 bolts?
Is it easier to get it back together if you do the 6 bolts? If I understand correctly it is harder to align if you do it with the snap ring?
Can you "wind" the spring down whether you do the snap ring or the 6 bolts?
I'm getting ready to do coilovers on mine too
The advantage for me was not having to remove and re-install the 6 bolts per side. The axle just pops out as you are pulling the strut down and out, then when you slide new strut into the wheel carrier just rotate the new strut into the wheel with one hand and start the axle shaft back into the front diff with the other. If you happened to turn the rotor while removing all you have to do is rotate the rotor slowly (a.k.a. wiggle it) to re-align the shaft and it pops right back in. IMO it's much easier than fiddling with 12 bolts a foot interior to the car.
Yes, you can wind the spring down either way. When you have the strut and wheel carrier basically "hanging" on the lower control arm the spring doesn't have much pressure on it and it just pops right out of the spring base.
If anyone in the Clt NC area is thinking of doing it and they want some help I'd be happy to help and document the process.
Here is a picture of the unwinding process. Putting back together with coil over is more straight forward since you set spring preload with collar after top mount is installed.
I went to get some of it done tonight doing the whole 'slow and steady' approach. I got the car up on stands with the wheels off. I undid the main bolt holding the strut to the wheel carrier which was 18mm nut and 17mm bolt (go figure) and then the drop links which were 15mm nut with a 17mm to hold the bolt from spinning. For the top which was mounted to the suspension, I actually used an 18mm due to how tight the dust boot was on the link.
I shot some pictures to try and get a little clarification on what the next steps were. Sorry for the bad pics from the potato phone
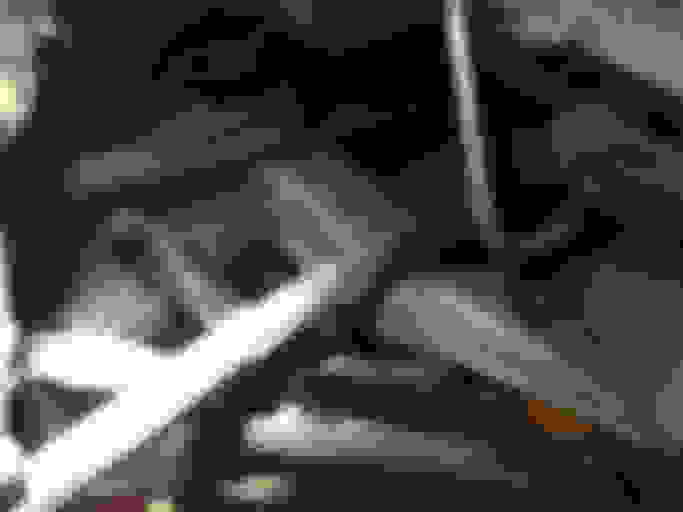
Here is a shot of the suspension assembly directly behind the hub. You can see the axle (top), rearward arm (middle) and tie rod (bottom) in it. Based on this thread, Im assuming that you leave the arm intact, disconnect the tie rod from the hub, and pull the axle loose of the snap ring when directing the assembly out. You can see the forward arm right at the bottom. Is this what you disconnected?
Next is a shot of the connection at the back of the caliper (forwards). Is this what you disconnected? I am assuming that you unbolt it and disconnect the line and after pull it free of the bracket.
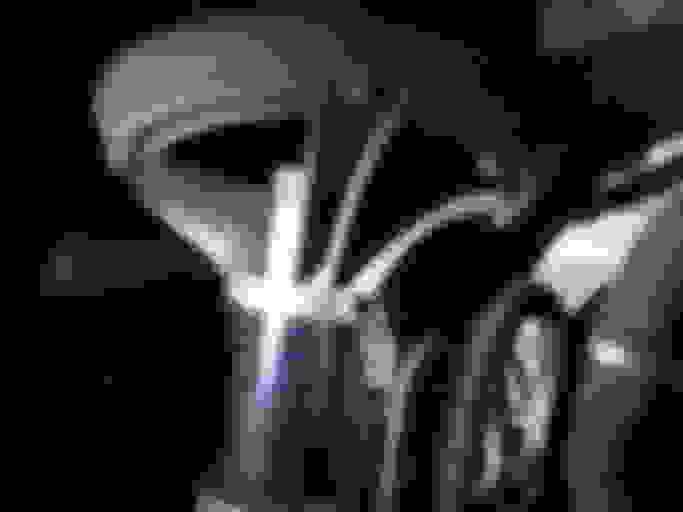
Lastly is the shot of the spring perch. The drop link is one bolt on it and you can see the second bolt in the pic. From other posts, I have seen that you want to undo the top 3 bolts to the frame to give some slack before loosing the perch. Can you confirm?
Lastly, a couple things I would recommend to anyone doing this install.
- Sturdy mechanics gloves. Your hands will thank you
- Various sized breaker bars. These allow you to apply smooth force and not have to jerk on the suspension
- Various sized pry bars. These are invaluable to aligning the rear shock to the bottom connection when used in conjunction with various sized hex wrenches to align the holes.
- Speed (ratcheting) wrenches. These are good for when you cannot fit a socket wrench into various areas