
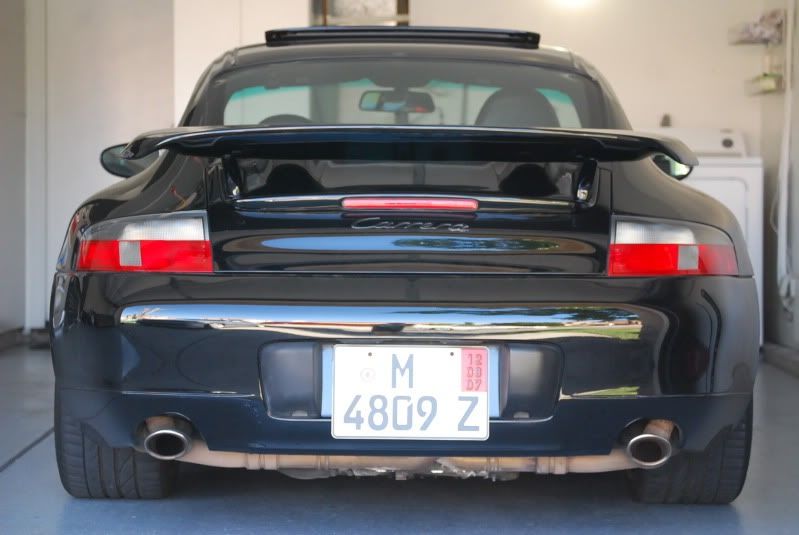
DIY color match bumperette

Registered User
Joined: Apr 2005
Posts: 838
From: Arizona
Rep Power: 55

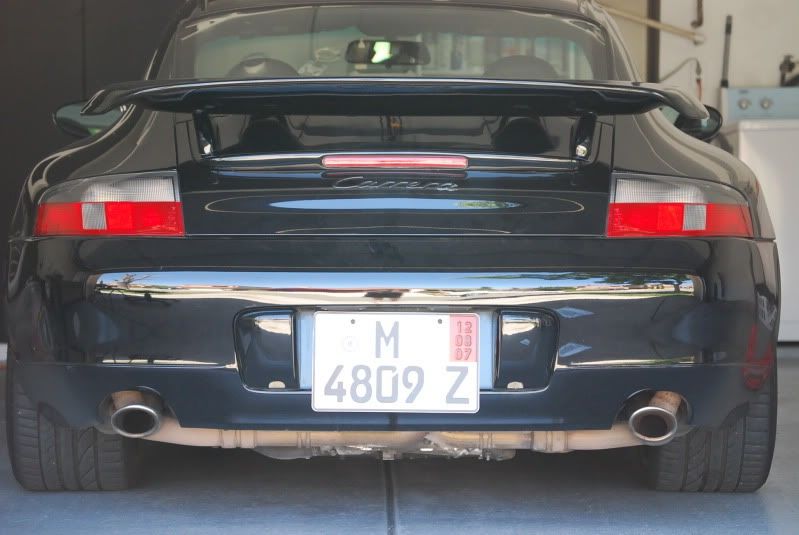
Nice job and small projects like that adds the personal touch to the car. The paints I have used for black are by PPG (base and clear coat) and an exact match however smaller touch ups reg Krylon black works. Any other pics of your car noticed the RUF tail and wondering if the rest front/sides was in RUF also?
Last edited by Mother; Jul 17, 2010 at 08:29 AM.

Registered User
Joined: Jun 2010
Posts: 68
From: la.
Rep Power: 18
DIY color match bumperette ( I know it's been done already) But thought I'd share mine.
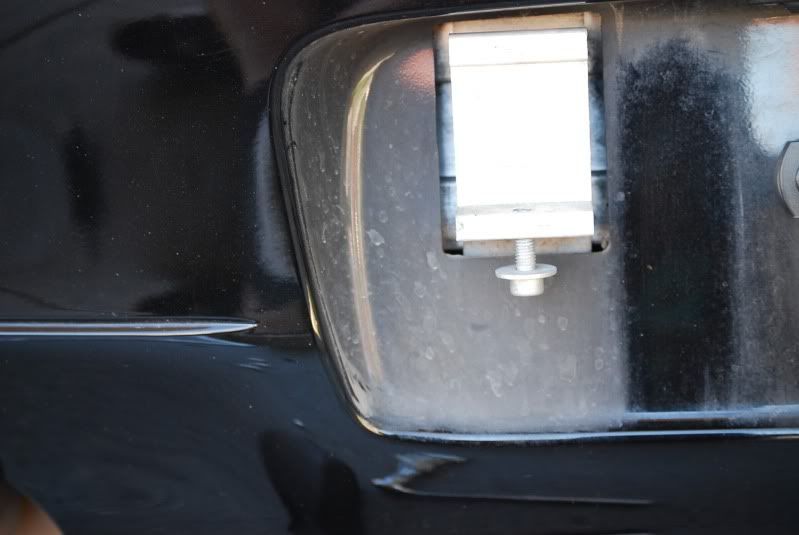
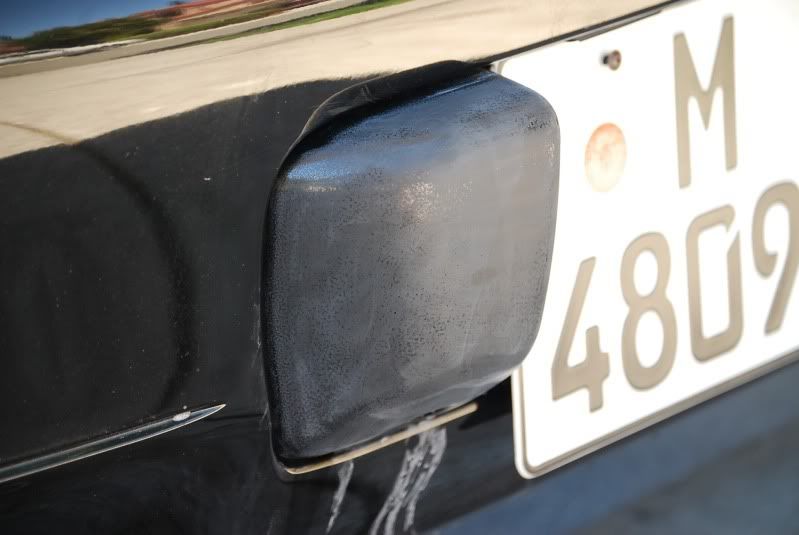
Ugly plastic/rubber look
Remove it with 8mm Allen wrench I think...
Scuff it with scuff pad (3M red) after....wipe it with a microfiber with alcohol so it takes the grease off.
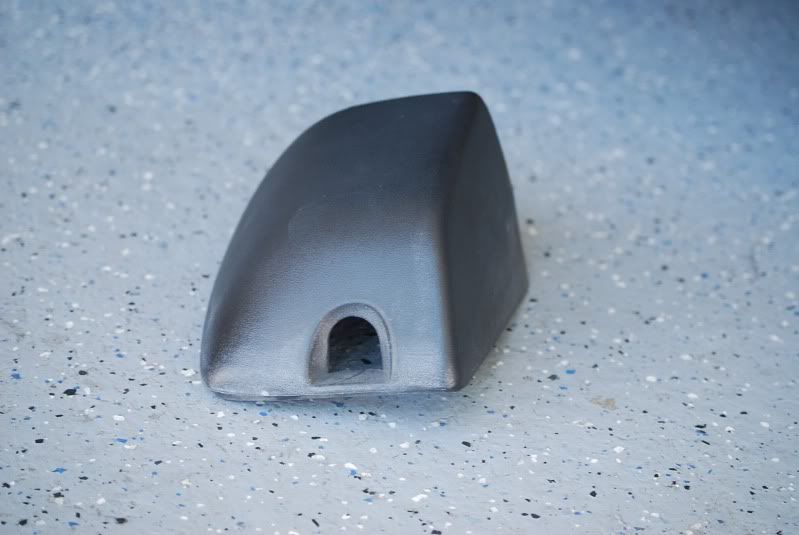
Primer it, wait for about 20 mins depending on coat applied. Then scuff it lightly and repeat alcohol wipe. Then it's ready to be painted.
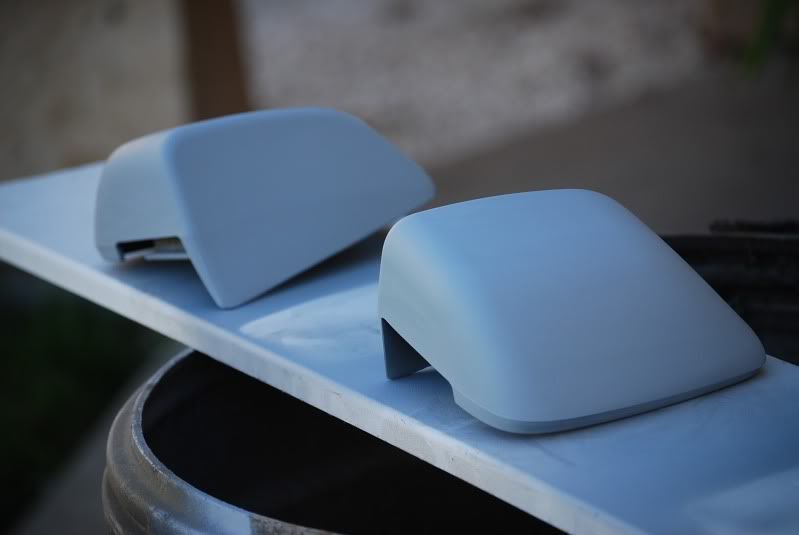
Should paint it light first coat....
Then follow with multiple coats, it's your call of how many coats. I put 4.
Then clear coat. Again light to heavy coats...
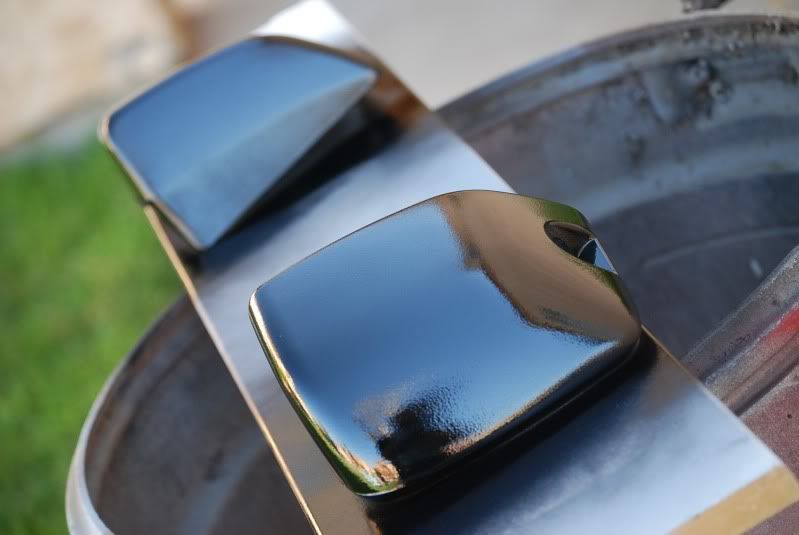
And more clear coat about 5 coats. It's normal to have orange peel (wavy finish) It will be wet sanded soon...
Let it dry. I waited until the next day for the clear coat to fully dry and ready to be wet sand...
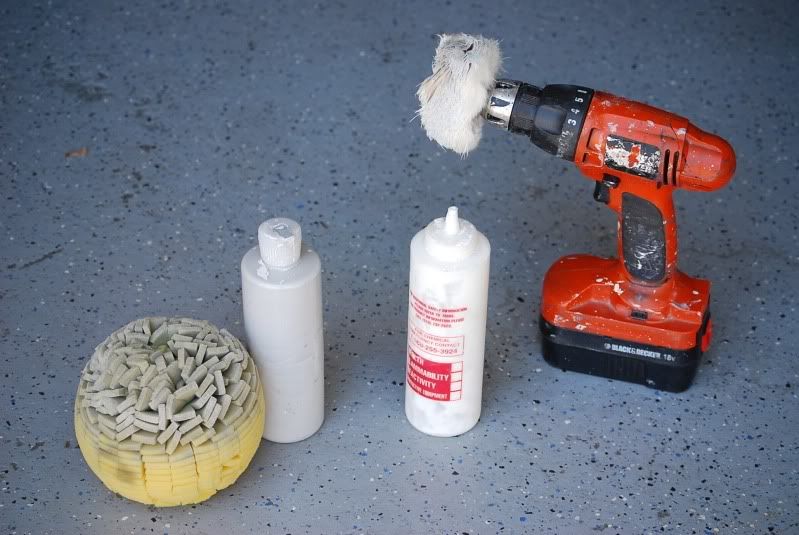
This is what you need after the wet sand. 3M cut and 3M polish. Wool polisher and Mother's ball. Of course wet sand it with anywhere from 1000-1200 grit. I used 1000 more aggressive and less time to sand.
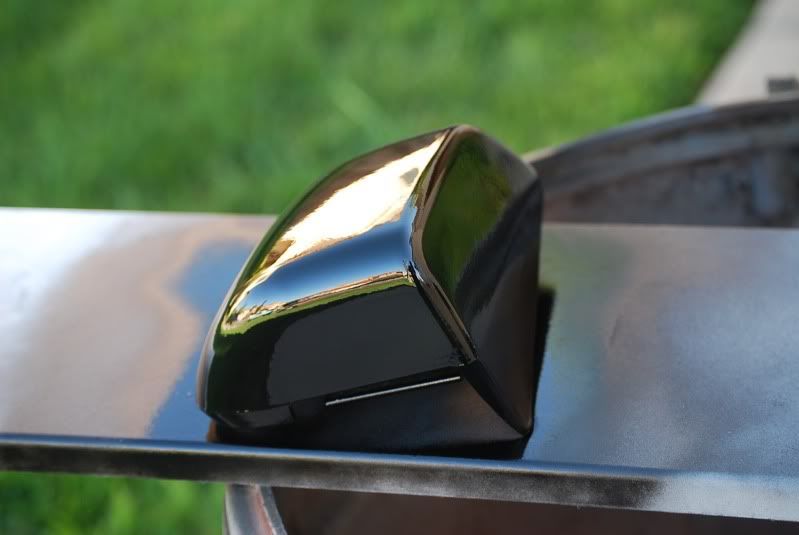
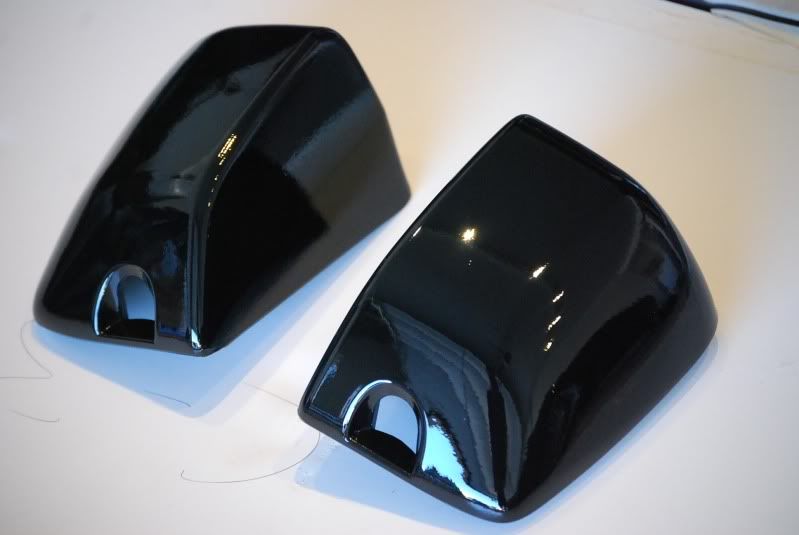
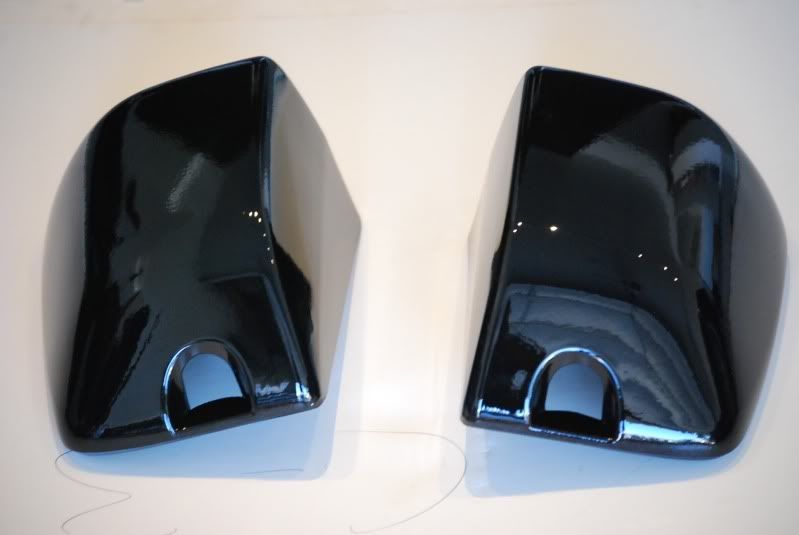
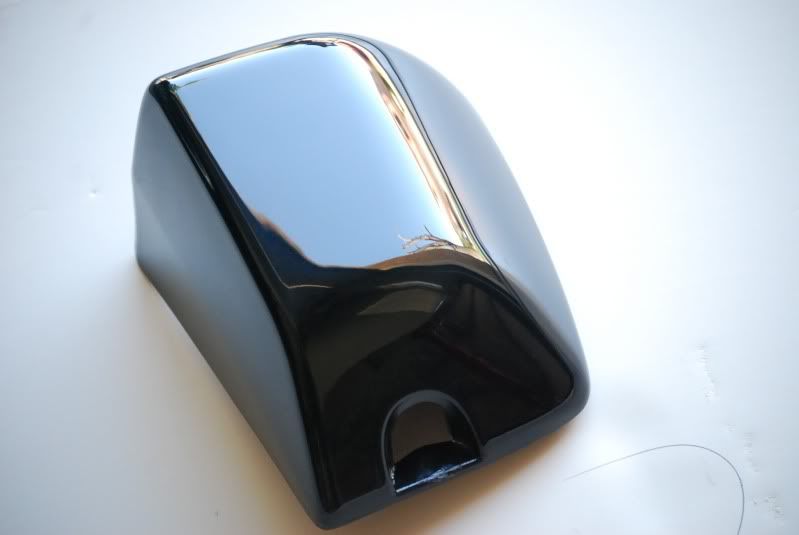
After the wet sand and buffing. It should look glossy. If you see more sanded marks/lines you can resand more lightly then re polish. No more orange peel !!!
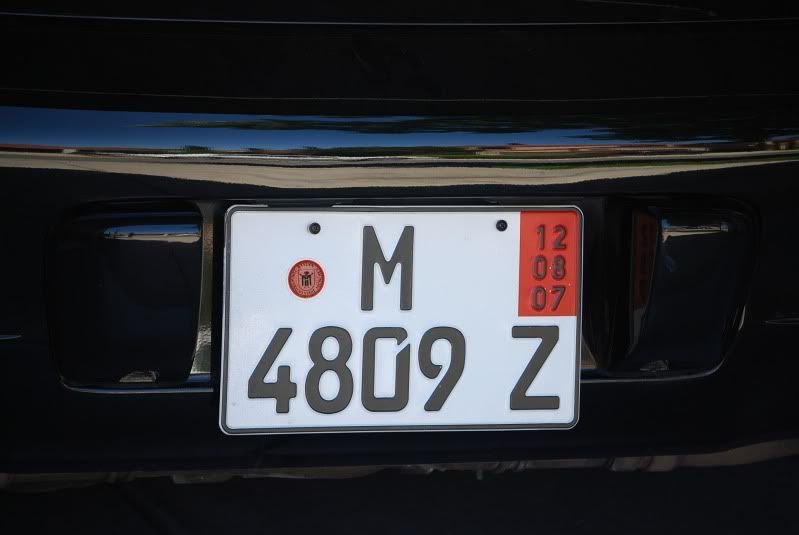
Reinstall the bumperette and your done!
Ugly plastic/rubber look
Remove it with 8mm Allen wrench I think...
Scuff it with scuff pad (3M red) after....wipe it with a microfiber with alcohol so it takes the grease off.
Primer it, wait for about 20 mins depending on coat applied. Then scuff it lightly and repeat alcohol wipe. Then it's ready to be painted.
Should paint it light first coat....
Then follow with multiple coats, it's your call of how many coats. I put 4.
Then clear coat. Again light to heavy coats...
And more clear coat about 5 coats. It's normal to have orange peel (wavy finish) It will be wet sanded soon...
Let it dry. I waited until the next day for the clear coat to fully dry and ready to be wet sand...
This is what you need after the wet sand. 3M cut and 3M polish. Wool polisher and Mother's ball. Of course wet sand it with anywhere from 1000-1200 grit. I used 1000 more aggressive and less time to sand.
After the wet sand and buffing. It should look glossy. If you see more sanded marks/lines you can resand more lightly then re polish. No more orange peel !!!
Reinstall the bumperette and your done!
Registered User
Joined: Jul 2009
Posts: 141
From: New York
Rep Power: 30

I finally got my bumperettes painted to match the body! Only took me 2 years for me to finally get my *** in gear and get it painted. I'm so happy the way it came out! Even though it's considered a minor mod, I think it makes a big difference the way the rear of the car looks... at least for me. If anyone else is considering getting your bumperettes painted, DO IT NOW! You wont regret it and it will look 100% better!


Registered User
Joined: Jun 2008
Posts: 105
From: Dallas TX
Rep Power: 22
Thanks for the how-to! I've been meaning to do this, figured it was going to be relatively straightforward and your DIY got me motivated. Did it this weekend and it turned out great. If I was doing it again I would spend more time sanding before and in between primer coats to get them perfect smooth before applying the color coats. Wet sanding the clear and final buffing really brings them to life. Thanks again. Great mod.
Registered User
Joined: Apr 2005
Posts: 838
From: Arizona
Rep Power: 55
Well mine turned out great thanks for the tips and did not bother taking any pictures since it looks like yours from the rear except for my painted black exhaust pipes another DIY.
http://www.renntech.org/forums/index..._1#entry163125
http://www.renntech.org/forums/index..._1#entry163125
Last edited by Mother; Aug 26, 2010 at 08:54 PM.
Registered User
Joined: Jan 2012
Posts: 37
From: McKinney, TX
Rep Power: 16
Plastic adhesion spray?
I know this is an old thread, but just wondering if anyone has experienced cracks or flaking? I went to my local house of color and they recommended a spray down of a plastic paint adhesion coat in order for the primer to better stick on. Anyone try this or recommend it? I wonder if the sanding of the primer might wear the coat of the adhesion down enough till its not really effective.
Registered User

Joined: Apr 2010
Posts: 2,164
From: Victoria, BC
Rep Power: 217
I sanded mine down and used just the spray can primer then painted with real body-shop paint and clear coat using my compressor and spray gun. No cracks fades of bubbles after a year...

