When you click on links to various merchants on this site and make a purchase, this can result in this site earning a commission. Affiliate programs and affiliations include, but are not limited to, the eBay Partner Network.
DIY and Review - Function First Transmission Mount Insert for 997.2
My 997.2 PDK has just over 70k miles. I had written previously about how the original PDK Software gave really great, fast and hard (in a good aggressive way) shifts when in Sports Plus mode.
I had wondered whether this could be good for the gearbox, and had also noted that a PDK software update that was done on my car early last year definitely took away the harshness of the shifts in Sport Plus mode (although the speed of shifting was still excellent).
There doesn�t seem to be any official data on why Porsche changed the shifting profile so much. It could have been because some customers didn�t like it, or for the purposes of longevity, or both�who knows)
Nevertheless, the hard shifts would likely have some negative impact over time, at the very least on the transmission mounts.
I coincidentally came across the following Function First Thread on Rennlist, and was intrigued by the idea.
After spending way too much time reading all the reviews and feedback, I decided to order the SOFT inserts as it seemed like the safest bet to get the added support without introducing significant NVH (Noise Vibration Harshness) and potentially get improved shifting behavior at the same time.
In summary, for my needs it was a great choice.
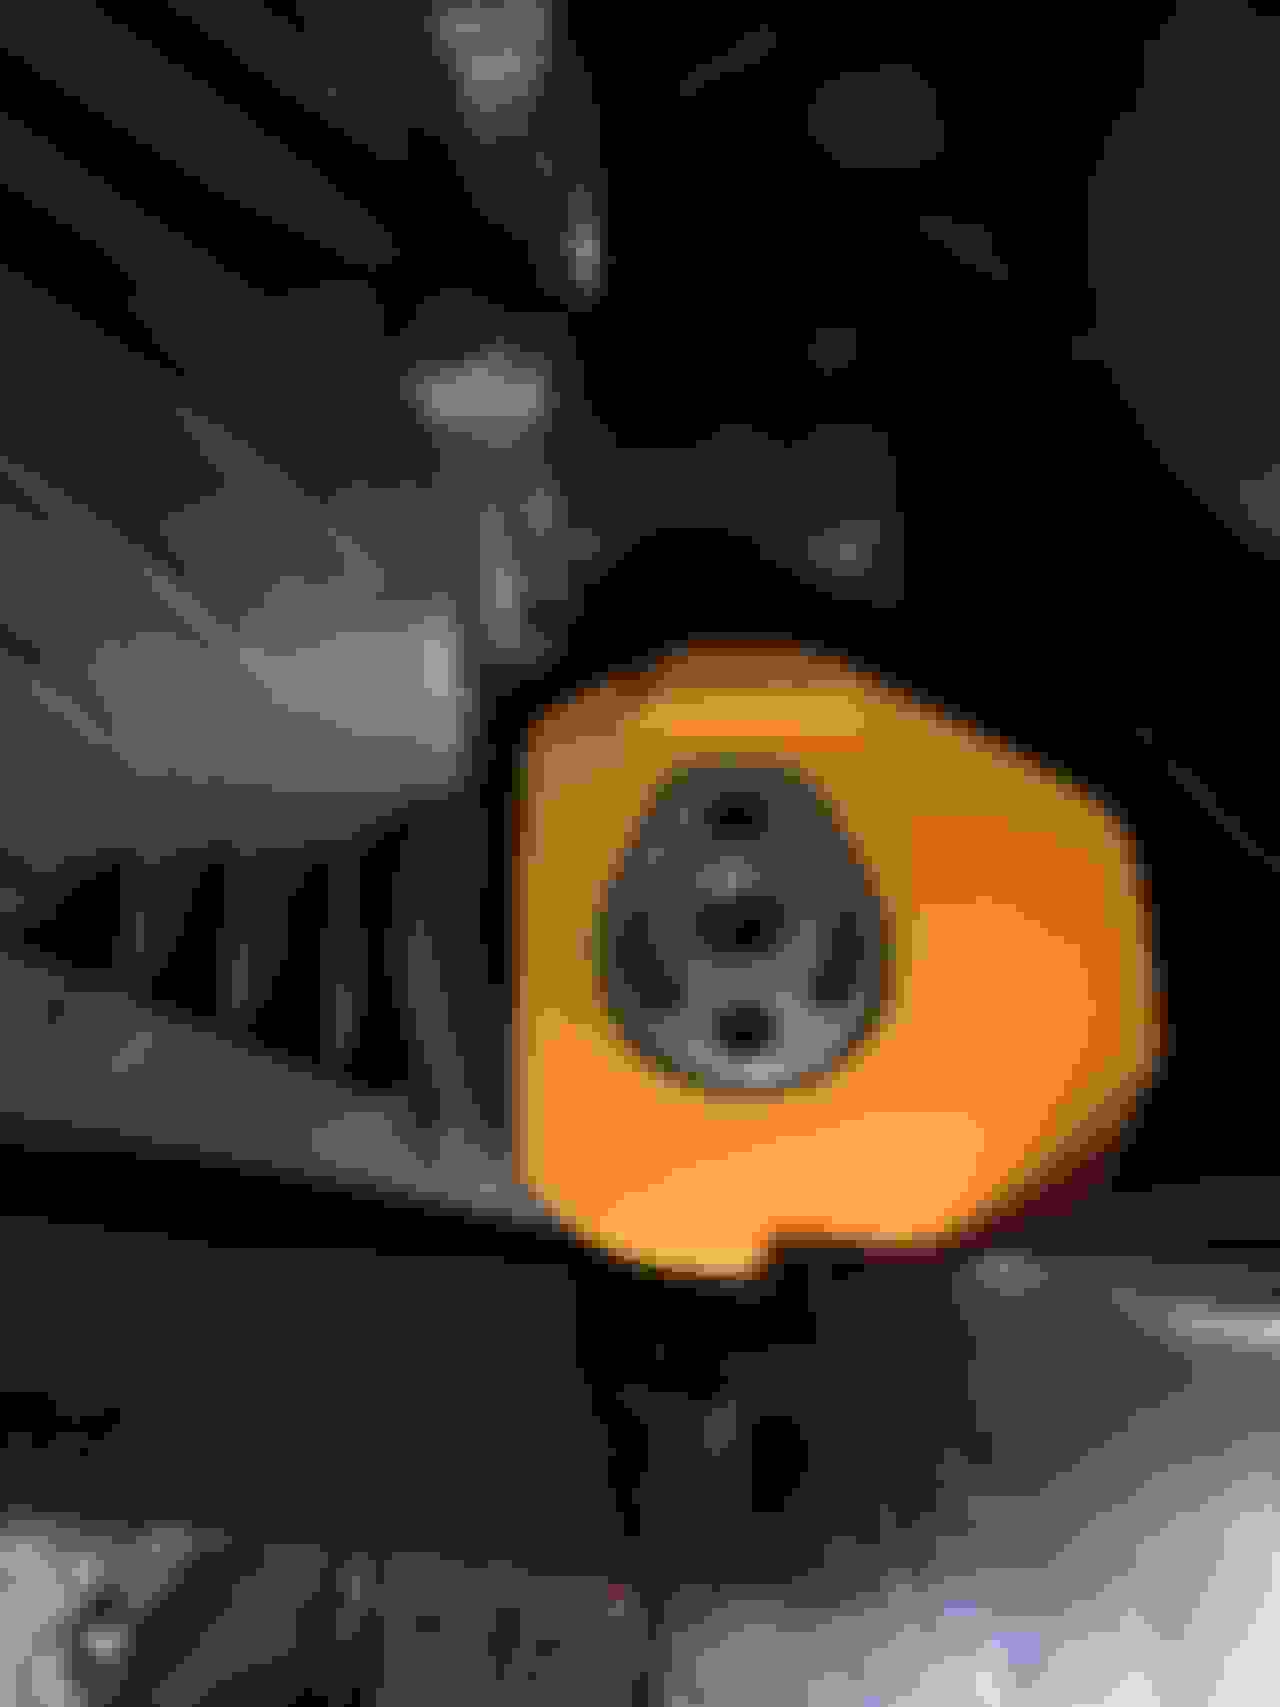
The inserts fill the voids in the OEM bushing, to provide additional support and rigidity. Interestingly in the past many owners, particularly of older 911 models would fill these cavities with urethane based adhesives and other such products to restore rigidity to worn out bushings.
The benefit of the FF mount is that there are several grades of stiffness and it is completely reversible or changeable if you decide to go for a different setup.
Upon inspection, my OEM mount was still in very good condition, but I like the fact that this inexpensive and very simple DIY, provides more ridgidity and could prolong the life of the OEM bushing (and at the same time result in improved shifting performance).
The DIY (attached) from the FF website is very helpful but there are 2 really important differences for the 997.2 PDK that need to be noted.
- There is only a single Torx Bolt through the mount (not 2)
- This bolt has a Torque spec of 63ft libs
- You will need 20mm and 24mm Torx sockets for this
The other bolts connecting the upper and lower mounts to the chassis have a torque spec of 48 ft lbs (this doesn�t include the
actual mounting of the 2 studs which just need to be fully seated (7mm head).
You will also see that the 997.2 has the �STOP� PART #3 shown below. these are not reused.
I personally would not want to do this DIY without a lift but it certainly could be done.
The instructions referenced above are very good and describe the procedure perfectly so I won�t repeat all that.
It should be noted that the transmission needs to be lifted only a few mm in order to pull the main mounting bolt out.
One thing I did which was not necessary was remove the crossmember you will see in the last picture below. This does not need to come off.
I also some PERL water based silicon solution to ease the installation of the insert, and used a rubber mallet to gently tap them into place to make them fully flush. Only one side was a little stubborn and needed some persuasion to fully seat.
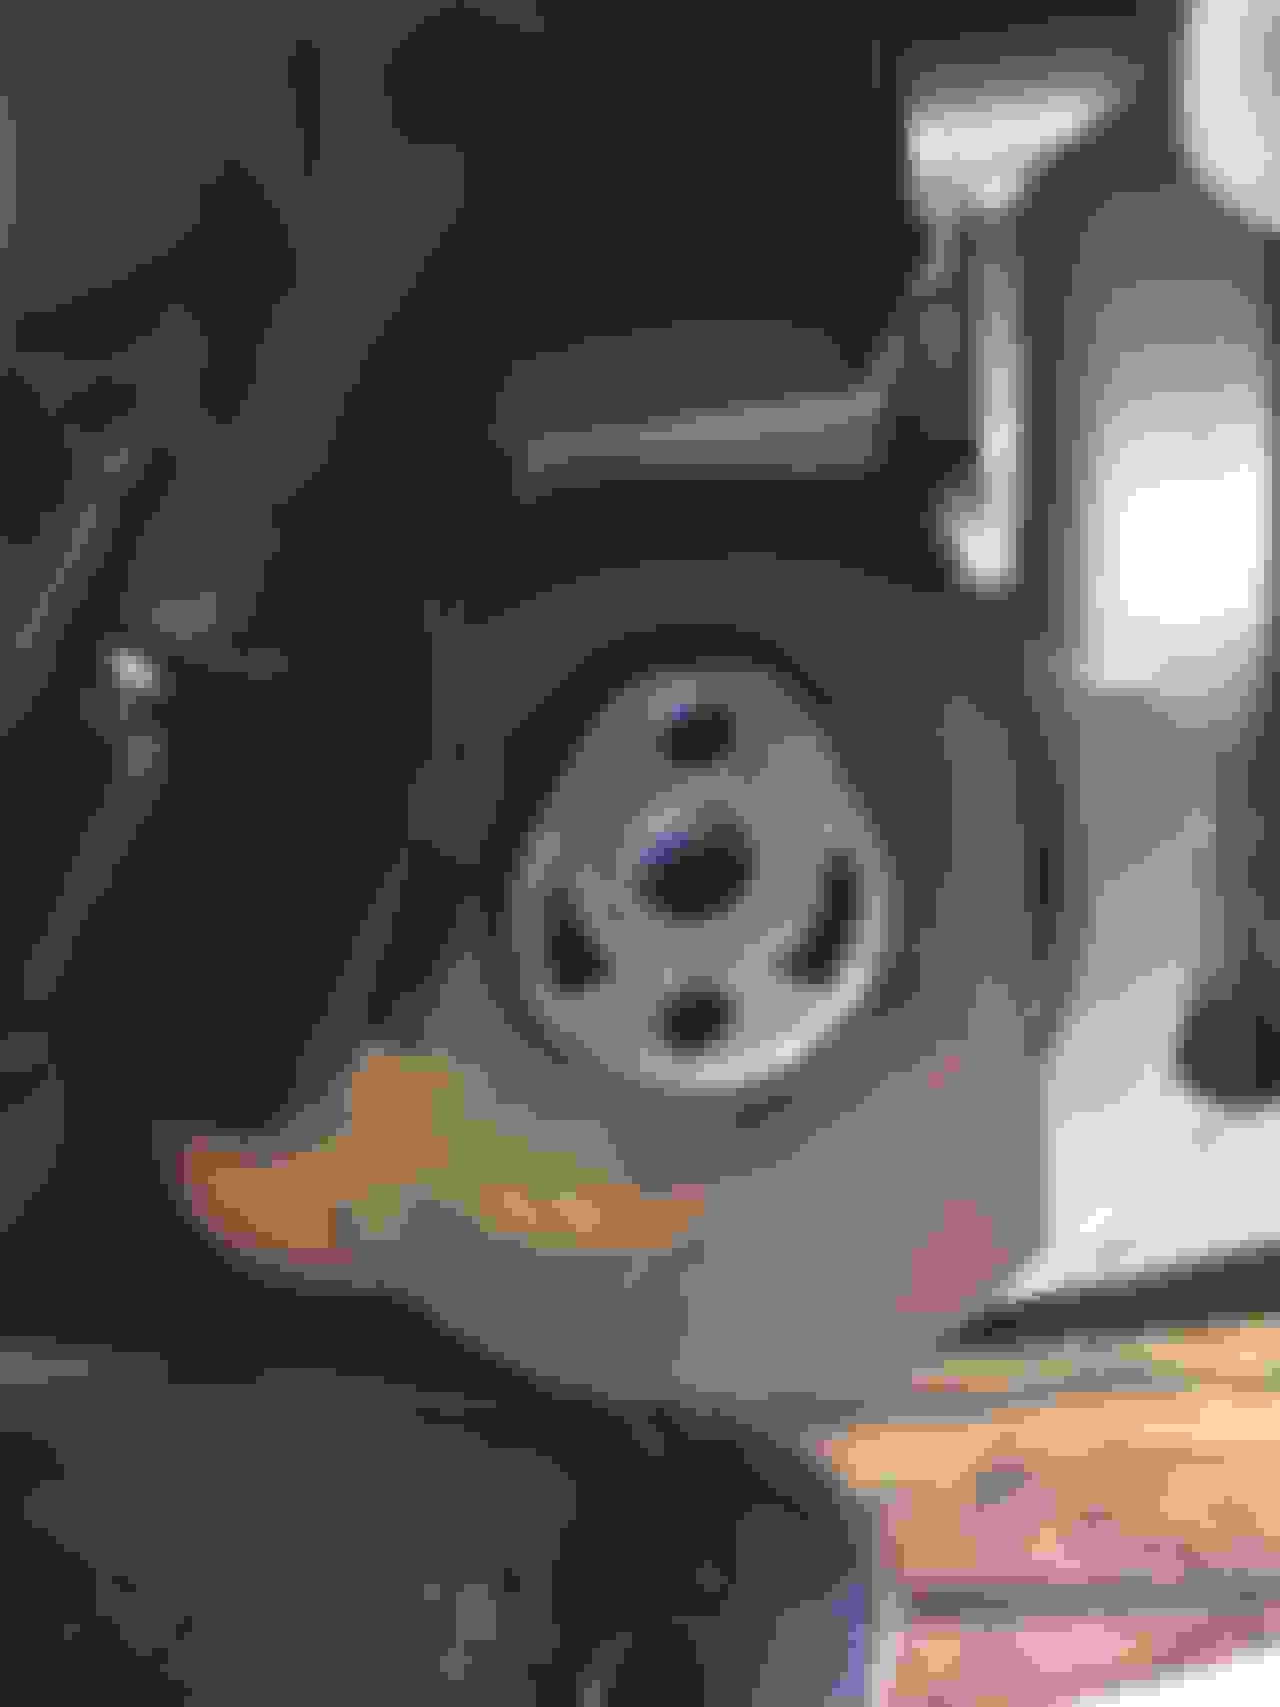
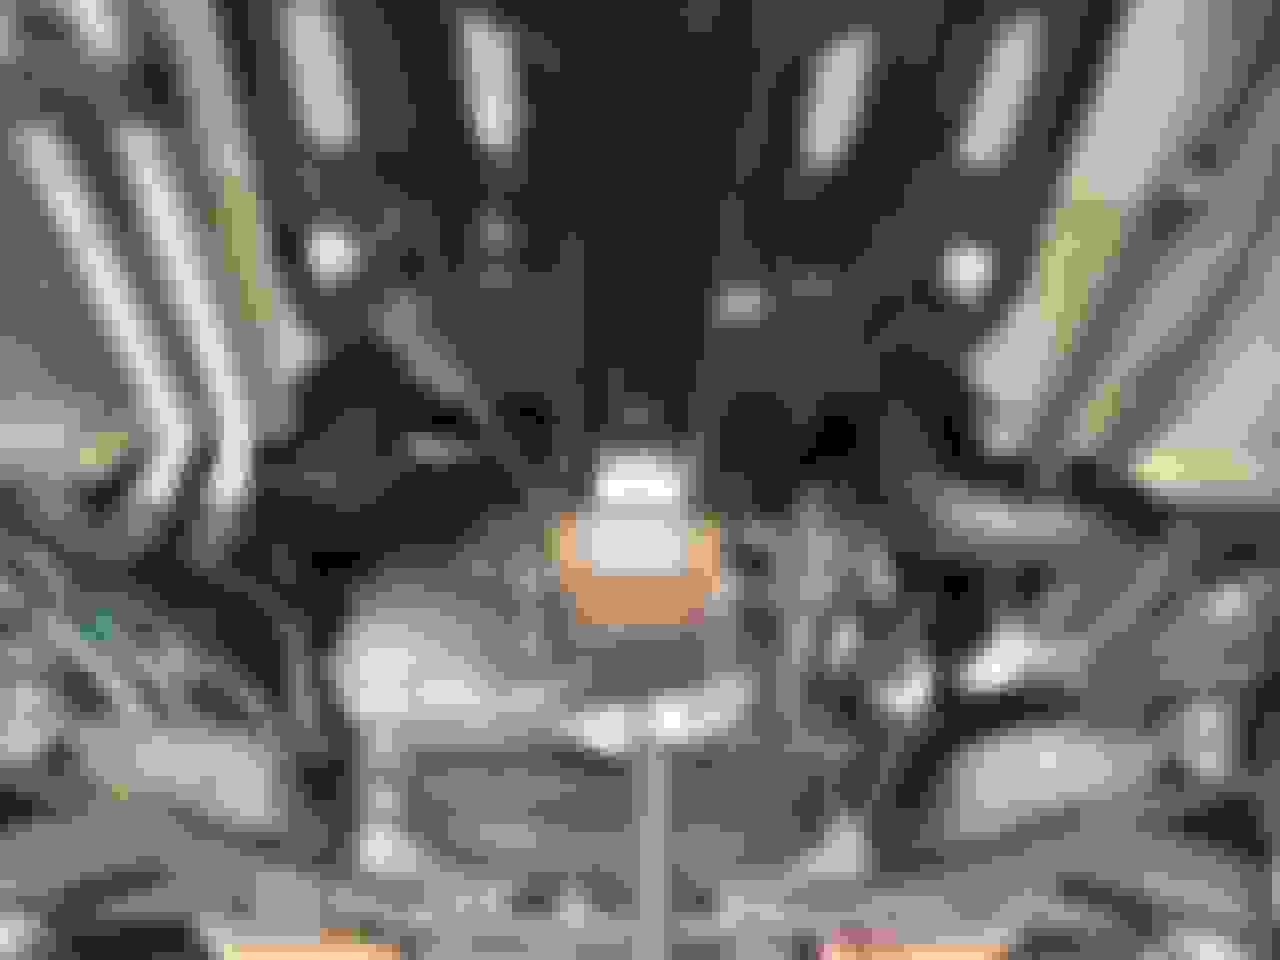
Transmission supported and main bolt removed:
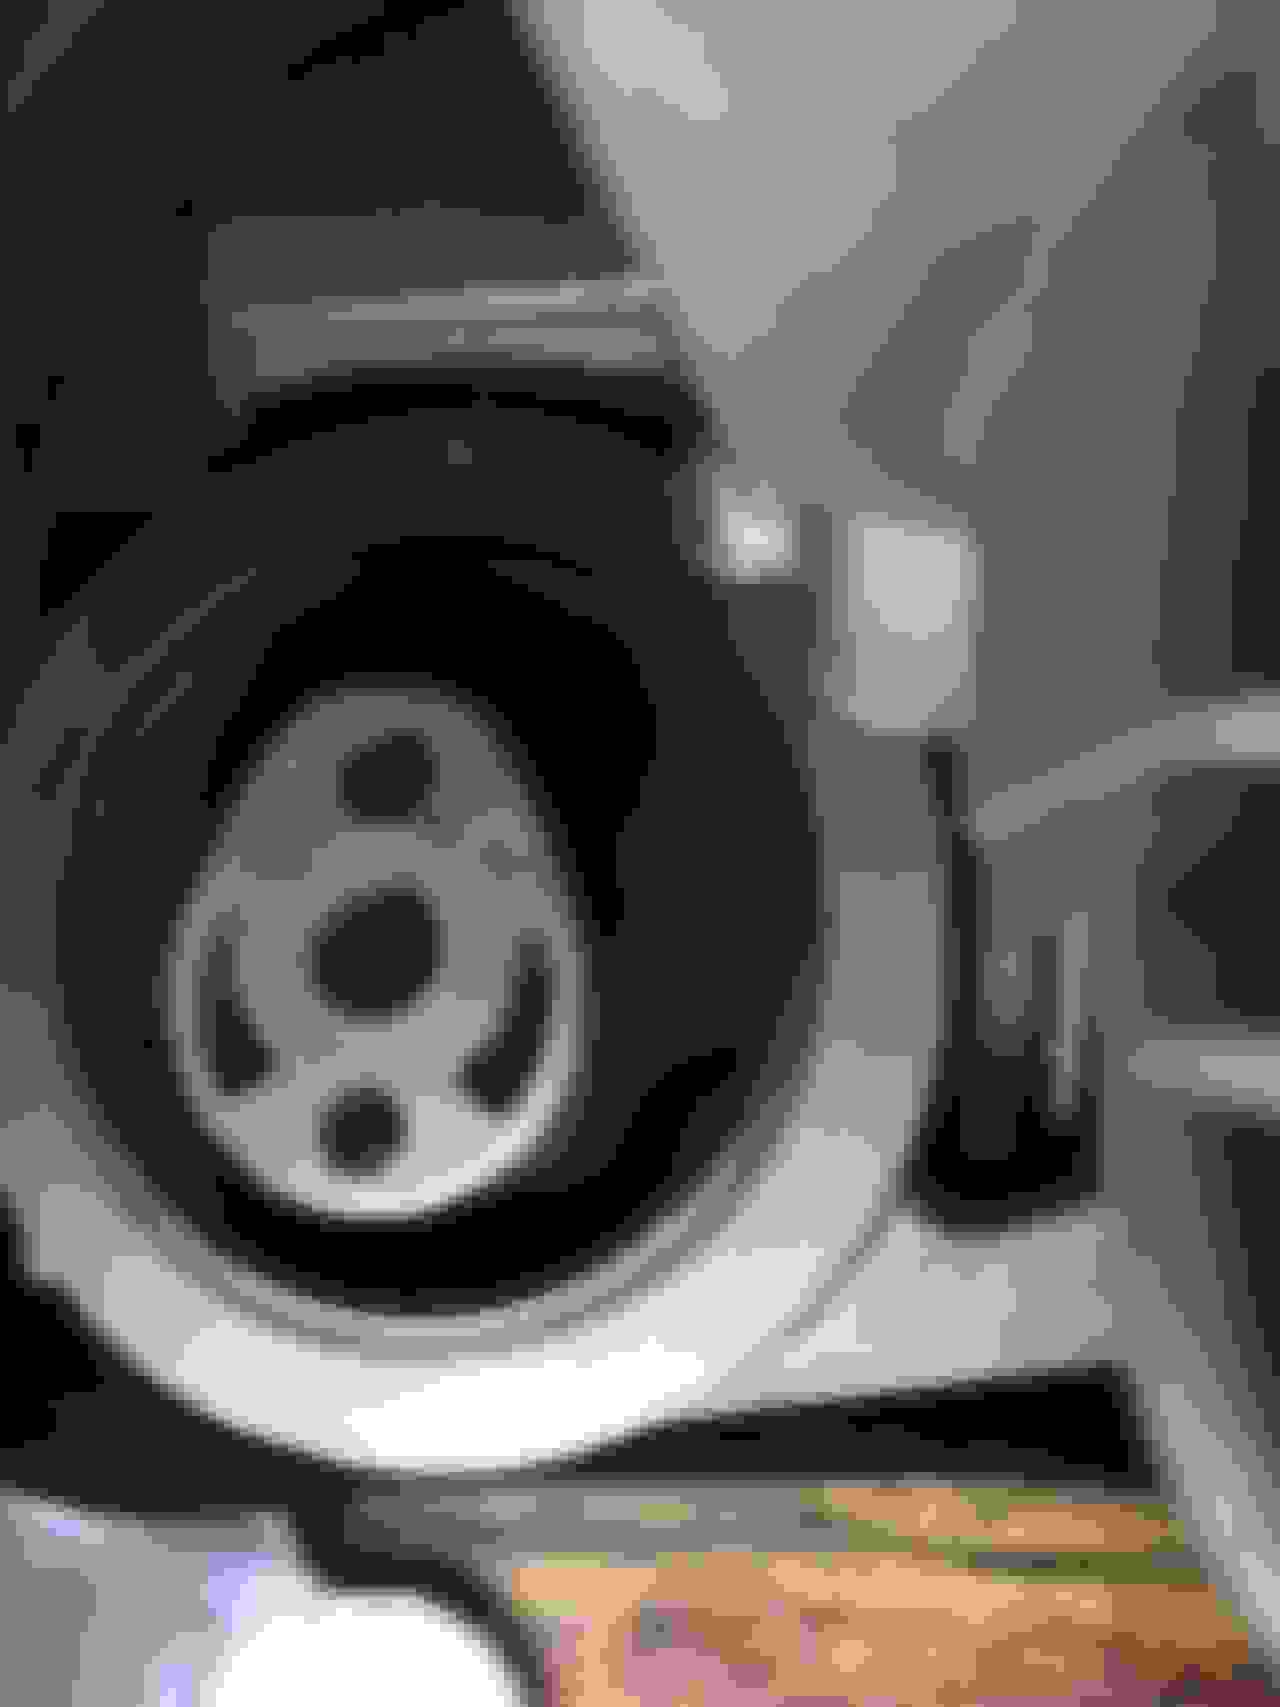
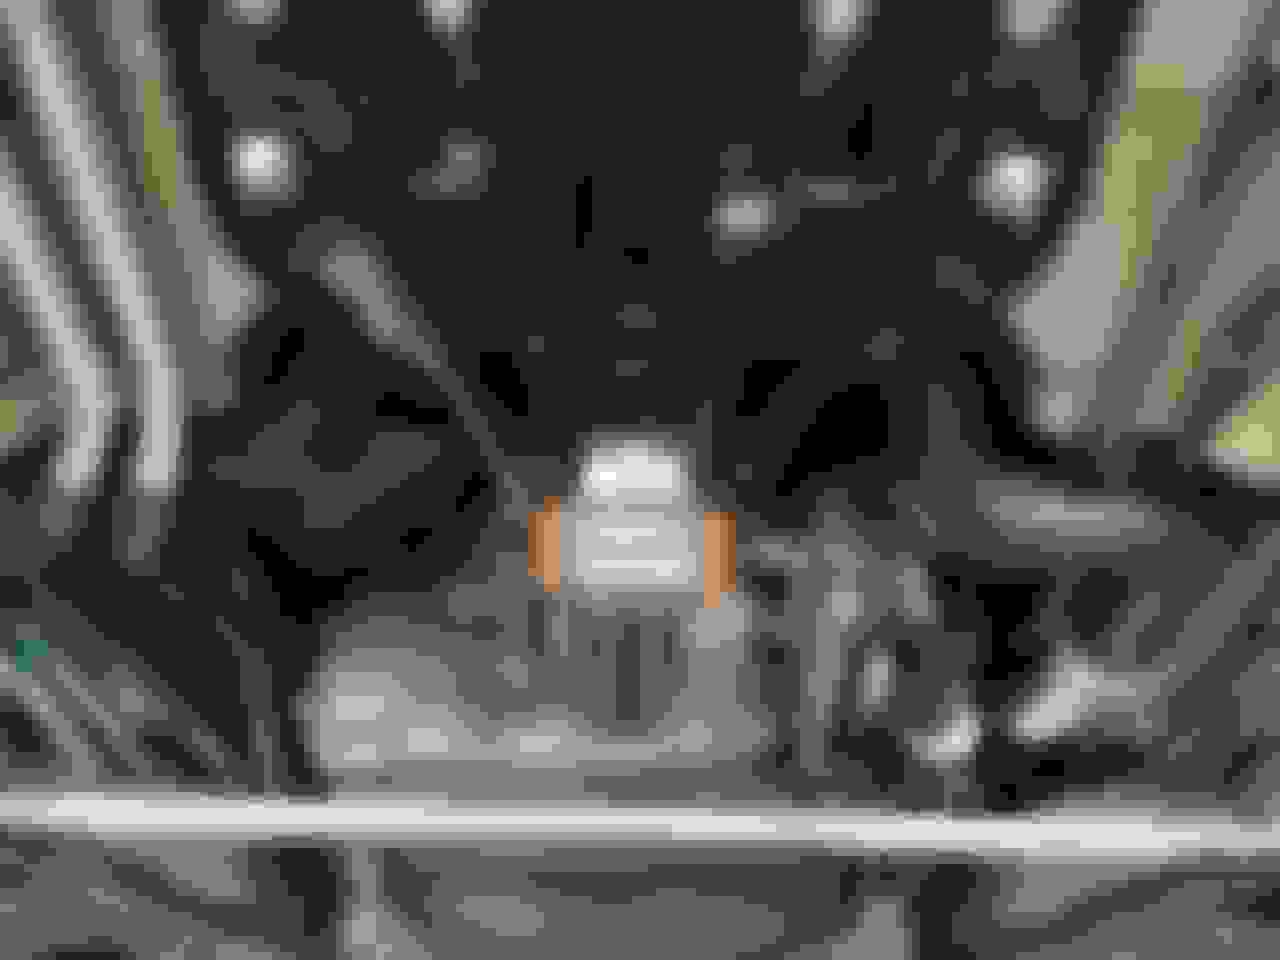
OEM Stop removed
Inserts installed
Crossmember replaced
After putting some decent miles on the car, my findings are as follows. Note I have the M&M Street Sport Exhaust so my car is considerably louder than stock.
NVH
- during cold starts no noticeable change at all due to the higher revs
- during warm starts and if idling in Park or Neutral (just did this to experiment) there is some minor noise which is more noticeable if on an incline
- it is difficult to describe but it is not obvious and cannot be heard at all from outside of the car.
- Fortunately when stationary and in gear (e.g. when stopped at traffic light) there is no noise at all
- The above is of no concern to me and I suspect this sound might diminish somewhat after I have a bit more time and miles on the part. Even if it doesn�t, the gains are worth the minor compromise.
- when driving I would say there is a slight change in sound in the car. there seems to be a little more �whine� (i.e. in addition to the intake sound, and a little more mechanical). It�s subtle, but it is a really good sound in my opinion.
- my car is a pure weekend fun car with an "aggressive street" setup so I am even considering trying the next level up in stiffness just for comparison as the NVH is less of a concern for how I use the vehicle.
Shifting
- as mentioned earlier there was nothing wrong with the shift performance or the OEM mount to begin with
- the only thing I did not like was downshifting from 2nd to 1st in Sport PLUS mode at low speeds (i.e. when coming to a stop), where there would often be a bit of a �clunk� sound and some jerkiness.
- this clunking seems to have been reduced/improved quite a bit
- regarding all other shifts; whilst I am being overly cautious about being influenced by any potential placebo effect, I still think the shifting in Sports Plus is better. Still very fast but somehow more seamless and direct.
- going to keep driving and will provide an update over the coming months
Overall this is one of the easiest DIY�s you can do for both the preventative and performance benefit you get. I took it slow as I was being extra cautious with everything, having not worked on this part of my car before, and it took about 1.5 hours. I could probably do it again in about 45min�s now that I�ve done it once.
My compliments go the the guys at Function First. Great product and great service also when I had some questions for them.:thumbup:
Ive had a couple people ask about the sound since the install.
I've attached 2 files which are compilation of audio clips at varying speeds and on varying road surfaces.
I tried to play around a bit with the throttle to highlight the great sound from the intake and transmission. At very high RPM's the exhaust does tend to drown out any other sound, but I think over the 3 mins of audio you'll get what I mean. The iPhone recording simply doesn't do it justice, but I think you'll get the idea.
Emc after removing the single bolt di you lower the transmission to insert the "inserts". There is a black frame that the bolt goes through. This needs to be cleared before putting in the inserts. What was the procedure you did?
Emc after removing the single bolt di you lower the transmission to insert the "inserts". There is a black frame that the bolt goes through. This needs to be cleared before putting in the inserts. What was the procedure you did?
Hi Rick,
Once you have the transmission supported and main bolt removed, you then remove the 4 nuts from the lower carrier bolts (Part 2 on the Porsche Parts diagram). This allows you to pivot the carrier down just low enough so that it clears the OEM bushing area. (no need to fully remove it)
You then Remove the nuts from the upper carrier (Part 1 on the attached Porsche Parts diagram). After that you remove the upper carrier studs.
Once you have the studs out you can pivot the upper carrier forward and upward (toward the front of the car) so that it is out of the way. You may need to wedge something in there just to keep it from swinging back down whilst you are installing the mount inserts. There may be a way to fully remove this upper carrier but it really wasn't necessary at all so I didn't really try.
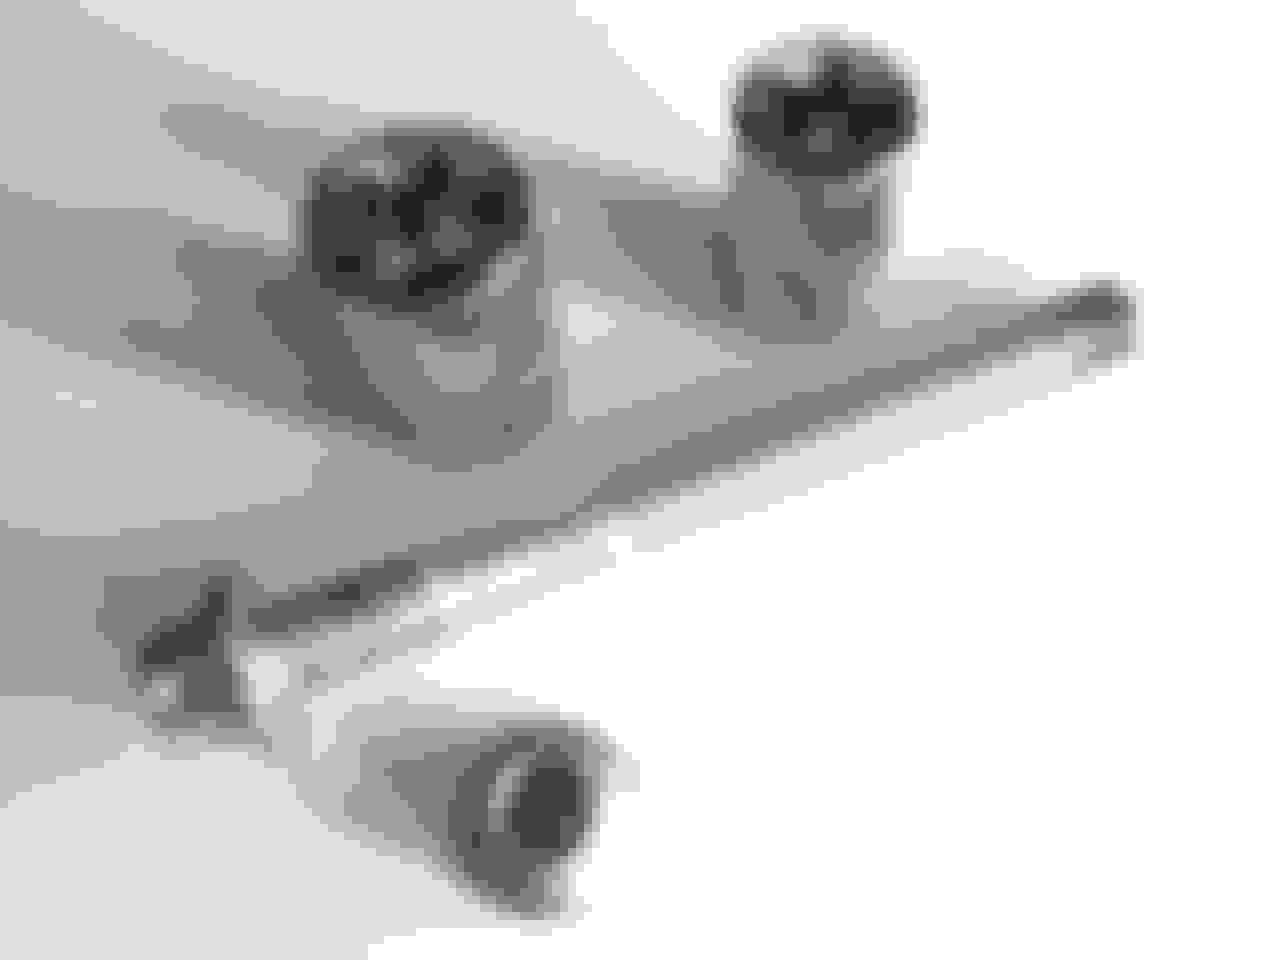
In the pic below you'll see the black metal from the upper and lower mounts. The lower mount is already pivoted fully below and clear of the bushing. The upper mount in this pic was still a little in the way but it is easily pushed aside in the direction of the arrow.
Hope this helps.
Last edited by EMC2; Apr 26, 2016 at 08:41 AM.
Reason: corrected labels in image (changed "mount" to "carrier")