Chrysler 300c w/ JDM & DTM roots
#16
 11-20-2013, 01:58 AM


Join Date: Jun 2005
Location: OC, CA
Age: 42
Posts: 116
Rep Power: 23 
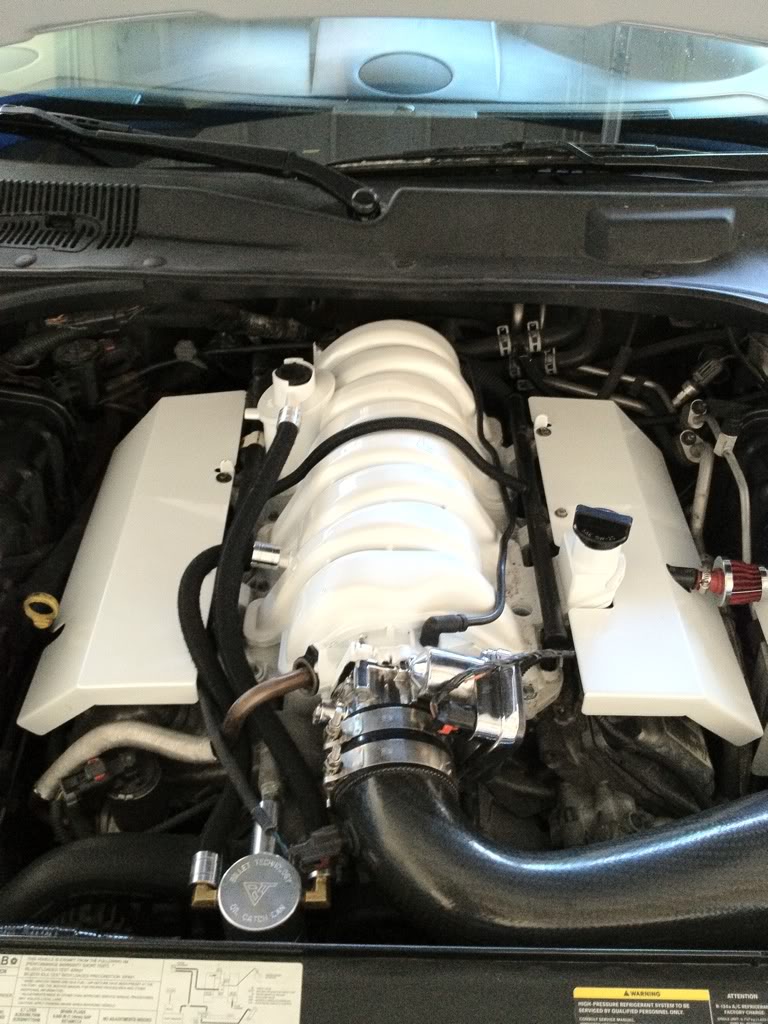
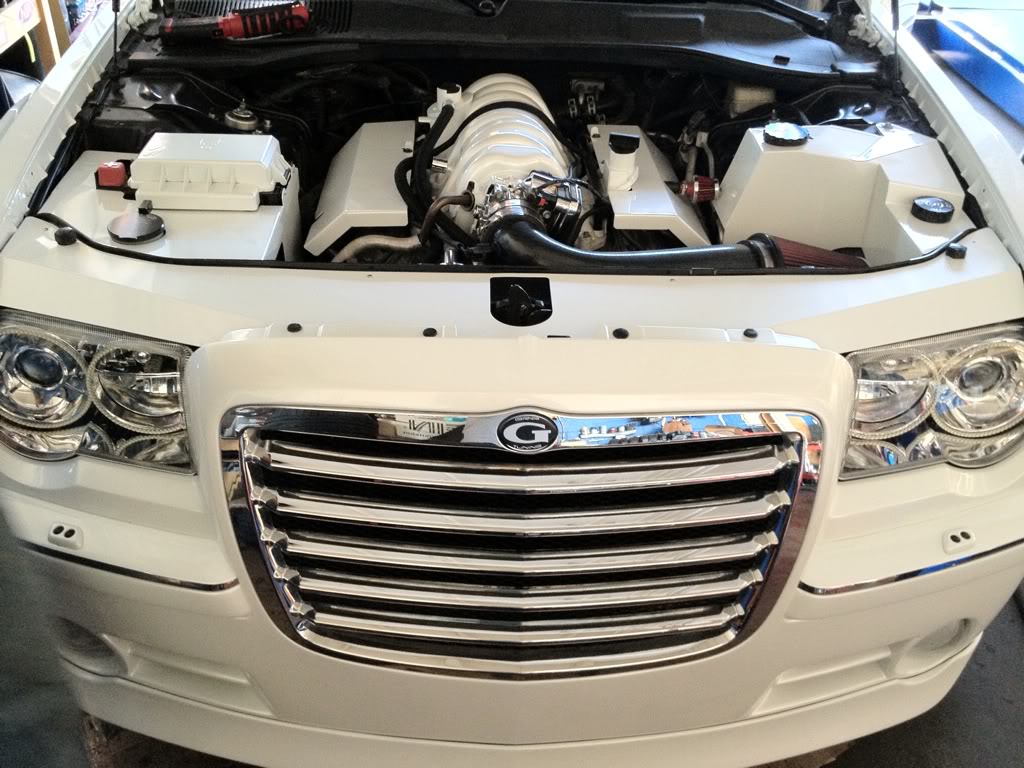
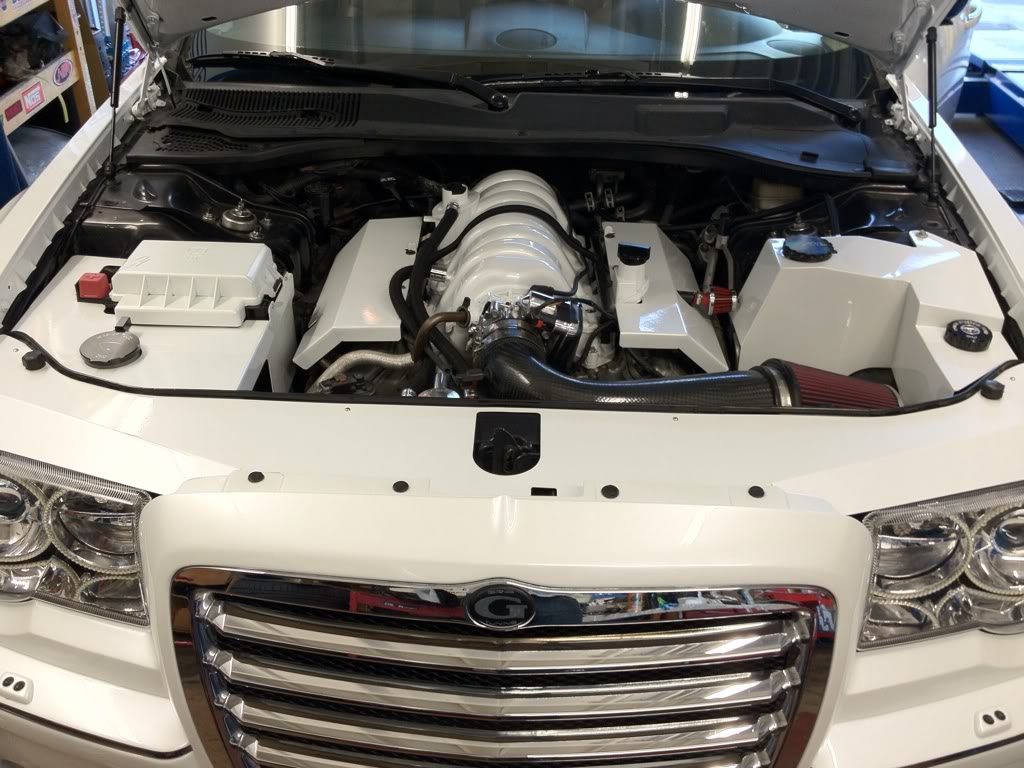
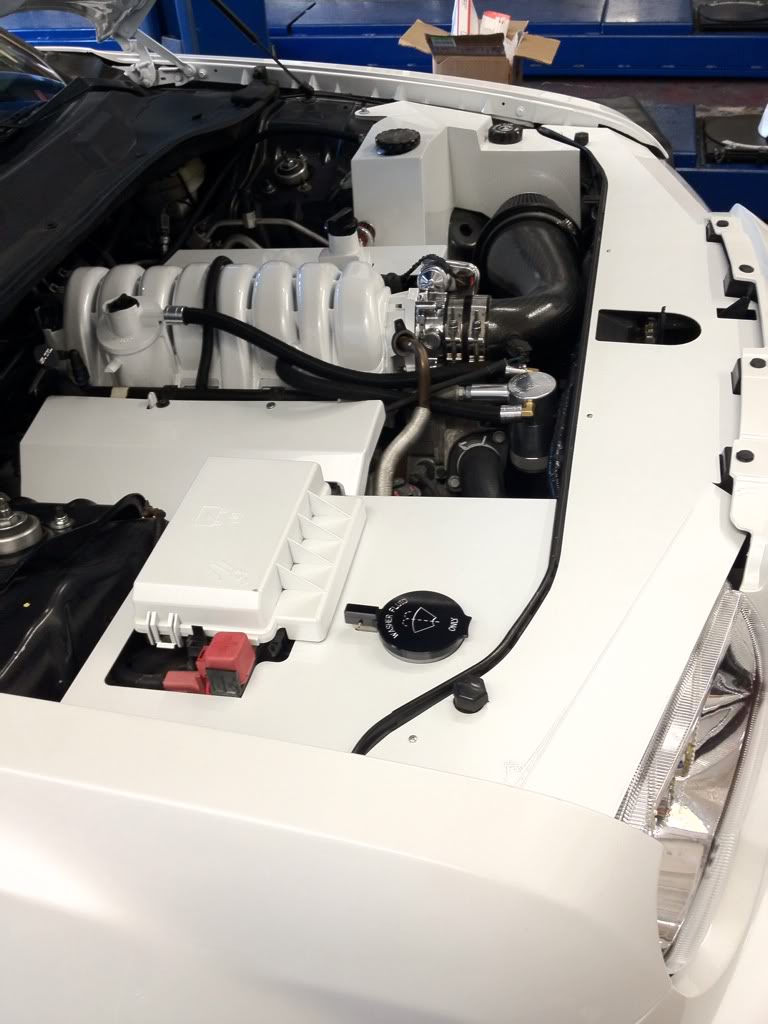
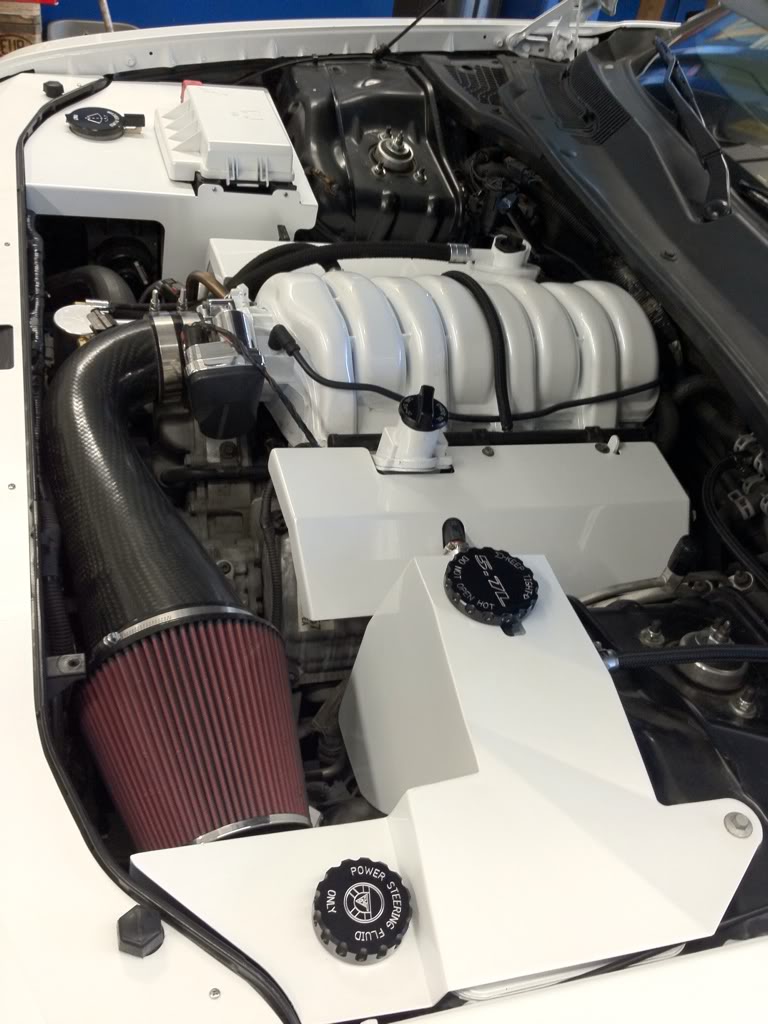
I'm waiting for the following items to install below next week, but this is what I was able to put in while hanging out at my friend's shop:
-ABS Cover
-Fusebox Cover
-Firewall cover
-Radiator Shroud
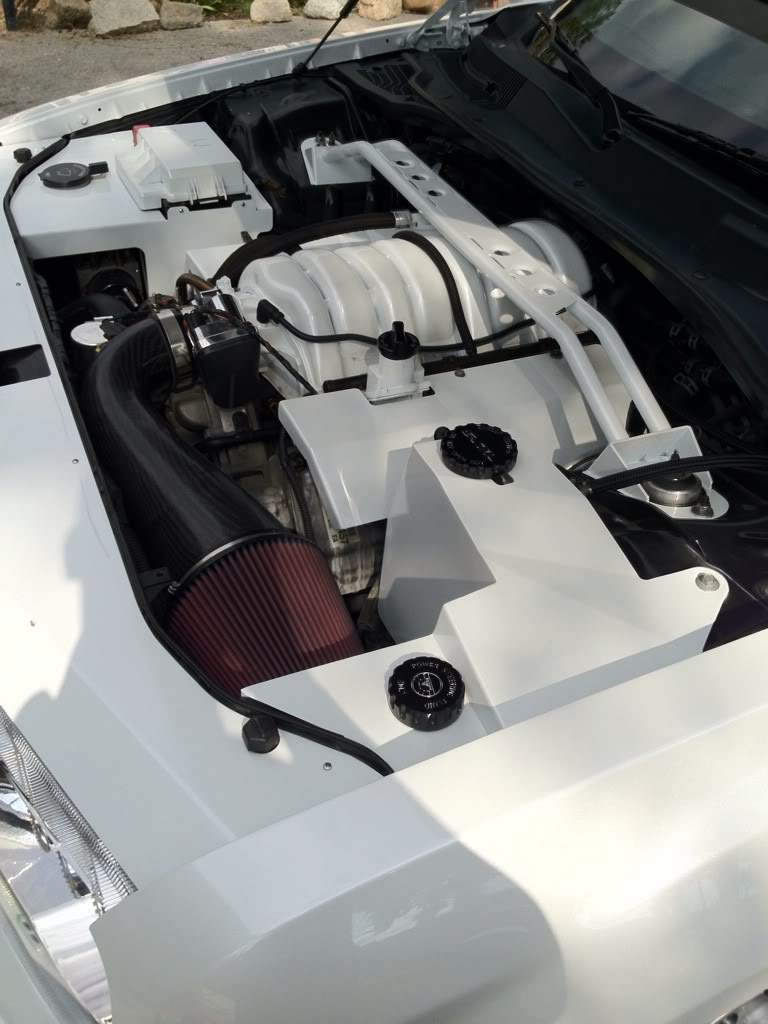
-Shaved and color matched intake manifold
-Strut bar
-Polished Throttle body
-Oil Catch Can
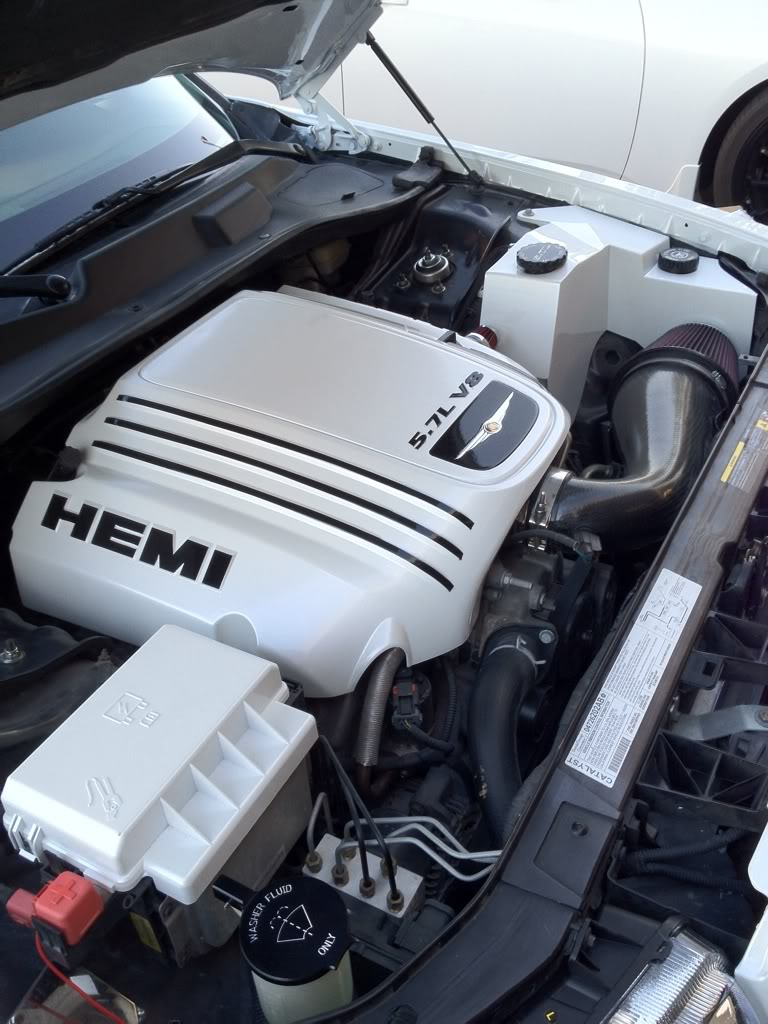
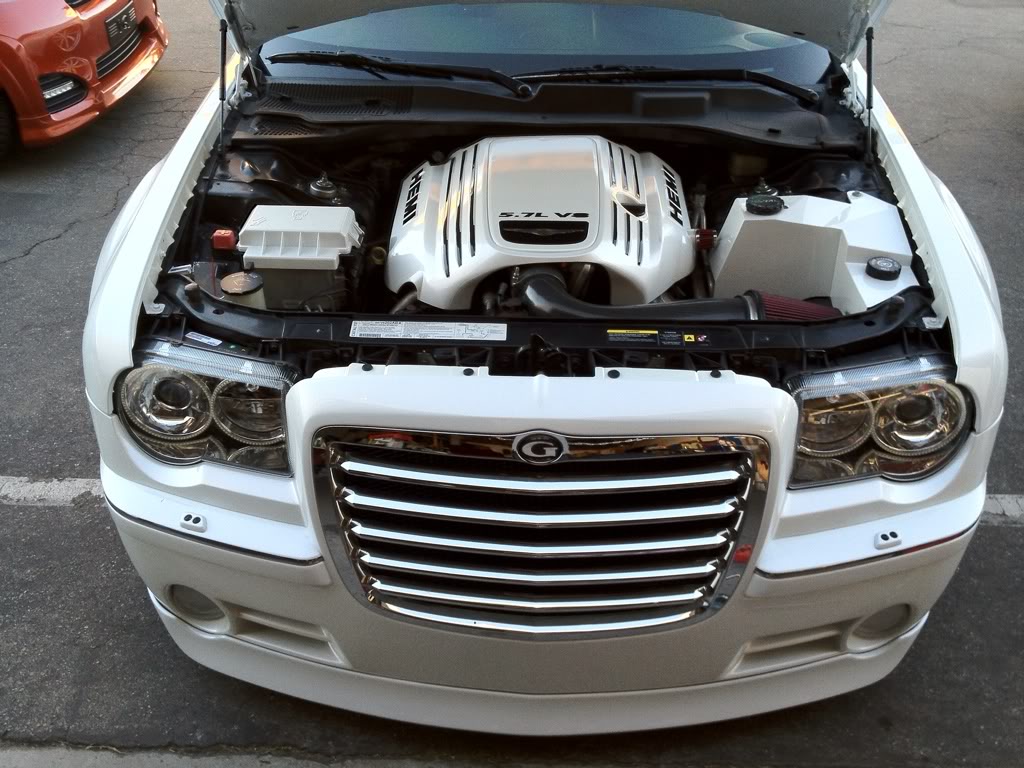
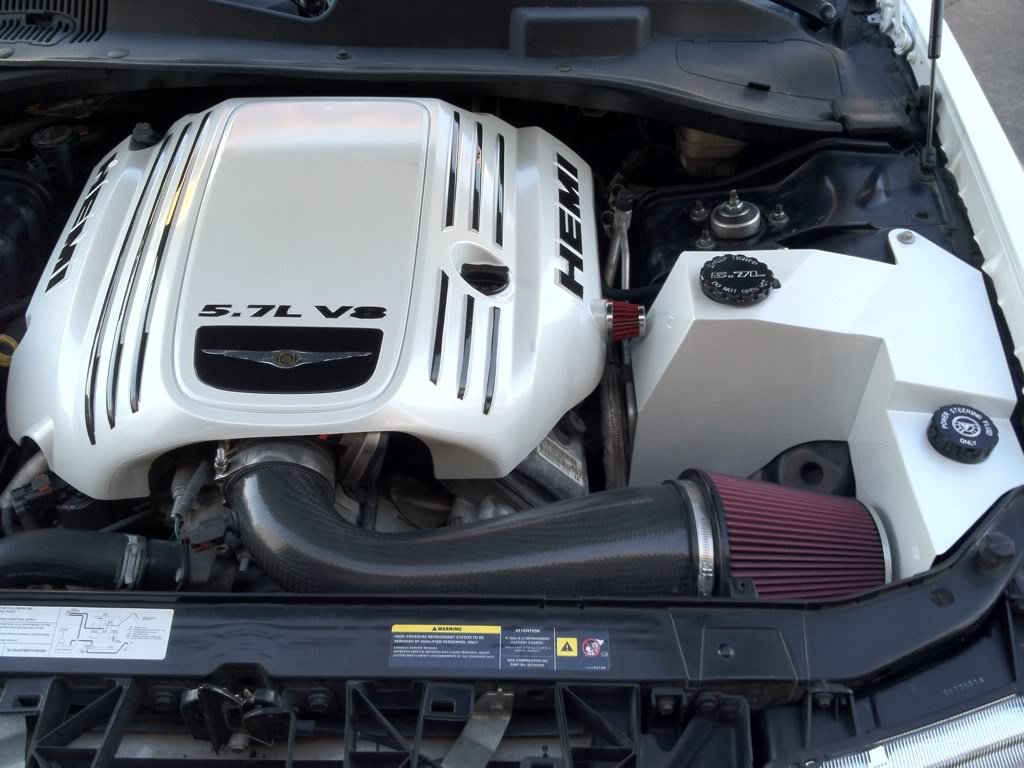
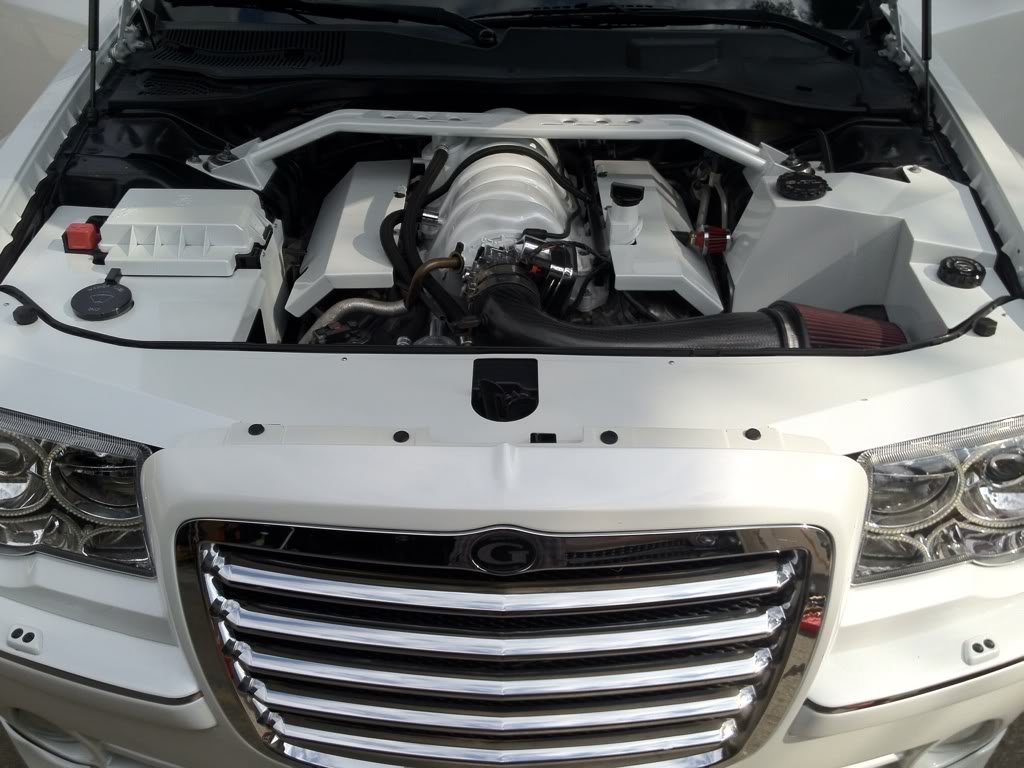
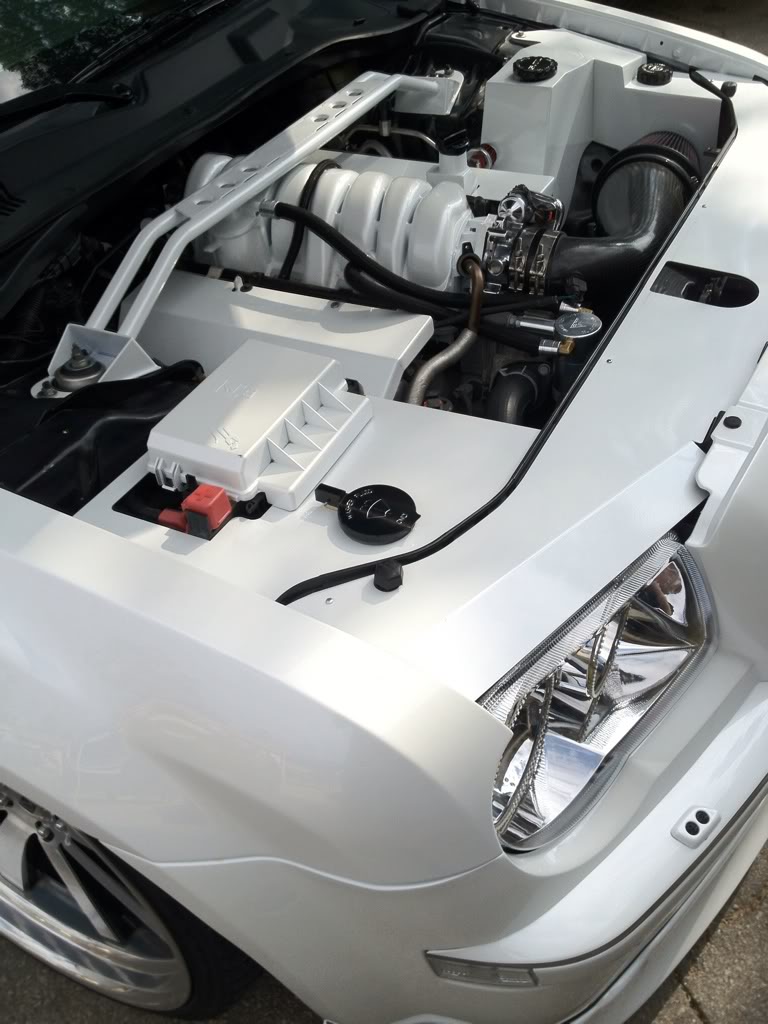
And another shot with different lighting
-ABS Cover
-Fusebox Cover
-Firewall cover
-Radiator Shroud
-Shaved and color matched intake manifold
-Strut bar
-Polished Throttle body
-Oil Catch Can
And another shot with different lighting
#17
11-20-2013, 02:00 AM
Join Date: Jun 2005
Location: OC, CA
Age: 42
Posts: 116
Rep Power: 23
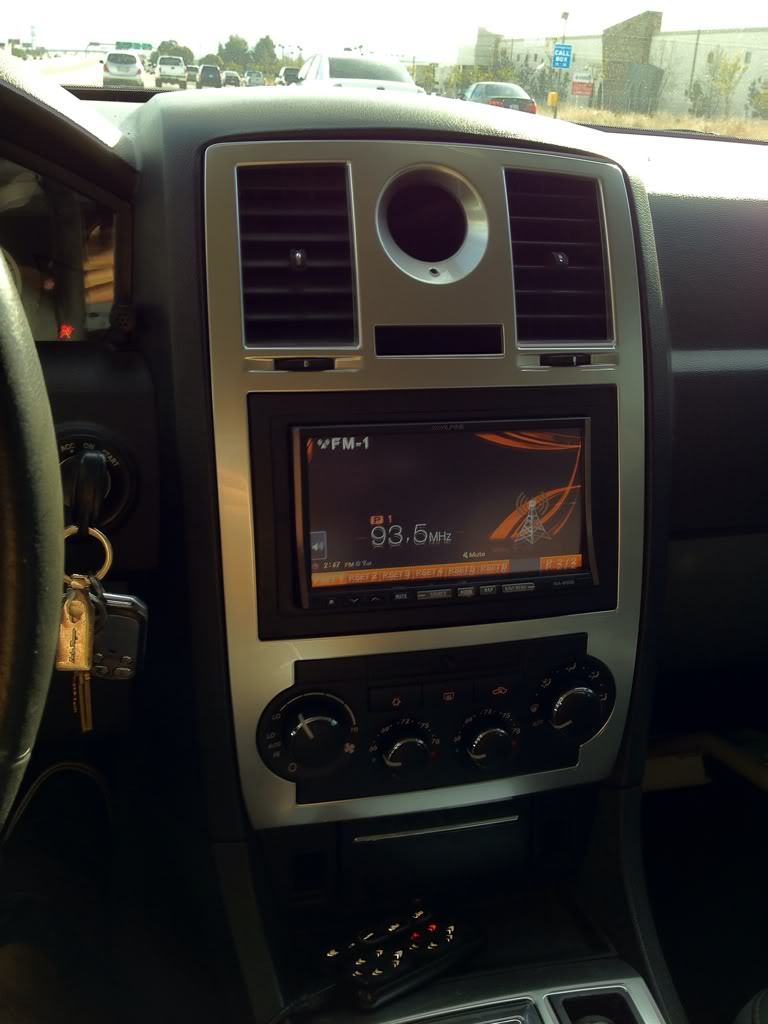
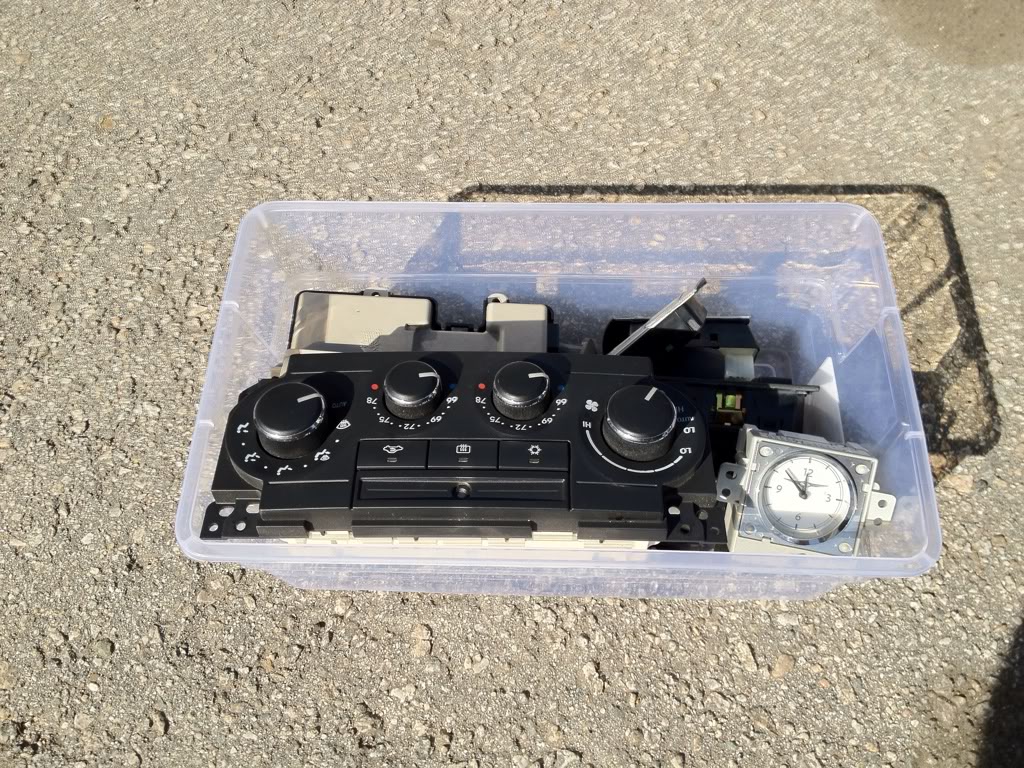
With the help of Diblobo (aka Lxharness) we pulled out all of my switches, EVAC, Headlight controls, clock, etc to swap over to red LED's. I also have a snapshot of my other goodies.
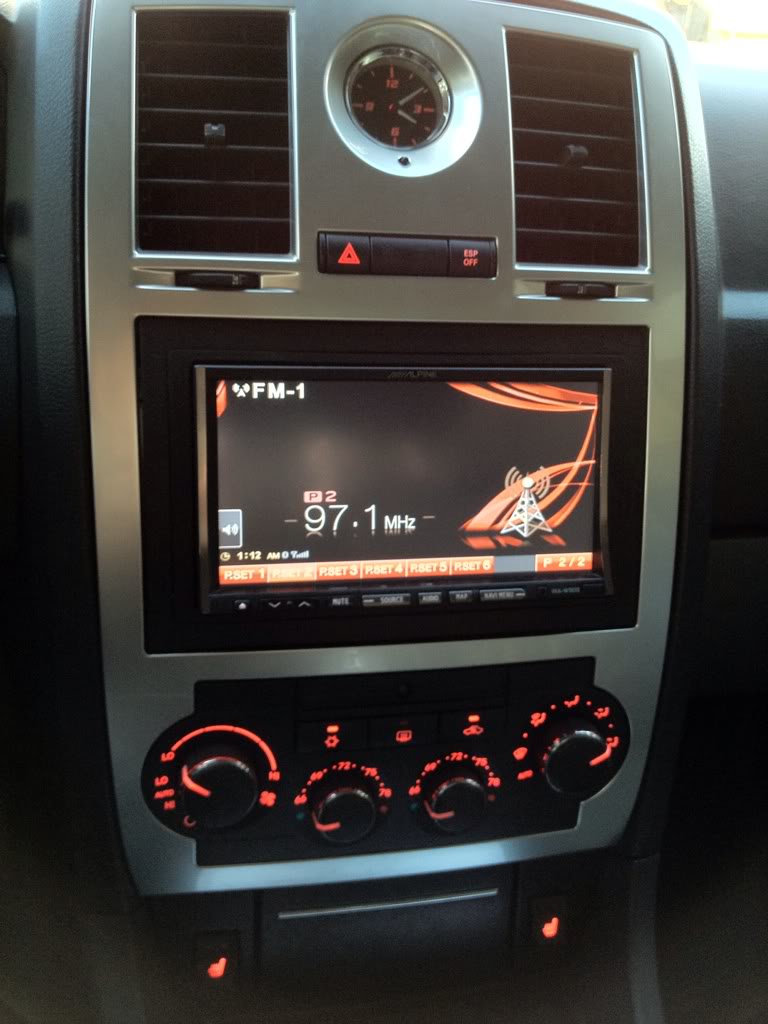
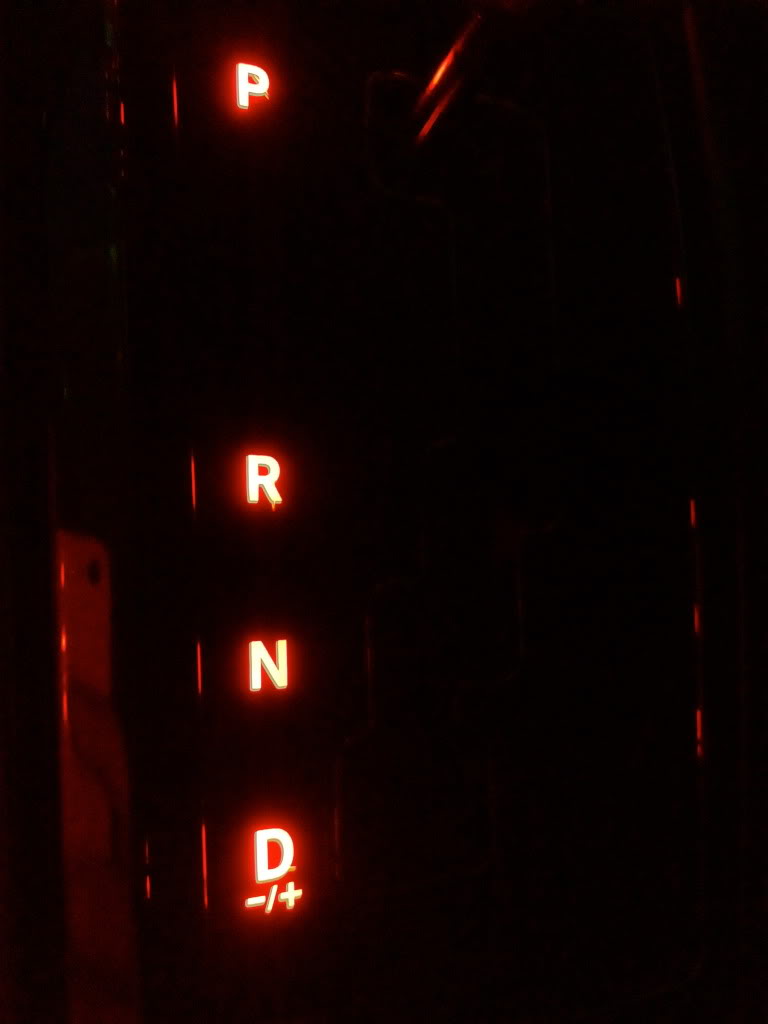
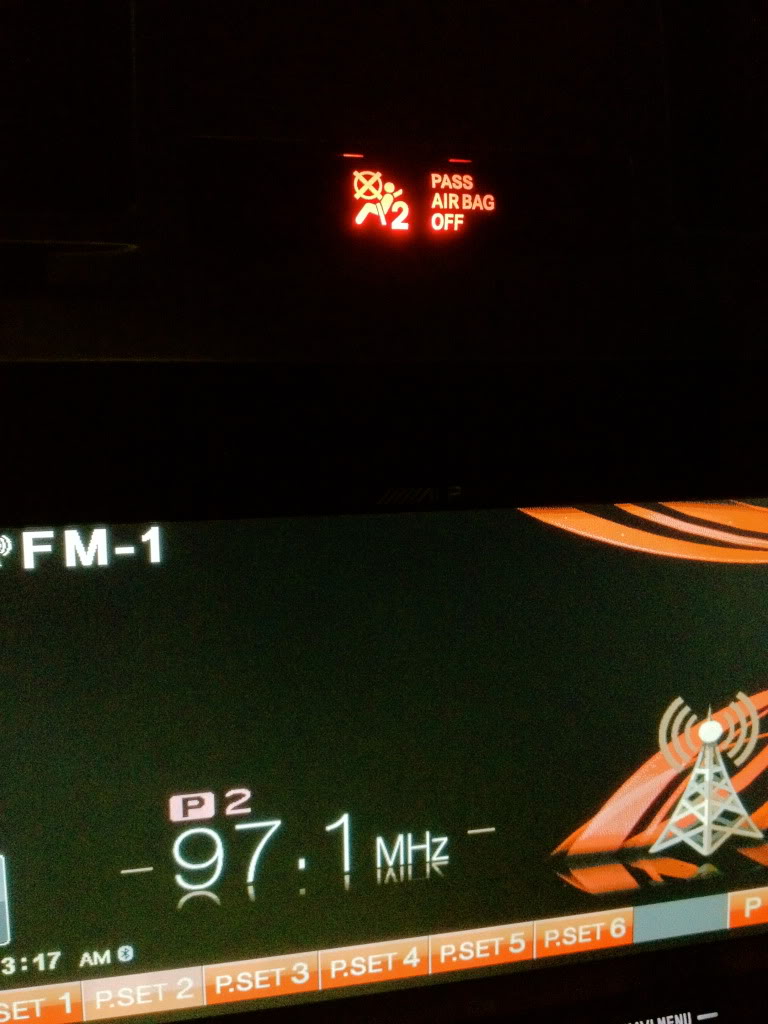
Diblobo aka LXharness pulled out everything, but gave me a loaner orange LED EVAC to use while I drive my car around. I decided to change the setting on my radio to orange for fun.
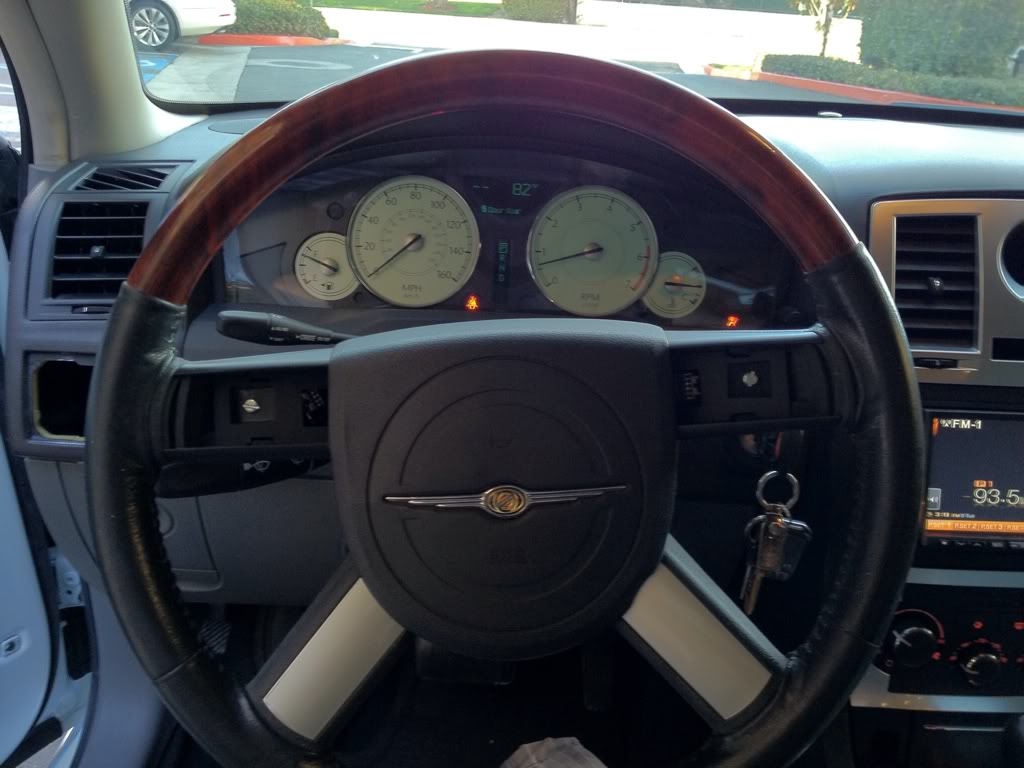
Steering controls pulled.
Door panel was pulled since I need to buy a clip from the dealer. Lxharness was nice enough to provide me with a 07+ window switch which allows me to at least have power door locks.
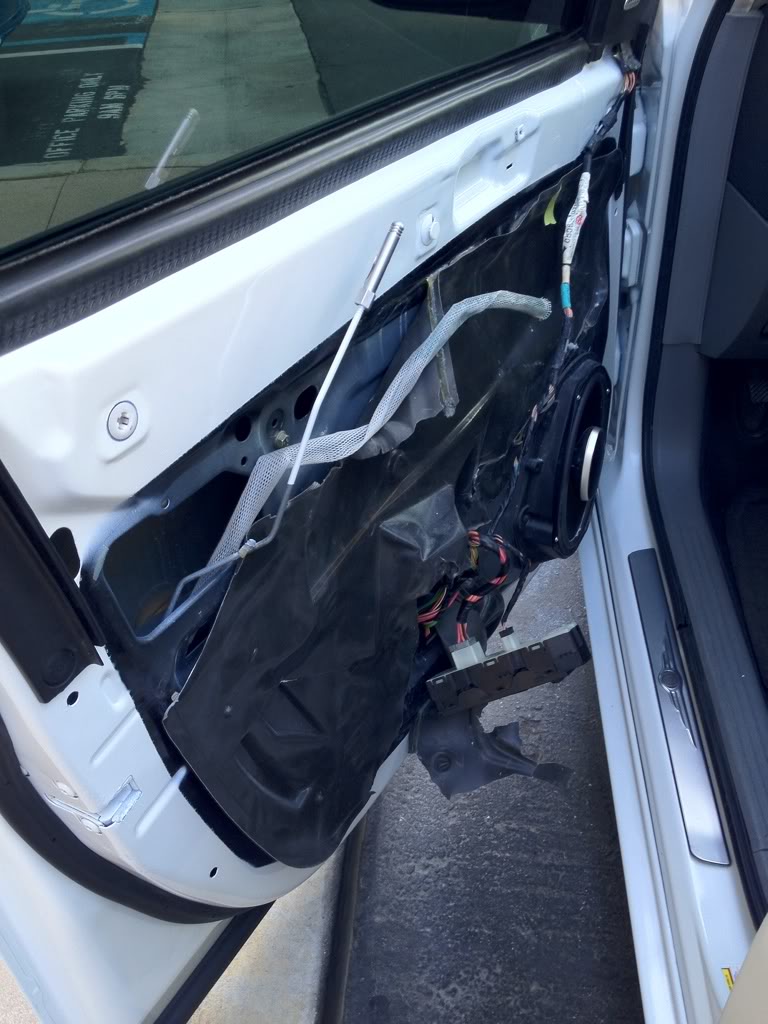
Red LED swap here we come.
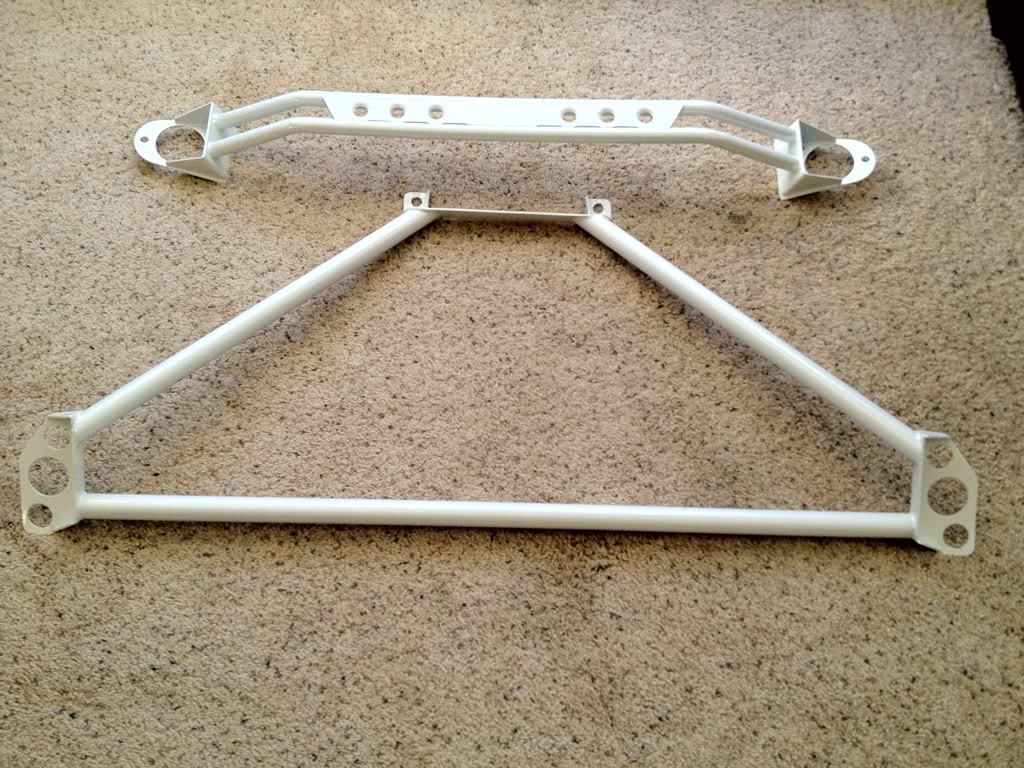
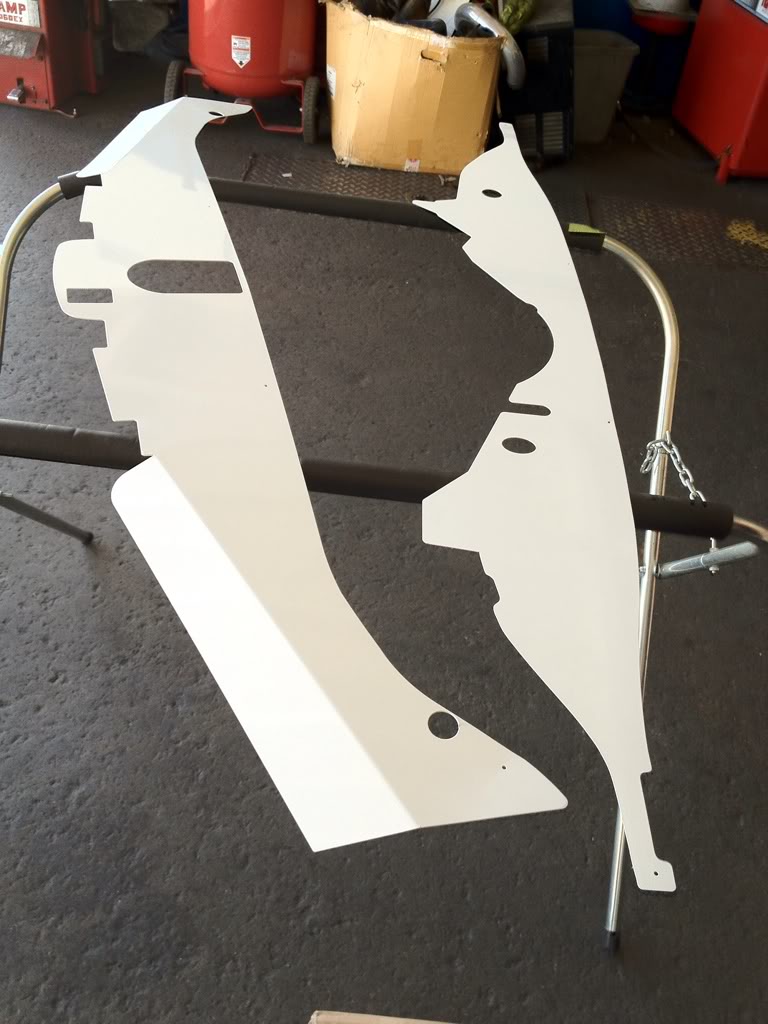
Painted front and rear strut bar
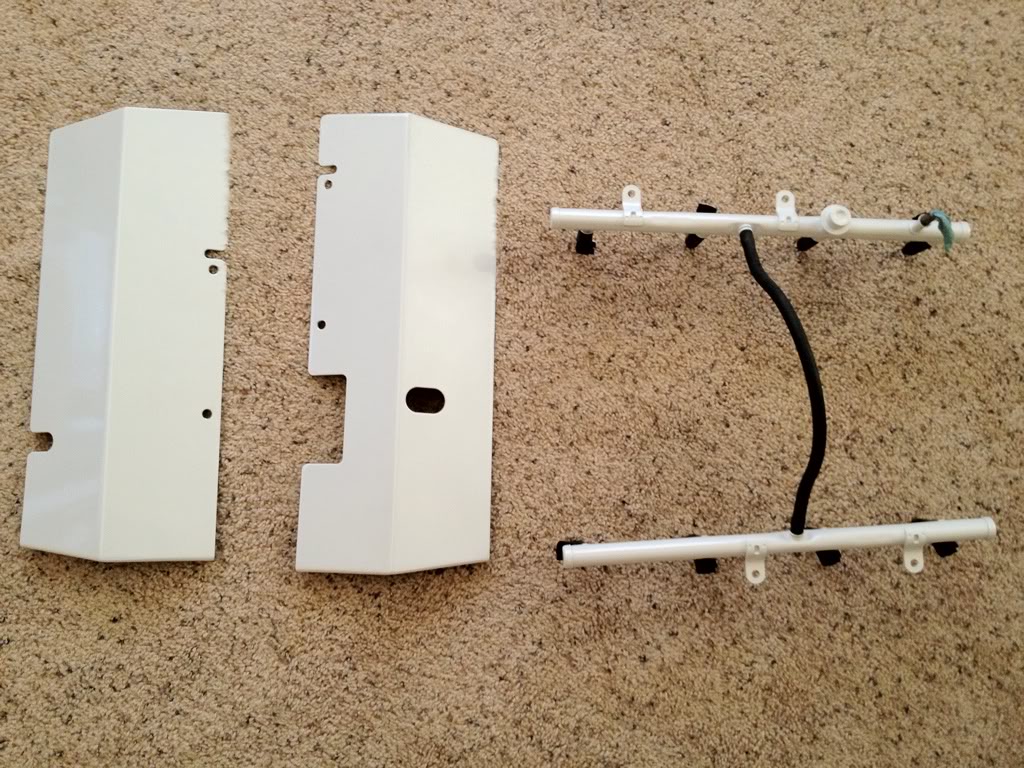
Painted 1/2 covers I plan on running in the mean time before my polished valve covers and coil packs arrive.
--------
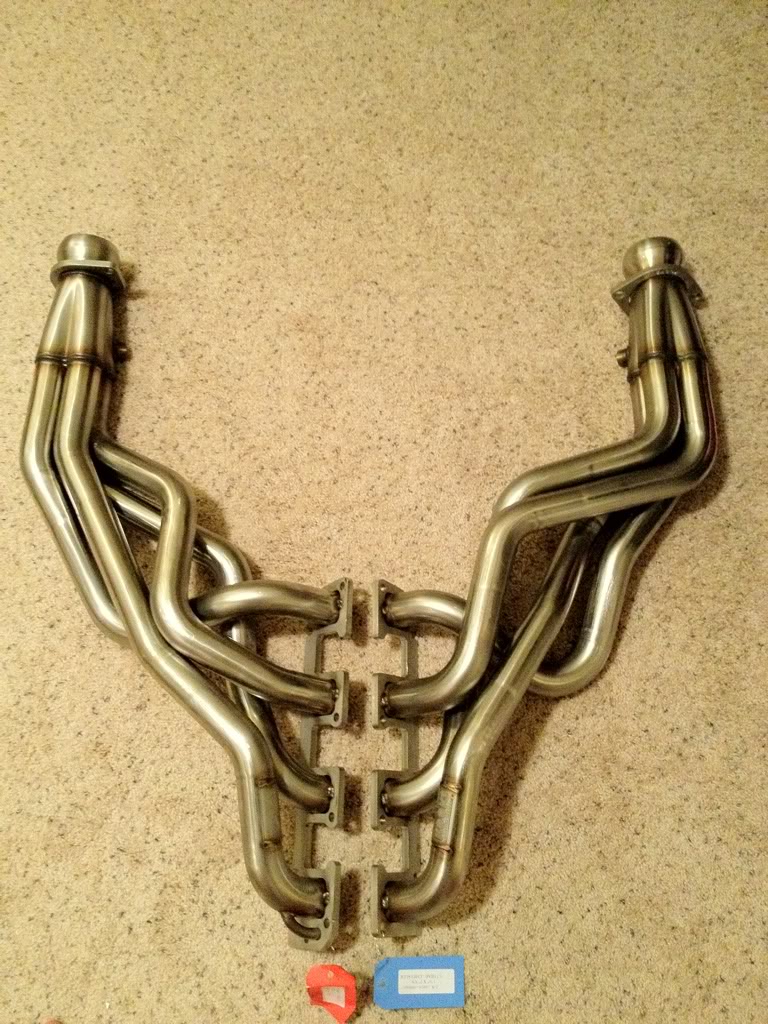
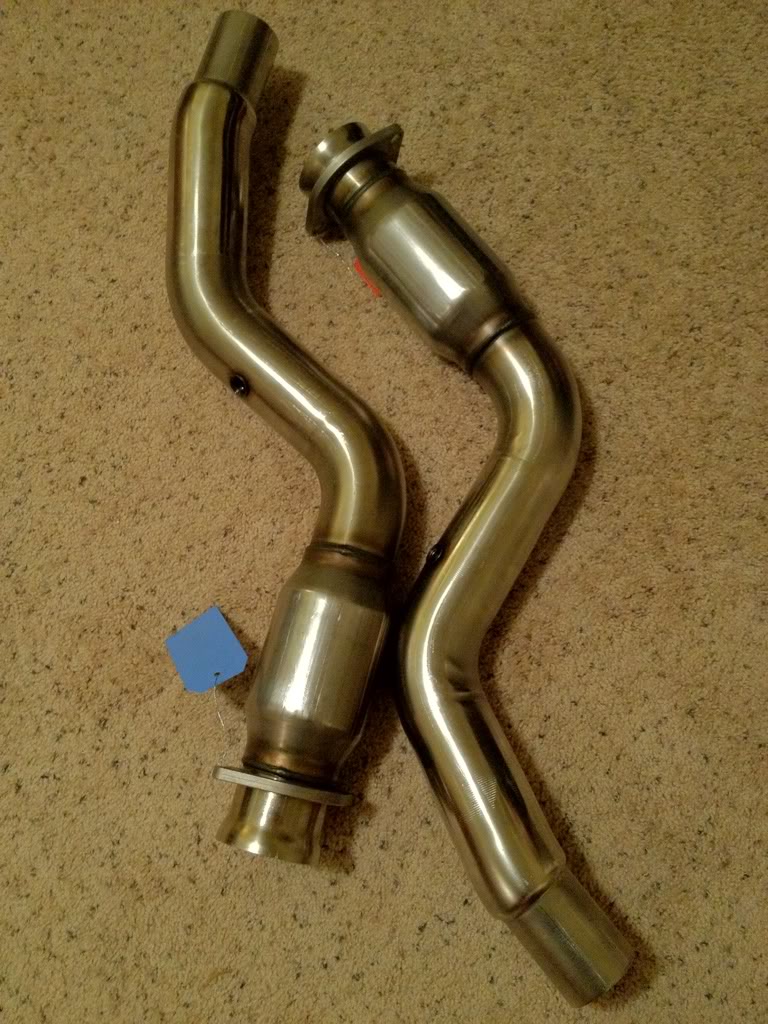
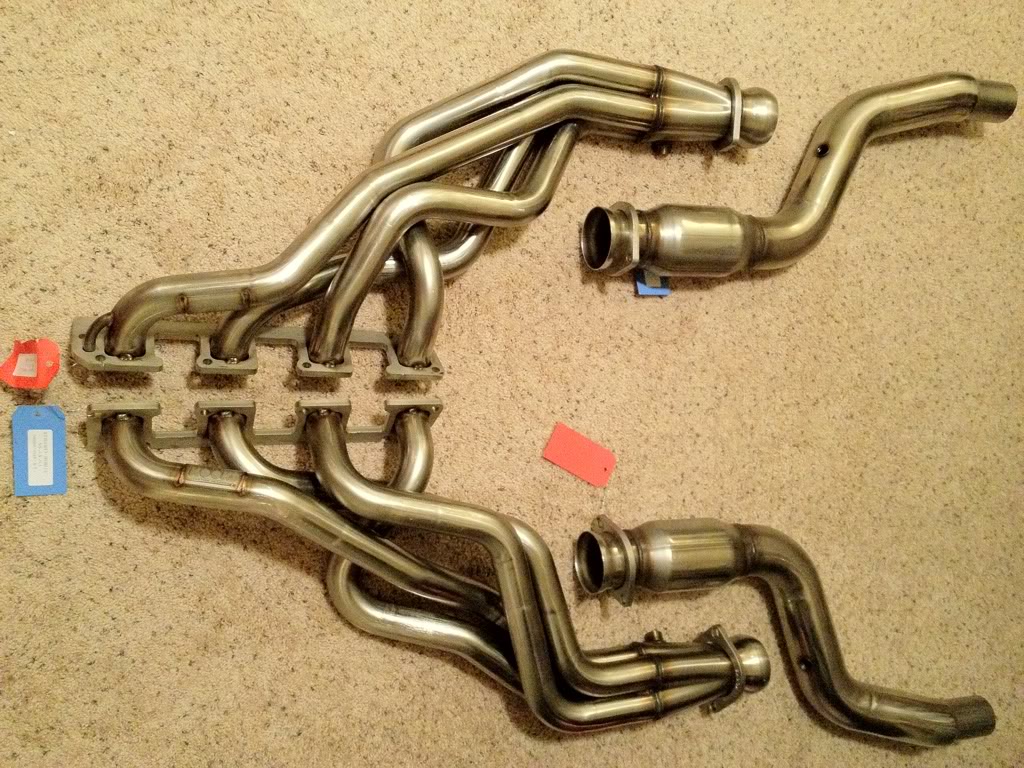
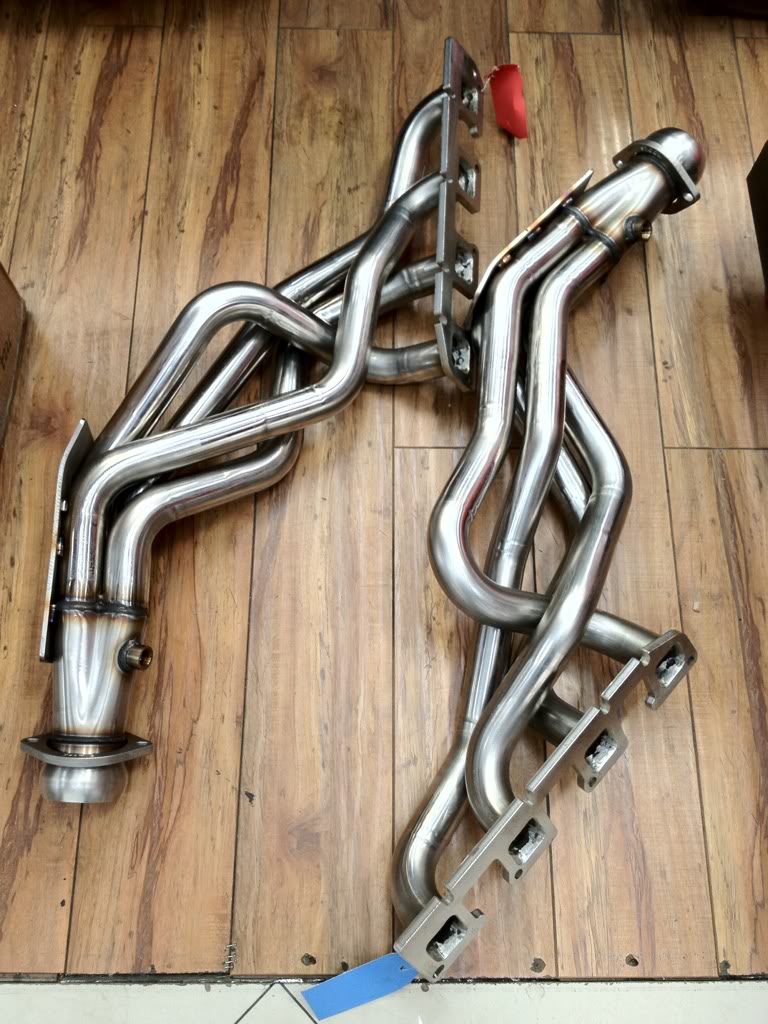
Kook's longtube headers and midpipes have arrived. These are some big *****.

Diblobo aka LXharness pulled out everything, but gave me a loaner orange LED EVAC to use while I drive my car around. I decided to change the setting on my radio to orange for fun.
Steering controls pulled.
Door panel was pulled since I need to buy a clip from the dealer. Lxharness was nice enough to provide me with a 07+ window switch which allows me to at least have power door locks.
Red LED swap here we come.
Painted front and rear strut bar
Painted 1/2 covers I plan on running in the mean time before my polished valve covers and coil packs arrive.
--------
Kook's longtube headers and midpipes have arrived. These are some big *****.
#18
11-20-2013, 02:02 AM
Join Date: Jun 2005
Location: OC, CA
Age: 42
Posts: 116
Rep Power: 23
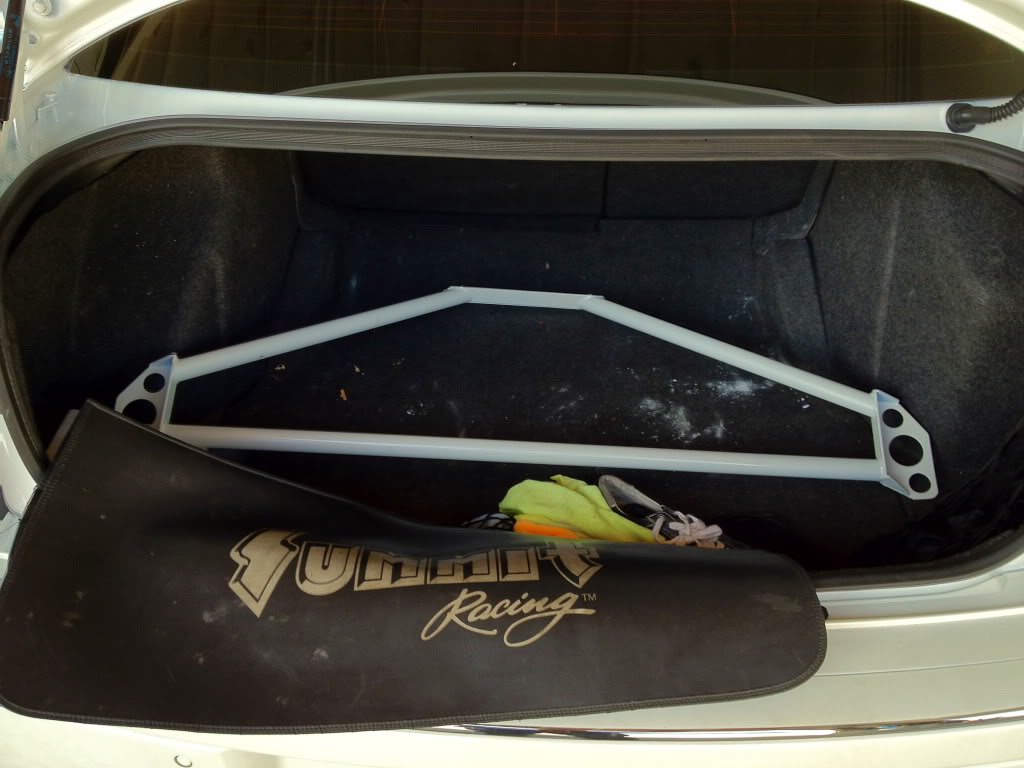
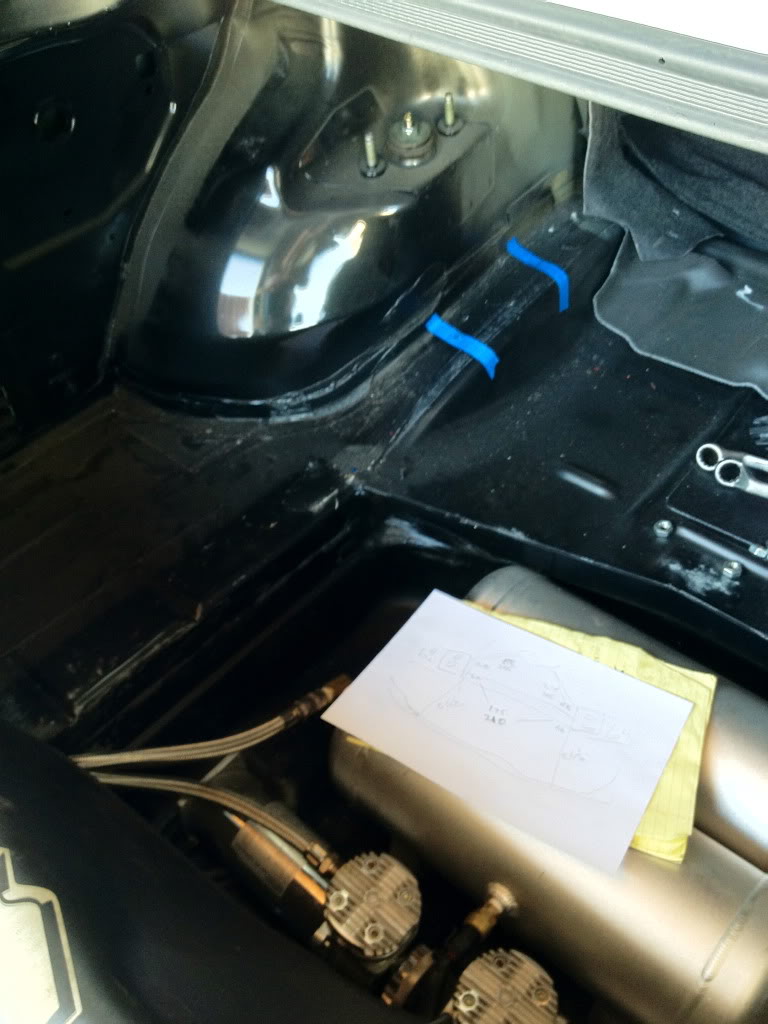
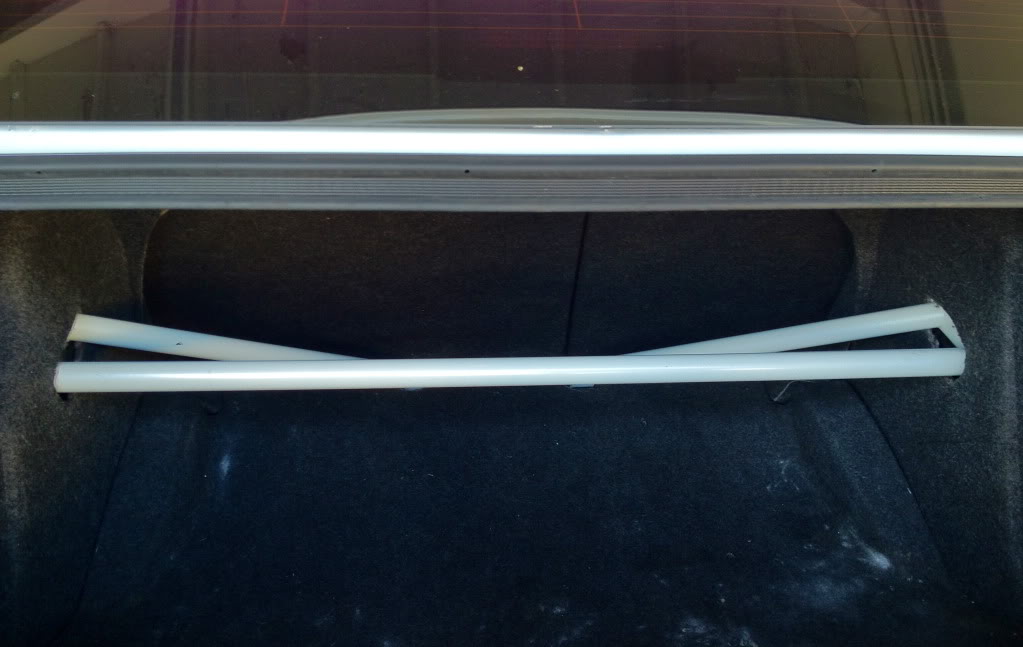
So I finally had some time to get my rear strut bar from Razor's Edge installed. This thing made a huge difference in handling. I wish I picked one up sooner as this big boat doesn't have the feeling of the tail wanting to walk out anymore around hard cornering. I can't wait to order my front strut bar and some beefier sway bars!
I went ahead and confided in my buddies at Impex Motorsports in Rosemead, CA. I have known them since 1997 and have been going here for years. Awesome guys, great work, and look at them like family. Here is their contact information for those that are in the area and could use their assistance:
Impex Motorsports
9651 Valley Blvd.
Rosemead, CA 91770
626.579.6630 ph.
626.579.6632 fax
On to the pics...
Getting a visual idea on how it works
Rear panels removed
Quick test fitment
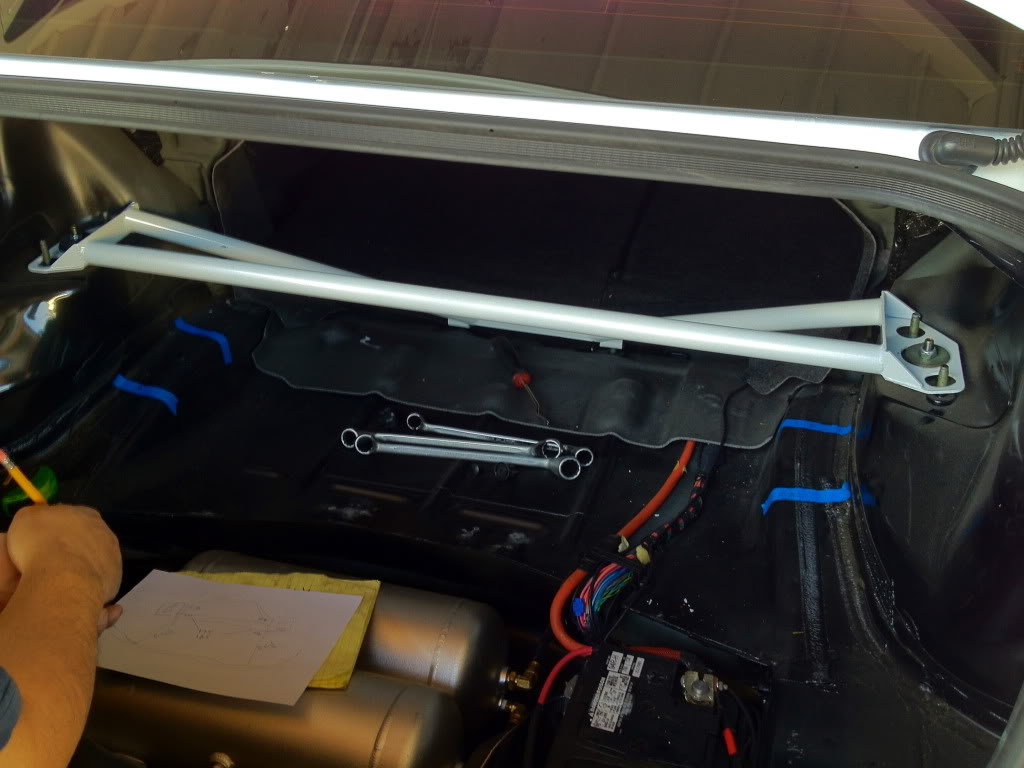
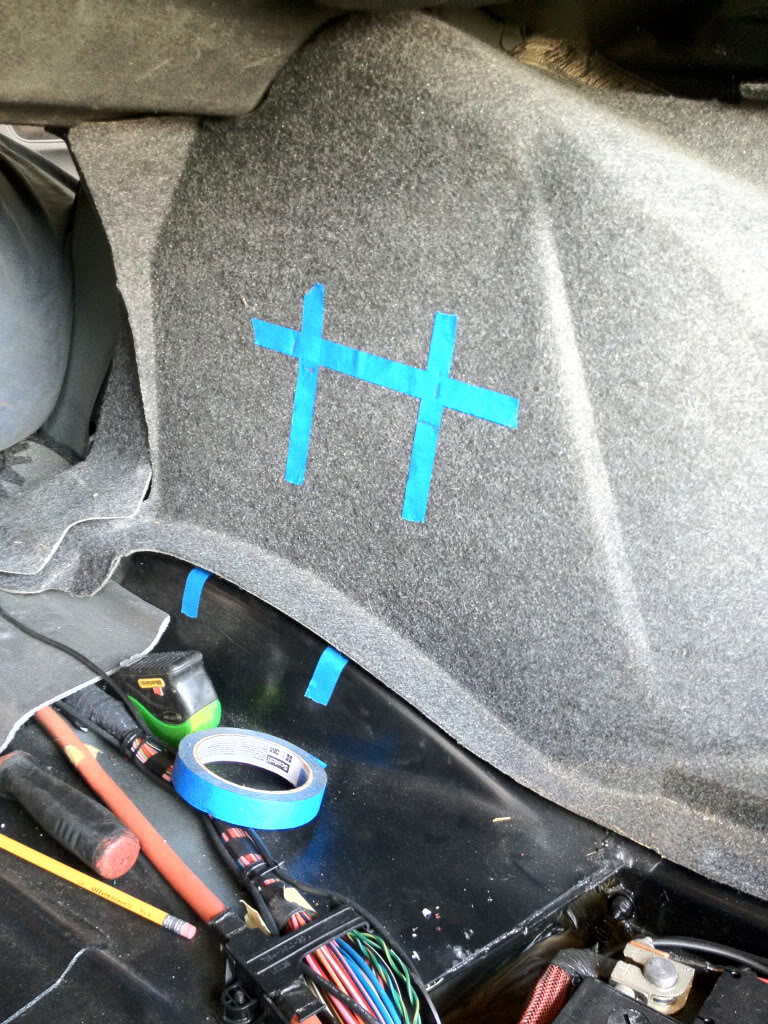
Some tape to reference placement of the cutout for the strut bar
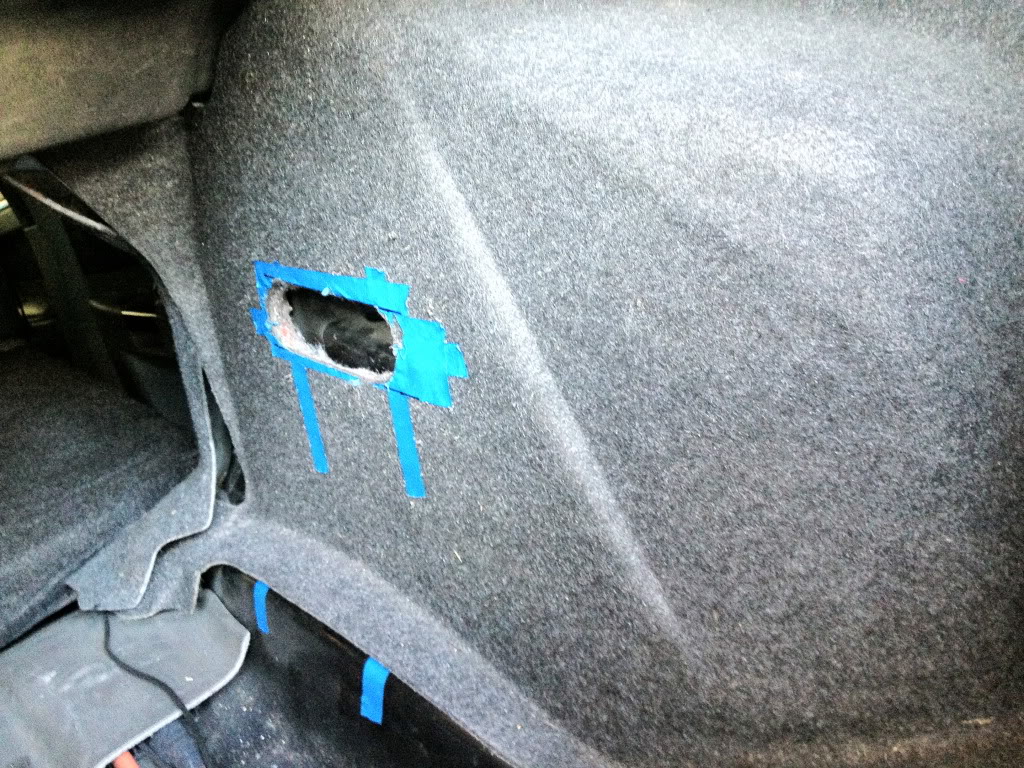
Cuts made
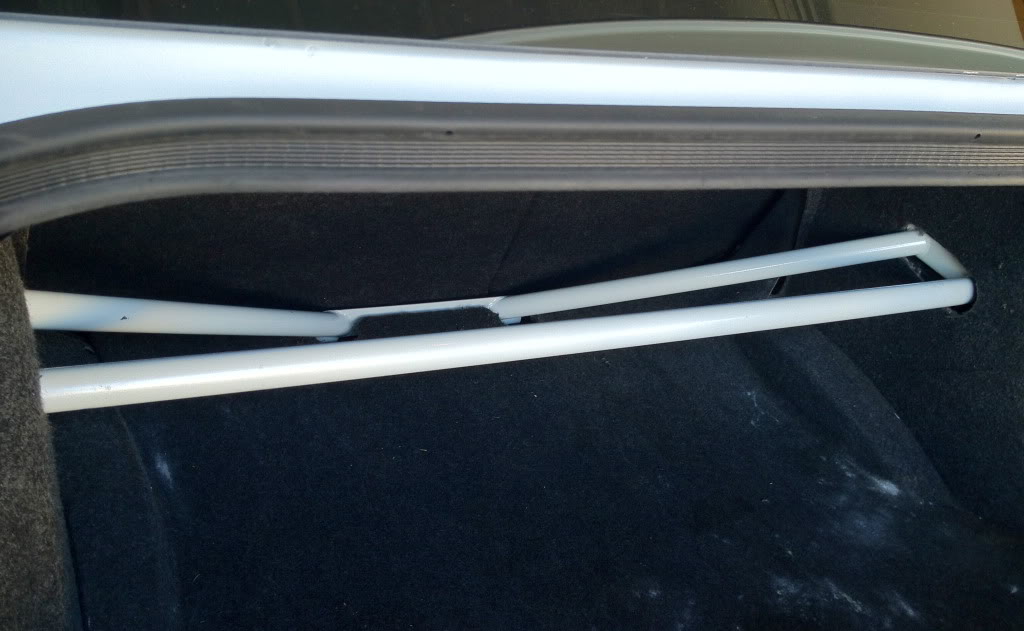
Initial install
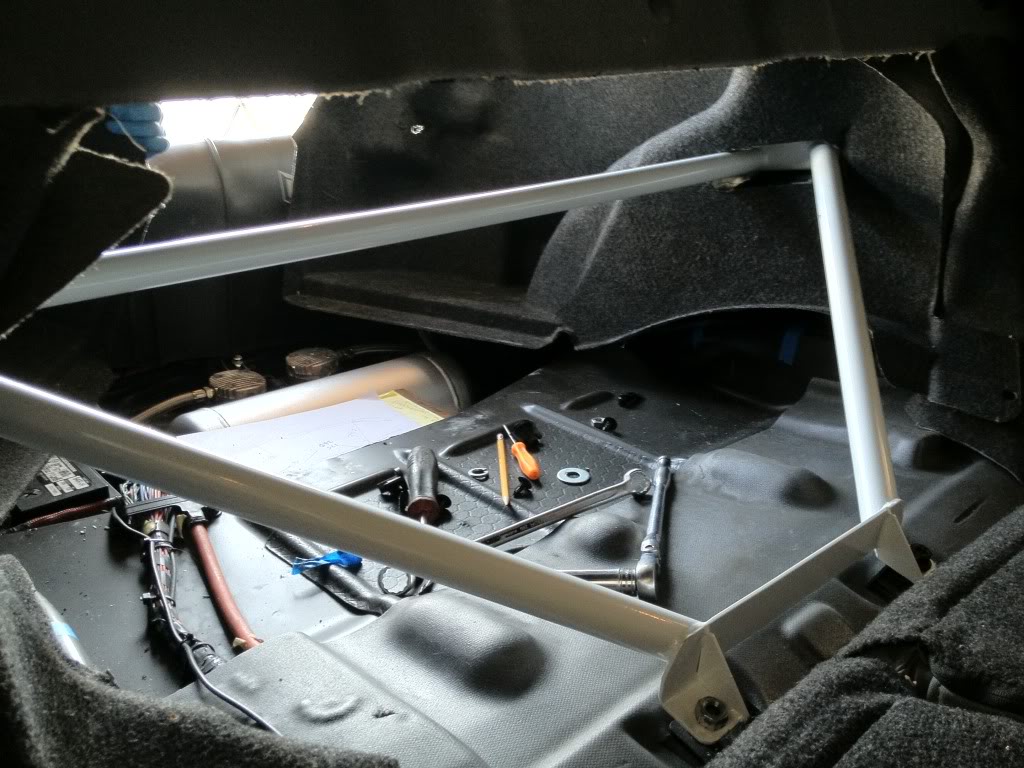
Installed pics
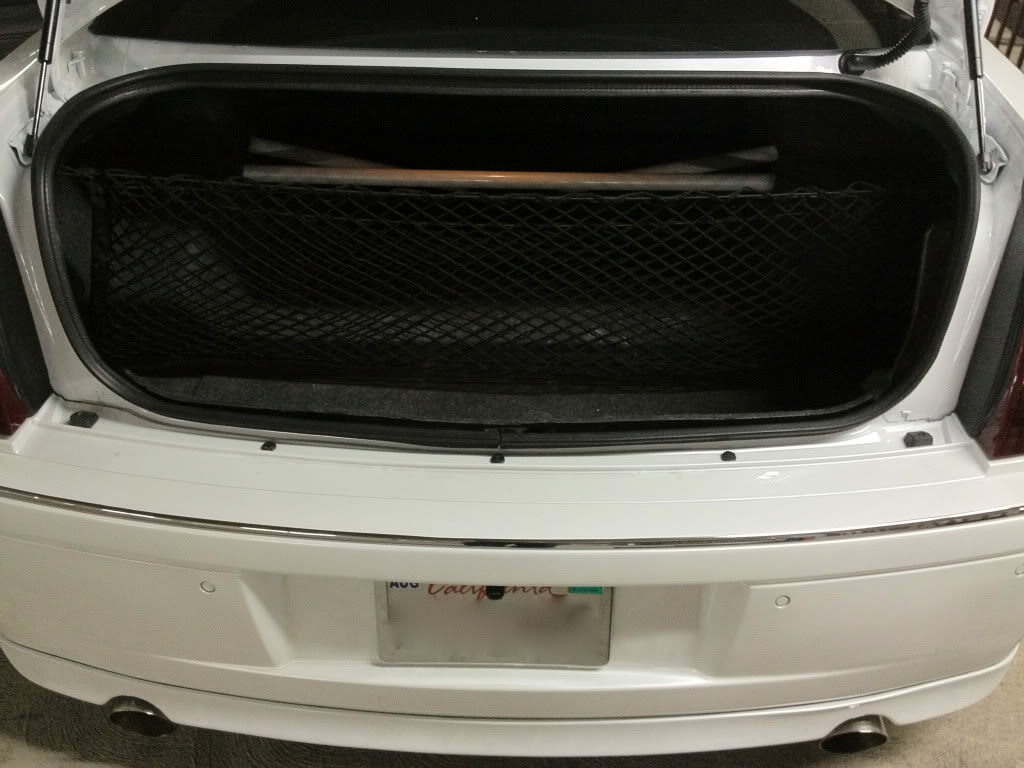
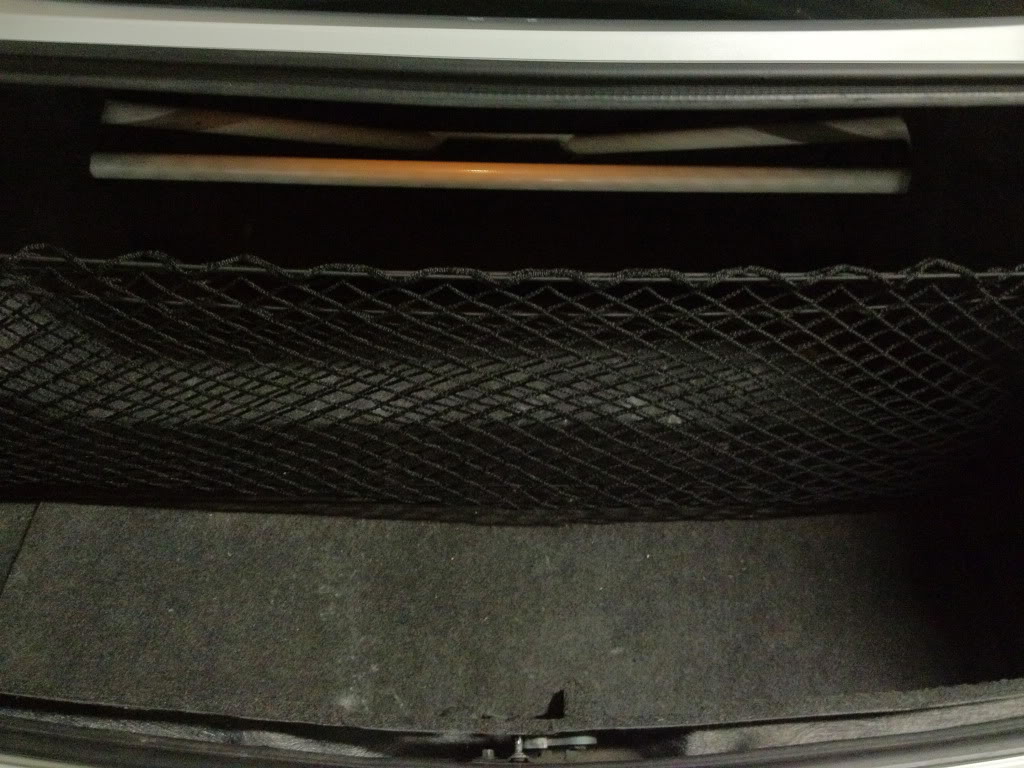
Plenty of trunk space still available and works great with the cargo net
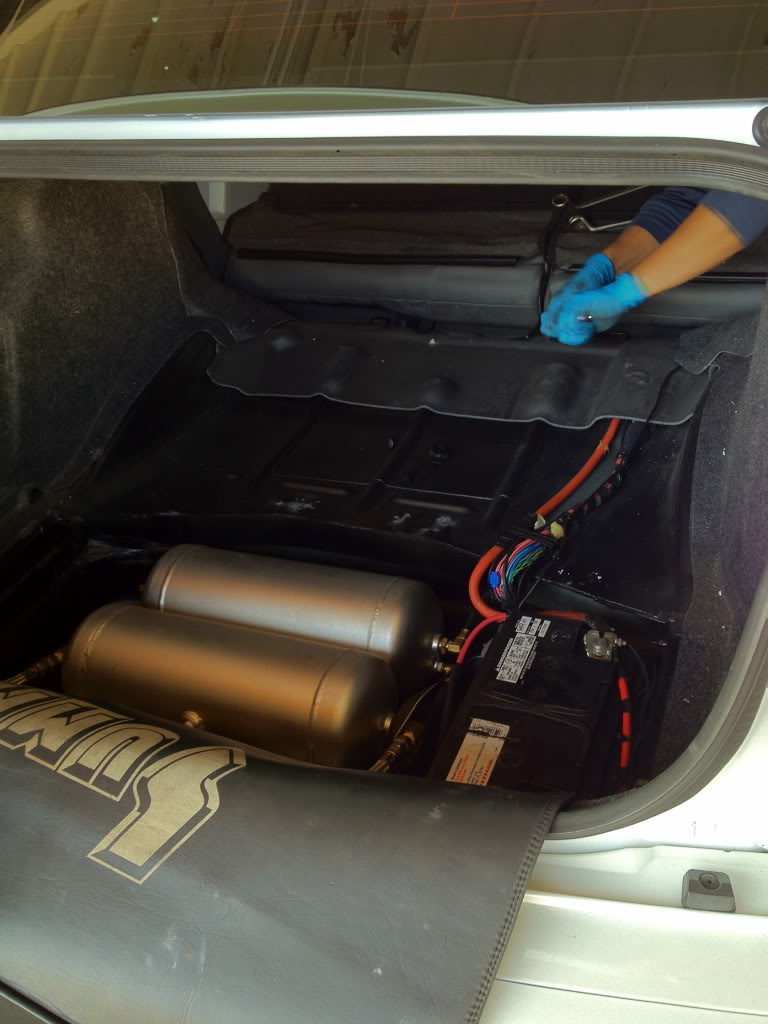
Since the rear carpet was off, decided to snap a pic of my resistors for the LED signals

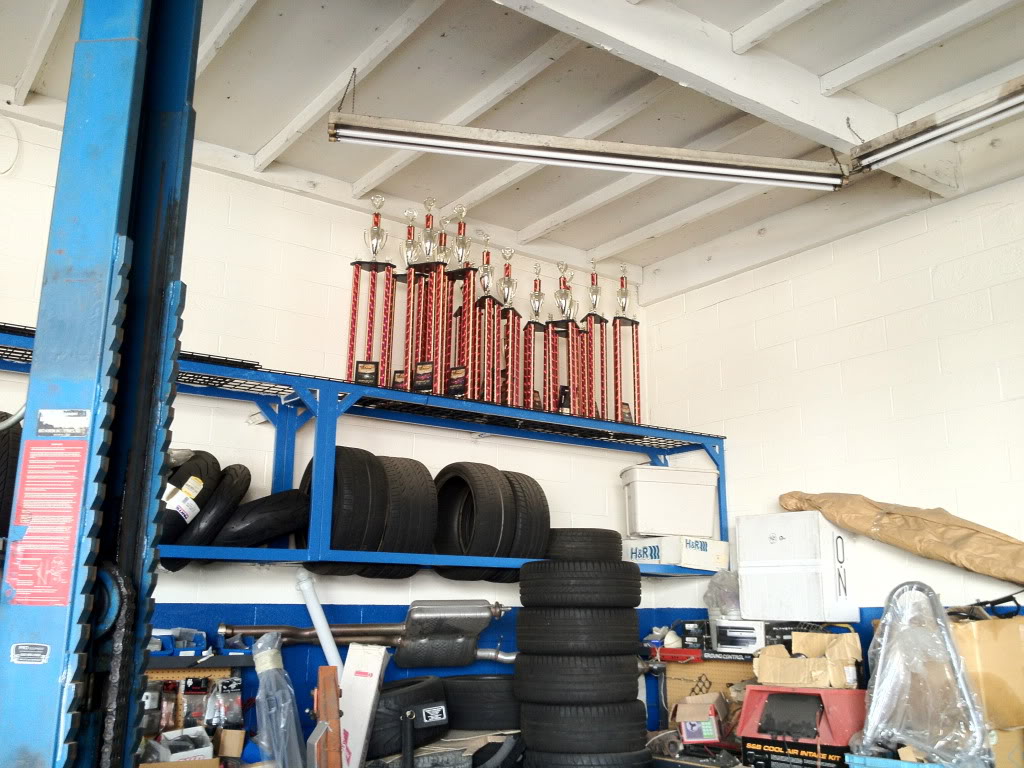
Just in case potential customers are concerned about Impex's accolades. Here are just some of their trophies
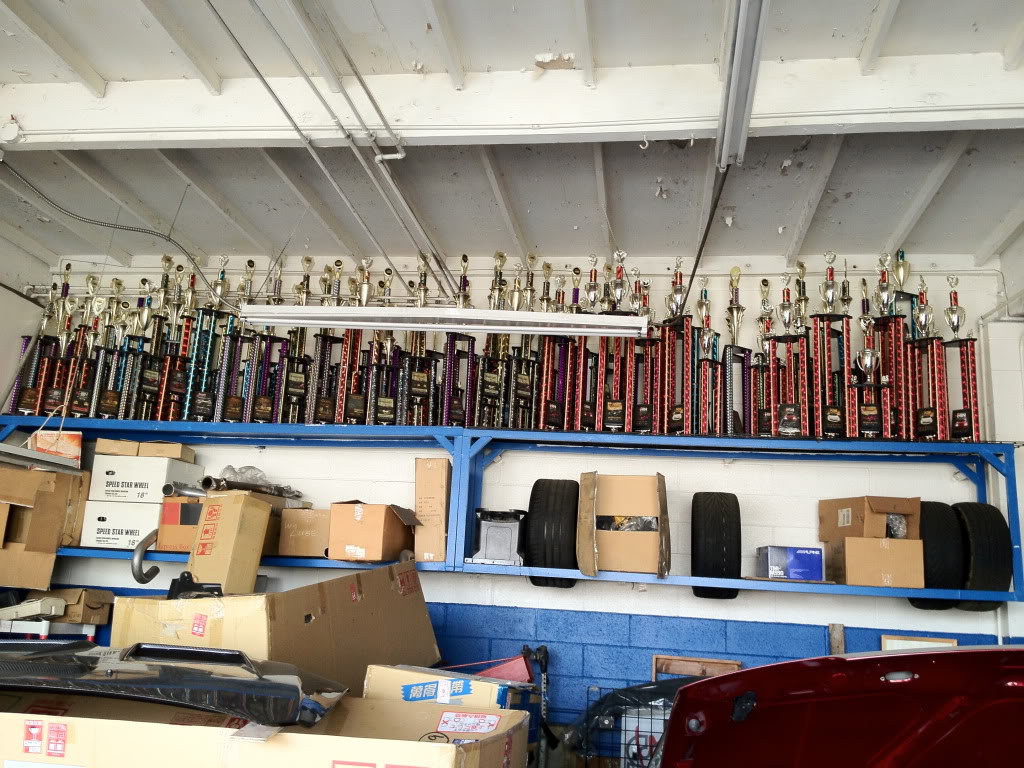
Some more
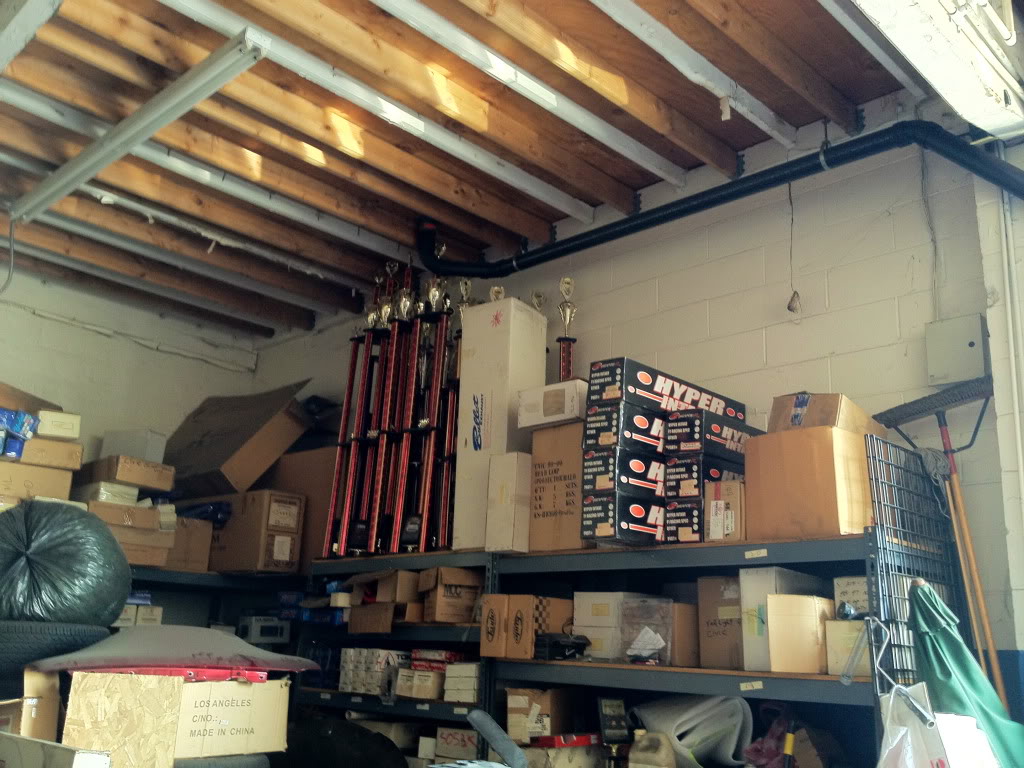
And just a few more for confirmation
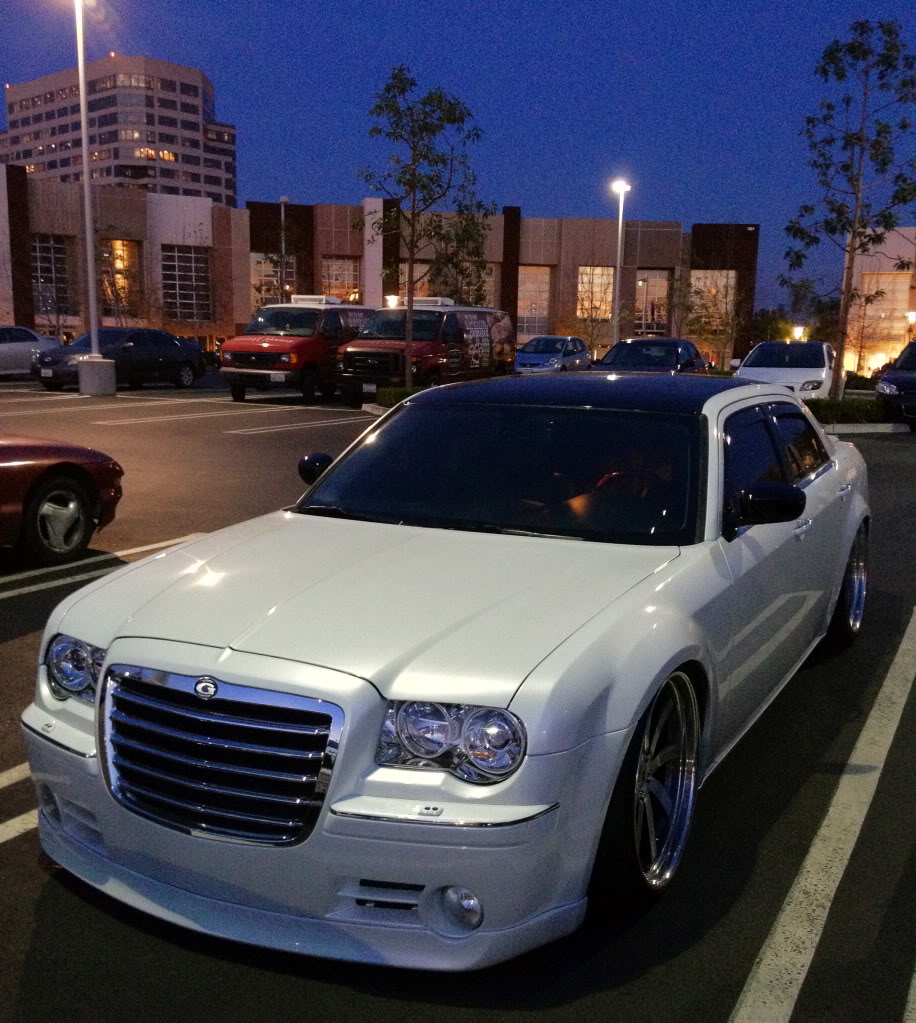
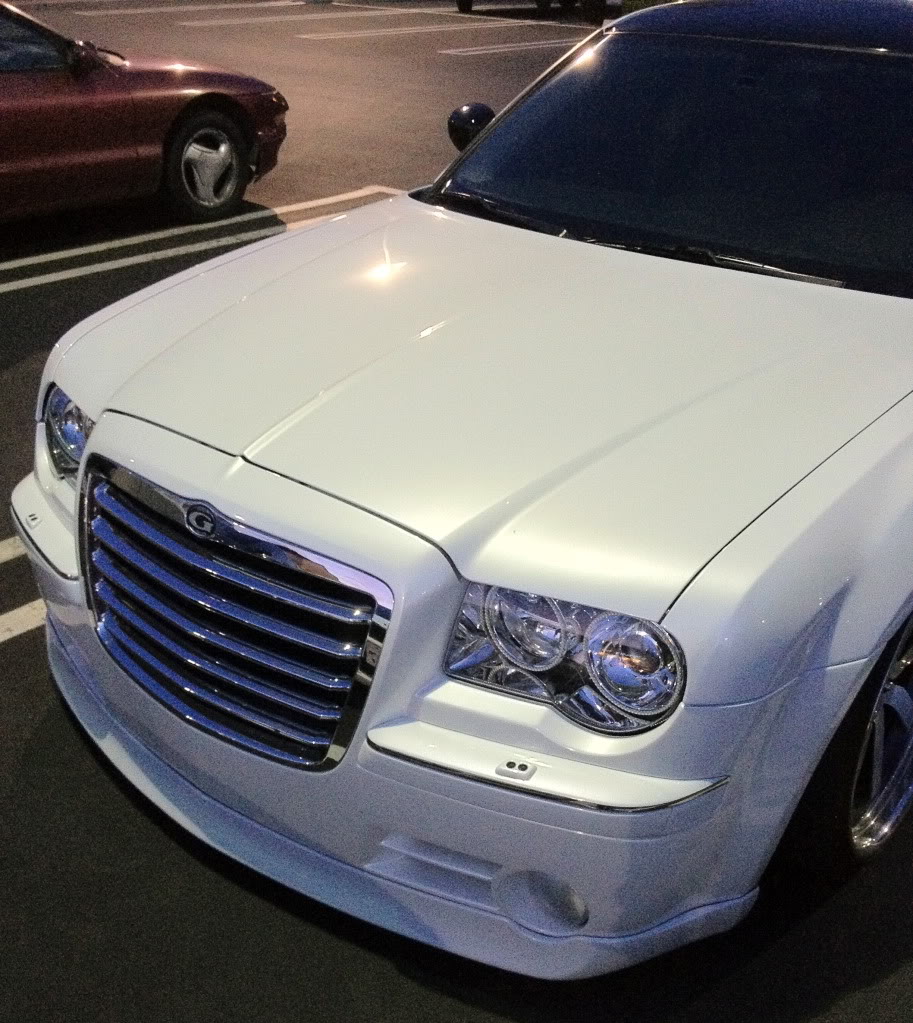
For fun...some extra shots of the pearl under different lighting
I went ahead and confided in my buddies at Impex Motorsports in Rosemead, CA. I have known them since 1997 and have been going here for years. Awesome guys, great work, and look at them like family. Here is their contact information for those that are in the area and could use their assistance:
Impex Motorsports
9651 Valley Blvd.
Rosemead, CA 91770
626.579.6630 ph.
626.579.6632 fax
On to the pics...
Getting a visual idea on how it works
Rear panels removed
Quick test fitment
Some tape to reference placement of the cutout for the strut bar
Cuts made
Initial install
Installed pics
Plenty of trunk space still available and works great with the cargo net
Since the rear carpet was off, decided to snap a pic of my resistors for the LED signals
Just in case potential customers are concerned about Impex's accolades. Here are just some of their trophies
Some more
And just a few more for confirmation
For fun...some extra shots of the pearl under different lighting
#19
11-20-2013, 02:05 AM
Join Date: Jun 2005
Location: OC, CA
Age: 42
Posts: 116
Rep Power: 23
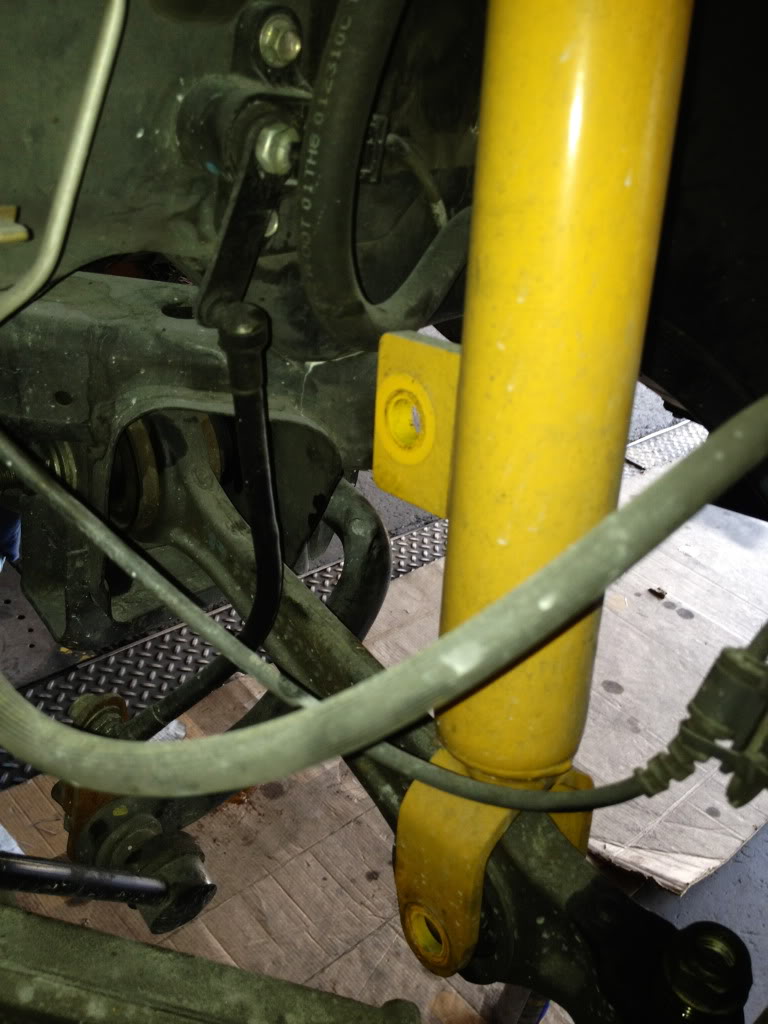
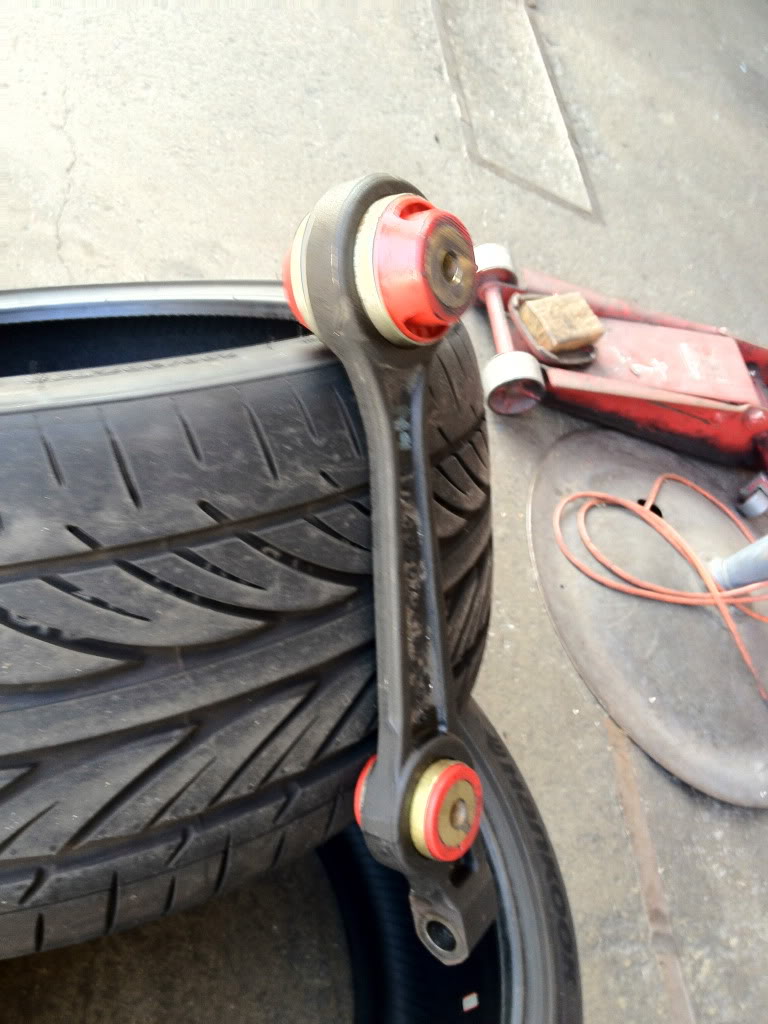
Although I replaced my front upper A-arms, front radius rod bushing, and inner/outer tie rods, I still had a clunk in my front end when I would hit hard bumps and driveways. After getting the car on a lift, it was apparent that the front lower control arm bushing needed to be replaced.
For this install, Impex Motorsports installed the following items:
-Front Lower Control Arm bushing
-Front lower strut bushing
The front end feels a lot more responsive as expected. Bumps in the road are felt a bit more, but the clunk is finally gone and I shouldn't have to worry about replacing the garbage OEM units for a while. I can't wait for sway bars, end links, etc!
Bushings still in place. Lower strut bolt removed.
LCA pulled out
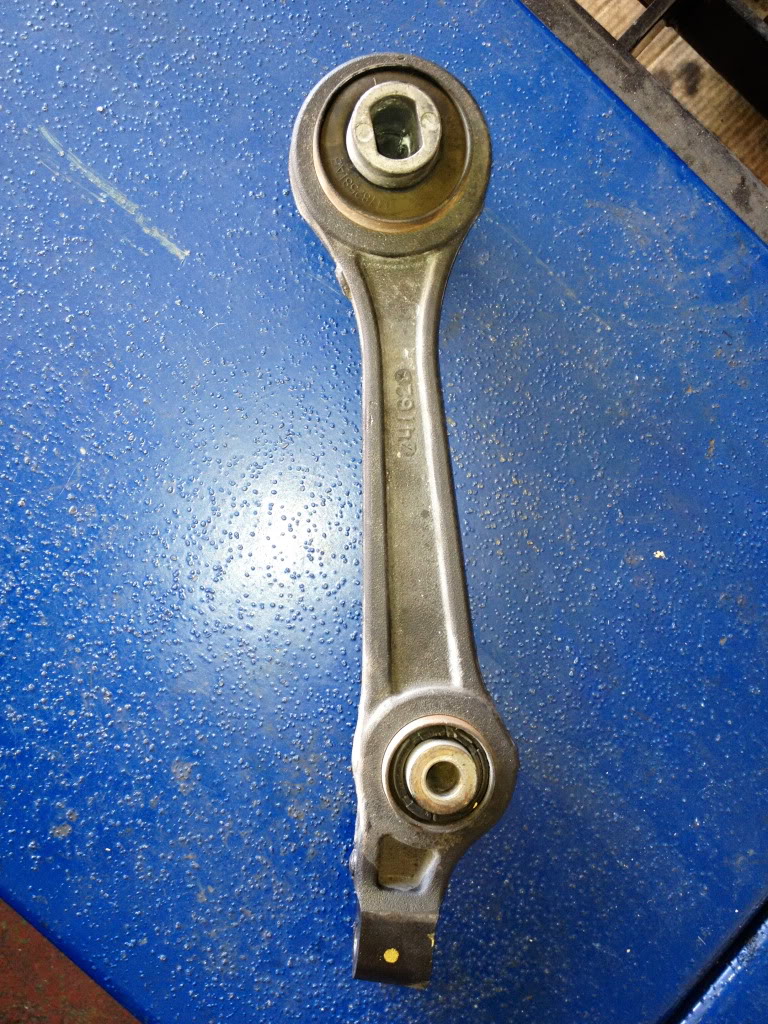
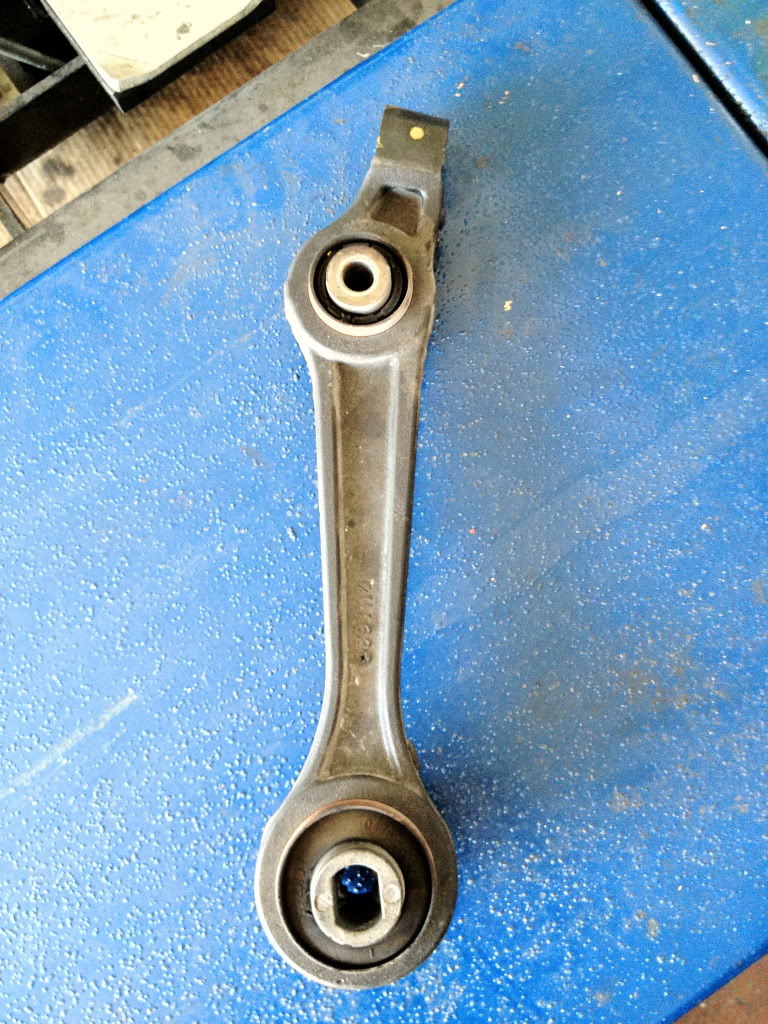
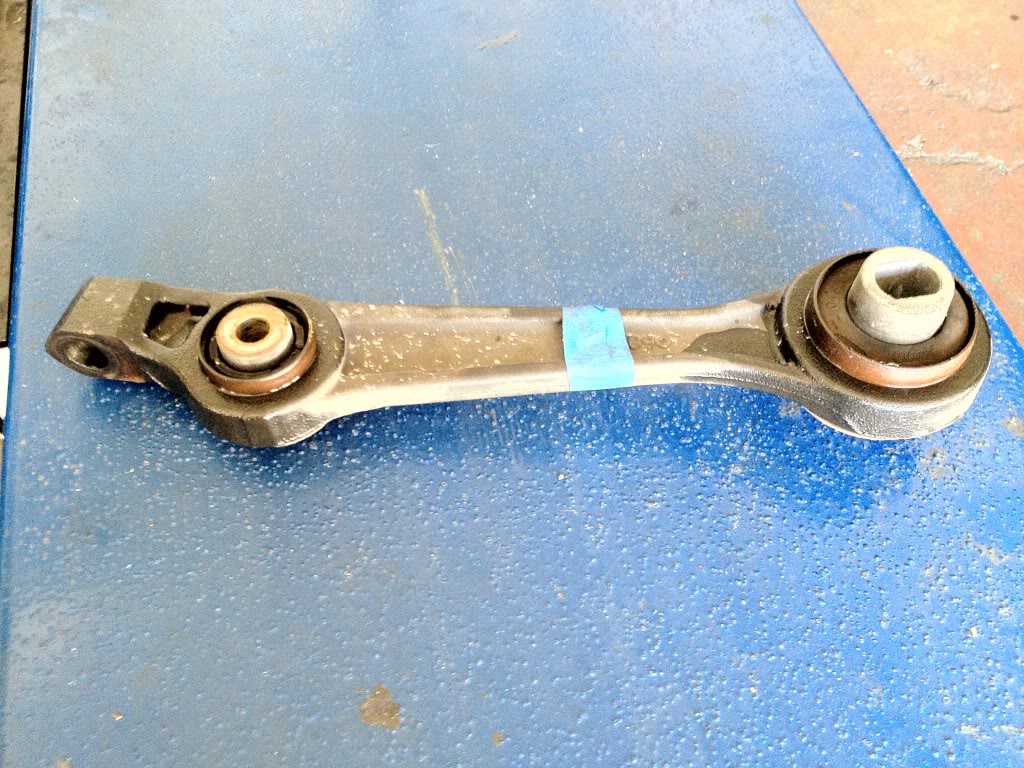
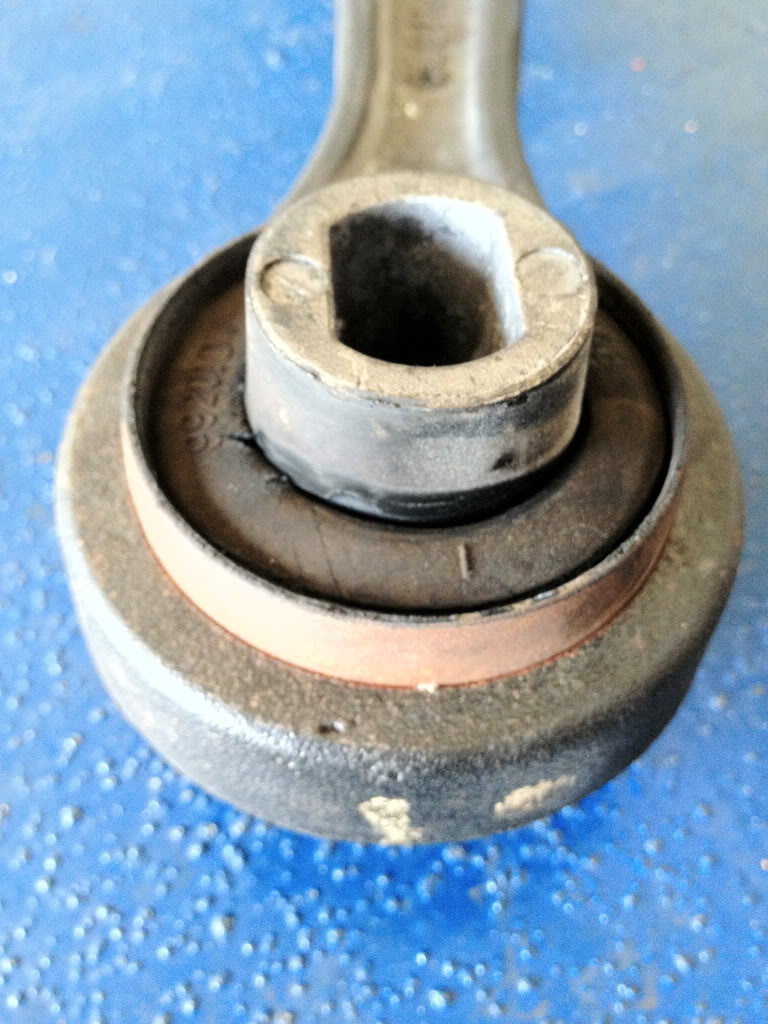
Worn out LCA bushing
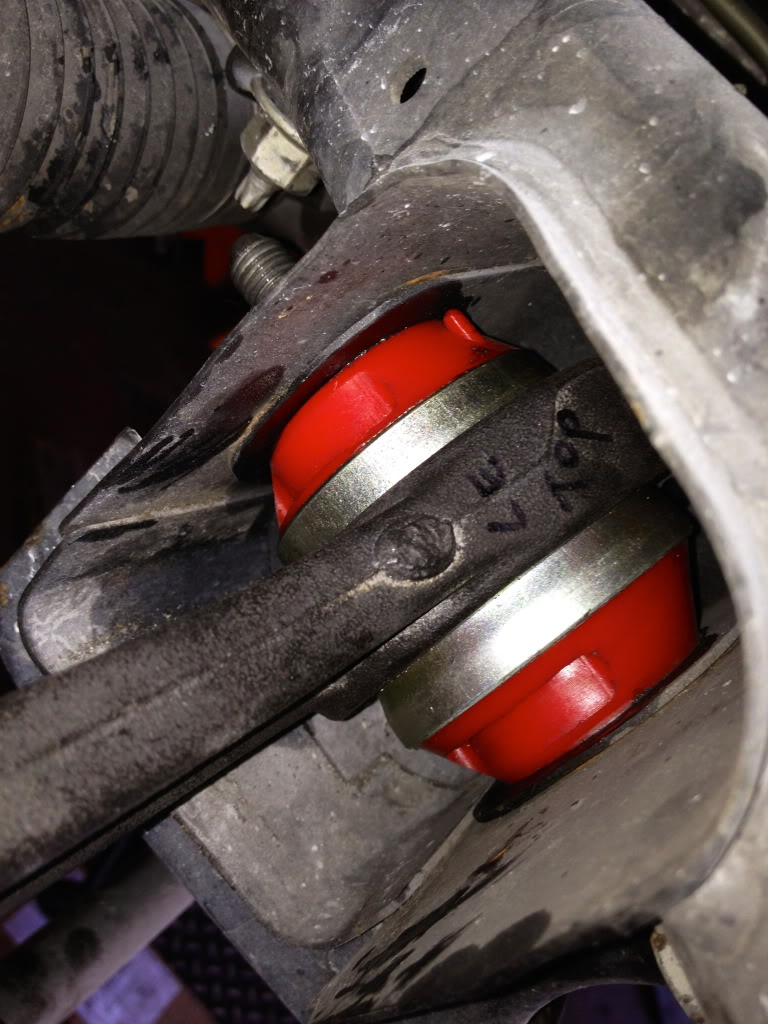
Lower front strut bushing pressed in
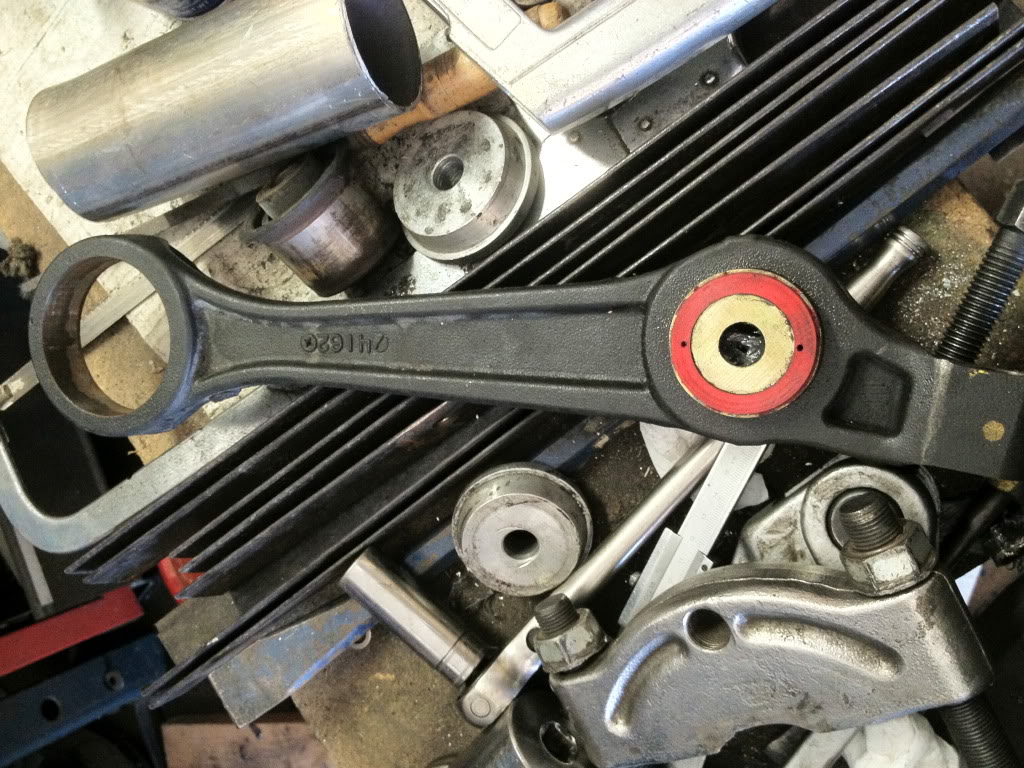
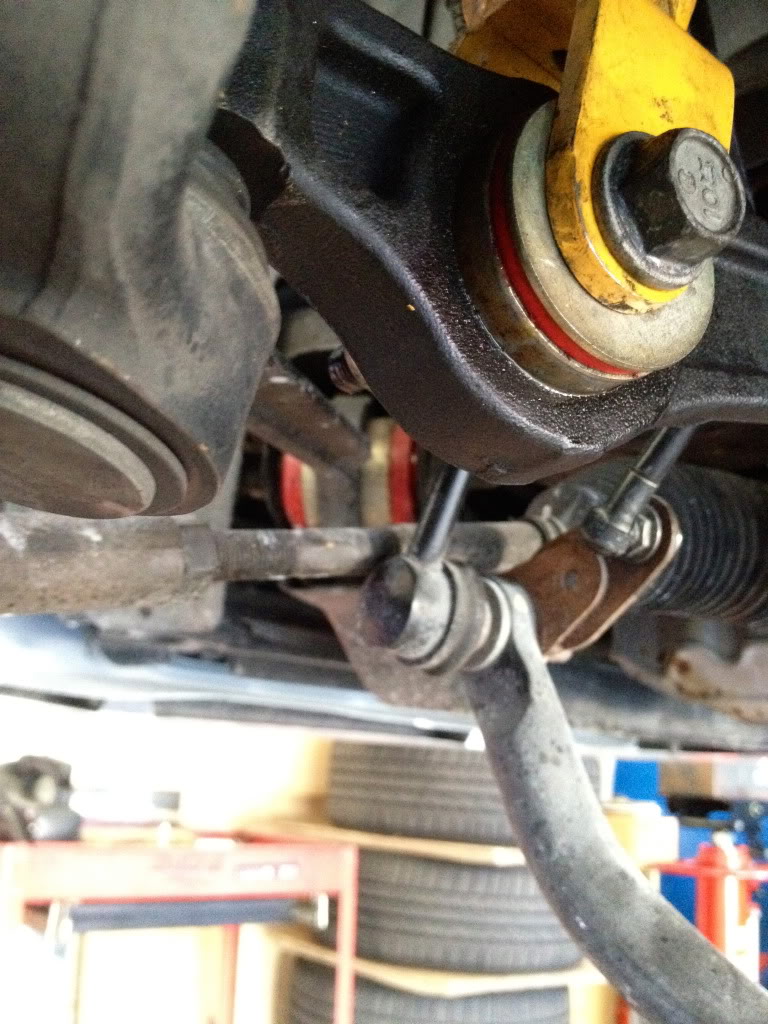
LCA and lower strut bushings pressed in
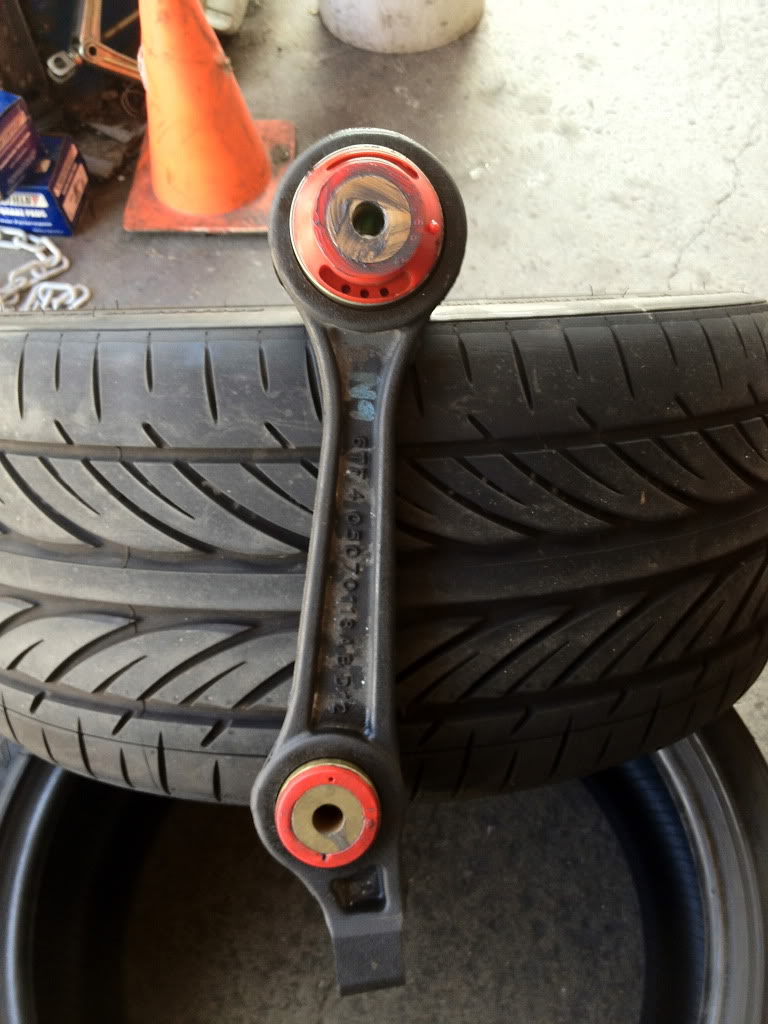
LCA and Lower strut bushings installed
Closeup of the LCA bushing installed
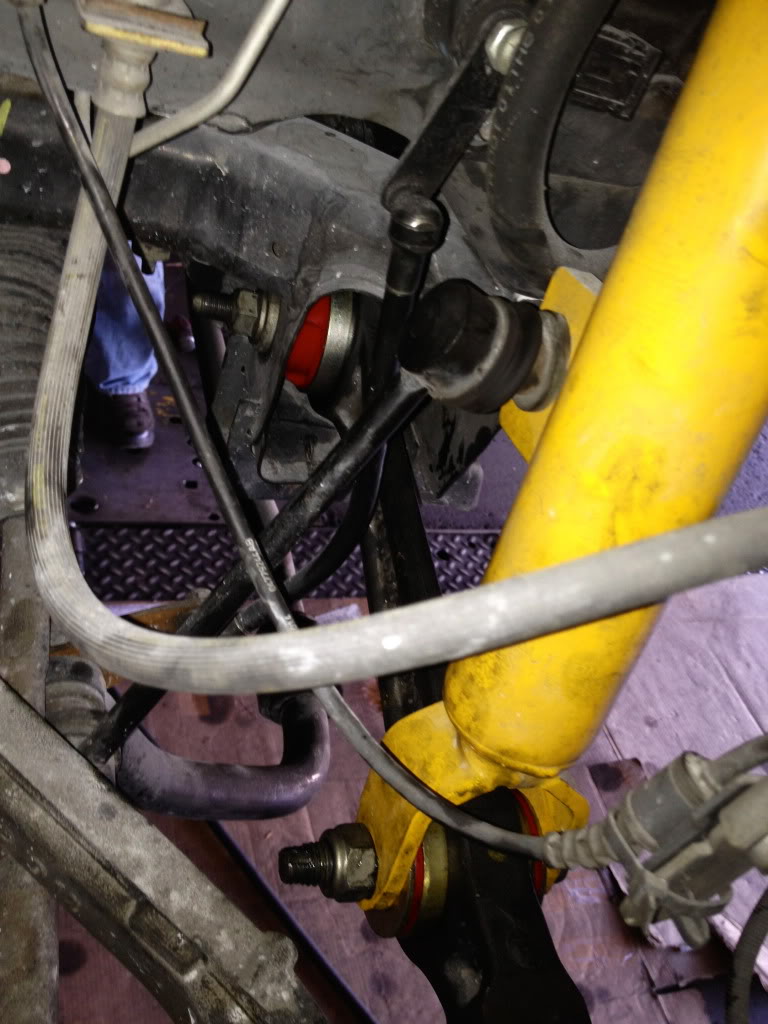
Closeup shot of lower strut bushing installed (Front Radius rod bushing in background)
For this install, Impex Motorsports installed the following items:
-Front Lower Control Arm bushing
-Front lower strut bushing
The front end feels a lot more responsive as expected. Bumps in the road are felt a bit more, but the clunk is finally gone and I shouldn't have to worry about replacing the garbage OEM units for a while. I can't wait for sway bars, end links, etc!
Bushings still in place. Lower strut bolt removed.
LCA pulled out
Worn out LCA bushing
Lower front strut bushing pressed in
LCA and lower strut bushings pressed in
LCA and Lower strut bushings installed
Closeup of the LCA bushing installed
Closeup shot of lower strut bushing installed (Front Radius rod bushing in background)
#20
11-20-2013, 02:07 AM
Join Date: Jun 2005
Location: OC, CA
Age: 42
Posts: 116
Rep Power: 23
Some new toys ready to go in...
-3gKustomz Engine Kit
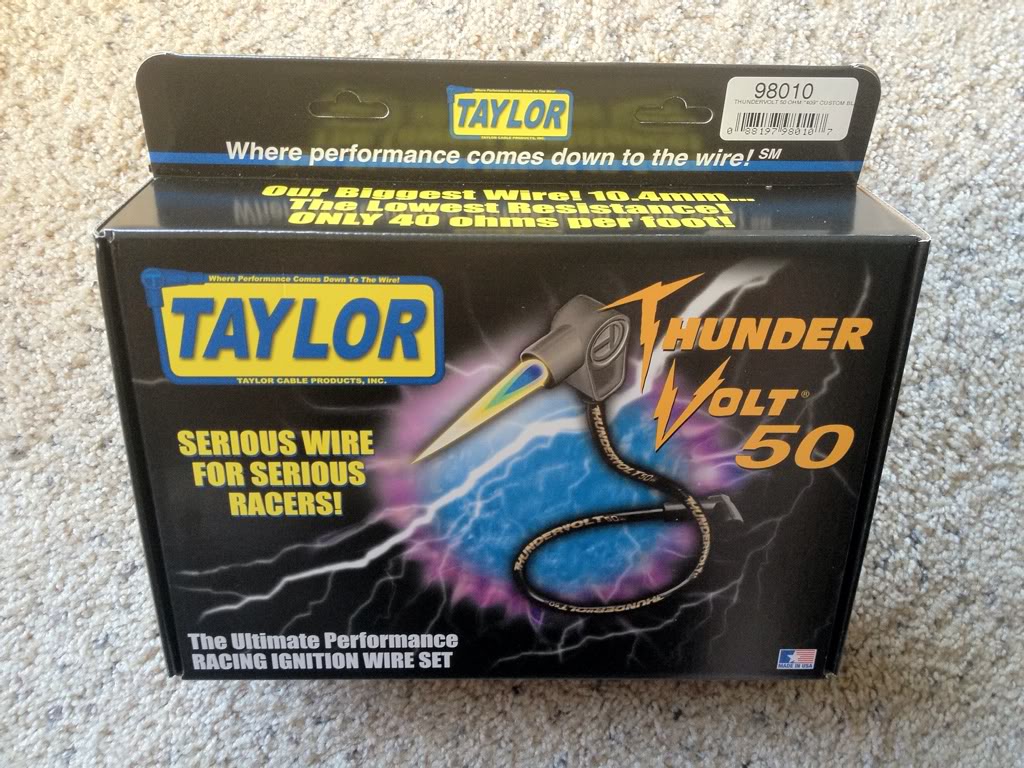
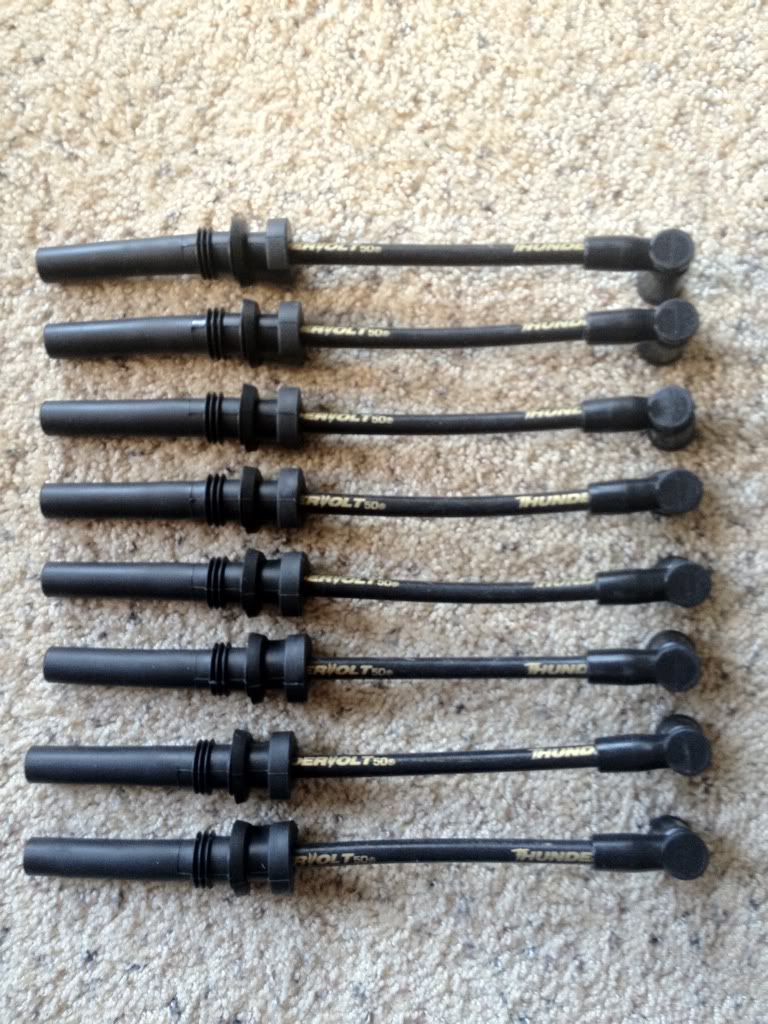
-Taylor 10.4mm Shorty Wires
-Champion Spark Plugs
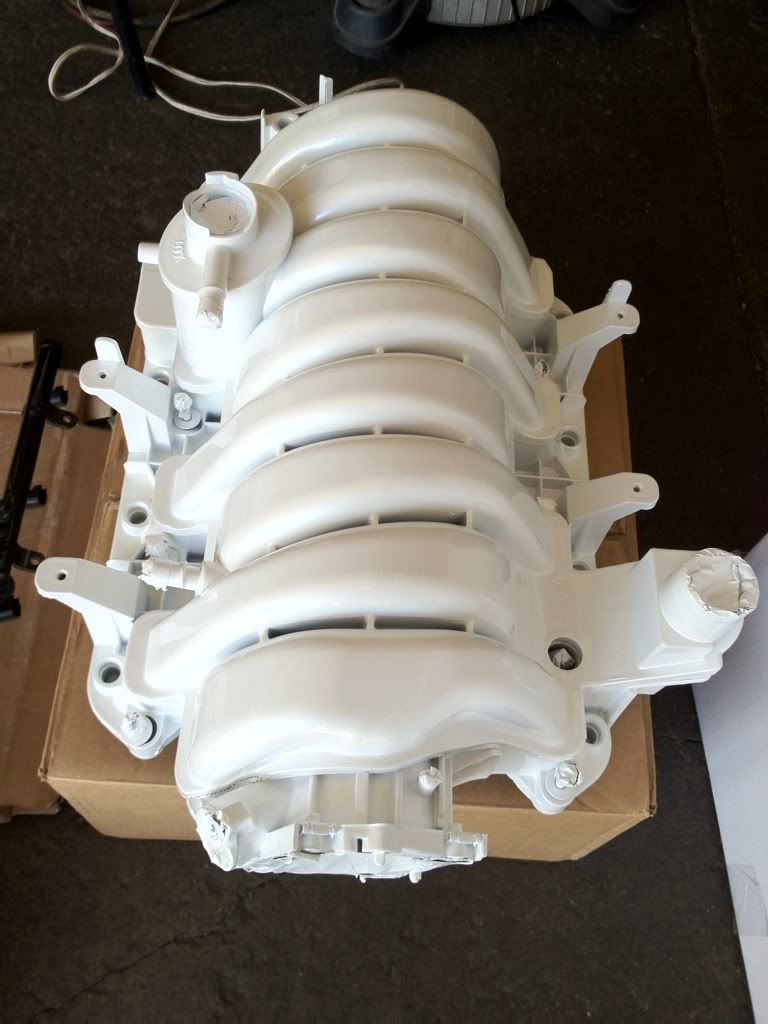
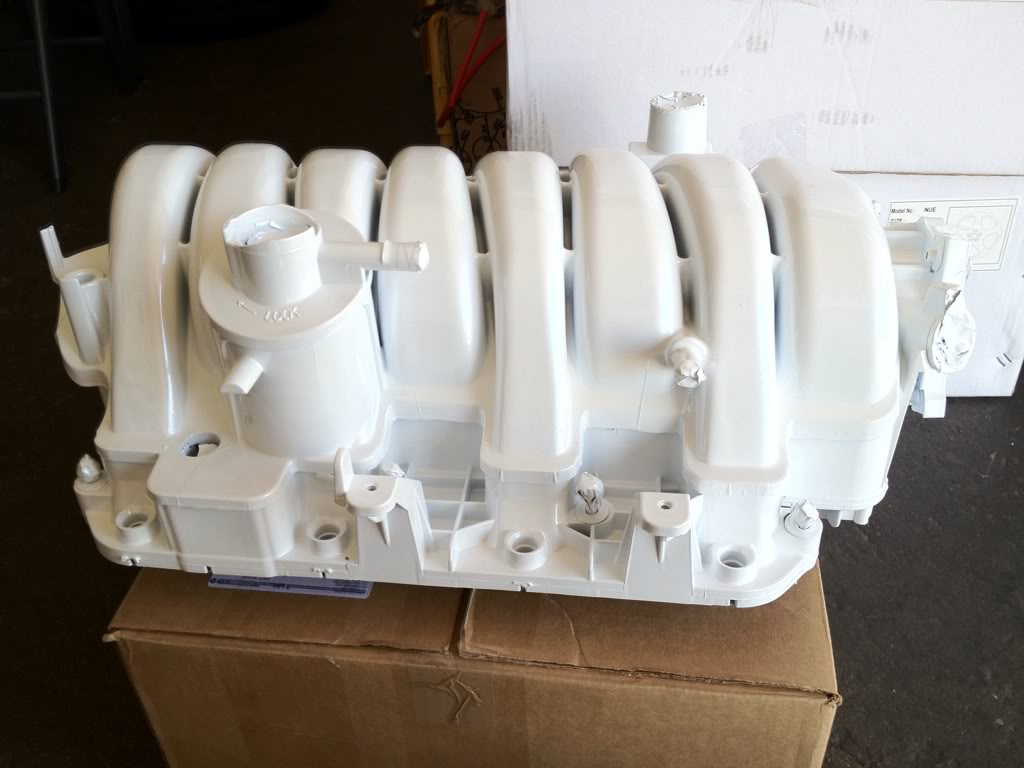
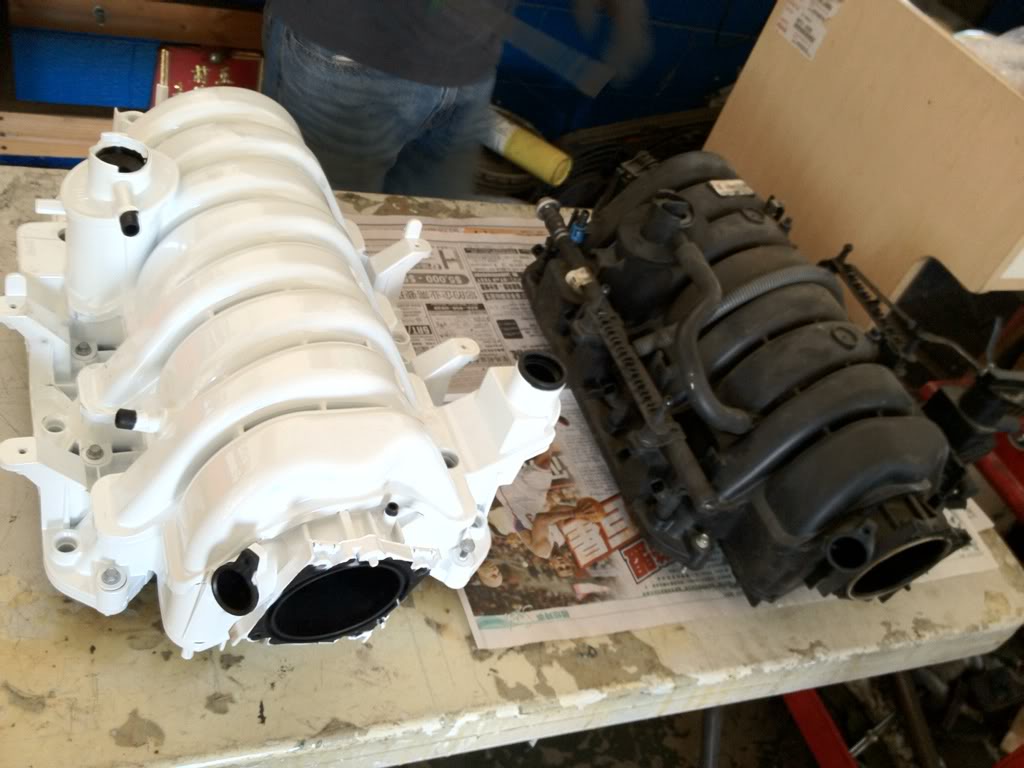
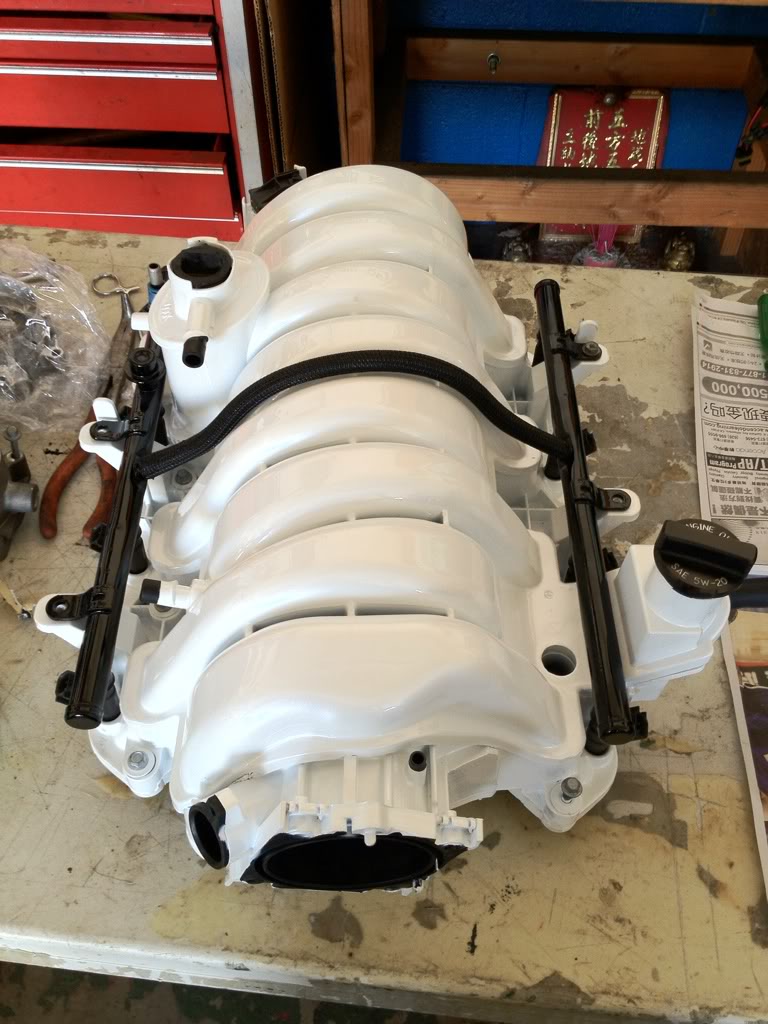
-Shaved Intake Manifold w/ Gloss black fuel rails
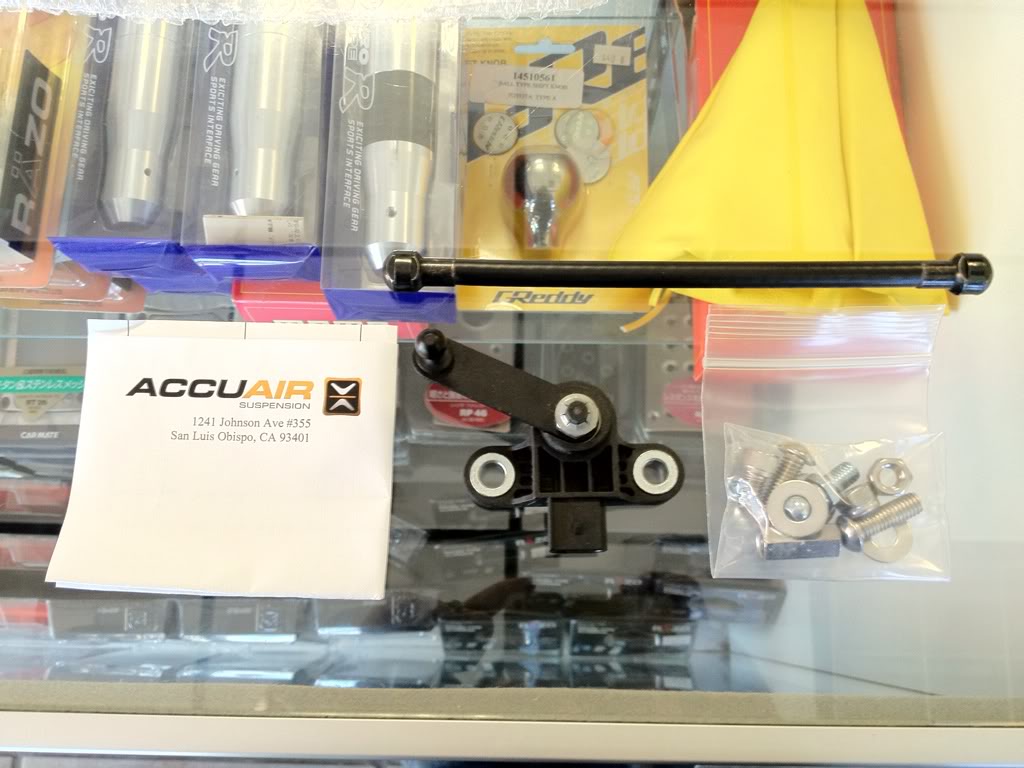
-Accuair Height sensor
I forgot to bring my front strut bar, so I will just install that tomorrow. Also waiting for the EGR delete kit from Billet Technology and will install that during my head/cam swap with my new tune.
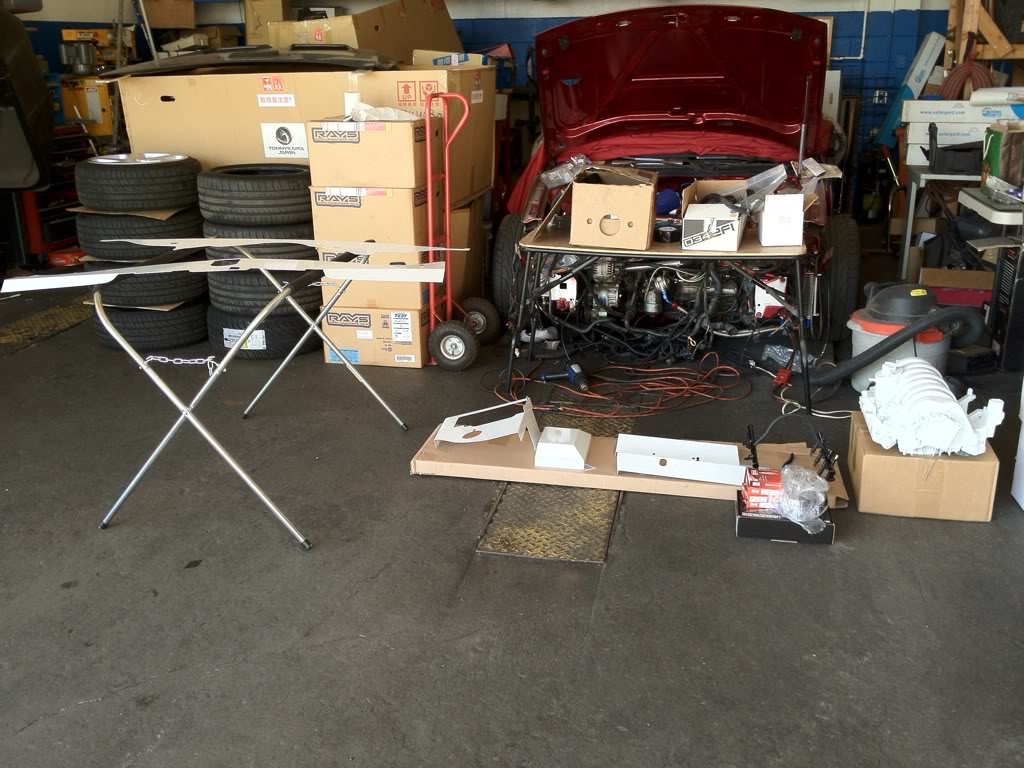
Closeup of intake manifold
ABS cover and Fusebox cover
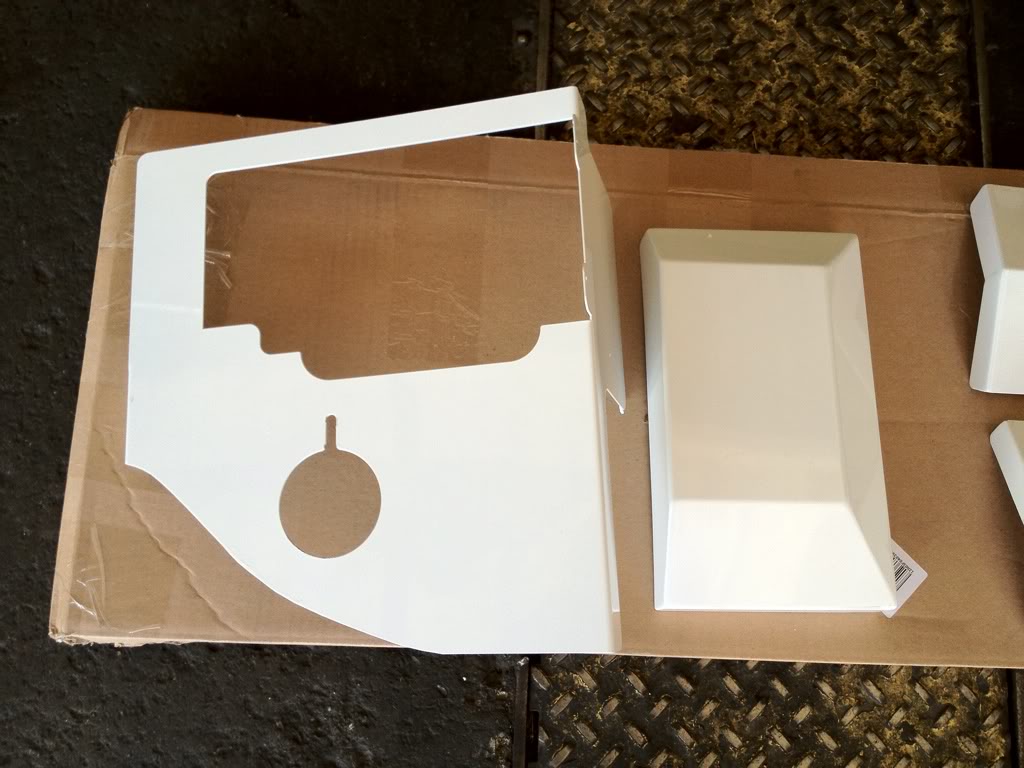
1/2 covers and fuel rails
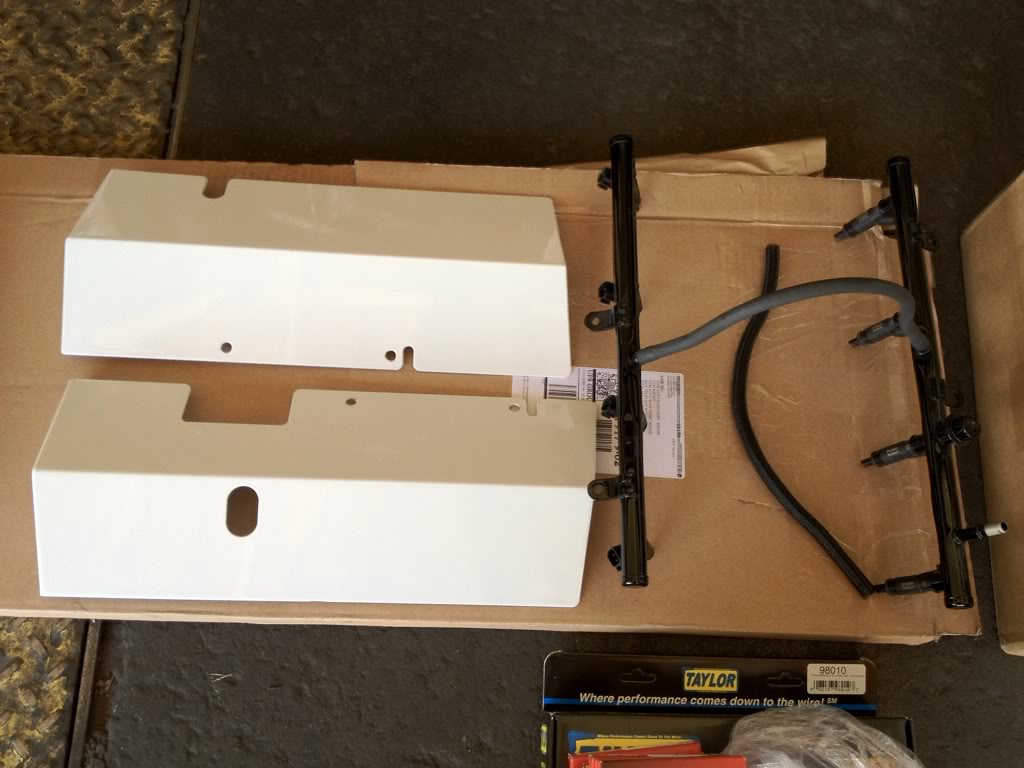
Radiator shroud and firewall cover
Accuair height sensor
Taylor Shorty Wires
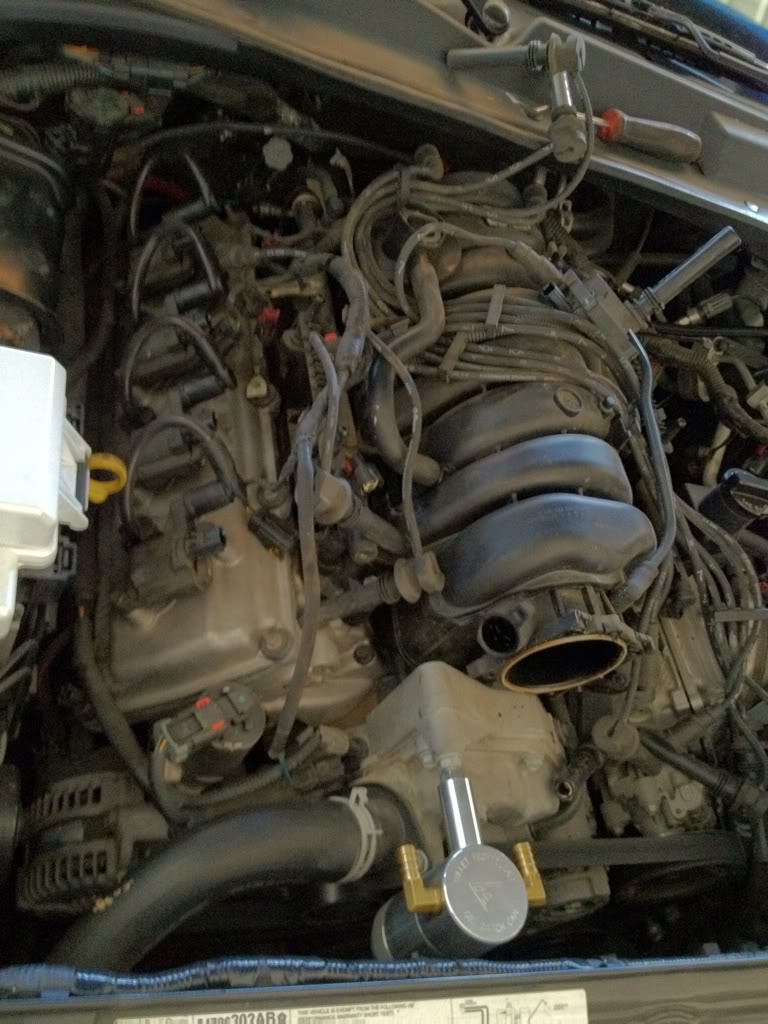
Engine cover off. Ewwww look at that rat's nest
Taylor wires and catch can mounted
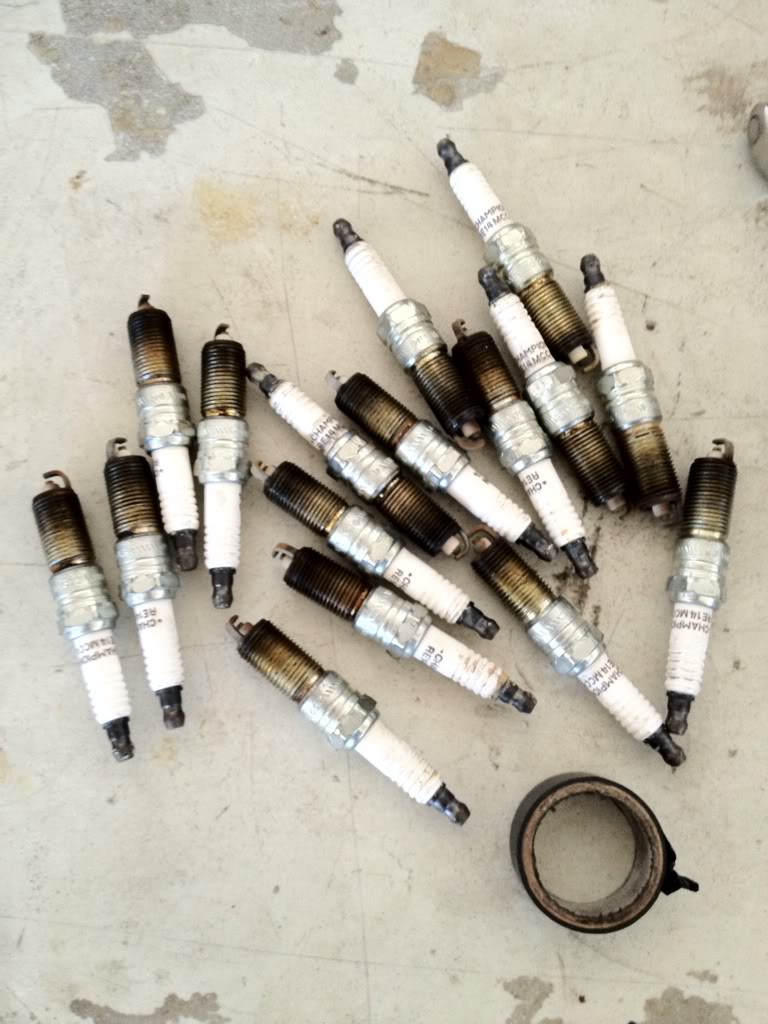
Old plugs
[/b]New shaved manifold vs OEM[/b]
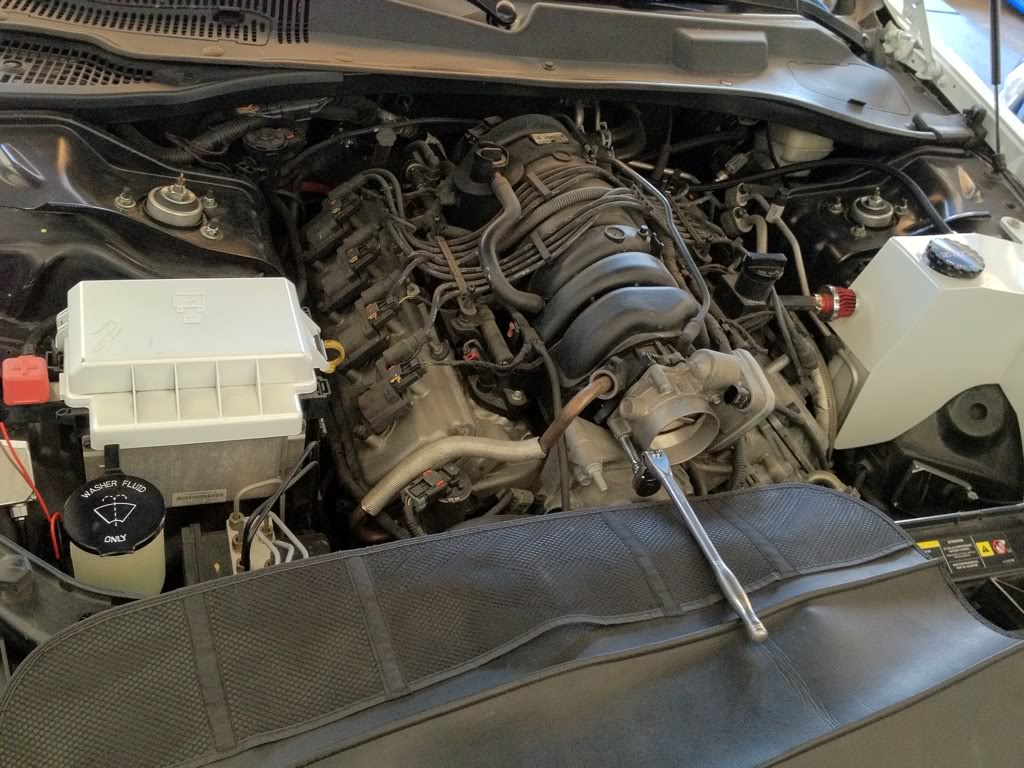
New manifold w/ rails mounted
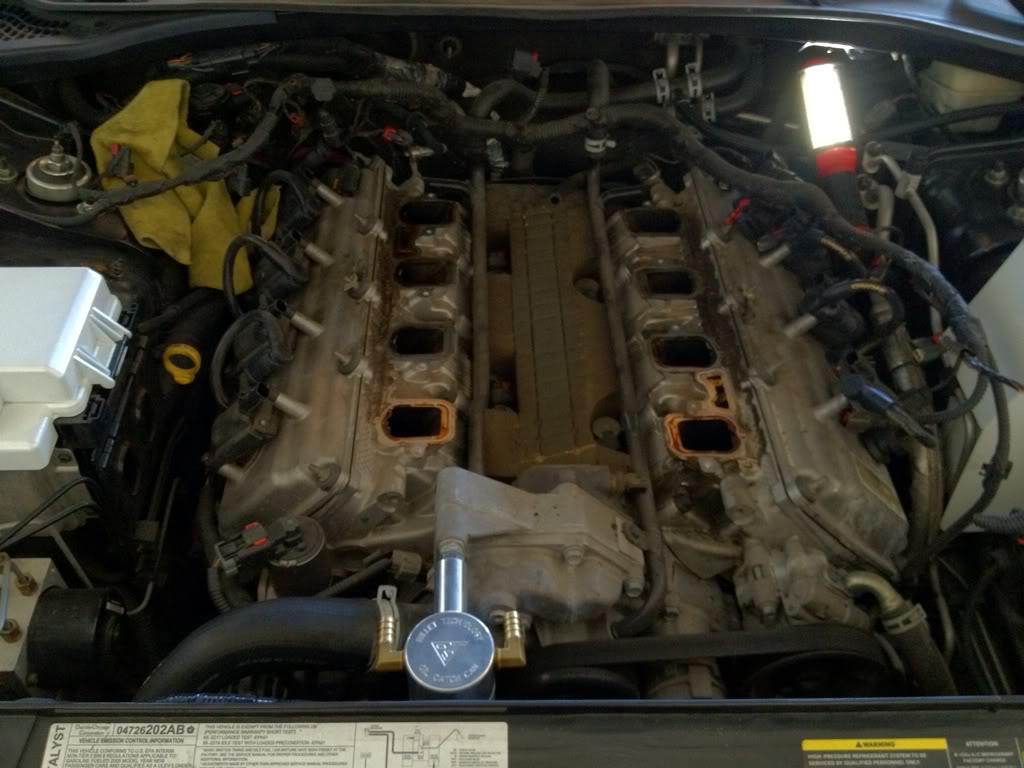
Manifold off
Manifold mounted...unfortunately upon startup the car was running like it was misfiring. Eventually found that the injectors on the old fuel rail were not working properly so had to swap the rails back to my originals
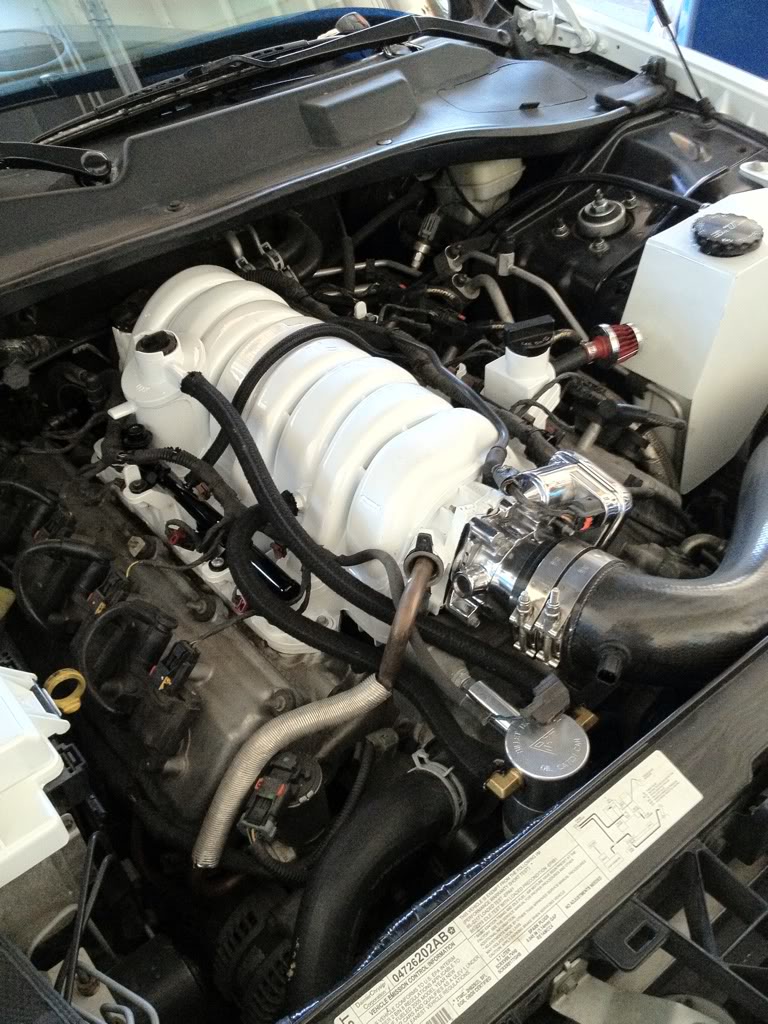
1/2 covers initially installed for now until valve covers and coil pack covers come in from Billet Technology to really run her NAKED!
Everything installed minus the firewall cover. It couldn't fit with the 1/2 covers, so I decided not to force it since I plan to run without the 1/2 covers soon anyways.
-3gKustomz Engine Kit
-Taylor 10.4mm Shorty Wires
-Champion Spark Plugs
-Shaved Intake Manifold w/ Gloss black fuel rails
-Accuair Height sensor
I forgot to bring my front strut bar, so I will just install that tomorrow. Also waiting for the EGR delete kit from Billet Technology and will install that during my head/cam swap with my new tune.
Closeup of intake manifold
ABS cover and Fusebox cover
1/2 covers and fuel rails
Radiator shroud and firewall cover
Accuair height sensor
Taylor Shorty Wires
Engine cover off. Ewwww look at that rat's nest
Taylor wires and catch can mounted
Old plugs
[/b]New shaved manifold vs OEM[/b]
New manifold w/ rails mounted
Manifold off
Manifold mounted...unfortunately upon startup the car was running like it was misfiring. Eventually found that the injectors on the old fuel rail were not working properly so had to swap the rails back to my originals
1/2 covers initially installed for now until valve covers and coil pack covers come in from Billet Technology to really run her NAKED!
Everything installed minus the firewall cover. It couldn't fit with the 1/2 covers, so I decided not to force it since I plan to run without the 1/2 covers soon anyways.
#21
11-20-2013, 02:09 AM
Join Date: Jun 2005
Location: OC, CA
Age: 42
Posts: 116
Rep Power: 23
Finally was able to install the front strut bar. It took a piece of wood wrapped with a microfiber towel and a mallet to get it over the last bolt, but looks great once installed.
#22
11-20-2013, 02:10 AM
Join Date: Jun 2005
Location: OC, CA
Age: 42
Posts: 116
Rep Power: 23
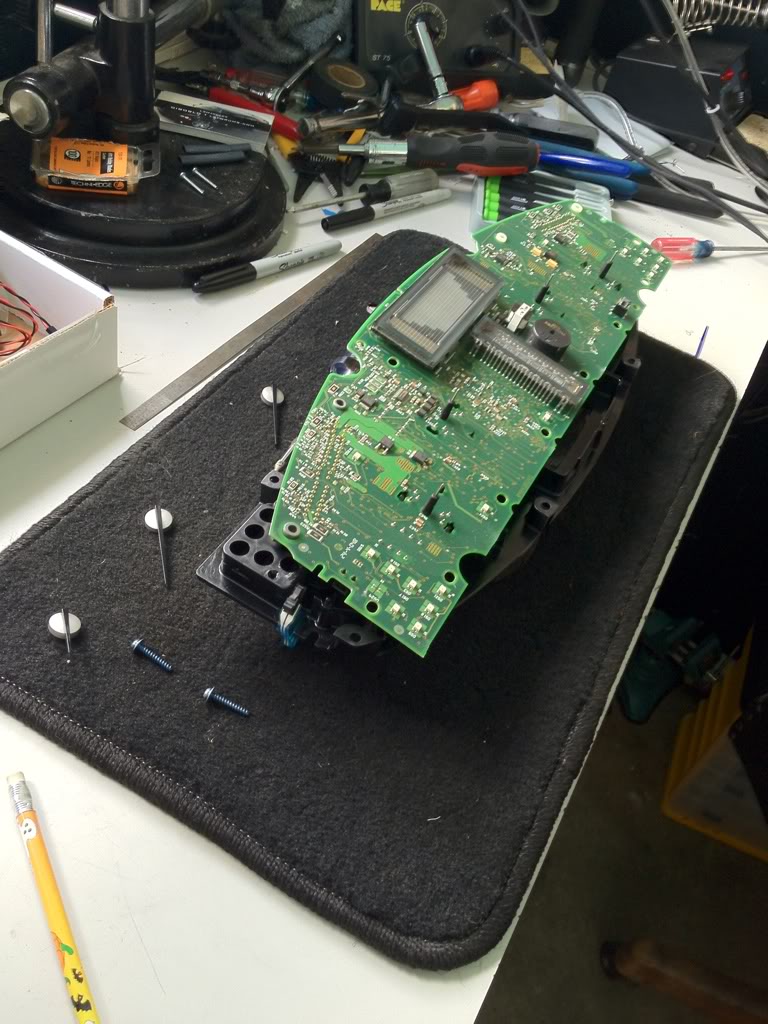
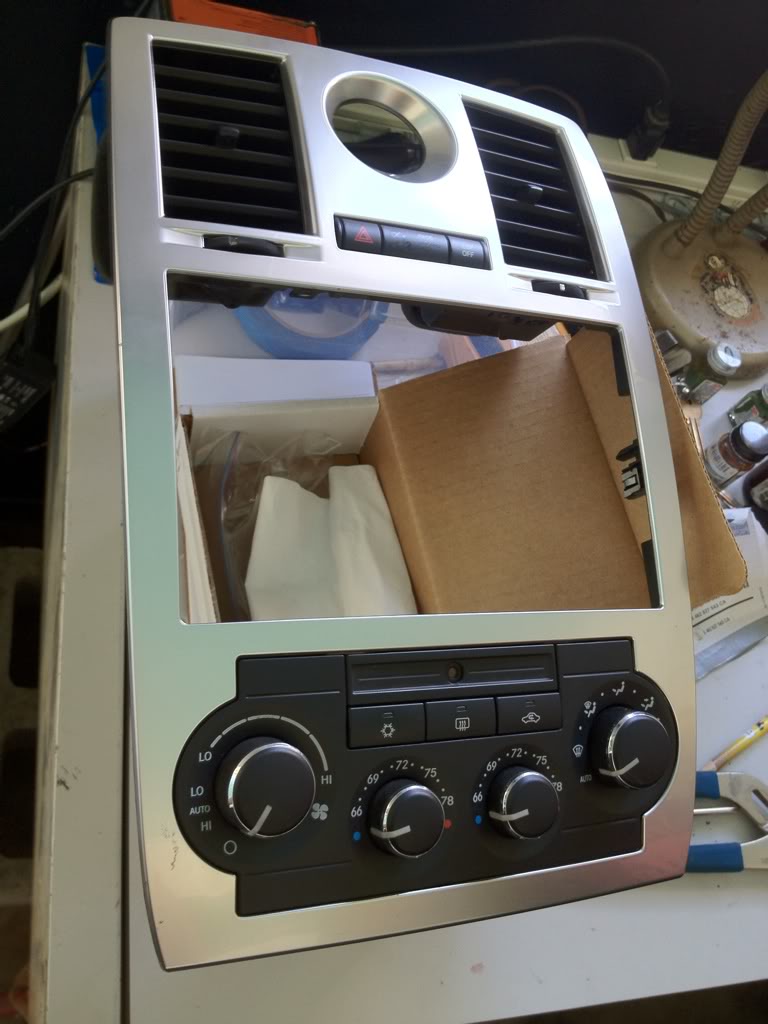
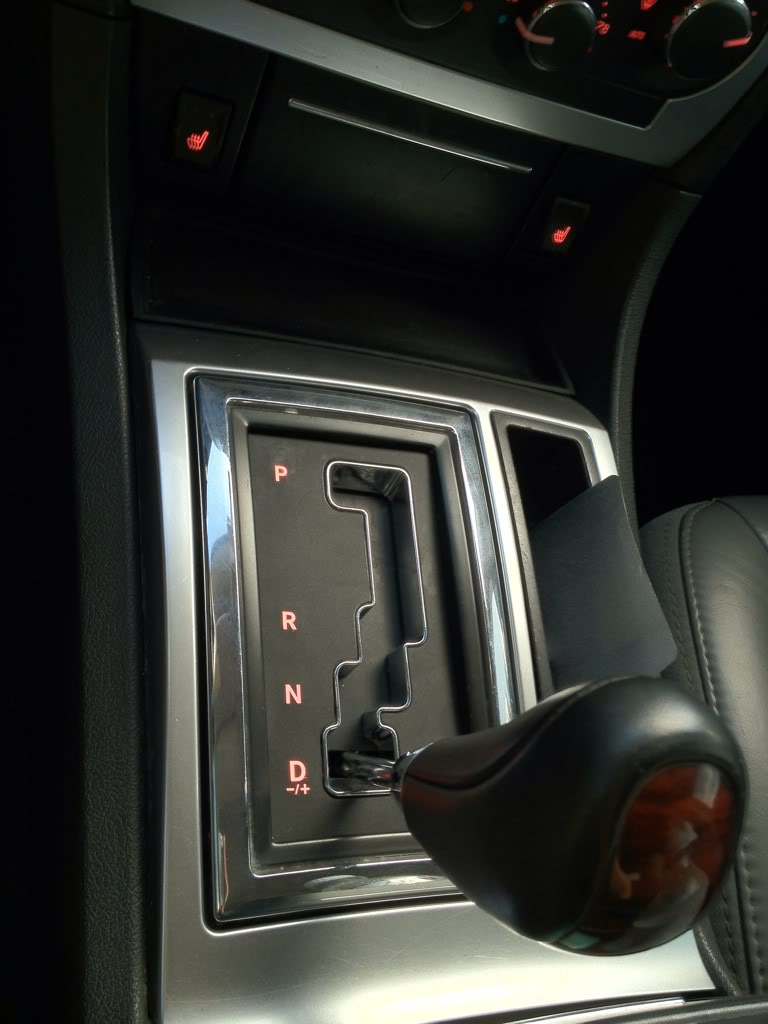
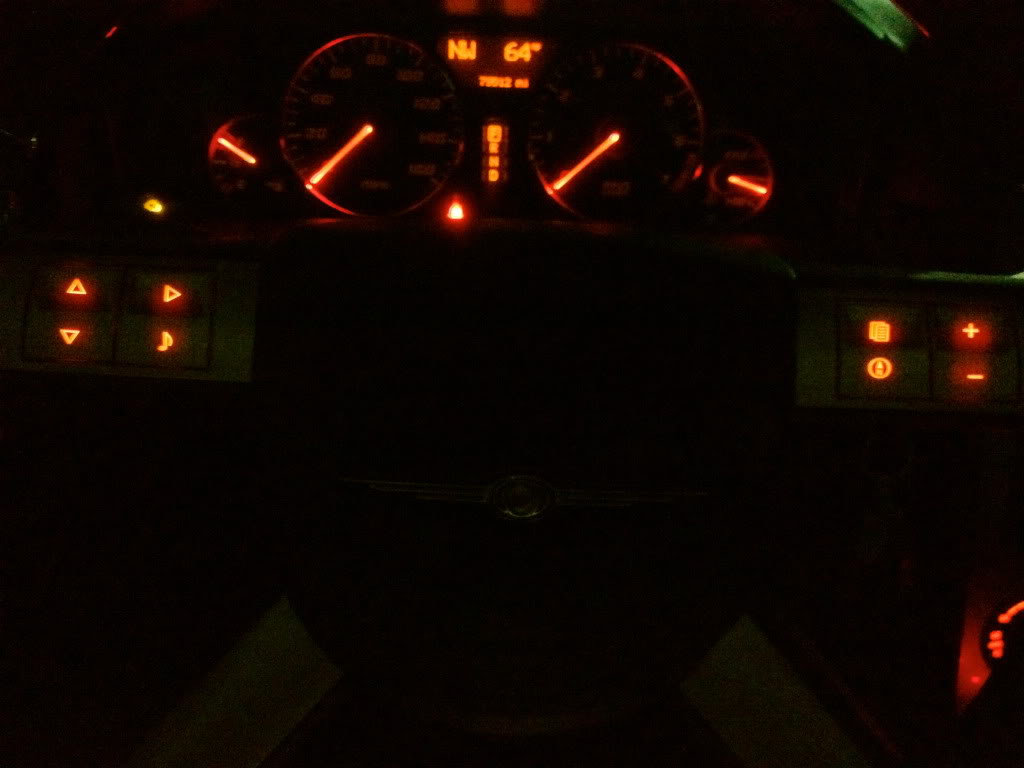
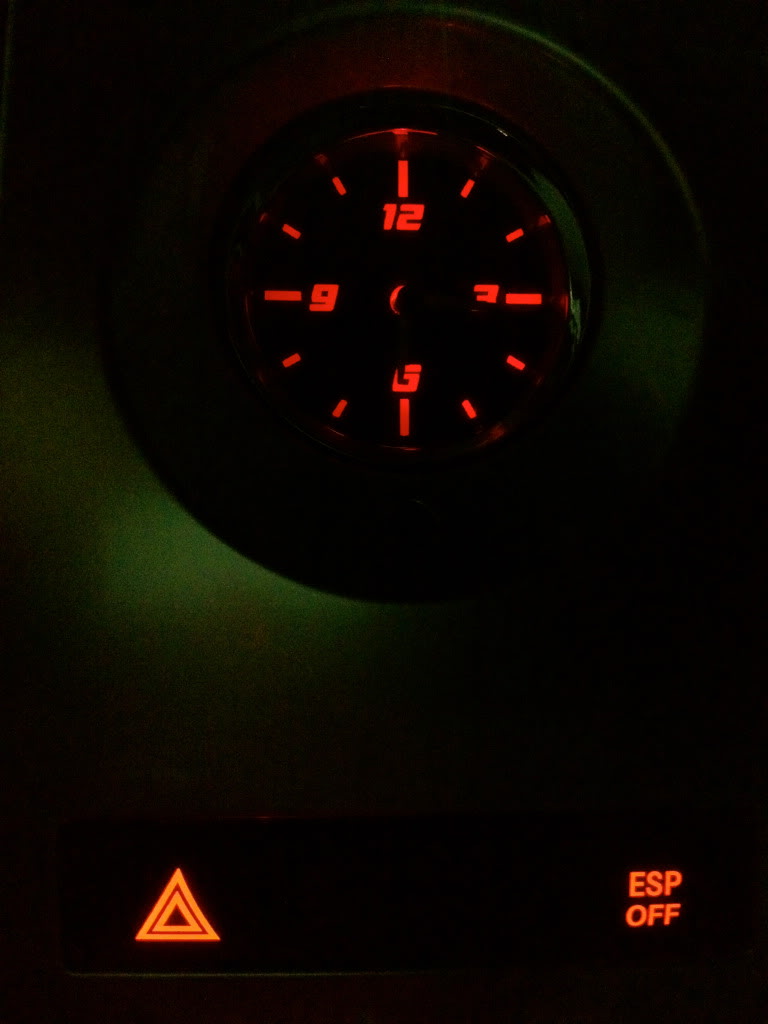
Big thank you to Bob aka "Diboblo" for contributing to this build with his full interior RED LED swap. The cluster with Tim's aka trs300's needle pointers are amazing in person. The pics just don't do them any justice. For some reason, my phone kept washing out the color and making the lights look orange/pink. Anyways on to the pics:
Dash and center console apart for the good stuff...

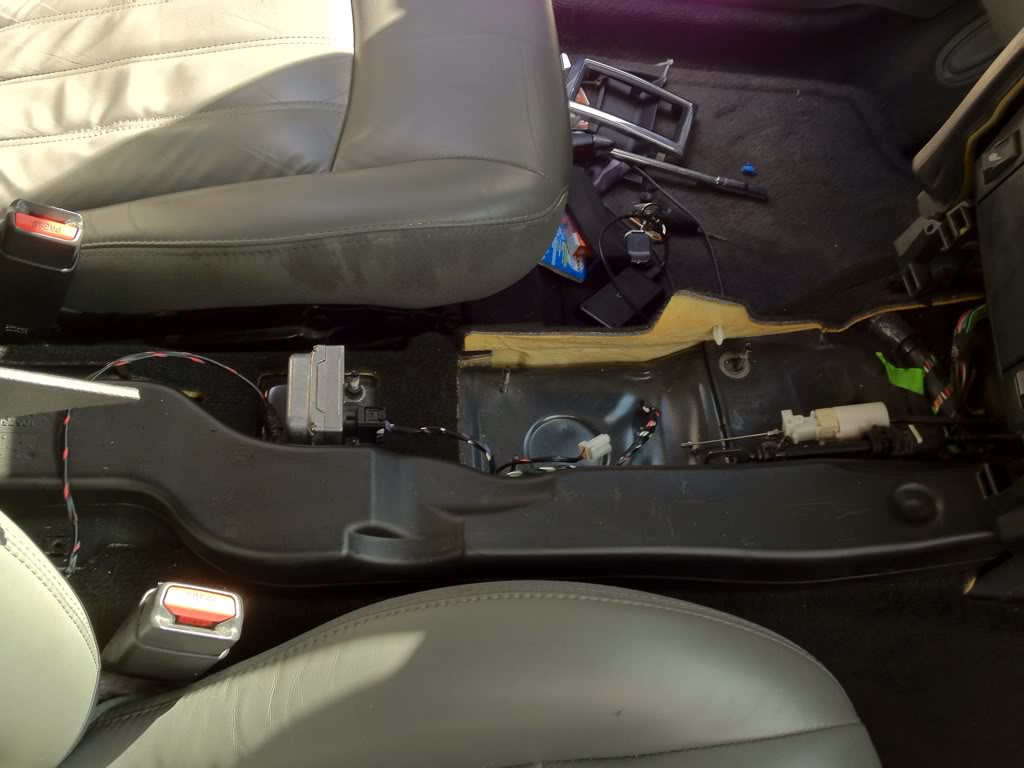
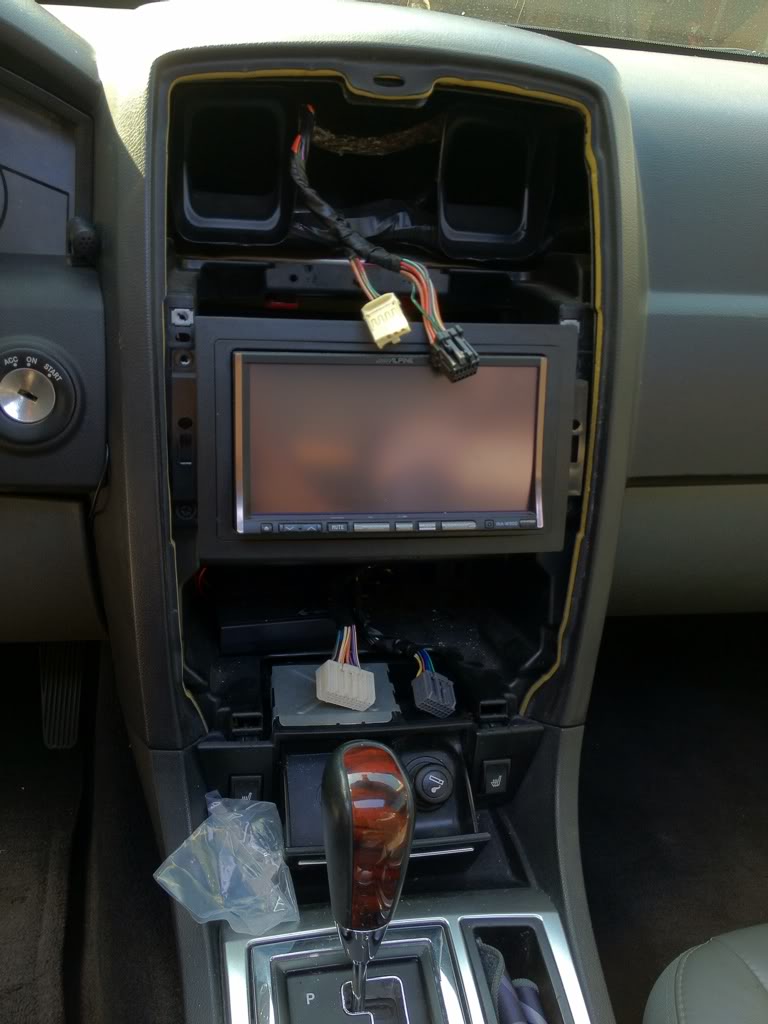
Ready to have it's face taken off
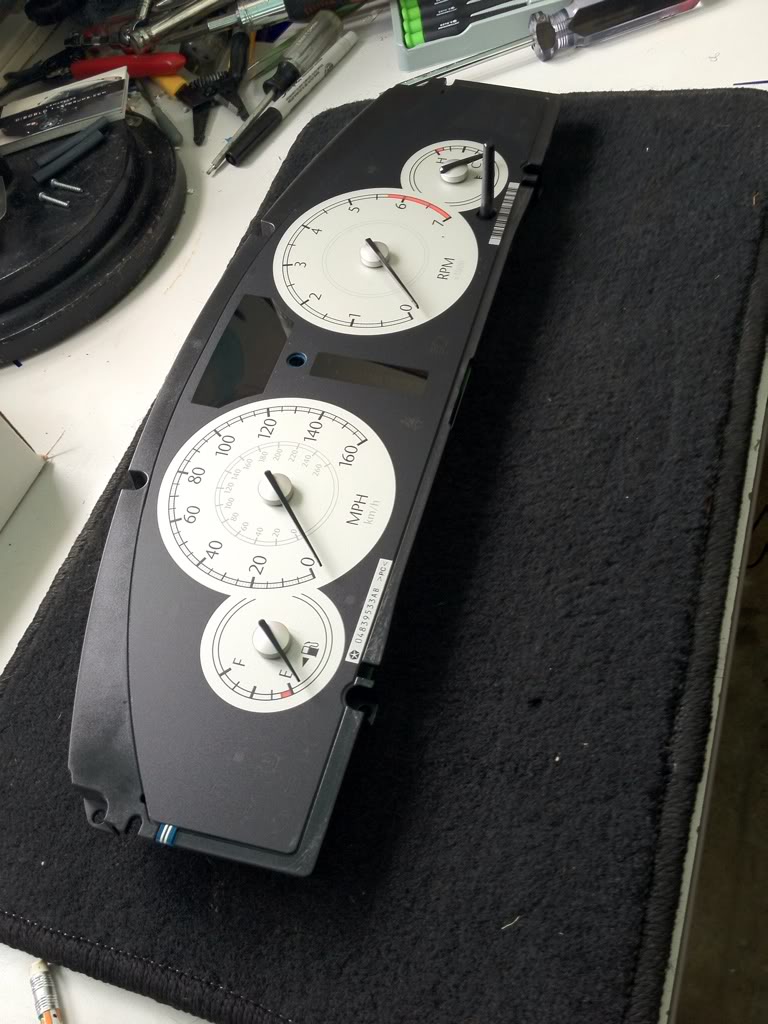
I'll take pleasure in guttin' you...boy
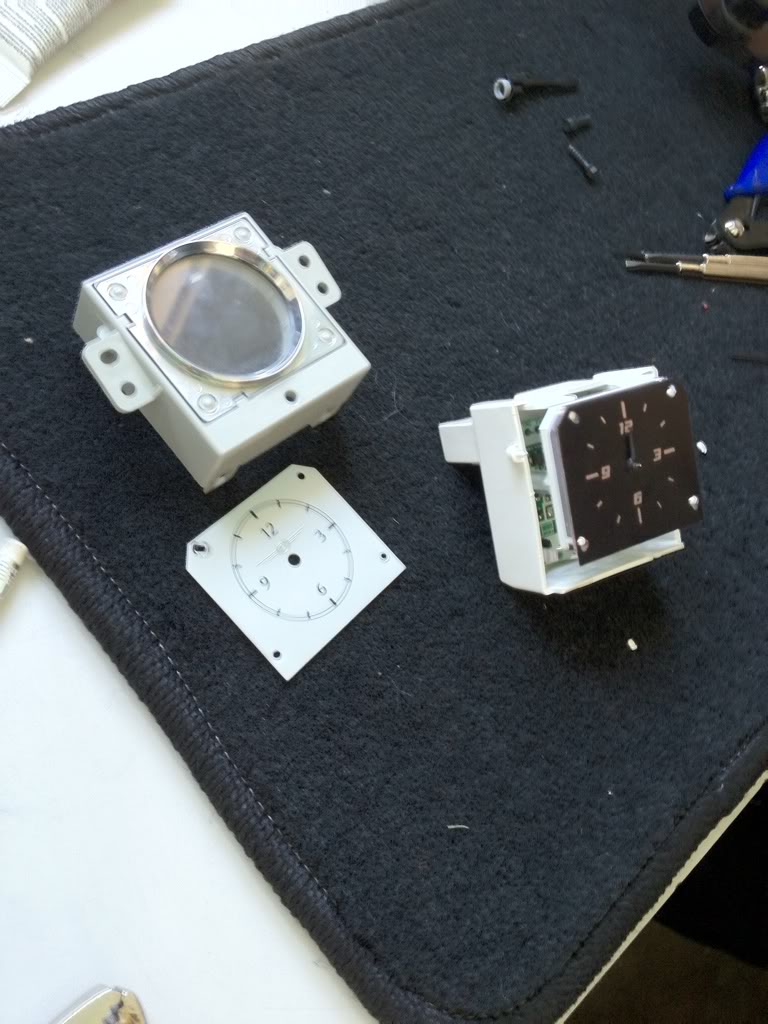
Clock swap
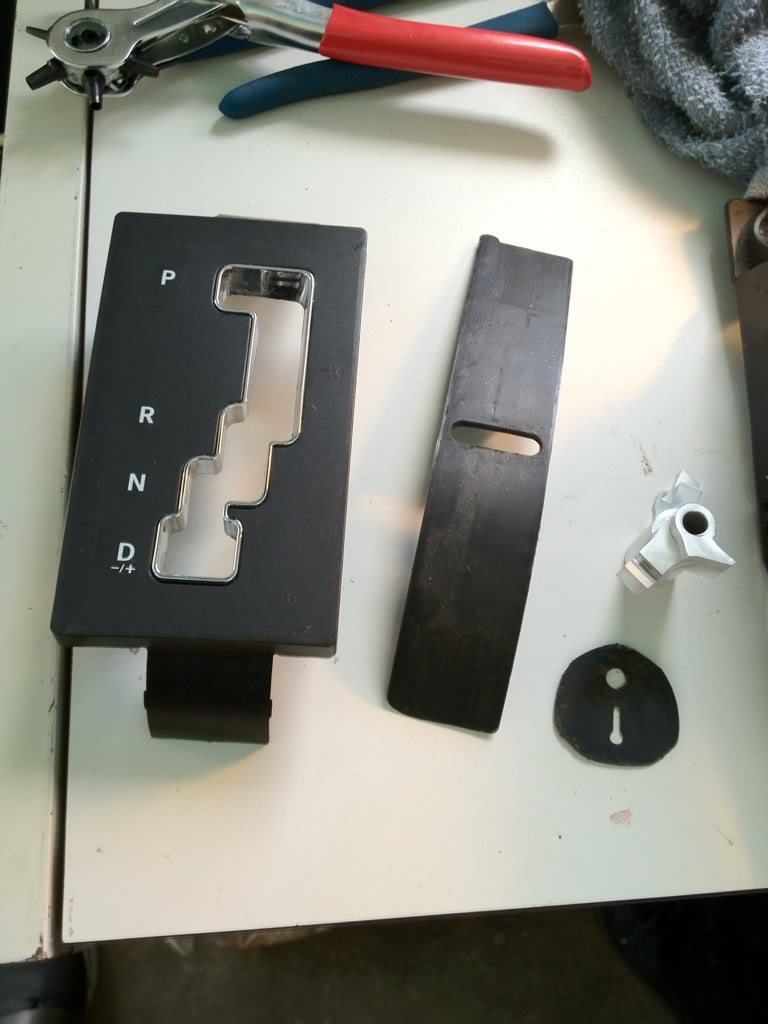
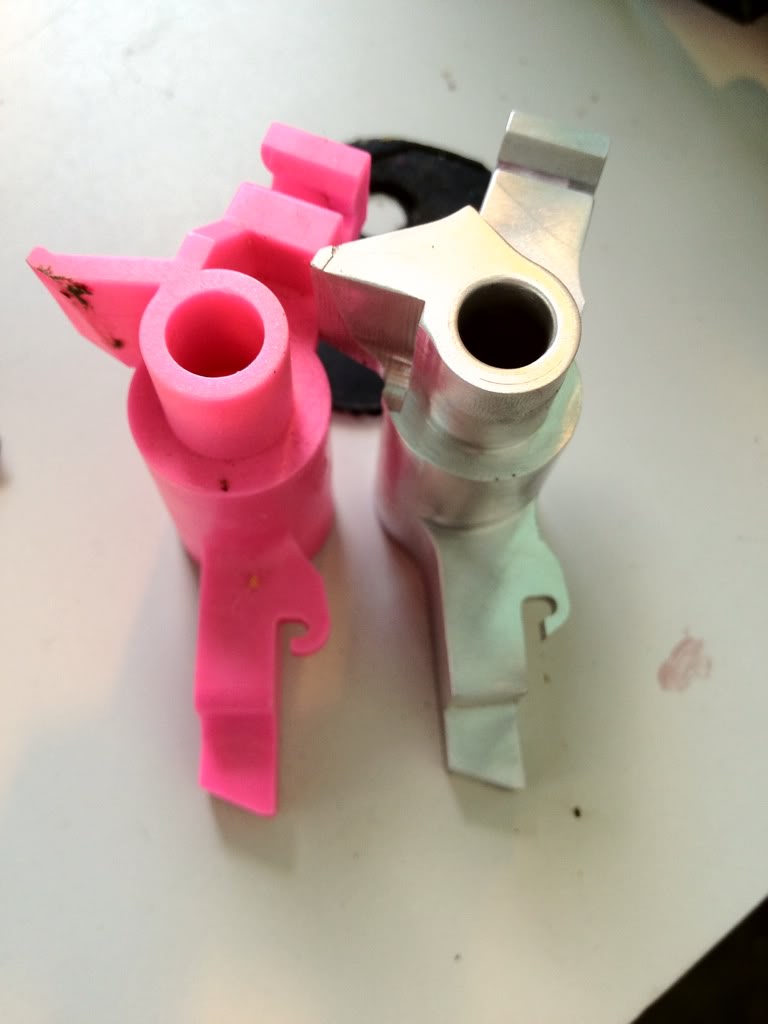
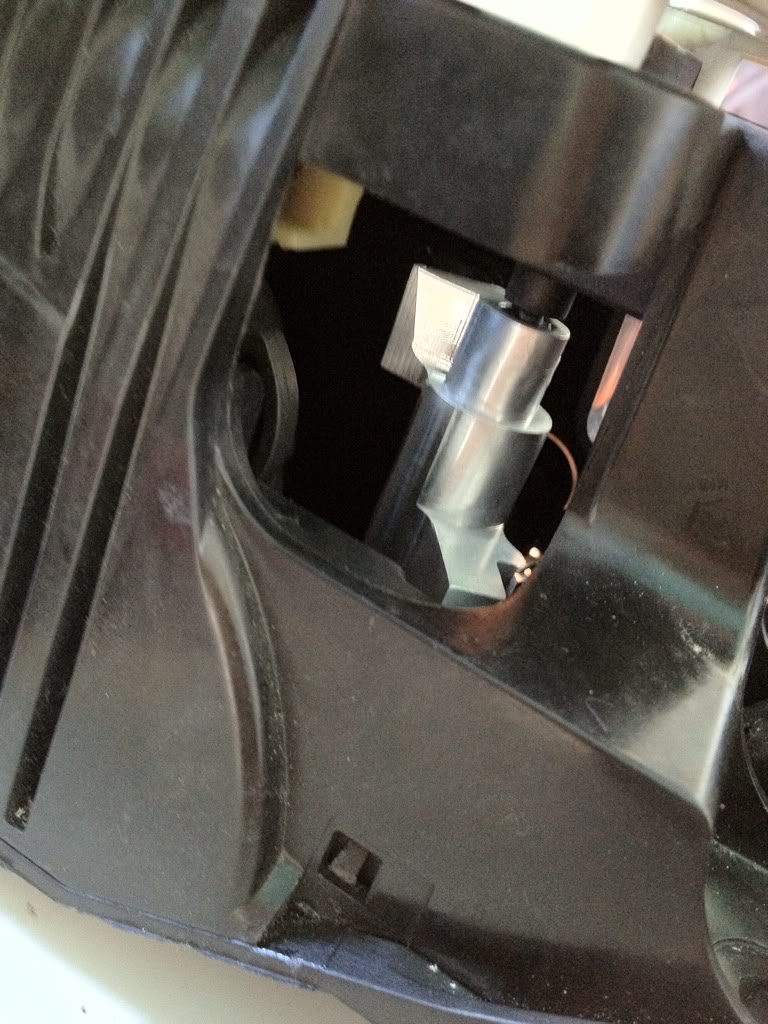
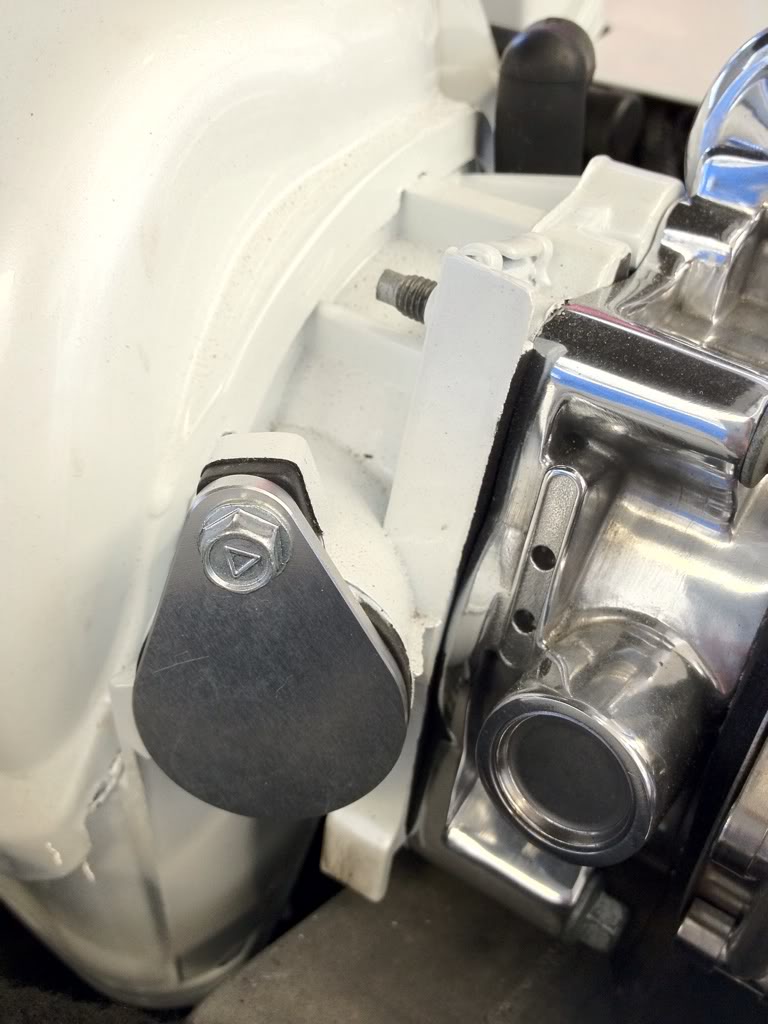
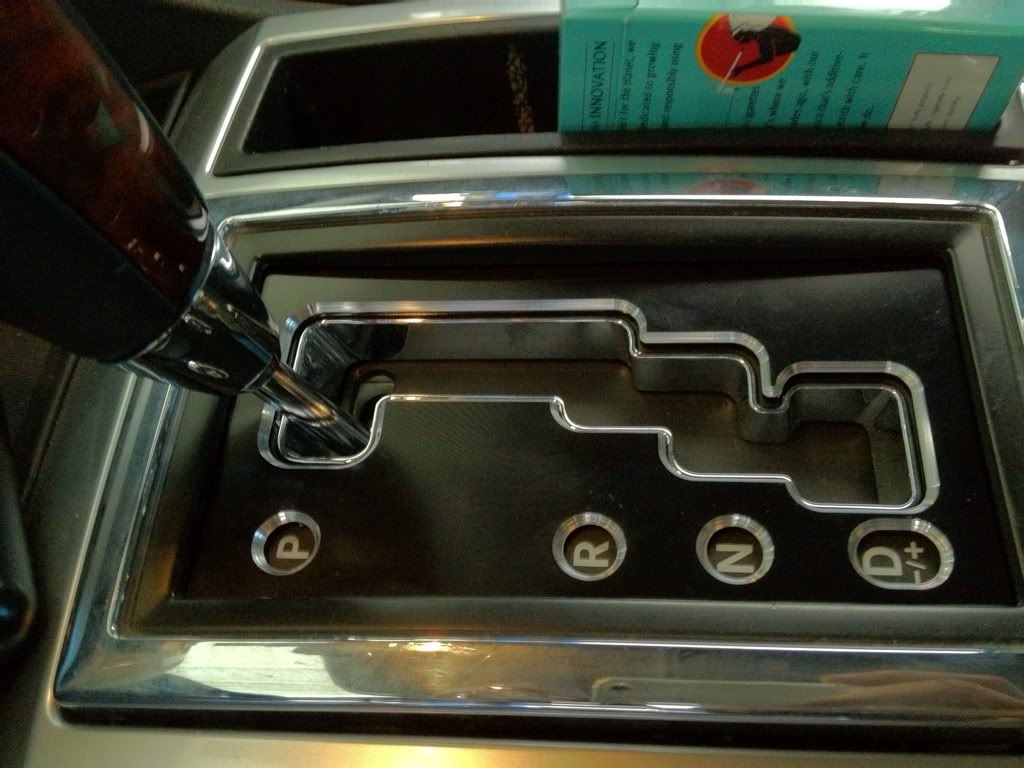
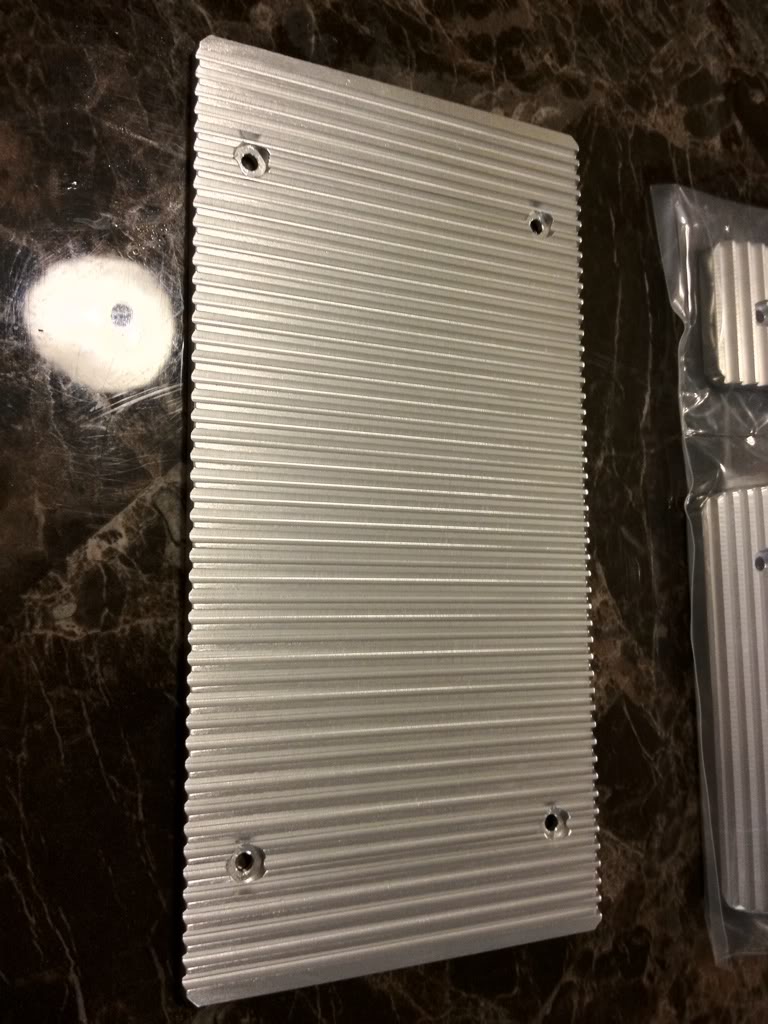
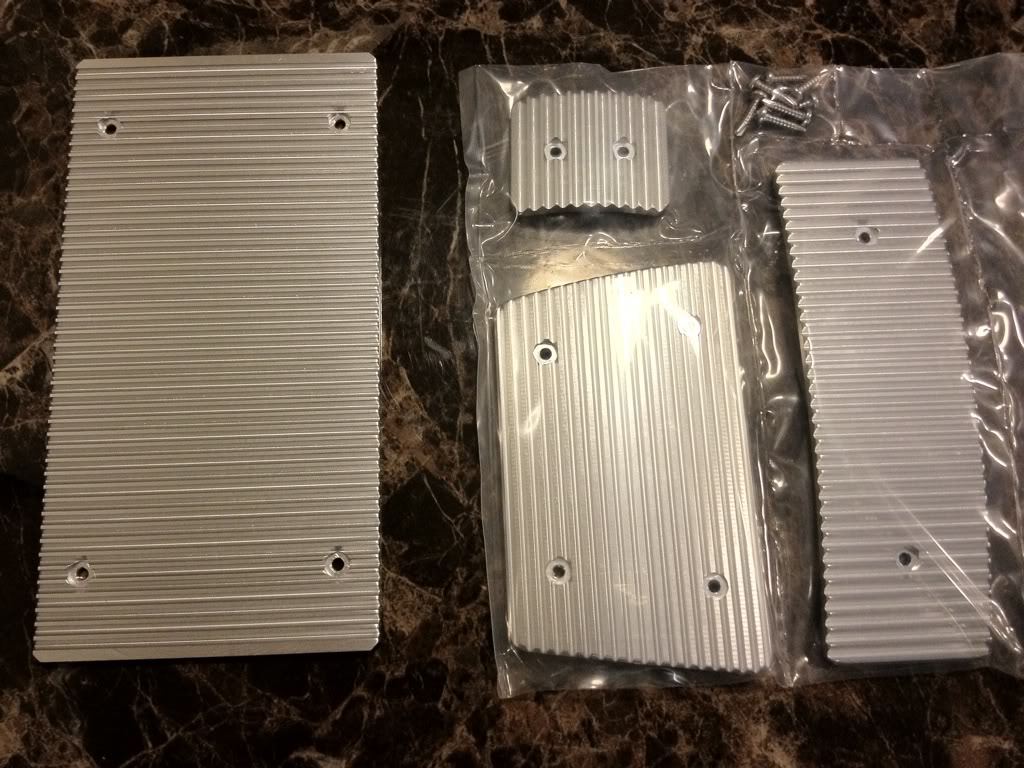
While the shift kit color was being changed, we decided to have the "pink thingy" from Dodge/Chrysler to be swapped out for the beefier aluminum piece from Billet Technology.
Center during day light
Cluster and steering controls during daylight
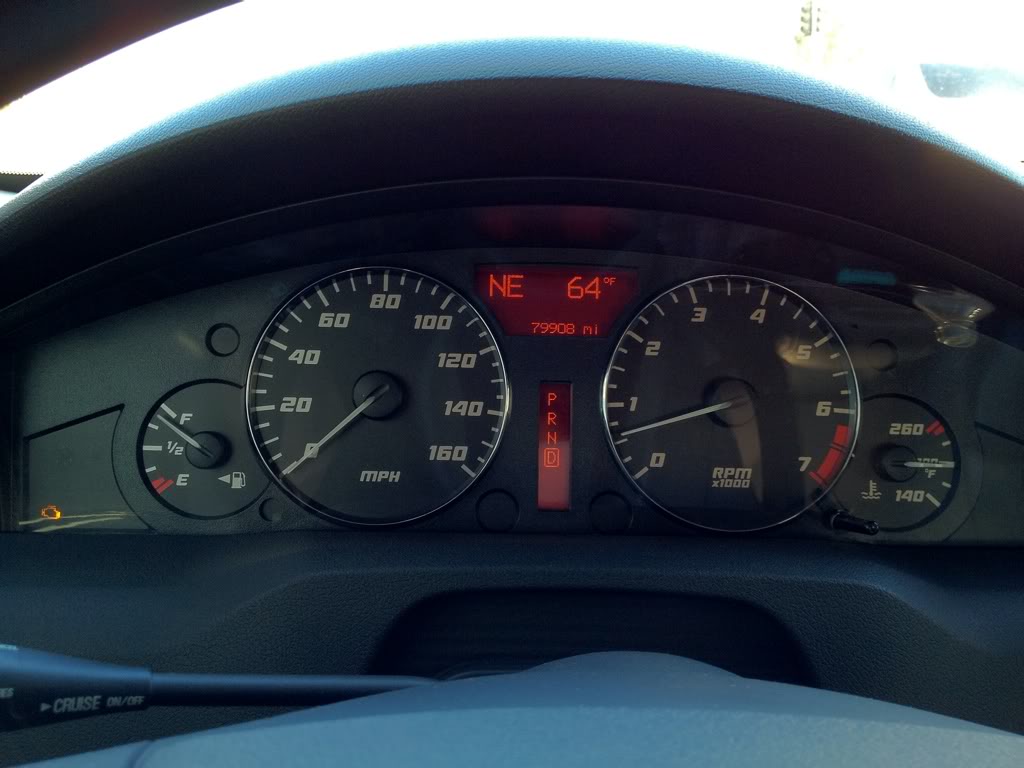
Cluster during daytime
Seat warmers and shifter during daytime
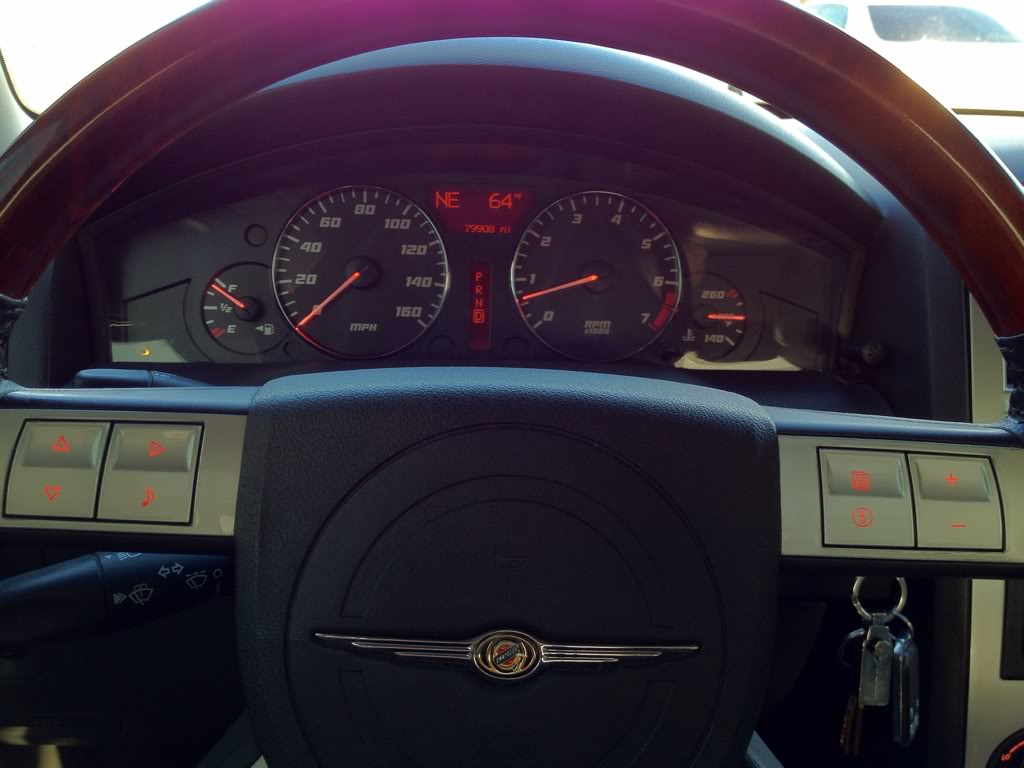
Cluster and steering wheel controls at night (My cell phone washes out the color to look orange...
Clock at night
Night time center
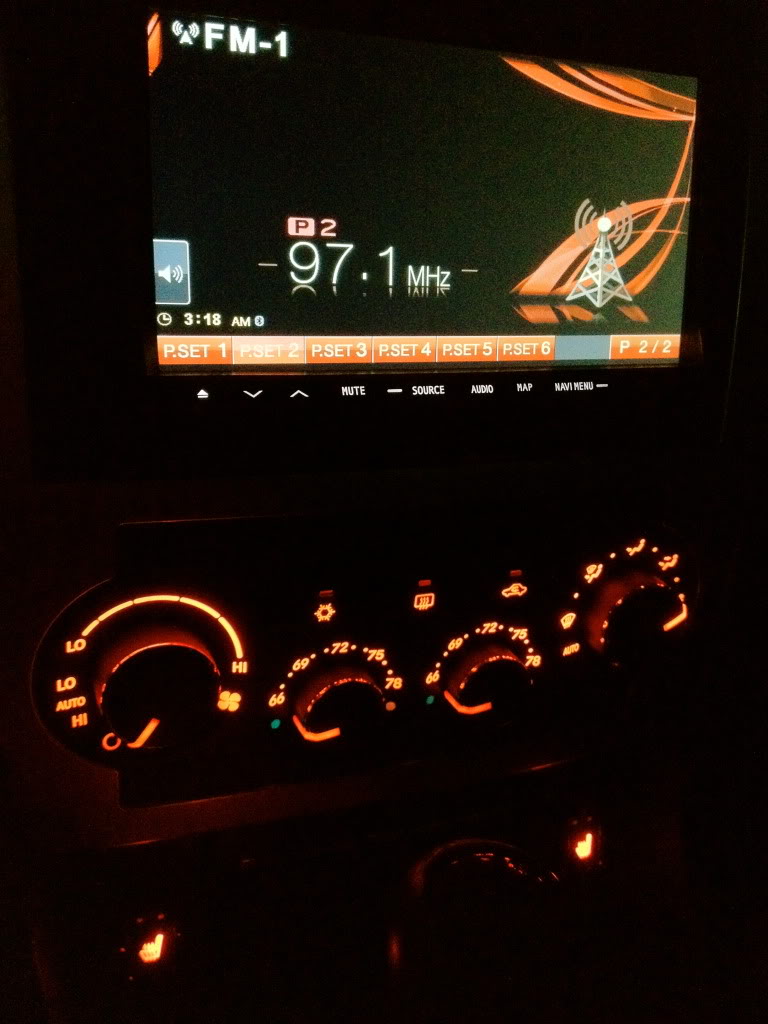
All warning lights and lights for AC/Recirculate/Seat Warmers are all red as well
Dash and center console apart for the good stuff...
Ready to have it's face taken off
I'll take pleasure in guttin' you...boy
Clock swap
While the shift kit color was being changed, we decided to have the "pink thingy" from Dodge/Chrysler to be swapped out for the beefier aluminum piece from Billet Technology.
Center during day light
Cluster and steering controls during daylight
Cluster during daytime
Seat warmers and shifter during daytime
Cluster and steering wheel controls at night (My cell phone washes out the color to look orange...
Clock at night
Night time center
All warning lights and lights for AC/Recirculate/Seat Warmers are all red as well
#23
11-20-2013, 02:12 AM
Join Date: Jun 2005
Location: OC, CA
Age: 42
Posts: 116
Rep Power: 23
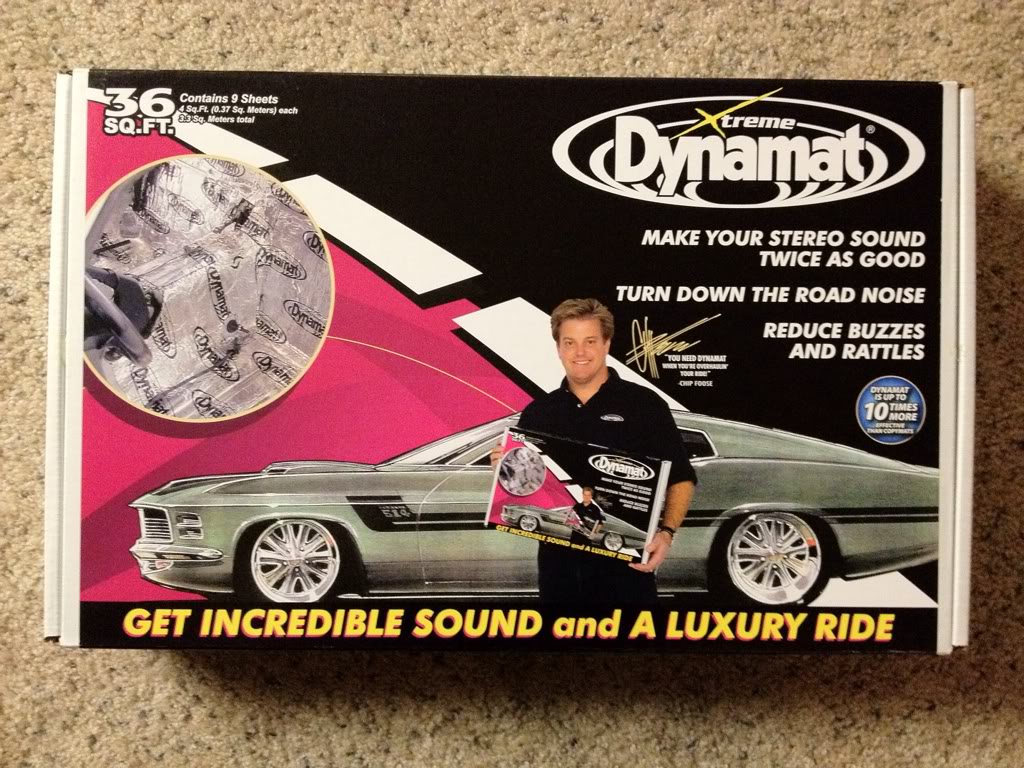
Small update...since the car is a daily driver, I picked up 84 square feet of dynomat and 12 square feet of some 1/2" dynoliner to quiet the cabin down for my daughter and wife whenever they ride with me.
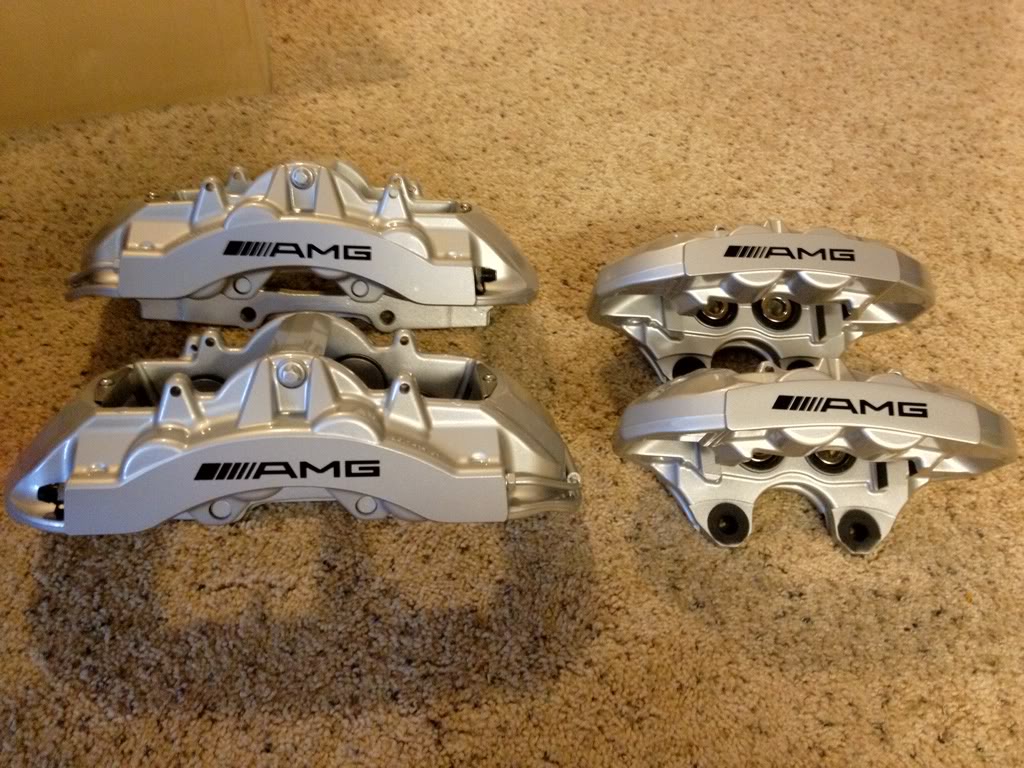
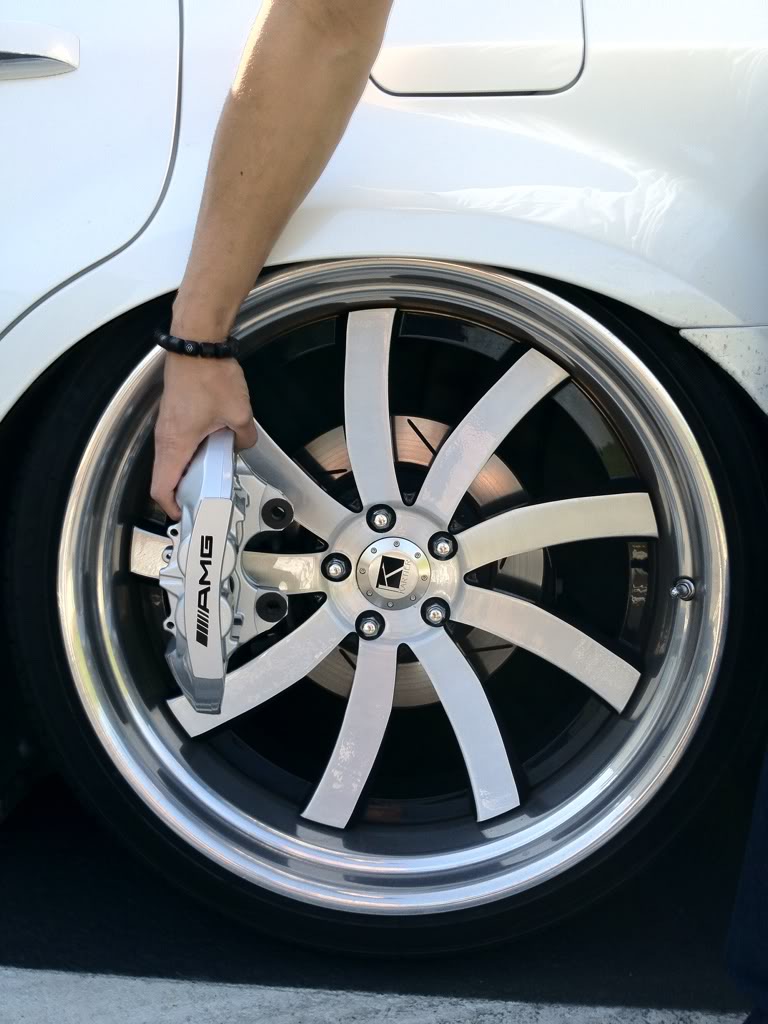
Also here is a preview of what we plan to make brackets for to fit this 8 pot front and 4 pot rear
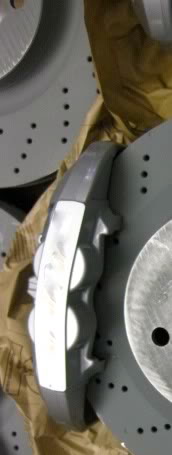
Also here is a preview of what we plan to make brackets for to fit this 8 pot front and 4 pot rear
#24
11-20-2013, 02:12 AM
Join Date: Jun 2005
Location: OC, CA
Age: 42
Posts: 116
Rep Power: 23
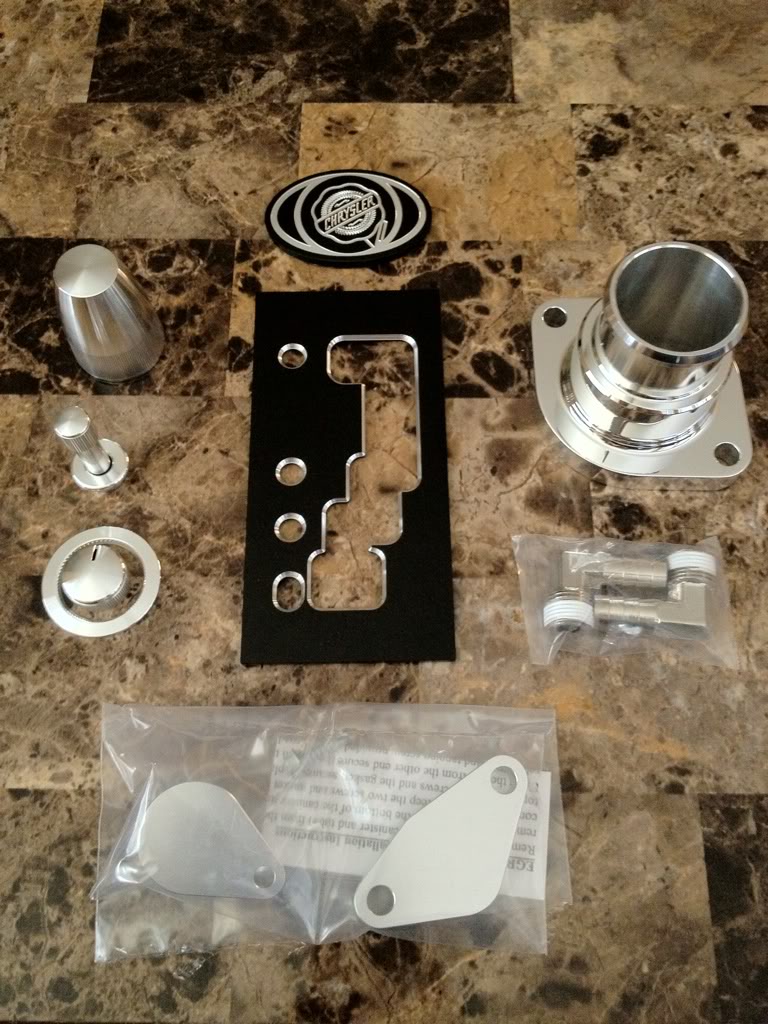
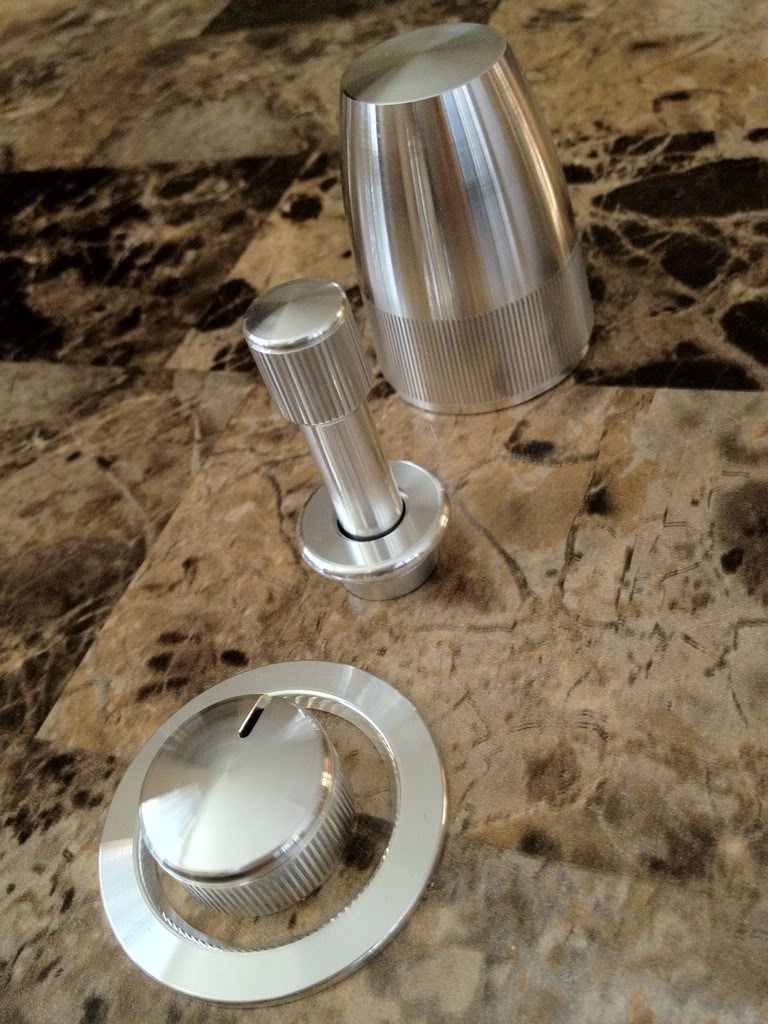
Big thanks again to the BT crew. Some more goodies came in.
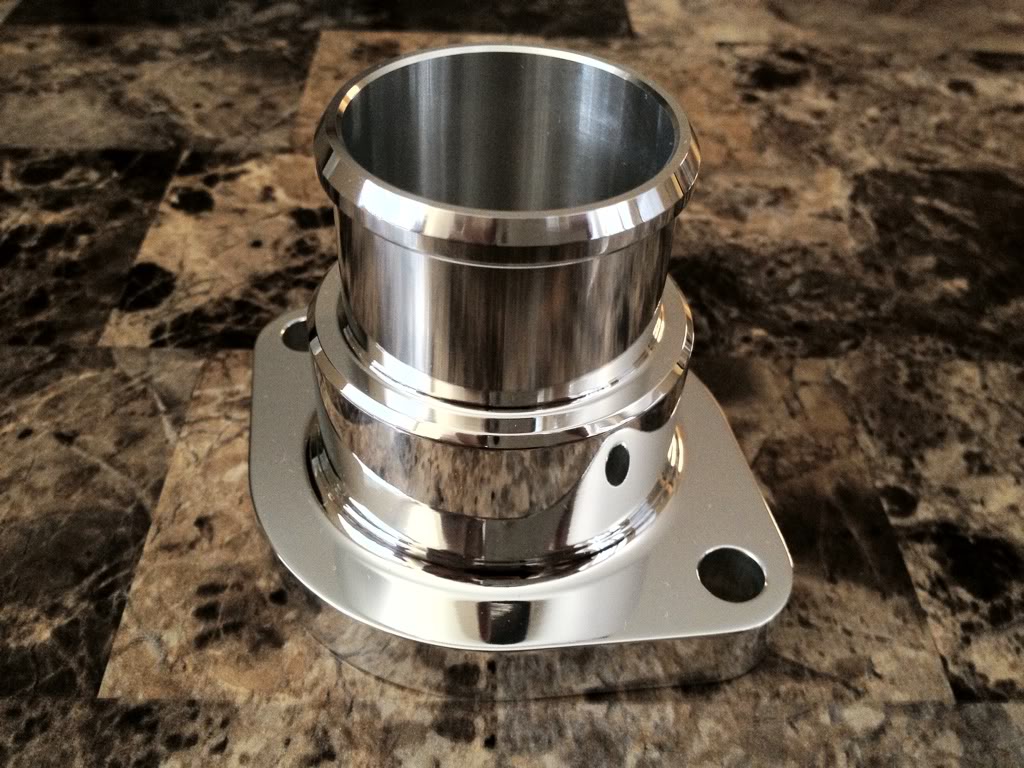
-polished water bottle neck
-satin EGR delete kit
-satin door lock kit
-satin side mirror switch
-satin wiper stalk
-anodized black shifter insert
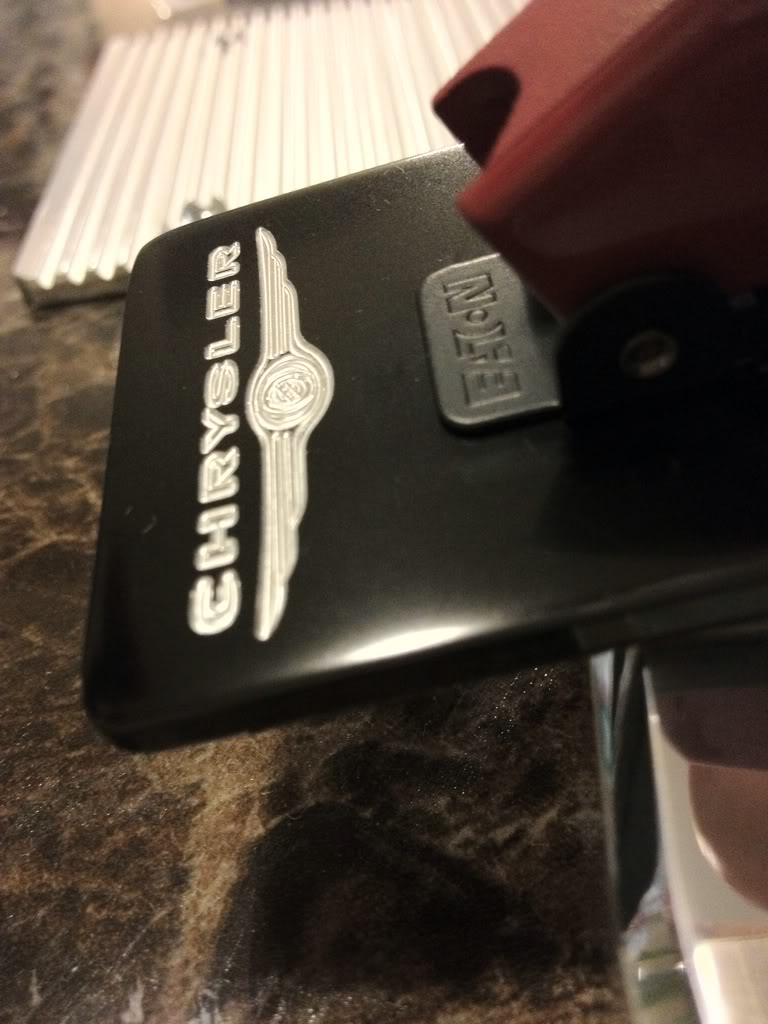
-Black anodized Chrysler emblem
-nickel plated oil catch can fittings
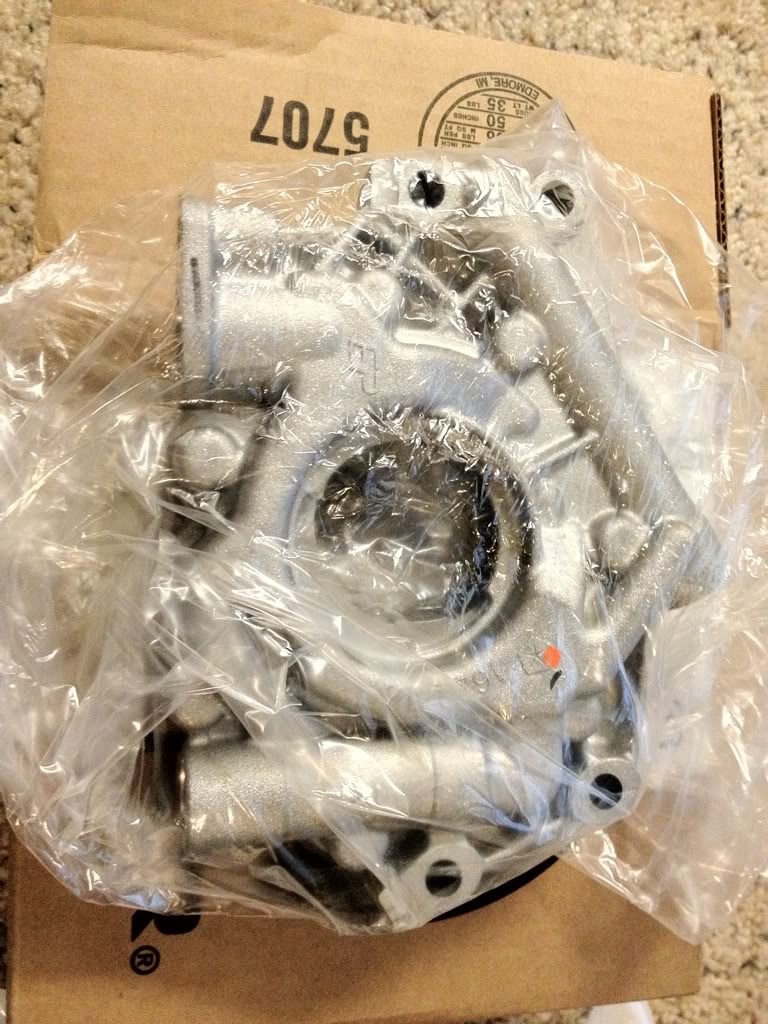
-6.1 oil pump
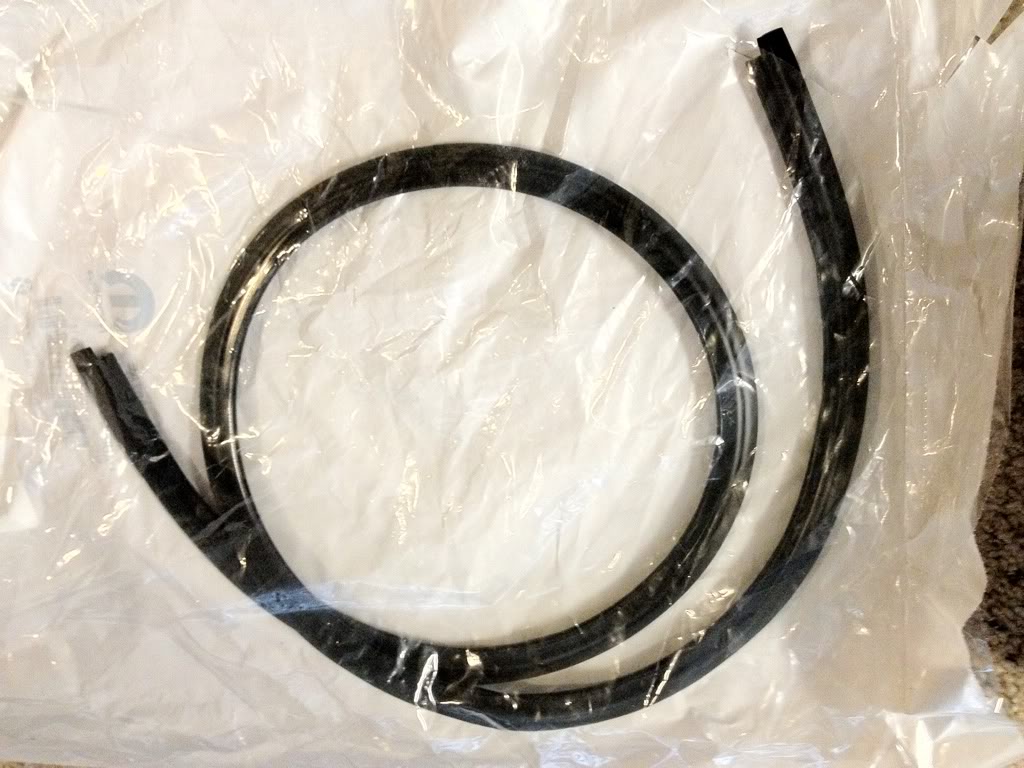
-new upper windshield molding
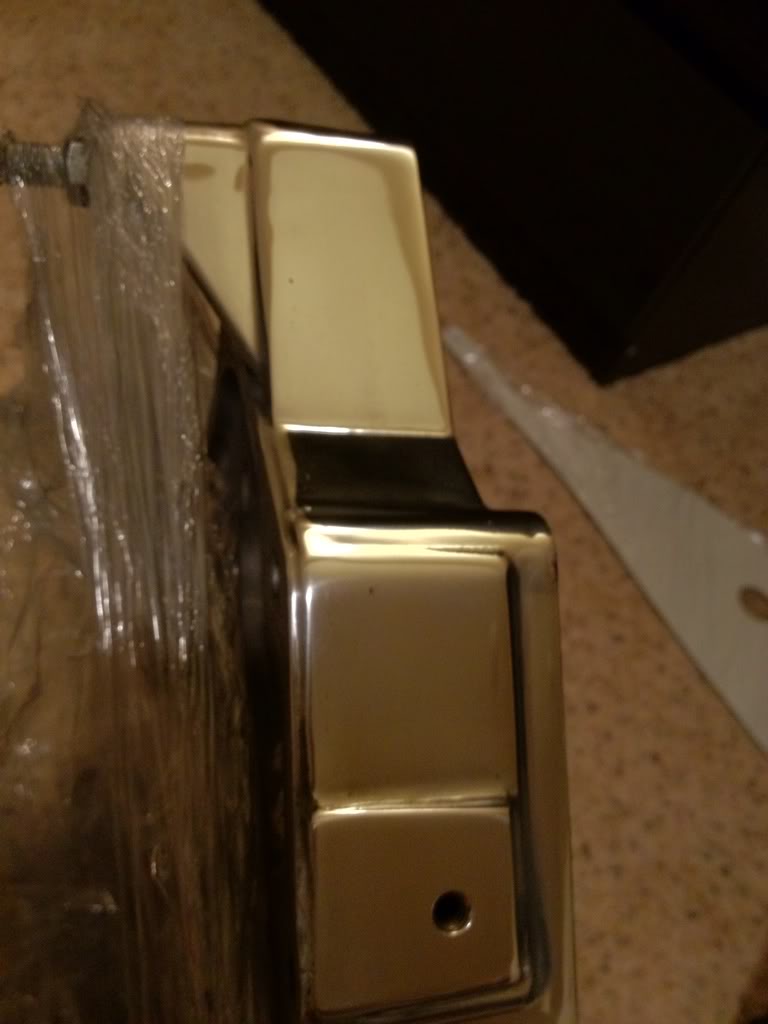
Beautifil polished bottle neck
finally I can get rid of that cheesy grip tuning emblem

This insert should go very nicely with the LED swap from Diboblo
The attention to detail is amazing. I was concerned that some of the ***** would be solid without opening to allow lighting to show the interior lighting
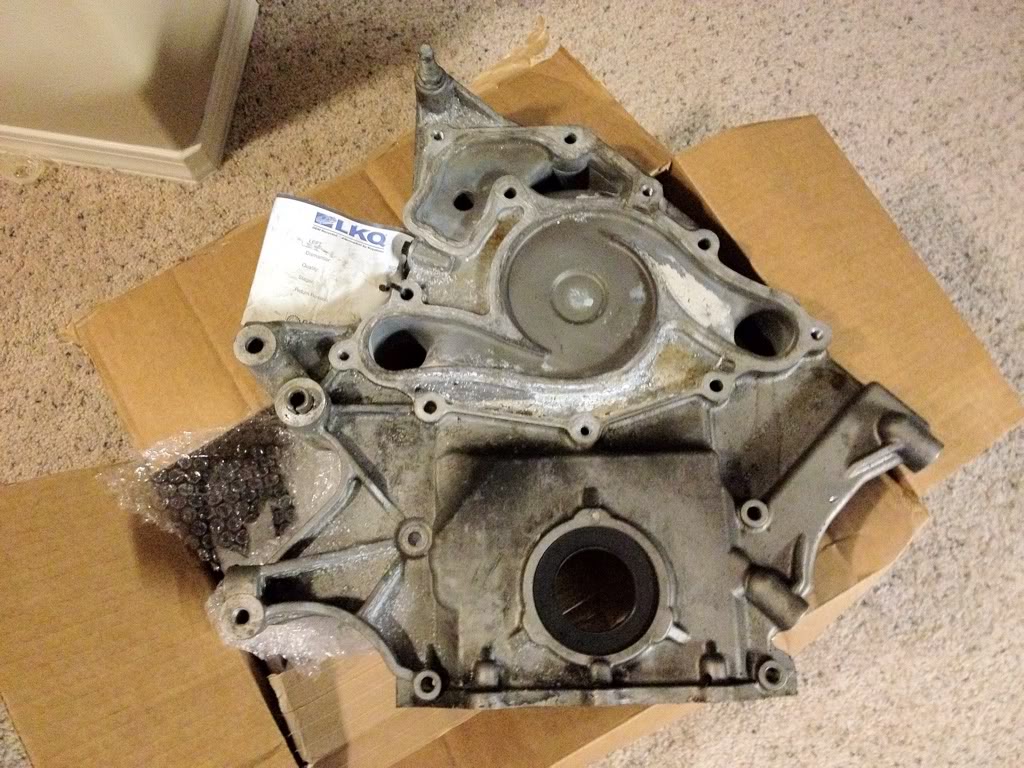
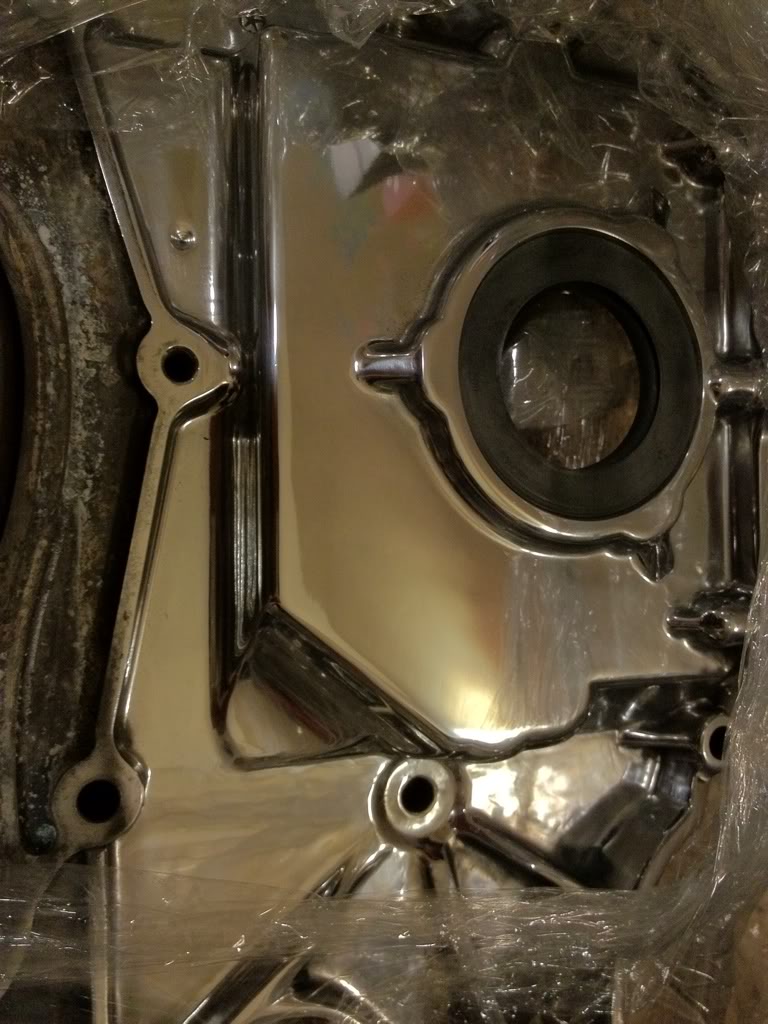
6.1 oil pump. Waiting for my timing cover to come in and polish them up at the same time
front upper windshield molding. Will replace all of the plastics
On the edges of the windshield for a new look
-polished water bottle neck
-satin EGR delete kit
-satin door lock kit
-satin side mirror switch
-satin wiper stalk
-anodized black shifter insert
-Black anodized Chrysler emblem
-nickel plated oil catch can fittings
-6.1 oil pump
-new upper windshield molding
Beautifil polished bottle neck
finally I can get rid of that cheesy grip tuning emblem
This insert should go very nicely with the LED swap from Diboblo
The attention to detail is amazing. I was concerned that some of the ***** would be solid without opening to allow lighting to show the interior lighting
6.1 oil pump. Waiting for my timing cover to come in and polish them up at the same time
front upper windshield molding. Will replace all of the plastics
On the edges of the windshield for a new look
#25
11-20-2013, 02:15 AM
Join Date: Jun 2005
Location: OC, CA
Age: 42
Posts: 116
Rep Power: 23
Timing cover arrived today, so this along with the 6.1 oil pump will be sent off for polishing 
---------
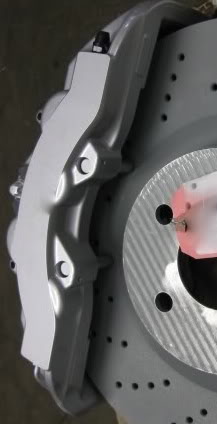
I was sent a cell phone pic of my front calipers. I should be picking the Front and rear tomorrow and will snap better pics!

Boxes, boxes, and more boxes. What are in them?
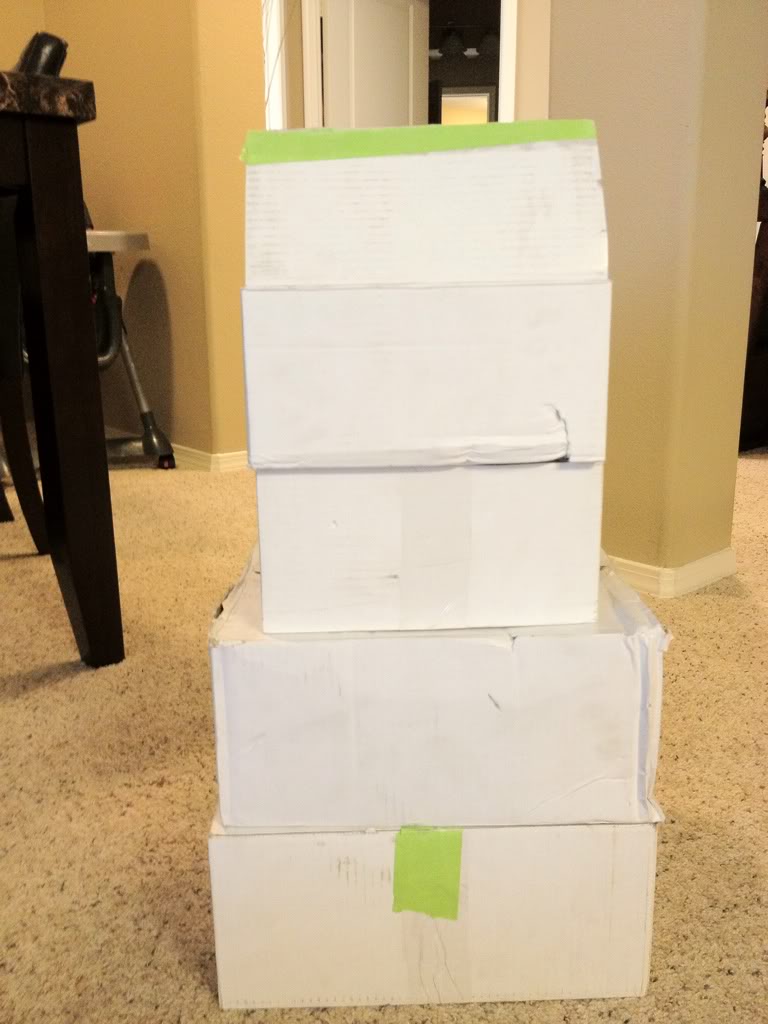
Some extra large calipers!
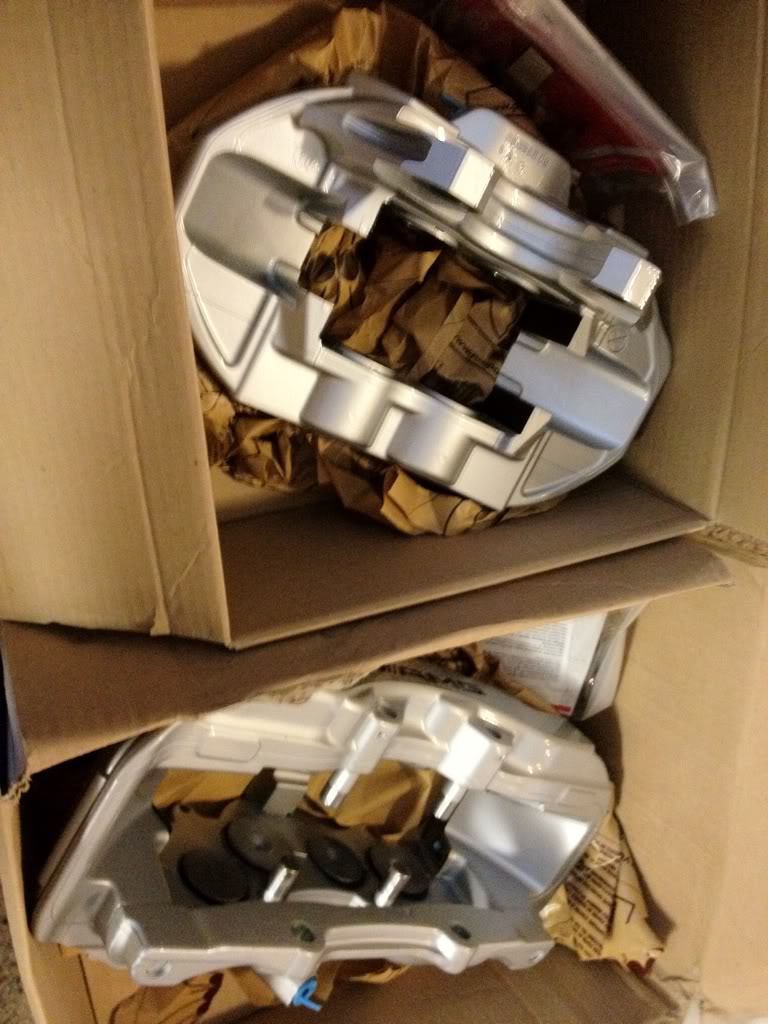
All out
Front calipers

8 piston fronts
4 piston rears
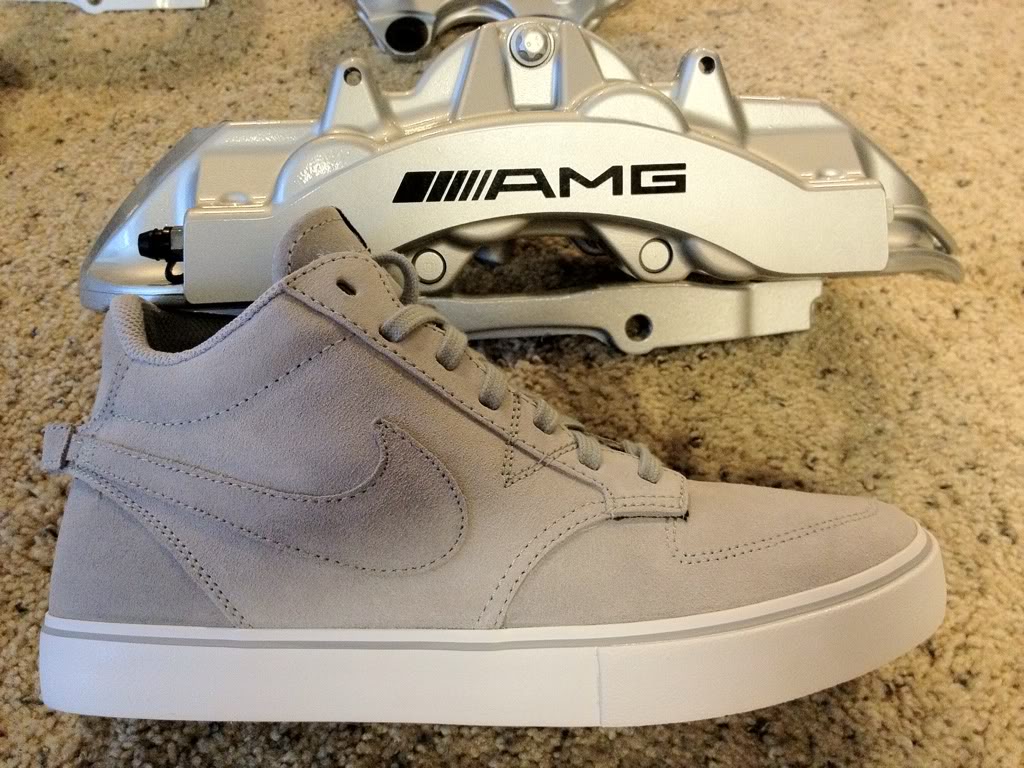
Caliper next to my Nikes
Calipers dwarf the oems
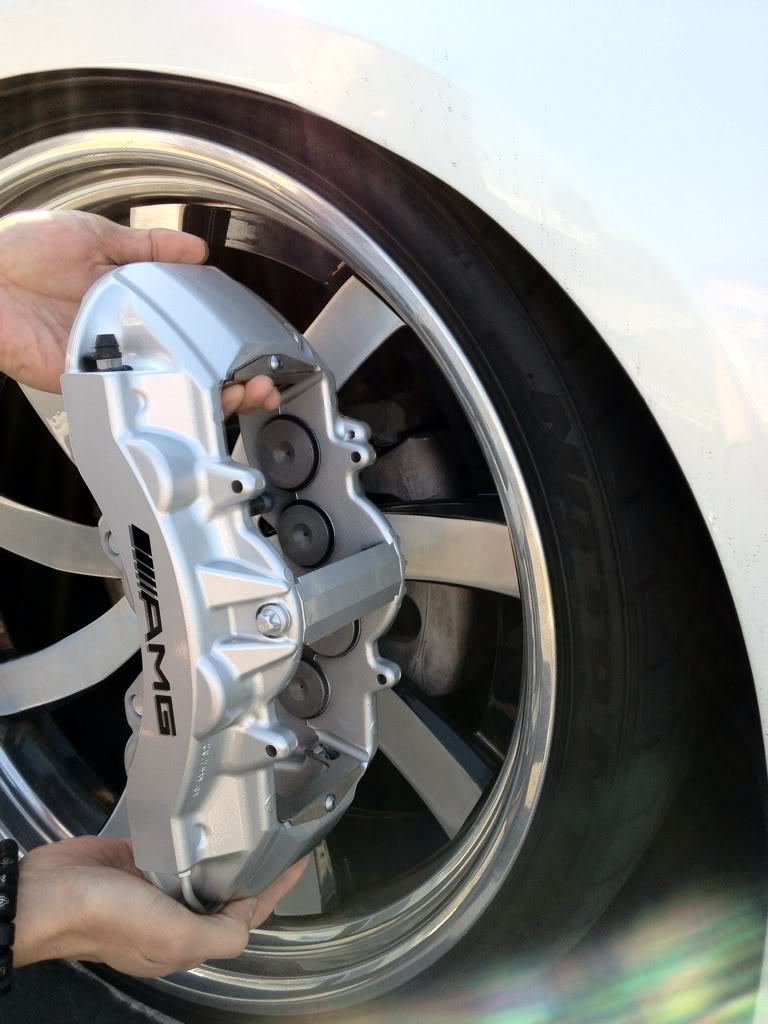
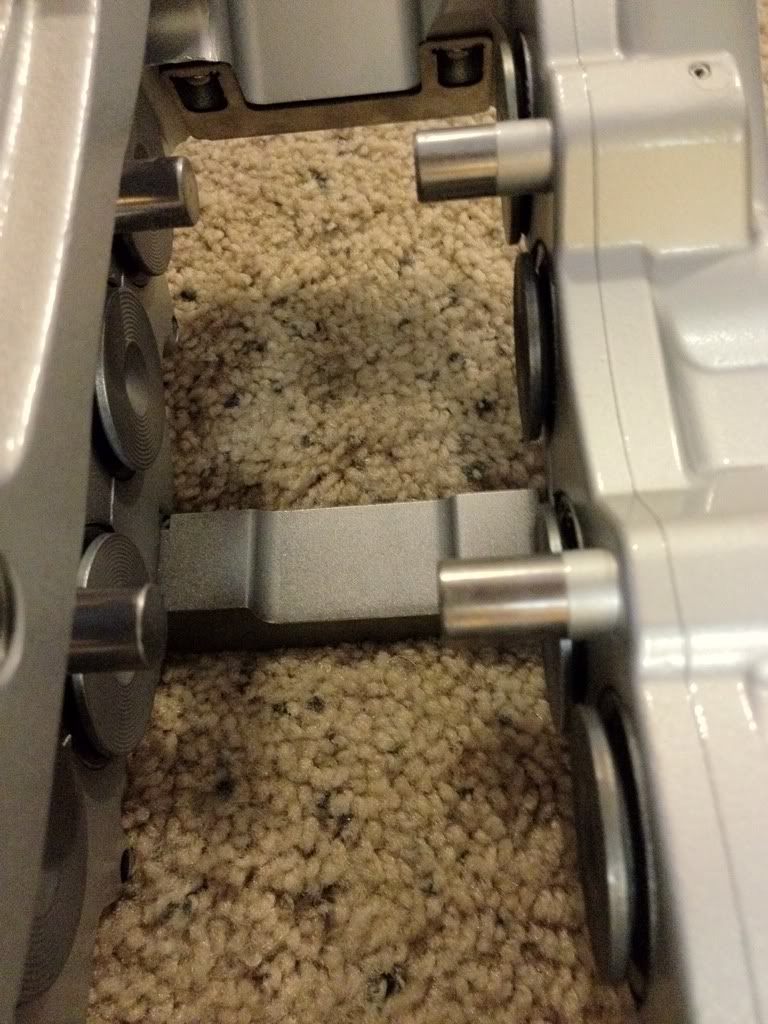
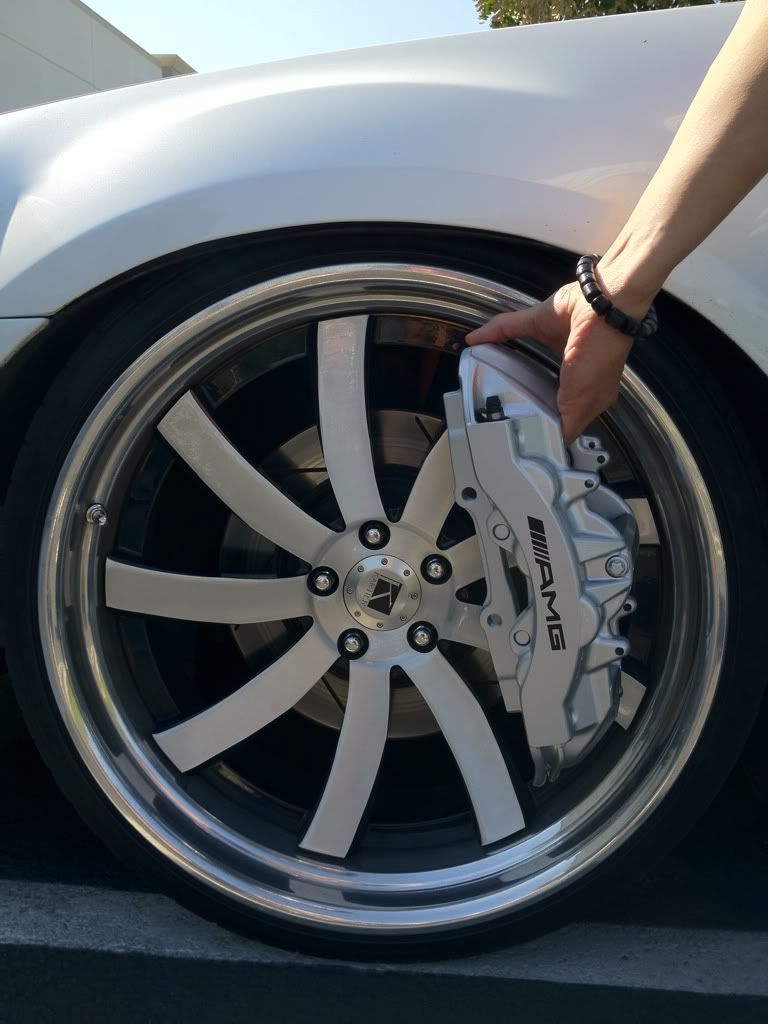
They fill up the wheels nicely. Now just have to mate these to some 15" rotors with the correct hat size
Rear calipers
---------
I was sent a cell phone pic of my front calipers. I should be picking the Front and rear tomorrow and will snap better pics!
Boxes, boxes, and more boxes. What are in them?
Some extra large calipers!
All out
Front calipers
8 piston fronts
4 piston rears
Caliper next to my Nikes
Calipers dwarf the oems
They fill up the wheels nicely. Now just have to mate these to some 15" rotors with the correct hat size
Rear calipers
#26
11-20-2013, 02:16 AM
Join Date: Jun 2005
Location: OC, CA
Age: 42
Posts: 116
Rep Power: 23
Unfortunately, I wasn't able to document the process as well today. I was cranking away on the dynamat and needed to get home in time for dinner with the family.
Danny aka Funkycld came through once again. I had a conversation with him in regards to how I wanted to push the rear wheels out a bit more and to be able to drop the front of the car a bit more. The 2 issues I noticed were the rear section of the inner rear fender has a bulge that the tires end up sitting on once the car is laid out. The 2nd issue was the front SPC Camber arm either being thicker or possibly the nut on top of the balljoint hitting the inner shock mount of the car sooner than the OEM's. Danny identified that the rear could be banged out since the metal in the inner rear fenders are two separate sheets of metal! He also stated that he could fold the metal in the inner portion of the front fenders to gain more of a drop once aired out!
Anyways, on to the pics...
Removed door panels to put a layer of dynamat in the inner part of the door and another layer on the outside shell. LAYER #1...
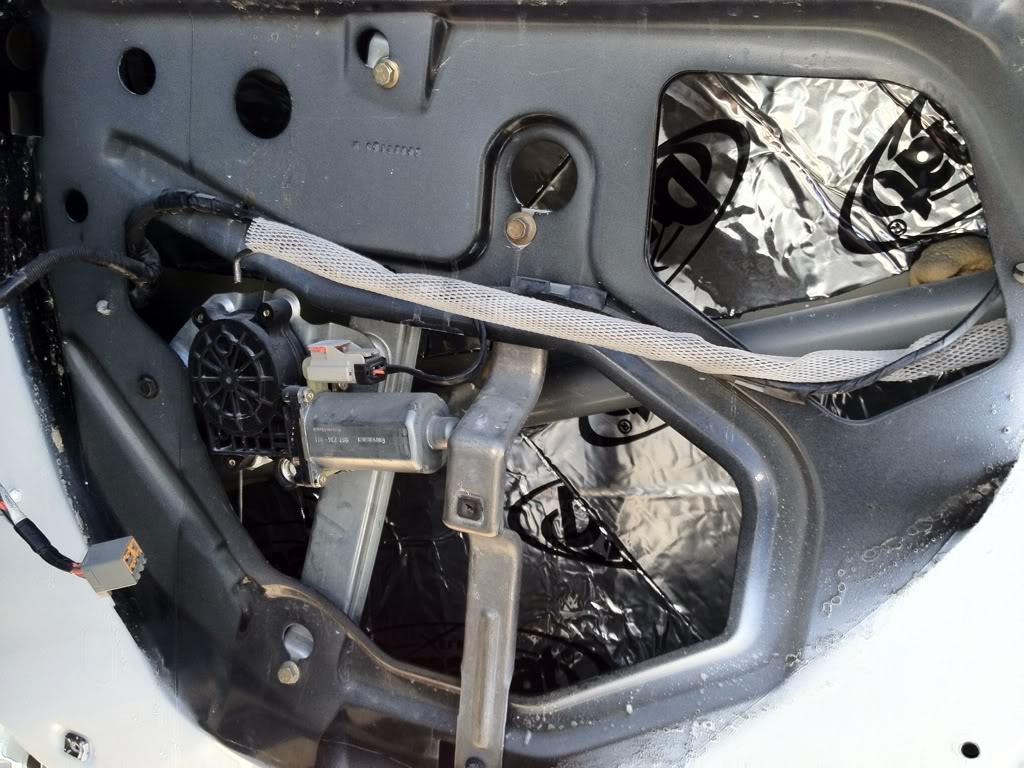
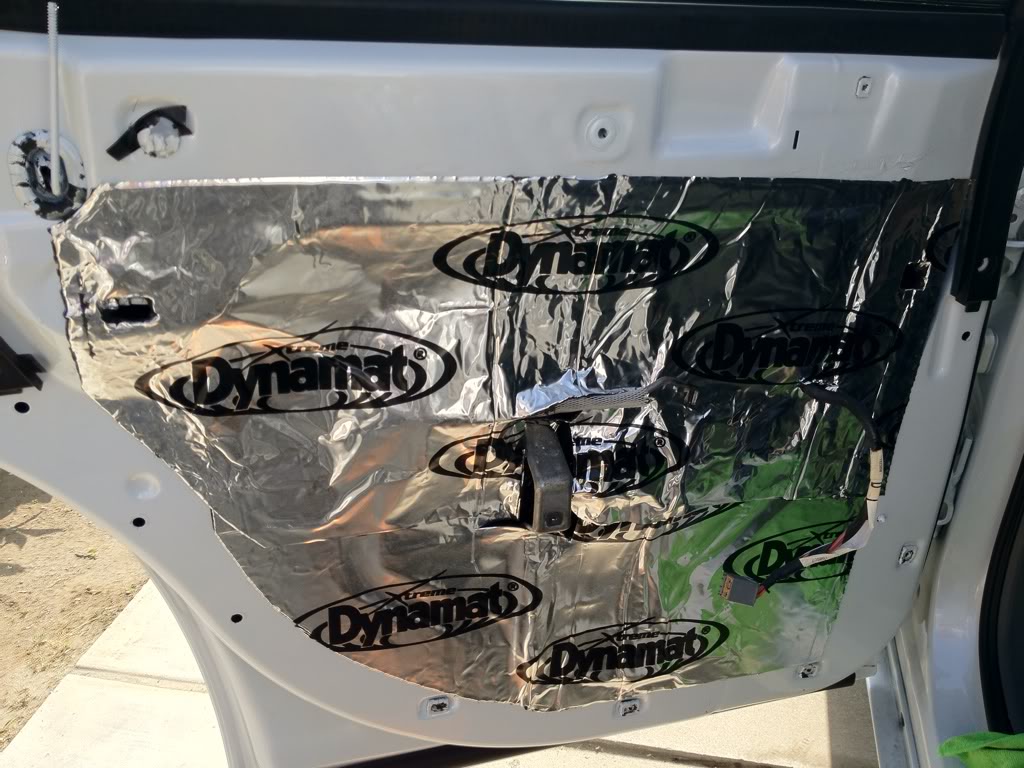
Layer #2...the same philosophy was applied on all 4 doors
Metal in the inner front fender that hits the tires once aired out

Metal cut and folded
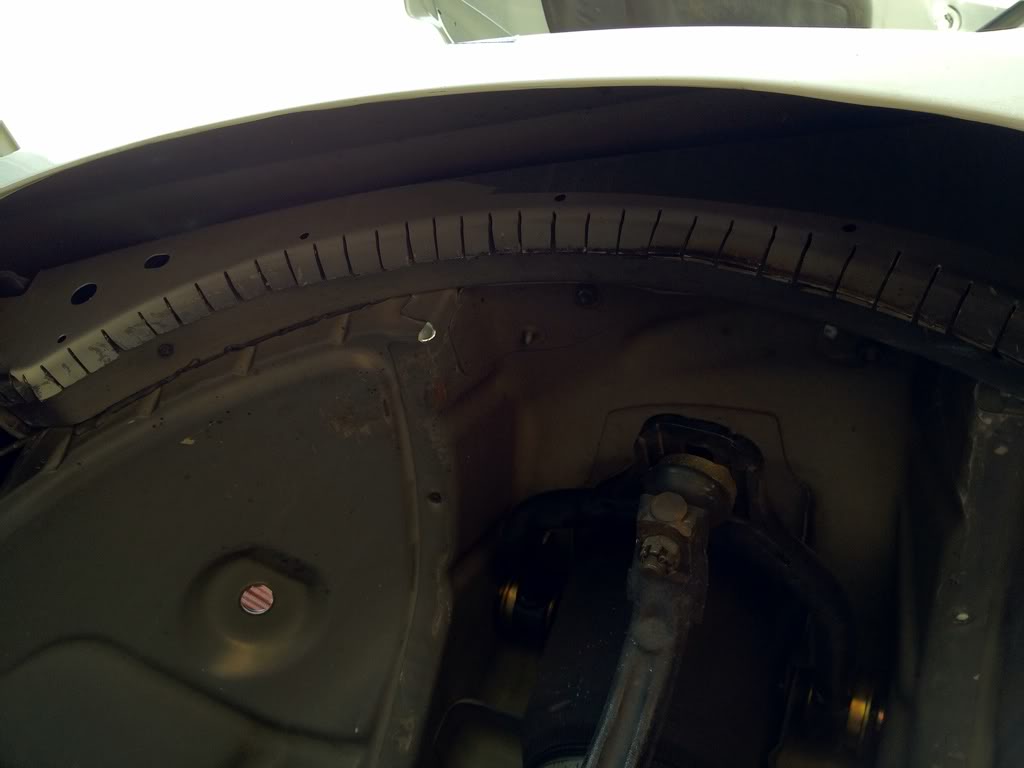
Metal painted to prevent rusting. We gained about an extra 1/4" drop. Once the OEM A-arms are put back in, it should drop another 1/2" or more!!!
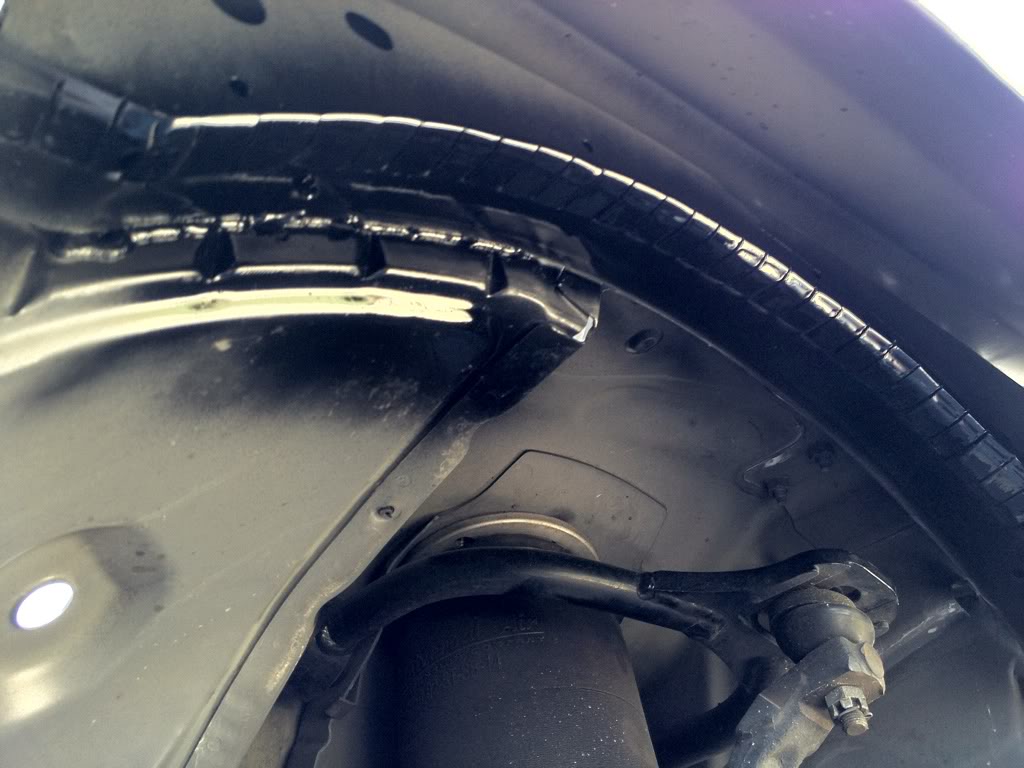
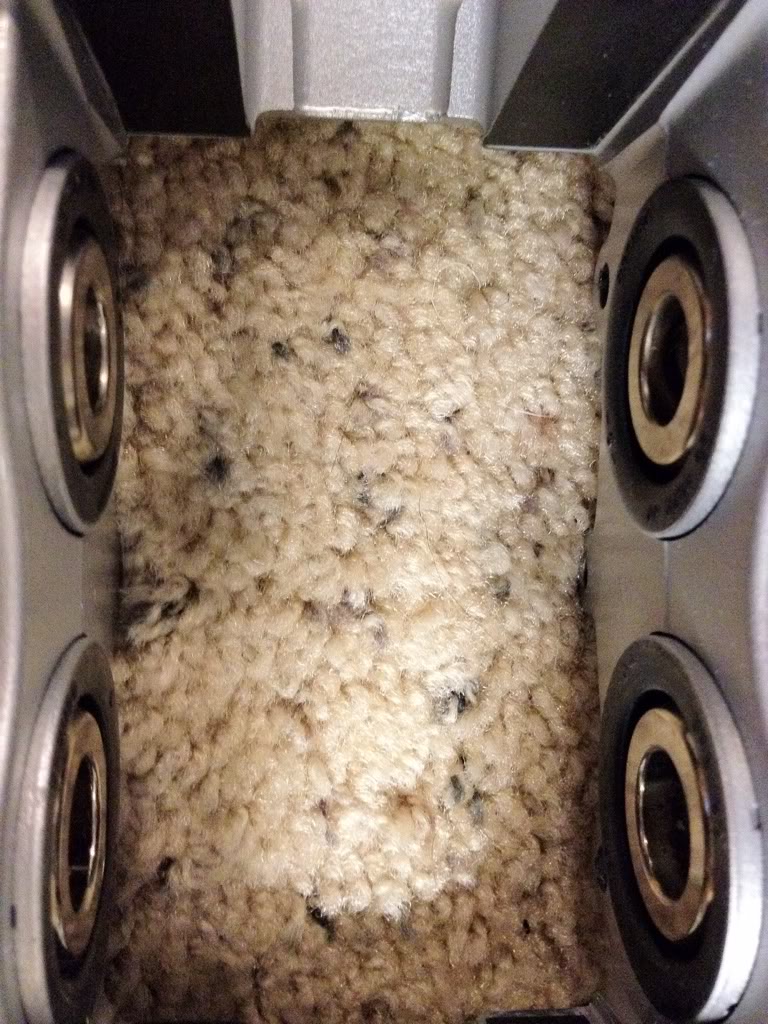
Closeup of the bump in the inner rear fender that was banged out. You can see where the tire left marks when the car is aired out. The rear ended up dropping another 3/4 of an inch! Unfortunately, I was running short on time so that is all of the pics I could take.

Danny aka Funkycld came through once again. I had a conversation with him in regards to how I wanted to push the rear wheels out a bit more and to be able to drop the front of the car a bit more. The 2 issues I noticed were the rear section of the inner rear fender has a bulge that the tires end up sitting on once the car is laid out. The 2nd issue was the front SPC Camber arm either being thicker or possibly the nut on top of the balljoint hitting the inner shock mount of the car sooner than the OEM's. Danny identified that the rear could be banged out since the metal in the inner rear fenders are two separate sheets of metal! He also stated that he could fold the metal in the inner portion of the front fenders to gain more of a drop once aired out!
Anyways, on to the pics...
Removed door panels to put a layer of dynamat in the inner part of the door and another layer on the outside shell. LAYER #1...
Layer #2...the same philosophy was applied on all 4 doors
Metal in the inner front fender that hits the tires once aired out
Metal cut and folded
Metal painted to prevent rusting. We gained about an extra 1/4" drop. Once the OEM A-arms are put back in, it should drop another 1/2" or more!!!
Closeup of the bump in the inner rear fender that was banged out. You can see where the tire left marks when the car is aired out. The rear ended up dropping another 3/4 of an inch! Unfortunately, I was running short on time so that is all of the pics I could take.
#27
11-20-2013, 02:19 AM
Join Date: Jun 2005
Location: OC, CA
Age: 42
Posts: 116
Rep Power: 23
Just some small updates before the big stuff is done. The head/cam swap, torque converter, and retrofitted AMG brakes will hopefully be done before the car's first show at the end of the month. On to the pics...
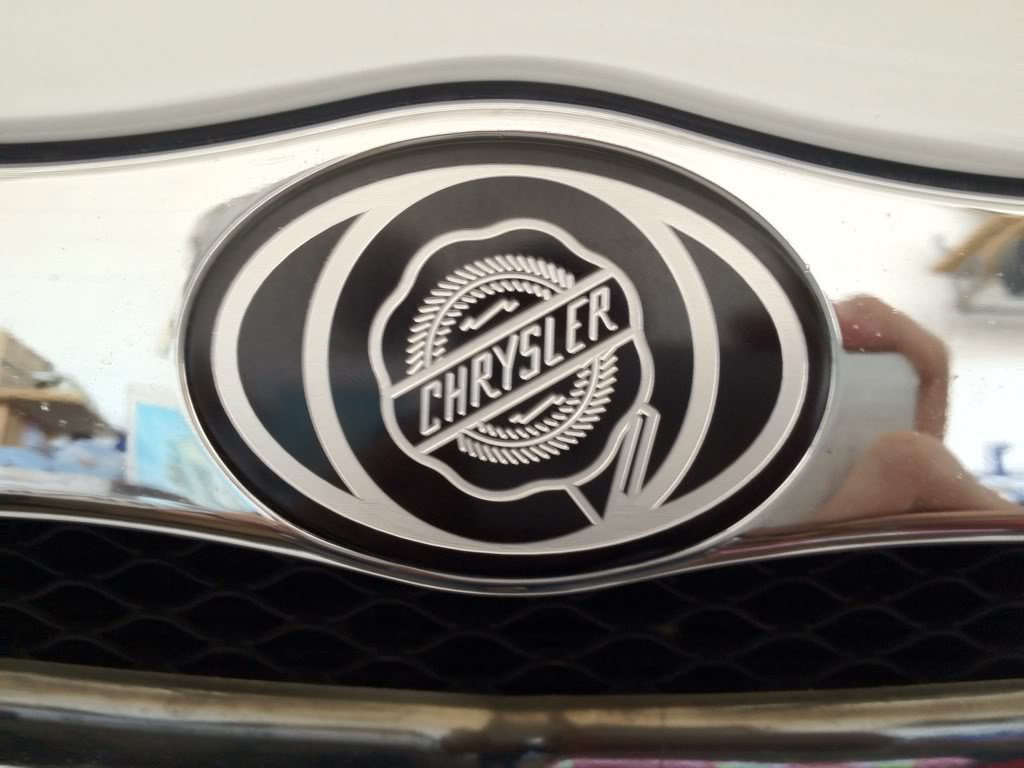
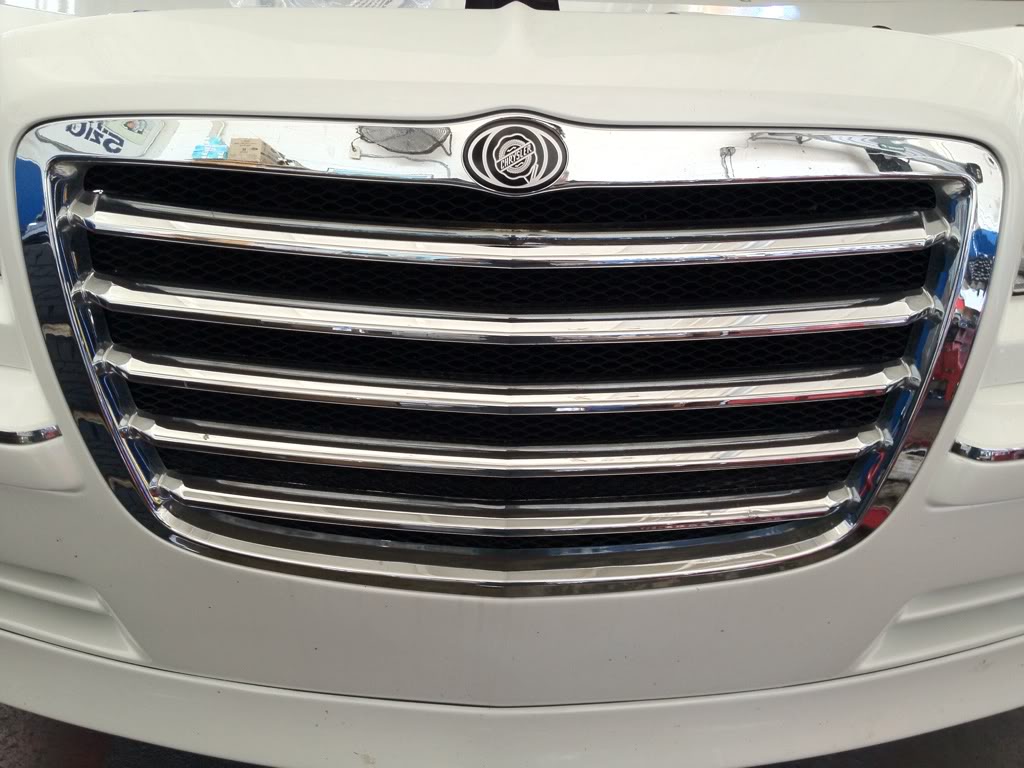
Finally was able to get rid of the G on the emblem and replaced it with a billet aluminum anodized black chrysler emblem
EGR delete kit in satin w/ clearcoat courtesy of my sponsor Billet Technology. Thanks again!
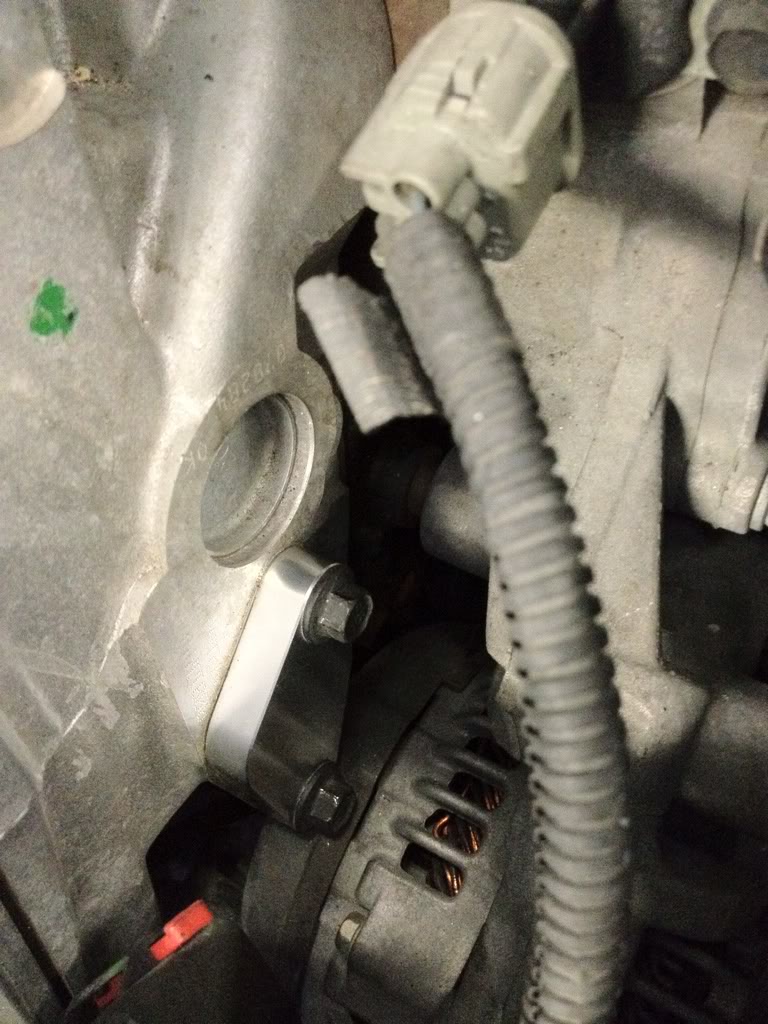
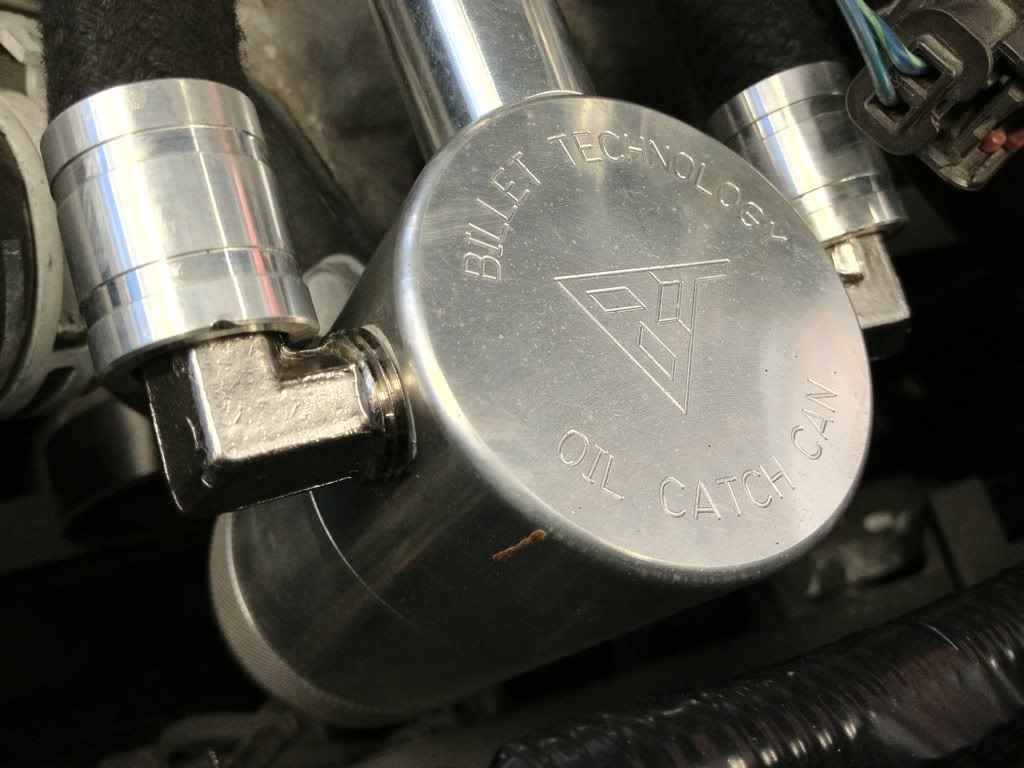
Swapped out the brass fittings on the BT oil catch can for the nickel plated versions...mmm
Satin power mirror switch and bezel
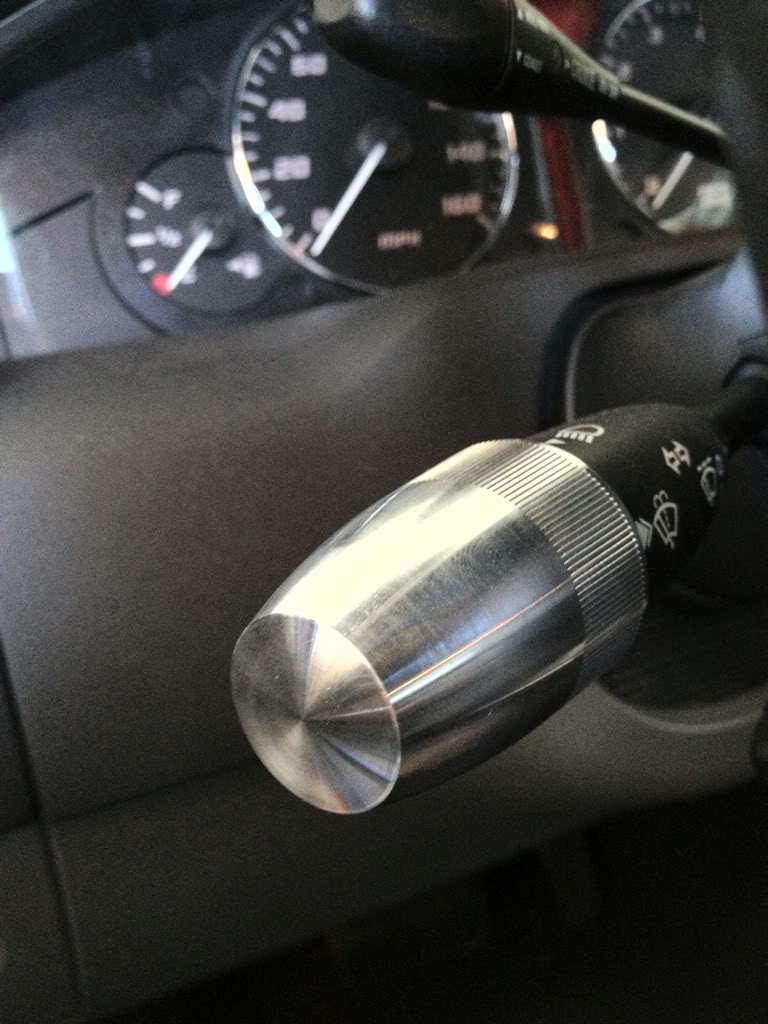
Satin wiper stalk
Eww, the interior needs a detail before the show. Satin designer series door locks

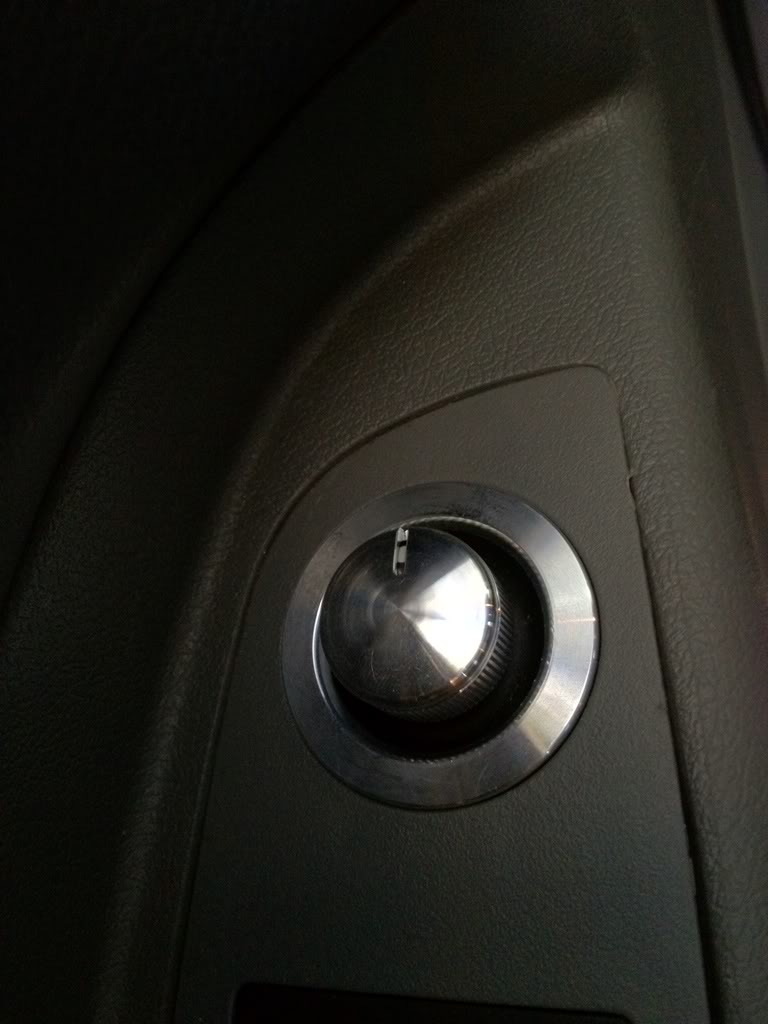
Anodized black shifter insert
Polished timing cover ready to go in
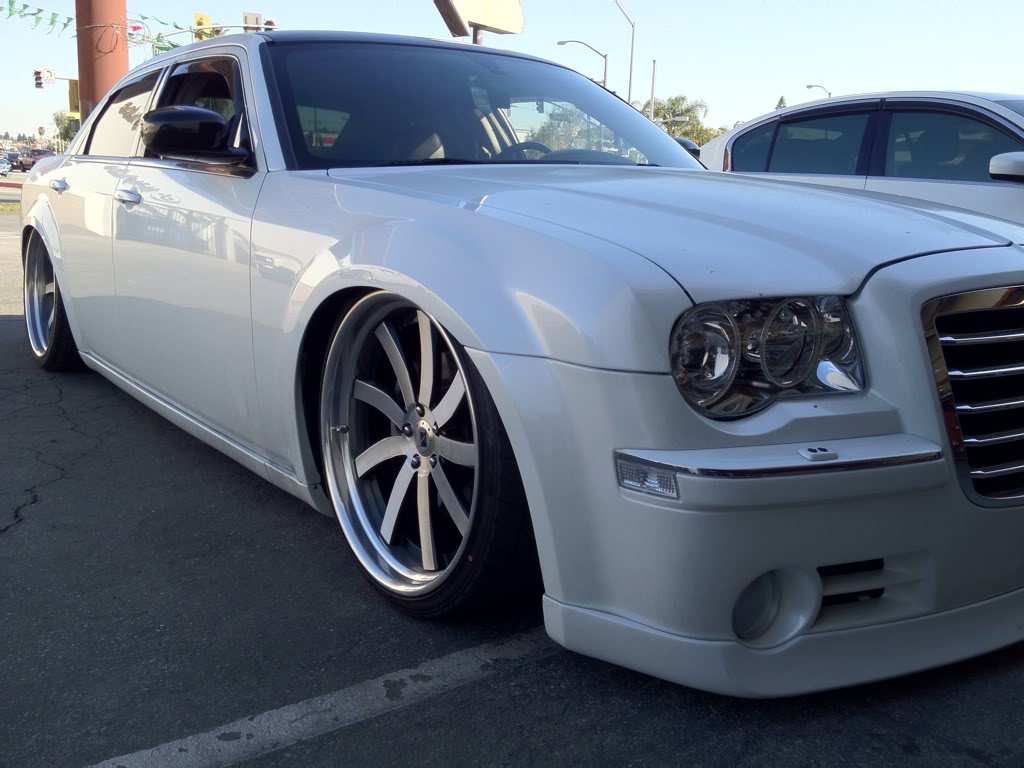
New stance! With the fender work the car dropped another 1/2 to 3/4" front and rear! The long tube headers will definitely hit once the car is slammed now
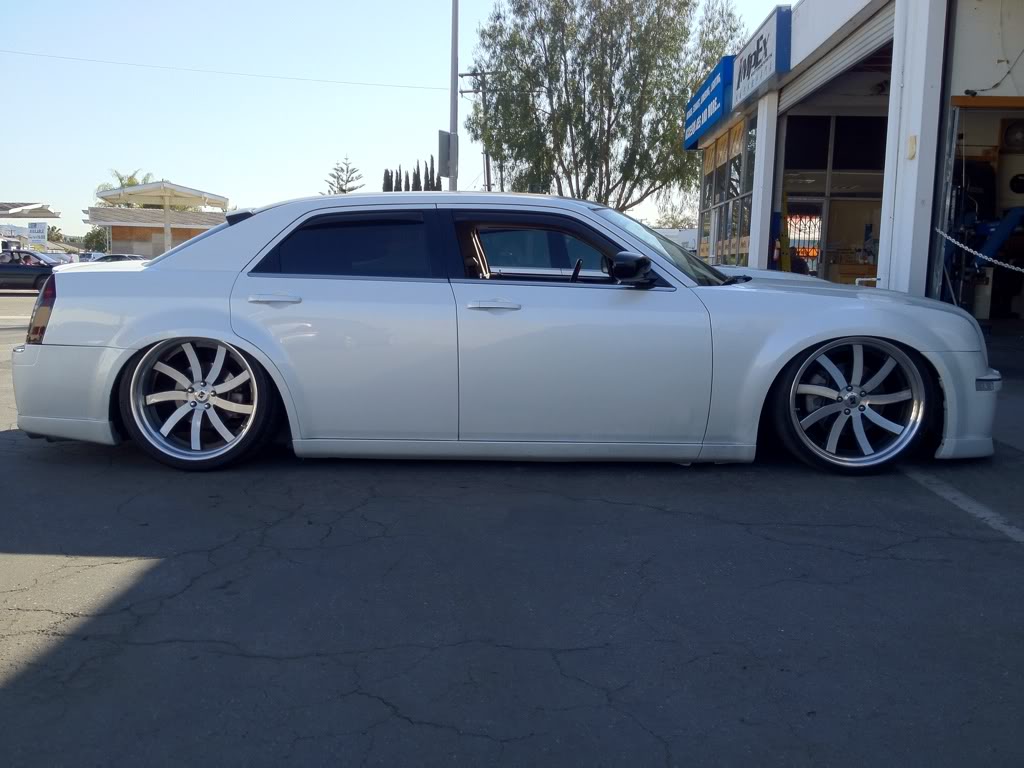
The stance will benefit with some spacers that I plan to run to allow more room for the AMG brakes
Finally was able to get rid of the G on the emblem and replaced it with a billet aluminum anodized black chrysler emblem
EGR delete kit in satin w/ clearcoat courtesy of my sponsor Billet Technology. Thanks again!
Swapped out the brass fittings on the BT oil catch can for the nickel plated versions...mmm
Satin power mirror switch and bezel
Satin wiper stalk
Eww, the interior needs a detail before the show. Satin designer series door locks
Anodized black shifter insert
Polished timing cover ready to go in
New stance! With the fender work the car dropped another 1/2 to 3/4" front and rear! The long tube headers will definitely hit once the car is slammed now
The stance will benefit with some spacers that I plan to run to allow more room for the AMG brakes
#28
11-20-2013, 02:20 AM
Join Date: Jun 2005
Location: OC, CA
Age: 42
Posts: 116
Rep Power: 23
I was inspired by magfx's "skid plates" that he made for his LT headers, so I had L-con Racing fabricate some or me. I told them that the car would more than likely sit on the headers once aired out so they welded on some thick pieces of steel.
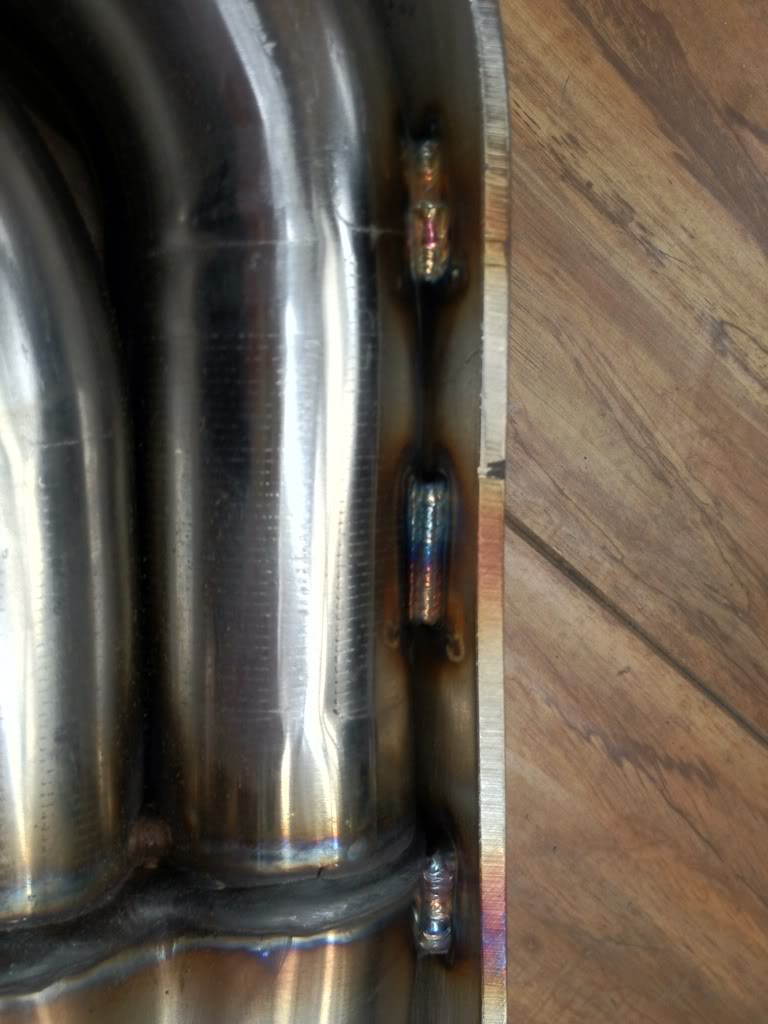
closer view of the plate
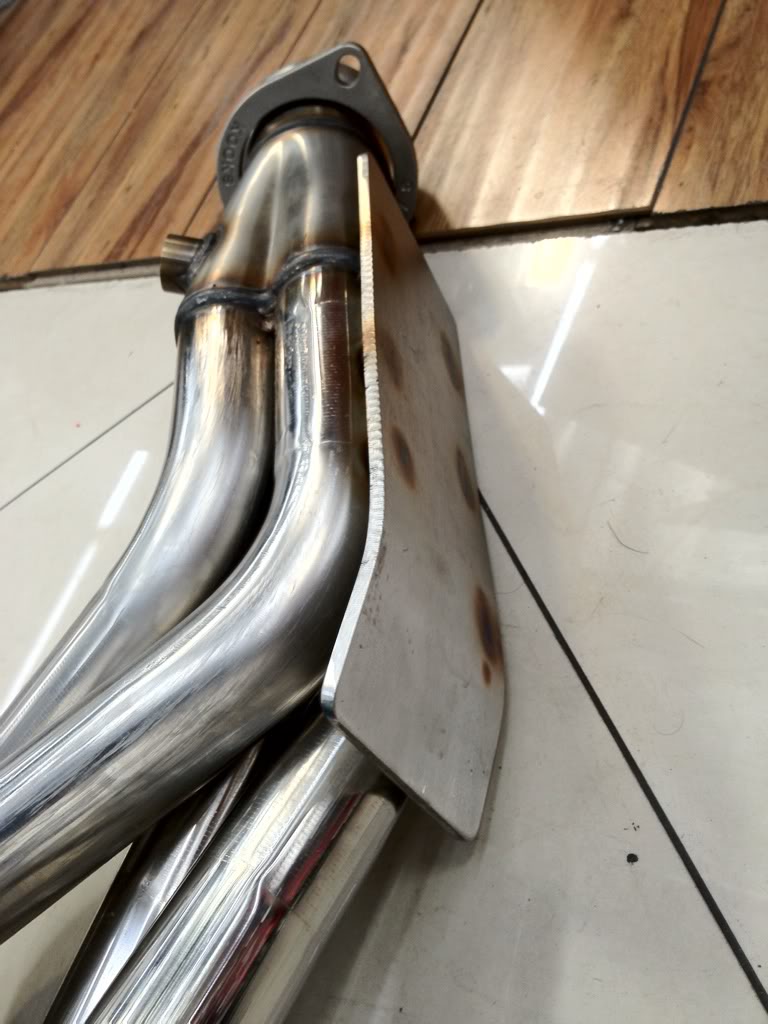
They did awesome work on the cage for my track car so I'm not surprised that the welds were nice once again
Bottom side
closer view of the plate
They did awesome work on the cage for my track car so I'm not surprised that the welds were nice once again
Bottom side
#29
11-20-2013, 02:21 AM
Join Date: Jun 2005
Location: OC, CA
Age: 42
Posts: 116
Rep Power: 23
Two boxes came in today! One was a tease and wasn't even mine as they were my wife's Red Bottoms! :/ On to the pics!!!
Oooh, what do we have here?
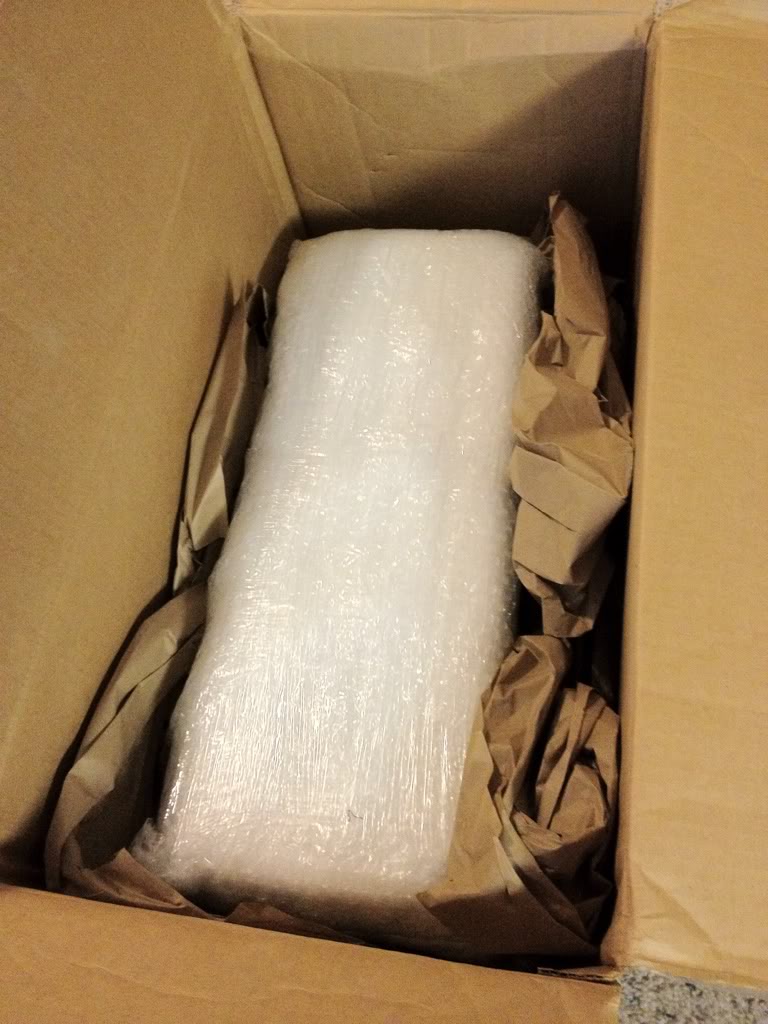
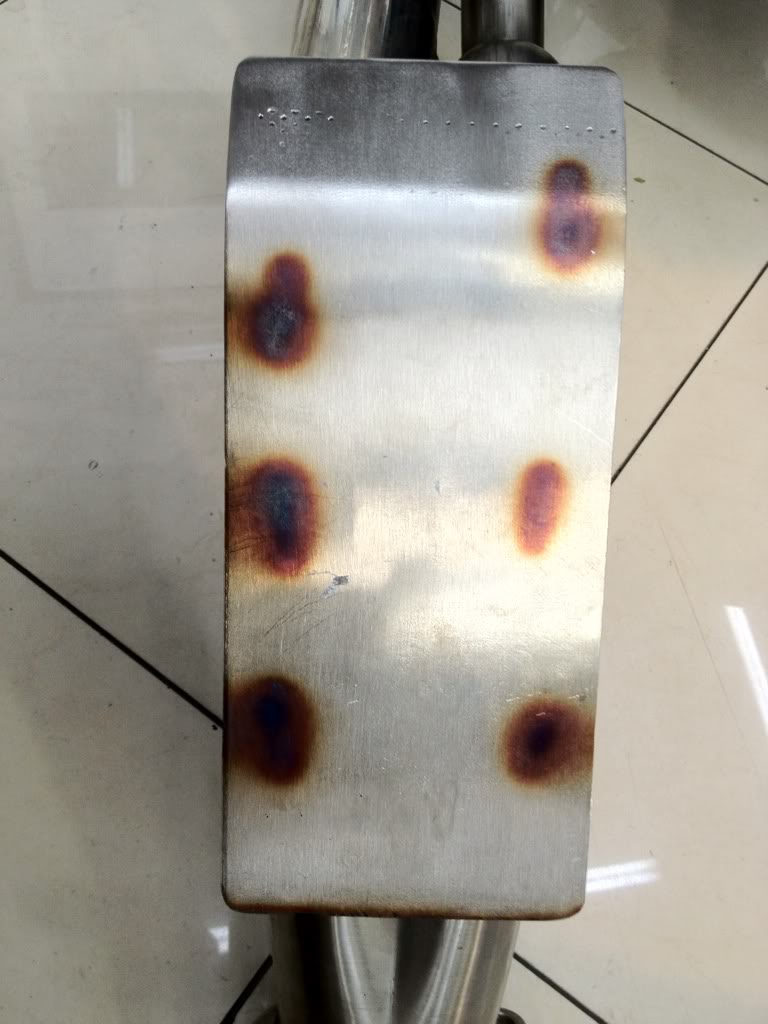
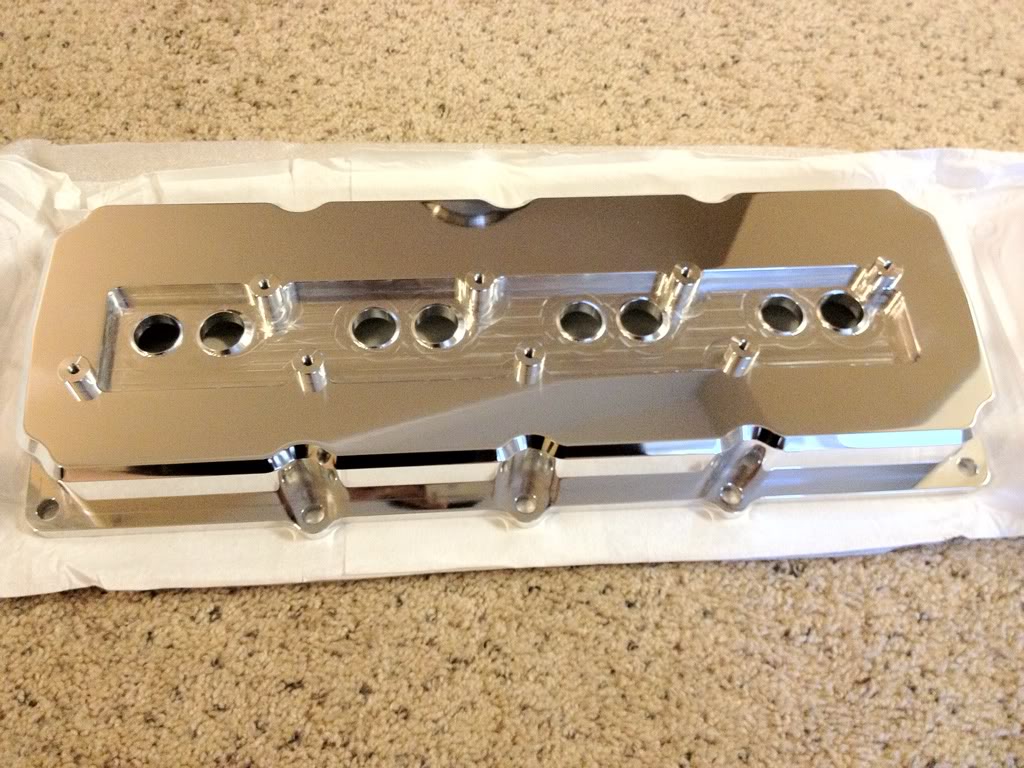
Why they are some Billet Technology Polished Aluminum valve covers!
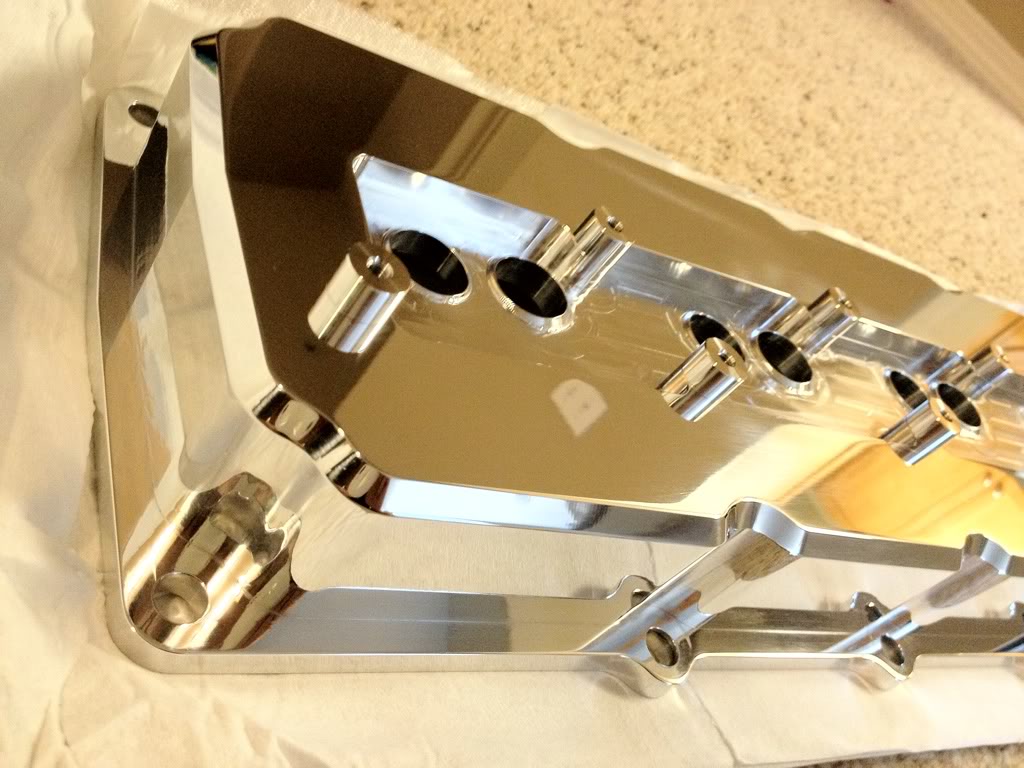
Too sick! I can't wait to throw these on during the head/cam swap.
Bottom
Billet Technology Satin pedals and dead pedal
Polished throttle body cover by BT
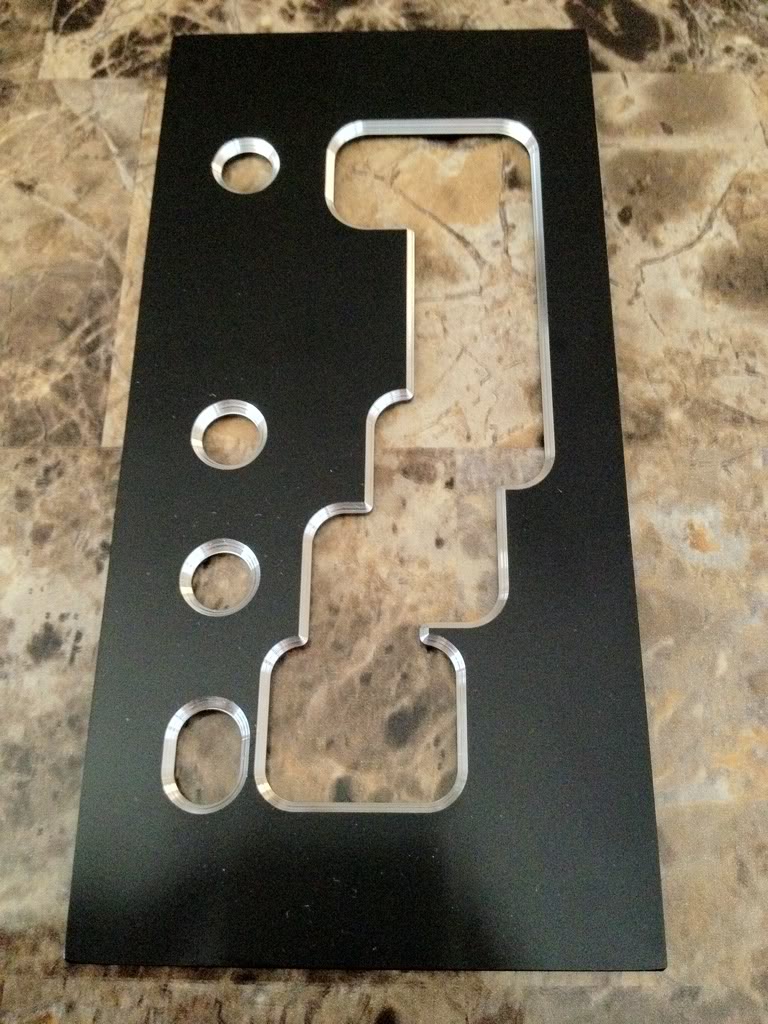
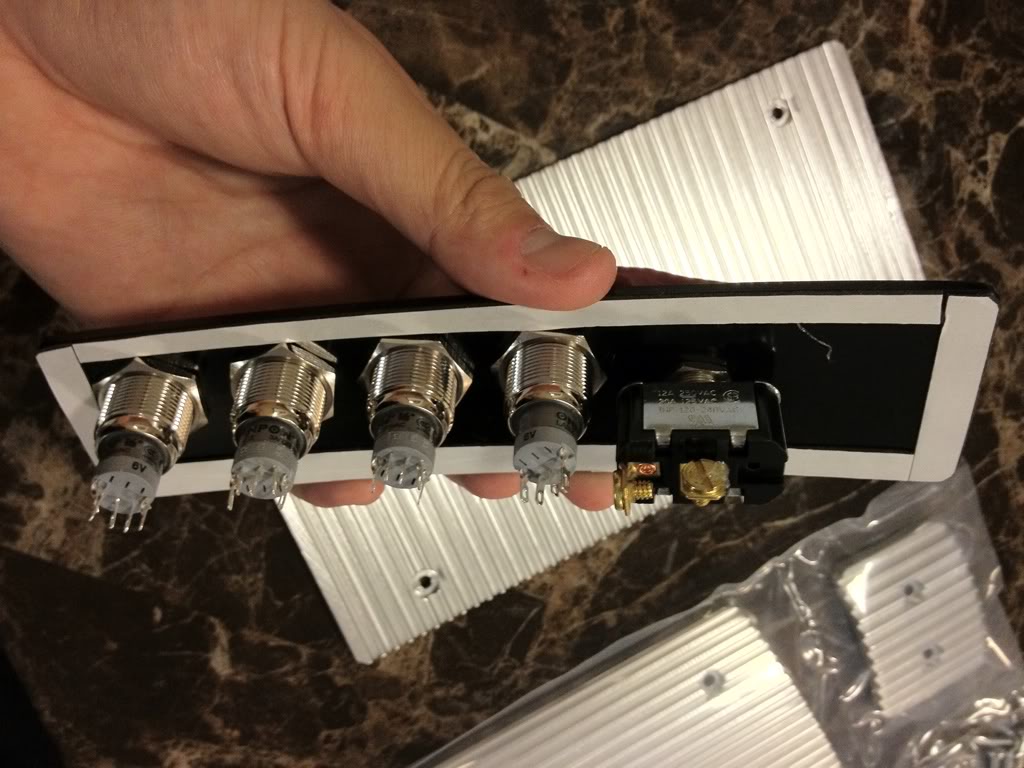
Custom control switch panel for my accessories courtesy of BT!

Oooh, what do we have here?
Why they are some Billet Technology Polished Aluminum valve covers!
Too sick! I can't wait to throw these on during the head/cam swap.
Bottom
Billet Technology Satin pedals and dead pedal
Polished throttle body cover by BT
Custom control switch panel for my accessories courtesy of BT!
#30
11-20-2013, 02:22 AM
Join Date: Jun 2005
Location: OC, CA
Age: 42
Posts: 116
Rep Power: 23
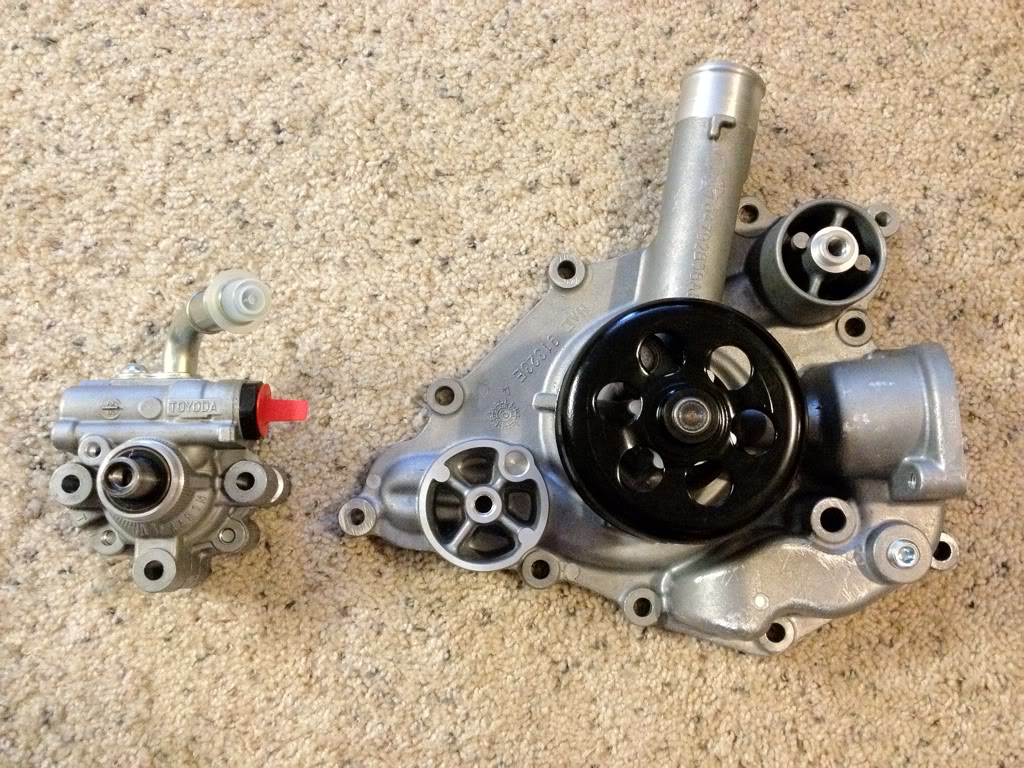
Water and Power steering pump have arrived. Will be sending these off to be polished. These will be the final engine touches for now since the head/cam swap is going down this weekend so no more time to add any more bells and whistles before the show!
The wife is happy that 1/2 of the baby's closet is once again open. Boxes/parts all labeled and ready to roll for head/cam swap.
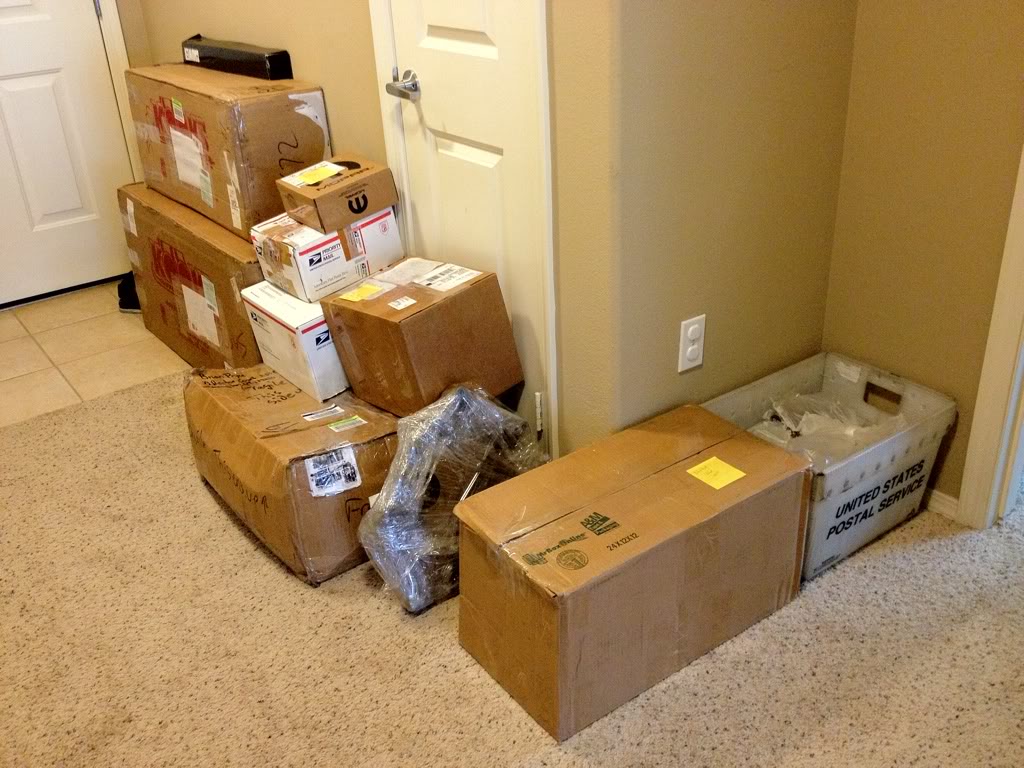
The wife is happy that 1/2 of the baby's closet is once again open.
Boxes/parts all labeled and ready to roll for head/cam swap.