
painting porsche center wheel caps yourself

Thread Starter
|
Registered User
Joined: Oct 2007
Posts: 292
From: MD
Rep Power: 42


painting porsche center wheel caps yourself
price: $50.00-200.00
tools needed:
Duplicolor auto spray paint (any color)
1000 grit 3M wet/dry sanding paper
angled pick
I wanted to purchase a set of wheel caps and get them painted in gloss black to match my wheels. The set is over $200 retail for OEM. On top of that local bodyshops wanted $150 paint/labor to color match. That's $350.00, so I came up with a less expensive alternative.
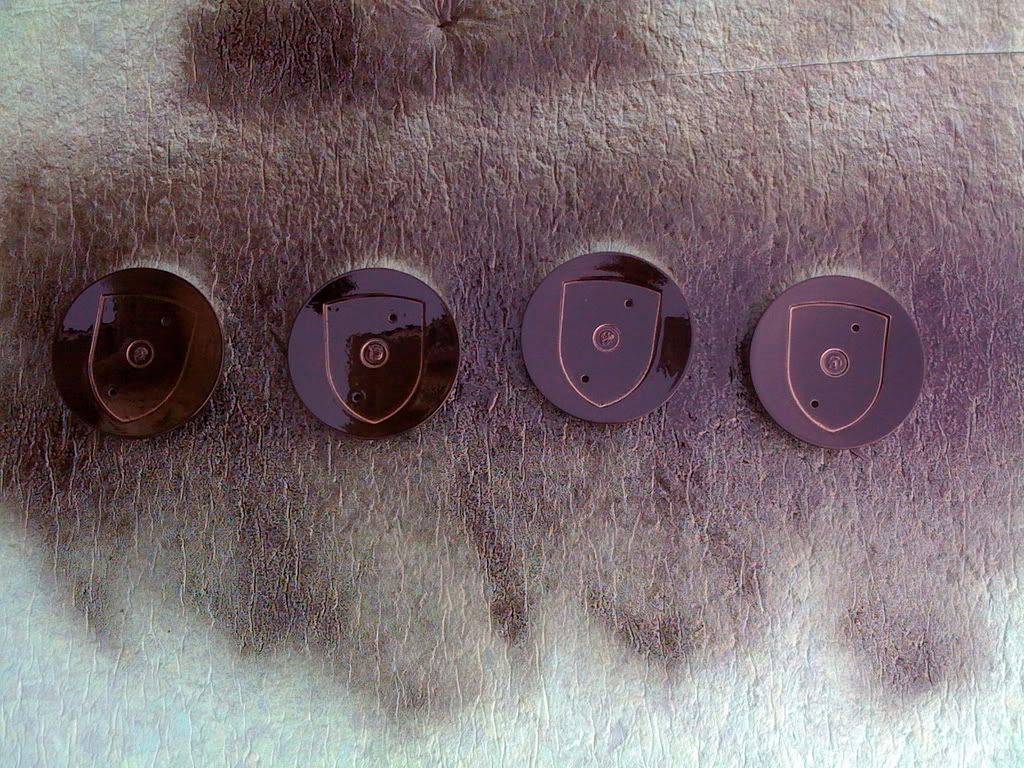
I purchased a set from ebay, they are good quality and only costs $50 shipped.
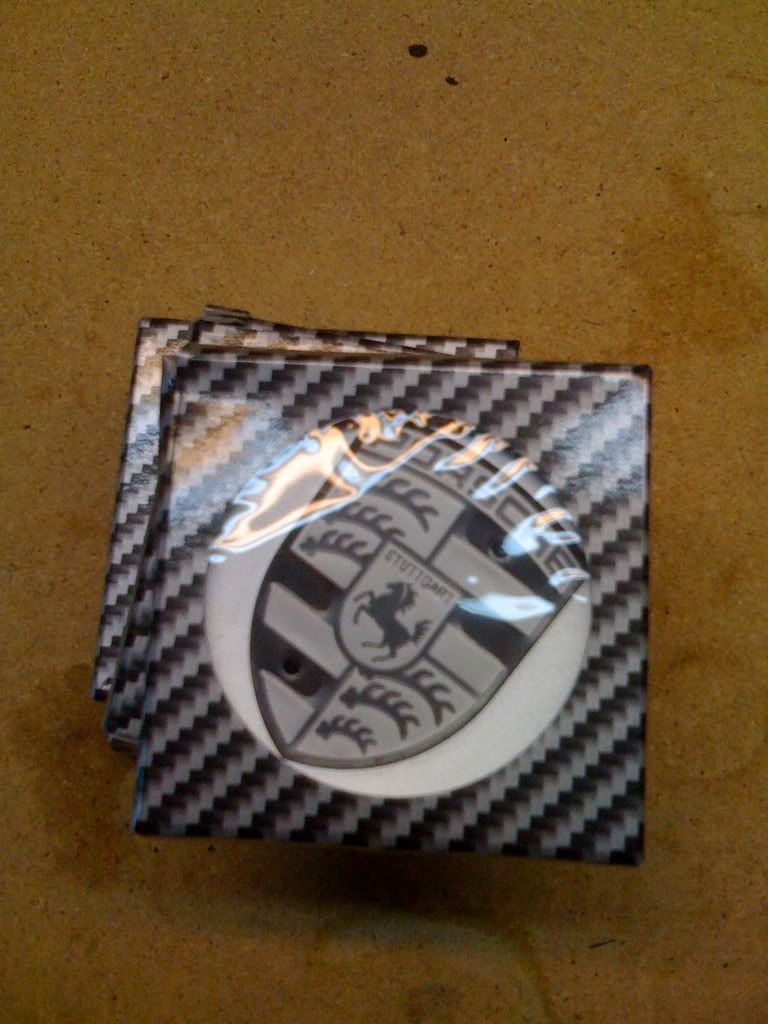
the "prongs" on the back are shorter than OEM ones but it still holds in place great.
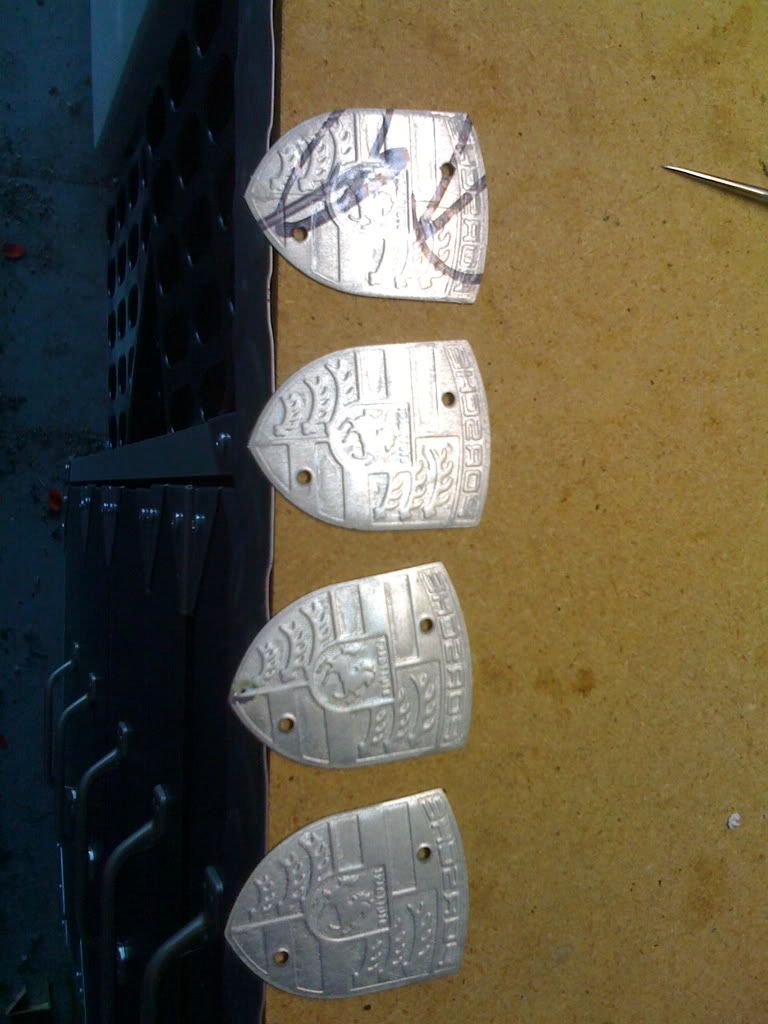
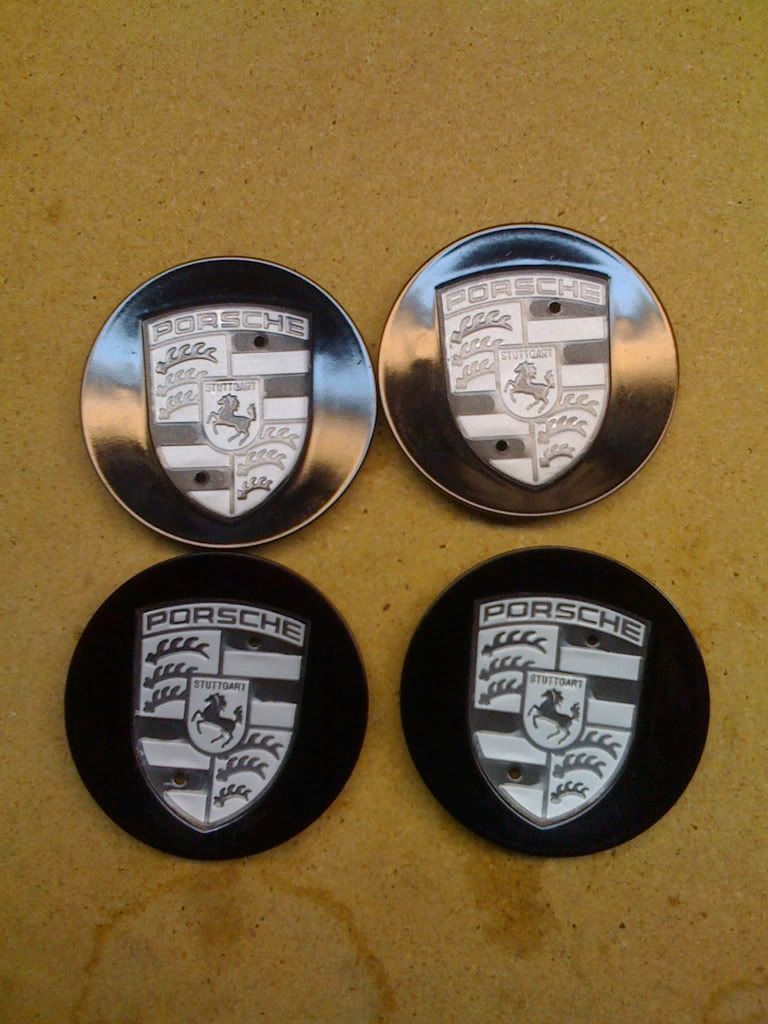
the logo is a separate aluminum piece.
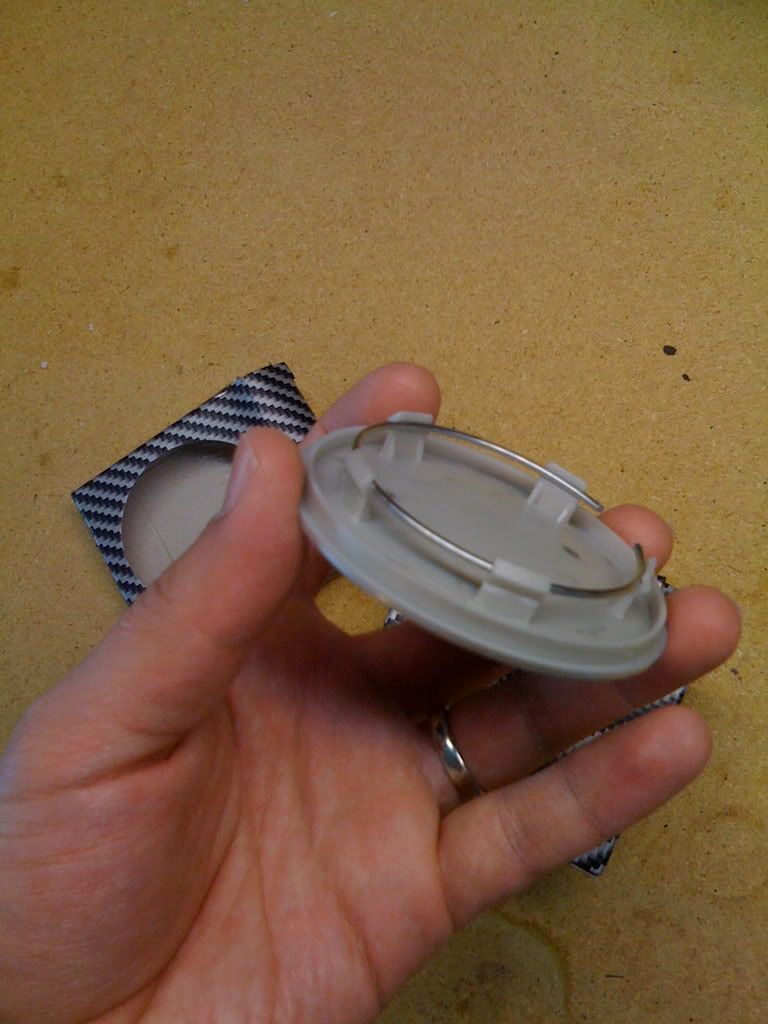
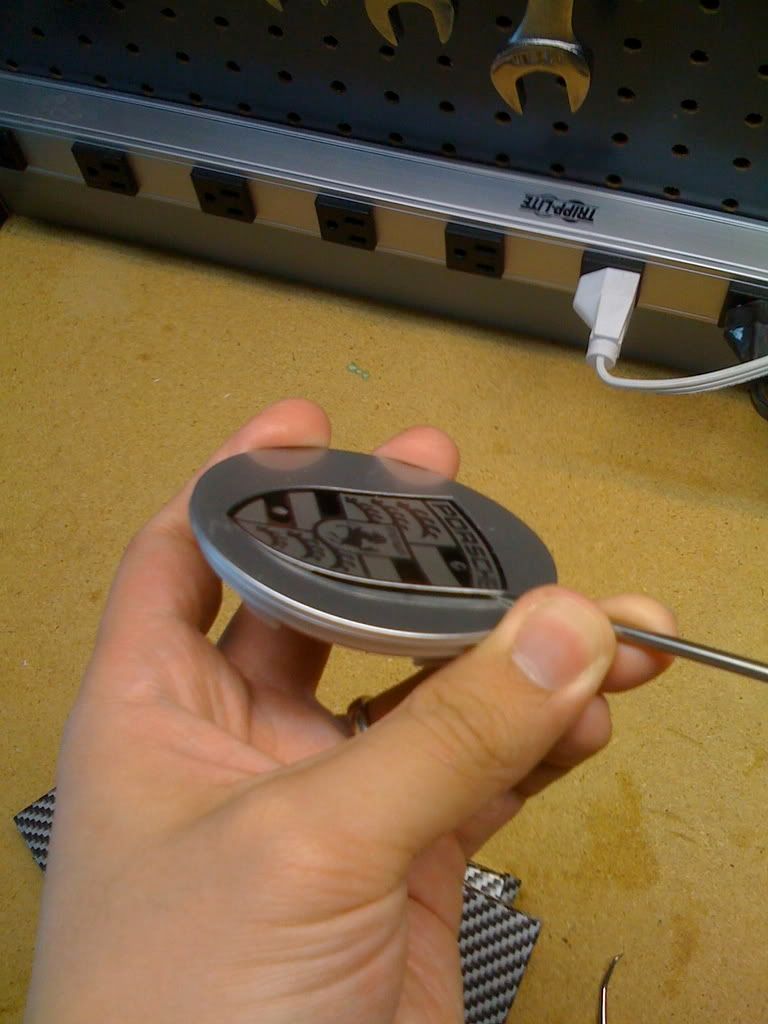
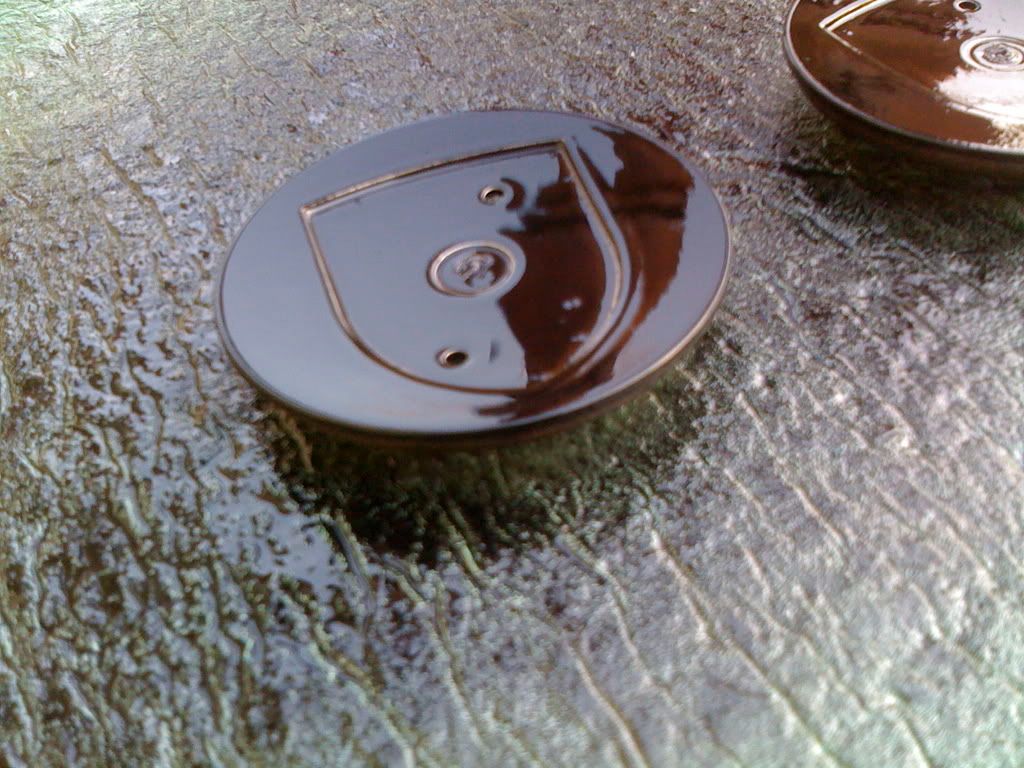
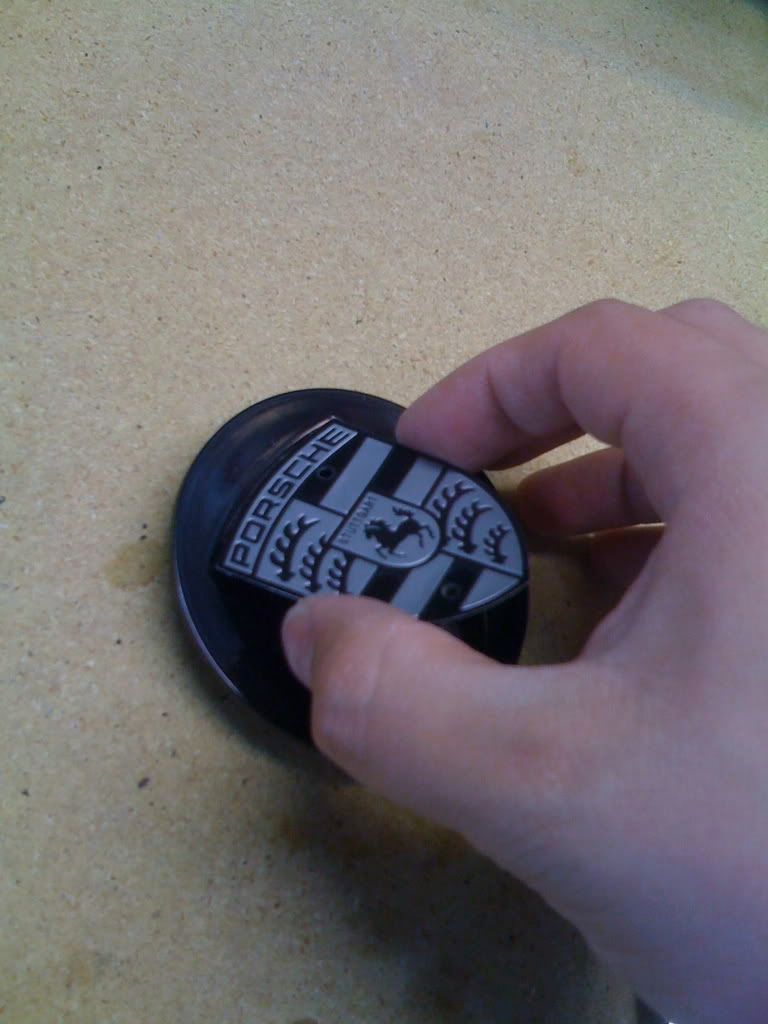
first begin by turning it over and using the pick to push up the logo.
once you push it up enough, you will be able to get it in between the space on the front.
once you get it in slide it around the logo and it should start to pop off.
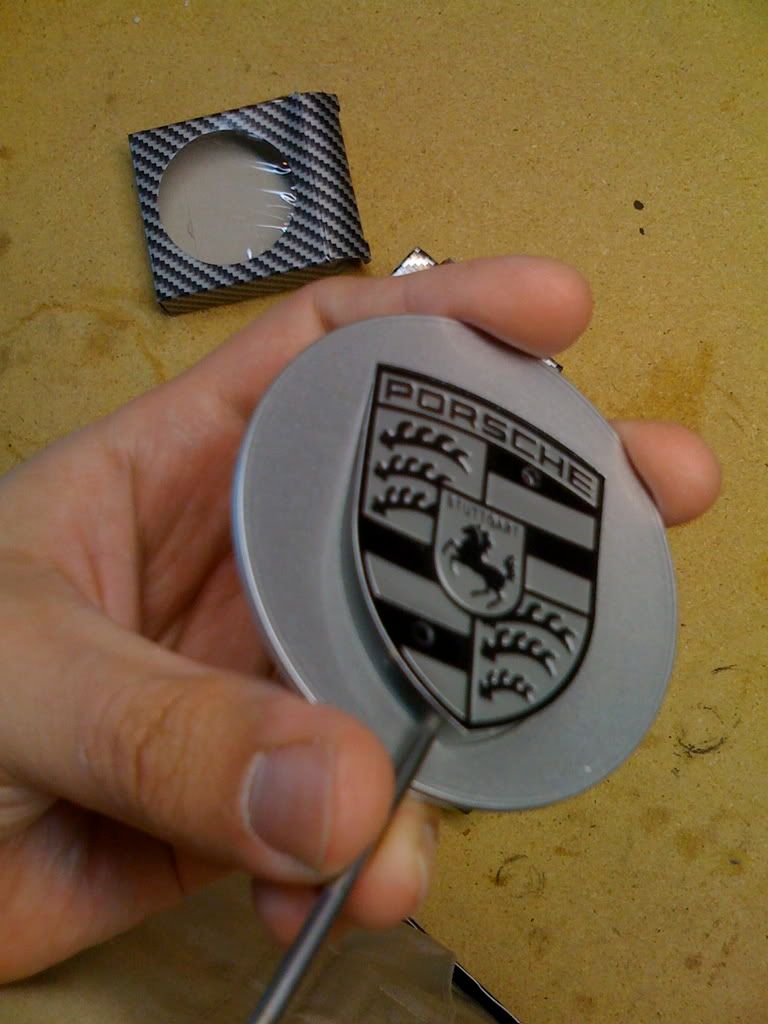
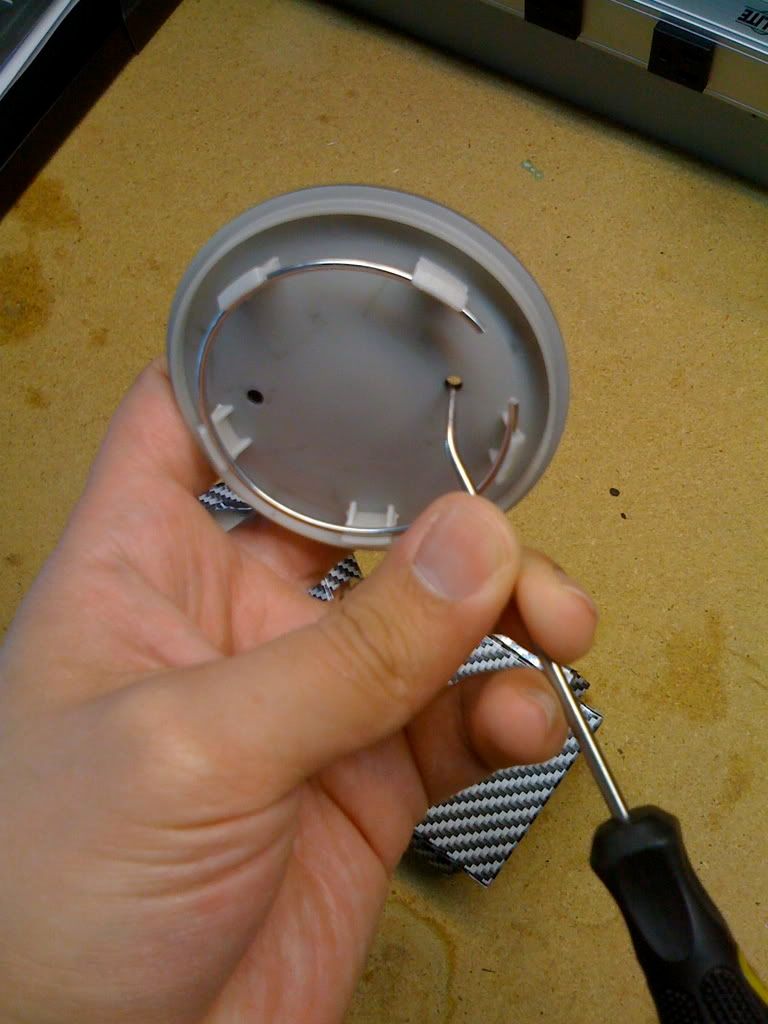
you can just pop it off now, its held by a sheet of adhesive...
good quality and it even has a protective cover.
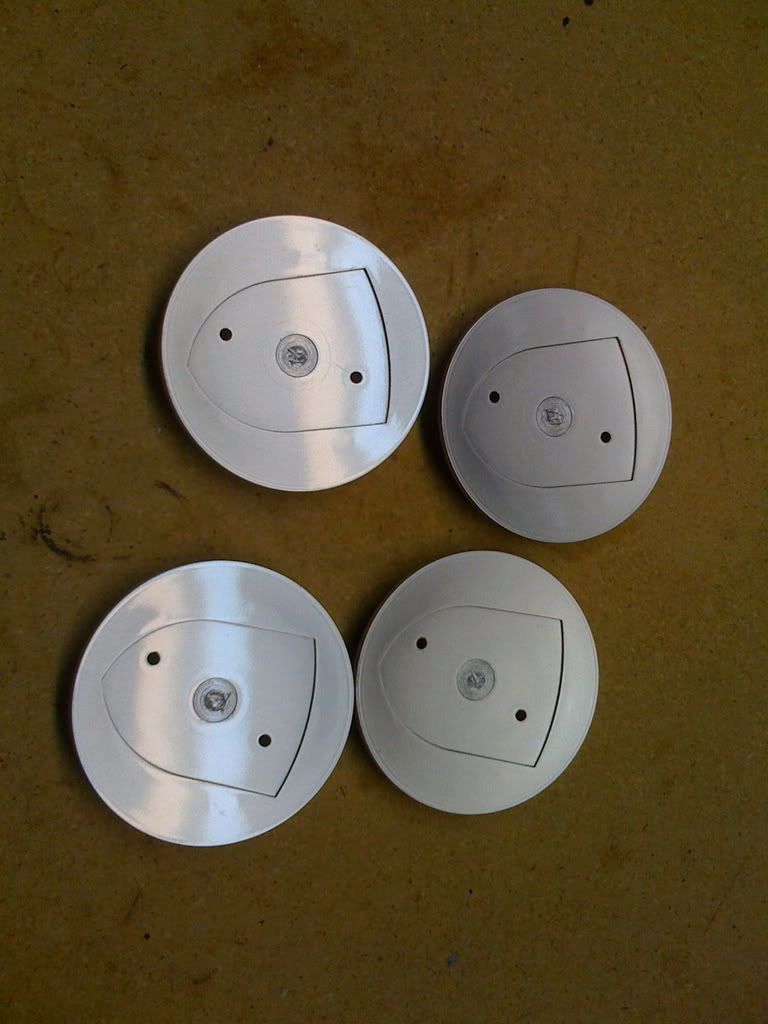
repeat the steps with the others...
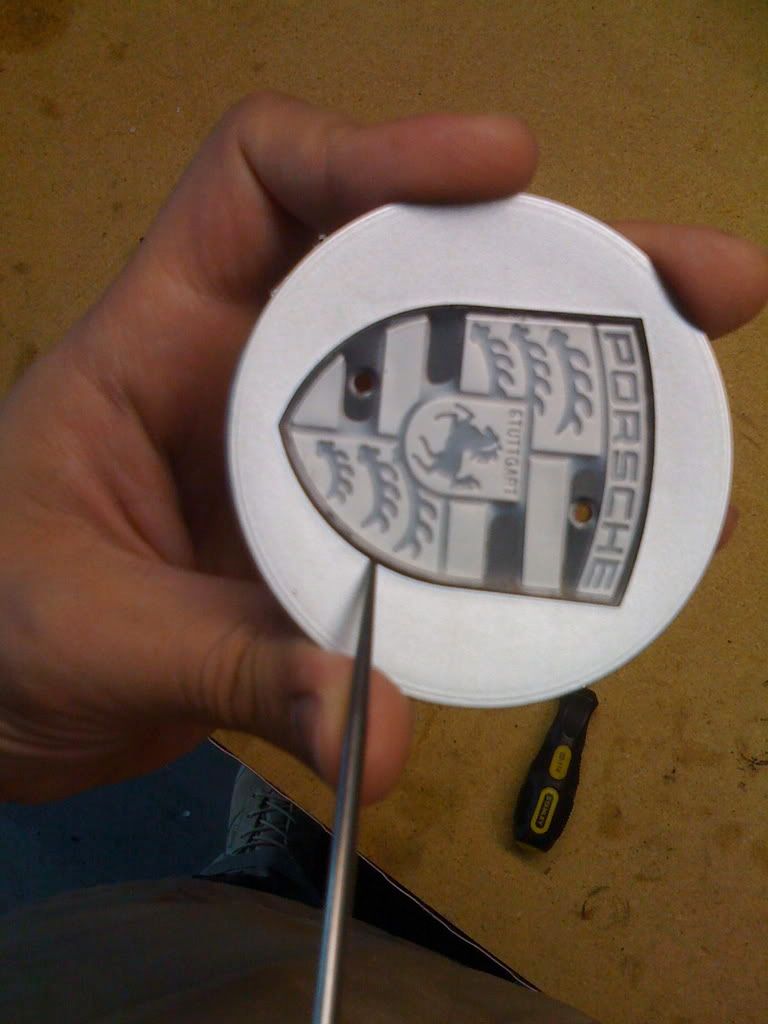
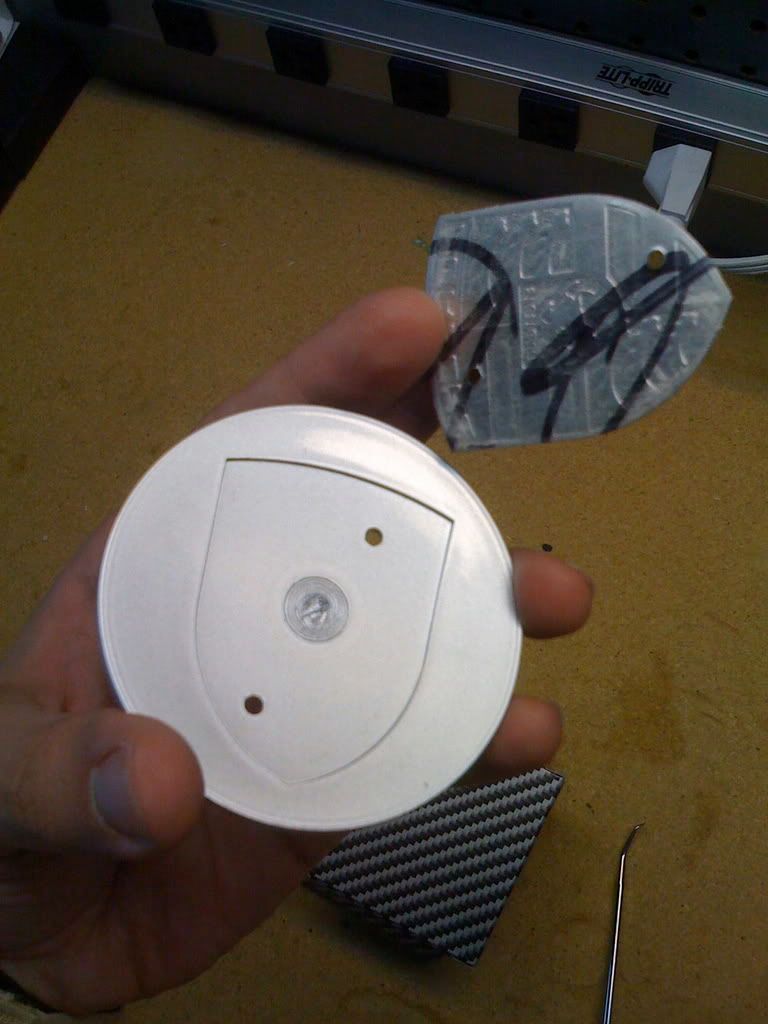
face the logos up somewhere, so that you dont damage them.
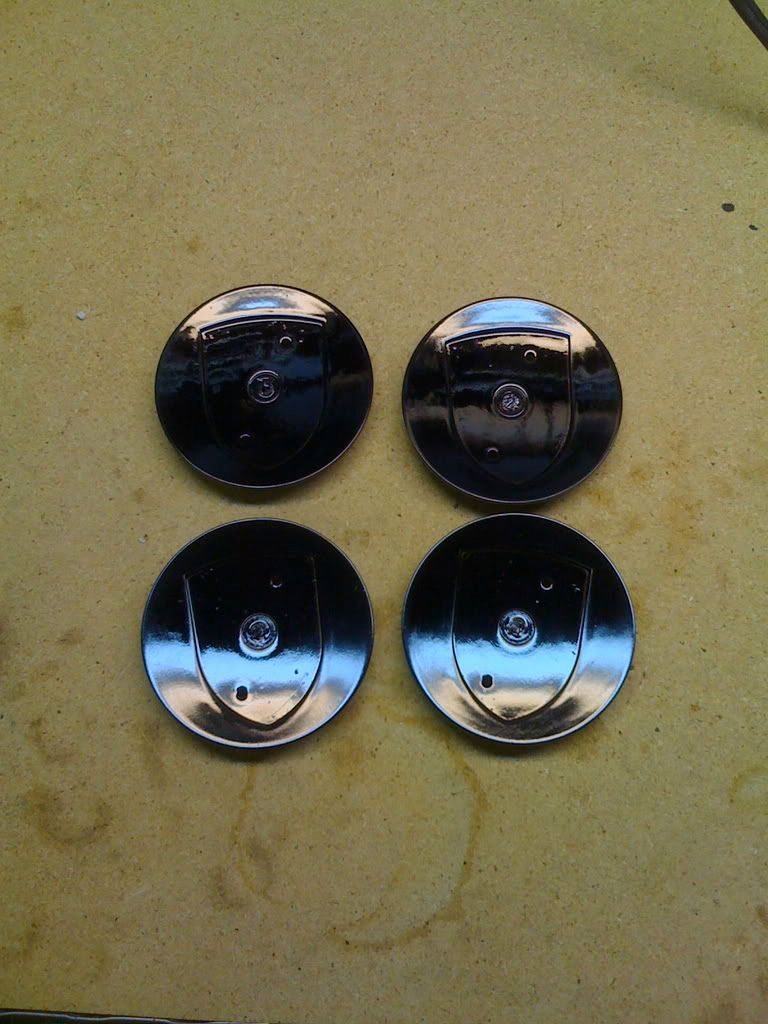
get you sand paper out and start to take the gloss finish off.
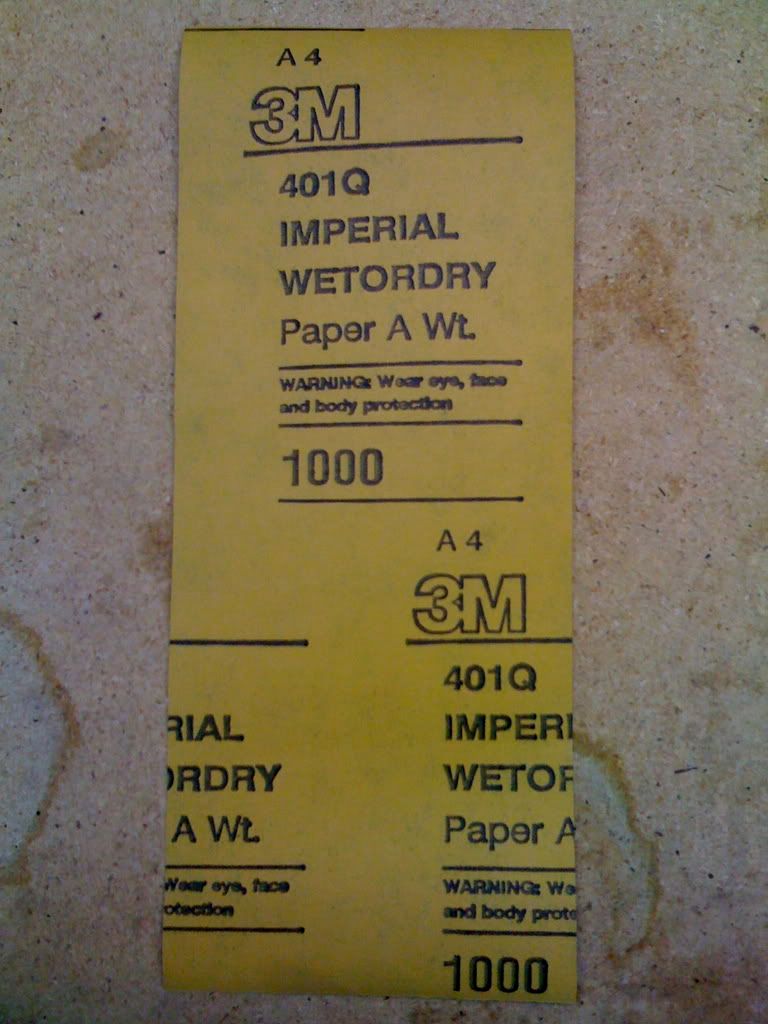
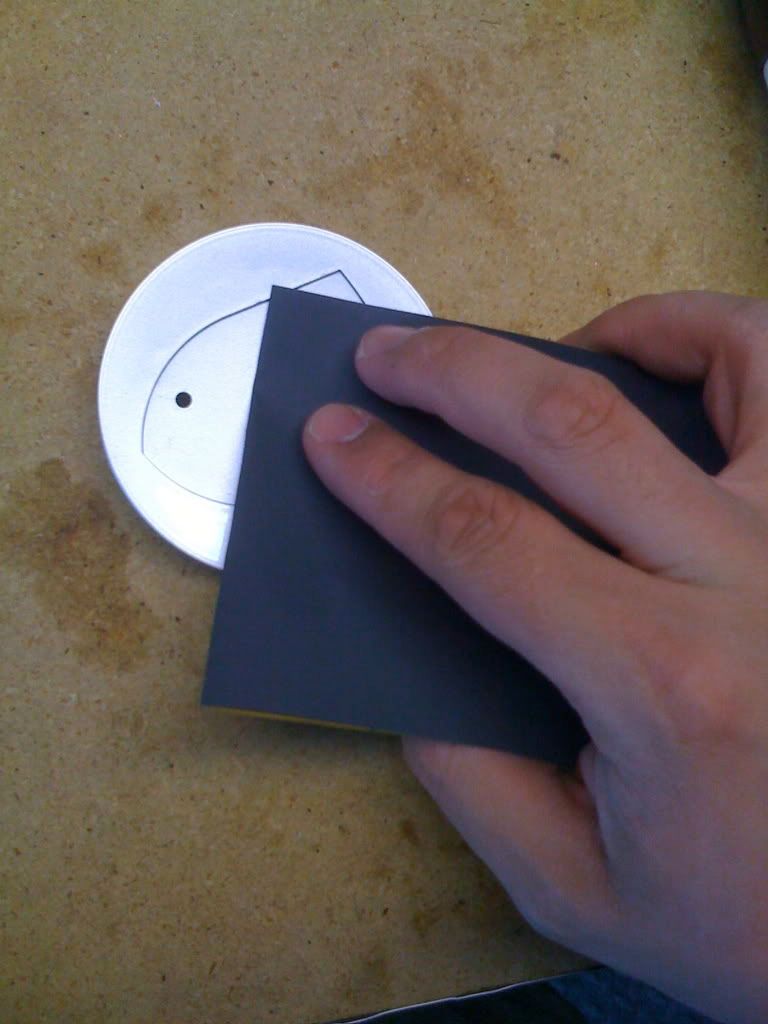
you want the clear coat to be matte so dont miss the edges.

once you've got them done lay them out side by side...
test spray, then you want to go in long strokes accross...
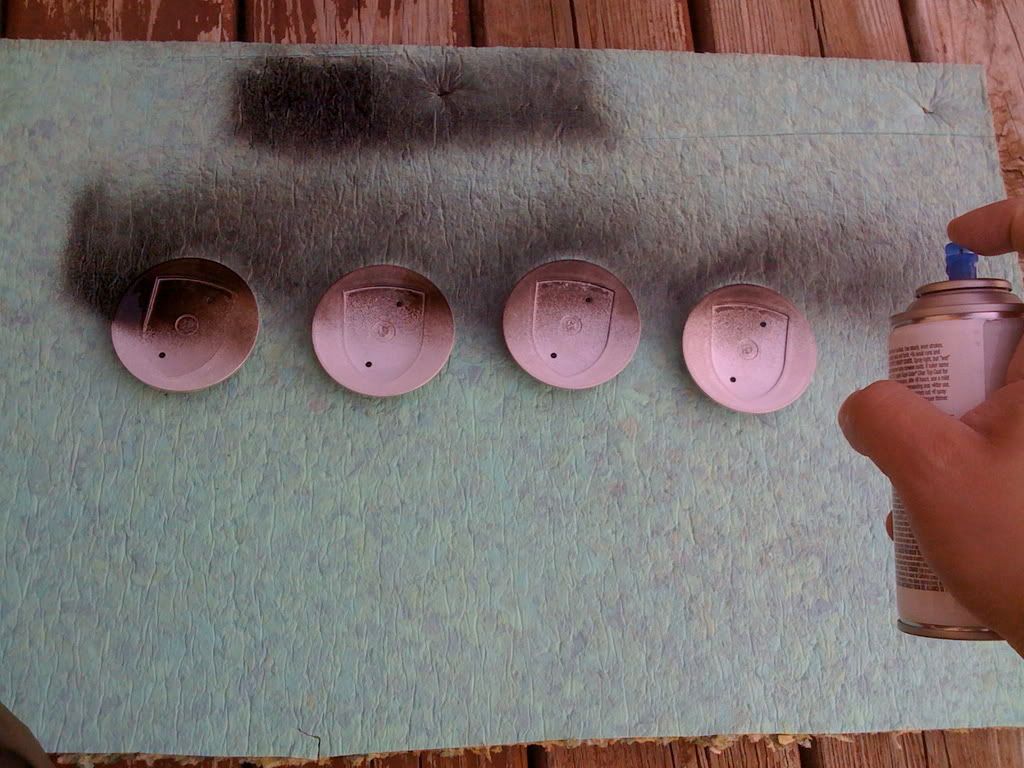
takes a few coats...
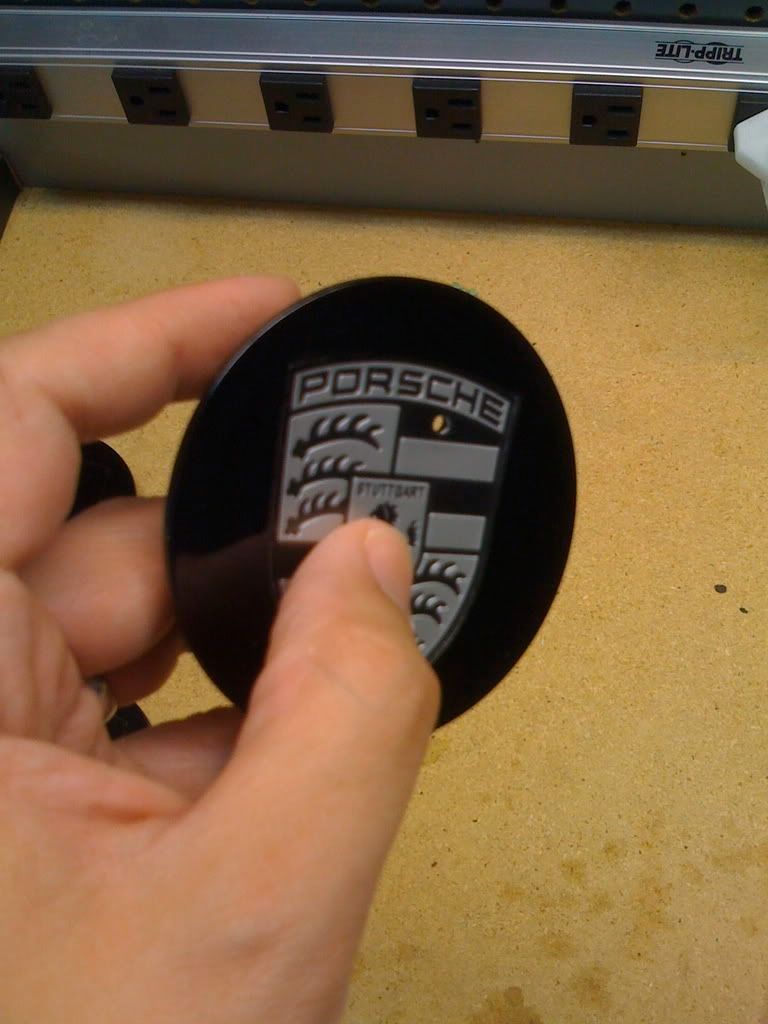
let it dry for a few hours, then reapply the logos...
make sure you line them up straight, I started from the top.
now your done!
Peel off the protective cover from the logo.
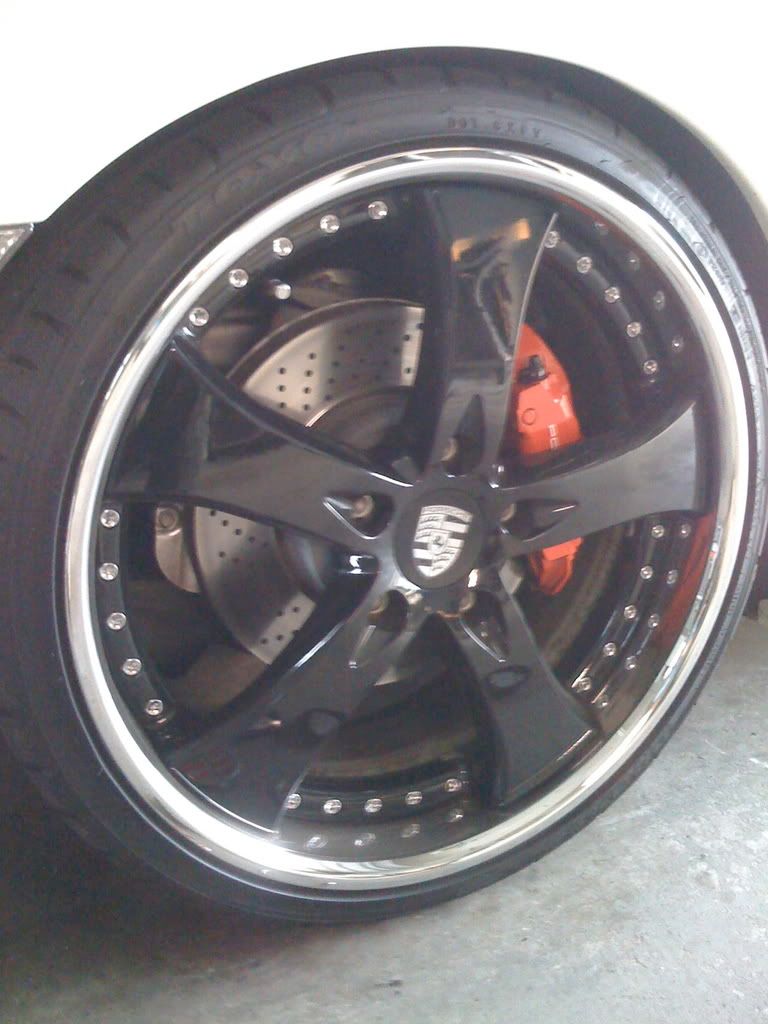
installing them was actually tricky, it is a VERY TIGHT fit. You need to push on both sides of the cap, I put a towel over it and used a rubber hammer to pop them in. looks great.
tools needed:
Duplicolor auto spray paint (any color)
1000 grit 3M wet/dry sanding paper
angled pick
I wanted to purchase a set of wheel caps and get them painted in gloss black to match my wheels. The set is over $200 retail for OEM. On top of that local bodyshops wanted $150 paint/labor to color match. That's $350.00, so I came up with a less expensive alternative.
I purchased a set from ebay, they are good quality and only costs $50 shipped.
the "prongs" on the back are shorter than OEM ones but it still holds in place great.
the logo is a separate aluminum piece.
first begin by turning it over and using the pick to push up the logo.
once you push it up enough, you will be able to get it in between the space on the front.
once you get it in slide it around the logo and it should start to pop off.
you can just pop it off now, its held by a sheet of adhesive...
good quality and it even has a protective cover.
repeat the steps with the others...
face the logos up somewhere, so that you dont damage them.
get you sand paper out and start to take the gloss finish off.
you want the clear coat to be matte so dont miss the edges.
once you've got them done lay them out side by side...
test spray, then you want to go in long strokes accross...
takes a few coats...
let it dry for a few hours, then reapply the logos...
make sure you line them up straight, I started from the top.
now your done!
Peel off the protective cover from the logo.
installing them was actually tricky, it is a VERY TIGHT fit. You need to push on both sides of the cap, I put a towel over it and used a rubber hammer to pop them in. looks great.

Thread
Thread Starter
Forum
Replies
Last Post
PelicanParts.com
930 Turbo Vendor Classifieds
0
Aug 18, 2015 04:01 PM
PelicanParts.com
964 Turbo
0
Aug 18, 2015 03:56 PM
PelicanParts.com
993 Vendor Classifieds
0
Aug 18, 2015 03:55 PM