
987/997 aftermarket hood badge install

Thread Starter
|
Registered User
Joined: Oct 2007
Posts: 292
From: MD
Rep Power: 42


987/997 aftermarket hood badge install
Difficulty level 1 to 10: 2
Approximate time: 5-10min.
Price: $149.00
Tools needed:
-8mm deep socket wrench
-wax/cleaner
-terry cloth towel
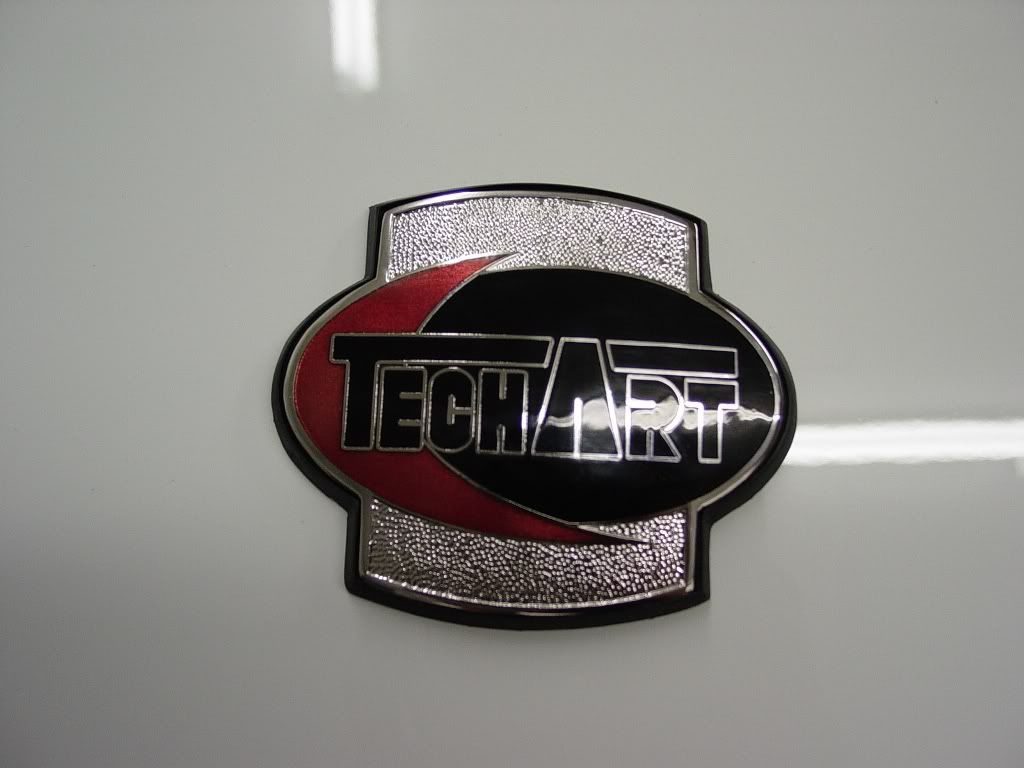
-hood badge
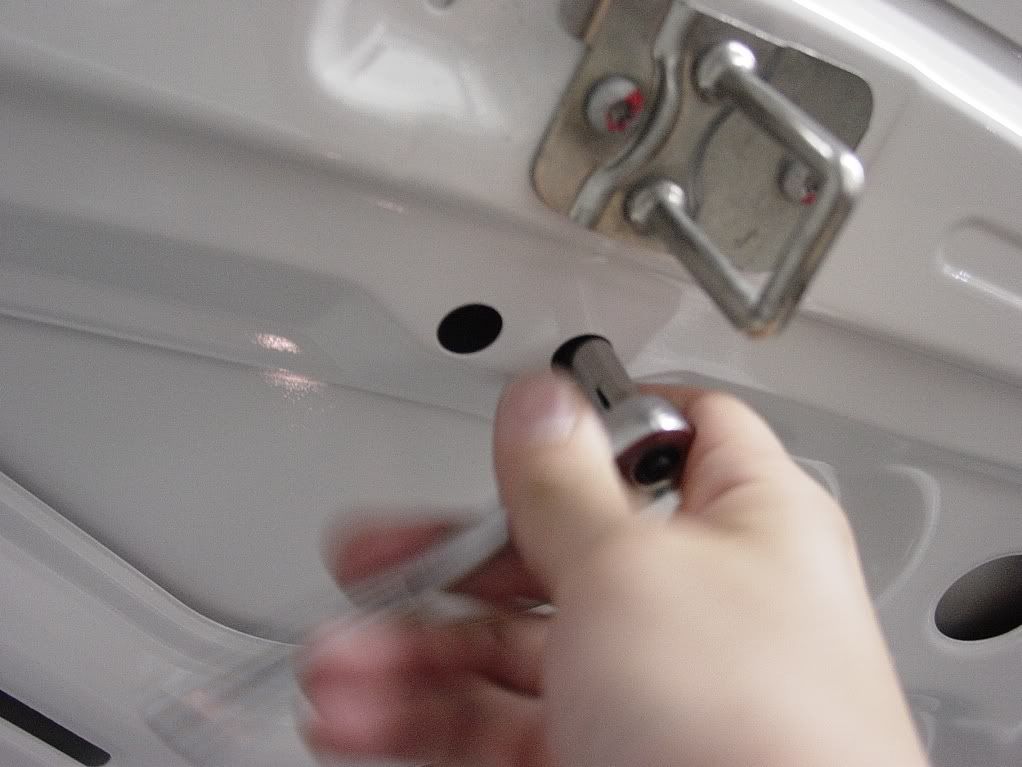
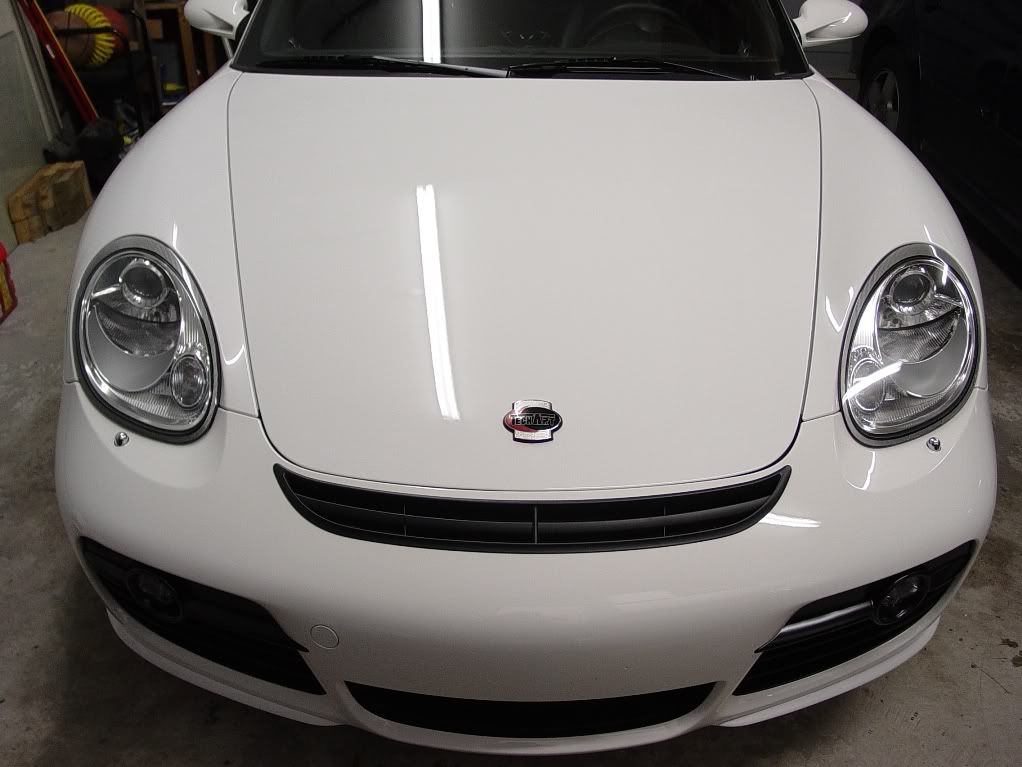
Open your hood, you can see the two badge nuts. They are 8mm and you need a deep socket to get to them.

remove them
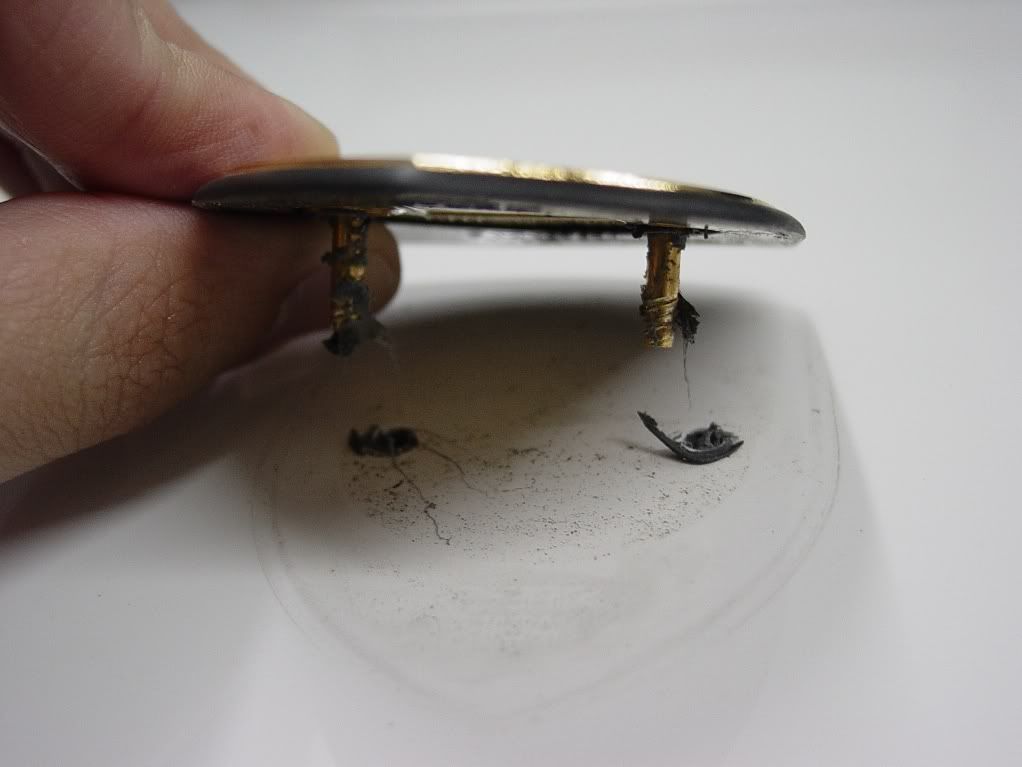
once removed you can see the holes and the double sided tape like adhesive. The adhesive is only on the nuts.
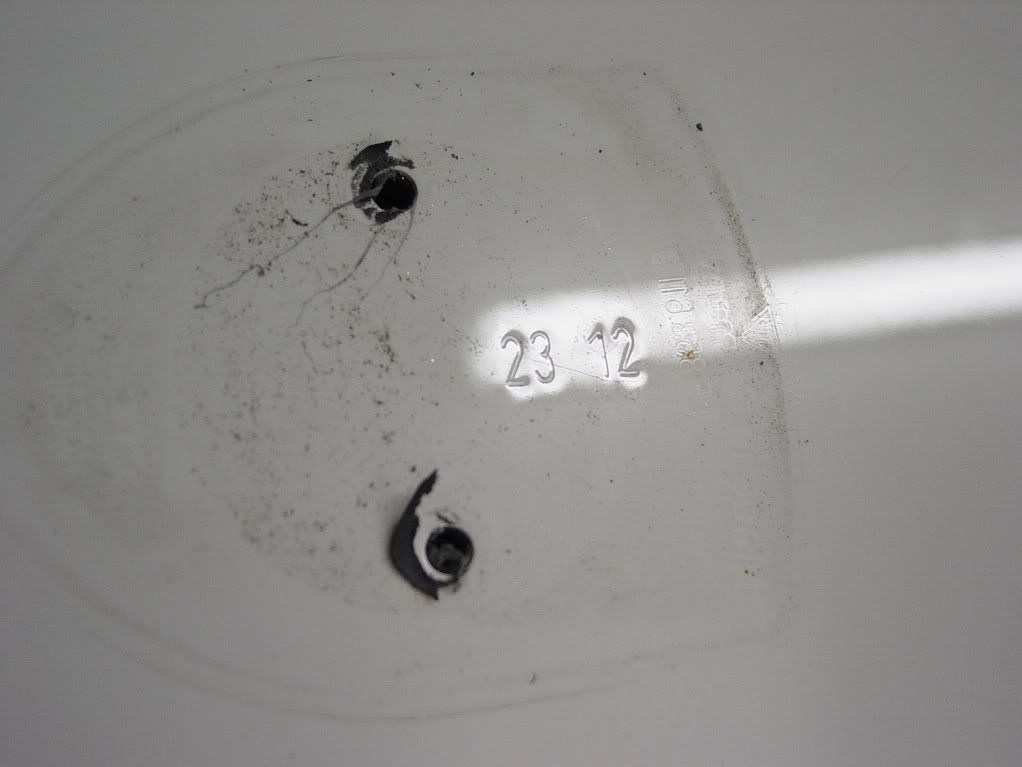
I guess 23 12 is the code for colored crest, it is stamped on the hood. Make sure you clean the surface before installing the new badge.
now install the new crest onto your CLEAN hood DO NOT TIGHTEN THE BOLTS YET!!!
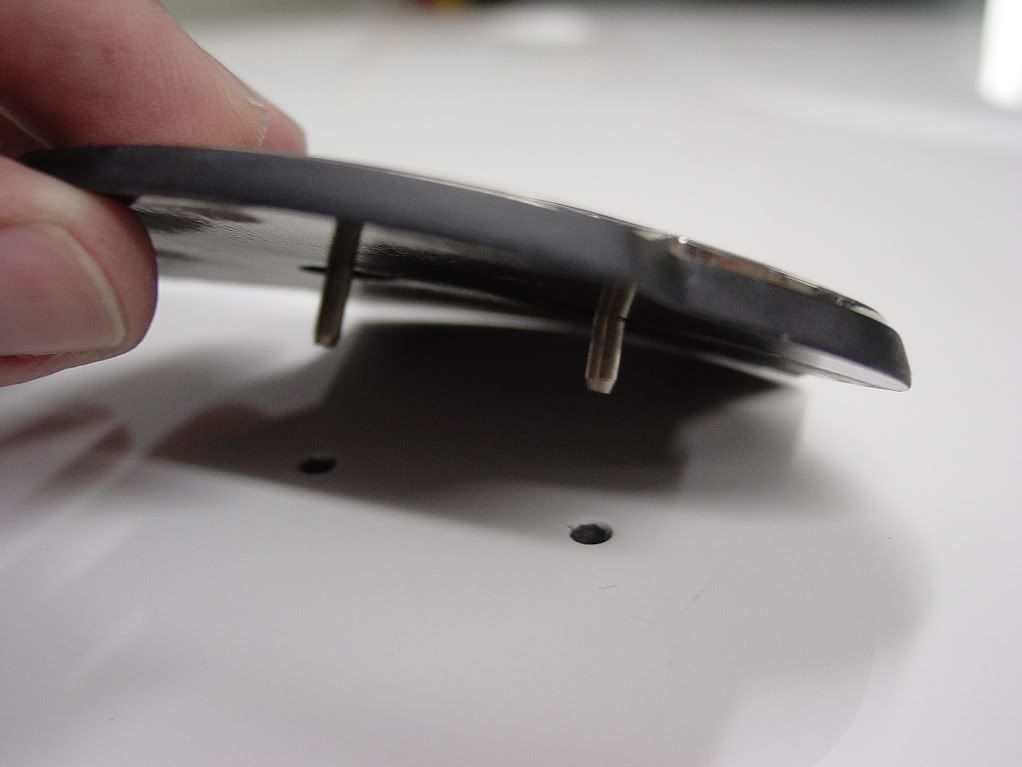
make sure your crest is aligned before you tighten it down, the holes do allow to adjust the way it sits.
once the badge is sitting even on the hood tighten the 8mm nuts. DO NOT OVER TIGHTEN THEM!!! you will be able to tell if its too tight.
and your done!
The OEM badge was too plain for me. I like to be different.

Approximate time: 5-10min.
Price: $149.00
Tools needed:
-8mm deep socket wrench
-wax/cleaner
-terry cloth towel
-hood badge
Open your hood, you can see the two badge nuts. They are 8mm and you need a deep socket to get to them.
remove them
once removed you can see the holes and the double sided tape like adhesive. The adhesive is only on the nuts.
I guess 23 12 is the code for colored crest, it is stamped on the hood. Make sure you clean the surface before installing the new badge.
now install the new crest onto your CLEAN hood DO NOT TIGHTEN THE BOLTS YET!!!
make sure your crest is aligned before you tighten it down, the holes do allow to adjust the way it sits.
once the badge is sitting even on the hood tighten the 8mm nuts. DO NOT OVER TIGHTEN THEM!!! you will be able to tell if its too tight.
and your done!
The OEM badge was too plain for me. I like to be different.

Thread
Thread Starter
Forum
Replies
Last Post
eclip5e
Automobiles For Sale
6
Jul 29, 2019 11:13 AM