
Rear Lid Porsche Emblem Tutorial


Thread Starter
|
Registered User
Joined: Sep 2009
Posts: 41
From: Monterey
Rep Power: 0

Rear Lid Porsche Emblem Tutorial
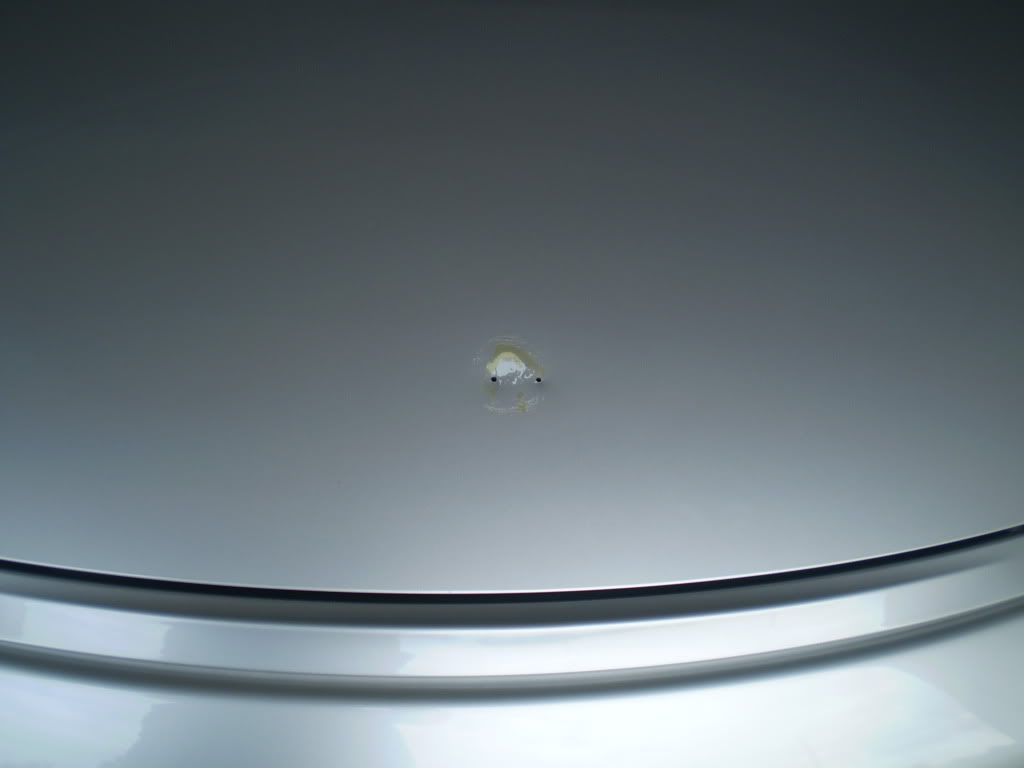
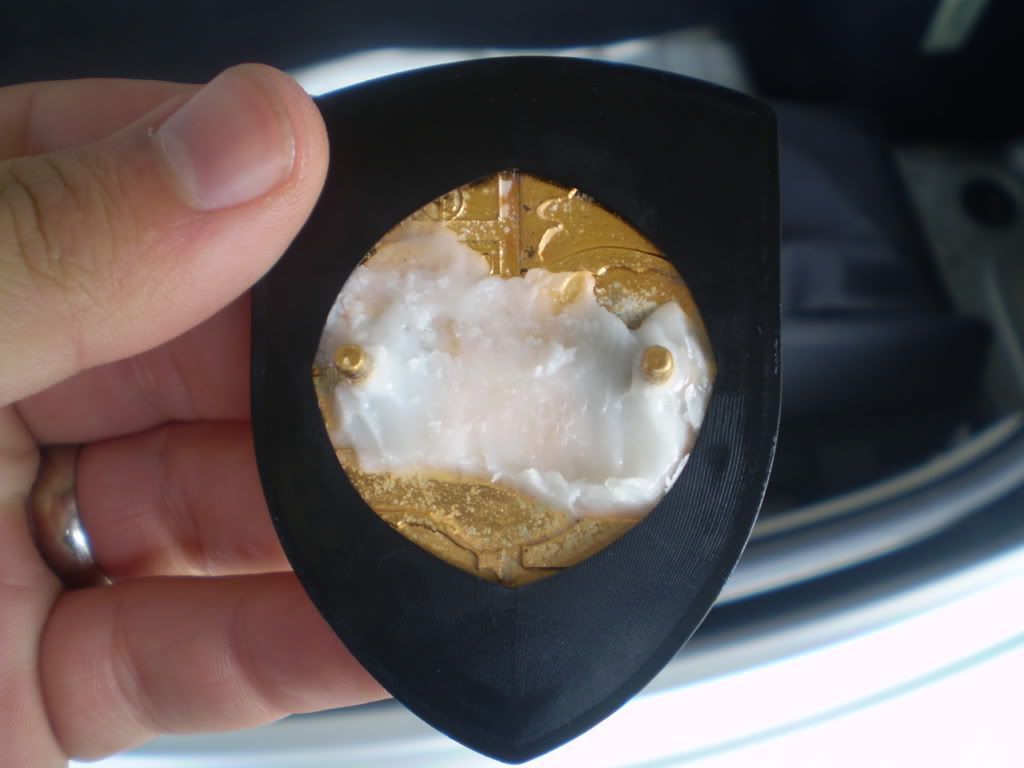
So previous owner decided to put a knockoff badge on the rear lid... but he superglued it and when he tried to remove it he pealed off the paint see pic one. and to top it off it faded over the years and looked like crap. The white is primer. so he put it back on. when i bought the car i was apprised of the situation. So I decided to do it the right way with a Real OEM badge.
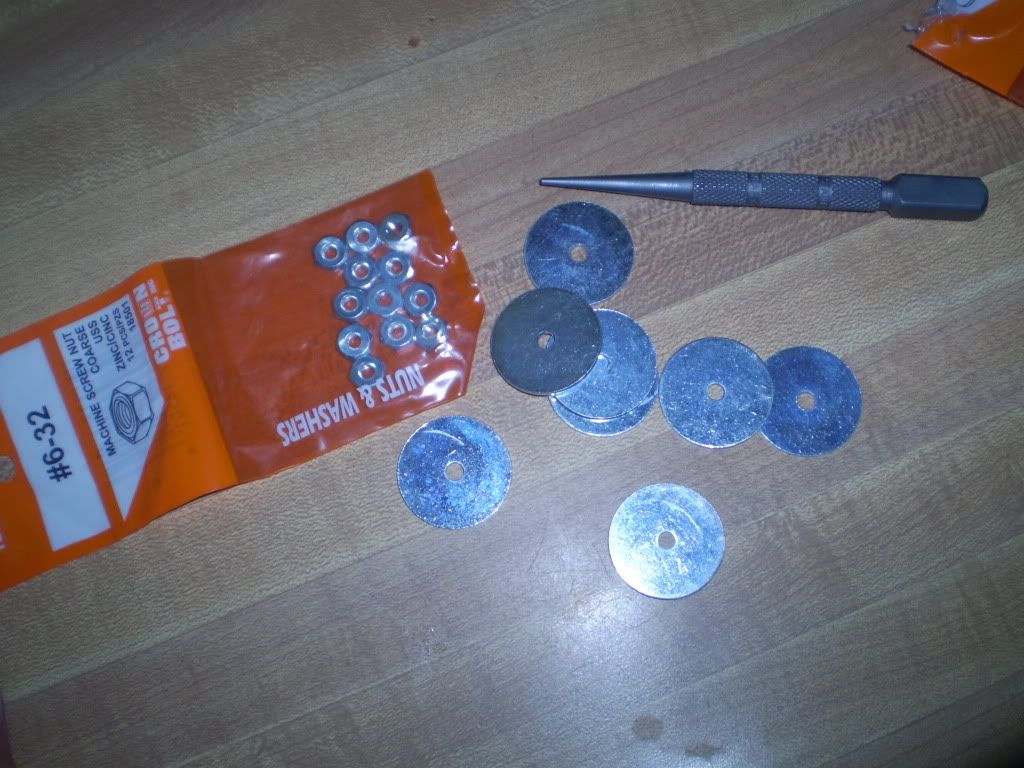
First I bought some necessary items. Washers, nuts (8mm), some washers
(I bought the badge from OK foreign they did not include the hardware only the badge and gasket.)
The tools I used: Drill, Center-punch , hammer, chalk line, measure tape, blue painters tape, some cardboard, wax, clear nailpolish and dry erase marker.
First: cleaned up the area the best I could
Two: if you notice the center brake light it is divided into several sections and there are 7 sections so i taped the chalk line with blue tape to the center of the center section. Then I pulled it down tight and lined it up with the center plastic screw on the spoiler. (this is the easy find center method other way is measure etc etc)
Three: I took cardboard and pushed the badge through (with gasket on) making two holes in the cardboard (i used cereal box cardboard) Then i traced the outline of the badge and cut it out. This will serve as my drilling template.
Four: I placed the template on the Line made sure it was center and the distance i wanted from the bumper and then taped it down using blue tape.
Five: Using the centerpunch I lightly tapped where the holes are in the template. What this does is it allows the drill bit to sit in the dent and make sure it doesnt move around. you can forgo this step if you want but you may end up not drilling where you want.
Six: Once mount drill bit and drill your holes. take the badge and make sure the holes fit correctly, it may take some convincing to go in since the posts on the badge are not parrallel to each other they have some camber to them if you will.
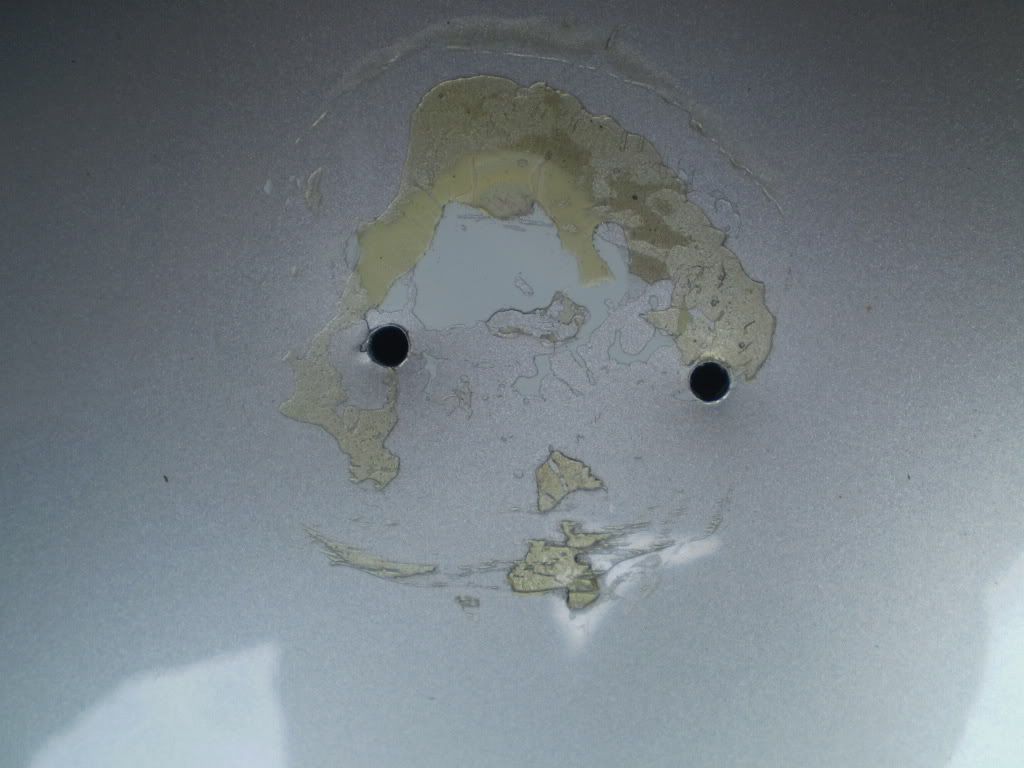
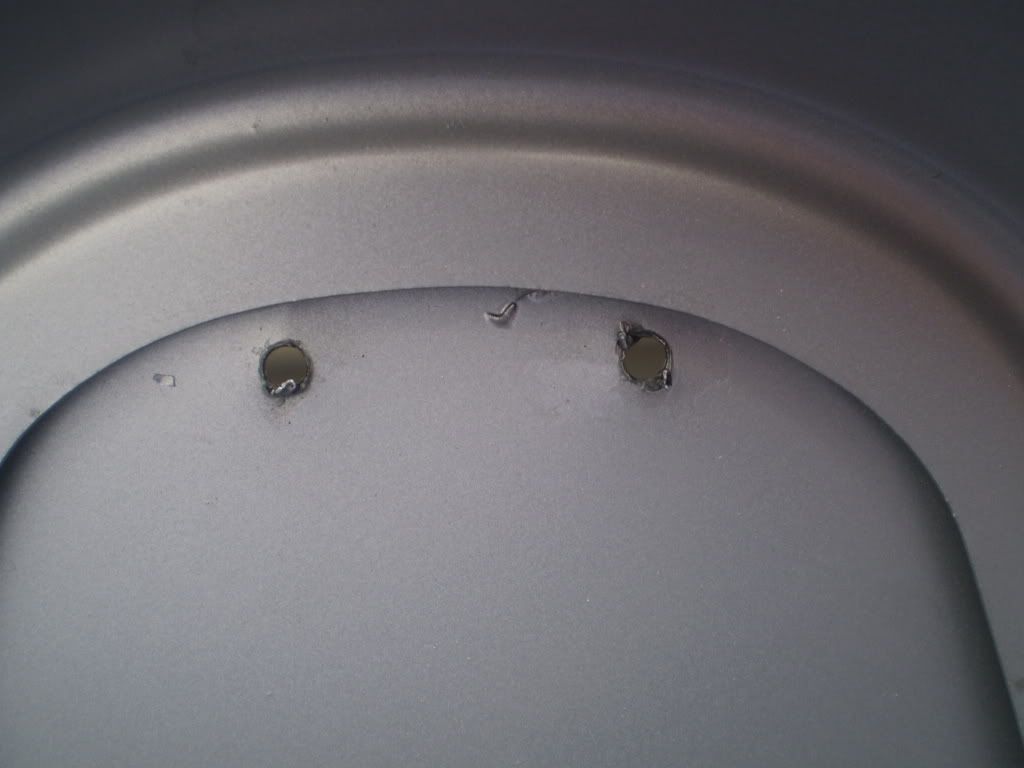
Seven: I took some clear (hard as nails nail polish thanks to my wife) and put it on the hole area pics 3 & 4(front and back of deck lid ). I hope this will seal the metal and prevent rust. Also as you can see from pic 5 i put some candle wax at the base of the badge posts to also keep the water away from them. and also help create a flush fit.
Eight: Making sure the gasket is on perfectly (if the lip isnt put on right it will not sit flush with the metal) place it on the lid and once again i apply some nail polish to the underside of the lid near the badge posts to help seal it and be something of a locktite
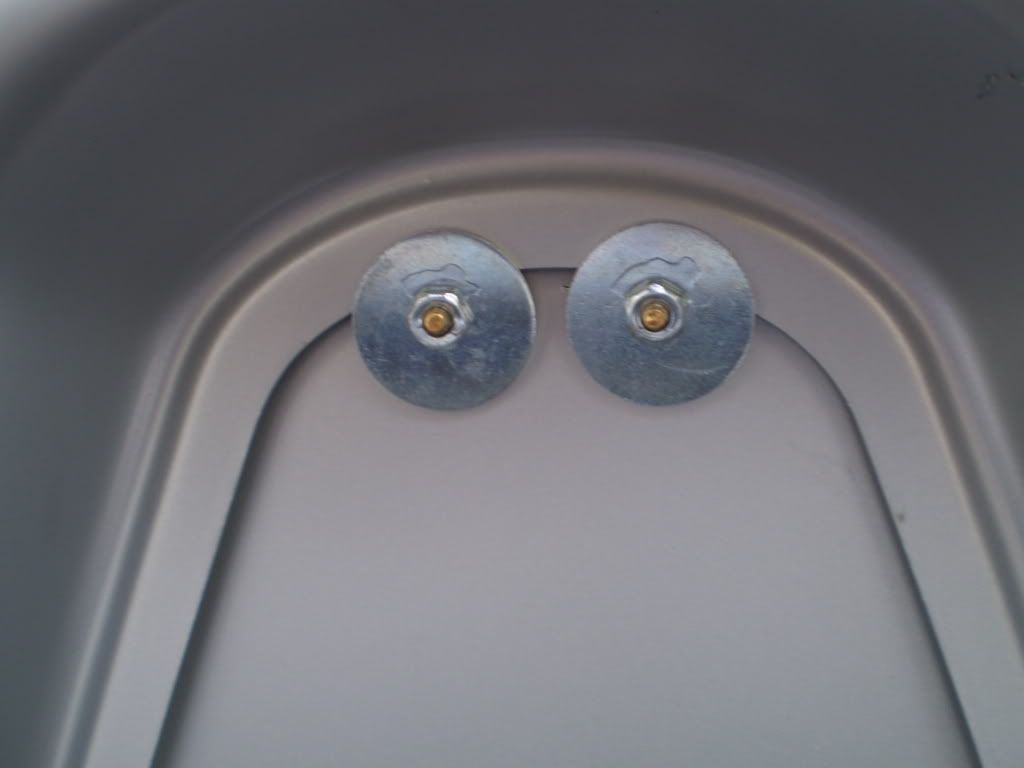
Nine: First bump in the road... i drilled to closely to the frame of the deck so the washers do not fit so I put them over the lip and had them angle down towards the lid. Pic six and then i put the nuts on and once tight i applied more nail polish again to the threads to act as locktite.
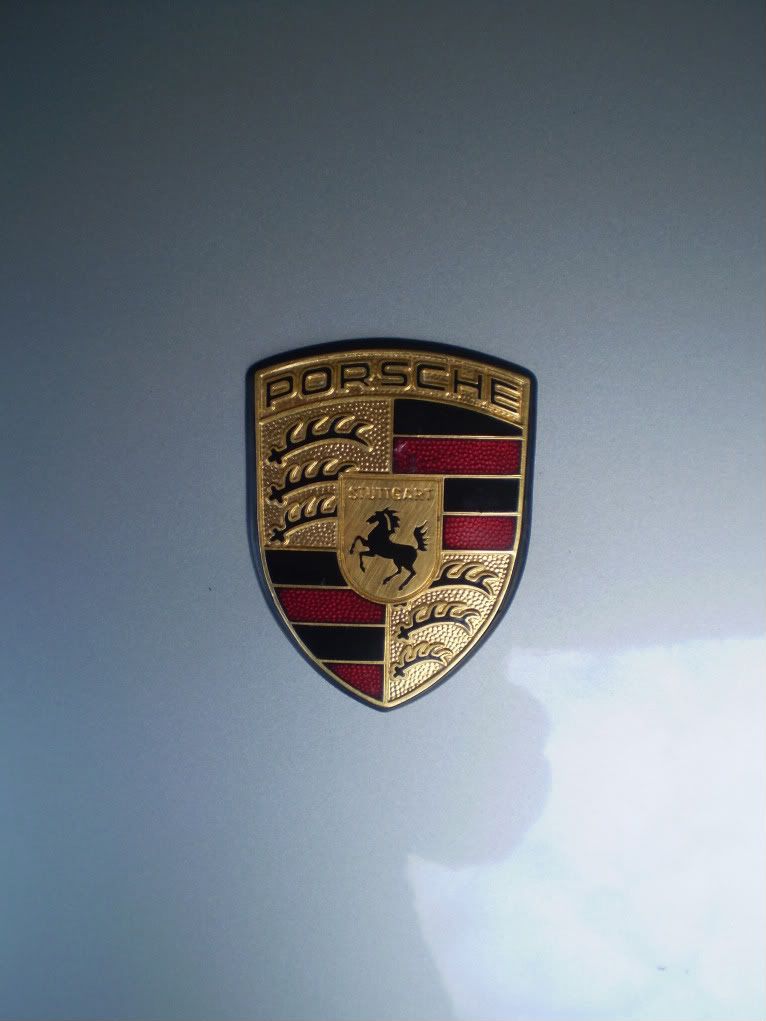
Ten: the finished product final pic 7 & 8. nice and flush no more ugly mark on my box.
Yes I could have used locktite but this i had around the house and also acetone easily will break the bond of the polish and not mar the paint.

:cheers:
First I bought some necessary items. Washers, nuts (8mm), some washers
(I bought the badge from OK foreign they did not include the hardware only the badge and gasket.)
The tools I used: Drill, Center-punch , hammer, chalk line, measure tape, blue painters tape, some cardboard, wax, clear nailpolish and dry erase marker.
First: cleaned up the area the best I could
Two: if you notice the center brake light it is divided into several sections and there are 7 sections so i taped the chalk line with blue tape to the center of the center section. Then I pulled it down tight and lined it up with the center plastic screw on the spoiler. (this is the easy find center method other way is measure etc etc)
Three: I took cardboard and pushed the badge through (with gasket on) making two holes in the cardboard (i used cereal box cardboard) Then i traced the outline of the badge and cut it out. This will serve as my drilling template.
Four: I placed the template on the Line made sure it was center and the distance i wanted from the bumper and then taped it down using blue tape.
Five: Using the centerpunch I lightly tapped where the holes are in the template. What this does is it allows the drill bit to sit in the dent and make sure it doesnt move around. you can forgo this step if you want but you may end up not drilling where you want.
Six: Once mount drill bit and drill your holes. take the badge and make sure the holes fit correctly, it may take some convincing to go in since the posts on the badge are not parrallel to each other they have some camber to them if you will.
Seven: I took some clear (hard as nails nail polish thanks to my wife) and put it on the hole area pics 3 & 4(front and back of deck lid ). I hope this will seal the metal and prevent rust. Also as you can see from pic 5 i put some candle wax at the base of the badge posts to also keep the water away from them. and also help create a flush fit.
Eight: Making sure the gasket is on perfectly (if the lip isnt put on right it will not sit flush with the metal) place it on the lid and once again i apply some nail polish to the underside of the lid near the badge posts to help seal it and be something of a locktite
Nine: First bump in the road... i drilled to closely to the frame of the deck so the washers do not fit
so I put them over the lip and had them angle down towards the lid. Pic six and then i put the nuts on and once tight i applied more nail polish again to the threads to act as locktite.Ten: the finished product final pic 7 & 8. nice and flush no more ugly mark on my box.
Yes I could have used locktite but this i had around the house and also acetone easily will break the bond of the polish and not mar the paint.
:cheers:


Thread
Thread Starter
Forum
Replies
Last Post
2lflat4
Automotive Parts & Accessories For Sale/Wanted
2
Nov 18, 2019 05:05 PM
Mackchacha
Automotive Parts & Accessories For Sale/Wanted
3
Jul 9, 2019 11:03 AM
joseph_number1
Automotive Parts & Accessories For Sale/Wanted
12
Jul 19, 2018 05:45 PM
AJUSA.com
997 Vendor Classifieds
4
Oct 8, 2015 05:50 PM