Quick 10 step 5 bar FPR DIY/photos
#1
 01-11-2017, 09:32 PM

Join Date: May 2008
Location: Fayetteville, AR
Posts: 417
Rep Power: 98 

Quick 10 step 5 bar FPR DIY/photos
I did my FPR and wanted to share a few steps to
maybe help the next guy! This is from memory so please correct me if I miss something!
1) Remove air box, hardpipe to throttle body, and passenger side IC hose to throttle body. I was doing some line checks etc. so had this stuff off anyways. I found it made a little bit of room to work.
2) There is an Allen head on the oil filler neck by oil cap. Remove it along with the metal support that supports the neck. Remove 10mm bolt just under oil cap. It connects to aluminum bracket that hold emissions pump.
3) On the passenger side the pump is a 6x6" roundish black "fan motor looking" unit. Remove the 3 10mm bolts that hold the pump to the metallic support bracket. Move attention back to filler neck and release the neck tube from the bracket by using a small screwdriver and a little manipulation. I used a small bungee to keep it pulled towards driver side out of way.
4) Remove the aluminum bracket from pump. Set aside. Push the pump over to the passenger side out of your way. Careful of wiring/lines. Pic shows bracket and pump separation.
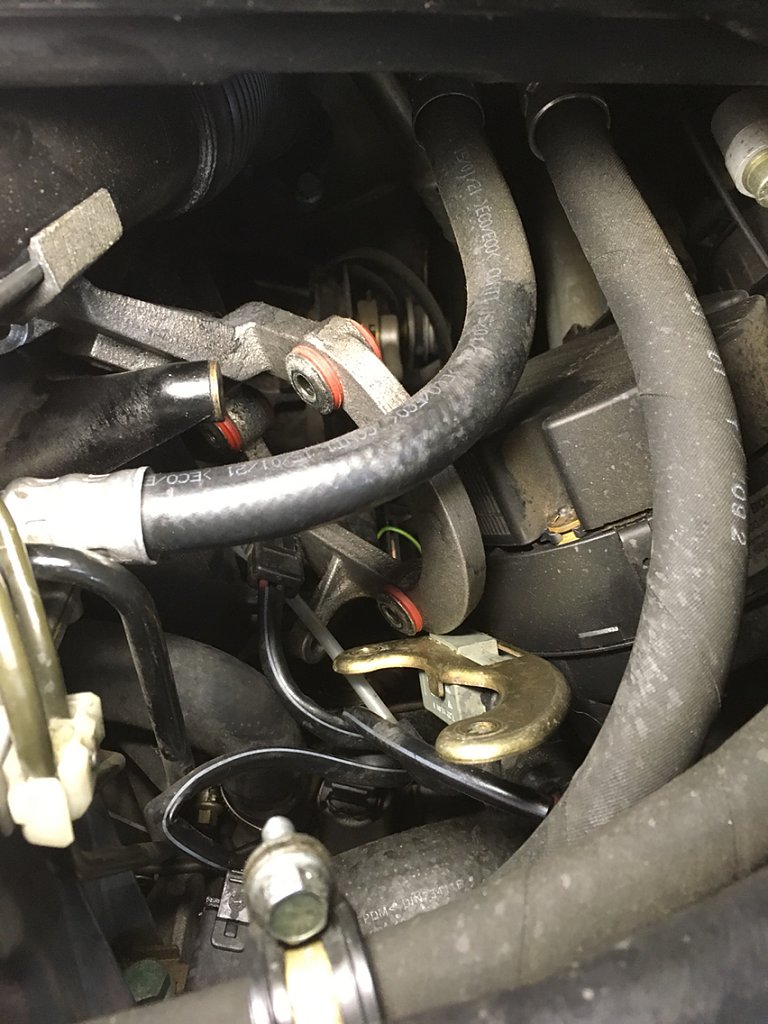
5) You can now see the FPR. There is a vacuum line attached to the port on the side of the FPR. Disconnect.
6) Have a telescopic magnet handy. The retainer clip is between the housing and the FPR. It's black and looks like a large staple. DONT LOSE IT!!! A pair of extra length (reach) needle nose pliers work perfect. The "U" of the staple could be pointing up or down. Easier to grab from the top if it's an upside down "U". Careful and use your magnet.
7) My FPR was really stuck. A long sturdy screwdriver may work but I used a 10mm socket with long extension. I slid socket over vacuum nipple and levered it back and forth. It released after a bit. Pic shows how I positioned it.
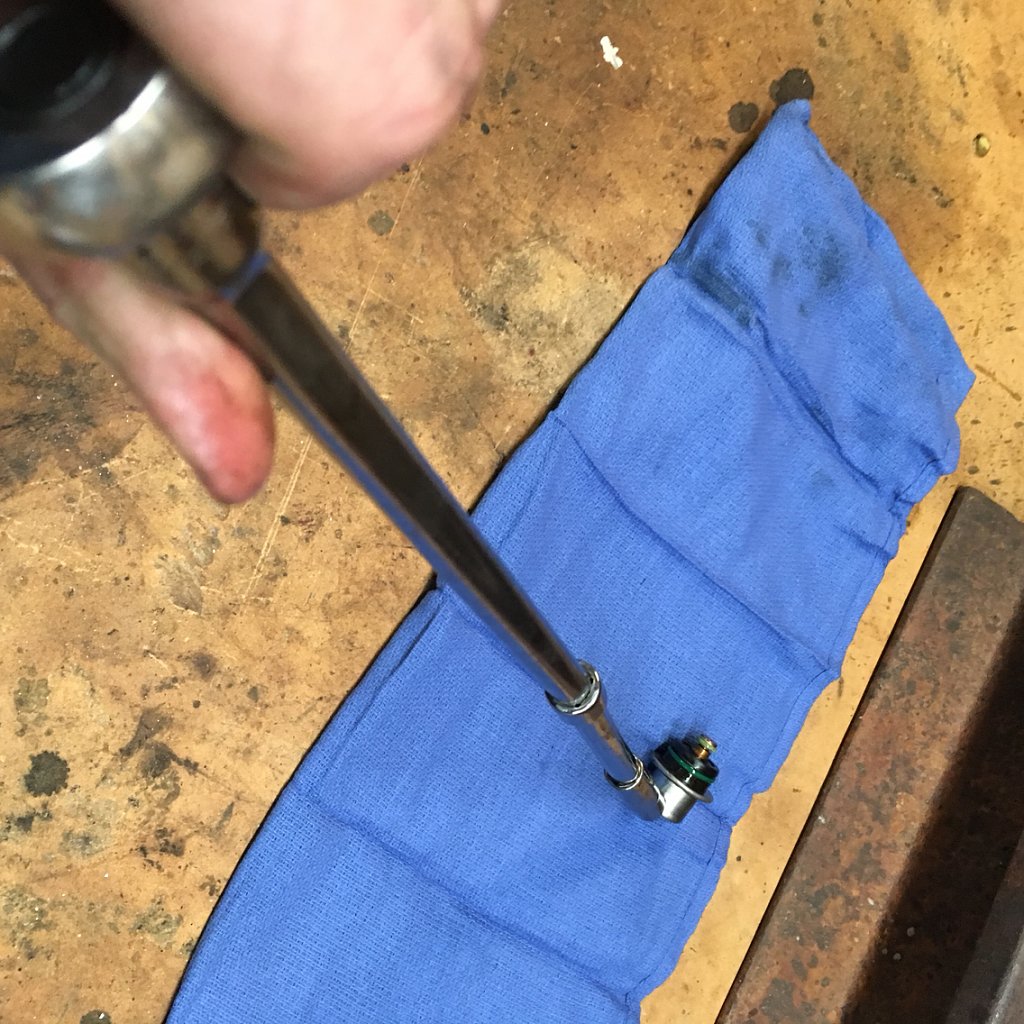
8) Apply some motor oil to O ring on your new FPR. Start by inserting it by hand. Careful to not drop it into the abyss.
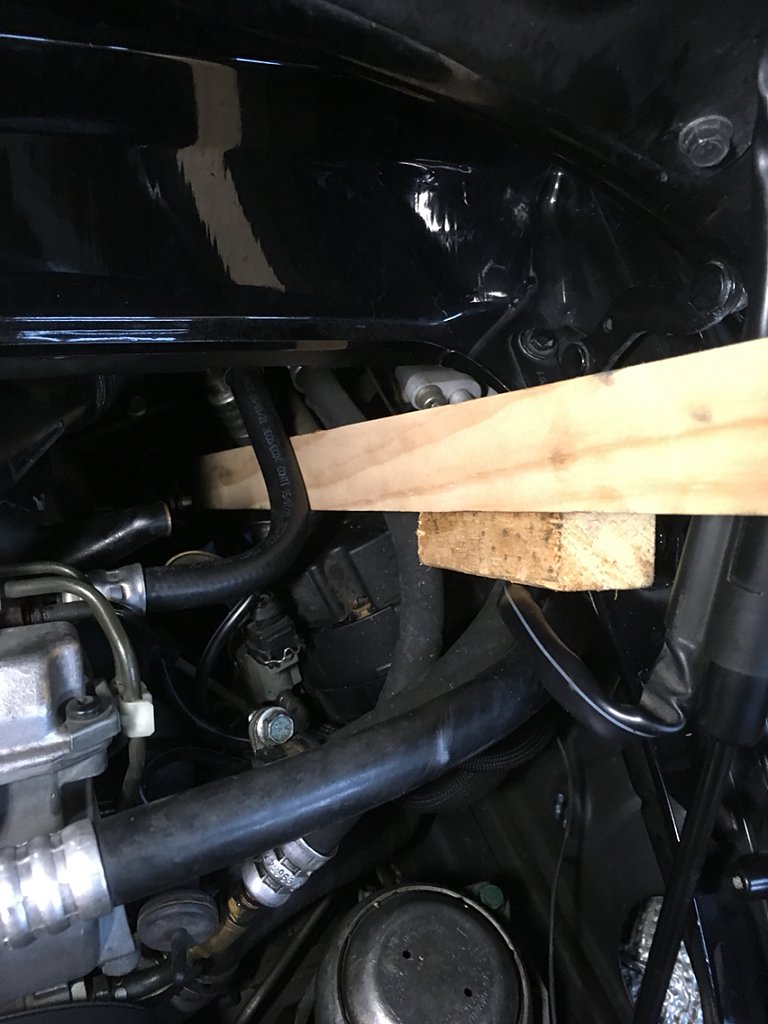
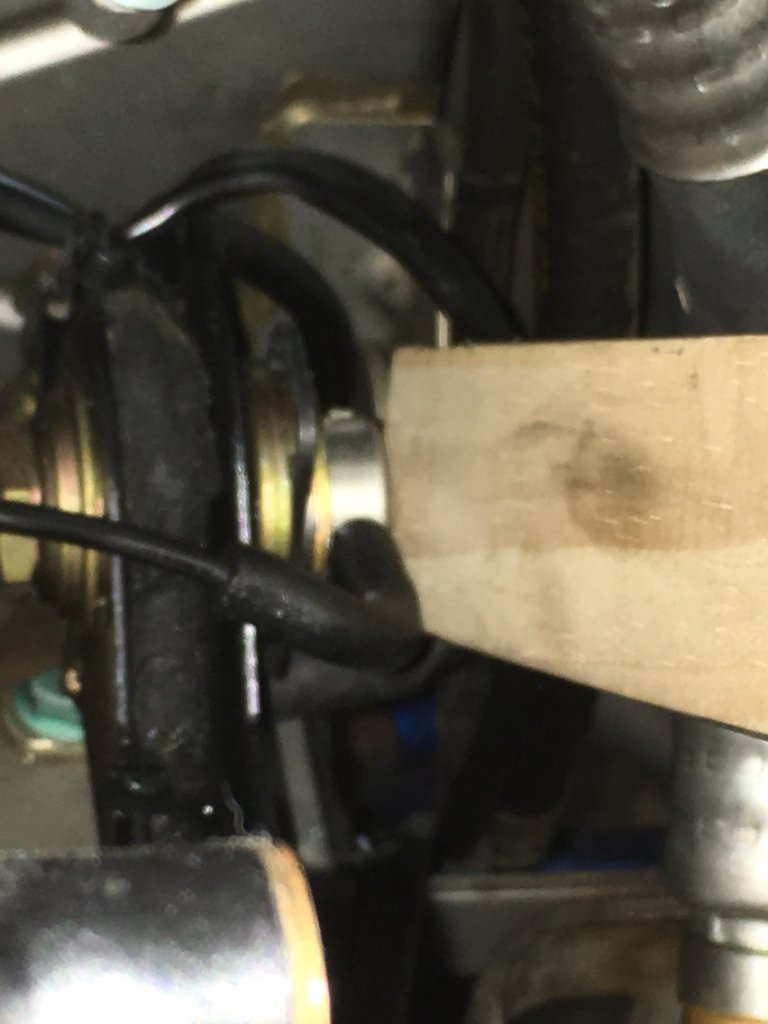
9) Mine wouldn't go by hand or with the help of a long screwdriver. Use a 1x2" inch piece of wood at least 20" long as a lever. Insert it between hoses (see pic) and have a 3x3" wood block to use as a fulcrum against body. Steady leverage should seat it completely. If the retainer clip can be reinserted it is seated. Some guys hear a snap when the FPR seats.
10) Reassemble. Take your time and you may want to take pics or notes along the way to keep from missing a connection etc. on reassembly. When reconnecting the vacuum line to the new FPR zip tie it tightly onto side port of FPR. Take care to make sure all is reconnected!
maybe help the next guy! This is from memory so please correct me if I miss something!
1) Remove air box, hardpipe to throttle body, and passenger side IC hose to throttle body. I was doing some line checks etc. so had this stuff off anyways. I found it made a little bit of room to work.
2) There is an Allen head on the oil filler neck by oil cap. Remove it along with the metal support that supports the neck. Remove 10mm bolt just under oil cap. It connects to aluminum bracket that hold emissions pump.
3) On the passenger side the pump is a 6x6" roundish black "fan motor looking" unit. Remove the 3 10mm bolts that hold the pump to the metallic support bracket. Move attention back to filler neck and release the neck tube from the bracket by using a small screwdriver and a little manipulation. I used a small bungee to keep it pulled towards driver side out of way.
4) Remove the aluminum bracket from pump. Set aside. Push the pump over to the passenger side out of your way. Careful of wiring/lines. Pic shows bracket and pump separation.
5) You can now see the FPR. There is a vacuum line attached to the port on the side of the FPR. Disconnect.
6) Have a telescopic magnet handy. The retainer clip is between the housing and the FPR. It's black and looks like a large staple. DONT LOSE IT!!! A pair of extra length (reach) needle nose pliers work perfect. The "U" of the staple could be pointing up or down. Easier to grab from the top if it's an upside down "U". Careful and use your magnet.
7) My FPR was really stuck. A long sturdy screwdriver may work but I used a 10mm socket with long extension. I slid socket over vacuum nipple and levered it back and forth. It released after a bit. Pic shows how I positioned it.
8) Apply some motor oil to O ring on your new FPR. Start by inserting it by hand. Careful to not drop it into the abyss.
9) Mine wouldn't go by hand or with the help of a long screwdriver. Use a 1x2" inch piece of wood at least 20" long as a lever. Insert it between hoses (see pic) and have a 3x3" wood block to use as a fulcrum against body. Steady leverage should seat it completely. If the retainer clip can be reinserted it is seated. Some guys hear a snap when the FPR seats.
10) Reassemble. Take your time and you may want to take pics or notes along the way to keep from missing a connection etc. on reassembly. When reconnecting the vacuum line to the new FPR zip tie it tightly onto side port of FPR. Take care to make sure all is reconnected!
Last edited by brockster; 01-16-2017 at 06:44 PM.
#3
01-12-2017, 06:36 AM
Join Date: May 2008
Location: Fayetteville, AR
Posts: 417
Rep Power: 98
Glad to! I am a big DIY guy and wanted to contribute. I plan on doing a turbocharger oil line replacement DIY too. I know there's limited write ups on that procedure.
Last edited by brockster; 01-12-2017 at 08:43 AM.

#7
01-21-2017, 08:22 PM
Registered User
Fuel pressure regulator. So you can run higher boost. Swapping to bigger injectors is a better way to go but is way more work.

