How Hard is It to Customize a Motorcycle – Cockpit, Controls and More
Next up on the docket is to change out and upgrade everything my hands and feet are likely to touch on the SBSC while simultaneously streamlining the motorcycle’s profile.
Handlebar and Controls
I wanted to try something a bit different than the typical easy going drag bars or upright and “comfortable” straight bar on high risers.
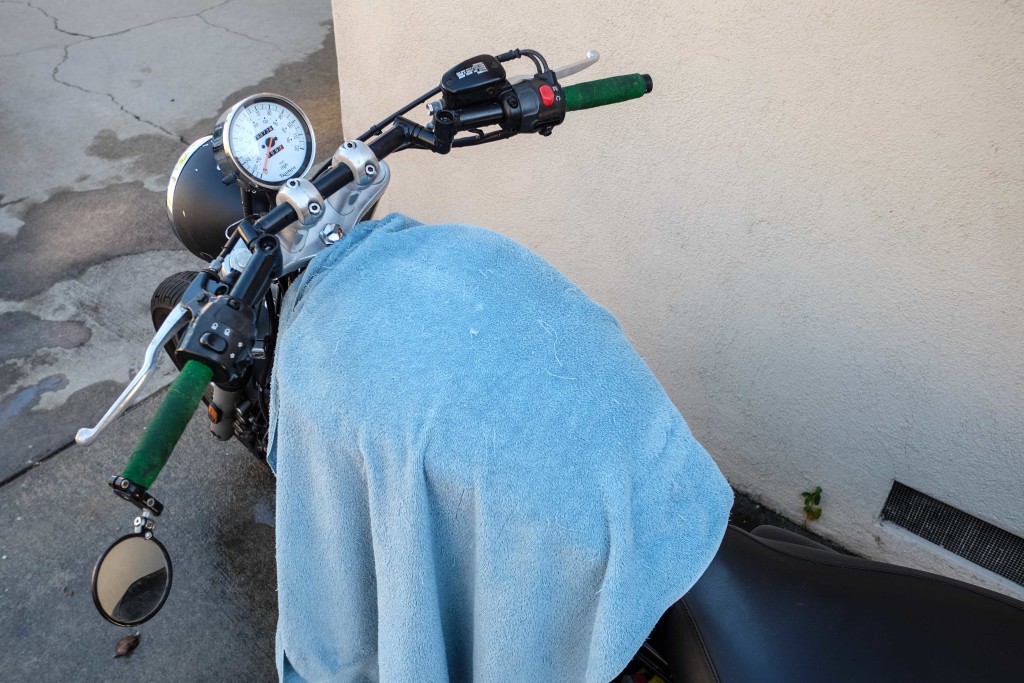
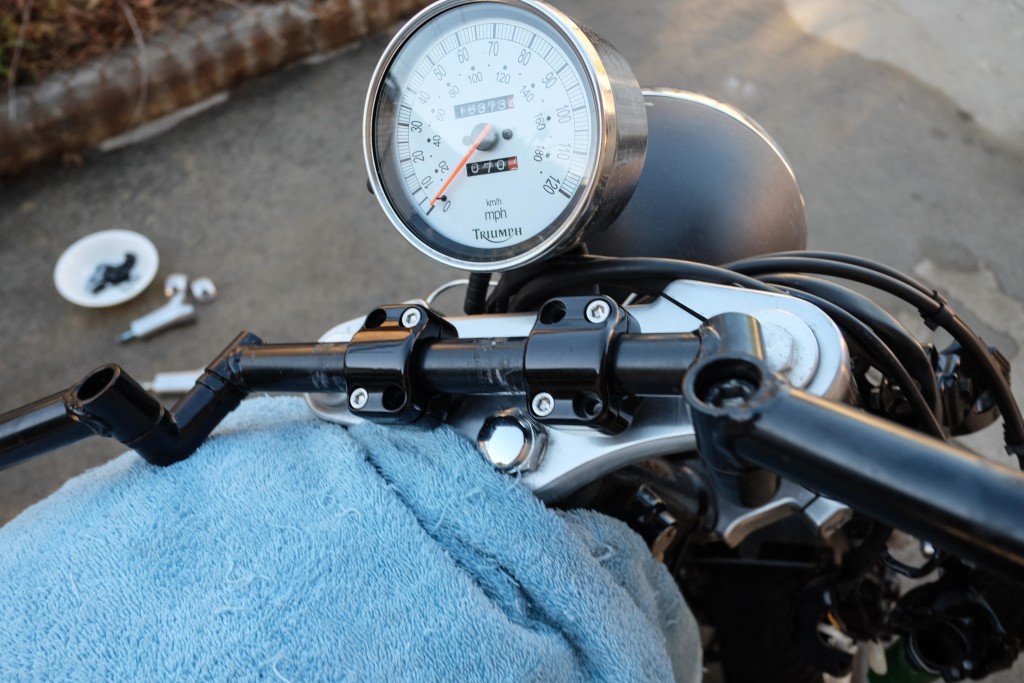
Put a towel down to protect that pretty tank.
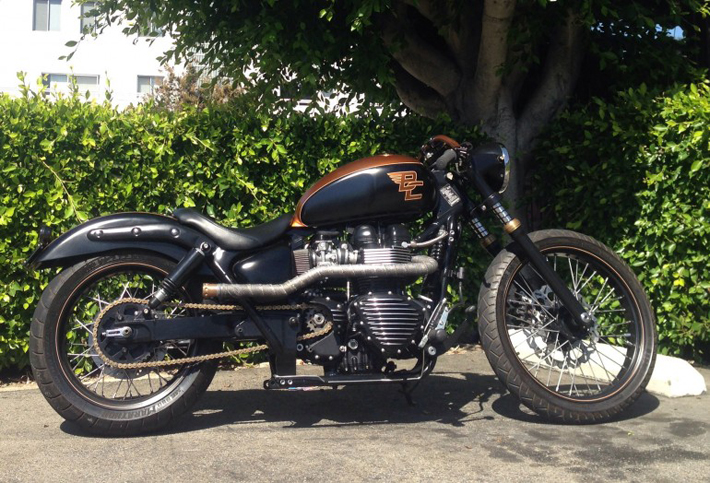
The inspiration for the SBSC came from some time I spent on the British Customs Vintage Vendetta. What makes the Vendetta unique is its upside beach cruiser style handlebars. One would think the handling on this bike to be utterly horrible, but strangely its a joy to ride. I think the bike looks wicked so I wanted the SBSC to emulate that design but retain the flexibility of a comfortable handlebar if I wished to change it. For this reason I chose a 1” tracker bar from Biltwell and 1” inch risers from British Customs and mounted them upside down.
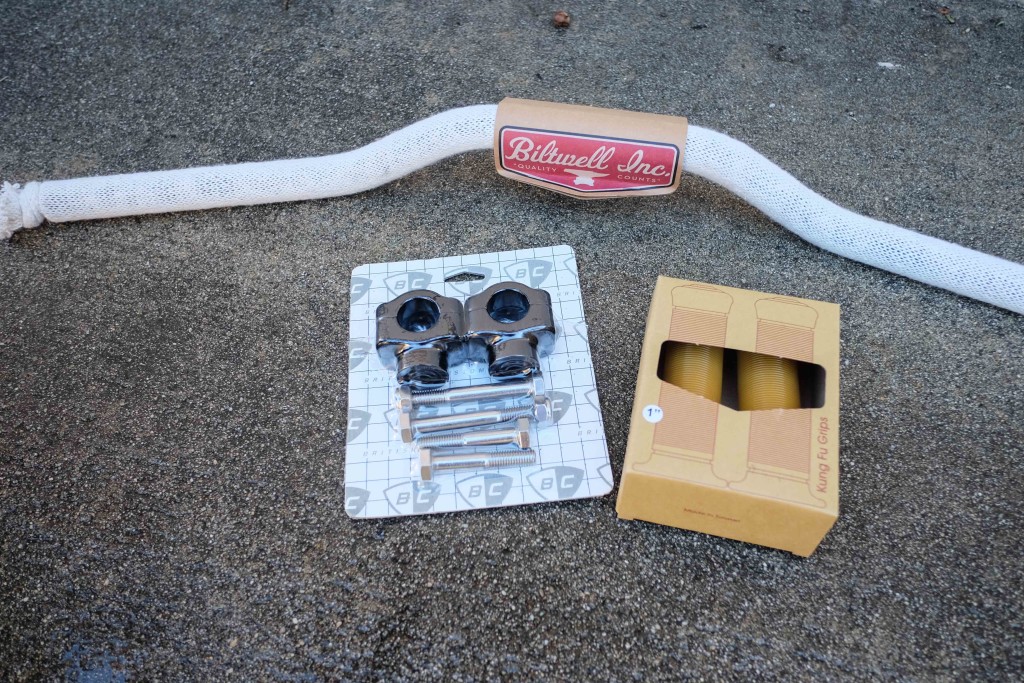
Biltwell 1″ Tracker Bar, British Customs 1″ Risers, Biltwell Kung Fu Grips
Typically used for working on my bicycle, this little three way allen key worked well enough to get the old bars off.
Testing the new British Customs 1″ Risers out on the old bars
Because I have big yeti hands, I felt like I had only two options when it came down to grips. The Kruyakan ISO grips or Biltwell KungFu Grips. I ended up choosing the latter because I like how they feel and they come in different colors. They are also substantially cheaper.
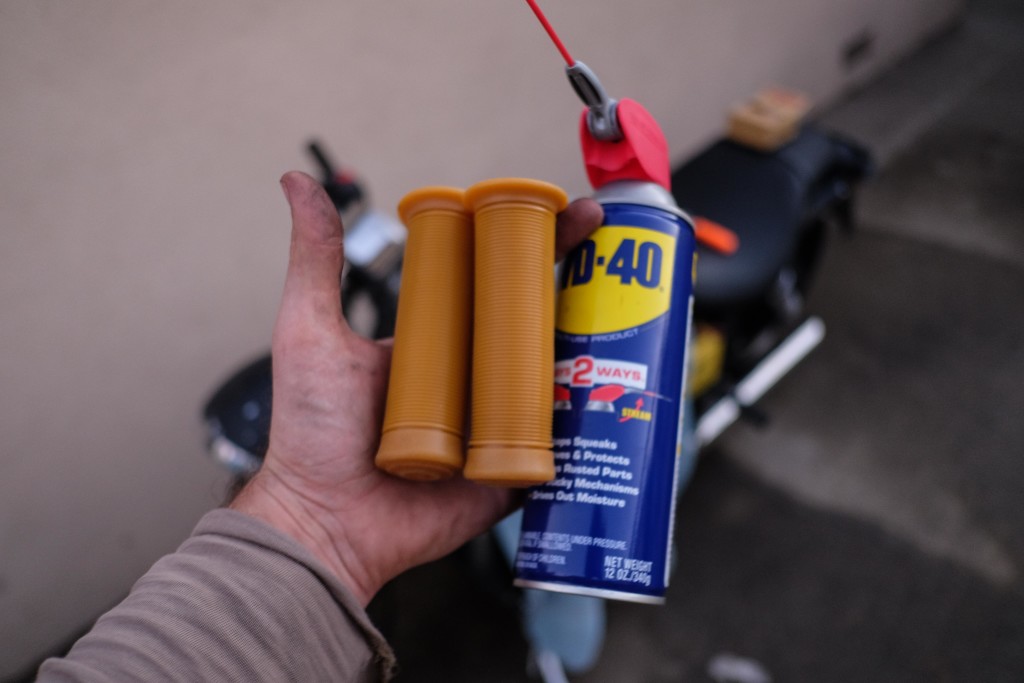
A little trick passed on from the guys at Biltwell, spray the inside of the grips with WD-40 and they slide right on. Once the lubrication evaporates then the rubber sticks well to the metal handlebar.
To dress up the cockpit area and foot controls a bit more I went with the following: British Customs finned front master cylinder cover, mirror hole plugs, Pazzo sport levers, Biltwell Mushman and Rocker.
Throwing on the new brake lever was childishly simple requiring the removal of one main screw. Installing the clutch side lever required loosening the clutch cable at the base of the housing and prying it loose with a flathead screwdriver. Since I was tossing on a new clutch lever I thought it prudent to install the British Customs Clutch Cable Dress Up Kit. That too was easier to manage than my nephew’s algebra homework.
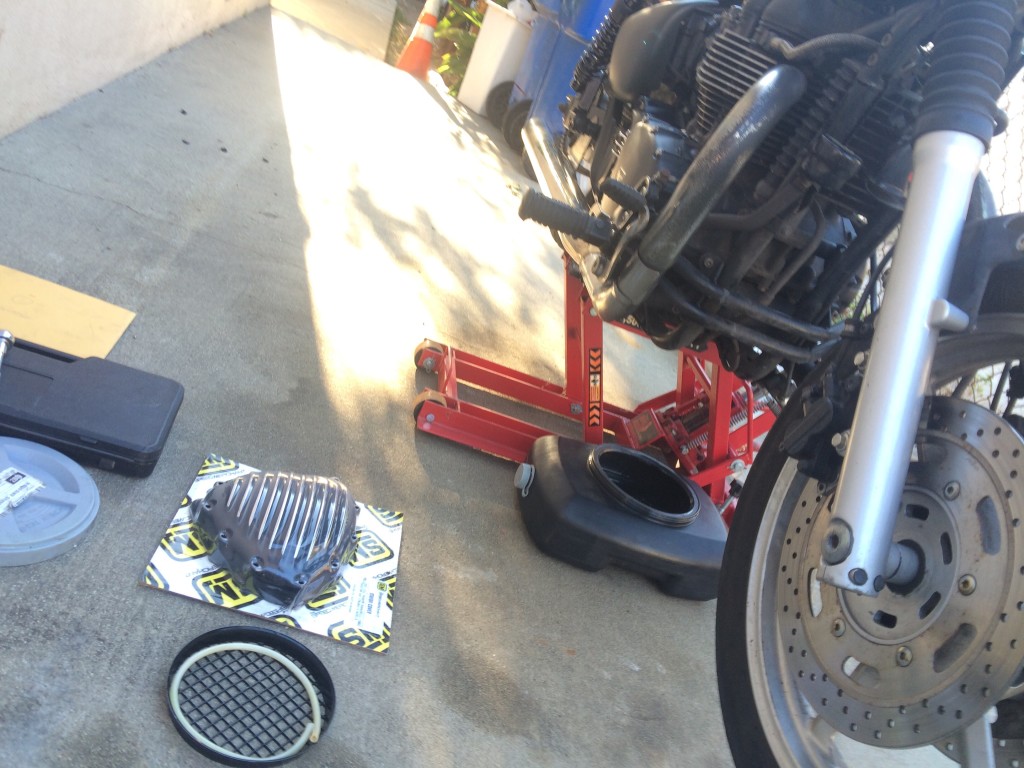
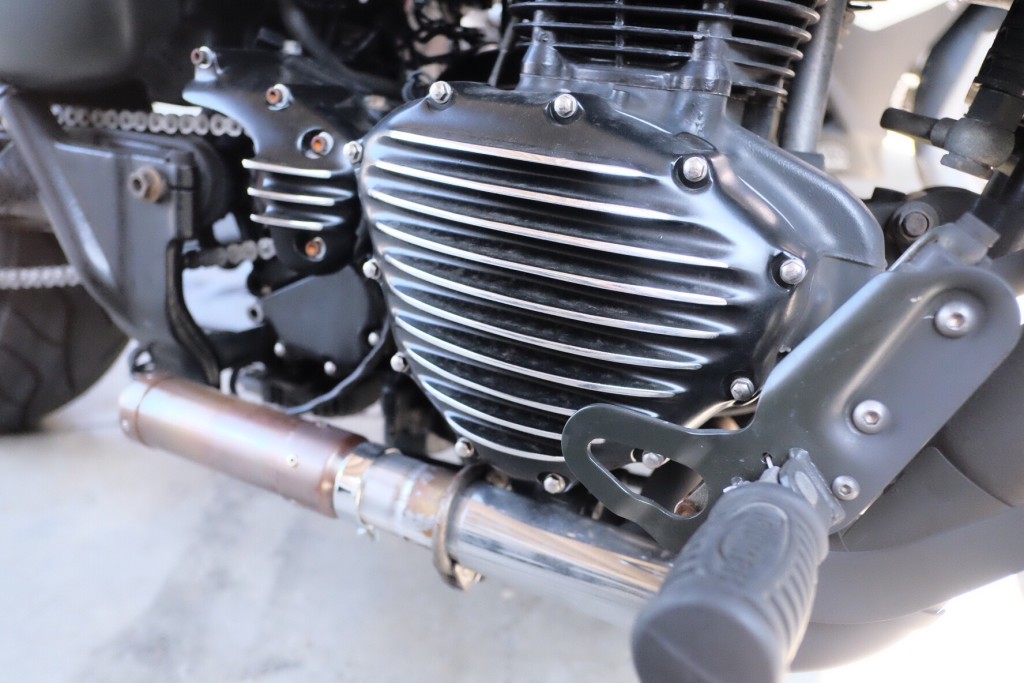
Speed Merchant Covers
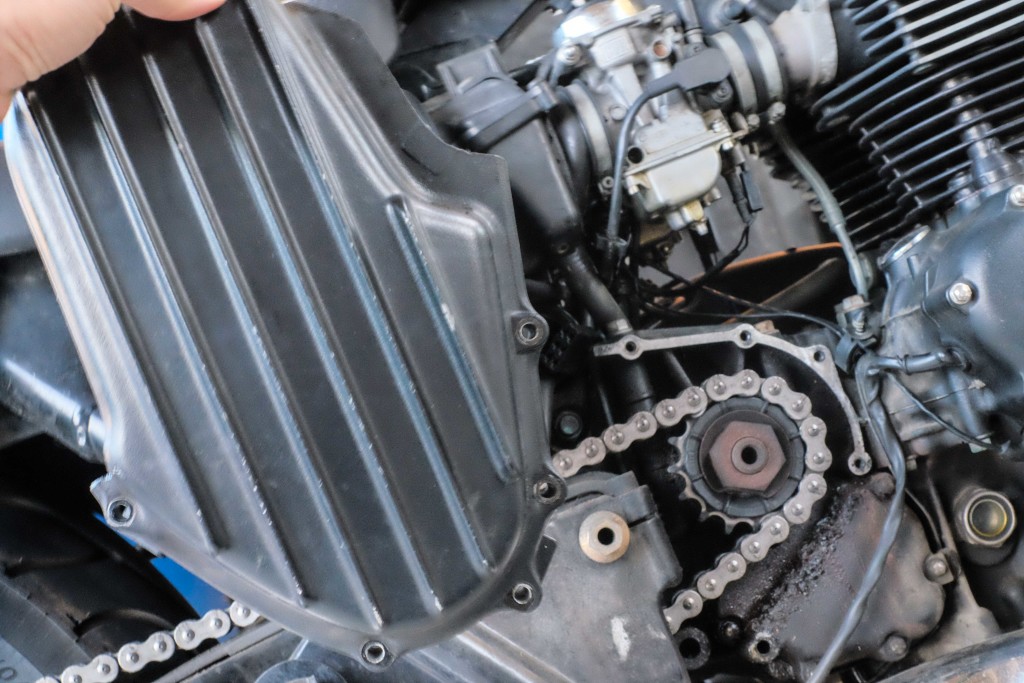
I have always loved the design and fabrication team over at The Speed Merchant so when it came time for a new stator cover and front sprocket cover there was no question in my mind as to who I would seek out. The Speed Merchant Finned Stator and Finned Front Sprocket Cover hark back to the day of old school vintage design.
Installation of the front sprocket cover was fairly easy however I needed to purchase longer hex bolts to attach it to the Speedster. This part was originally designed to fit the Triumph Bonneville which has slightly shorter bolts. A quick run the the hardware shop quickly solved this issue.
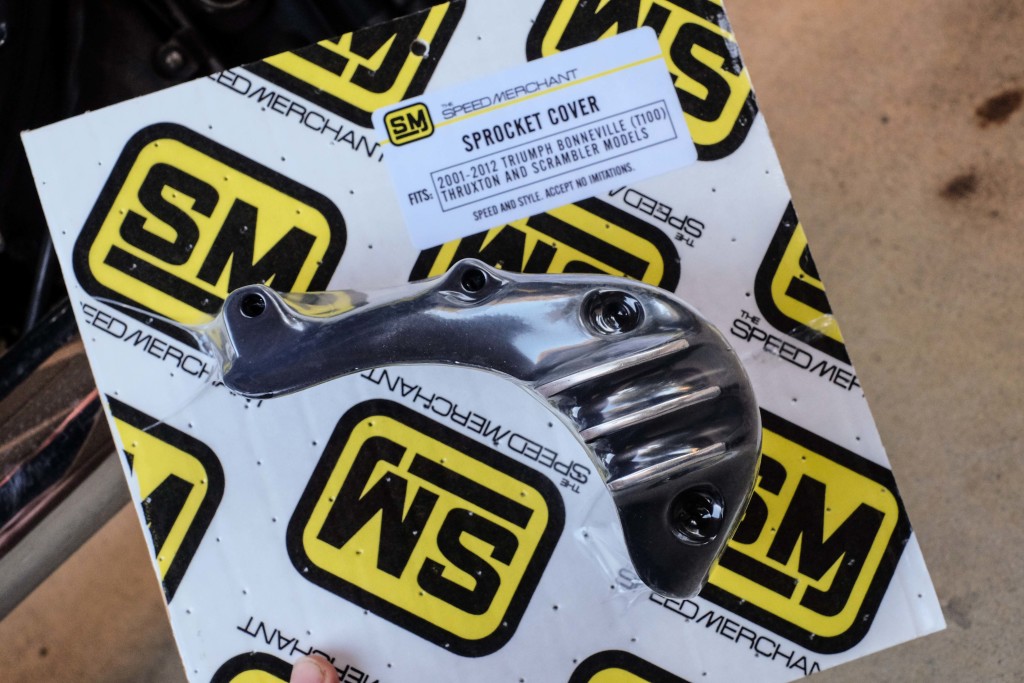
Speed Merchant Front Sprocket Cover
Triumph Speedmaster stock front sprocket cover
It comes off easy.
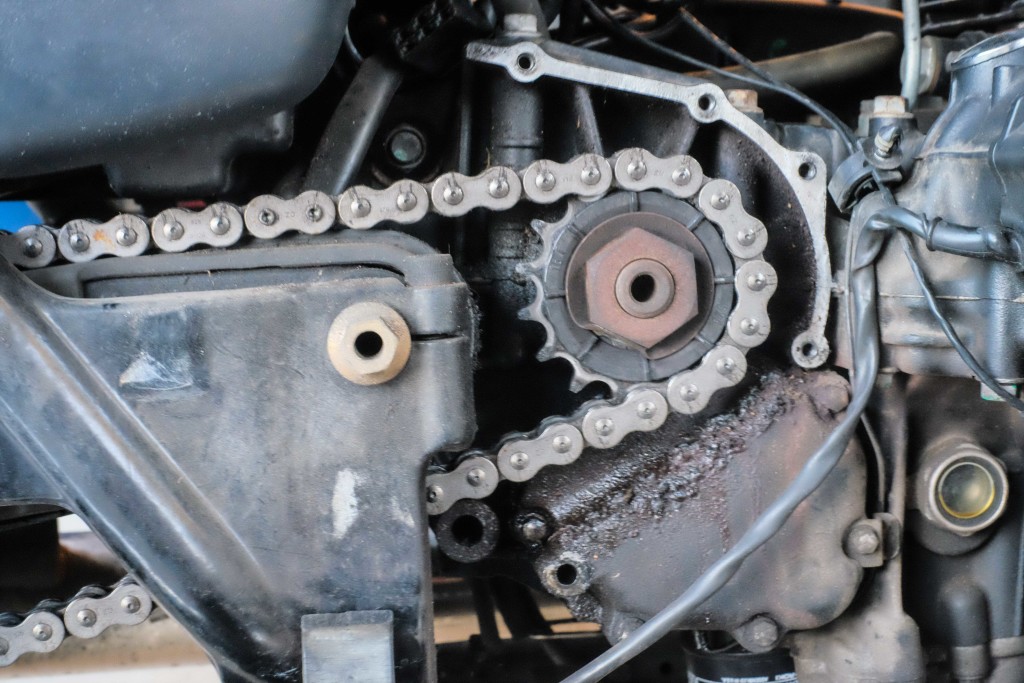
Dirty as all get up. Cleaned out the gunk with WD-40 and a toothbrush.

New sprocket cover on but the bolts I used have begun to rust a tad. I will likely replace them with stainless down the road.
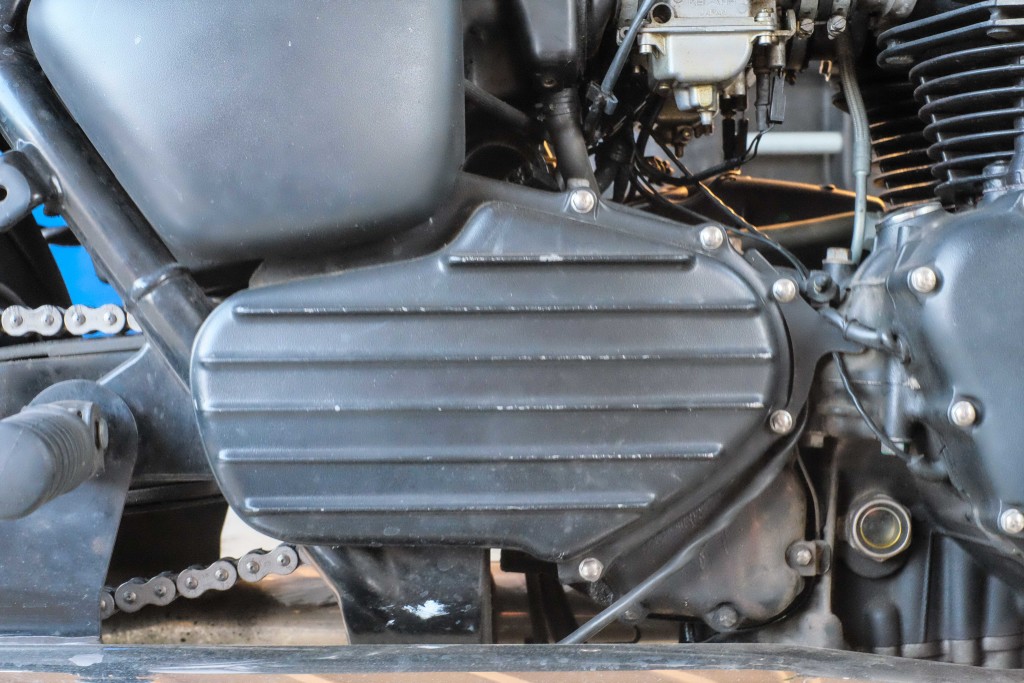
The stator cover installation requires draining the oil from the motorcycle and the purchase of a new gasket which I picked up from LA Cycle Sports. Many in the industry have told me they have messed up the gasket upon install and to take it slowly. Removing the stator cover reveals the stator, which is essentially a big ass electromagnet that is bolted to the housing. Removing the stator and the rubber grommet with running wire must be done carefully. Honestly though, it’s not rocket science and was very simple. After popping out the Stator coil, it was just a matter of reattaching it to the Speed Merchant cover, reinstalling and fitting the running wire with grommet and lining up the new gasket.
Drain the oil before cracking open the stator cover
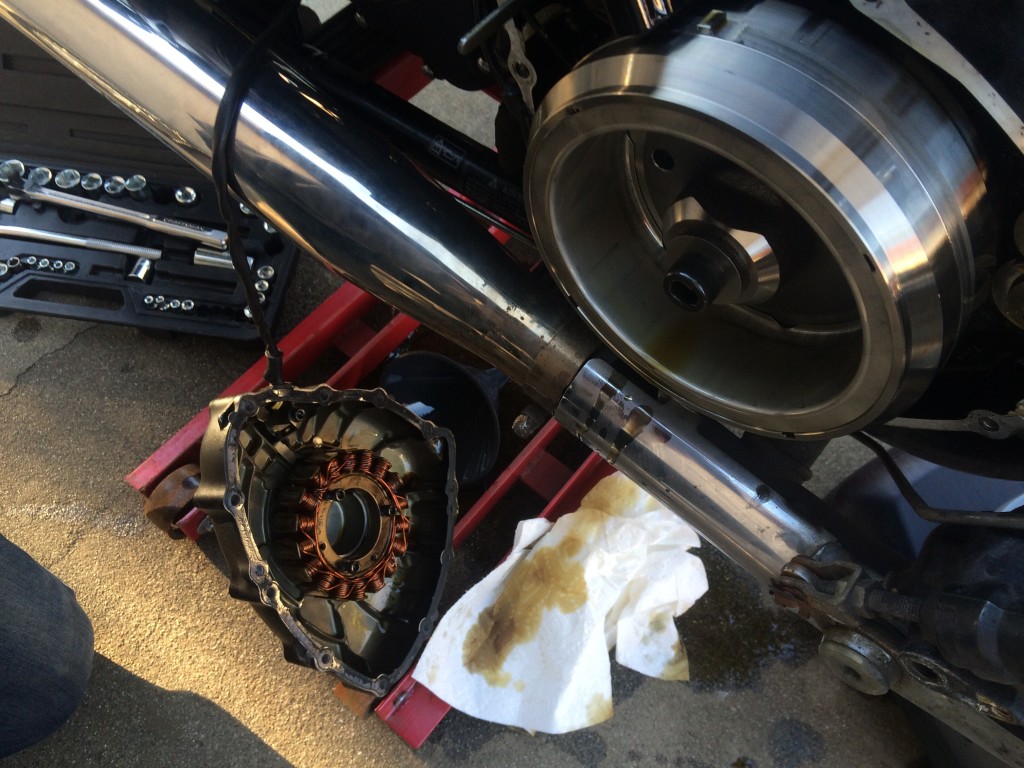
Carefully pull off the stator cover after loosening and removing the screws. Its takes a little force to pull the cover off because the electromagnet is nicely logged in that big metal cylinder.

Being careful to remove the electromagnet and wire.
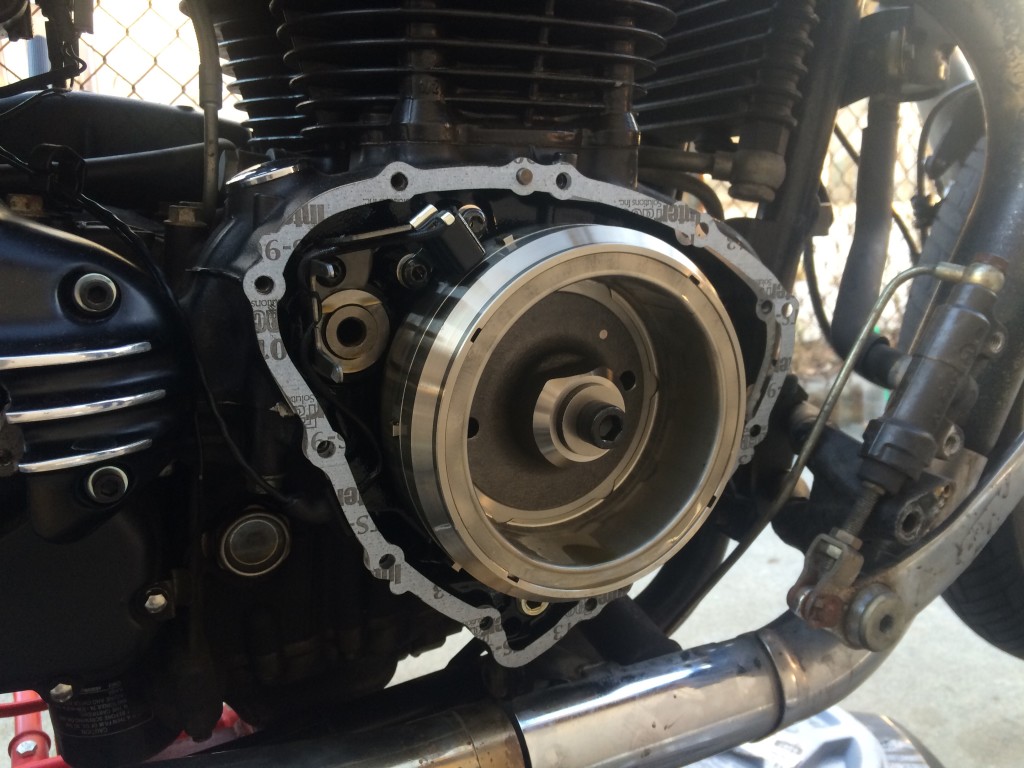
Replace the gasket with a new gasket. Be sure to clean off any residue from the previous gasket before installing this new one.
I don’t know what all the fuss was about from all my colleagues regarding the gasket. The gasket and cover fit on easily, the trick is to tighten each of the bolts a little bit over the whole to ensure a uniform seal. After topping off the oil and running the bike up and down the block for 15 minutes, there were no leaks and damn damn does the right side of my bike look awesome.
Biltwell Carb Covers
The top of my carberators were beginning to pit and since the feel for this bike is a lot of black on silver I opted to throw on the Biltwell Carb Cap Covers. The Speedmaster carbs are slightly offset so installation of the right cover was easy even though it required unbolting and raising the fuel tank. In an inelegant fashion, I sat on the bike and lifted the tank with one hand and installed the right carb cap with one hand. The left side carb cap was slightly recessed under the frame and required a 90 degree screwdriver to remove the inner most screws. It was a bit of a pain in the ass but is a nice accent when complete.
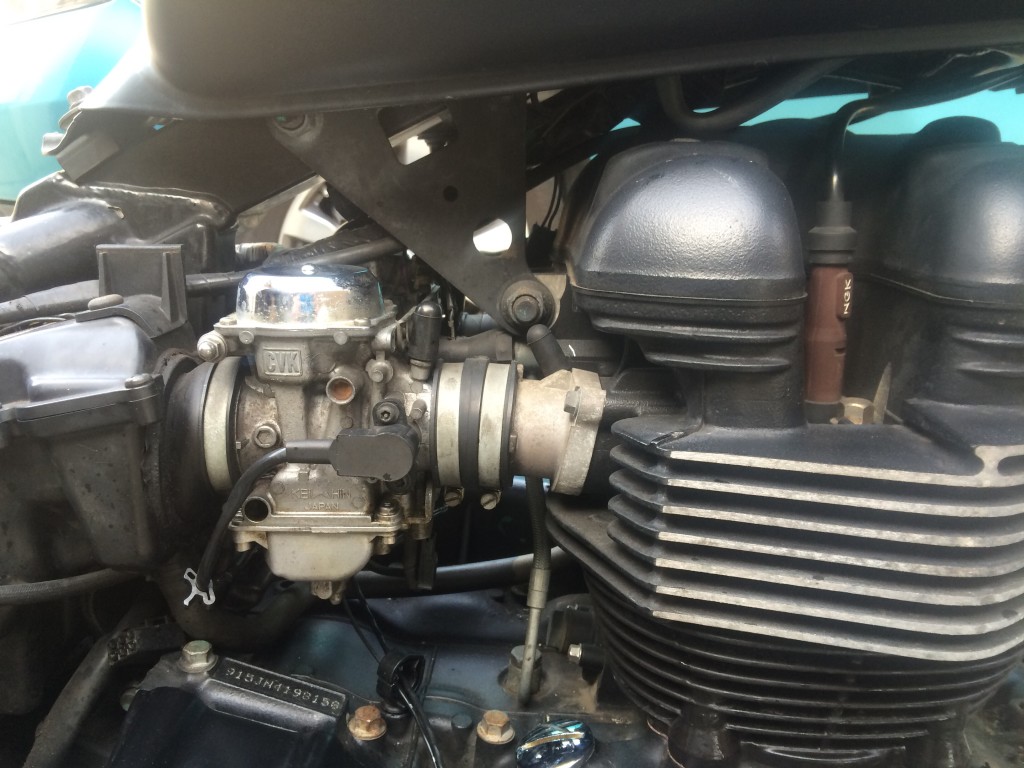
Stock Carb Tops
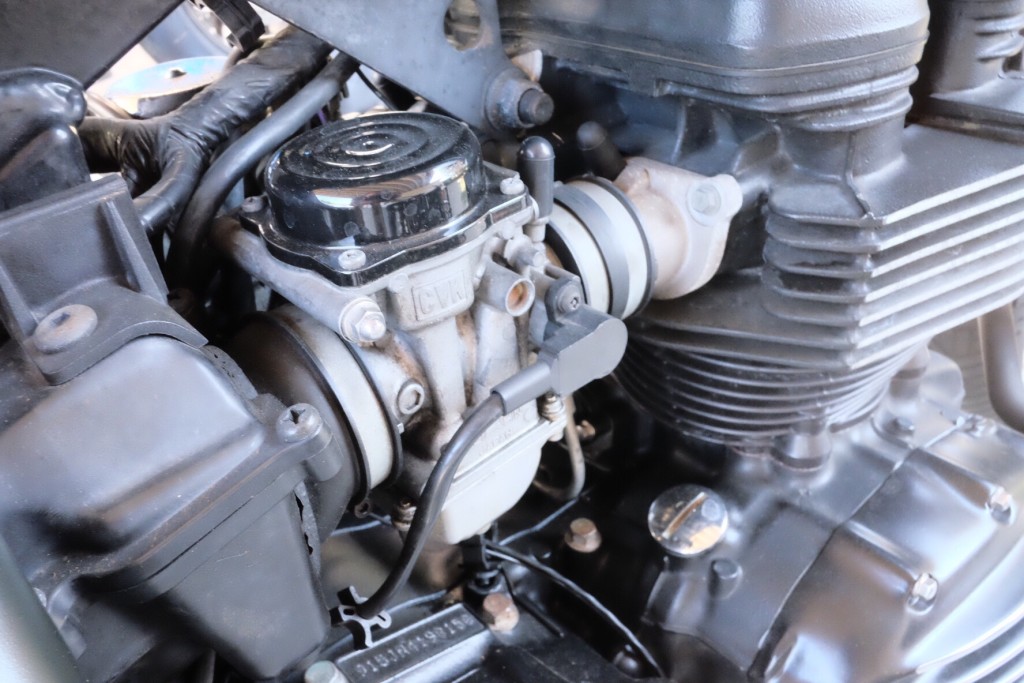
Biltwell Black Carb Tops
British Customs Low-Profile Saddle:
The stock seat on the Triumph Speedmaster is more of a gunfighter design but for this build I wanted a minimal single saddle. To offset the color pattern just a bit, I opted for a nice distressed brown low-profile seat from British Customs and while a tad firm it looks fantastic and creates a nice line from the tank to the rear fender. Installation was simple. After removing the stock locking mechanism that holds the original seat, the British Customs Saddle just pops on and is secured with a single 8mm bolt.
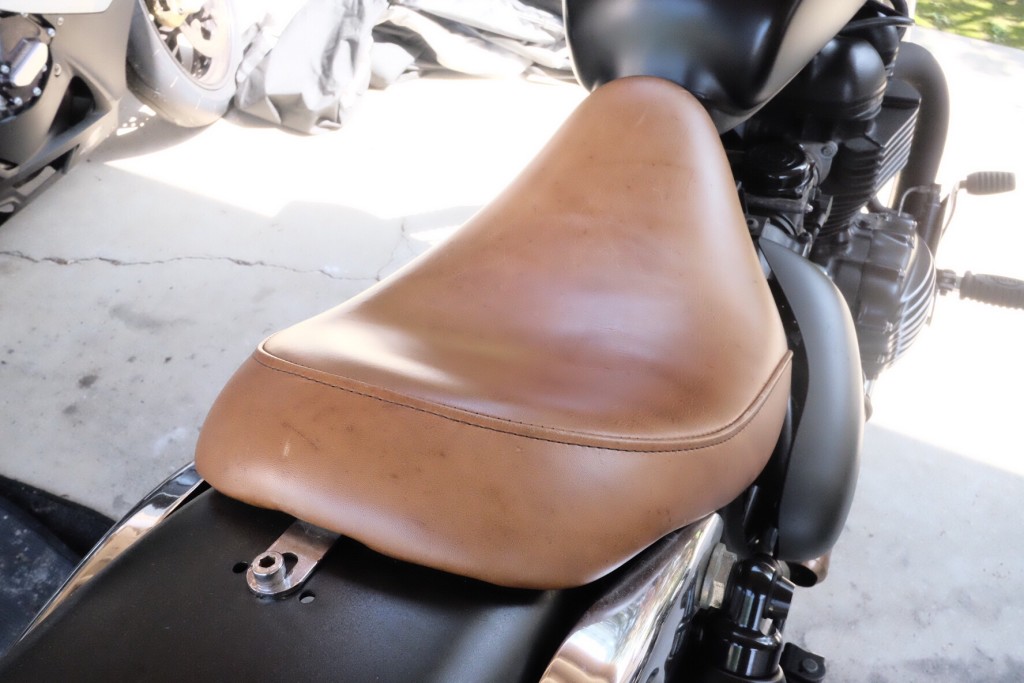
British Customs Low Profile Single Saddle in brown distressed leather.
Where did Problems Arise
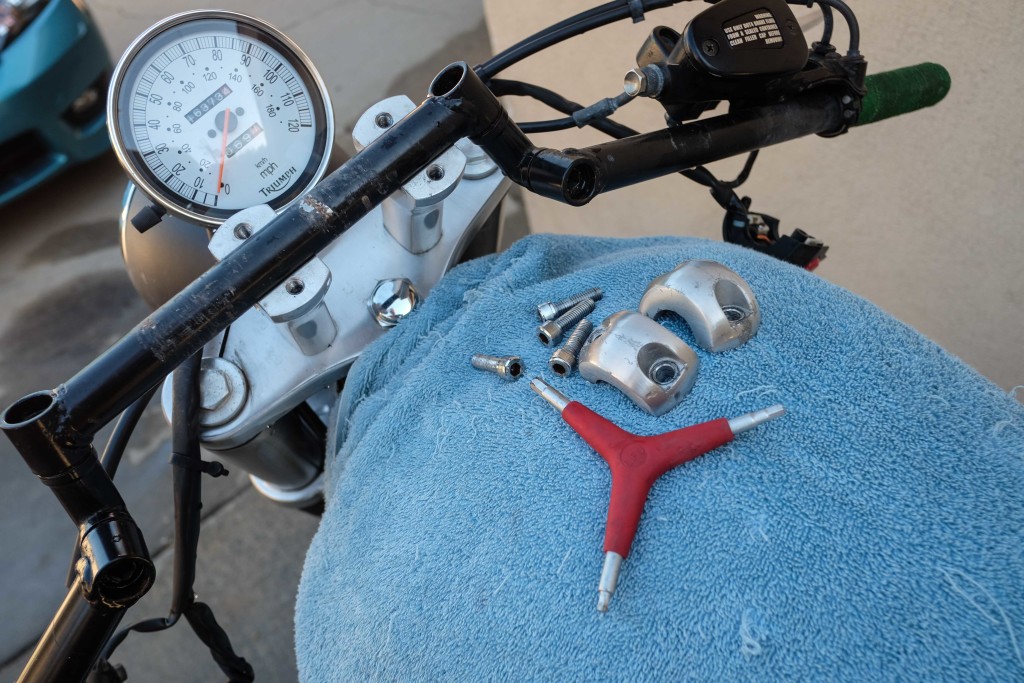
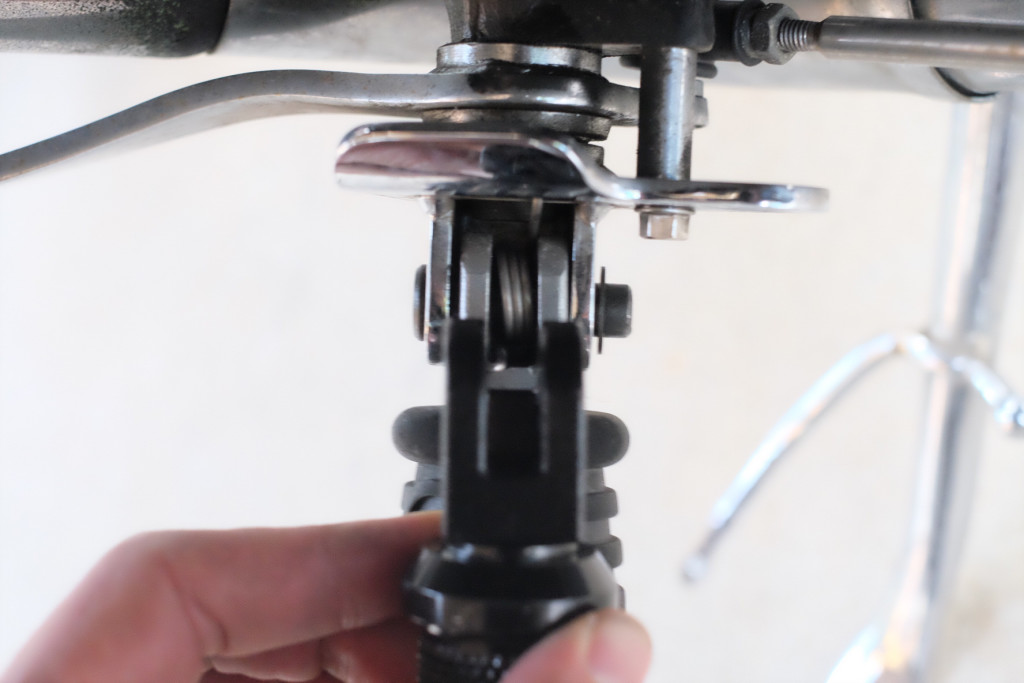
Breaking the riser bolts underneath the triple tree took some considerable muscle but once they were removed it was pretty simple to install the new 1” risers.
However here is where I screwed up for the first time in this build. While installing the new risers, British Customs includes lock-nuts and during installation, I snapped the bolt. I messed up because the included lock-nut was not properly threaded and I kept trying to tighten it. This lead to a few trips back and forth to the hardware store to get a replacement bolt and nut. I say a few times because, again, I am a moron and should have taken everything with me in the first place.
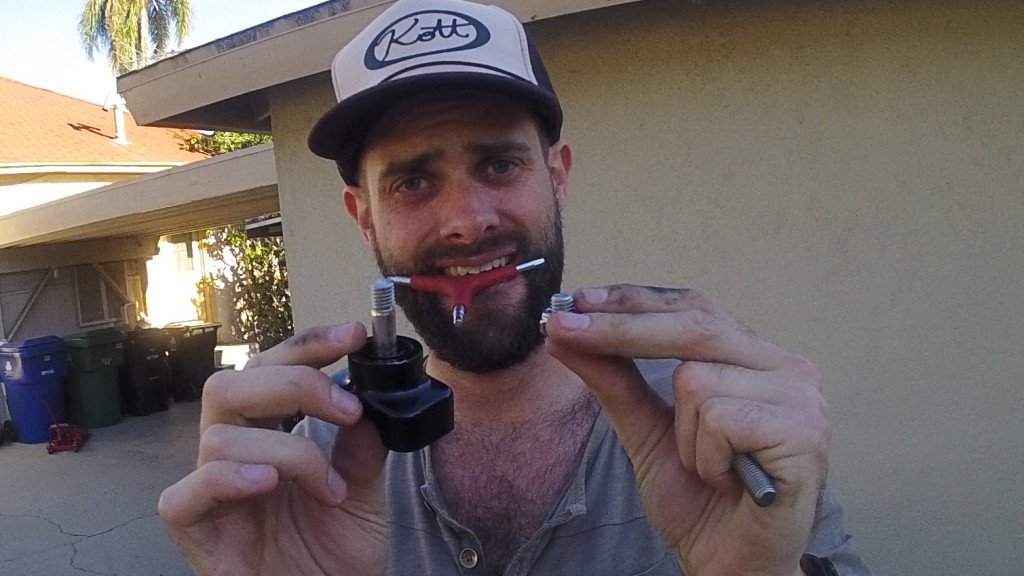
I broke the bolt that holds the riser onto the triple tree because I am stupid.
I ran into a hiccup when installing the Biltwell Mushman Footpegs as the bracket for the OEM pegs was smaller than the width of the mounting points of the pegs. I ended up screwing the Mushman pegs on to the rear for any potential passenger and hopping over to a friends shop to file down the Rocker pegs to fit up front. After filing them down they slipped on with no issue.

Yeah…Im going to have to clean up this oil but not before putting on these sweet ass Biltwell pegs
These Biltwell pegs were slightly too large to fit the OEM bracket opening but after filing them down they fit on with ease.
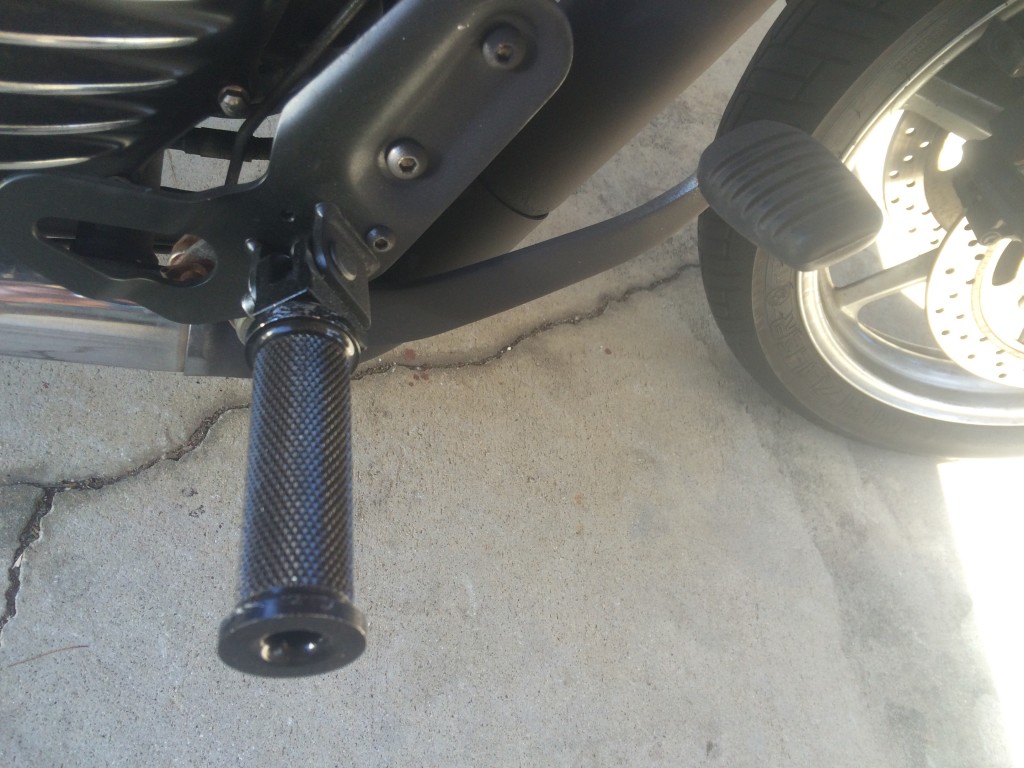
After a little grinding and drilling, the Biltwell Rocker pegs went on like a charm.
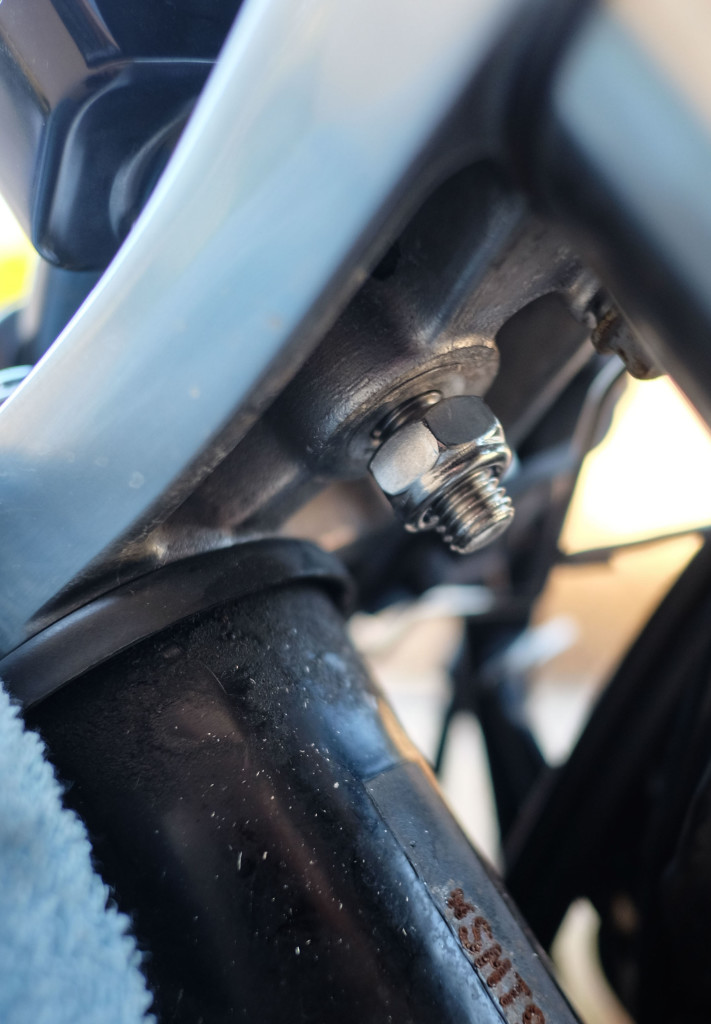
New bolt and nut which would be secured with a little blue Loctite before being fully tightened.
Final Thoughts:
Despite all the little problems, the new control setup is very comfortable. The upside-down tracker bars look fantastic and with the low profile saddle, the ergonomics are completely tolerable. This is not a touring bike at all but rather a 45 minute / hour bar hopper.
Handling is crisp and responsive but unfortunately I have lost a few degrees of head turn on the front fork due to the upside-down tracker bars. They hit the Triumph badges on my fuel tank and thus my turning radius has been slightly diminished. I might end up turing them upward just to have the added maneuverability but around town these function well enough.
The installation of all these parts were relatively straight forward as they are advertised and add a lovely aesthetic to the bike. I was a little annoyed by the breaking of the riser-nut but again that was my own fault.
You must be logged in to post a comment.