How Hard is It to Customize a Motorcycle – Fender Modification and Tail Light Install
With the engine and controls upgrades already installed, I have moved on to bobbing the back fender and installing a new round style taillight assembly from British Customs.
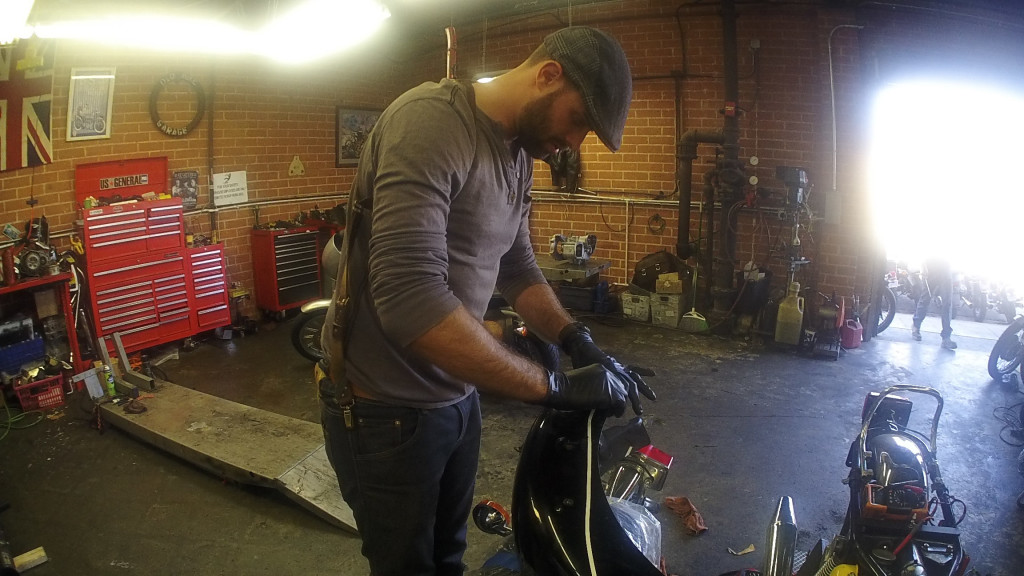
This will be the first time that I will have taken a cutting wheel to metal since helping my dad with construction work over a decade ago. The 2004 Triumph Speedmaster has a longer rear fender and the overall look and feel I have been aiming to achieve is a bike that is more sleek and naked. For this I wanted to see more of the rear wheel and create a cleaner line from the tank to the seat, all the way to the back of the rear fender. Having never cut anything on a motorcycle, I went over to my friend and mechanic, Bob Gregor at Moto Classic Garage.
Gonna be chopping off quite a bit here.
Ensuring all the tape lines are straight.
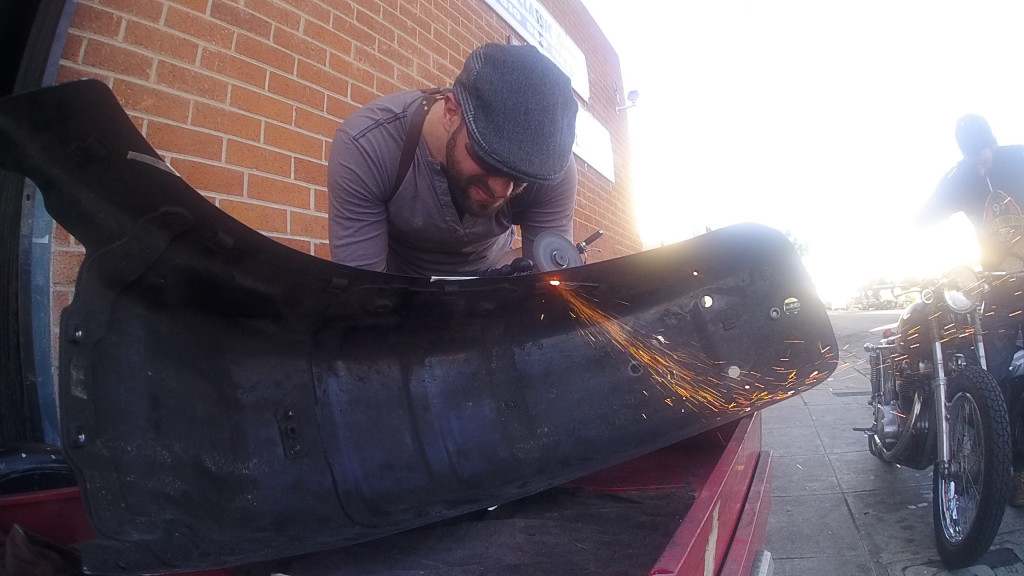
Bob was kind enough to let me use his handheld cutter in exchange for helping him load some bikes into his truck. After a quick tutorial, I took my hand at cutting some pieces of scrap. I then proceeded to disassemble the stock taillight and taped off the detached fender. It was time to get cutting.
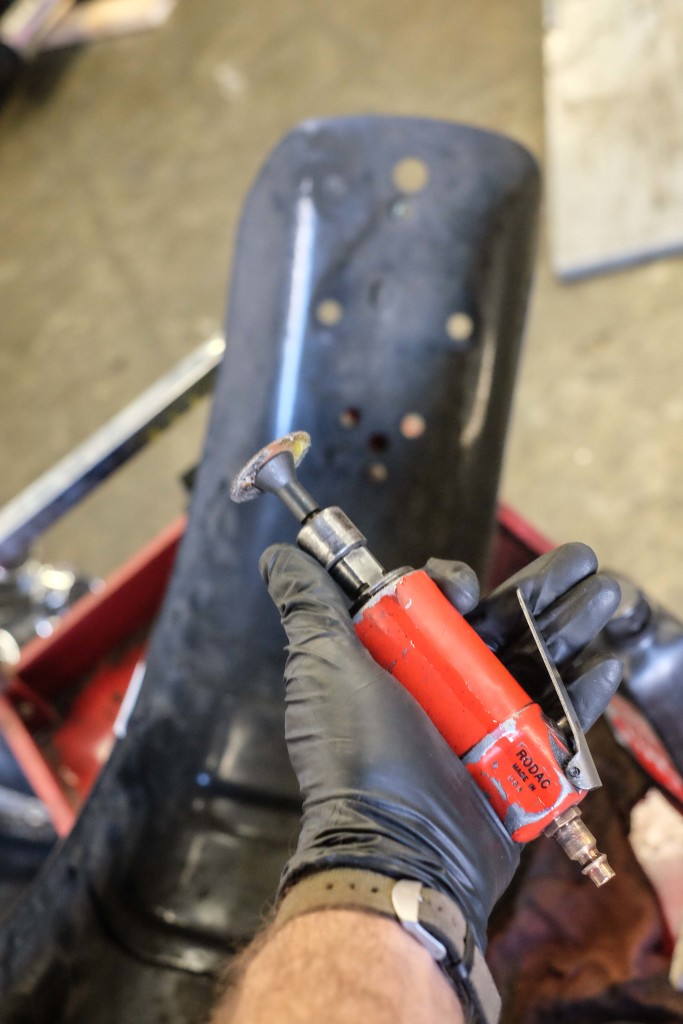
Ah yes, power tools.
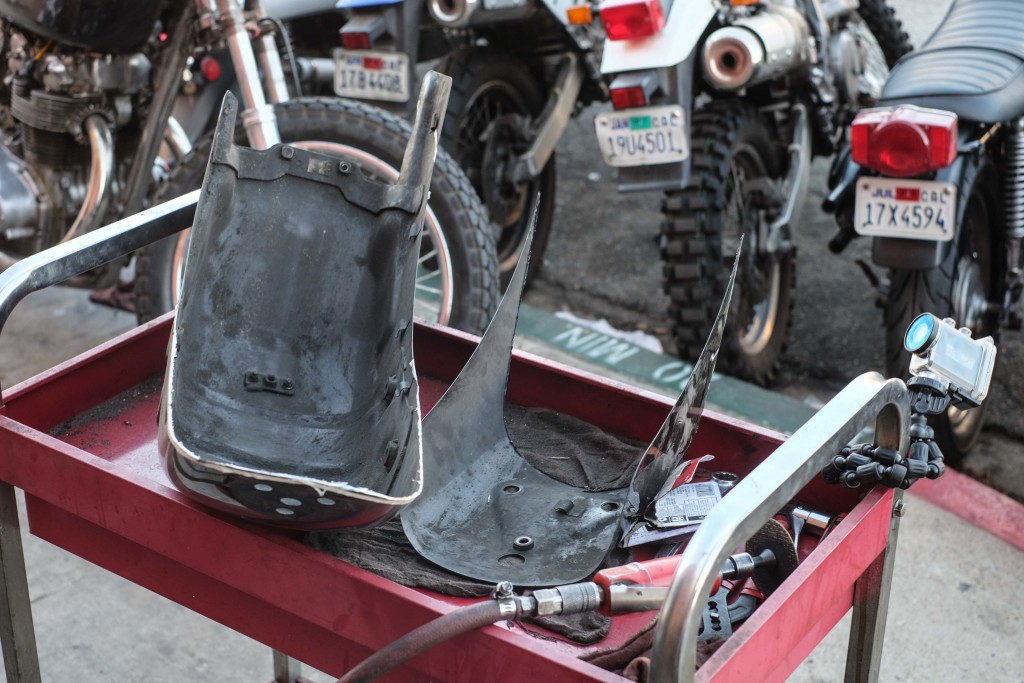
Cutting complete. Now to file the edges
Eyewear is essential when using cutting wheels as friend’s have told me horror stories of them exploding during use. Luckily for my pretty mug, no cutting wheels met their demise or erupted into my face. With a healthy amount of pressure and focus, cutting metal is quite fun and easy. I would have trimmed back the fender even further but the stock taillight assembly included three laser cut holes perfect for mounting the new British Customs taillight and had I trimmed the side edges any more I would have lost the integrated clips on the underside of the fender that holds the main electrical line for the brake light and turn signals.
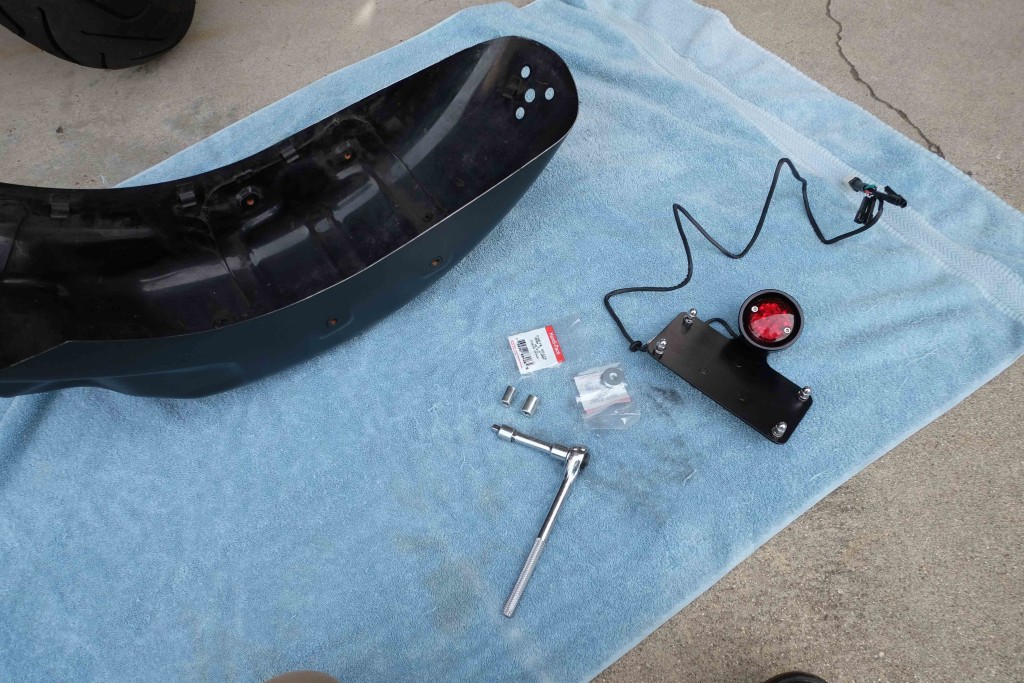
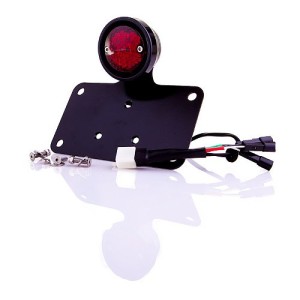
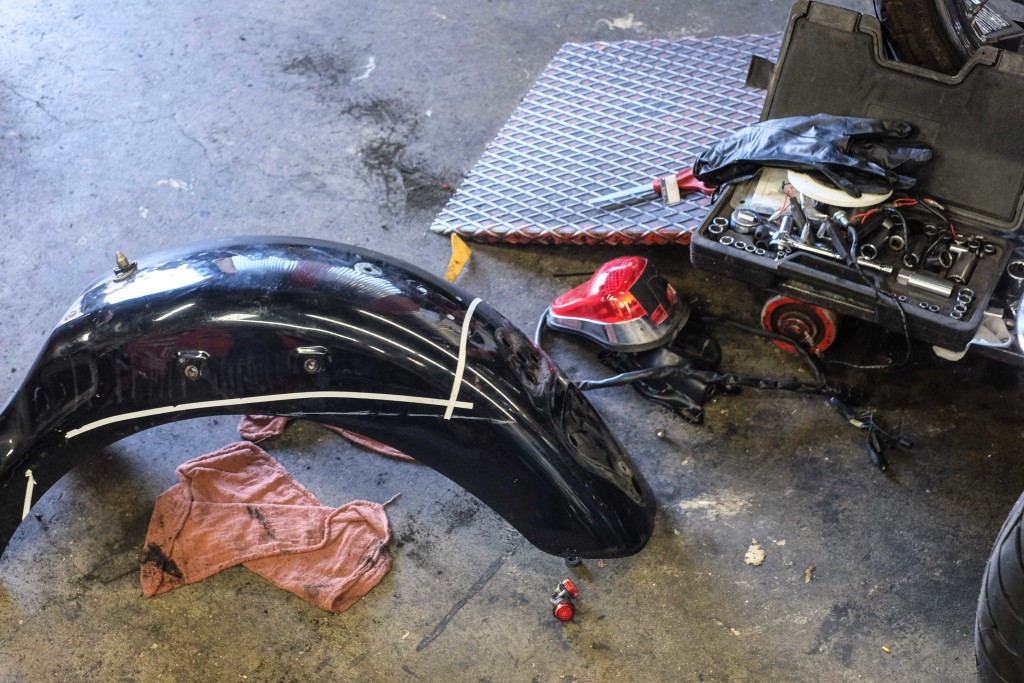
Installing the British Customs Round Taillight was relatively straight froward. Connecting to the fender with three simple bolts and one plug-and-play electrical plug. However I believe this part modification was designed to work on later model Speedmasters’ or ones with small drilled mounting hole because the stock assembly holes were a fair bit larger. I was forced to make another trip to the hardware hardware store to purchase three washers for proper securement. Once mounted, I plugged in the assembly to the main electrical line. No splitting wires or anything.
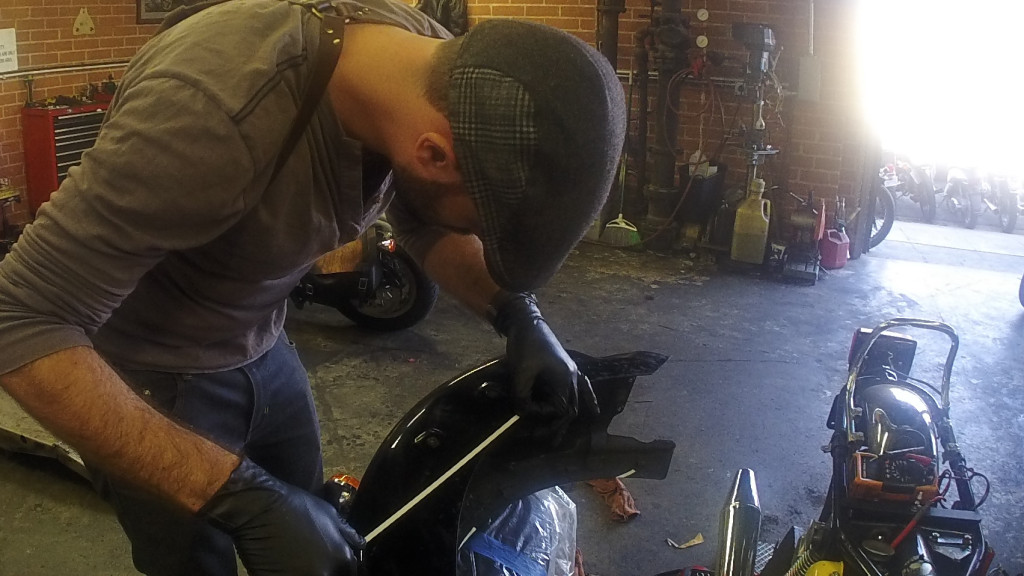
Prior to attaching the taillight assembly, I cleaned up the rear fender by filing down the edges by hand with file, wet sanding the top coat and applying 3-4 coats of matte black spray paint in an attempt to match the matte color of the fuel tank. I did the same for the side panel bodywork, headlight, and speedometer.
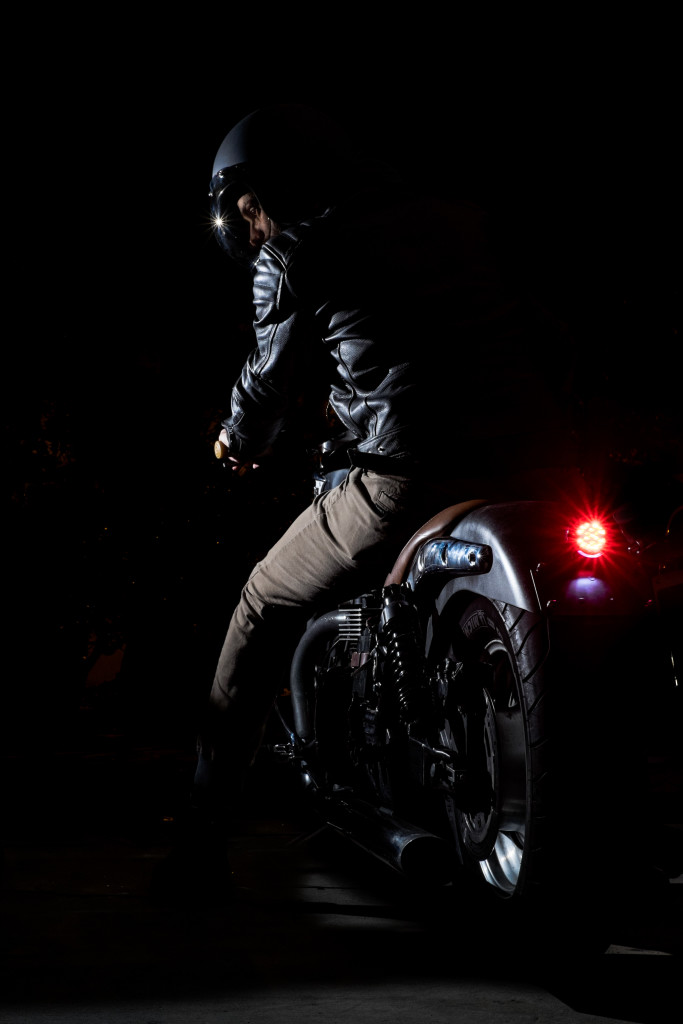
Now that’s an ass you can stare at all day long.
Final Thoughts
Cutting metal is fun and surprisingly easy if you take it slow and double check your lines. The install of the British Customs tail light was also easy as it really is just one plug and three screws. The overall project took about a day including two coats of paint. The new look gives the Speedy a polished retro feel. This was just another easy modification to make to the motorcycle and one I would encourage anyone to do the same if they feel so inclined.