Project BMW E46: Fixing the Paint & Passing Emissions Testing
It’s time to get the BMW E46 project car cleaned up and road-legal.
I bought a(nother) project car, mainly because I love watching my money burn. Naturally, it was another BMW, too. Don’t be like me, a professional idiot who is used to being perpetually destitute because of the things in my garage.
Of course, I am kidding, project cars are generally a lot of fun. It’s just an added bonus that they keep places like ECS Tuning and Pelican Parts in business.
That brings us tidily to Project BMW E46, my shoestring budget, street-legal drift car. In the last episode, I detailed finding and buying the car. This time, it’s all about what happened in the first week of ownership.
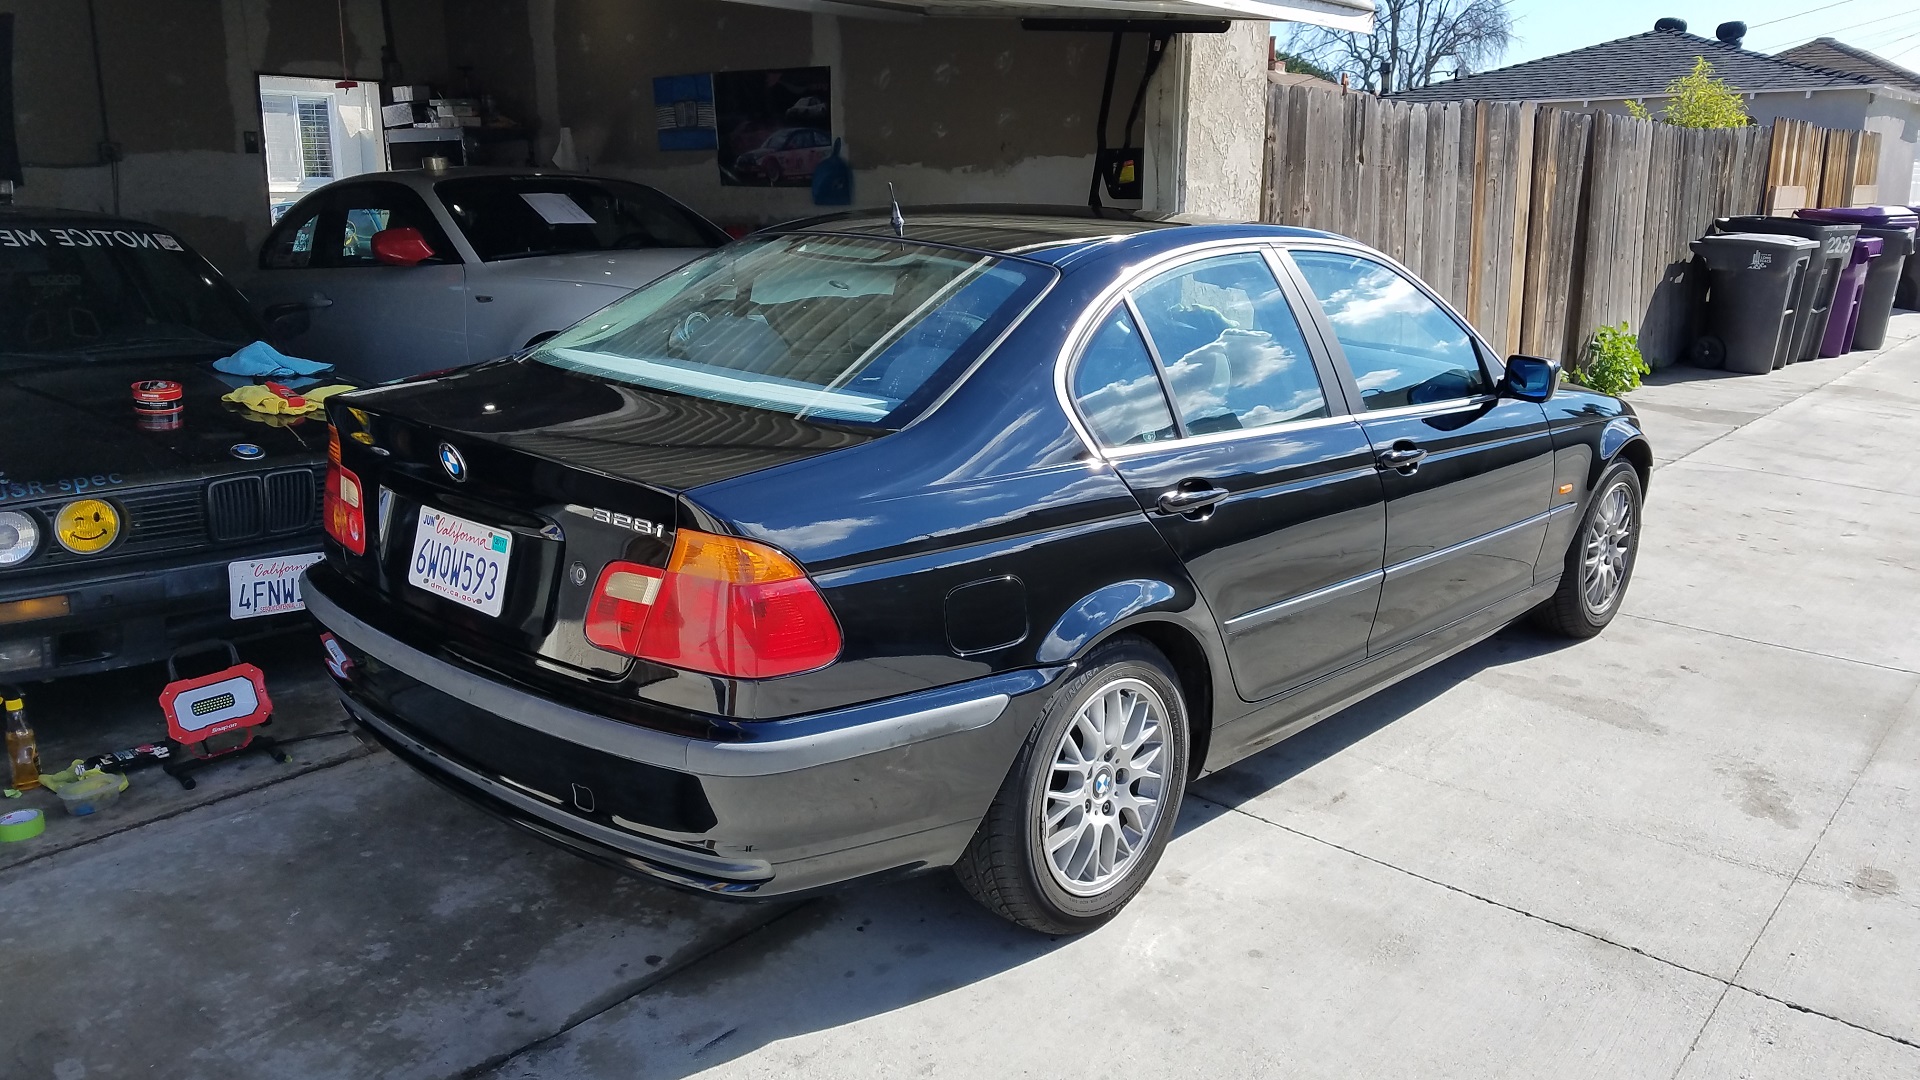
So, what did happen in my first week of ownership? Well, first on the agenda was something that bugged me as soon as I saw the car in person. The paint and bodywork of this $1,500 soon-to-be drift taxi was simply not up to my standards. Oh, the humanity! Of course, it’s an 18-year old car that will eventually be thrashed hard on track. However, in the mean time, it was parked in front of my house, and I had to look at it every day.
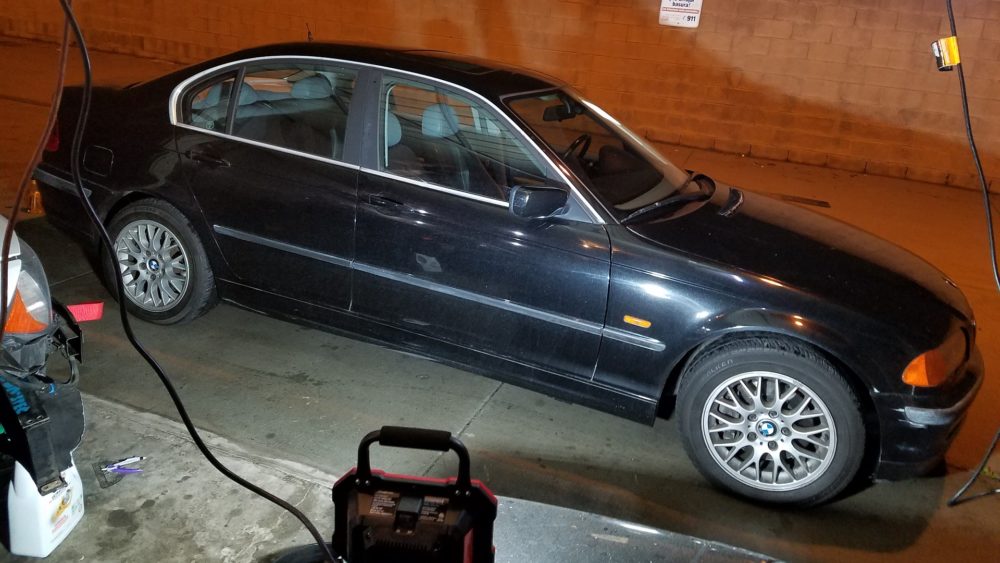
The two main issues were the destroyed driver’s side fender and poor condition of the paintwork on the car. The car had been parked outside for several year, and generally neglected. Additionally, it was clear it been parked next to, or near, a lawn sprinkler. The Jet Black finish was dull, oxidized, and covered in heavy etching and water marking. From a distance the car looked gray. The paint had a coarse, gritty texture to the touch.
The smashed fender would have to wait. However, the paintwork was manageable, so let’s get to it.
Detailing for dummies: A primer
When it comes to detailing, there is a distinct process, that is easily modifiable to the individual car.
- Washing
- Claybarring
- Polishing
- Waxing
Step one is to wash the car, it’s pretty straight forward. A clean car allows you to examine to condition of the paintwork and assess what needs to be done.
After that, run your back of your hand along the panels. Is the paint smooth, or is there a texture or grit to it? If it’s the latter, then it’s time for step two, which is clay bar. By wetting the paint and rubbing a detailing clay against it, that unseen grit and contamination is lifted from the paint. After a successful pass with the clay bar, the paintwork should be as slick as glass.
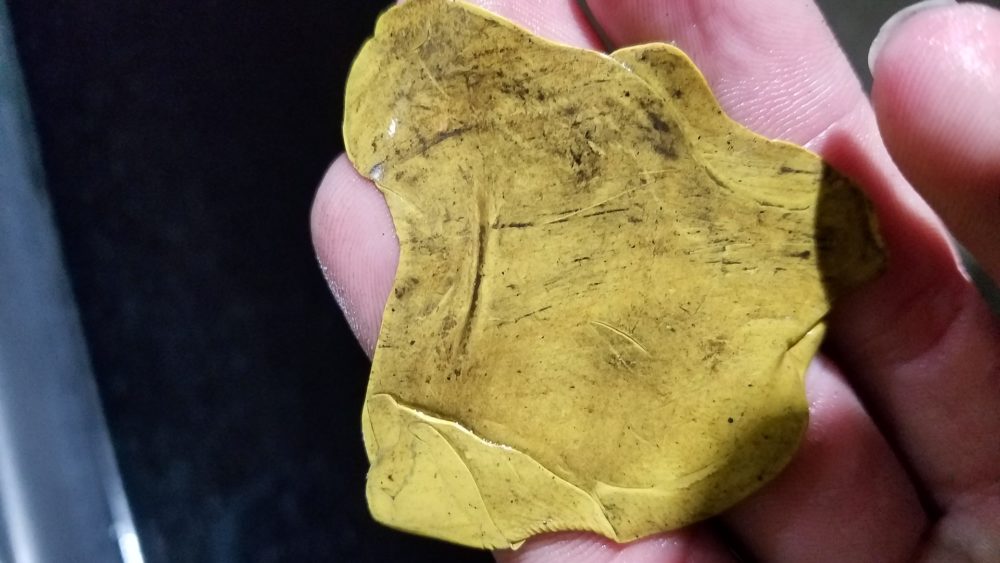
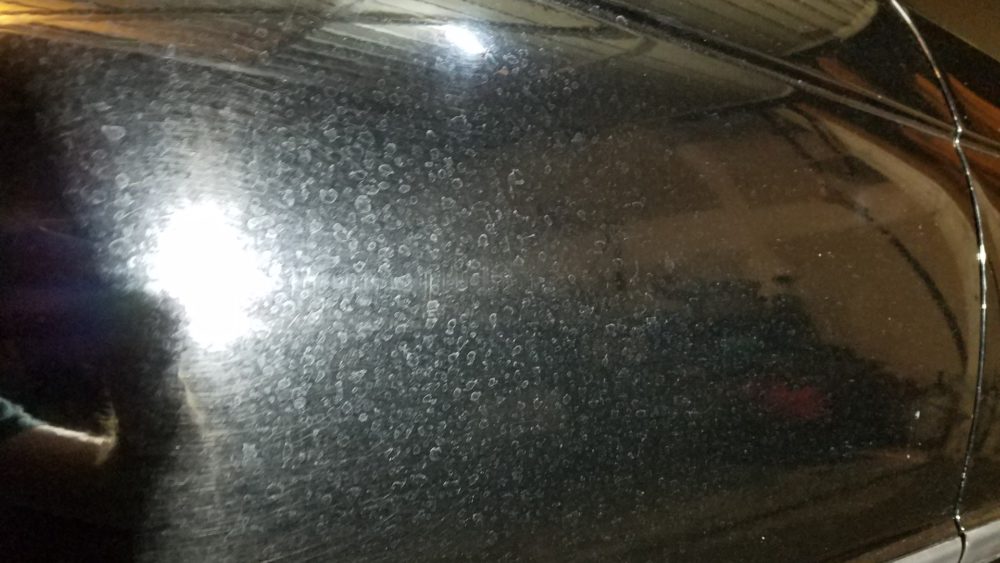
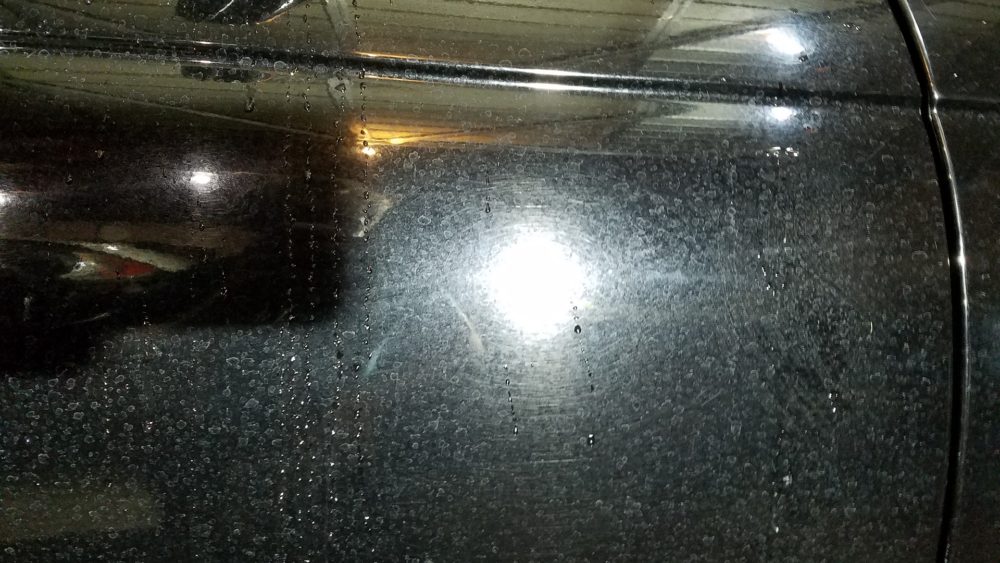
On the left is a used piece of clay bar. All of that dirt, grit and contamination was embedded in the paintwork. Not visible to the naked eye, but able to be felt by hand. The two following pictures showcase the paintwork after the clay bar treatment. It was now quite smooth to the touch, however, the etching and water marking remained. That leads us to step number three.
Cutting and polishing compounds are used to gently (or not so gently) cut away at the top of the clear coat to remove imperfections. The rule of thumb here is the least amount needed to get the job done. In this case, a heavy cutting compound was required to clear out the hard water marking. From there, a less aggressive polishing compound was used as a follow up to smooth things out.
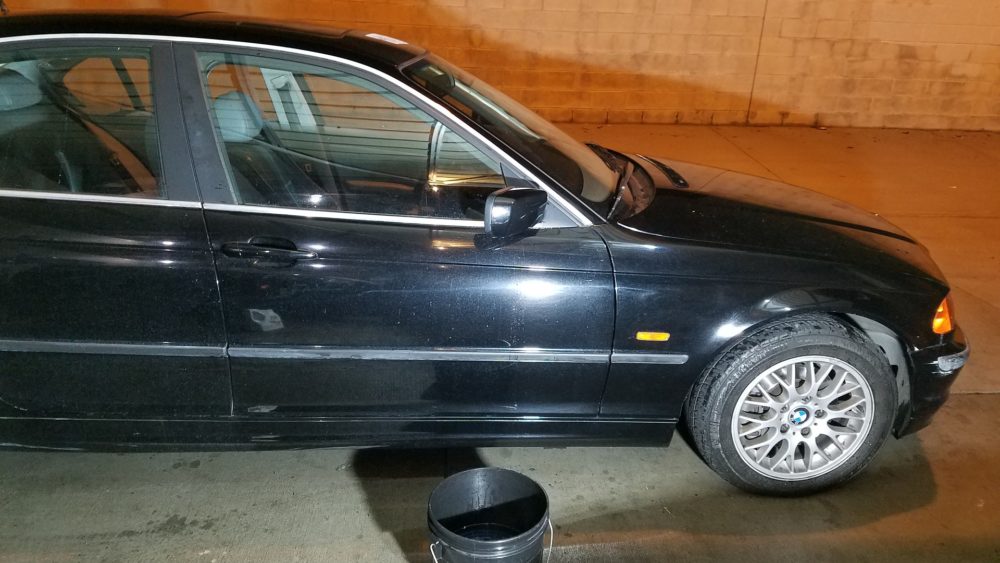
Here is a “50/50” shot, showcasing a panel before and after being polished:
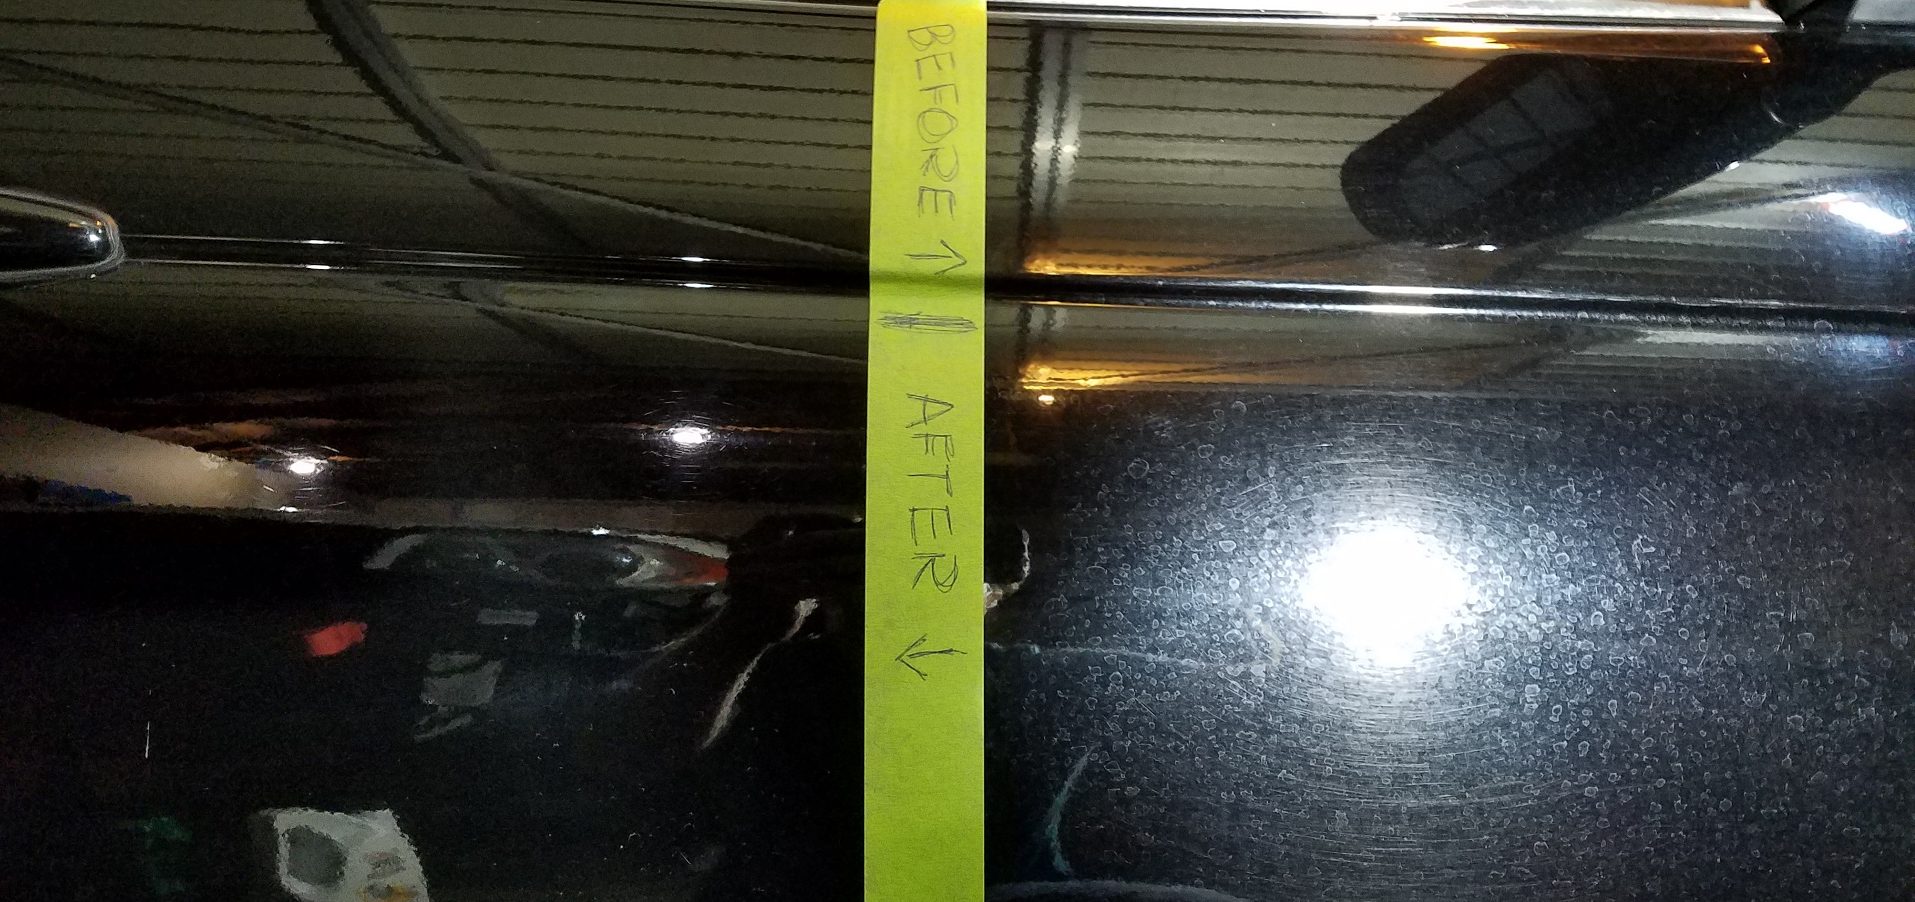
Note that this was accomplished with off the shelf products applied by hand. I don’t own a buffer. As such, it’s not perfect, and I don’t claim to be a professional. Disclaimers aside, the 50/50 shot showcases a striking difference. The water marks are gone and the paintwork offers a level of clarity that was clearly lacking previously. The grayscale has been tipped largely towards the black spectrum.
After polishing, the paintwork is smooth to the touch, the color is sharper and the clarity has largely been restored. Now it’s time for the last step. Step number four is applying wax.
Related: Project Car BMW E46, Episode 1: Buying a Cheap Euro Car Off Craigslist
Waxes, or sealants are a top car applied to the clean car to offer an increased level of protection for the paint. It effectively acts as an additional layer of clear coat. Since I had already committed a good amount of time into this process, and that the car would likely never look this good again, I put in the extra effort and laid down three coats of wax.
Here is the final result (click on the images for the full-size resolution):
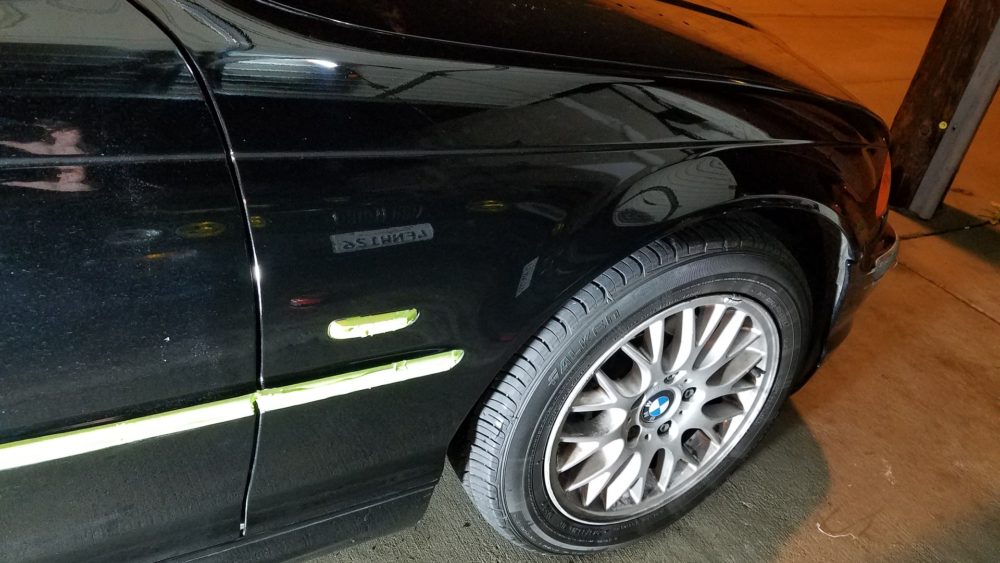
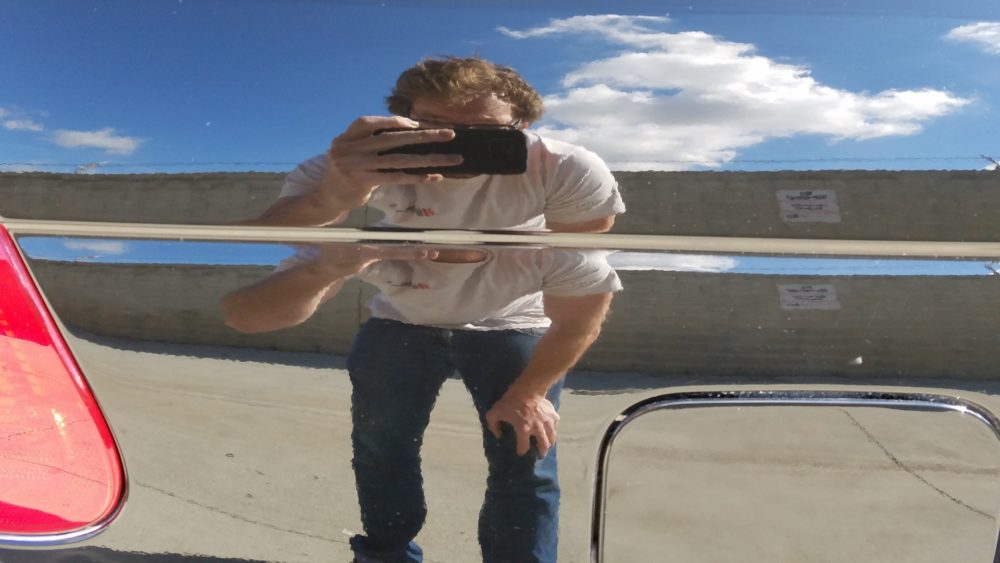
The total investment was about $20 in supplies, and 12 hours of my time (Notice how it went from night to day?). I’m going to sob uncontrollably when I smash the car up drifting, but in the mean time, hot damn, not bad for a $1,500 beater.
After this came something decidedly less flashy: Registration
In order to register the car under my name in the state of California, the car had to pass a smog inspection test. The original owner did not have time to do this before I bought the car, but assured me it would pass. Of course, they all say that, but this time, I had reason to believe the owner. The cost of a smog test was factored into the purchase price of the car, and I accepted the responsibility.
Now, there are ways around emissions testing in California, but they are of dubious legality, and I don’t advocate you try it. Also, I had faith the car would pass the test on it’s own merit. That said, I did some basic preparations for the test to keep things in my favor. Namely, I did an oil change and burned off all the old gas that was in the car, as these can affect the performance of the car.
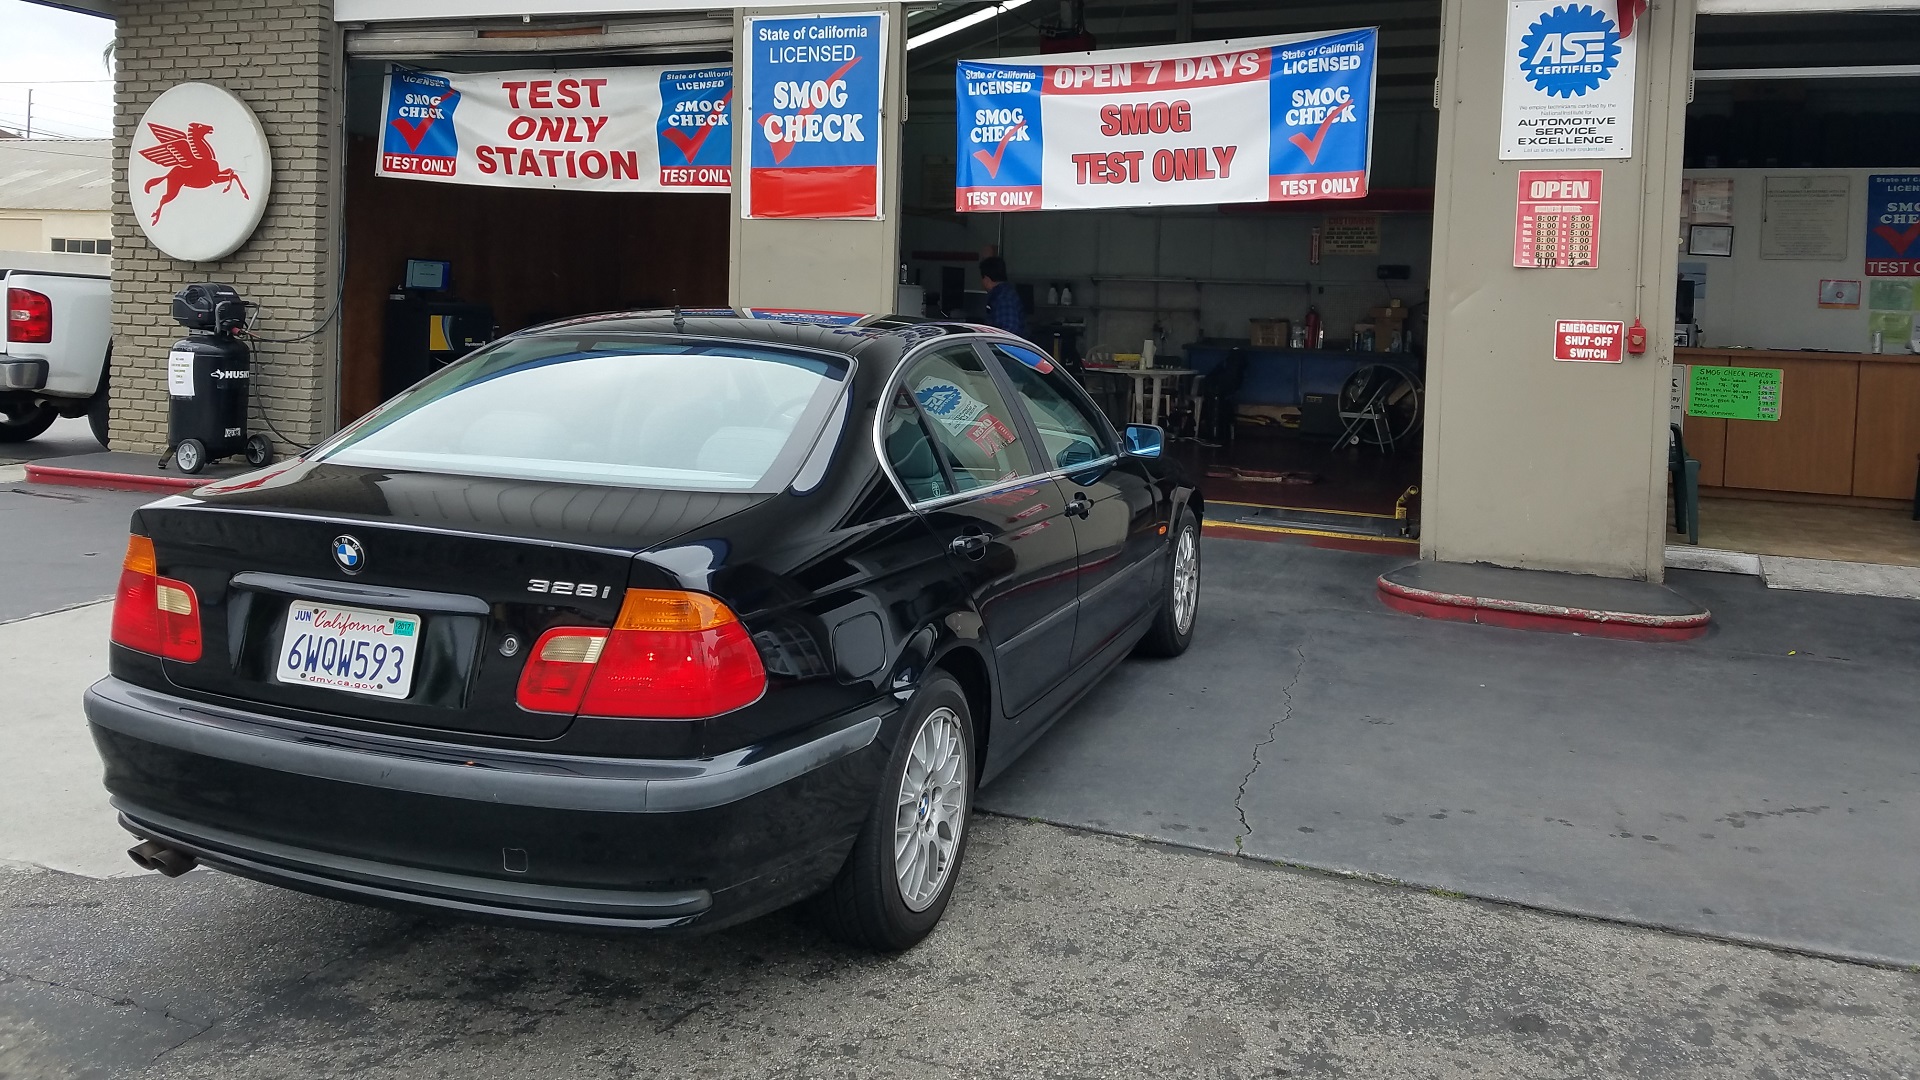
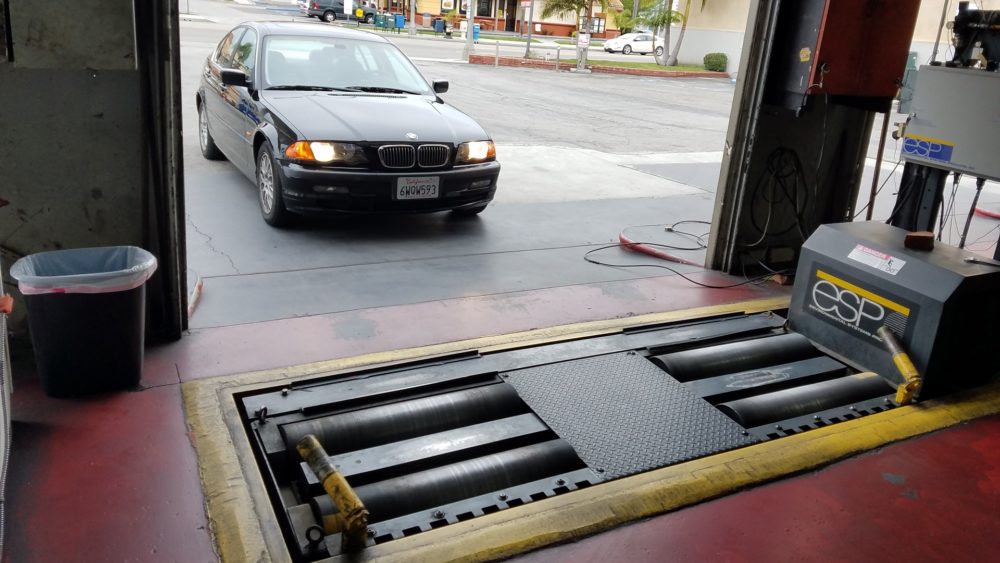
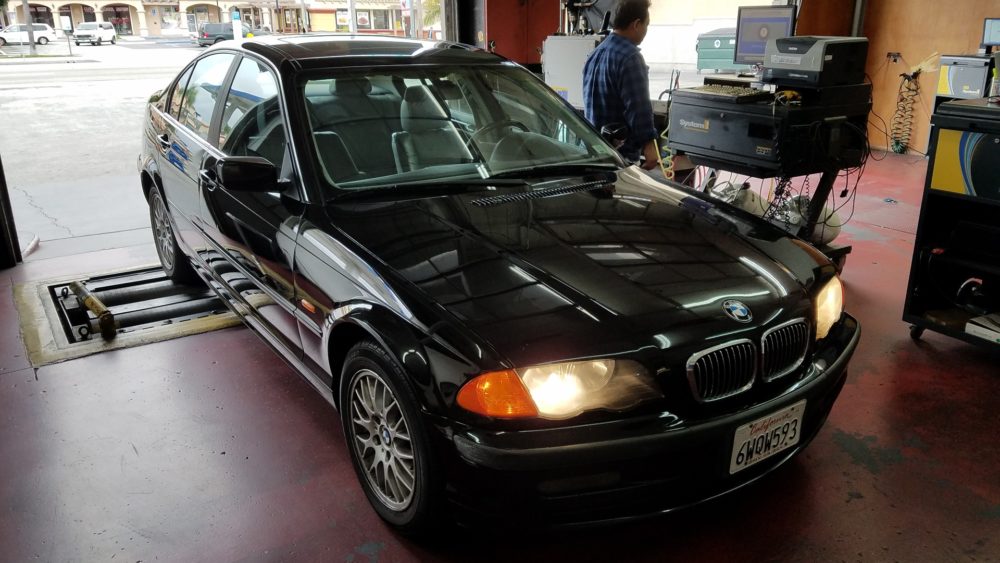
With that done, I went to my local smog test station and rolled the dice.
Being a ’99, the E46 was subject to the “old style” smog testing wherein the car was put on a dyno and physically tested for it’s actual emissions levels. Model year 2000 and newer cars do a simple OBD-II scantool test and visual inspection. If nothing is visually suspect, and there are no check engine lights or tripped emissions “monitors,” the cars will pass.
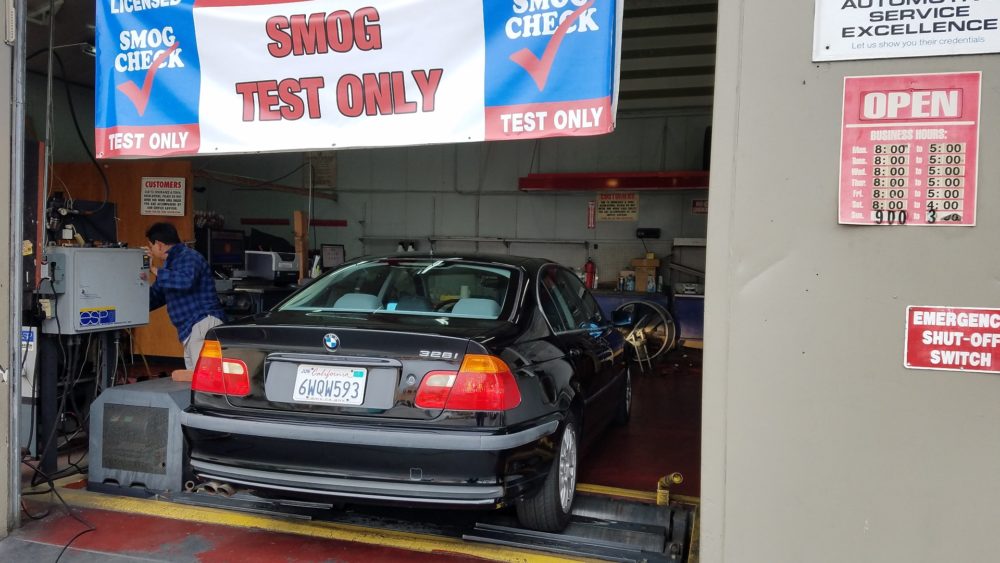
Huzzah, the car passed! All that remained was to head to my local AAA and turn in the transfer of ownership and sale documents, along with the smog test results and the car was good to go. Oh, and I added Project E46 to my insurance policy. Really fun stuff, I know.
There it is, the car is clean up, and road legal. Now it’s time to begin prepping the car for drift action so I can hit the track! Stay tuned for the next installment of Project E46 when I really begin the dig into the car, and find the good, the bad and the truly awful.
You must be logged in to post a comment.