When you click on links to various merchants on this site and make a purchase, this can result in this site earning a commission. Affiliate programs and affiliations include, but are not limited to, the eBay Partner Network.
Yeah that's a 997. Just trim the flute or flanges that contact the IC's to be flat, then telescope about 3/4 inch of the upper duct (maybe a little more central than in the pic) and you can even seal it with duct tape or if you are feeling frisky epoxy or even fiberglass. I think duct tape works well for this and it can be reversed. Then you can zip tie the upper and lower together in 4 places. There will also be a small corner to trim on the car's pass side upper stud flange. Sorry pics of that not with me.
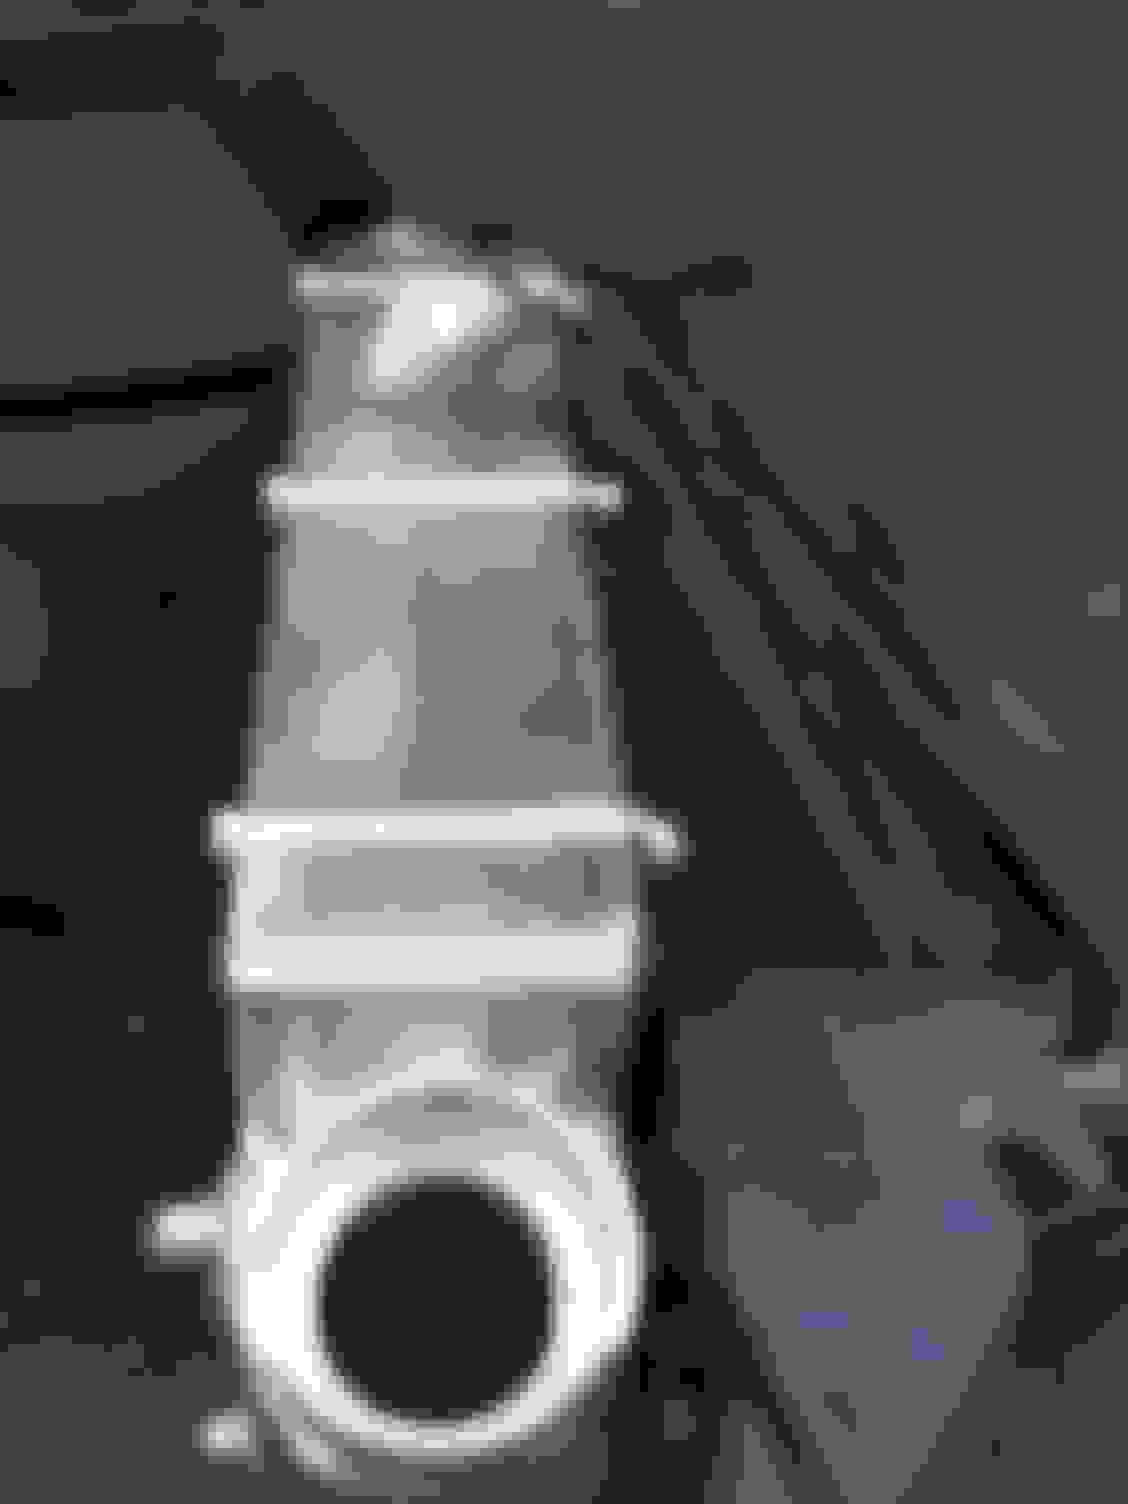
theres a difference in the 997 and the 996 upper and lower ducts were they attach to each other on the sides. the 997 can be tie wrapped like in the pic but the 996 has a spring steel clamp that snaps on each piece so you cant tie wrap there. i ran long thin tie wraps thru the i/c and attached them to each other by drilling some small holes in the palstic. works fine. others have cut the spring steel and extended the metal but i think its a major pia to cut and also to get the length right. for the height yes simply cutting the top piece in half and slide the upper into the lower and use some rivets to attach the pieces. use some weatherstrip or glass them if you want complete clousure.
Whoa! No section is cut out. Make a flat cut, use a hacksaw and not a power tool, and then skip the top piece inside of the lower. Put it on the car and adjust it so the top SEALS properly, mark it and maybe drill the side you can see, remove, pop rivet, check for fit, rinse and repeat until it sits right and SEALS against the upper ducting. Once you know it's good mixup some fiberglass goop, wrap glass strips around it, and soak it! Once dry it's solid and good to go. Getting the backside aligned properly is hardest IMO so make sure it's good before gassing it.
There's a score that pokes down and a lip. Sean bends the lip, I ground down both the lip and the screw. Bending is likely smarter but if you do grind be sure to seal the metal, I put some rubber on it too as its close.
Lower duct, cut the spring steel clips, drill them, extend with flat aluminum from the big box store, pop rivet, good to go. Get GOOD drill bits to drill them. Mock them up by fastening the extension on one side and putting it on the ductwork to measure. Depending upon how you sealed the upper duct and how flat it sits the extensions could vary so measure them - you want them tight but not crazy. You will need to trim the bottom duct some for the piping but it's not bad as I recall.
I've got a thread on this and pics in my photobucket, I'll try to find it for you and link it here.
Note that the seal on the bottom duct no longer has support horizontally. Sean was talking about welding a flange on for this but I don't know that he's doing it without someone asking. In my case I used some thick plastic I'd previously used for wheel well liners on another car cut in a strip to stiffen it. A piece of aluminum or plastic would work, you want that seal if possible as our cars draw air down through that duct. Holler if you need help, bunches of us have done this now
Whoa! No section is cut out. Make a flat cut, use a hacksaw and not a power tool, and then skip the top piece inside of the lower. Put it on the car and adjust it so the top SEALS properly, mark it and maybe drill the side you can see, remove, pop rivet, check for fit, rinse and repeat until it sits right and SEALS against the upper ducting. Once you know it's good mixup some fiberglass goop, wrap glass strips around it, and soak it! Once dry it's solid and good to go. Getting the backside aligned properly is hardest IMO so make sure it's good before gassing it.
There's a score that pokes down and a lip. Sean bends the lip, I ground down both the lip and the screw. Bending is likely smarter but if you do grind be sure to seal the metal, I put some rubber on it too as its close.
Lower duct, cut the spring steel clips, drill them, extend with flat aluminum from the big box store, pop rivet, good to go. Get GOOD drill bits to drill them. Mock them up by fastening the extension on one side and putting it on the ductwork to measure. Depending upon how you sealed the upper duct and how flat it sits the extensions could vary so measure them - you want them tight but not crazy. You will need to trim the bottom duct some for the piping but it's not bad as I recall.
I've got a thread on this and pics in my photobucket, I'll try to find it for you and link it here.
Lol if you were a little closer and it wasn't so danged cold I'd be happy to help! Having done it once a second time wouldn't be too bad.
It was mentioned above to trim the intercooler facing part of the duct, I didn't do this and instead put foam weatherstrip into the recess. I think trimming it flat if possible might be better as the duct would sit flat and not shift as easily from one fit to another - more consistent. Try to find good foam with a sticky side, neoprene like the stock stuff would rock. I don't think the foam I used from HD was as good as I'd like. Pay close attention to the seal to the top duct in the fender, mine wasn't sealed right from the factory and I think it's important to seal it. Have a Sharpie handy for marking cut lines, it's easily visible on the plastic duct but I used an awl to mark the backside when slip fitting the ducts for figment. The awl is thinner, when you drag that line a fat tip moves the line too much - kinda' hard to explain. I had to drill out a few rivets doing mine before fitment was right but in the end I think it's fitting well and sealing nicely. Cruising my intercooler exit temps are ambient or within a degree usually which is dropping a good 25-30 degrees. WOT exit temps rise but I've seen temp drops as high as 70degrees+ and minimal rise at my close to stock boost level. I should have IAT data just as soon as I get my proEFI installed - delayed another week :-(
Just take your time, go slow, ask questions. Forge has a good install PDF for their coolers that will explain how to r&r the stock stuff which was helpful to me btw so maybe look that over. Keep us posted!
I installed 3.5 inch intercoolers. I had to trim alot. I was able to retain the metel clips on the outside, but not for the inside. Opted to use zip ties for now. I will devise a more robust method to secure them when I upgrade the turbos. The boost tubes are a pain to reseat. Test drive under full boost before reinstalling the bumper. I also had to widen to opening into engine compartment to ensure the boost tubes didn't rub. Let me know if you have specific questions.
Originally Posted by BauerR
About to tackle my SRM 4.5" intercooler install and looking for ideas. I have a rough plan of attack but looking to see what others have done.
 02-06-2016, 08:43 AM