When you click on links to various merchants on this site and make a purchase, this can result in this site earning a commission. Affiliate programs and affiliations include, but are not limited to, the eBay Partner Network.
Finally got this project completed! this took me awhile and it's all because I was only able to work on it in spurts on the weekends and when I wasn't traveling. This install was also complicated by my insisting on running temp probes to a differential gauge that gives me inlet, outlet, and difference data to monitor the intercooler performance. MANY thanks to Irish100P for helping me with this install a great deal and doing yeoman's work tearing apart my interior to run gauge wires. This would've taken even longer had he not been willing to help me out!
Some pics:
Passenger side installed with temp probes!
Driver's side installed!
With the bumper on you cannot tell anything has been changed. Upper ducts were cut with the top piece being inserted into the lower piece. I did this with the intercoolers mounted in their cage and the top piece sealed against the inlet in the fender. Once this was positioned well I drew a line with a sharp tool and a Sharpie on the backside and I drilled small holes for rivets on the side facing me. Once they were pulled back out I riveted the side facing me and carefully drilled a hole on the backside which I then riveted. Test fit and adjusted, on the first one multiple times, until I could have both sides riveted and the top of the duct sealed for outside air.
Picasso with fiberglass I'm not!
Rough it up before 'glassing!
Rough the rivets too
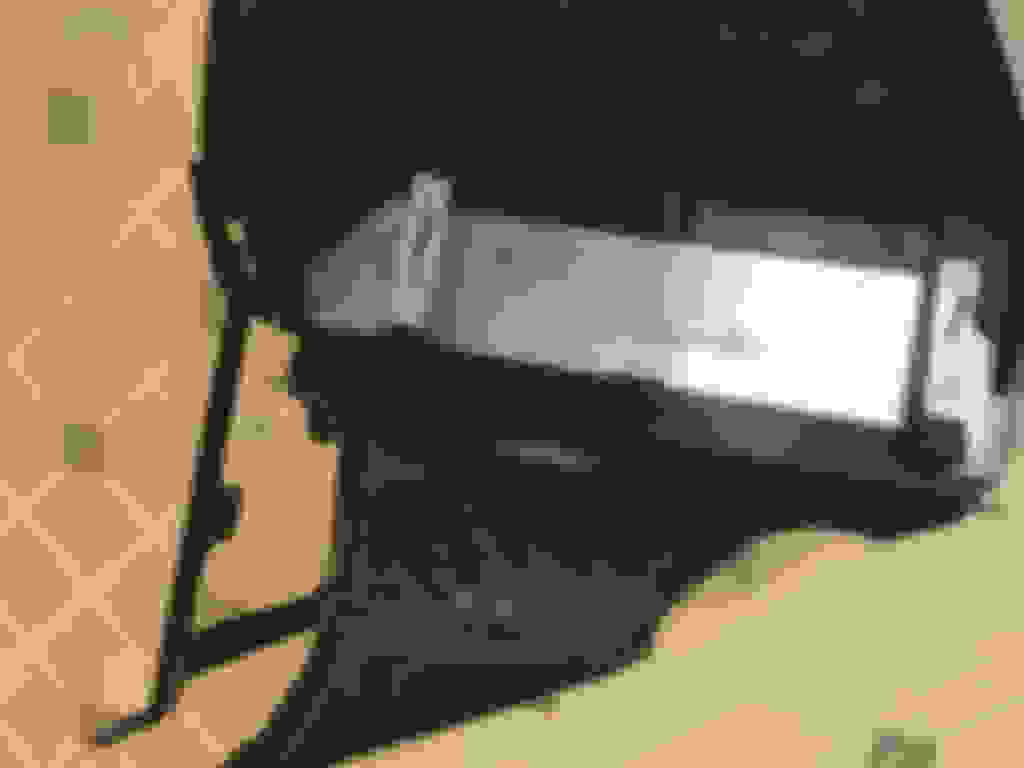
Cut with a hacksaw SLOWLY! Draw a line using a short drinking glass with a Sharpie laid across it. I cut just above the vinyl plug in the duct. Draw a vertical line to help orient the cut..
The stock intercoolers allow the duct to sit in a groove, you won't get that with aftermarket coolers. The side that faces the intercooler can either be ground flat or you can use that groove for a gasket as I did. The stock Porsche gasket foam is awesome, I got less great stuff at a big box store but it does the job. The lower portion of the top duct on my car also had to be shifted forward some and I clearanced the front edge of the duct to fit - part of the cage passes through that edge. Rotary tool on a die grinder makes short work of this - my intercooler cages are NOT modified.
Likewise the lower duct has to be modified some as the inlet tube for the intercooler passes through part of it - can't be helped. Place it on the cooler, mark with a Sharpie, grind, rinse and repeat until you have a tight fit with the duct flat on the intercooler. This was the only mod to the lower duct. I used weatherstrip foam on the grooved edge of this duct tool.
For the gasket that seals to your bumper you will find that the upper horizontal section no longer has a place to mount having been moved a few inches upwards. Sean can weld on aluminum strips to accommodate this if you ask for it when ordering but mine wasn't done this way as he began doing it after my feedback. Instead I used some 1/4 inch thick flexible plastic left over from another project to make a strip to mount the gasket. Die grinder and a Sharpie made this easy
Top edge of gasket supported with a strip of plastic cut to fit!
Top and bottom ducts are held together with metal clips made from spring steel. These no longer work once you insert a thicker intercooler! To solve this you hacksaw the clips in half, drill holes in both halves, and pop-rivet on pieces of aluminum as extensions. Not my idea but posted elsewhere here and a serious lifesaver! My first set was built with trial and error and measuring which was a PITA since front and back are different lengths. After posting here about it I figured it out at about the same time as someone told me how to do it and I sure felt pretty foolish it was so simple! You rivet the metal extension onto one side, install both halves on the duct, squeeze the halves, and mark where the extension falls on the free half. Subtract a touch and drill. Once riveted together again these should be the perfect length, if not rinse and repeat lol. I found that crushing the rivets in a vice made them tighter and allowed for more space against the ducts. I labeled mine so that I'd know where they went should I ever pull this apart. The clips aren't ever seen with the bumper on.
*Note: Clips are spring steel. Hacksaws will cut them but drilling is NO picnic. I used a press and burned up a bit pretty quickly even lubricating and using titanium coated bit. Ryobi bits worked well, expect this to get HOT so lube it.
Clips installed! By the time you do the second set it goes much more quickly.
When you install the intercoolers and cage you may find a metal tab interfering at the backside of the car on each side, this tab supports a plastic piece that in turn supports the bumper. I ground mine down but Sean said that he imply bent his out of the way slightly - his way is better. There's also an odd metal screw looking piece that just down that may interfere, it serves no good purpose I can ascertain and looks like a sheetmetal screw stabbing down. It didn't seem to interfere but it was close. Reach through the wheelwell to position the top of the intercooler duct to seal to the fender duct. BOTH of my OEM ducts weren't mated properly with one of them having a shifted seal and the other a gap. When my new intercoolers went in I fixed the shifted seal (keeping the OEM foam) and on the other side fixed the gap. Done right and sectioned properly these will probably seal better than OEM. Once you have the top of the duct guided past a sheetmetal lip in there the cage with the intercoolers sits in there pretty easily. This whole job can be done without removing the wheels BTW but it would make life easier if you did. Forge has a good PDF install that shows the location of all of the bolts FWIW.
Last piece to modify is a long piece of plastic that supports the bumper's edge and is secured with three gold nuts. With the new intercooler installed the back edge interferes, Sharpie and grinding solves this but go slow and measure often. The first one I did was clearanced more than needed, the second worked out well.
Hard to see it but the gold nut holds the strip. This was the side done with too much clearance, you can do better!
Some additional tips:
Hoses are tight to get to. I used hairspray on both exit pipes to ease install and a hooked awl to get the lips on. I had to trim the driver's side hose a little, if you do this be careful not to trim too much. One end of mine isn't done well and is a touch short I will replace this later with a fabbed Y-pipe.
The O-rings from your OEM hoses transfer to Sean's hose adapters, consider greasing them. I will admit I've not leak checked but the connections feel quite sturdy.
Be patient, take your time. Seems silly but walking away to do other things and doing this over too long a span of time made it easier although slow.
Keep track of nuts and bolts, I used two magnetic trays, one per side, to keep track of screws and clips. There are some plastic nuts but those aren't hard to track.
Don't use power tools to make the duct cut, my first one was ugly, my second perfect. Simply switching to something more easily controlled made this possible. Don't freak if it's ugly as once the halves are together the fiberglass will cover all.
Speaking of fiberglass, read the instructions, wear gloves, use disposable brushes, go a little light on the hardener, SOAK IT. No one will see it afterwards so I didn't stress on pretty and more on function. Rough the surfaces and clean them well.
NAPA has some really nice stainless steel band clamps. 2.75 was what I was using as I recall although I had to use a NAPA worm clamp on the driver's side as it was REALLY tight. Don't use generic crap clamps for sure and do consider hairspray to help slide them on and stick. Methanol is also really good for this but once it evaps that hose will be stuck damn near forever
Last tip - do one side at a time. It's really nice to be able to roll over and see how the factory did it while doing the first side.
Okay, so how does this perform? At cruise on an 89 degree day outlet temps are reported to be just above ambient - within about 3 degrees. I pulled through 3rd at .9BAR (shush) and never saw outlet temps go above 95, the gauge reported it was seeing a 63degree temp drop inlet to outlet. Cruising it was reporting a temp drop of around 10 degrees.
Drove it tonight in cooler temps of about 70 degrees. It shows temp drops at cruise of around -20. Full pull saw temp drops reporting in the high -50s and a brake boost at speed as long as I could hold it peaked at -65. Outlet temps were again never over 90 although frankly it's tough to watch all of this alone while trying not to get pulled over!
Idling in the driveway I saw inlet temps drop from the low 100 so down to about 95, output side stayed within 6 degrees of ambient.
Sadly I cannot log this stuff nor am I seeing IAT, the outlet on the intercooler is waaay prior to the throttlebody. I will watch to see how this does in stop and go traffic but so far these intercoolers appear to be shedding heat well and IMO the ducting DOES help and sure as heck doesn't hurt. Really interesting is that when I get off the gas from a pull or brake boosting is I see NO rise in outlet temps (so far). Often when intercoolers see low airflow after a heat event they shed heat into the intake air as well as the airflow passing through them - so far I'm not seeing evidence on that with these which is very nice. When I can I'll try a few pulls and just watch the outlet temps, so far these temps seem to move pretty slowly upwards. The cooler weather seems ot help this but I expect we'll get some heat before Fall and I'll watch the performance.
P.S. These are older K24/20 turbos on W/G spring. It'll goto Garth next month for EMS and SRM fuel system and I expect it'll make more power and heat. If I have my way I'll figure out how to log temp data with the ProEFI and some additional sensors but it will be awhile, this gauge is all I've got for now. Sean was nice enough to add bungs for the sensors for me. I'll snap some pics of the gauge and maybe have a passenger video it through some pulls as soon as I can! Car isn't exactly stealthy when I go WOT so I've got to be careful
Honestly I wanted to do a MUCH clearer step by step! However once I got into it and was sweating buckets I didn't get nearly as many pictures as I'd have liked! I could do it far quicker if I had to do it again that's for sure. If anyone has any questions please post them up and I'll do my best to answer.
Overall this was t a hard job just a bunch of steps and I took care to mod the ducting and get it to seal well. I know some run without top ducts but I think it's worth having them. I think I'm also going to end up with intake filters on the turbos at least to start with for ease of install. I want the intake ducting out and one of Sean's Y-pipes in the bay. I'll sweat fender intakes later perhaps. Need the fuel and EMS done as well as alignment so I've got a good base to work from. I'll be E85 compatible too
Glad I could help out bro. These intercoolers were definitely a challenge, but once the cutting was done they def weren't impossible. Now a trip up to Undercover is in order
Honestly I don't think in the grand scheme they were too bad to install. Sean gave me a few tips, Krazy posted what he did with his ducts and I read a PDF from someone else who did ducts too that helped. I got tips on the clips too. The hardest parts were the silly wires for a gauge that no one else will likely need. Bumper R&R is pretty standard too. I had to puzzle some fitment pieces but any large IC would require this. Sean's hardware sits on the lower duct well with just a little tweak for the inlet tube. Making the clips was probably the most time consuming part and it was just eight of them lol. Having done them once I think I could do them again pretty quickly. Time was my biggest enemy, if I could've just worked on it straight through it would've been far smoother. Using magnetic trays on each fender for the hardware was also a huge help lol
I'll post more data just as soon as I get my fuel pump swapped, possibly as soon as tomorrow. Guess sitting with a mostly empty tank while I took forever to perform the upgrade wasn't a good thing so naturally it failed at the gas pump after completely filling lol
I managed to get a little more data but I'm being cautious since I may have fueling issues.
Cruising along in mild traffic today about 50mph and 3k or so on the tach the gauge told me I was dropping an easy 20+ degrees. I hit it pretty good when I had a gap and saw differential temps go up into the mid 50s. Pretty normal based on previous drives but what was interesting was when I eased off and slowed,while keeping the RPMs up I continued to see 40+ degree drop. Apparently the turbos take a good bit to recover? I know the probes and gauge are a little slow but this held for awhile as I slowed down to around 45 or less mph. I don't know my IAT at the intake but I'm pretty curious! In a month or so I'll have a ProEFI onboard and be able to see even more of what's going on. I really wish we had data on stock intercoolers to compare with but these seem to be doing pretty well to me - this was in high 80degree weather...


") this took me awhile and it's all because I was only able to work on it in spurts on the weekends and when I wasn't traveling. This install was also complicated by my insisting on running temp probes to a differential gauge that gives me inlet, outlet, and difference data to monitor the intercooler performance. MANY thanks to Irish100P for helping me with this install a great deal and doing yeoman's work tearing apart my interior to run gauge wires. This would've taken even longer had he not been willing to help me out!
this took me awhile and it's all because I was only able to work on it in spurts on the weekends and when I wasn't traveling. This install was also complicated by my insisting on running temp probes to a differential gauge that gives me inlet, outlet, and difference data to monitor the intercooler performance. MANY thanks to Irish100P for helping me with this install a great deal and doing yeoman's work tearing apart my interior to run gauge wires. This would've taken even longer had he not been willing to help me out!


 I will replace this later with a fabbed Y-pipe.


