I replaced my AOS back in late September this year, and just haven't had a chance until now to compile the DIY.
The car was running great and consuming an average amount of oil according to Porsche guidelines, so this was purely a preventative step.
Although the car ran great before, it did actually feel a bit better/smoother after the AOS install (particularly at idle and in the lower rev range)
At the time the car had about 72k miles on the clock.
Please excuse all the pollen & dust in the part of the engine bay where the AOS is installed (I don't think it's avoidable
I installed the OEM AOS with p/n 9A1 107 040 02 (note this is revision 3 of the part. I do not know what (if anything) has changed since prior versions.
The trickiest part of the job was actually replacing the plenum (air distributor pipe). It's the kind of thing that will always be easier the 2nd time around. Just pay very close attention to how the rubber sleeves are fitted when you first remove the half moon clamps, and you should be fine. This is really key as you do not want this part incorrectly installed and allowing dirty and unmetered air into the system.
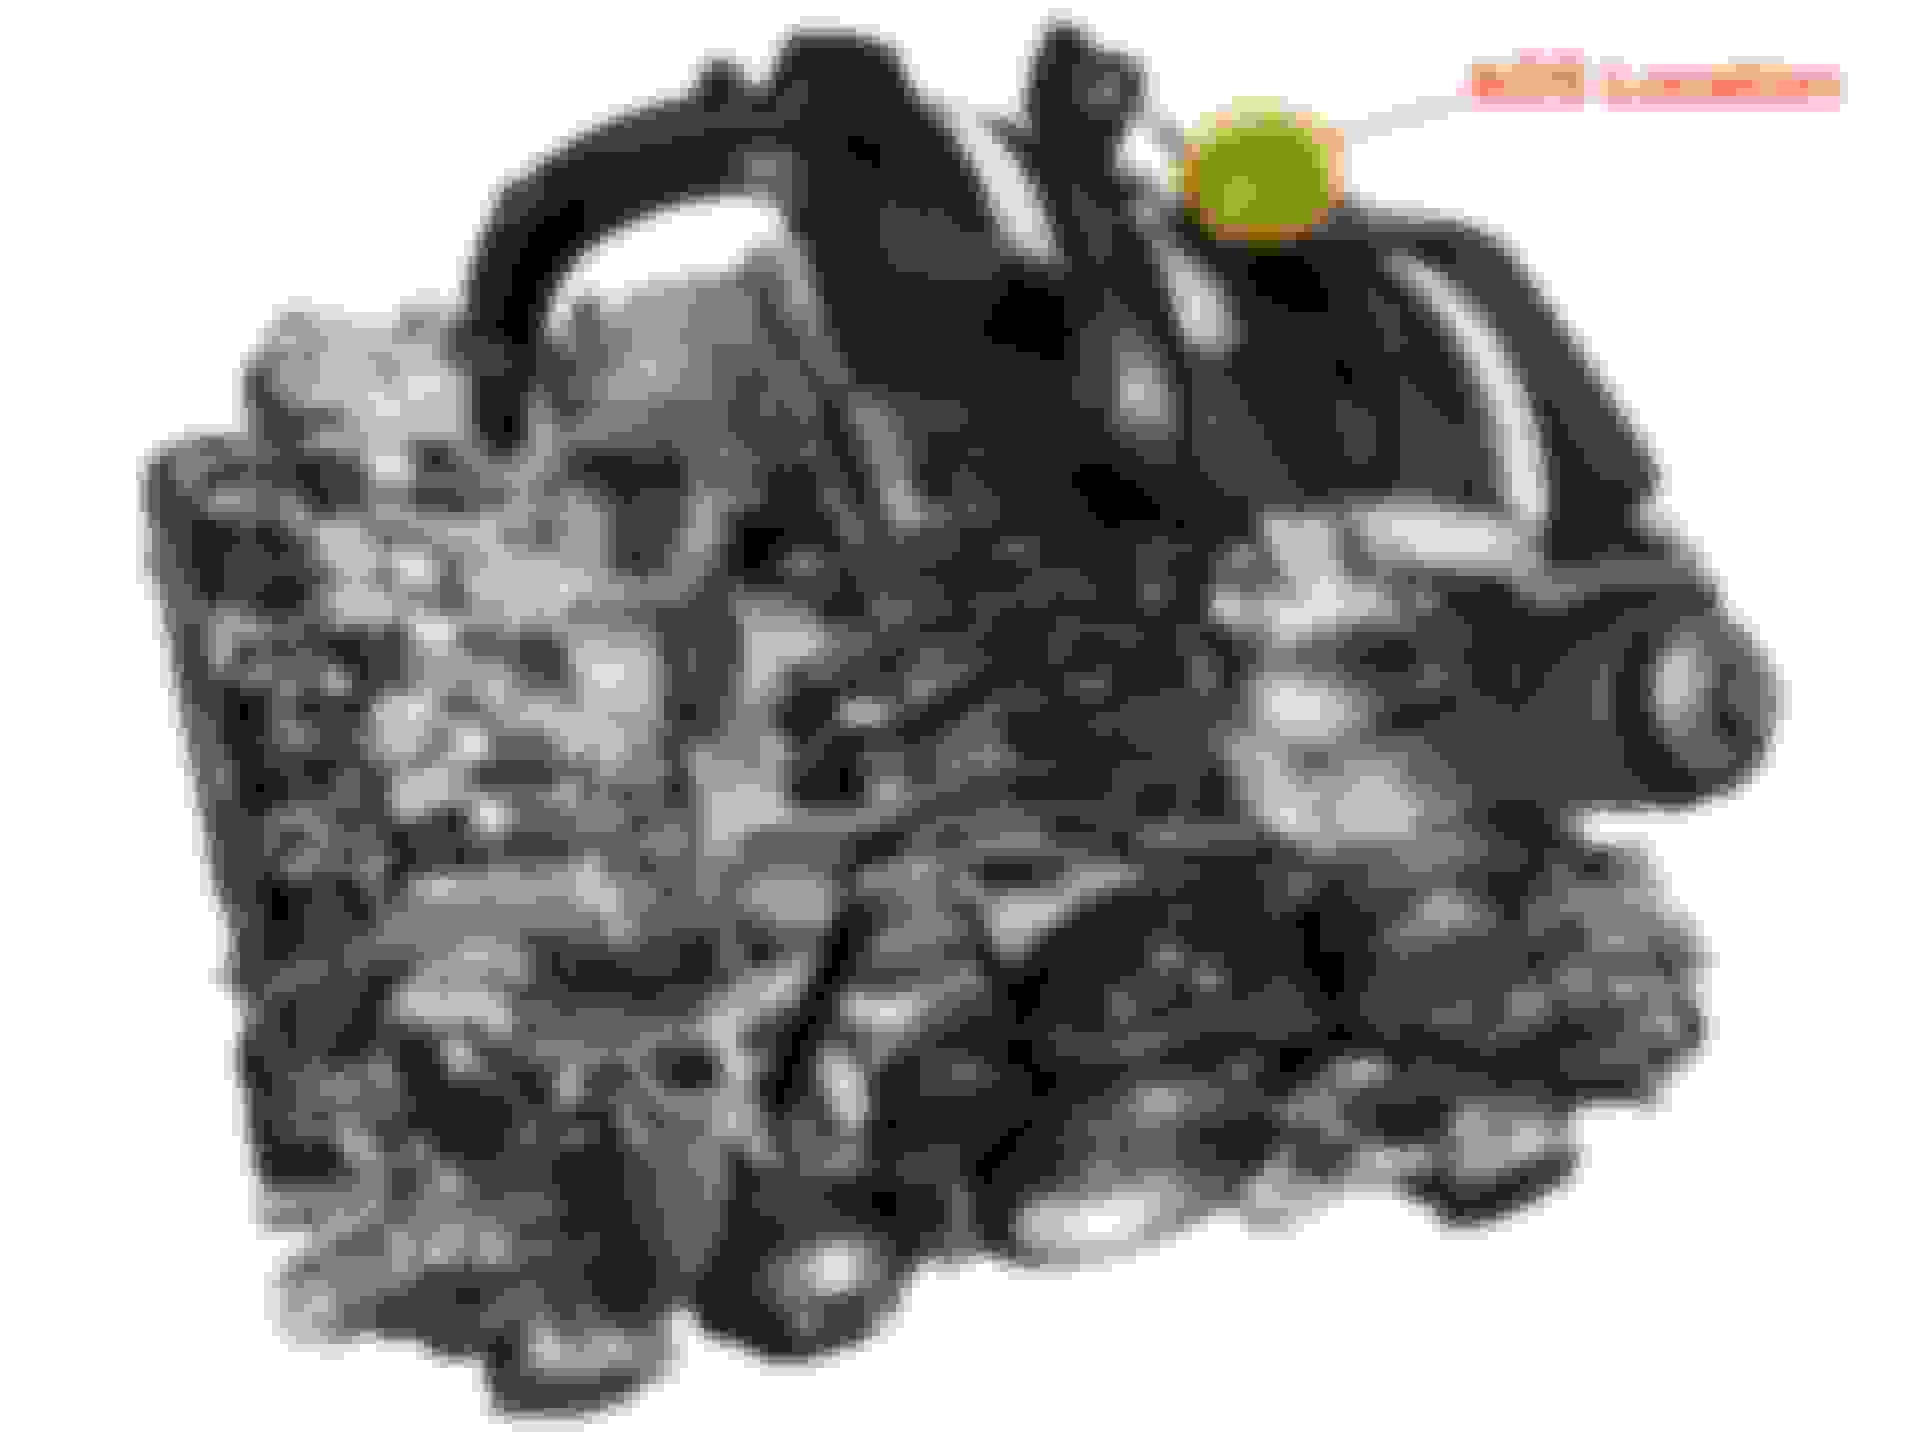
Hopefully the pictures below make the steps clear. I borrowed some pics from the web in order to superimpose/highlight key areas.
Step 1: Remove the airbox (there are many posts/DIY's on this step so I won't repeat it here)
Step 2:
Step 3:
Step 4:
Step 5:
Loosening this harness will provide a lot more flexibility when installing the AOS and also when reinstalling the half moon clamps which connect and hinge from the rear.
Note the left side connector on the AOS is a real pain to get well seated. Also the design I think is flawed in that it will never sit 100% flush. This can also be seen when comparing the 2 ports on the old AOS. You can see that the left side port has some dust above the o-ring, whereas the right side port does not.
I think this really comes down to the design of the part and that the area where it seats has a conical opening.
For reassembly - mount the air distributor/plenum and secure the half moon clamps before replacing the wiring harness conduit mounting screws to ensure more wiggle room back there.
If anyone is doing this DIY or has an opportunity to add their data to the abovementioned mentioned thread on vacuum levels, that would be most appreciated.
It's been over 3 months since the new AOS install and the car still runs beautifully. It is too soon to determine if oil consumption has changed at all, but that was never a concern to start with.
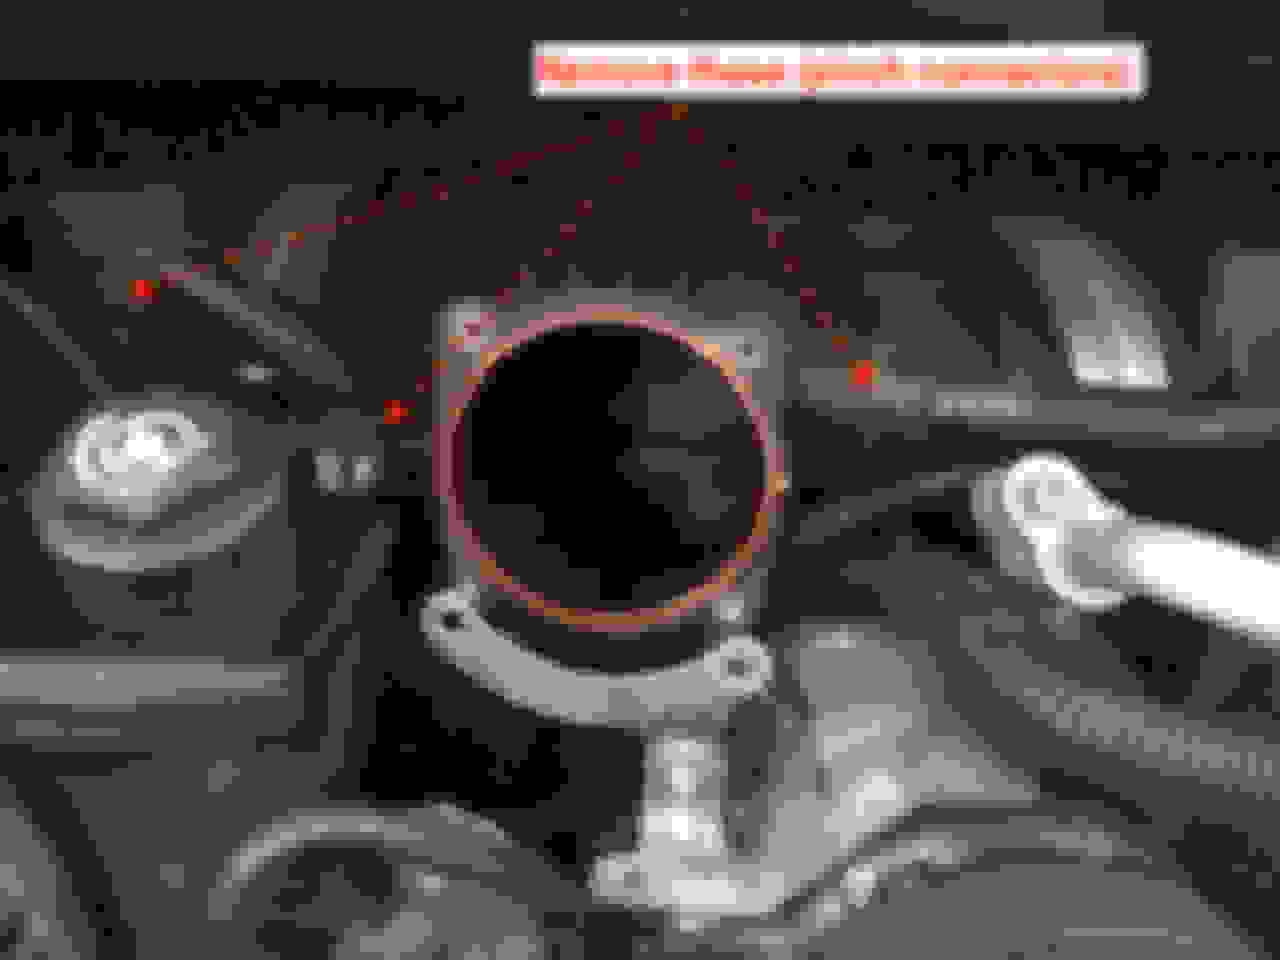
Today I changed out the air filters and took the opportunity to inspect the throttle body which I'm pleased to say was spotless inside.
Great diy as always from emc2! Your contributions are all notable. One thing i noticed though you were holding the throttle plate open with your hand. Is this ok? I thought we should only use the accelerator to open and close the throttle plate to check since our systems are fly by wire?
Great diy as always from emc2! Your contributions are all notable. One thing i noticed though you were holding the throttle plate open with your hand. Is this ok? I thought we should only use the accelerator to open and close the throttle plate to check since our systems are fly by wire?
Thanks Rick. You raise a good question, and I used to think the same. However after speaking with a couple mechanics including one from Porsche, as well as looking at various DIY threads (such as the one for Cayenne 957 ( on Pelican forum) which also use electronically controlled throttles), my understanding is that as long as you are very gentle and move the butterfly open very slowly with your hand, it does not cause any issues. The e-throttle also self tests on each engine start - see below: There is also a calibration ignition sequence that is listed somewhere on the forum - will need to try and find it again.
I found several references to the adaption process:
From the workshop manual:
"
Throttle valve control unit (E-Gas) adaption must be performed under the following circumstances:
� Following a reset (e.g. disconnecting the battery) � If the connectors at the DME control module were
separated
To perform adaptation, switch on the ignition for 1 minute (do not start the engine and do not operate the accelerator pedal), then switch off the ignition for at least 10 minutes. The throttle valve stop (close) is re-adapted.
"
"After the battery is connected:
With the DME, it is necessary to carry out a learning and adaptation routine as described below:
Switch ignition on for 30 seconds without starting the engine.
Do not actuate accelerator pedal.
This completes the adaptation of the throttle valve adjusting unit.
"
"Turn ignition to on (not start) for 60 seconds then off for 5 seconds then back on for 15 seconds - if you have the engine lid open you can hear the throttle readjusting. I do this about every quarter. Do this if you feel your throttle is sluggish or not as responsive as it maybe once was."
Not sure if the process changed based on the module version.
This thread is a huge help. I’m planning on tackling this myself soon. Appreciate you taking the time to write out the excellent diy and take pictures.
I have a new aos but I can’t seem to find the part number for the hose you need to reconnect In step 9. Mine is leaking right where it connects to the aos so might as well replace that now.