
Chrysler 300c w/ JDM & DTM roots


Thread Starter
|
Registered User
Joined: Jun 2005
Posts: 116
From: OC, CA
Rep Power: 25

^^^The boxes above were all able to be stuffed in to the C without using the trunk at all! It was a fun ride while eating a Western Bacon Cheeseburger combo and being surrounded by a ton of car parts in the cabin. Thanks to Fnkycld for giving me a lift back!

The rain has been problematic, which is surprising since it hardly ever rains in Southern California. We have been pounded hard! Lonnie aka Whitehemi was able to put in the heads/cams/TC in amazingly fast! Stu from Inertia although on vacation came through with a start up tune and Lonnie was kind enough to call me on the initial start. The lope sounds amazing and hearing it was music to my ears. I can't wait to romp on it once I get a chance
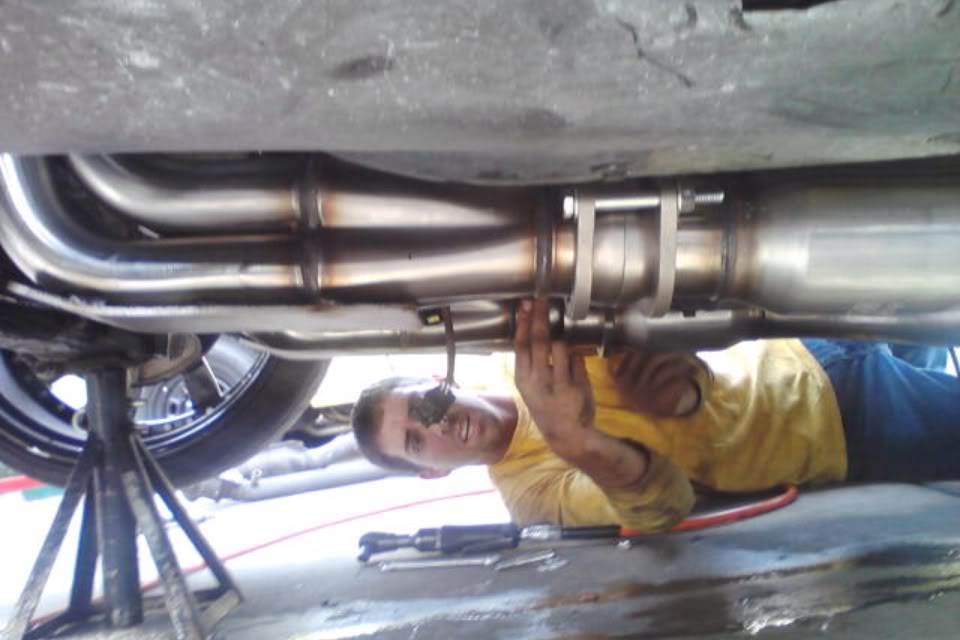
This pic was sent to me to show the Longtubes and mid pipes installed
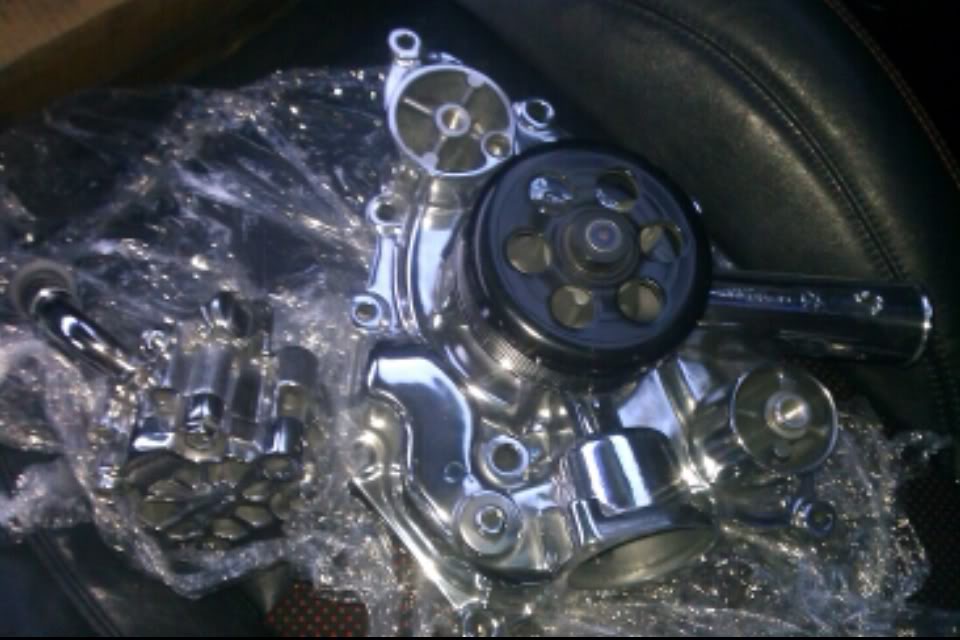
Had to run up again early in the AM to drop these off since Fnkycld came through as well with his polisher doing same day turnaround time!
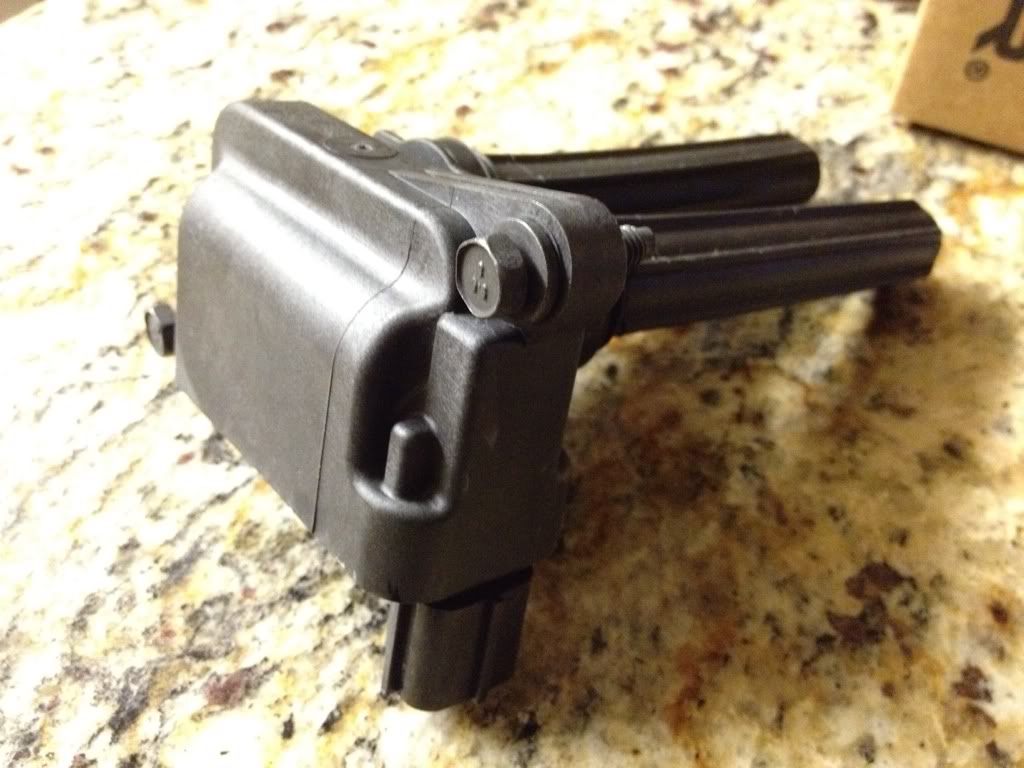
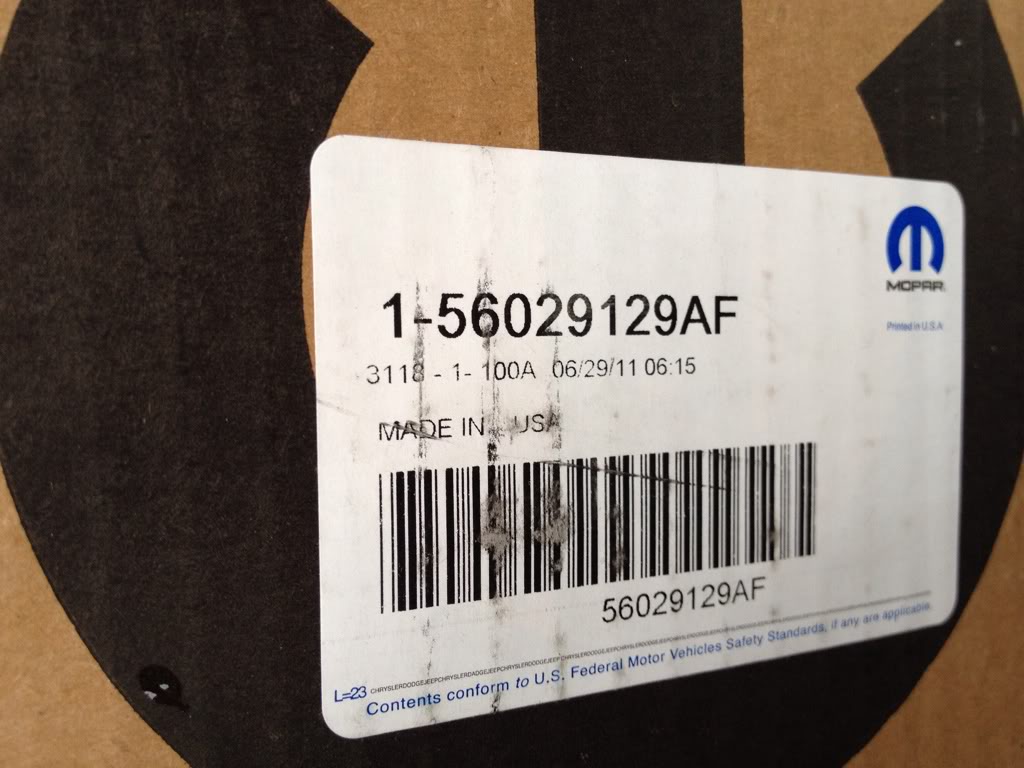
Hit a snag on the BT valve covers as I didn't realize I needed 06+ coil packs with pigtails so I scrambled to find a set of them and Cam came through with a pigtail, which I will pick up tomorrow. Really hoping the stars align to get the BT covers in and AMG brakes installed in time for SF!!!
The rain has been problematic, which is surprising since it hardly ever rains in Southern California. We have been pounded hard! Lonnie aka Whitehemi was able to put in the heads/cams/TC in amazingly fast! Stu from Inertia although on vacation came through with a start up tune and Lonnie was kind enough to call me on the initial start. The lope sounds amazing and hearing it was music to my ears. I can't wait to romp on it once I get a chance
This pic was sent to me to show the Longtubes and mid pipes installed
Had to run up again early in the AM to drop these off since Fnkycld came through as well with his polisher doing same day turnaround time!
Hit a snag on the BT valve covers as I didn't realize I needed 06+ coil packs with pigtails so I scrambled to find a set of them and Cam came through with a pigtail, which I will pick up tomorrow. Really hoping the stars align to get the BT covers in and AMG brakes installed in time for SF!!!
Thread Starter
|
Registered User
Joined: Jun 2005
Posts: 116
From: OC, CA
Rep Power: 25
With the help of Scott and Jon and AMP, I pulled my PCM, FCM, key module, and cluster to have it all synced and reflashed. Thanks so much guys for the guidance and help!
Car looks like it was broken in to:
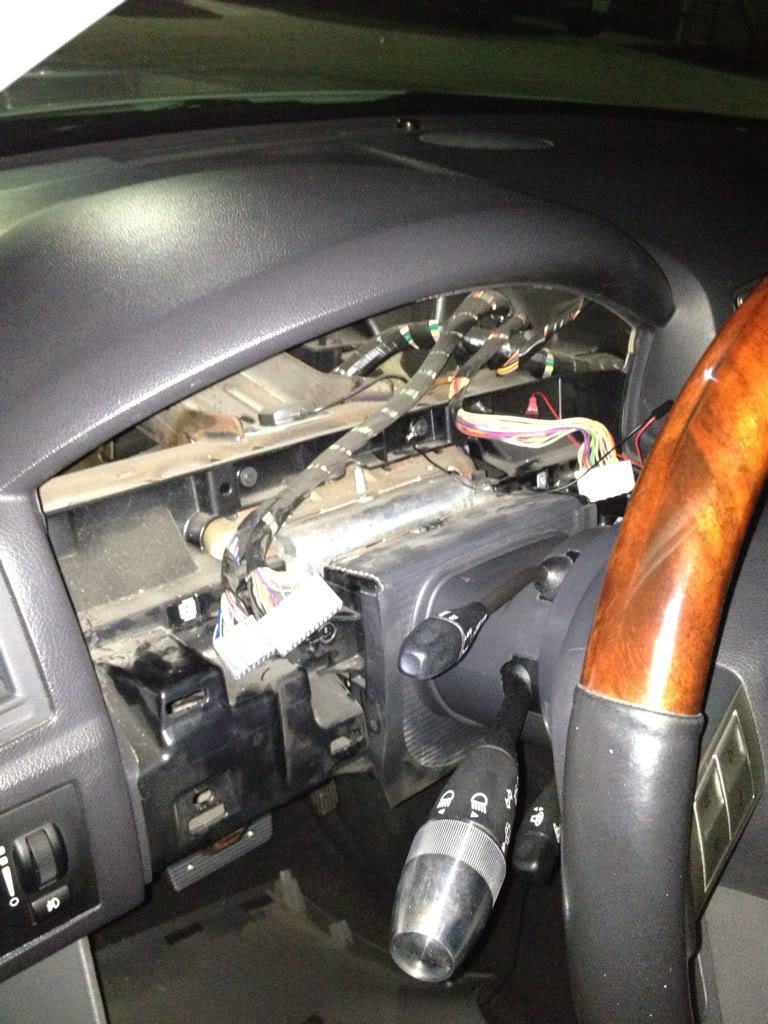
Parts all out ready to be shipped:

Car looks like it was broken in to:
Parts all out ready to be shipped:
Thread Starter
|
Registered User
Joined: Jun 2005
Posts: 116
From: OC, CA
Rep Power: 25
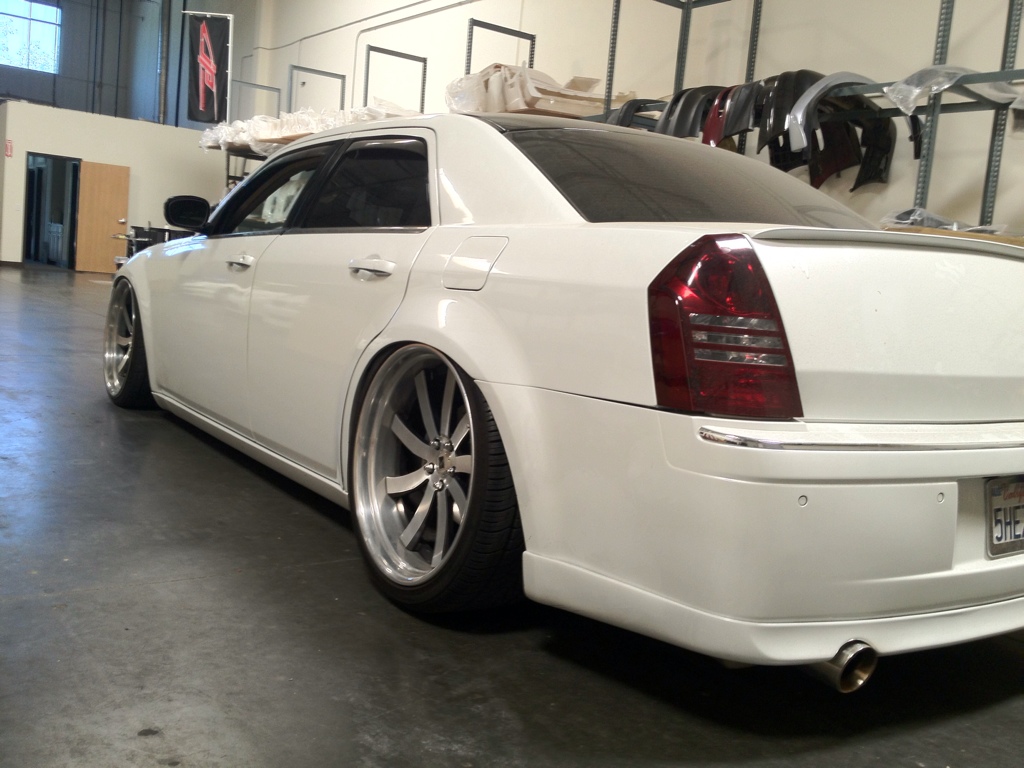
Cool deal! I picked up the car today and drove it about 80 miles. I have to leave early in the AM and will do some more
bedding in.
Hopefully will have some more pics tomorrow:
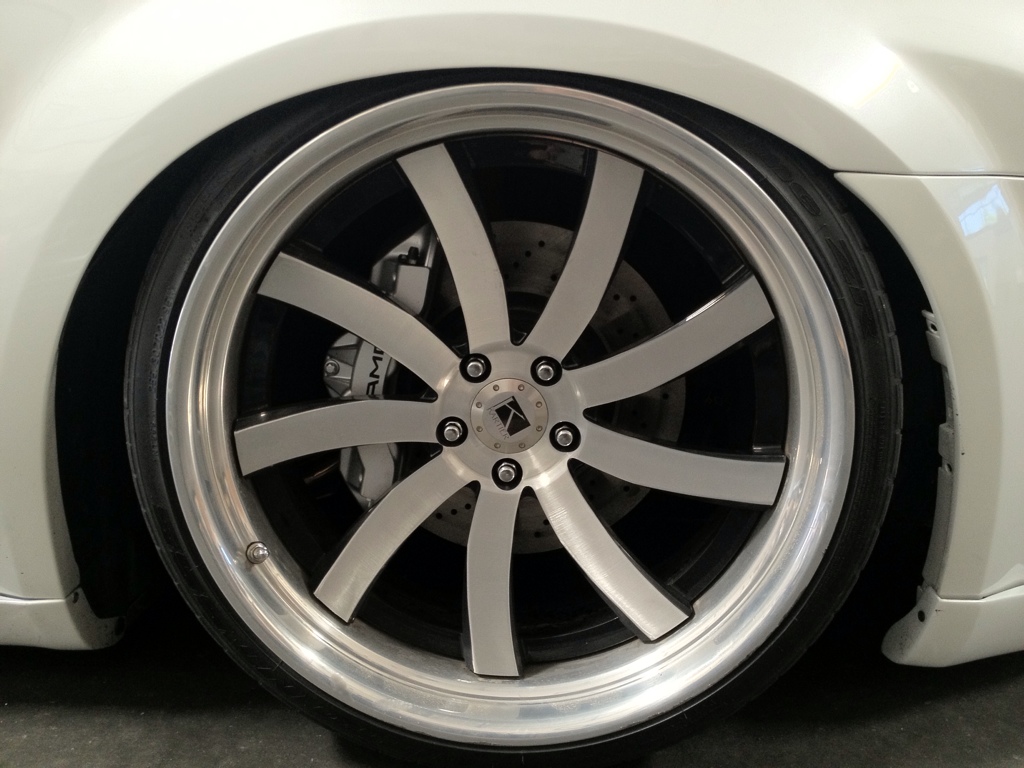

^^^Thanks! The tires are Wayy too big...didn't realize that if I continued to air out...the tires would continue to rub in to "place" lol.
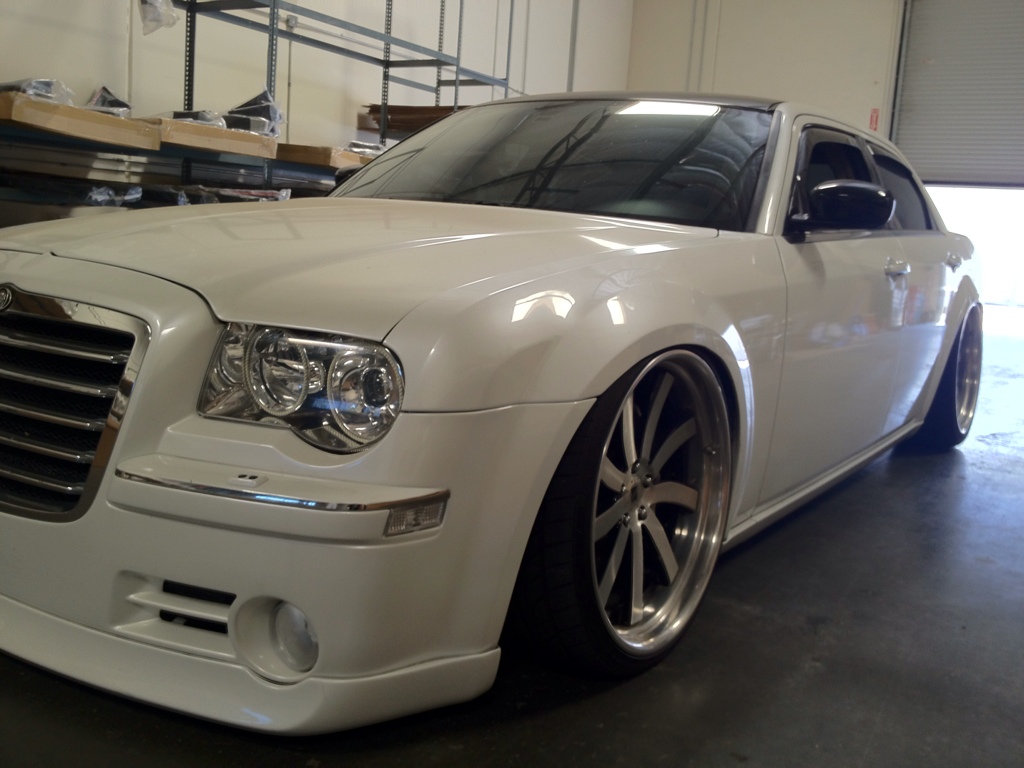
Side profile aired out:
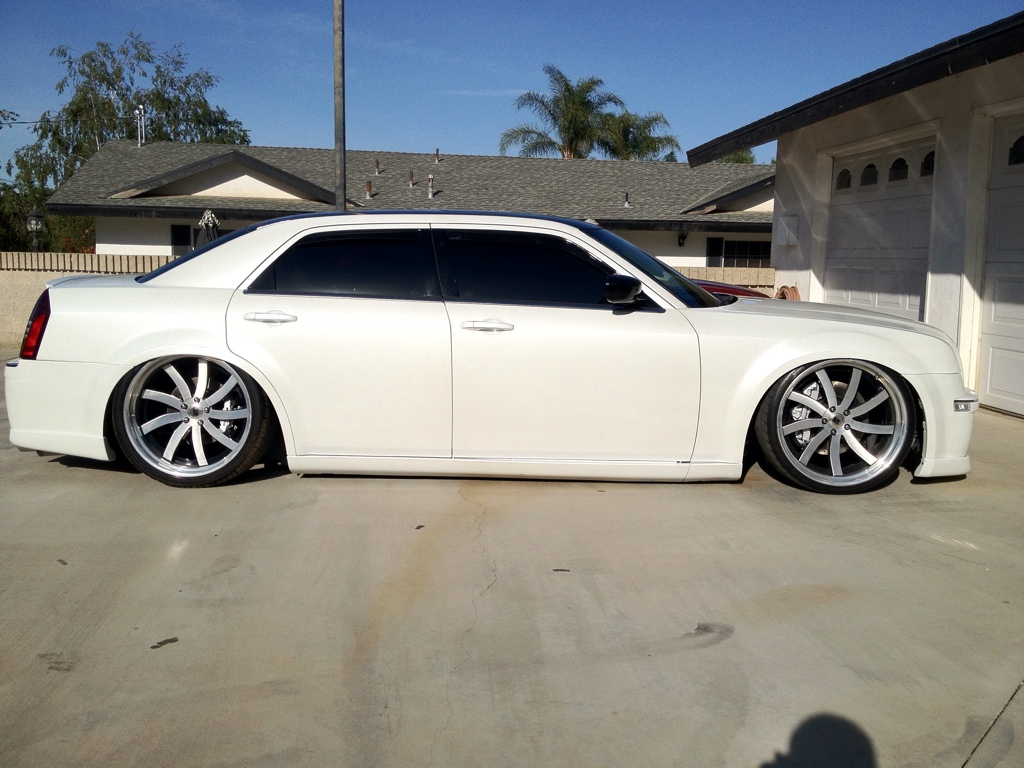
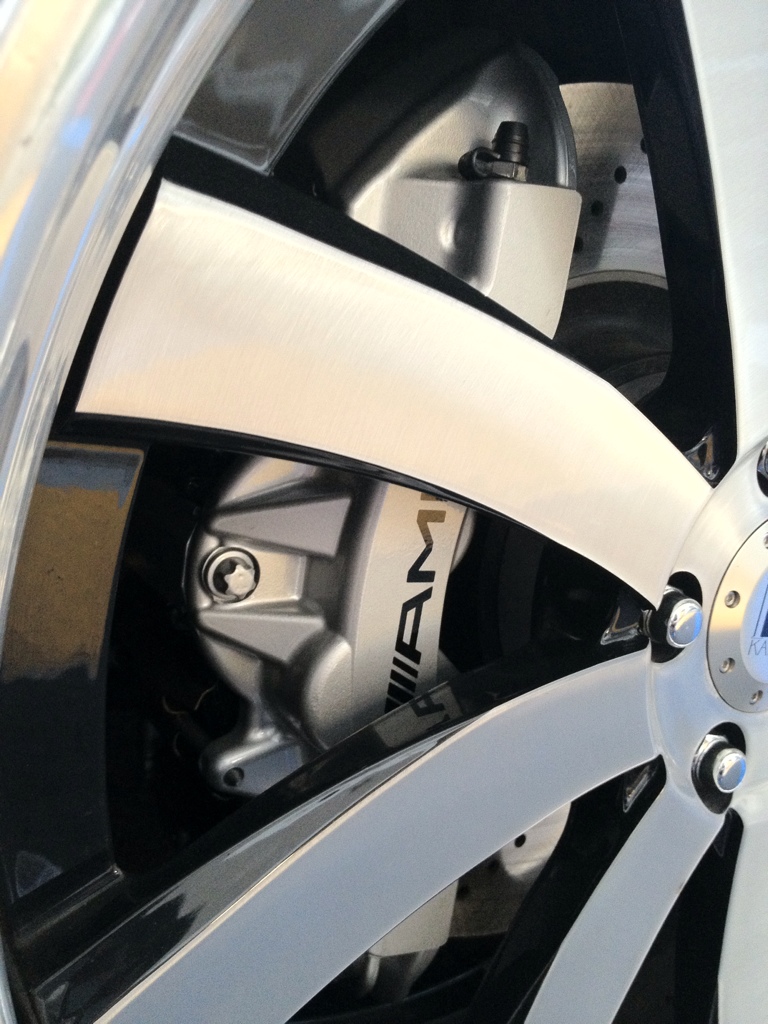
A closer look showing the color contrast on the windows and face of the wheels.
bedding in.
Hopefully will have some more pics tomorrow:
^^^Thanks! The tires are Wayy too big...didn't realize that if I continued to air out...the tires would continue to rub in to "place" lol.
Side profile aired out:
A closer look showing the color contrast on the windows and face of the wheels.
Thread Starter
|
Registered User
Joined: Jun 2005
Posts: 116
From: OC, CA
Rep Power: 25
Thanks guys. So my retrofit guy suggested to go a different route on my fogs after I gave him measurements. He suggested running the bi-xenon Matchbox Projectors that TRS offers. So I have to exchange H3's for some H1's. I looked up threads for light output and apparently the matchbox projectors are pretty solid.
Bi-xenon: Morimoto Matchbox - HID Projectors from The Retrofit Source Inc
Bi-xenon: Morimoto Matchbox - HID Projectors from The Retrofit Source Inc
Thread Starter
|
Registered User
Joined: Jun 2005
Posts: 116
From: OC, CA
Rep Power: 25
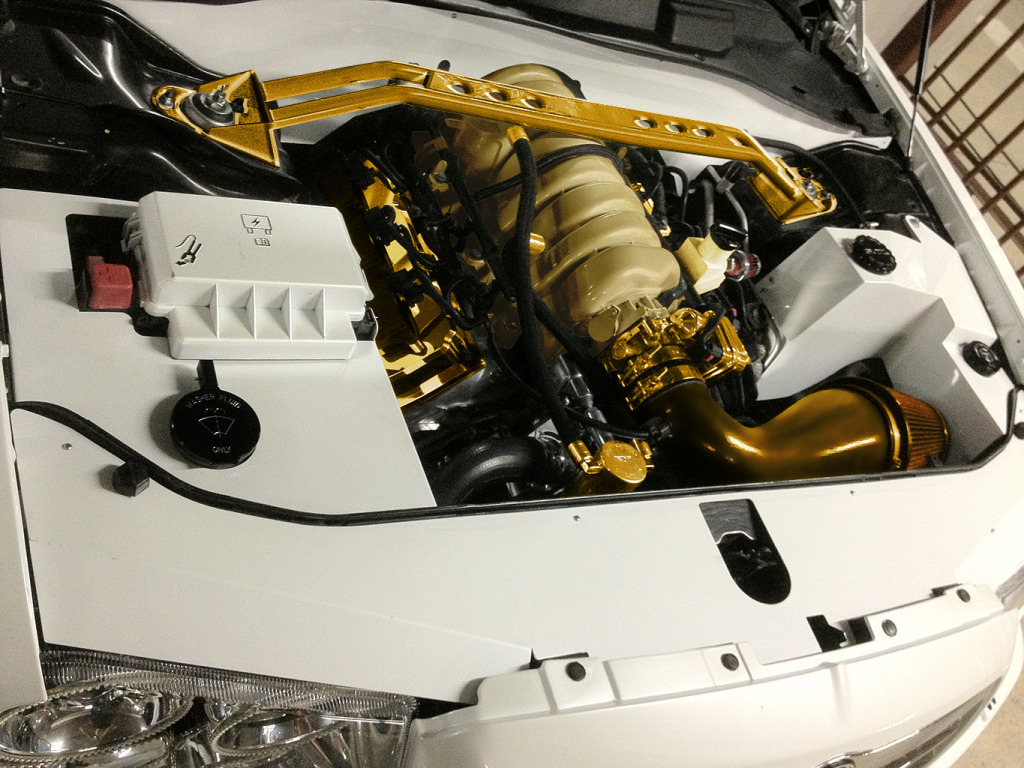
Sofa king was right, with all of the gold everywhere...the whole theme was just drowned. Keep in mind the below samples are just quick mockups and just to give me an idea on what direction to take the engine bay. I'm assuming that the gold candy coated polish...will be much more transparent and eye popping in person.
Anyone good with putting regular aluminum Polish finish on the black caps? Also making the intake and strut bar Look more like the valve covers?
Anyways here are some samples:
Candy gold caps, strut bar white w/ candy gold center. (Keep in mind the CF intake will be replaced with all supercharger hardware that will be candy gold as well).
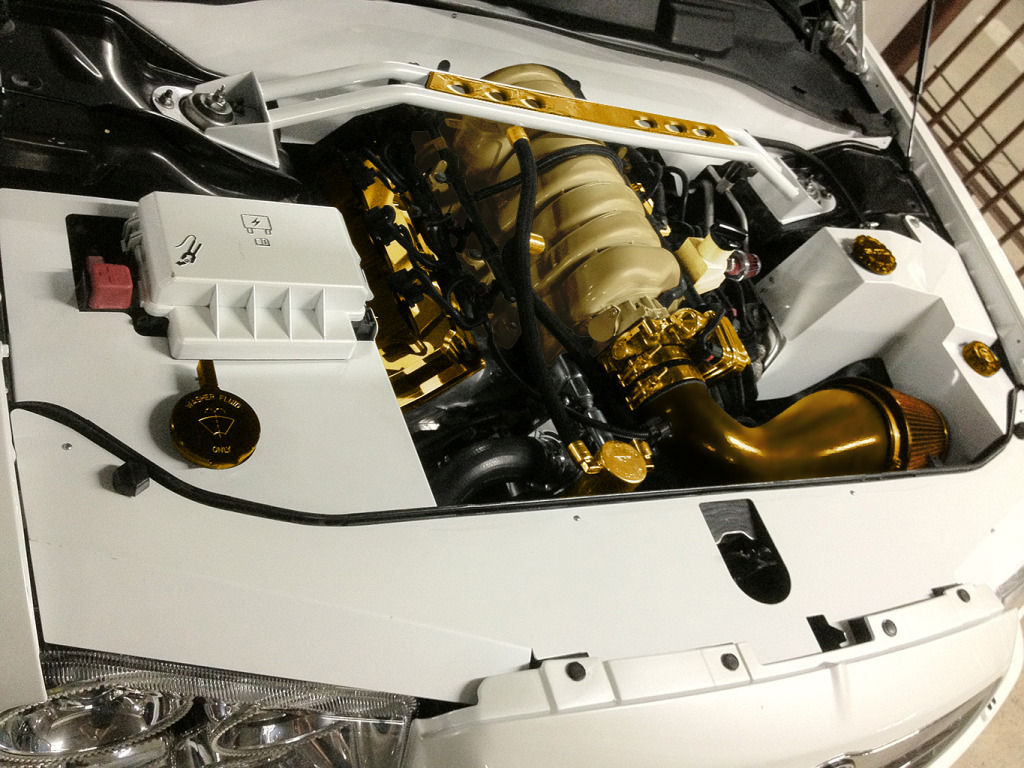
Black caps same as above on the rest:
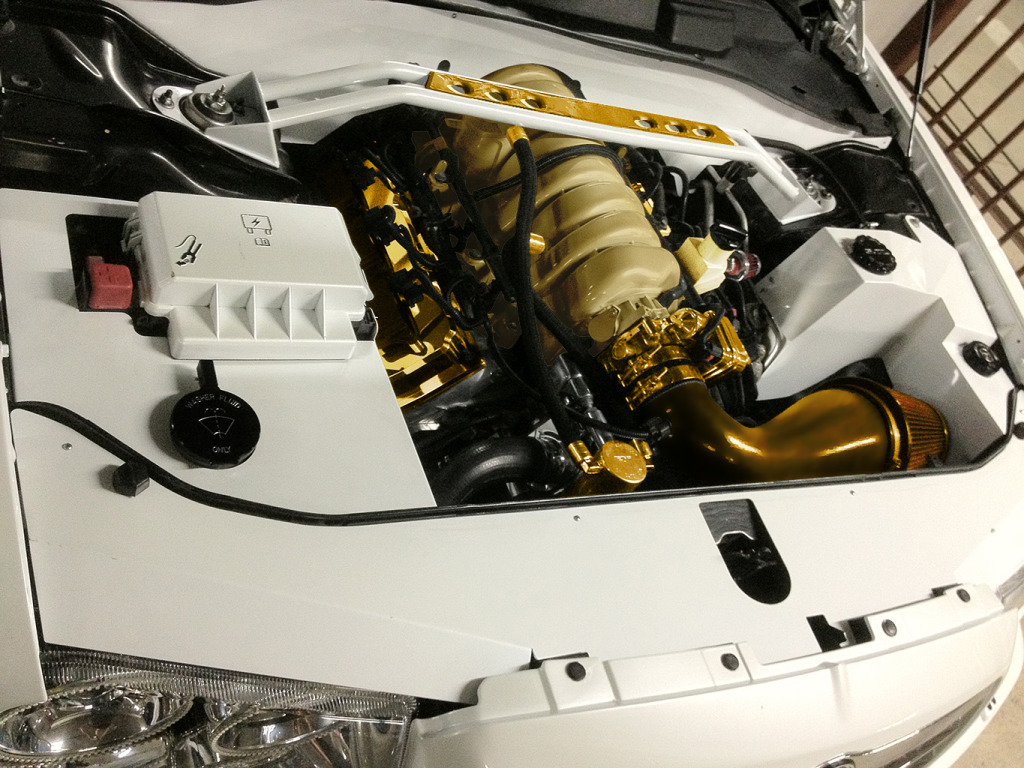
Same as above, but with candy gold strut bar
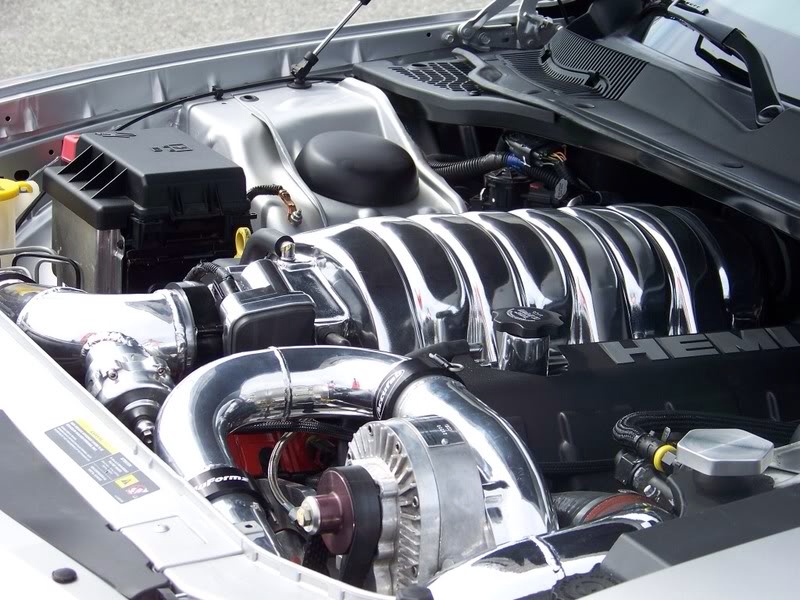
What the supercharger kit looks like installed in place of the CF
Intake. Also comes comes aftermarket water coolant tank.
Anyone good with putting regular aluminum Polish finish on the black caps? Also making the intake and strut bar Look more like the valve covers?
Anyways here are some samples:
Candy gold caps, strut bar white w/ candy gold center. (Keep in mind the CF intake will be replaced with all supercharger hardware that will be candy gold as well).
Black caps same as above on the rest:
Same as above, but with candy gold strut bar
What the supercharger kit looks like installed in place of the CF
Intake. Also comes comes aftermarket water coolant tank.
Thread Starter
|
Registered User
Joined: Jun 2005
Posts: 116
From: OC, CA
Rep Power: 25
While driving on the freeway today, I heard a quick drag and snap!
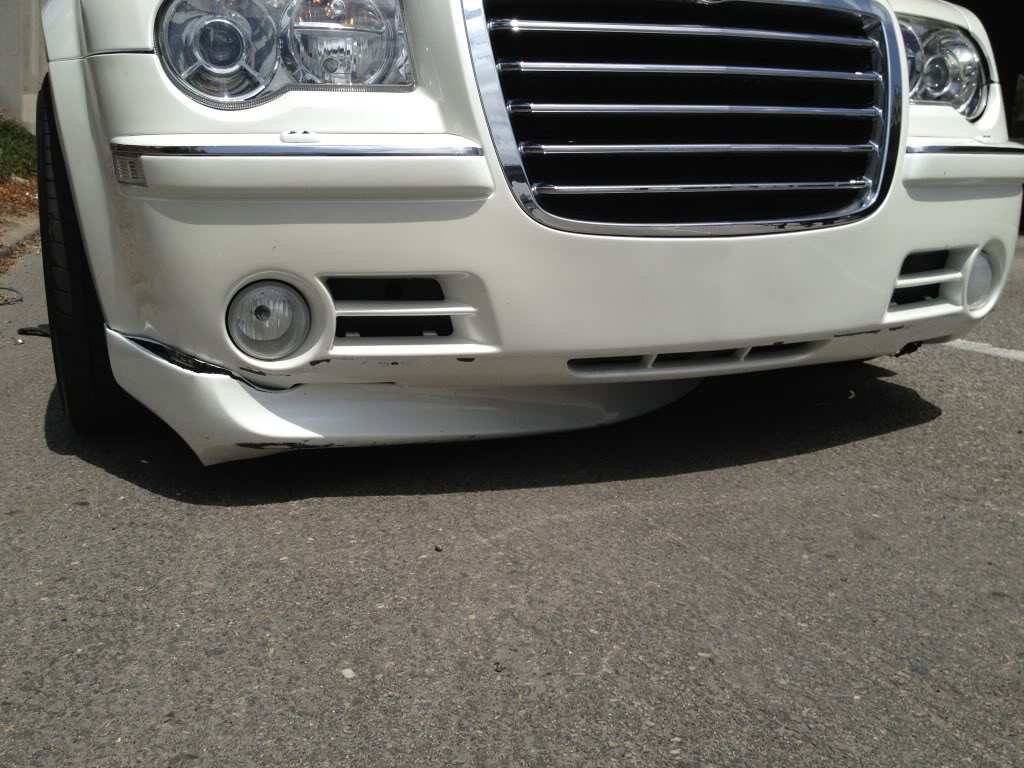
Surprisingly the lip is decently intact, not sure if worth salvaging to mold up to the OEM bumper...
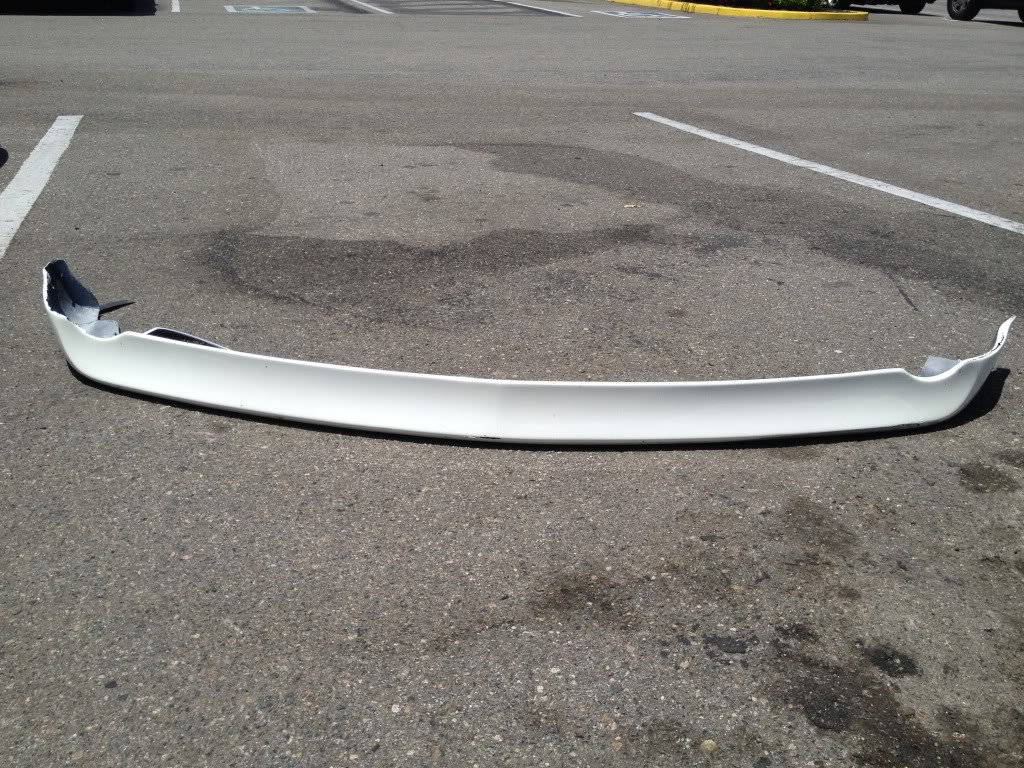
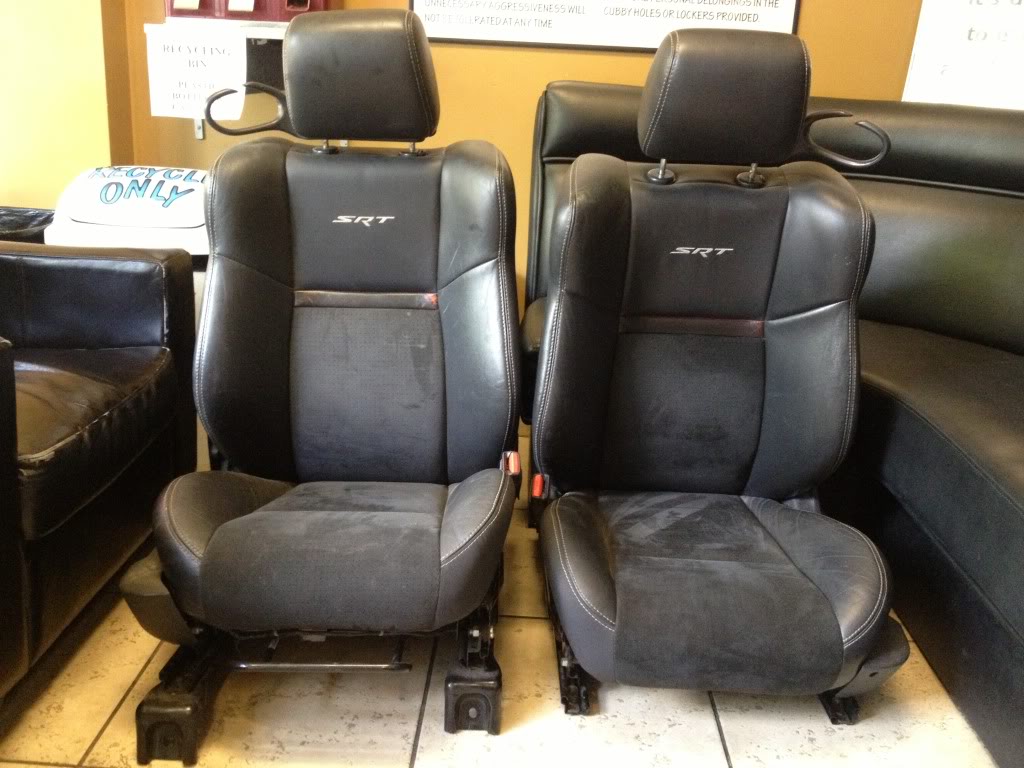
Not all was bad! I was on my way back from picking up these SRT challenger seats!
Surprisingly the lip is decently intact, not sure if worth salvaging to mold up to the OEM bumper...
Not all was bad! I was on my way back from picking up these SRT challenger seats!
Thread Starter
|
Registered User
Joined: Jun 2005
Posts: 116
From: OC, CA
Rep Power: 25
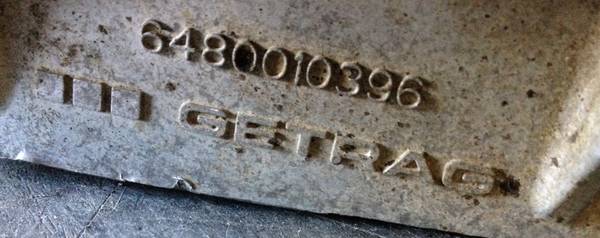
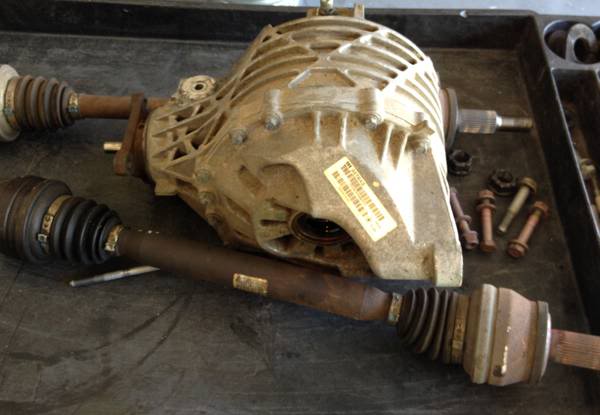
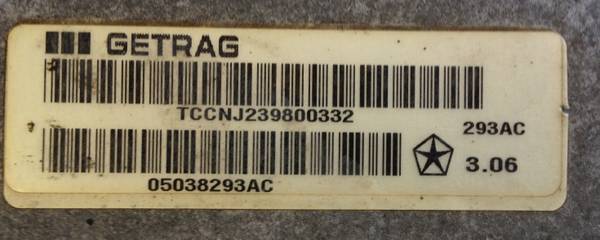
Crazy coincidence...I found a pair of 226mm axles and a Getrag 3.06 w/ LSD which came off the same challenger that I found my seats from. I guess the back story of it coming off of a movie stunt car is true:
Thread Starter
|
Registered User
Joined: Jun 2005
Posts: 116
From: OC, CA
Rep Power: 25
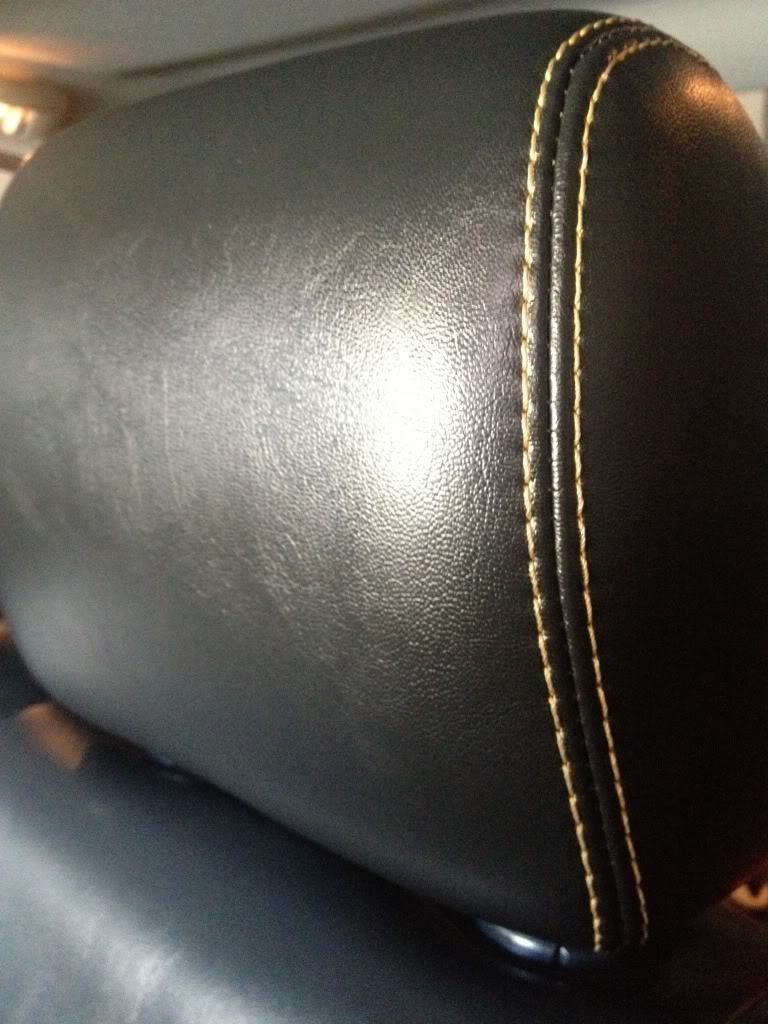
Red stitching was too much and white wasn't a huge change from the light gray stitching, so I opted for gold. Nice balance from the pearl white paint yet not too loud on the eyes.
Mr incredible helped me out big time by swapping motors and wiring from my original seats/frames and swapping it over to the Challenger seats. All functions are in place and the weight sensor did not have to be recalibrated!
Mr incredible helped me out big time by swapping motors and wiring from my original seats/frames and swapping it over to the Challenger seats. All functions are in place and the weight sensor did not have to be recalibrated!