When you click on links to various merchants on this site and make a purchase, this can result in this site earning a commission. Affiliate programs and affiliations include, but are not limited to, the eBay Partner Network.
Interesting. I have bought a bolt adapter kit from the seller (the bits website), they say you need it. Unsure how it's gonna pan out. I brought the tail light to work today, gonna see if they have something that would fit in the fabrication area.
Ok, well in that bolt kit you should have a billet bolt that is about 4-6mm threads on 1 side and about 8-10mm on the other..should have 2 of these funny bolts. Thread the small end into the insert on your clear lights..then just use the lock washer and nut from your old lights.
If this isn't to clear, take a pic of your bolt kit layed out, I'll point out what to use..
__________________
__________________ Technical Director Christopher Edgett
Velocity Automotive Performance Limited 214 Maple Ave. Oliver, B.C Canada V0H 1T9 Office: (1)250-485-5126
Email: Tuning@VelocityAP.com www.velocityap.com
Ok, well in that bolt kit you should have a billet bolt that is about 4-6mm threads on 1 side and about 8-10mm on the other..should have 2 of these funny bolts. Thread the small end into the insert on your clear lights..then just use the lock washer and nut from your old lights.
If this isn't to clear, take a pic of your bolt kit layed out, I'll point out what to use..
Thanks! As an update: it's a 6mm thread. I got a long screw with the same thread and cut the head off. It ended up being almost the same length by chance. I also got a nylock nut to secure it, in case the bolt kit from Aston doesn't work. I should now have all I need to tackle this project.
I will be taking pictures/notes to make a more comprehensive DIY.
I wonder how the seal kit will play into this, there aren't any instructions on what to do with those.
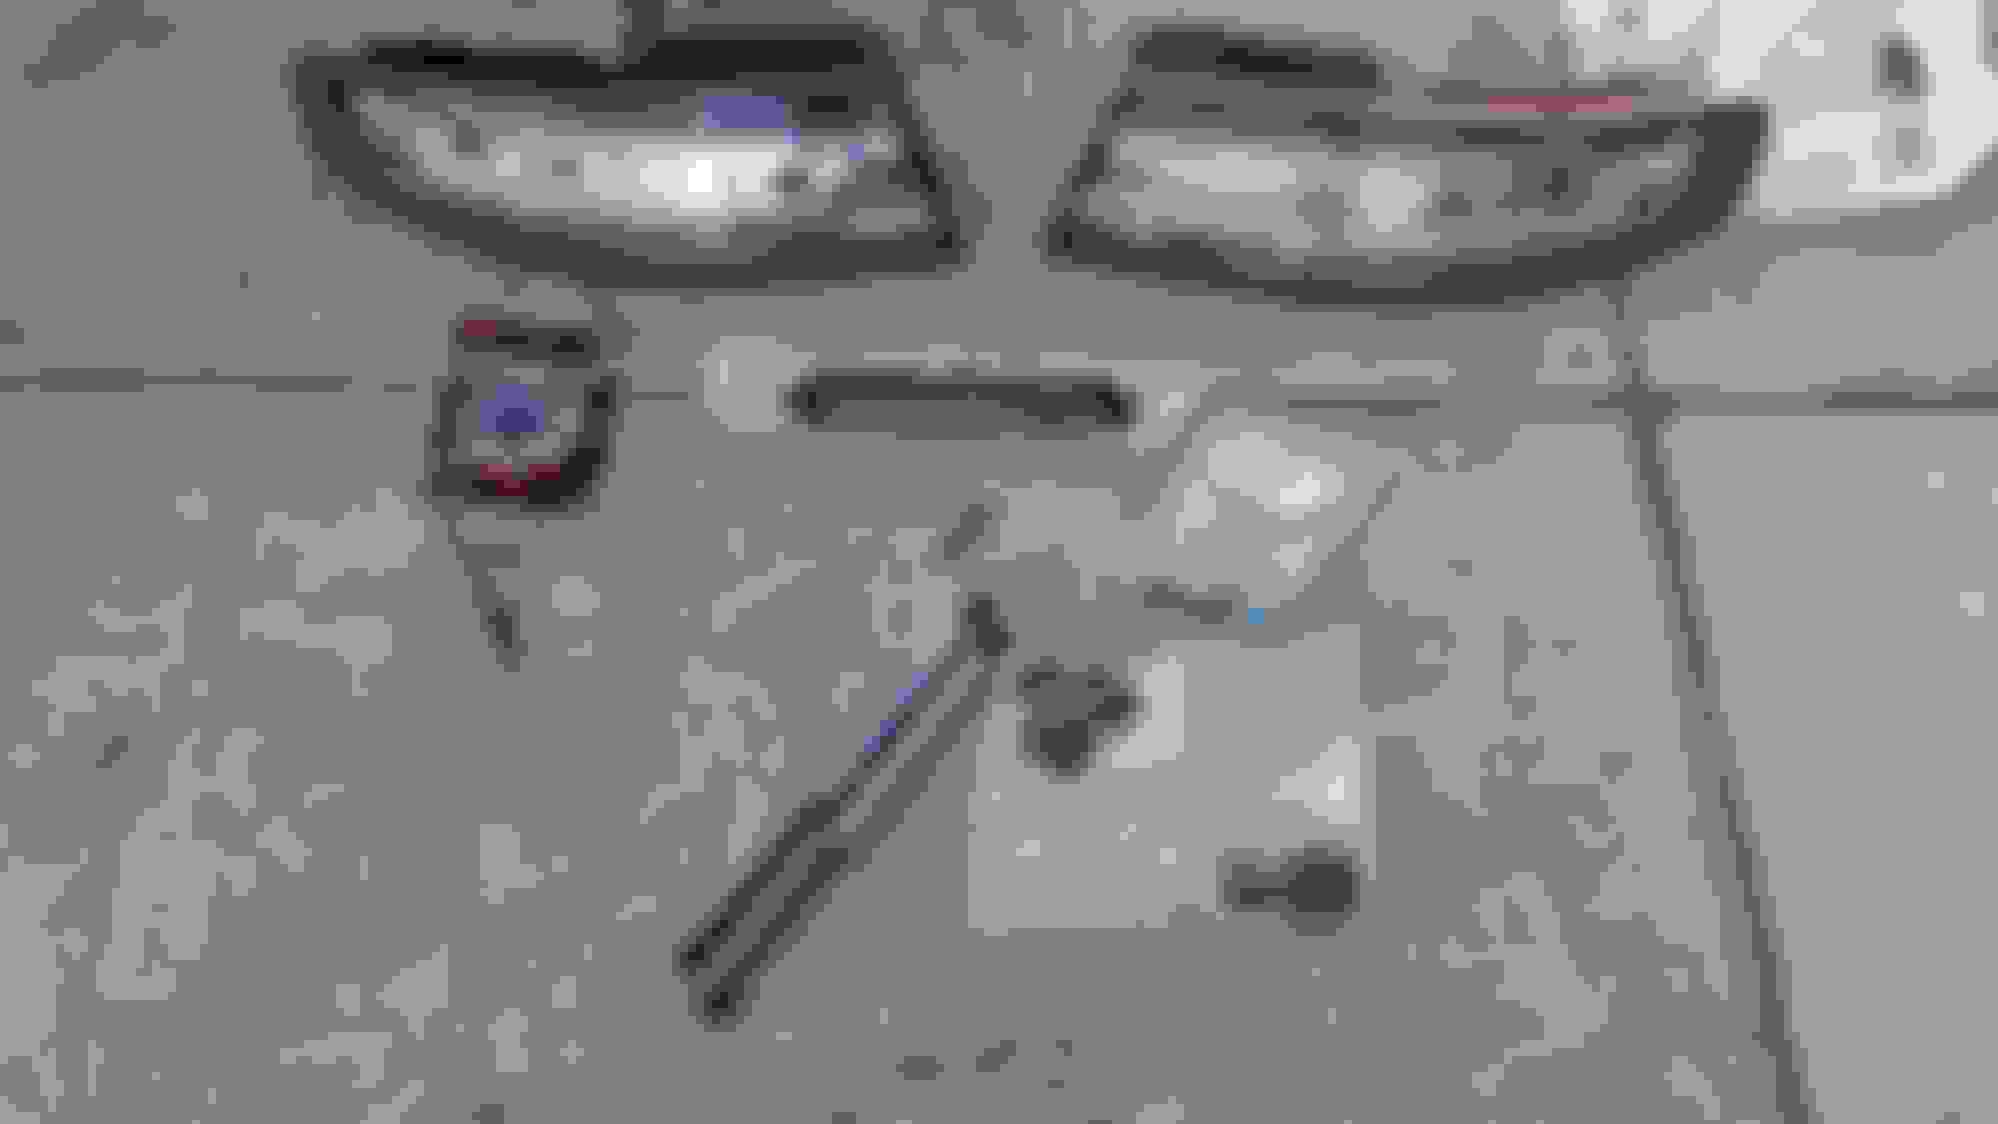
2 seal packs, 1 bolt pack, 2 trunk struts (mine were pretty much dead, and you need to keep the trunk open for most of the procedure), 1 tail light (I had one already), and the CHMSL. I also purchased automotive tape from Autozone.
The adjusters. You only need these if you bought a taillight that has a hole instead of a stud sticking out. I had fabricated a stud but didn't need it in the end because I had the adjusters.
You need to remove these metal domes inside the trunk to reach the tail light bolts. One side of the car has 3, the other one has 2. To reach the 3rd bolt on that side, just open the side panel by pulling the strap.
You can see the adjuster on the left.
These just unscrew with your hand.
Unscrew the nut. I used pliers, you can use a wrench. Careful not to lose the washer! There's one for every adjuster.
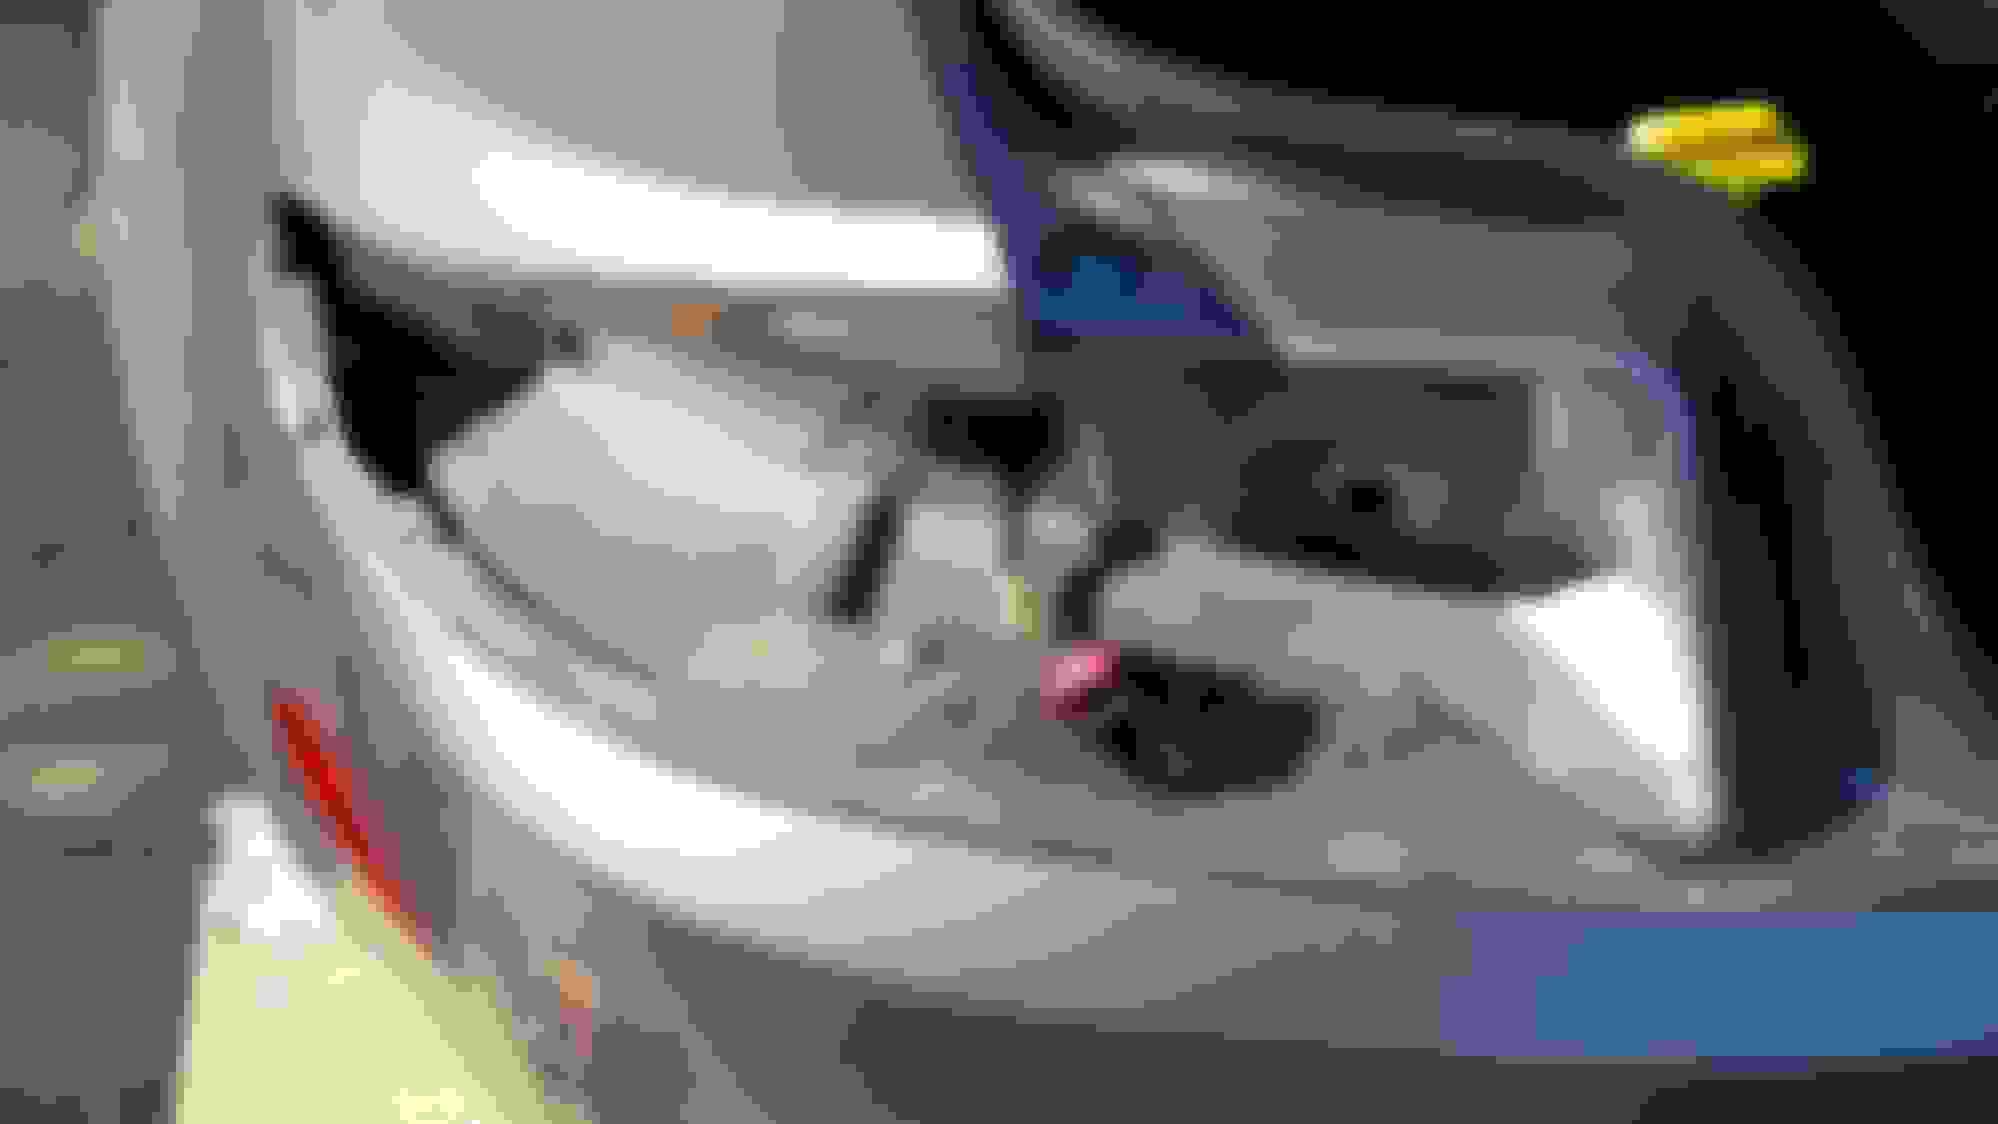
After you undo all 3 adjuster's nuts, the tail light just pulls out. The cable is pretty short but you can gently pull it out a bit. The rubber sleeve pops out. The connector is hard to pull out, you can see you need to pull out the red end to the side. I suggest having somebody hold the light while you do this.
This is where the seals are. I highly recommend replacing these! They're cheap and will protect your trunk from water ingress.
The back side of the seal. The silver part is just a washer. There might be some light glue holding these in place, they will just pop out by pulling gently.
THIS is why you need to replace them! This is what they look like after you take them out. Thin and bent out of shape.
You can just slide the washers inside the carpet if you're too lazy to undo the top. This is actually a pretty tough maneuver.
This is what the adjusters look like when connected to the original lights. I grabbed a measuring tape and measured all the distances, so I could replicate them with the new ones.
This is the hole in one of the new lights. Only one of the clears had a hole. This is apparently not a defect, just different models.
This is where the new adjusters go. Gets rid of one part.
After a lot of adjusting, the lights were on! Still needed to do the CHMSL and the inserts.
- To be continued -
Then grab a trim removal tool and just pull out HARD. You need to remove at least the bottom 4 of these. I'd suggest buying some new ones to replace them, as they will be pretty banged up.
Remove the plastic pin and pull out the metal cord from the handle. Then you can pull the carpet liner out to get access to the CHMSL area.
Your nuts will look different! I had replaced mine previously with nyloc nuts since my car was missing one. Make sure not to lose the washers. You only need to undo two.
Pull the metal part out completely to disconnect the light.
Yet another example on how seals wear out. Take this into account when installing the new light, since it won't line up unless you put a lot of force on the nuts.
- To be continued -
Trim removal tools next to the recently unglued insert. These were really easy! I was initially worried but you just need to insert one of these tools between the tail light and the insert, the gradually destroy the tape. The insert is malleable and will deform a bit.
Goodbye, red light!
Clean everything up. I used WD-40 first, then quick detailer. I then left everything to dry for a few minutes.
I messed up with the tape by buying it too thick, so I cut it up. Remember to clean all surfaces and tape up as close as you can to the original pattern.
I don't, sorry... they didn't come with any I believe... but... look for
"REAR LIGHT SEAL KIT RED LAMPS & CLEAR LIGHTS" on the astonmartinbits website. Unsure if I can post a link.
That tail lamp adjuster did 2 of them come in that 1 part number? Or so i need to order 2 quantity? Velocity AP has them for $42 but im not sure if it includes 2 of them or just 1.