When you click on links to various merchants on this site and make a purchase, this can result in this site earning a commission. Affiliate programs and affiliations include, but are not limited to, the eBay Partner Network.
So I finally pulled the trigger and ordered some parts.
I already had a left clear light I got off Ebay a while ago, but now I just got the CHMSL and the right one.
Note that according to the vendor, you also need 2 seal kits (6 seals each) and a bolt kit.
The bolt kit is due to the clear lights having 2 bolts and 1 hole, whereas the red ones have 3 bolts.
I have no idea what to do with the seals but they say they're needed. Any help on this would be appreciated.
I'm still waiting for the hardware to arrive.
Does anybody have guide/s on how to do this? I removed one tail light to test the one I already have and that's easy. Same for the CHMSL.
I'm uncertain about what to do with the seal kit.
Also curious about how to remove / attach the trim pieces on top of the lights. My guess is that they're glued on with 3M tape? If so, how to remove them? And what 3M tape to buy to attach them to the new lights?
I changed my lights a few weeks ago on my 09... there were some differences between the lights bolts but what I found very interesting there was differences on my red lights left and right - I ended up interchanging bolts and such - successfully. Did not know there was a dedicated kit. That would have been nice if true. Look at your left and right clear lights to see if the bolts look exactly the same - out of the 4 total lights it seemed to be a little different each one. I bought both my clear's used from 2 different sources.
Anyhow I did it with no kit - there were no seals on the original lights but taking off the middle painted pieces was painstaking. I used the instructions I found in this forum under Sticky: Frequently Asked Questions.
You got an 09 S, mine is a regular 09. The clear lights significantly updates the look.
The lights are really easy to change out other than unsticking the center panel and sticking it back in.
Saw the thread you're refering to, but there's not a lot of info on exactly what to do with the inserts. Only "Being careful with a heat gun and patience with a plastic pry tool was what it took."
I got some trim removal tools, I guess it's time to buy a heat gun? Also unsure what 3M tape to buy, there's a lot out there.
The bolt kit comes with two different bolts for each light, to accommodate for any model/discrepancies. 4 bolts total IIRC.
I just use trim tools to remove the painted trim, then an adhesive remover from wurth on the left behind 2way tape..
Just curious, what does a set of clear tails go for now used?
What tape did you use for the new lights?
I got one for $200 off Ebay, there's been nothing remotely close to that price (that was working) since then... maybe 6 months ago. I finally sprung for a �275 light on a UK website, shipping was steep
You could even get by with a hair dryer actually. It doesn't take much to soften up the double sided tape for removal. Just start prying slowly with a plastic trim tool and be patient. I used 3m clear double sided tape to reinstall. Just make sure to clean all the adhesive residue off first. A little bit of mineral spirits usually does the trick.
I have a right side Carbon Edition tail light in absolutely perfect condition available if anyone is interested.
No, it's 2way tape but with thin foam in the center to tape up any uneven contour..just like the oem tape aston uses. It's a shop supply I use from 3m used for automotive side door trims. I'm sure u can find it an any popular auto parts store..
Btw, ALL adhesive needs to be cleaned off otherwise the 2way tape will NOT secure the trim..it WILL come off in short time!! ;-)
__________________
__________________ Technical Director Christopher Edgett
Velocity Automotive Performance Limited 214 Maple Ave. Oliver, B.C Canada V0H 1T9 Office: (1)250-485-5126
Email: Tuning@VelocityAP.com www.velocityap.com
So I just got the rest of the parts and I'm gonna tackle this during the weekend... IF I can get this bolt missing (bottom left hole)! I only need one, the other tail light has it. I tried removing one of the other ones to take it to a hardware store and I can't take them out with pliers!
Use a set of channel lock pliers on the wide base (not the threaded) portion of the bolt and you should bed able to remove it from the red taillight you will be replacing and then put it on the new clear taillight. I've done this a few times. It is a bit snug, but it can be removed.
Last edited by karlfranz; Jan 21, 2015 at 10:03 PM.
Use a set of channel lock pliers on the wide base (not the threaded) portion of the bolt and you should bed able to remove it from the red taillight you will be replacing and then put it on the new clear taillight. I've done this a few times. It is a bit snug, but it can be removed.
I tried with these but it wouldn't move and I didn't want to damage it. You're saying the one from the red tails will fit? I remember speedracer800 saying they're not the same...
I ran into the same problem when I replaced my tail lights on my DB9. It seems like (in my experience) not all tail light assemblies are the same. My bet is when you go to crank those studs out you're going to find that the end threaded into the taillights is actually different than your new clear lights. It's going to have a coarse thread screwed directly into the plastic rather than the metal threadsert you're seeing on your new housings. They'll crank out but it's not easy and won't do you any good. At least that's what I encountered. I went down to the hardware store and picked up some common 6mm (if I remember correctly) threaded rod and made my own studs instead. Cut them to the appropriate length and fit them into the tail lights with loctite. From there I was able to use the adjusting hardware and retaining nuts from my original lights. Hope that helps.. Good luck.
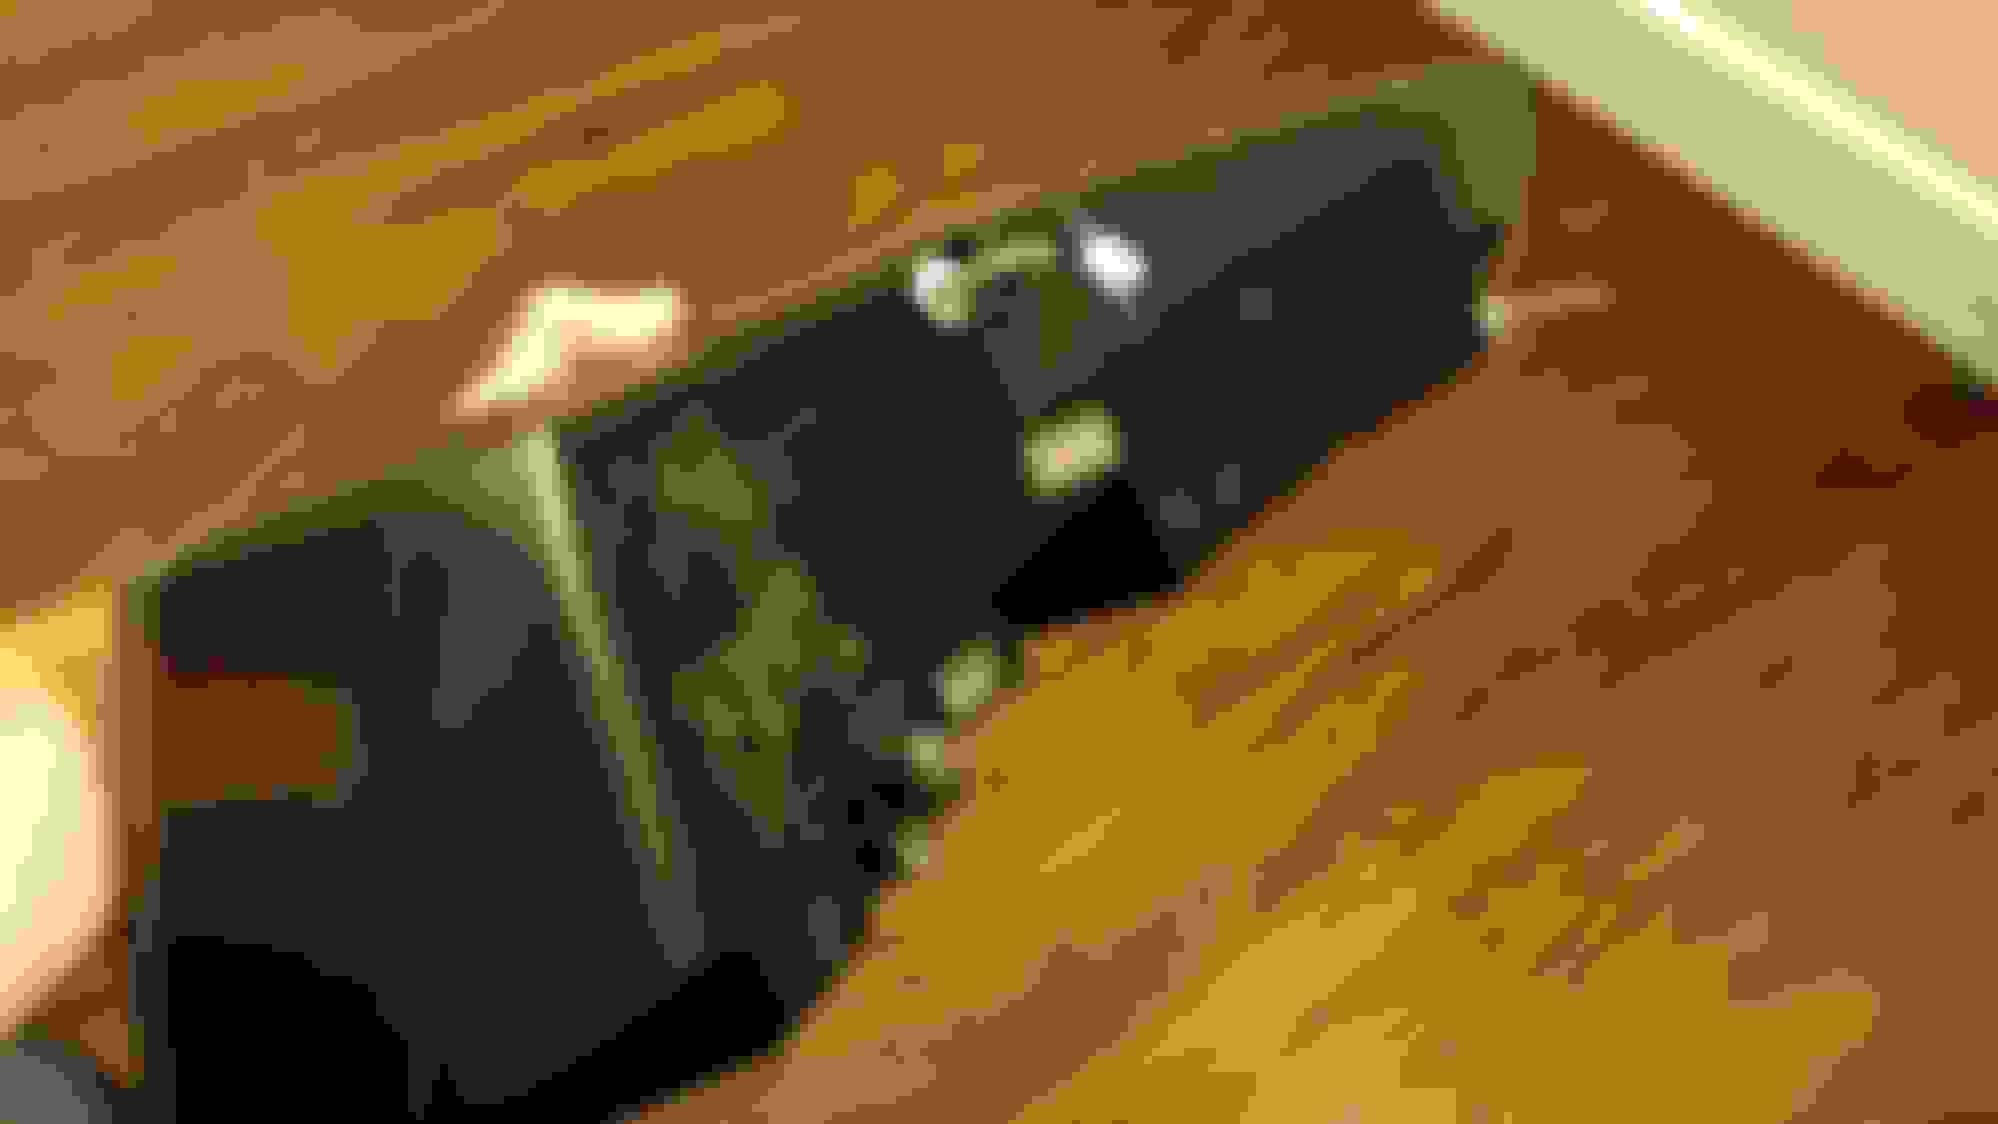
On the red lens, is it a stud like the rest, or insert with a bolt threaded in?...there are 2 different models of fixings for the tail lights....lights that have 3 studs and lights that have 2 studs with 1 insert like the pic
If you have 3 studs on your red lights, you will need to get the bolt adapter that goes into that threaded insert on your clear lights...the adapter is sold separately from your dealer
__________________
__________________ Technical Director Christopher Edgett
Velocity Automotive Performance Limited 214 Maple Ave. Oliver, B.C Canada V0H 1T9 Office: (1)250-485-5126
Email: Tuning@VelocityAP.com www.velocityap.com
On the red lens, is it a stud like the rest, or insert with a bolt threaded in?...there are 2 different models of fixings for the tail lights....lights that have 3 studs and lights that have 2 studs with 1 insert like the pic
If you have 3 studs on your red lights, you will need to get the bolt adapter that goes into that threaded insert on your clear lights...the adapter is sold separately from your dealer
Interesting. I have bought a bolt adapter kit from the seller (the bits website), they say you need it. Unsure how it's gonna pan out. I brought the tail light to work today, gonna see if they have something that would fit in the fabrication area.