When you click on links to various merchants on this site and make a purchase, this can result in this site earning a commission. Affiliate programs and affiliations include, but are not limited to, the eBay Partner Network.
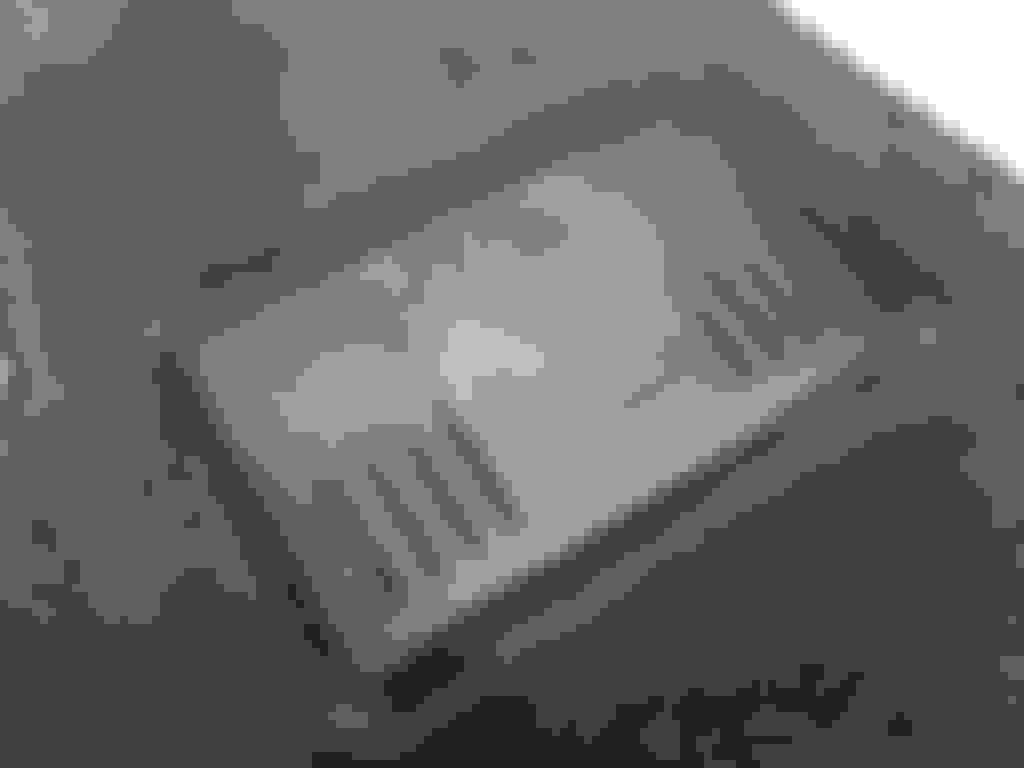
After sending multiple emails to custom car floor mat suppliers (that do embroidery), I got impatient and decided to make them myself. I saw a post recently where someone bought these good looking patches on eBay and ironed them onto his mats (link http://www.ebay.com/itm/ASTON-MARTIN-AUTO-CAR-IRON-ON-EMBROIDERed-PATCH-4-5-X-1-5-INCHES-Racing-/282486515190?hash=item41c58225f6:g:XGMAAOSwTM5Y7~D d&vxp=mtr"]here). But rather than risk destroying my OEM mats, I picked up a set of mats from qualitycarmats.com (link http://www.qualitycarmats.com/"]here)--$91.95 shipped so they are super affordable. Here are a few pics; I'm impressed with the quality.
I opted to get the heal pad for the drivers side mat:
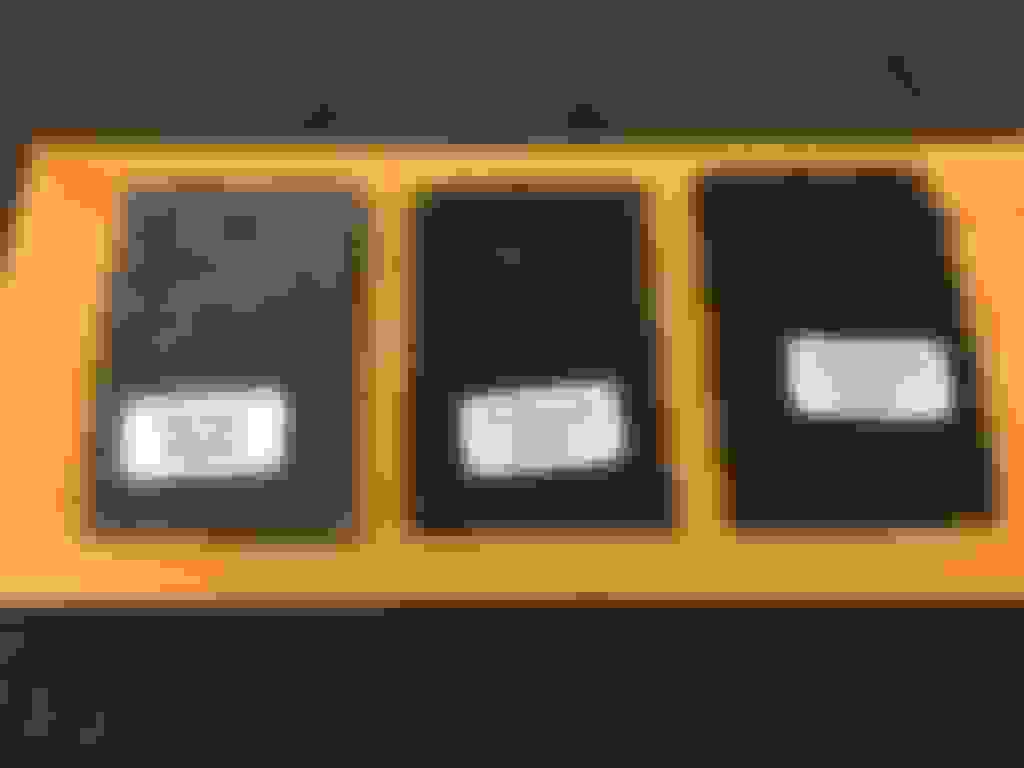
Btw, before I ordered, they offer free color samples on their website...I ordered 3 different tones of gray since I had no idea what color would match best. (On the under side of the battery panel cover in my car, I found a label that indicated the carpet color is "Lightweight Phantom" so I knew it wasn't Obsidian black). Here are the color samples I got:
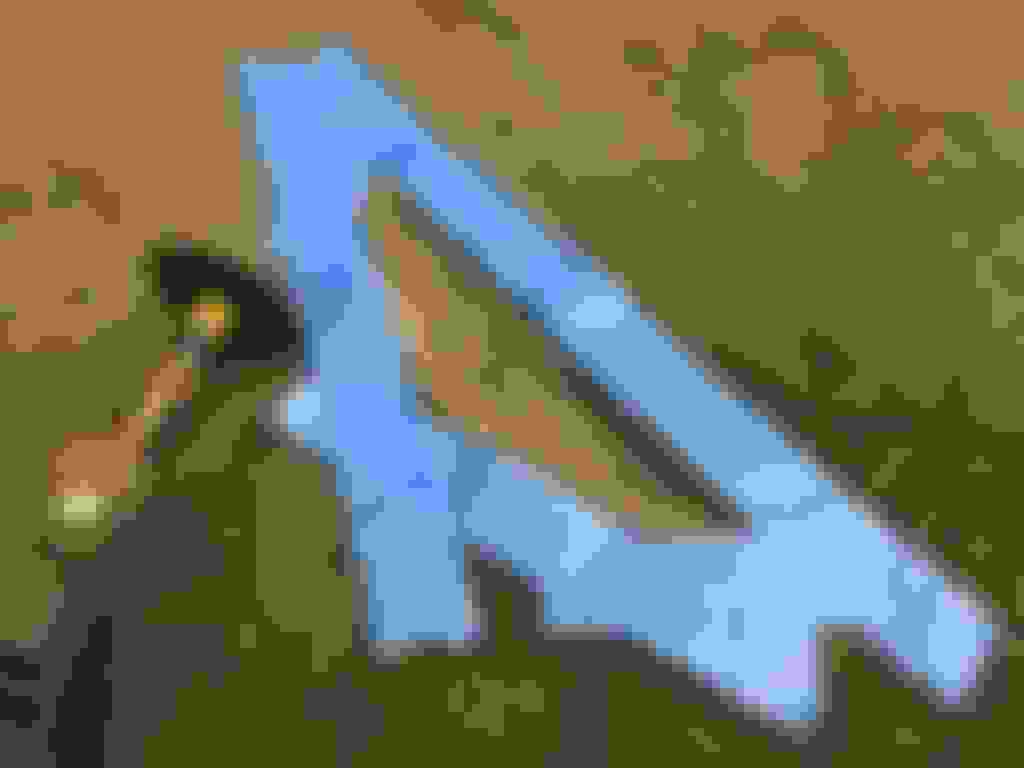
And here are the samples laid out in the footwell of my car. It was a toss-up between "Charcoal" and "Graphite". The lighting here is a little deceptive as the Graphite had a twinge of blue in it--which didn't match. Therefore, I ended up selecting Charcoal:
Next up, glue the patches I sourced off eBay to the mats. In order to achieve the 'embroidered' look, I decided to trim out the plush carpeting where the patch would be glued. Once I figured out where I wanted to the logo placed on the mat, I masked off the perimeter so I could carefully give the plush a 'haircut':
My Dremel tool with cutoff wheel does the work nicely. I didn't go too crazy--I simply wanted the patch to sit below the carpet pile once glued down:
Here's the glue I used...picked it up at Michael's art/craft store. It dries clear too so if some oozes out the sides of the patch, it will be invisible:
Here's a couple shots of the patch installed. It sits down in the carpet pile nicely--looks as if it was embroidered right on the mat:
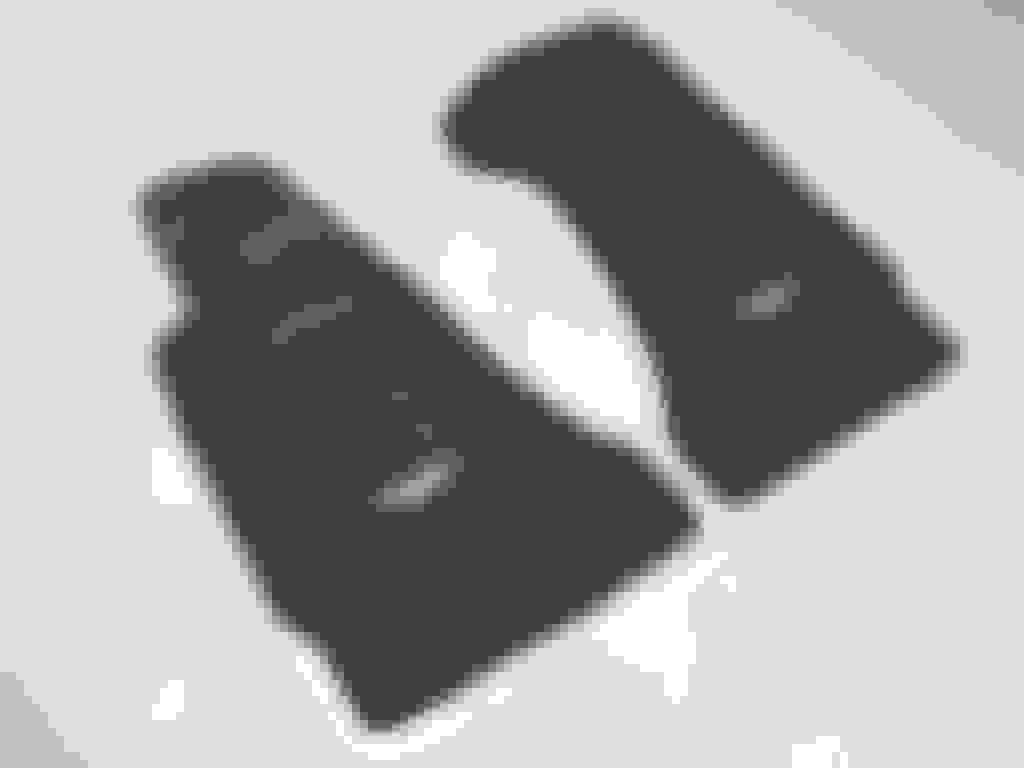
Here are the mats done, ready to be installed!
Installed on the passenger side...
...and the drivers side:
The color is VERY close to the OEM carpet color. I'm very happy with the results. I hate spending lots of money on car mats since they are supposed to get 'dirty'; so now I won't get mad when one of my kids tracks crap onto these mats.
Best,
-Dan
Last edited by GT3 Chuck; Jun 5, 2017 at 02:24 PM.
Hey...clever guy...nice work...thanks for the update.
I was looking on eBay and saw AM mats with emblem but much higher than your idea...now I may copy you! Lol
I know this is an old thread, but I hope you don't mind that I've copied nearly exactly what you did including trimming down the pile. I figure everyone knows that if you post something on the internet, you can't be surprised if others copy. Take it as a sign of admiration of a good idea. I used a clamp on the patches to ensure the glue stuck.
I know this is an old thread, but I hope you don't mind that I've copied nearly exactly what you did including trimming down the pile. I figure everyone knows that if you post something on the internet, you can't be surprised if others copy. Take it as a sign of admiration of a good idea. I used a clamp on the patches to ensure the glue stuck.
You actually don't need to risk cutting the pile. Epoxy glue clamped overnight works great


") I saw a post recently where someone bought these good looking patches on eBay and ironed them onto his mats (link http://www.ebay.com/itm/ASTON-MARTIN-AUTO-CAR-IRON-ON-EMBROIDERed-PATCH-4-5-X-1-5-INCHES-Racing-/282486515190?hash=item41c58225f6:g:XGMAAOSwTM5Y7~D d&vxp=mtr"]here). But rather than risk destroying my OEM mats, I picked up a set of mats from qualitycarmats.com (link http://www.qualitycarmats.com/"]here)--$91.95 shipped so they are super affordable. Here are a few pics; I'm impressed with the quality.
I saw a post recently where someone bought these good looking patches on eBay and ironed them onto his mats (link http://www.ebay.com/itm/ASTON-MARTIN-AUTO-CAR-IRON-ON-EMBROIDERed-PATCH-4-5-X-1-5-INCHES-Racing-/282486515190?hash=item41c58225f6:g:XGMAAOSwTM5Y7~D d&vxp=mtr"]here). But rather than risk destroying my OEM mats, I picked up a set of mats from qualitycarmats.com (link http://www.qualitycarmats.com/"]here)--$91.95 shipped so they are super affordable. Here are a few pics; I'm impressed with the quality.