anyone blackout the headlights?

Registered User
Joined: Sep 2005
Posts: 1,160
From: Colorado
Rep Power: 70

Yes. Duplicolor black wheel paint.
1. It was a known finish. Nice satin black. Did not want to try something else and not be happy with the finish and have to redo it.
2. It is resistant to heat.
3. I already had a can
 (although I bought two more to have some on hand and finish this project up, will probably use it on the remaining silver trim on my CTT).
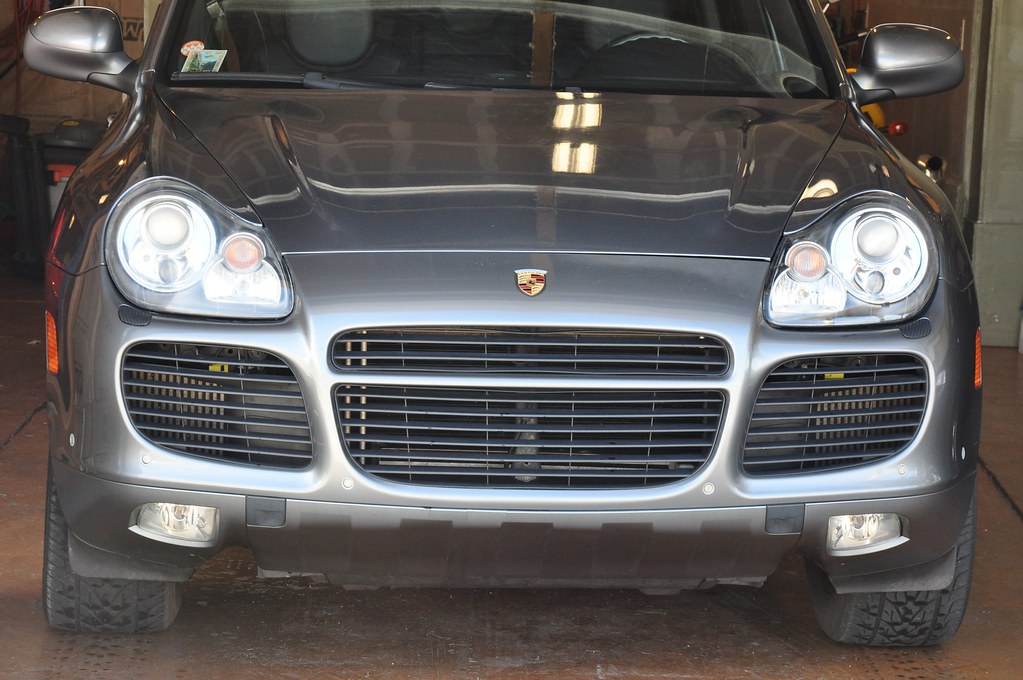
Registered User
Joined: Mar 2010
Posts: 505
From: SoCo.....in austin texas
Rep Power: 38
Yes. Duplicolor black wheel paint.
1. It was a known finish. Nice satin black. Did not want to try something else and not be happy with the finish and have to redo it.
2. It is resistant to heat.
3. I already had a can (although I bought two more to have some on hand and finish this project up, will probably use it on the remaining silver trim on my CTT).
1. It was a known finish. Nice satin black. Did not want to try something else and not be happy with the finish and have to redo it.
2. It is resistant to heat.
3. I already had a can
(although I bought two more to have some on hand and finish this project up, will probably use it on the remaining silver trim on my CTT). It would give more frontal clearance, with a hard reinforced metal valence...wish list(contained winch)....possible to build out custom lights or additional armored piping for those who go all out for tough look.......now I have a 6er so I dont fear the reaper as much on experimenting
 .
.
Registered User
Joined: Sep 2005
Posts: 1,160
From: Colorado
Rep Power: 70
Haha, thanks Rox!
I would actually be fairly simple. If you look at the tow hood plugs the frame rails are right behind that. Should actually be able to mount a fairly robust skid up that high and mount a winch above it in the grill.  .
.
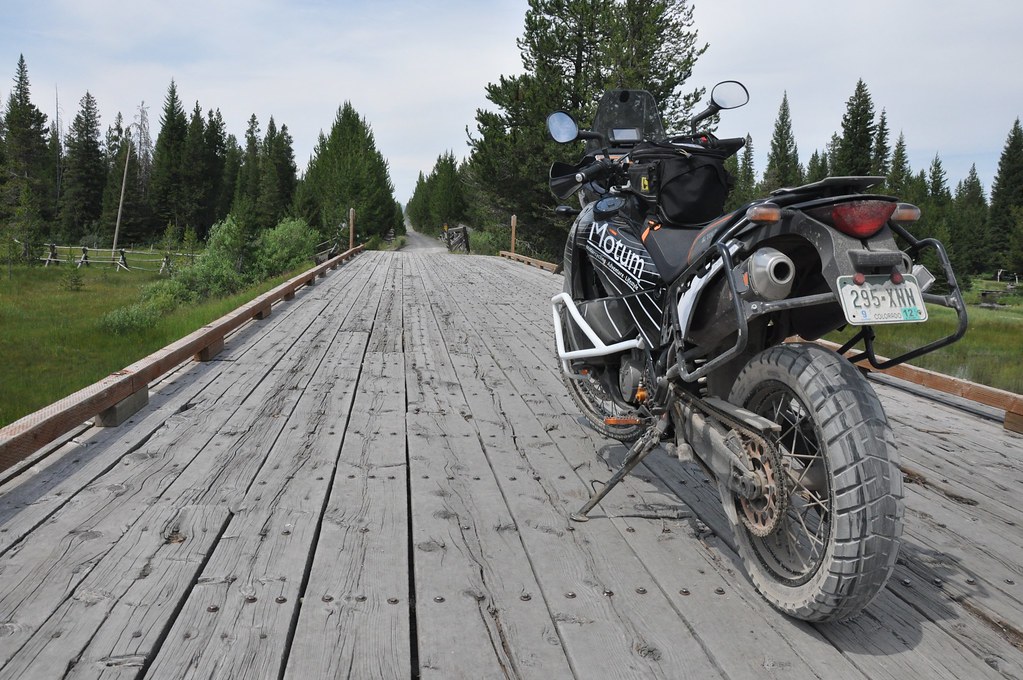
Cole, next task for "all things cayenne", any way we can devise an arb style lower valence in the front, notice how high up the 2 divots come, well to come up to there and still fit flush to the outside.
It would give more frontal clearance, with a hard reinforced metal valence...wish list(contained winch)....possible to build out custom lights or additional armored piping for those who go all out for tough look.......now I have a 6er so I dont fear the reaper as much on experimenting.
It would give more frontal clearance, with a hard reinforced metal valence...wish list(contained winch)....possible to build out custom lights or additional armored piping for those who go all out for tough look.......now I have a 6er so I dont fear the reaper as much on experimenting
..
Registered User
Joined: Sep 2005
Posts: 1,160
From: Colorado
Rep Power: 70
I've been PMed about this several times so I'm going to post some of the "how to" pics here in this thread to keep it all in one good place.
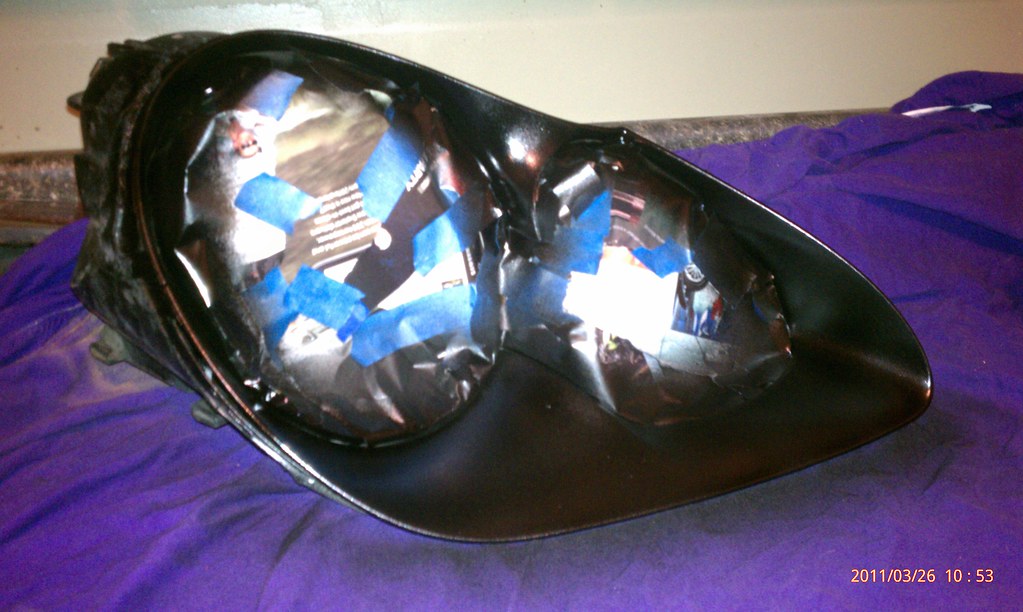
I spent several months kinda diddling around with trying to get the lights apart. Working my way in one step at a time and finally committing to what I knew had to be done.
The glue that holds the headlight lens into the black housing does not melt like other headlights I have worked on. The housing itself will start to melt before the glue will soften and let go.
To complicate things the lens slides into a "C" shaped channel. So the lens is surrounded by glue on 3 sides. My first attempt to get the lights apart I took a dental pick and spent several hours carefully picking glue out of the channel. This still leaves 2 very strong connection points and is a waste of time.
I then tired to notch the upper part of the channel so that I could heat it, bend it back and get to the glue underneath. The black plastic channel is very brittle so also a waste of time.
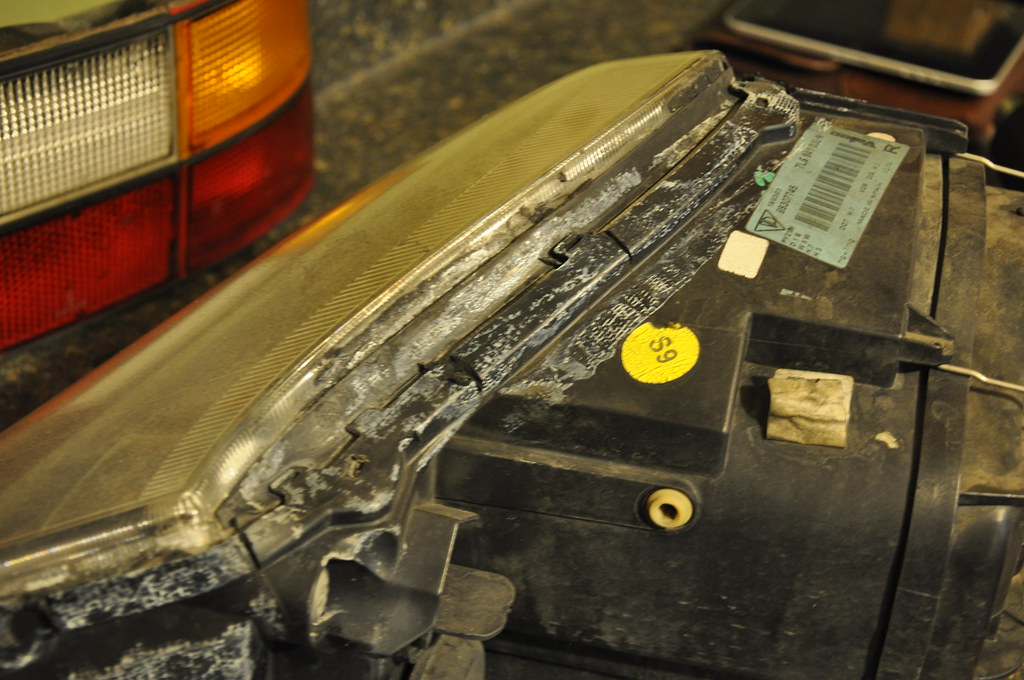
Here is a quick picture of where I started to notch it with a dremel.
Eventually I figured the only way to do this was to take the dremel and just cut off the outer layer of the C channel. This gave me access to get a knife and screwdriver down in under the back side of the lens. It's still a lot of work at this point. But you can actually get to it.
Sorry the pictures are not better.
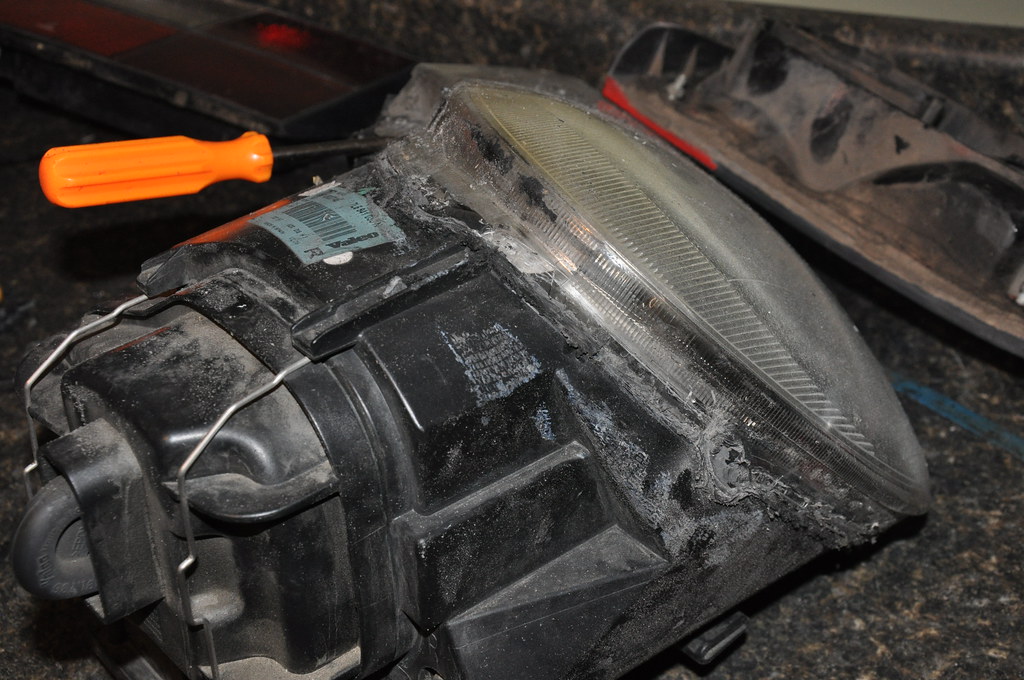
Work your way around it one step at a time, be patient and the lens will eventually come loose.
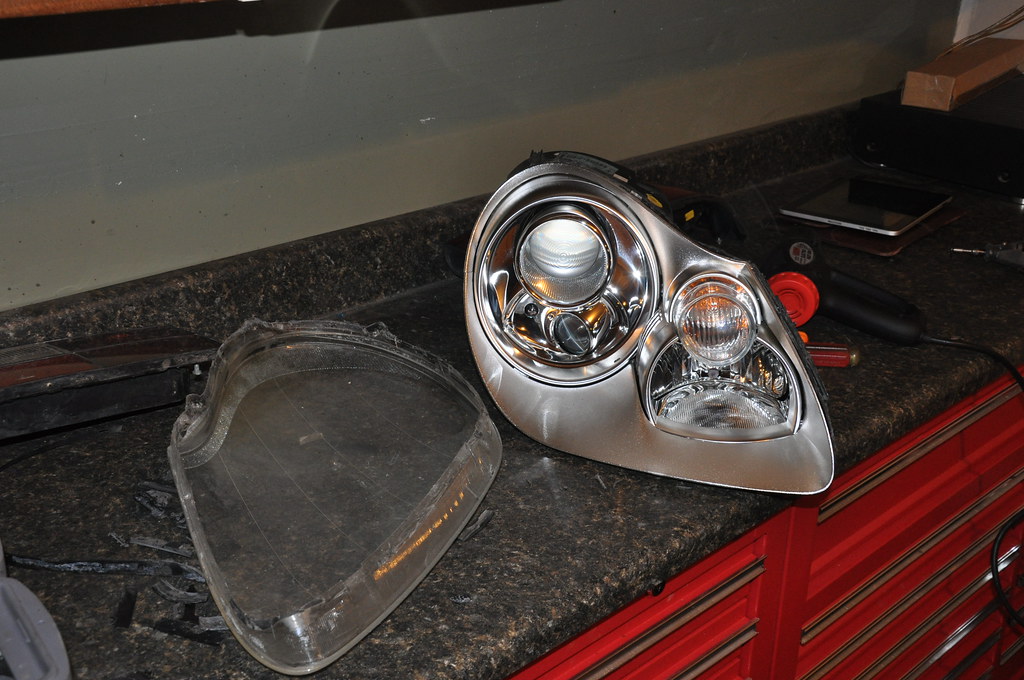
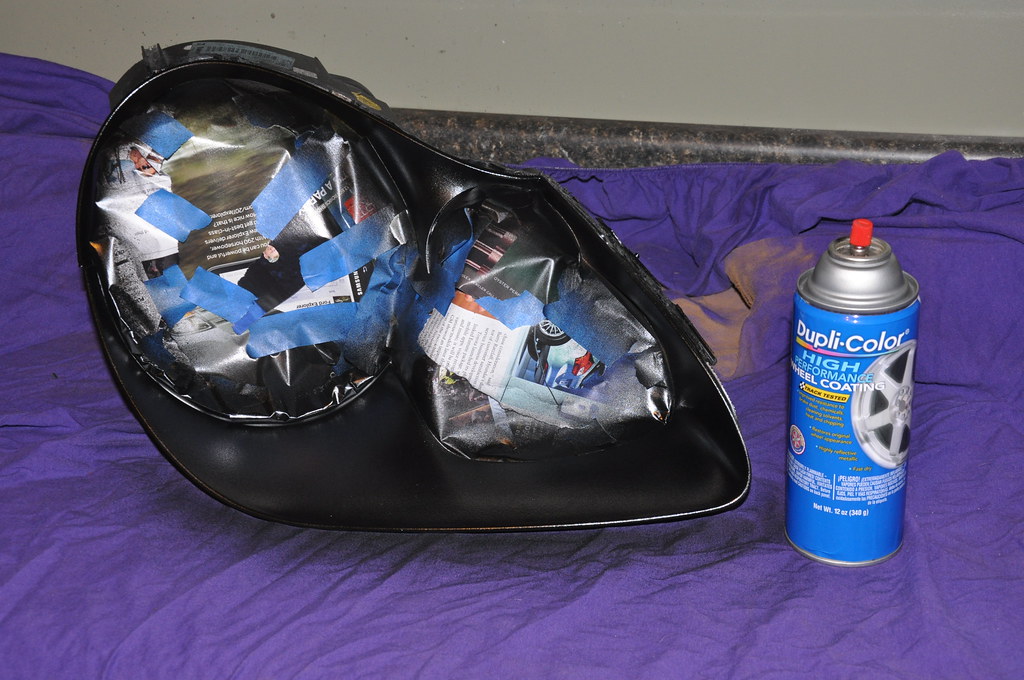
Now you have access to tape off and paint the inside of the housing.

I used duplicator satin black wheel paint. Stuff is very durable, resistant to heat and chemicals and I had a can on the shelf!
Ready for the lens to go back on ! I sealed the lens back on with 3M "Window Weld" this is the stuff that professional installers put your windshield in with. Stuff is not cheap, about $18 a tube. But well worth having them sealed water tight. I have been through a ton of rain and cold with these now with no issues of condensation inside the lens.
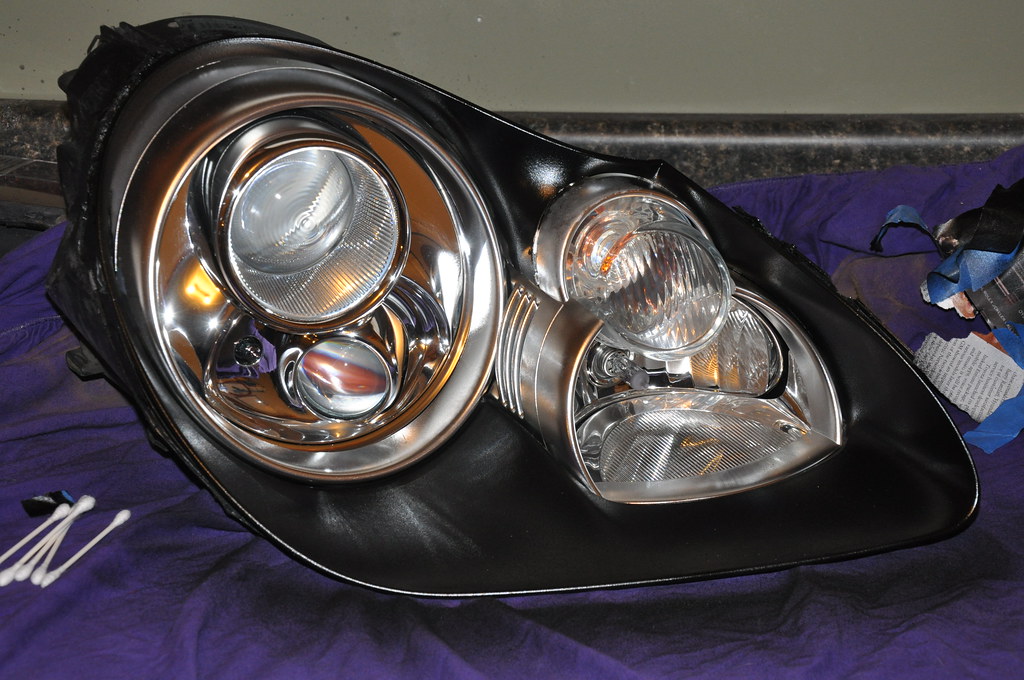
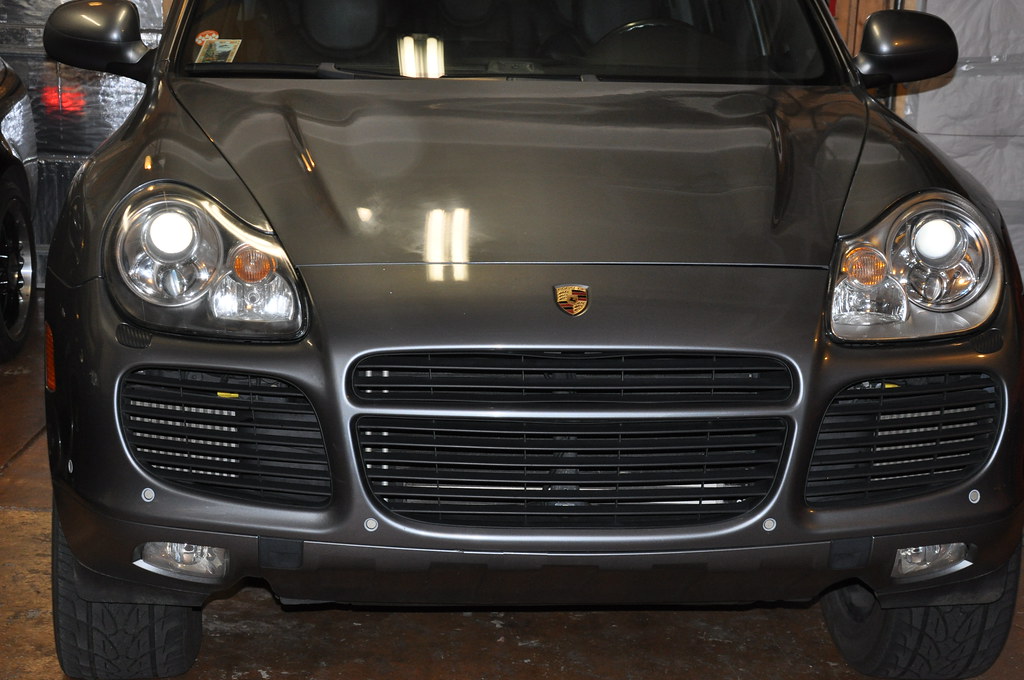
This is the firt one done and back in the car as a comparison. I polished the lenses after this with the 3M kit so that they both look new.
I spent several months kinda diddling around with trying to get the lights apart. Working my way in one step at a time and finally committing to what I knew had to be done.
The glue that holds the headlight lens into the black housing does not melt like other headlights I have worked on. The housing itself will start to melt before the glue will soften and let go.
To complicate things the lens slides into a "C" shaped channel. So the lens is surrounded by glue on 3 sides. My first attempt to get the lights apart I took a dental pick and spent several hours carefully picking glue out of the channel. This still leaves 2 very strong connection points and is a waste of time.
I then tired to notch the upper part of the channel so that I could heat it, bend it back and get to the glue underneath. The black plastic channel is very brittle so also a waste of time.
Here is a quick picture of where I started to notch it with a dremel.
Eventually I figured the only way to do this was to take the dremel and just cut off the outer layer of the C channel. This gave me access to get a knife and screwdriver down in under the back side of the lens. It's still a lot of work at this point. But you can actually get to it.
Sorry the pictures are not better.
Work your way around it one step at a time, be patient and the lens will eventually come loose.
Now you have access to tape off and paint the inside of the housing.
I used duplicator satin black wheel paint. Stuff is very durable, resistant to heat and chemicals and I had a can on the shelf!
Ready for the lens to go back on ! I sealed the lens back on with 3M "Window Weld" this is the stuff that professional installers put your windshield in with. Stuff is not cheap, about $18 a tube. But well worth having them sealed water tight. I have been through a ton of rain and cold with these now with no issues of condensation inside the lens.
This is the firt one done and back in the car as a comparison. I polished the lenses after this with the 3M kit so that they both look new.
Last edited by Cole; Aug 30, 2012 at 08:00 AM.
Registered User
Joined: Aug 2004
Posts: 2,200
From: NJ
Rep Power: 343

Here are some pics of mine... process was similar to Cole's but they disassembled the whole houseing and painted the Chrome parts in a black chrome finish as well as the flat black on other parts... hard to tell in the pics but you can get a good idea.....
Registered User
Joined: Sep 2005
Posts: 1,160
From: Colorado
Rep Power: 70