Mississippi Paint Pro - Painting my RX7 - Going from the worst to the best
Subscribe


Man, I love this thread! Always look forward to more progress and pics!

Thanks Siz 
I've got a little side project to share. It's not paint related, so I'd normally only post it in my build thread, but since John's involved I figured y'all would like to see another area where this painter excels
My side project is a full 304 stainless steel exhaust I've been designing in my head for a couple of years. Here's what I drew up to get this shindig started
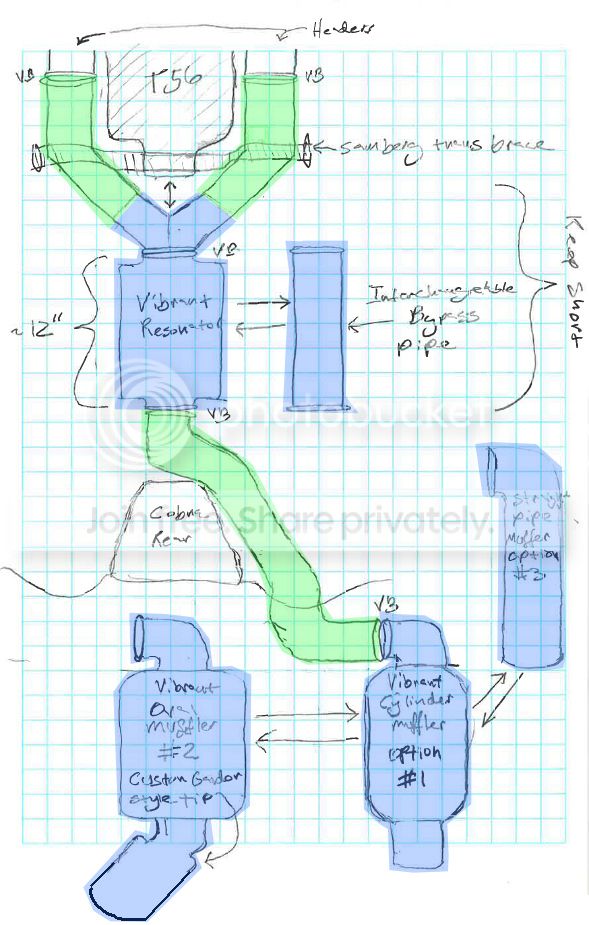
The parts in blue were contracted out to Anthony Chaghlassian of AS Fabrication out of California
The parts in green will be built by John.
Looks like Anthony is holding up his end of the bargain!

Saying I'm excited is a major understatement!
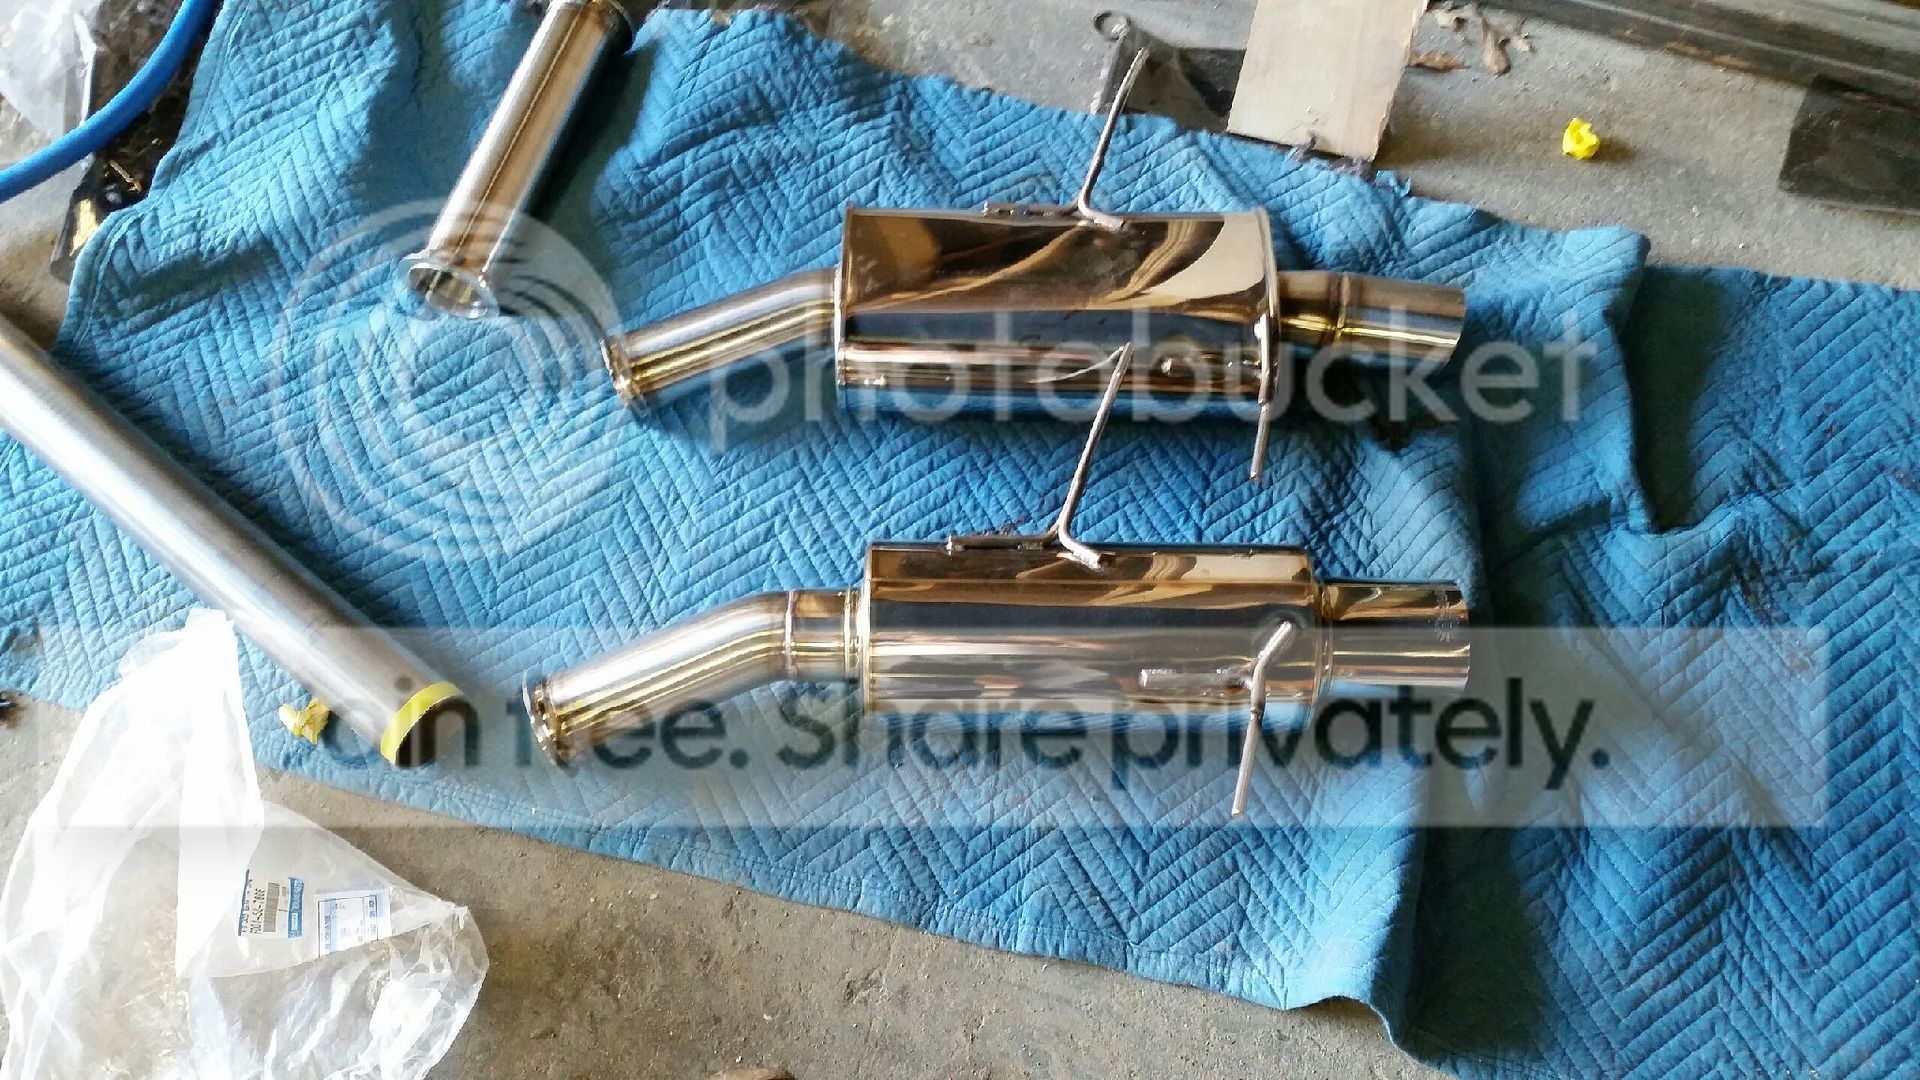
While the fabricated parts from Anthony were on their way I hooked John up with some goodies. By goodies I mean a buttload of 304 stainless including straight 3" a U-J pipe, v-bands, 3/8" rod, and rubber insulators!
Yesterday John laid down the law on my exhaust build and really showcased his fabrication skills
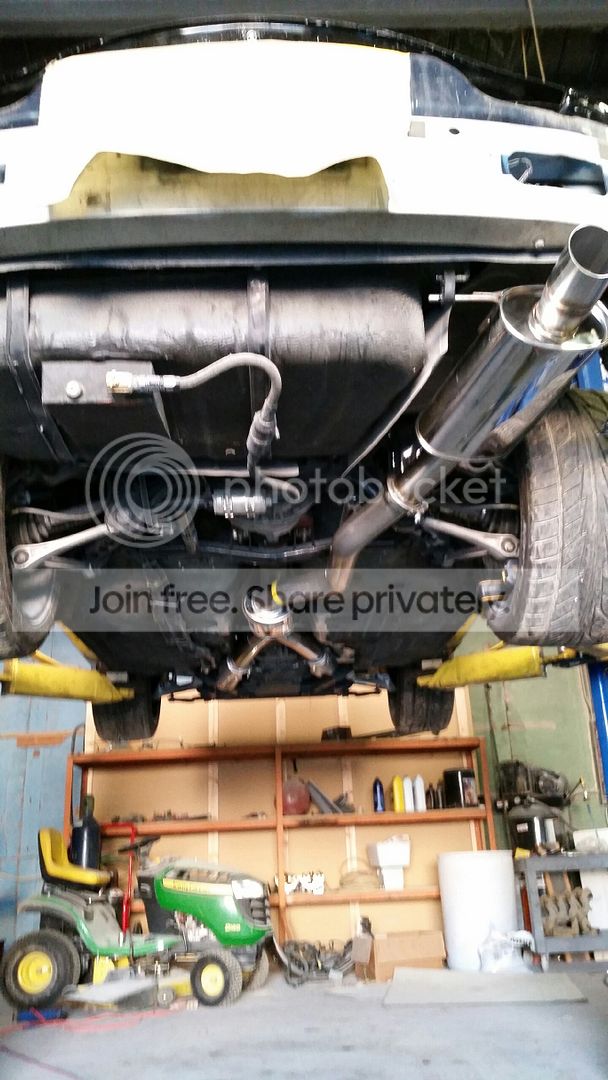
Here's the first picture I got yesterday!
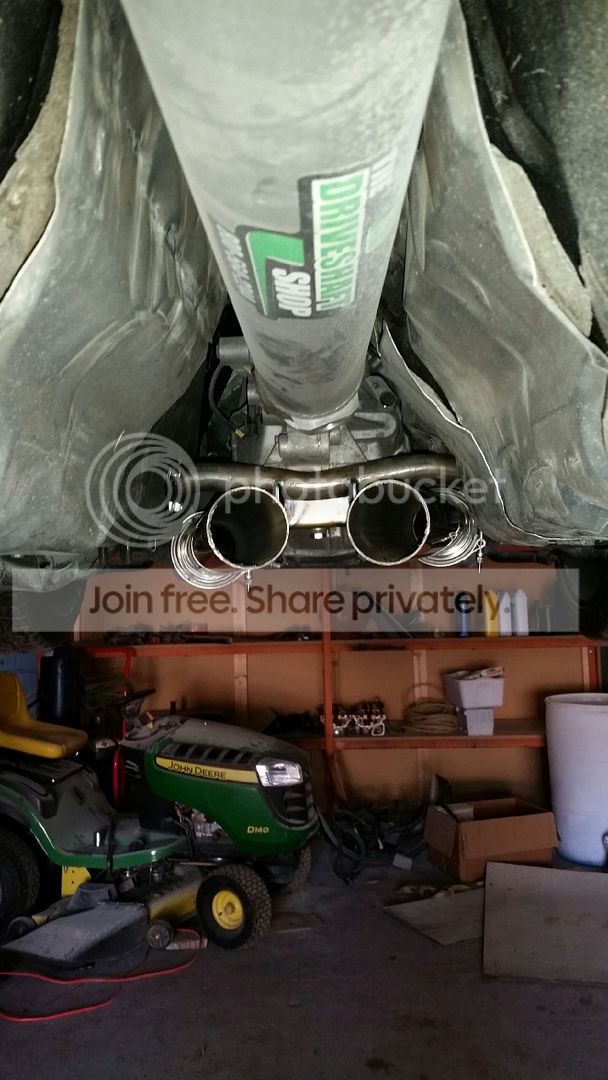
You can see that we ended up going back to a Samberg trans mount. I was previously using the Kevin Doe trans mount that came with my previous dual 3" exhaust. I told John he had the option to use either one and it was his call based of what would make it easiest for him to fabricate around. He chose Samberg and I have to say, after seeing this picture I'm ecstatic about the choice. My concern was that the Samberg mount wouldn't be able to get as good a ground clearance as Kevin's mount, but you can see that John was able to get this going in the right direction right from the start!
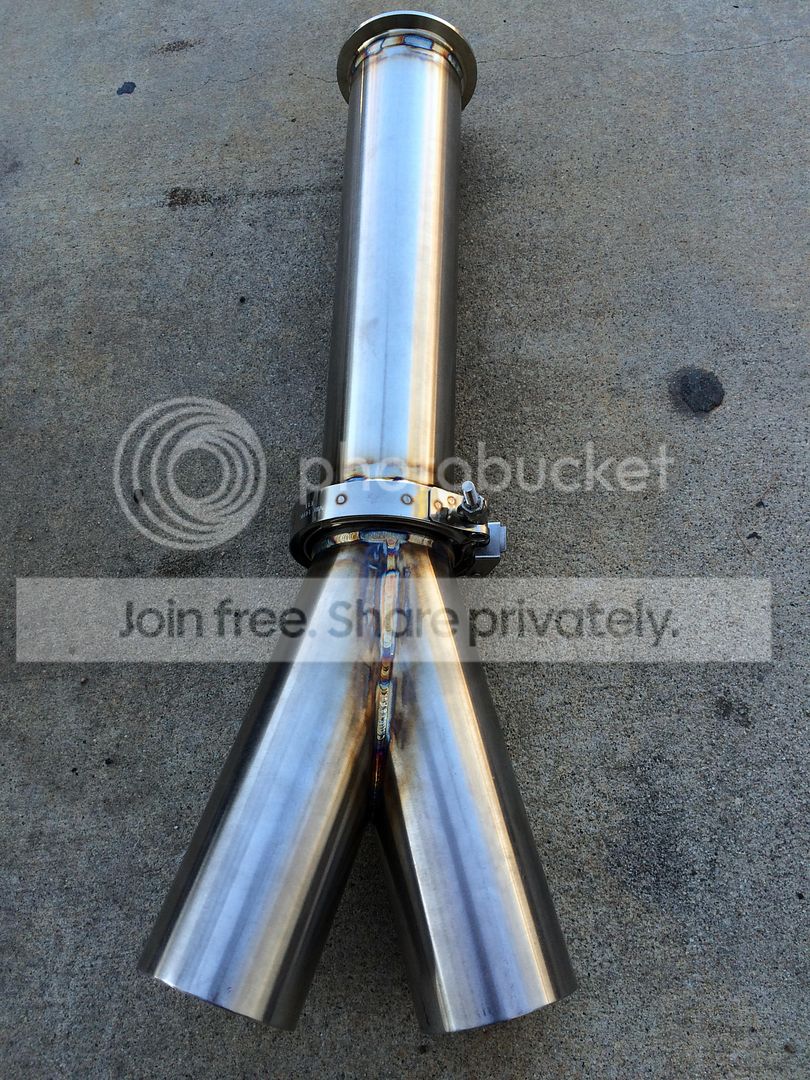
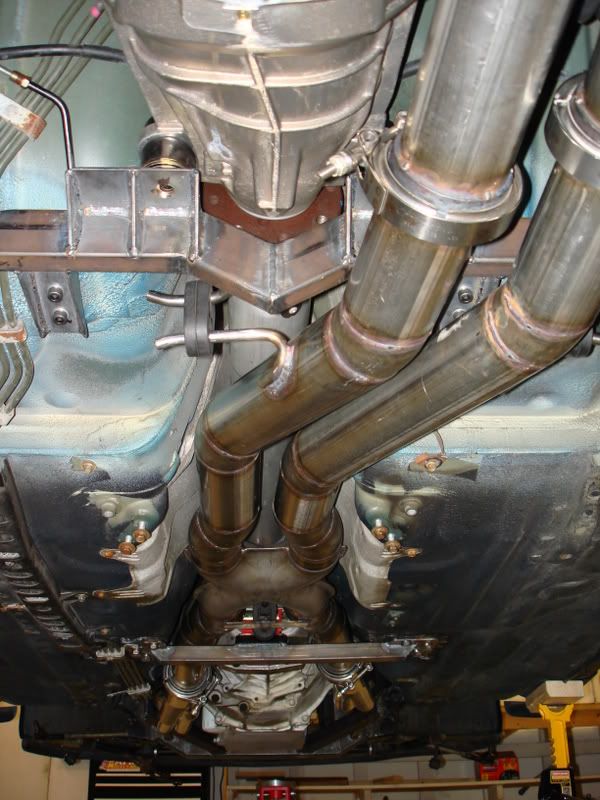
Here's the picture I've been absolutely drooling over ever since he sent it over:

THIS is the reason I wanted the splayed Y. That's not to say that the splay made the fabrication trivial. I know John spent a LOT of careful planning and fitting to get such a straight line gorgeous merge. Awesome work all around. Anthony hooked me up with exactly what I wanted and John knocked it out of the park by integrating it perfectly
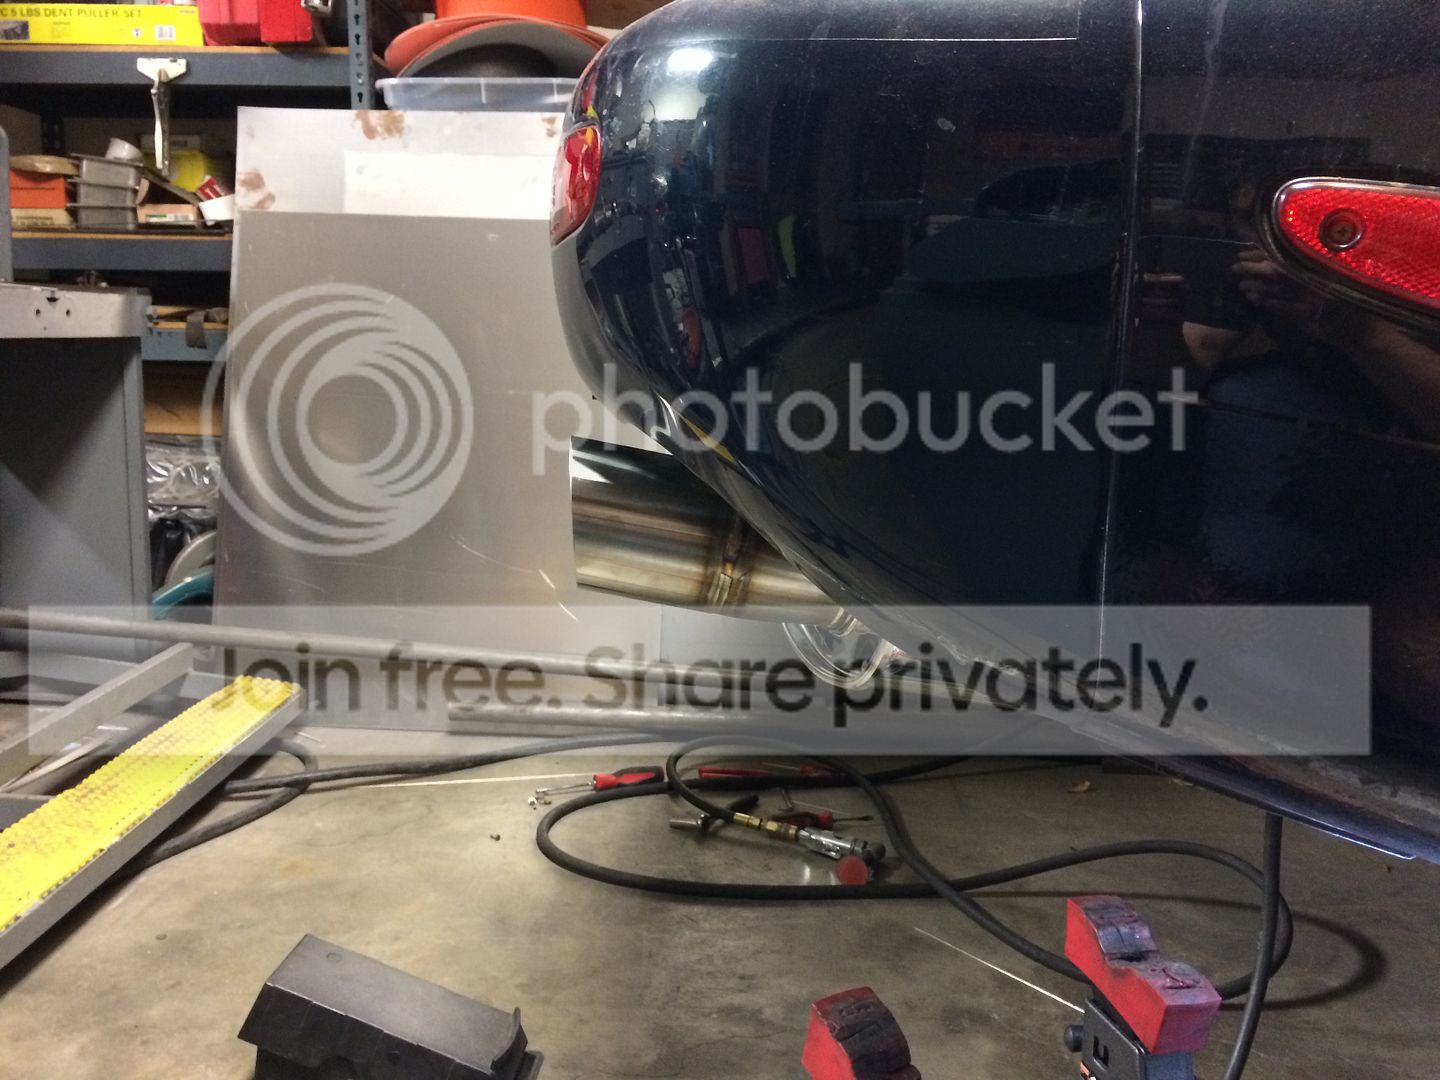
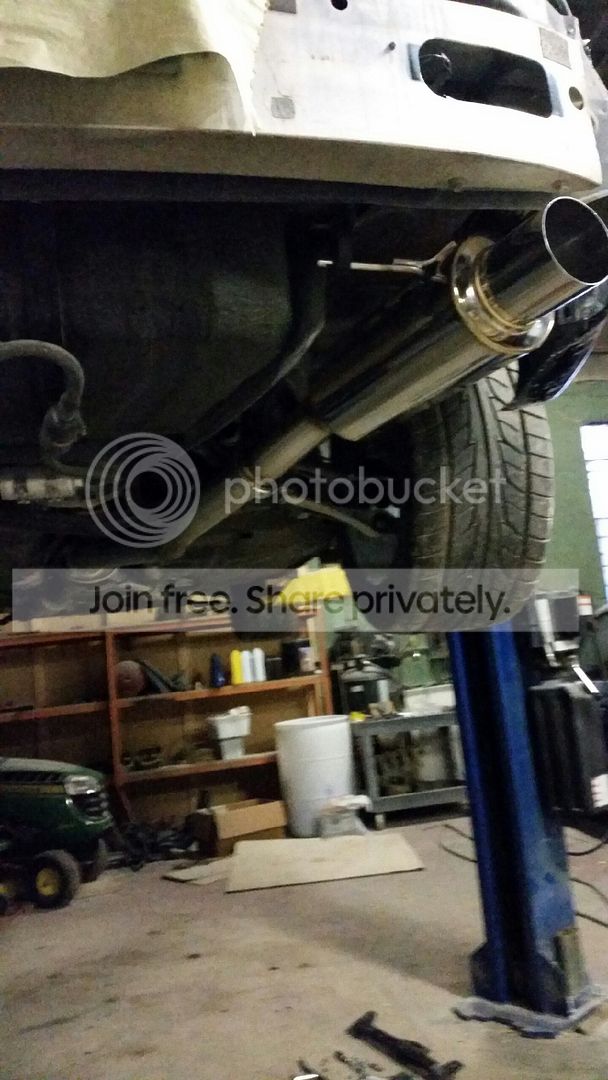
Here's a side view showing John's attention to ground clearance:
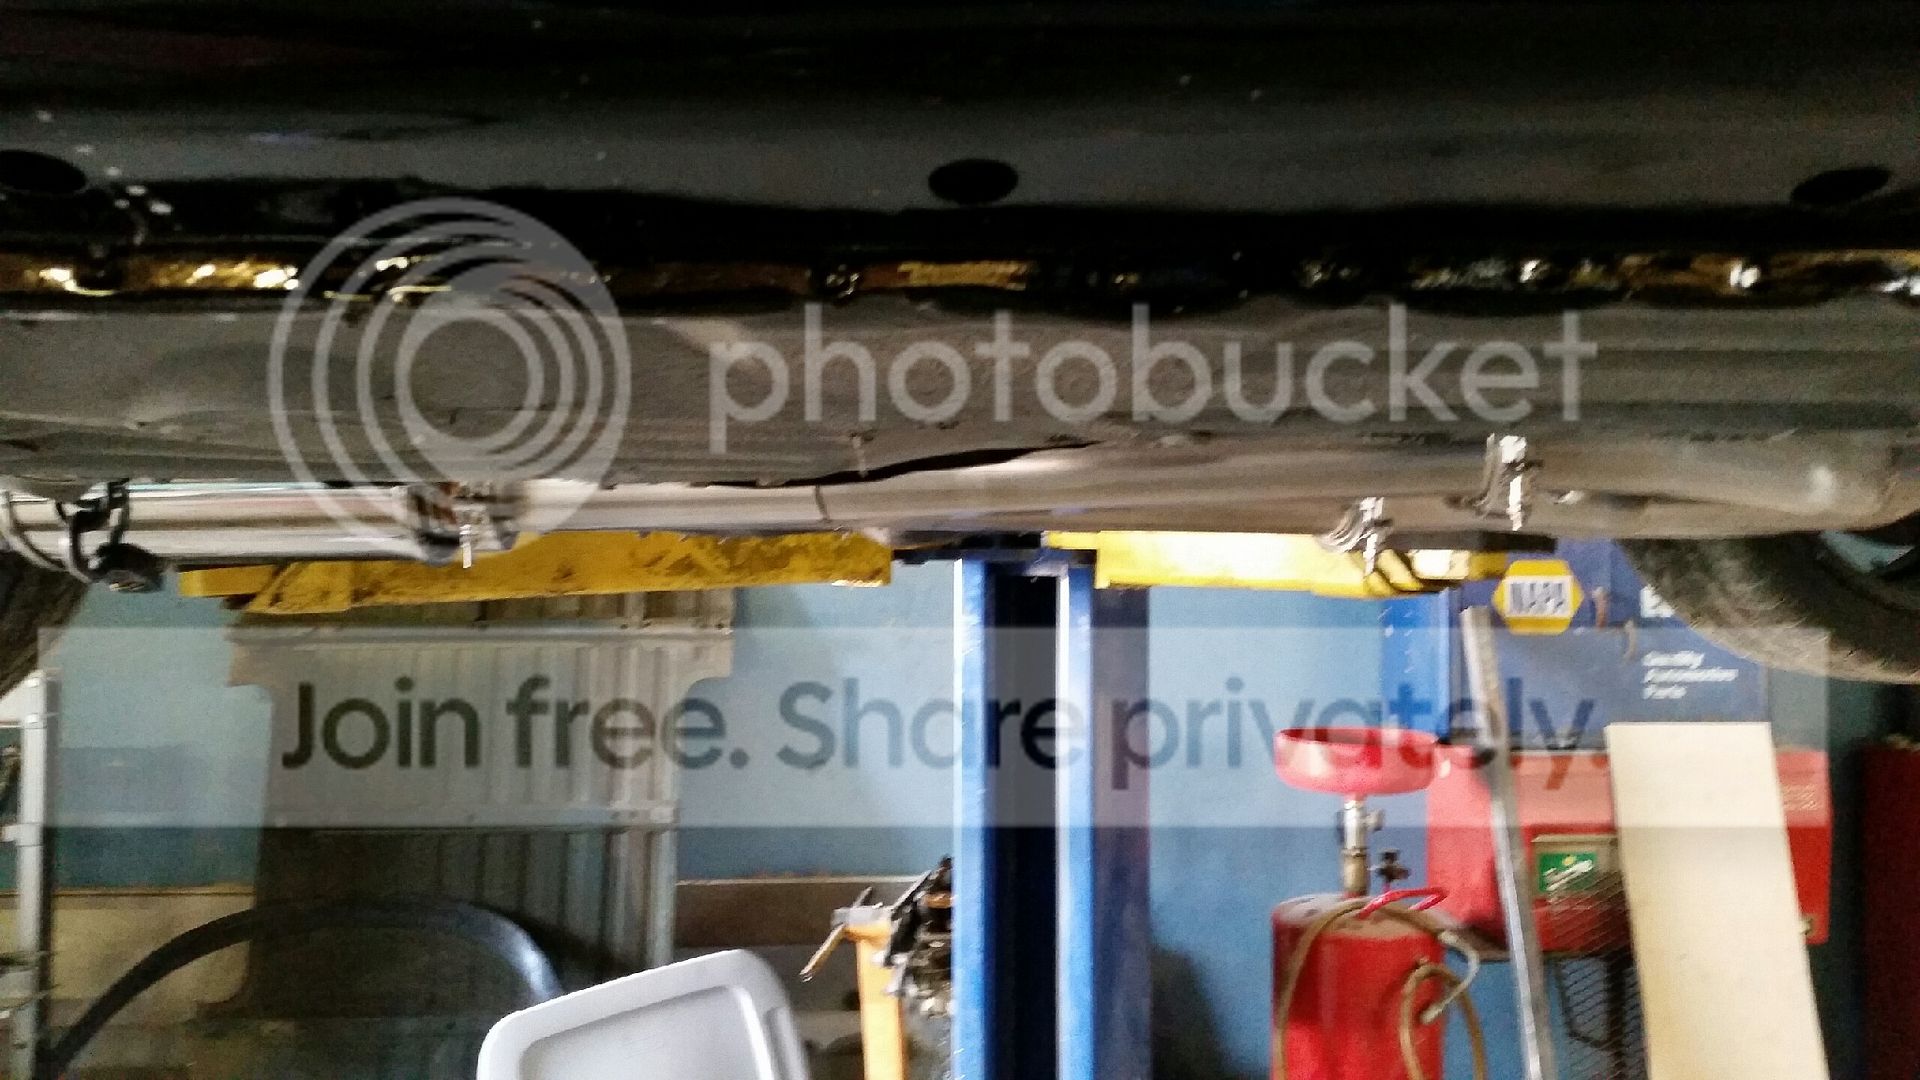
I'm very happy with the view. The v-band bolts will of course be turned around when we get it on the road, but even down I'd say we're headed in the right direction
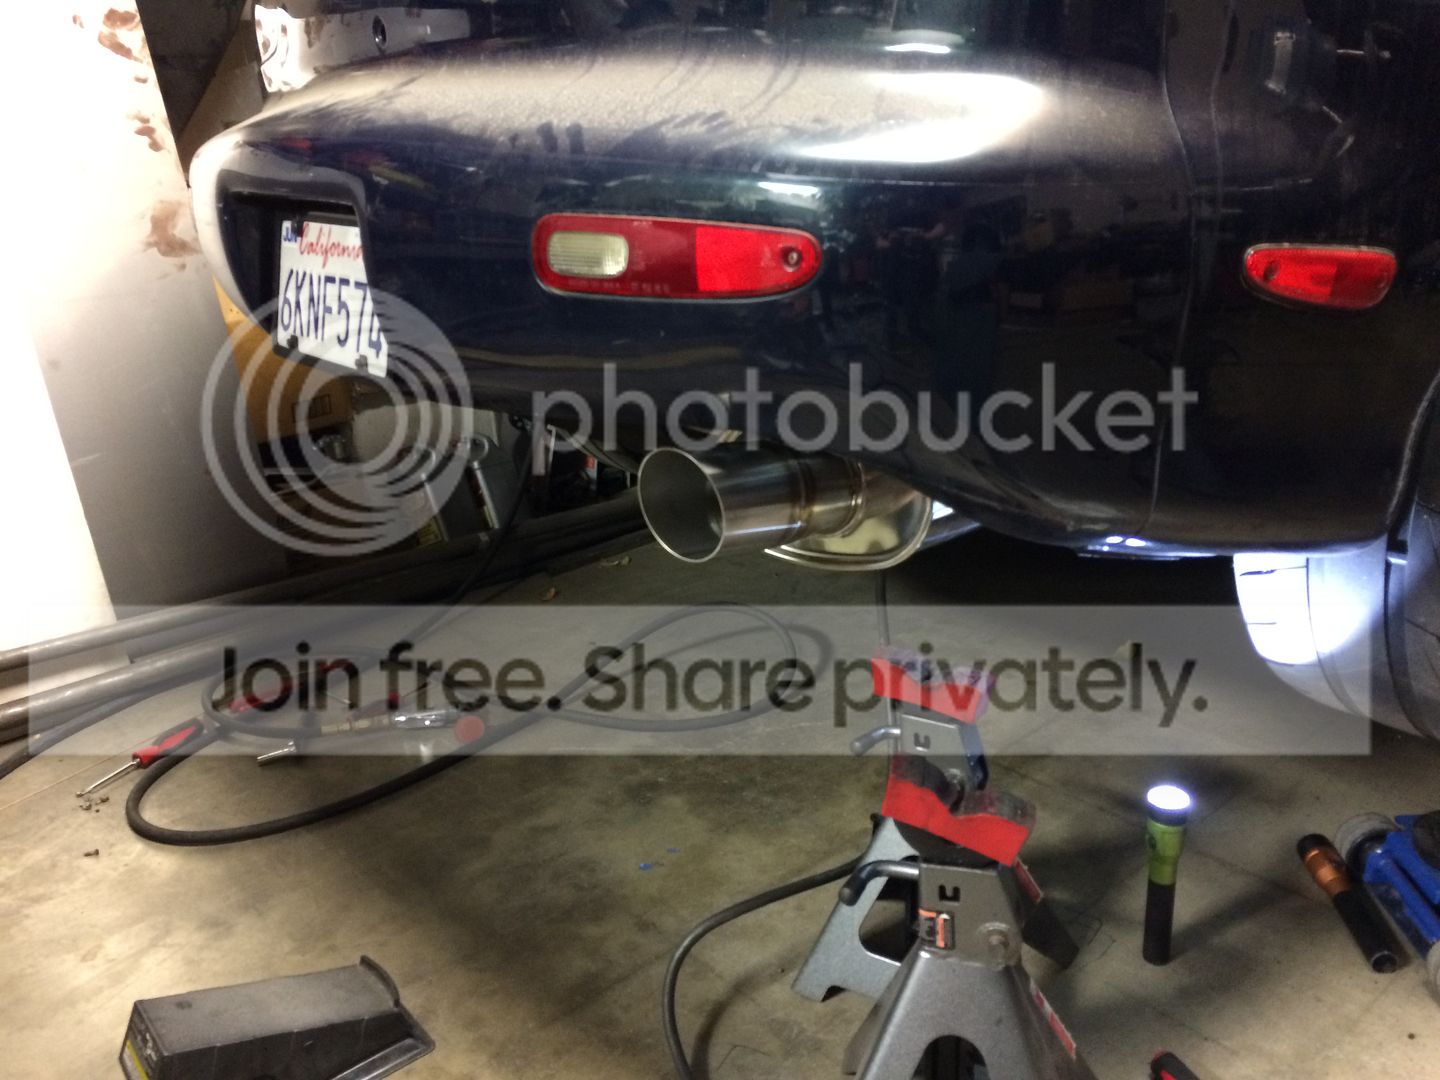
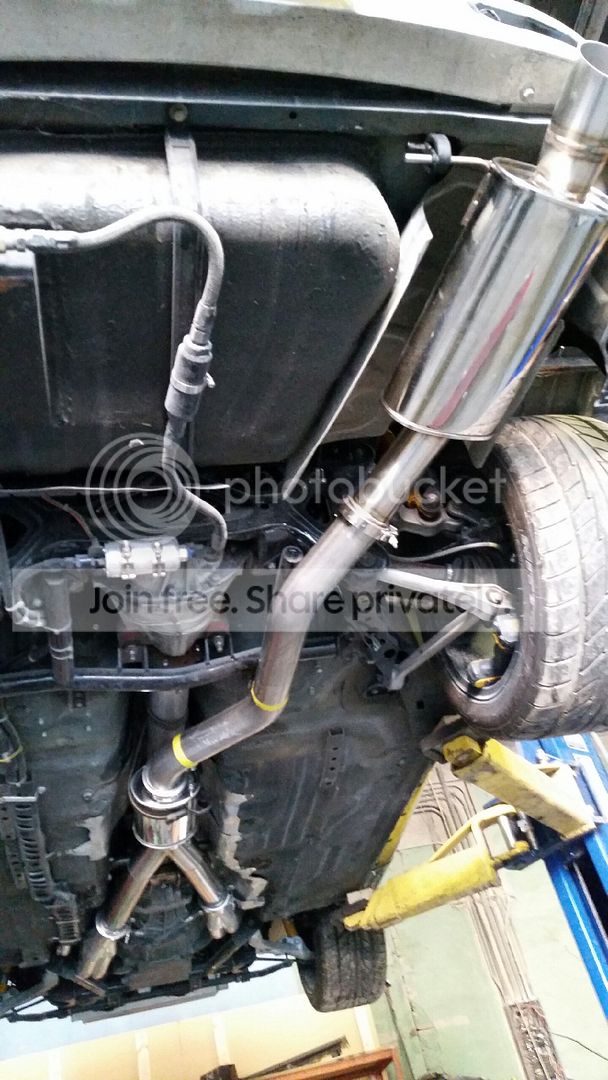
Tapping into the U-J pipe supply for bends to get around the cobra rear end

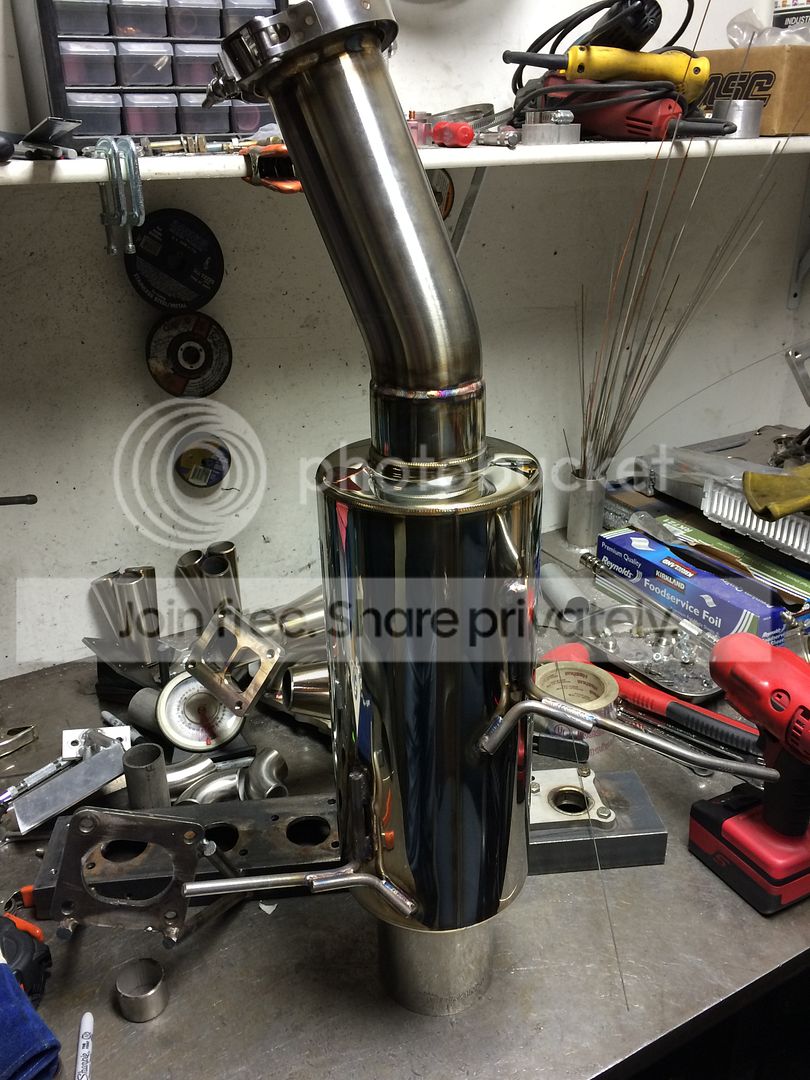
What WHAT!!! Showcasing the Oval Vibrant muffler with custom tip!

Vibrant Round
As you can see. John's only tacked everything together the hangers still need to be designed, but we're getting very close! I can't wait to hear this baby sing!!!!
Can't thank John and Anthony enough for the work done to date. Getting the exhaust done the way I wanted has been a major roadblock for me in MS. Seeing this come together in one afternoon was an unbelievable experience

Lane
I've got a little side project to share. It's not paint related, so I'd normally only post it in my build thread, but since John's involved I figured y'all would like to see another area where this painter excels
My side project is a full 304 stainless steel exhaust I've been designing in my head for a couple of years. Here's what I drew up to get this shindig started
The parts in blue were contracted out to Anthony Chaghlassian of AS Fabrication out of California
The parts in green will be built by John.
Looks like Anthony is holding up his end of the bargain!
Saying I'm excited is a major understatement!
While the fabricated parts from Anthony were on their way I hooked John up with some goodies. By goodies I mean a buttload of 304 stainless including straight 3" a U-J pipe, v-bands, 3/8" rod, and rubber insulators!
Yesterday John laid down the law on my exhaust build and really showcased his fabrication skills
Here's the first picture I got yesterday!
You can see that we ended up going back to a Samberg trans mount. I was previously using the Kevin Doe trans mount that came with my previous dual 3" exhaust. I told John he had the option to use either one and it was his call based of what would make it easiest for him to fabricate around. He chose Samberg and I have to say, after seeing this picture I'm ecstatic about the choice. My concern was that the Samberg mount wouldn't be able to get as good a ground clearance as Kevin's mount, but you can see that John was able to get this going in the right direction right from the start!
Here's the picture I've been absolutely drooling over ever since he sent it over:
THIS is the reason I wanted the splayed Y. That's not to say that the splay made the fabrication trivial. I know John spent a LOT of careful planning and fitting to get such a straight line gorgeous merge. Awesome work all around. Anthony hooked me up with exactly what I wanted and John knocked it out of the park by integrating it perfectly
Here's a side view showing John's attention to ground clearance:
I'm very happy with the view. The v-band bolts will of course be turned around when we get it on the road, but even down I'd say we're headed in the right direction
Tapping into the U-J pipe supply for bends to get around the cobra rear end
What WHAT!!! Showcasing the Oval Vibrant muffler with custom tip!
Vibrant Round
As you can see. John's only tacked everything together the hangers still need to be designed, but we're getting very close! I can't wait to hear this baby sing!!!!
Can't thank John and Anthony enough for the work done to date. Getting the exhaust done the way I wanted has been a major roadblock for me in MS. Seeing this come together in one afternoon was an unbelievable experience
Lane
Nice welds! Very nice fab work. Looks damn good. I was gonna ask if you had room for a 'true' dual setup...pics answered that one! LOL, tight under there! Nice driveshaft too!!
Quote:
Thank you thank you Originally Posted by Sizzle Chest
Nice welds! Very nice fab work. Looks damn good. I was gonna ask if you had room for a 'true' dual setup...pics answered that one! LOL, tight under there! Nice driveshaft too!!
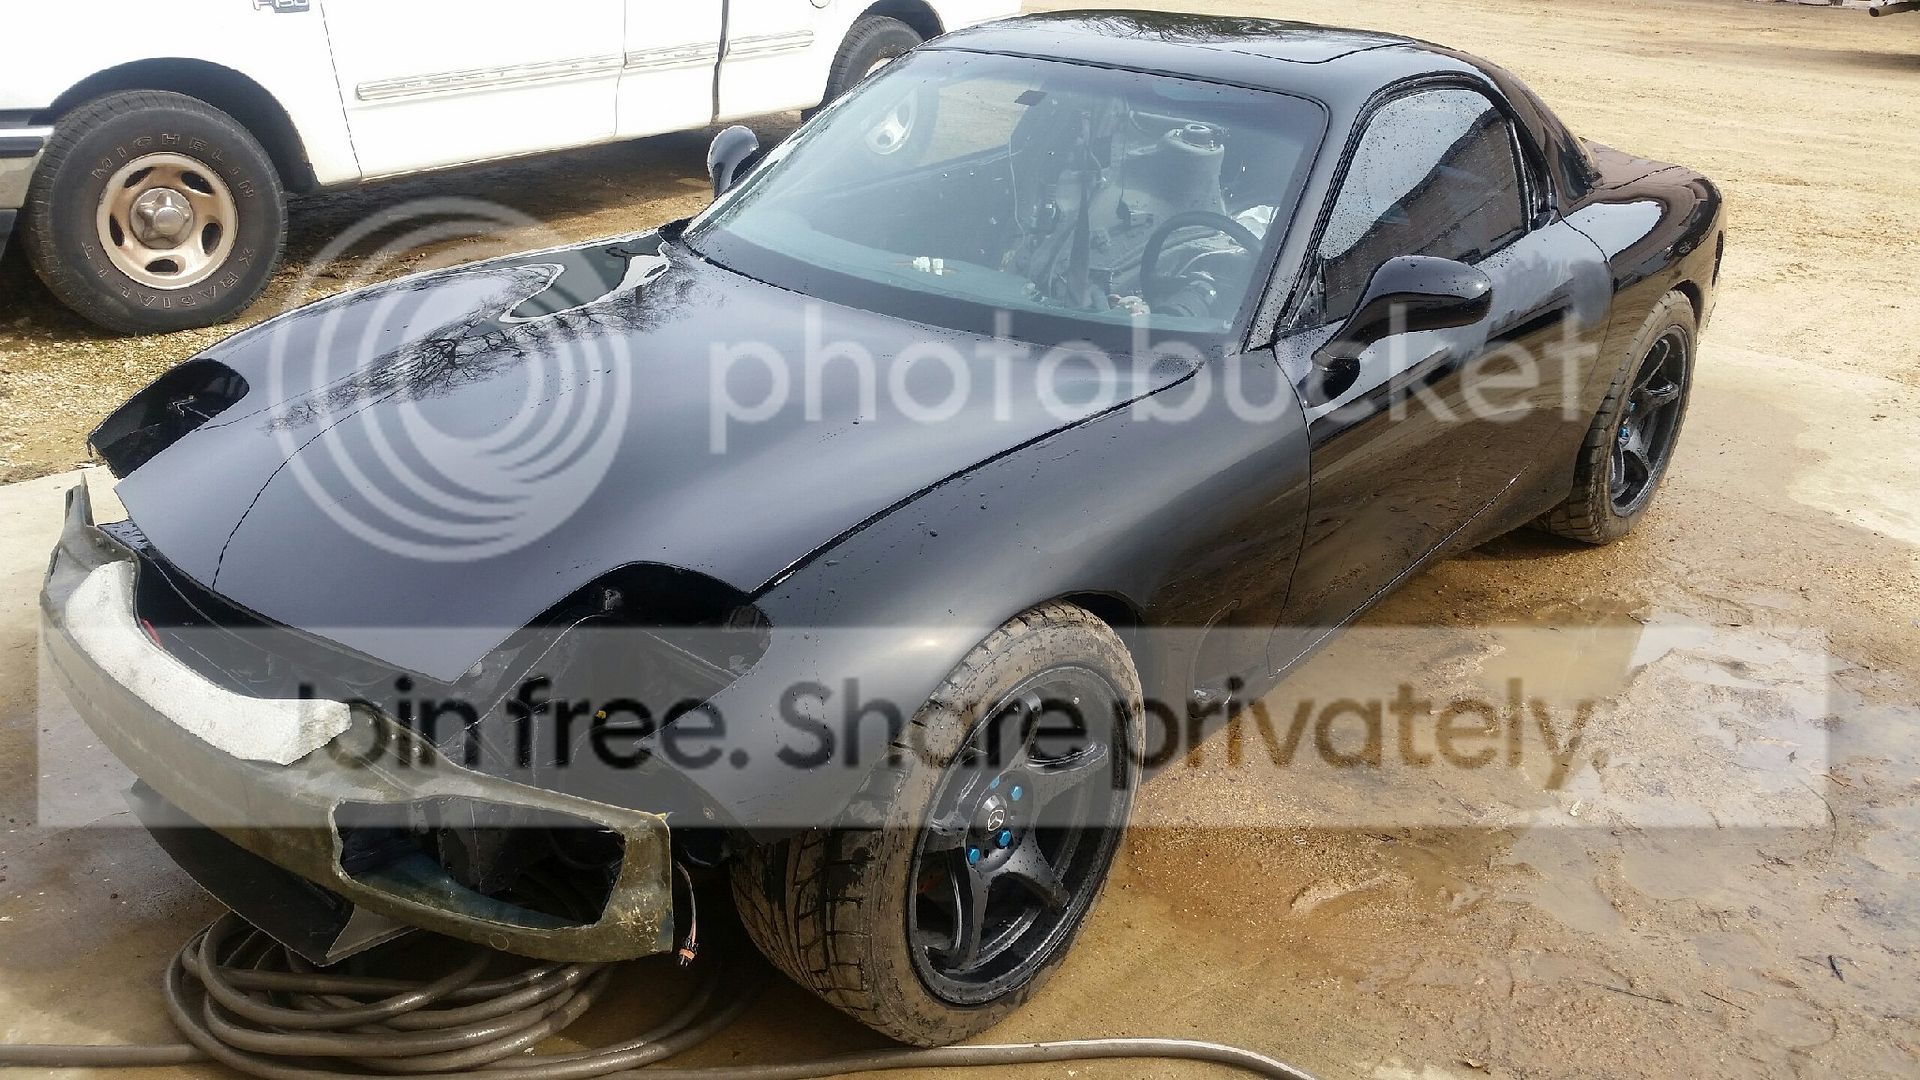
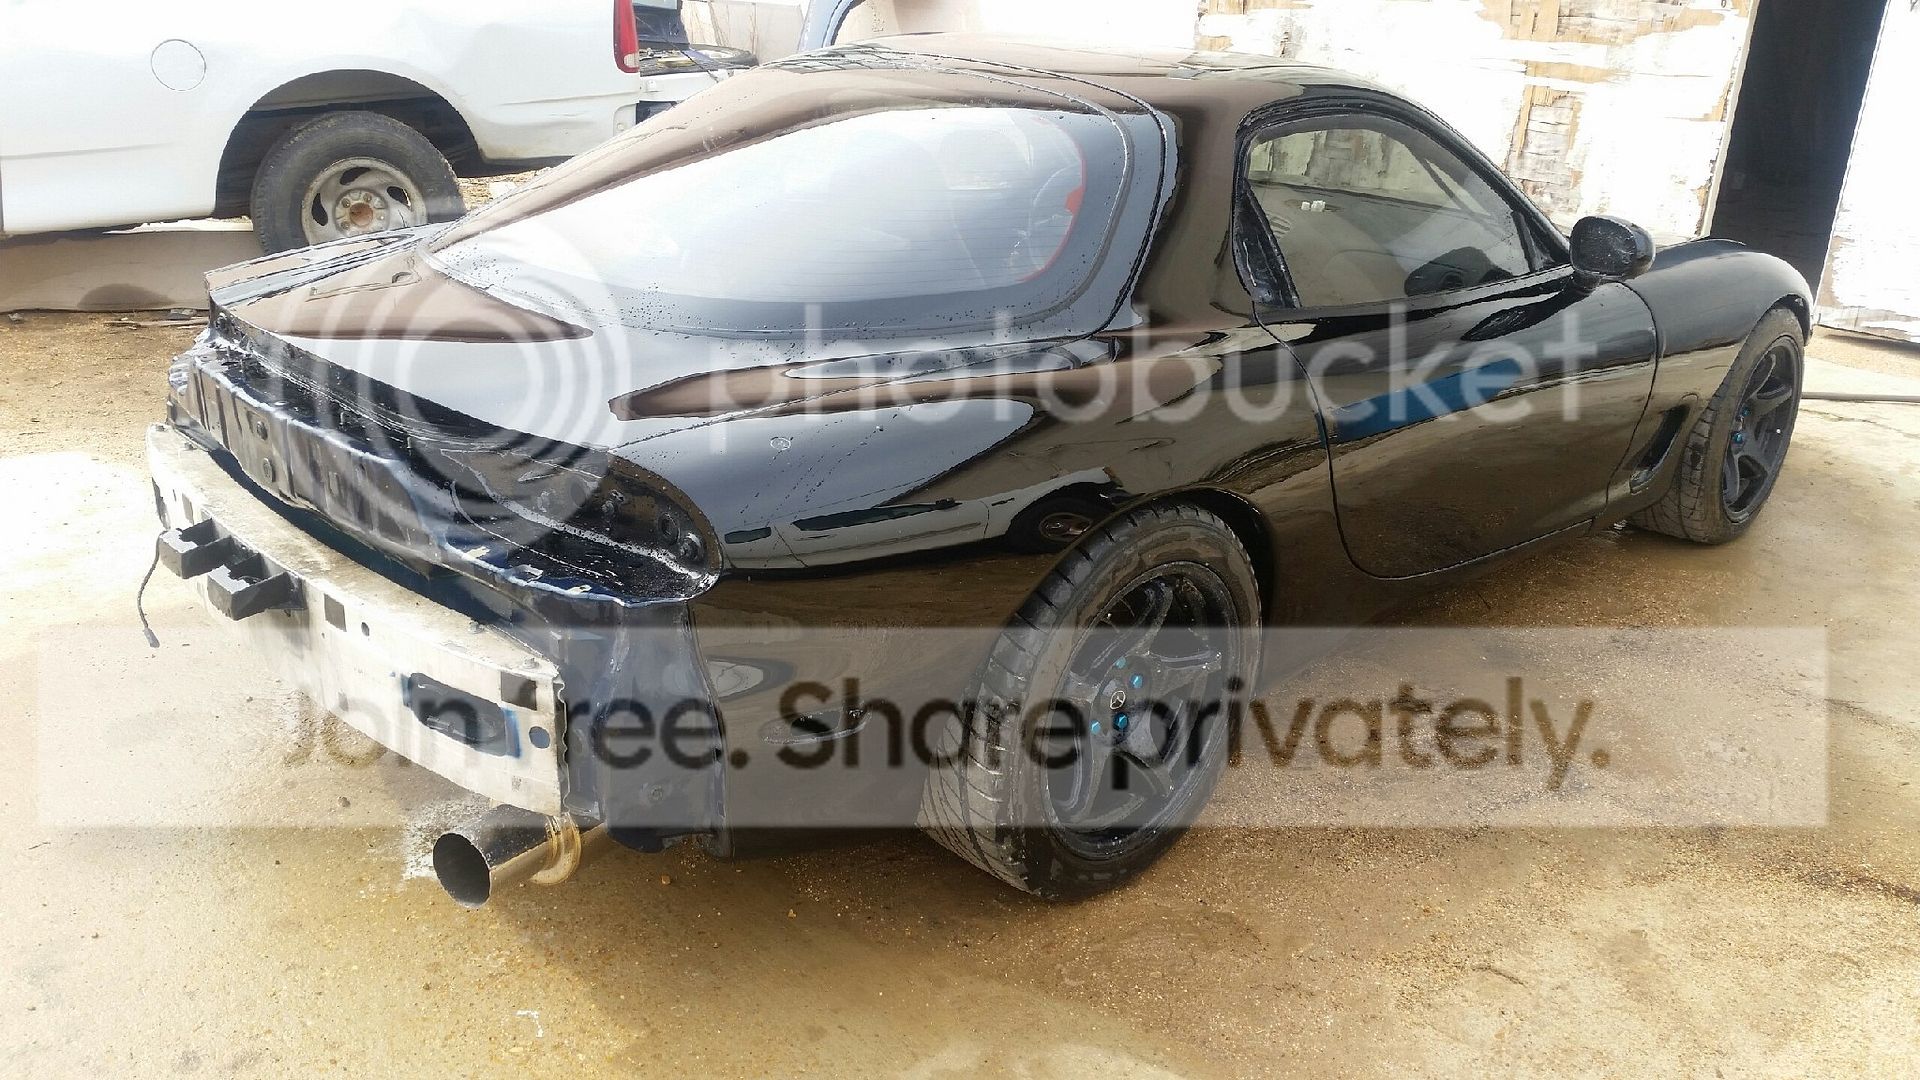
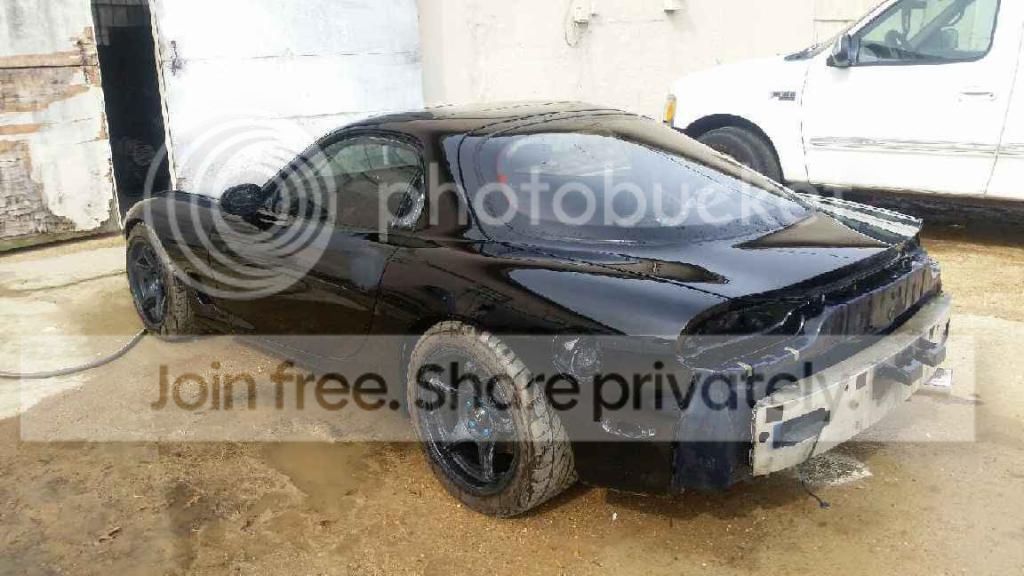
I actually had a true 3" SS exhaust on this car before this setup. It's the setup I am moving away from:


Why? It's too damn loud for a daily driver haha. I will admit, this move wasn't too popular at my home forum. Some folks just can't wrap their heads around trading a better flowing exhaust for a more restricted exhaust. The answer is simple for me though. I'll gladly pay the penalty of lost HP for reasonable noise levels on a daily basis vs the alternative (paying for HP with racecar loud exhaust levels on a daily basis).

Lane
I understand. YOU have to be able to live with it. I'm sure you aren't losing too much power anyway with the new setup.
Back to the paint!
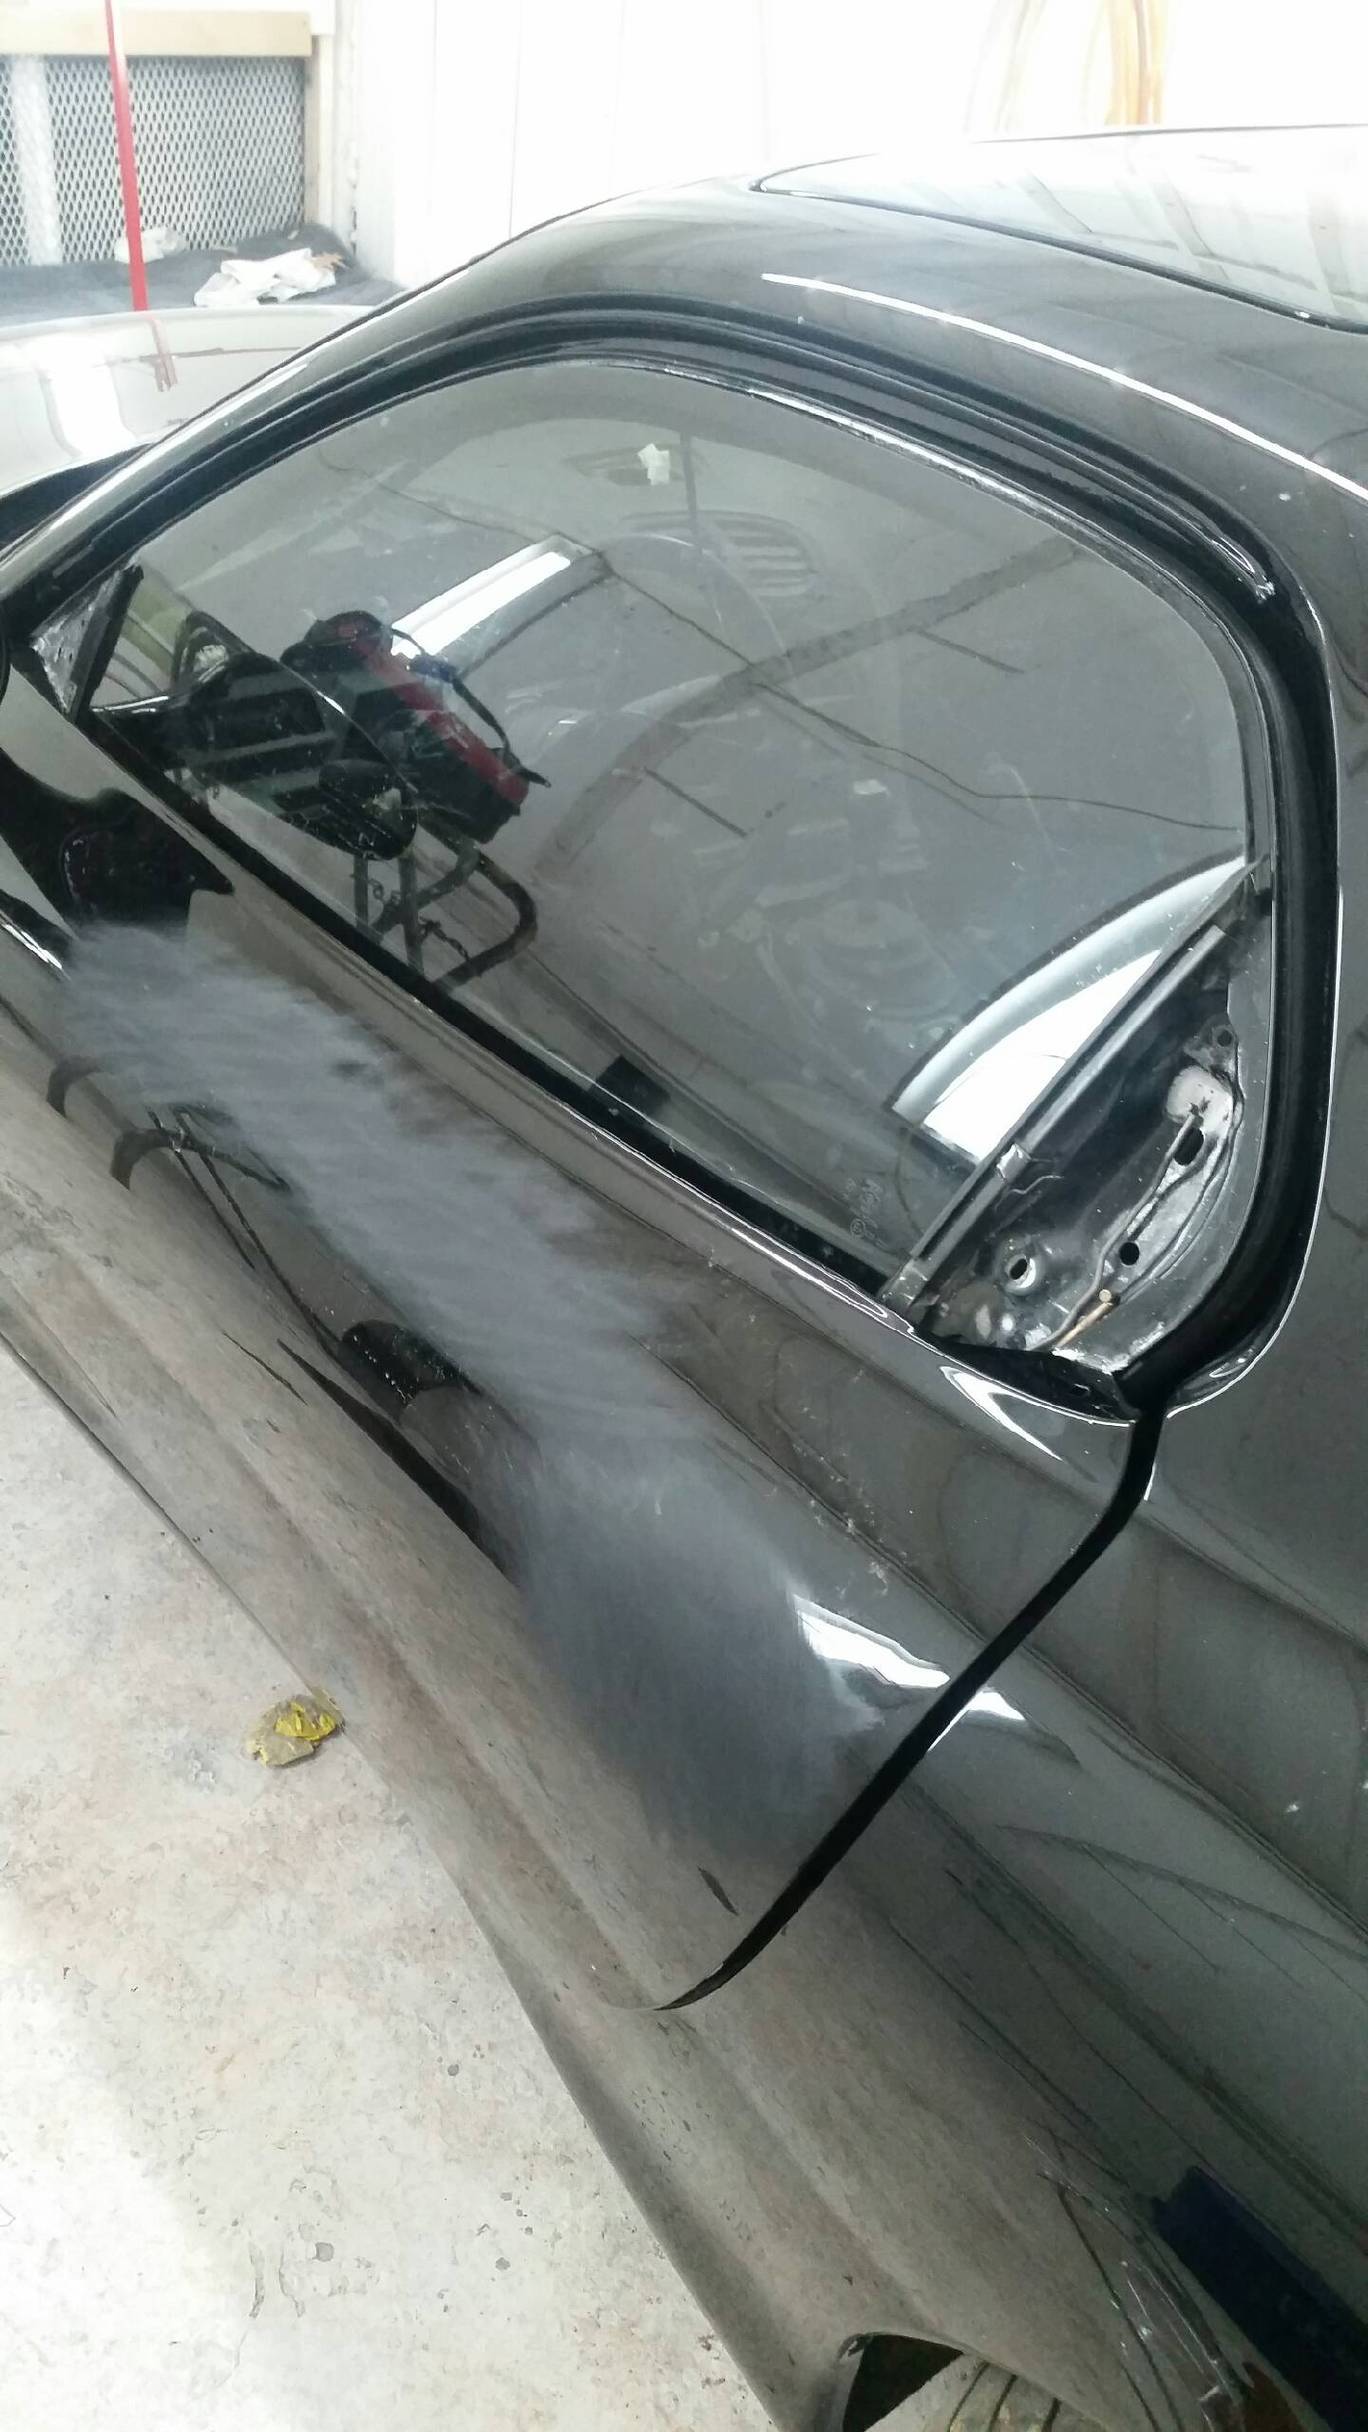
Glass was recently installed so we're back to ~watertight. John took the opportunity to wash her down and prep for the final colorsand and buff:
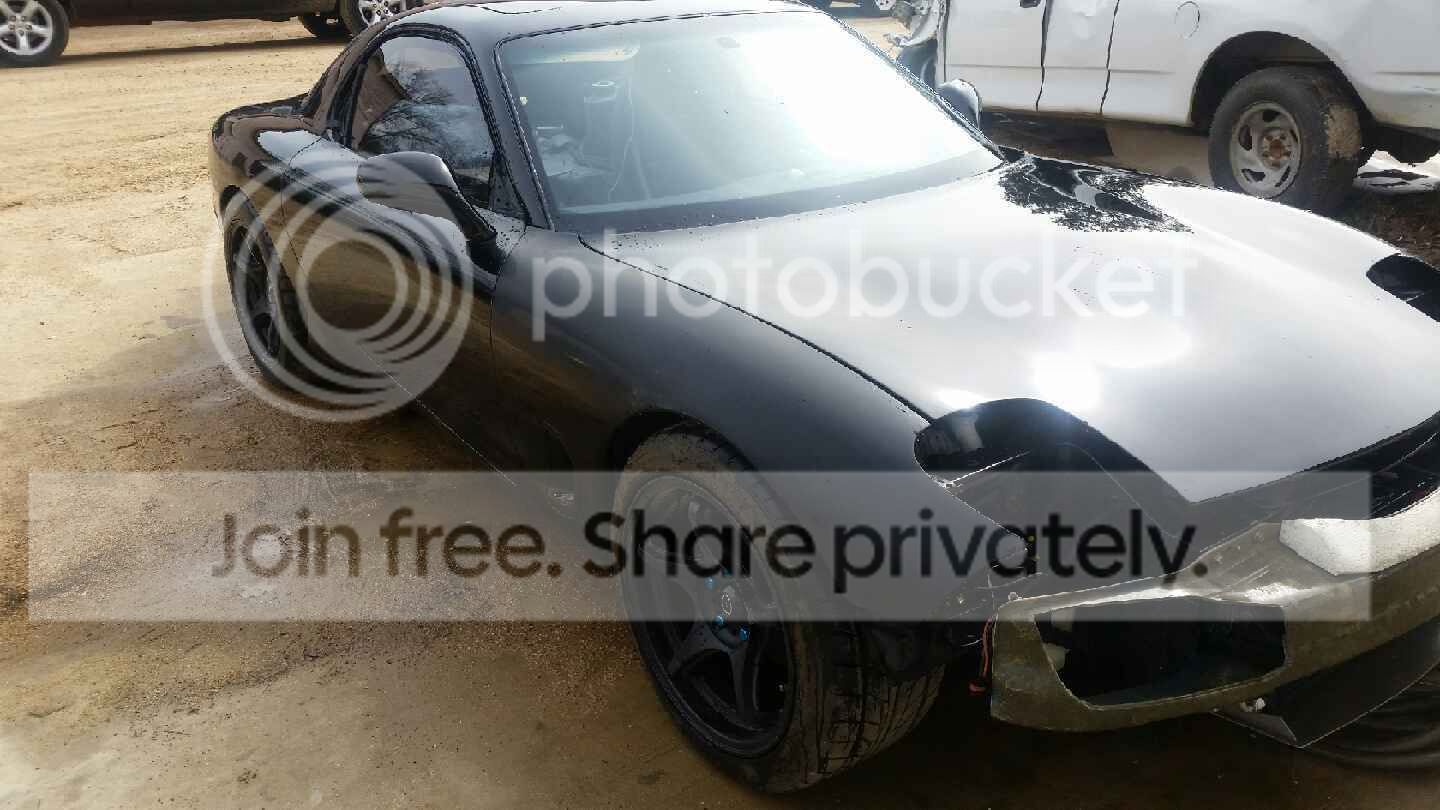
John's going to put the car in the paint booth to keep it clean until the buff.
Lane
Glass was recently installed so we're back to ~watertight. John took the opportunity to wash her down and prep for the final colorsand and buff:
John's going to put the car in the paint booth to keep it clean until the buff.
Lane
It looks like a 'real' car again! Very nice...keep us posted! Can't wait!
#awesome
#awesome
This car is timeless! Mazda got it right and this car esp yours simply proves that. Congrats very cool you found such a dedicated artist to do this. I suspect he will have jobs lining up after this one. Poor Guy!!!
That's Siz and Atrox. I agree. I'm very blessed to have John on board with this. Couldn't have asked for a better experience.
Tint is in


It's 37% to keep myself in good standing with the local 5-O.
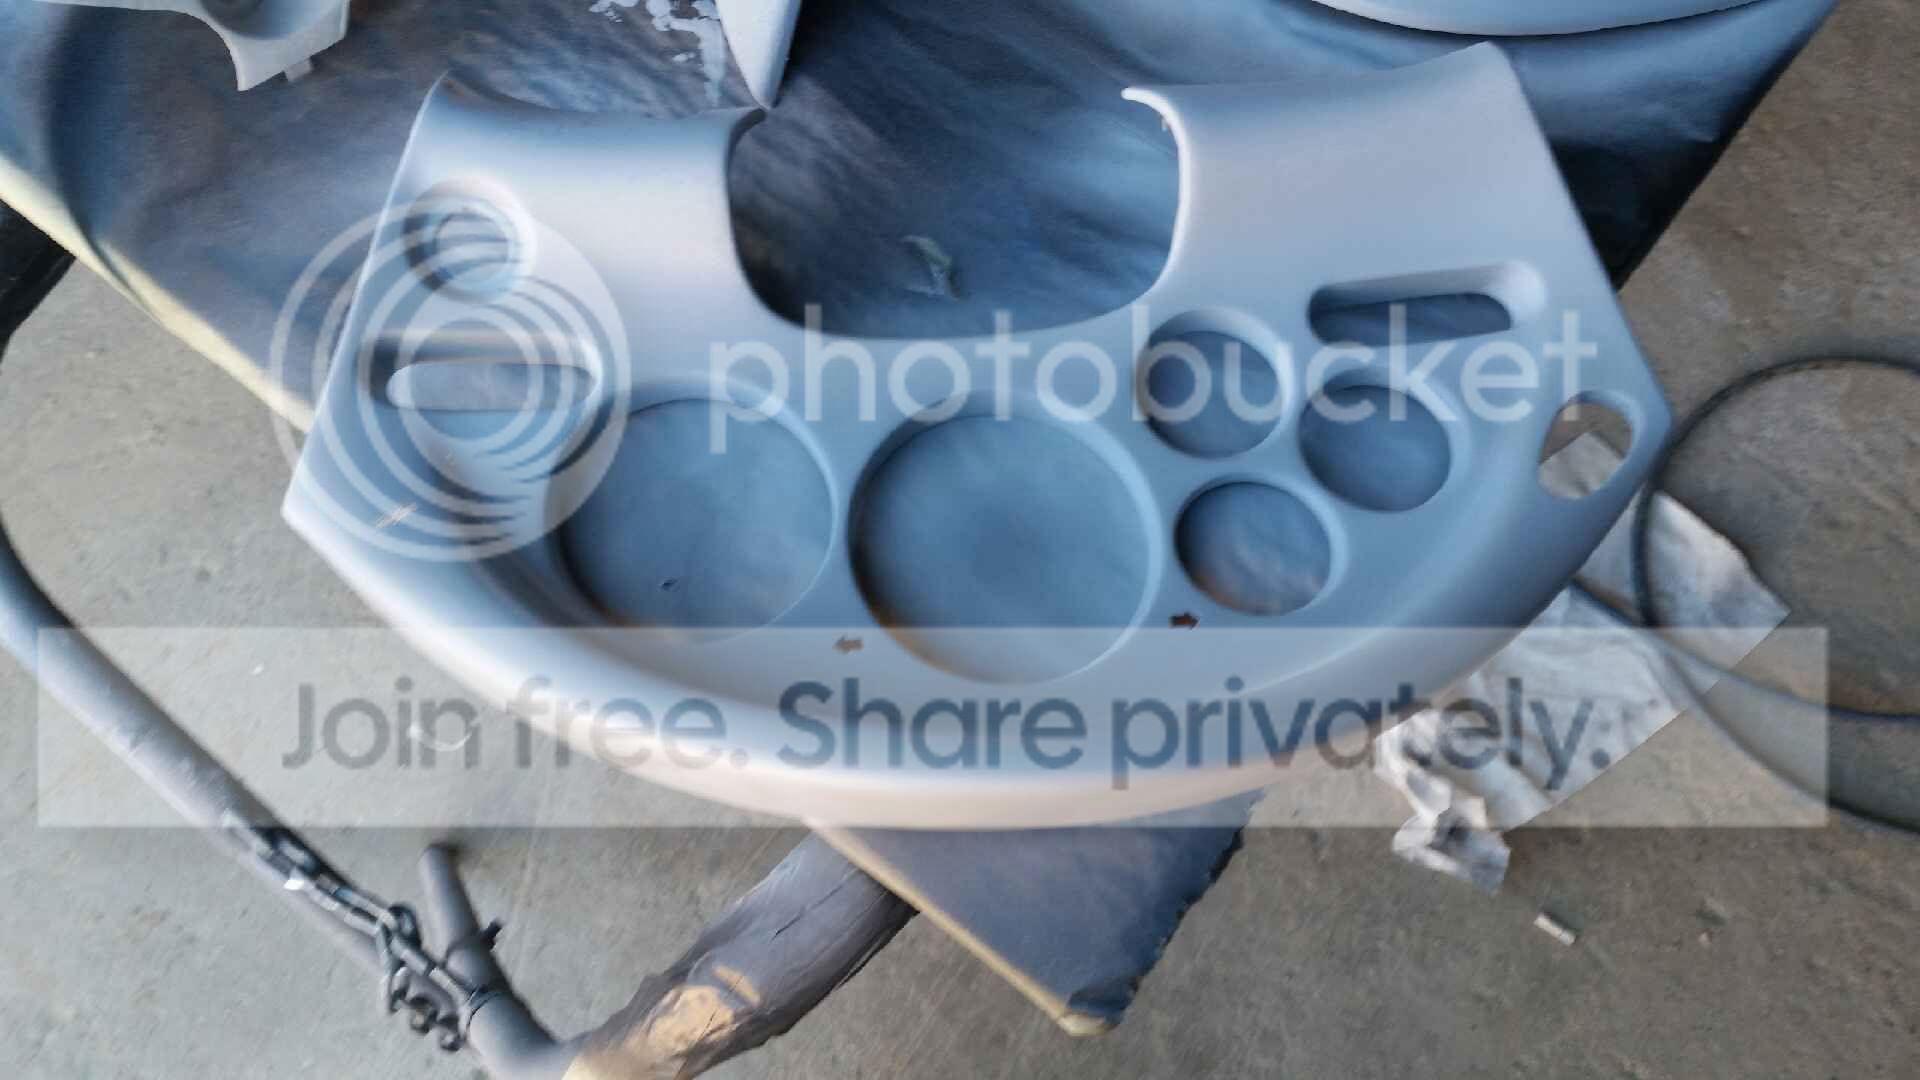
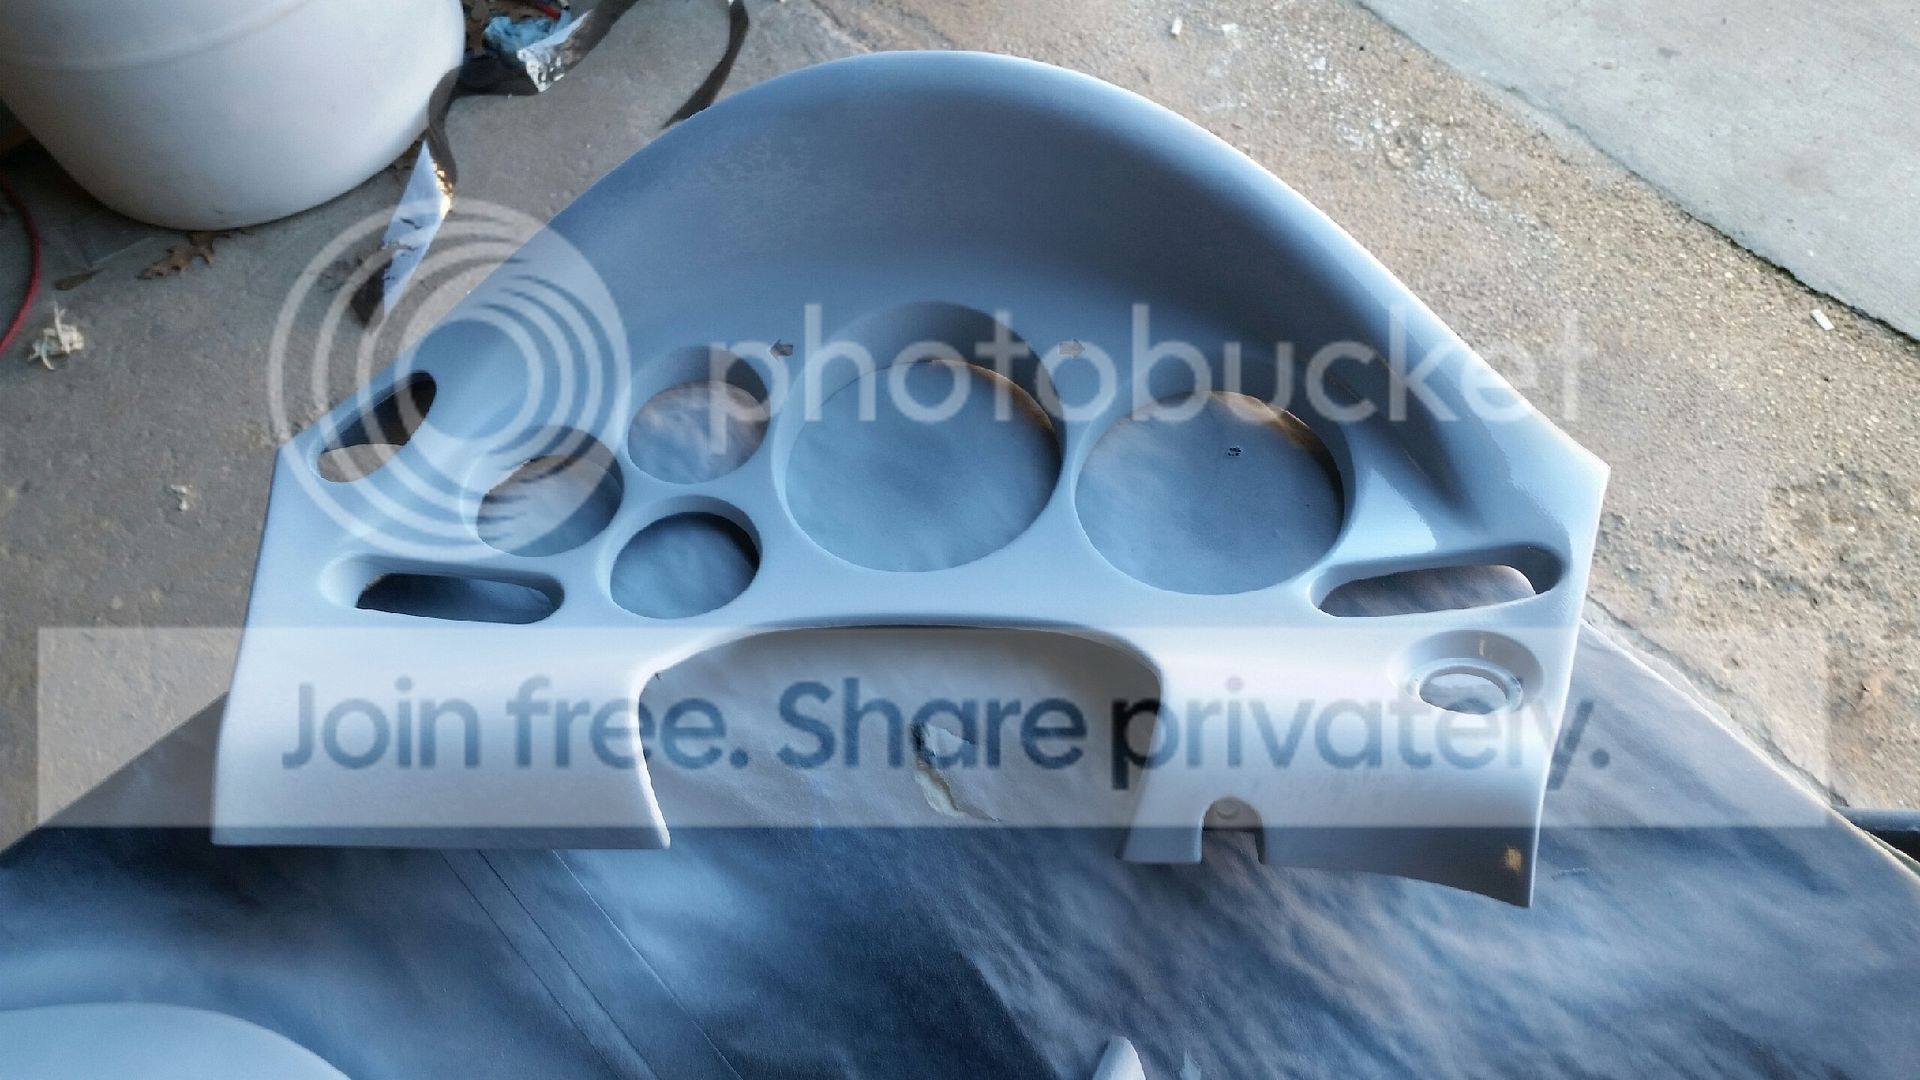
John has also been working on my interior pieces. Here are two shots of the texture base:


It's SEM chip guard applied over a plastic adhesion promoter.
Finally, he topcoated it with a very thin two part PPG semi-gloss paint (I think that's right... it's been a couple months since we talked through the details):

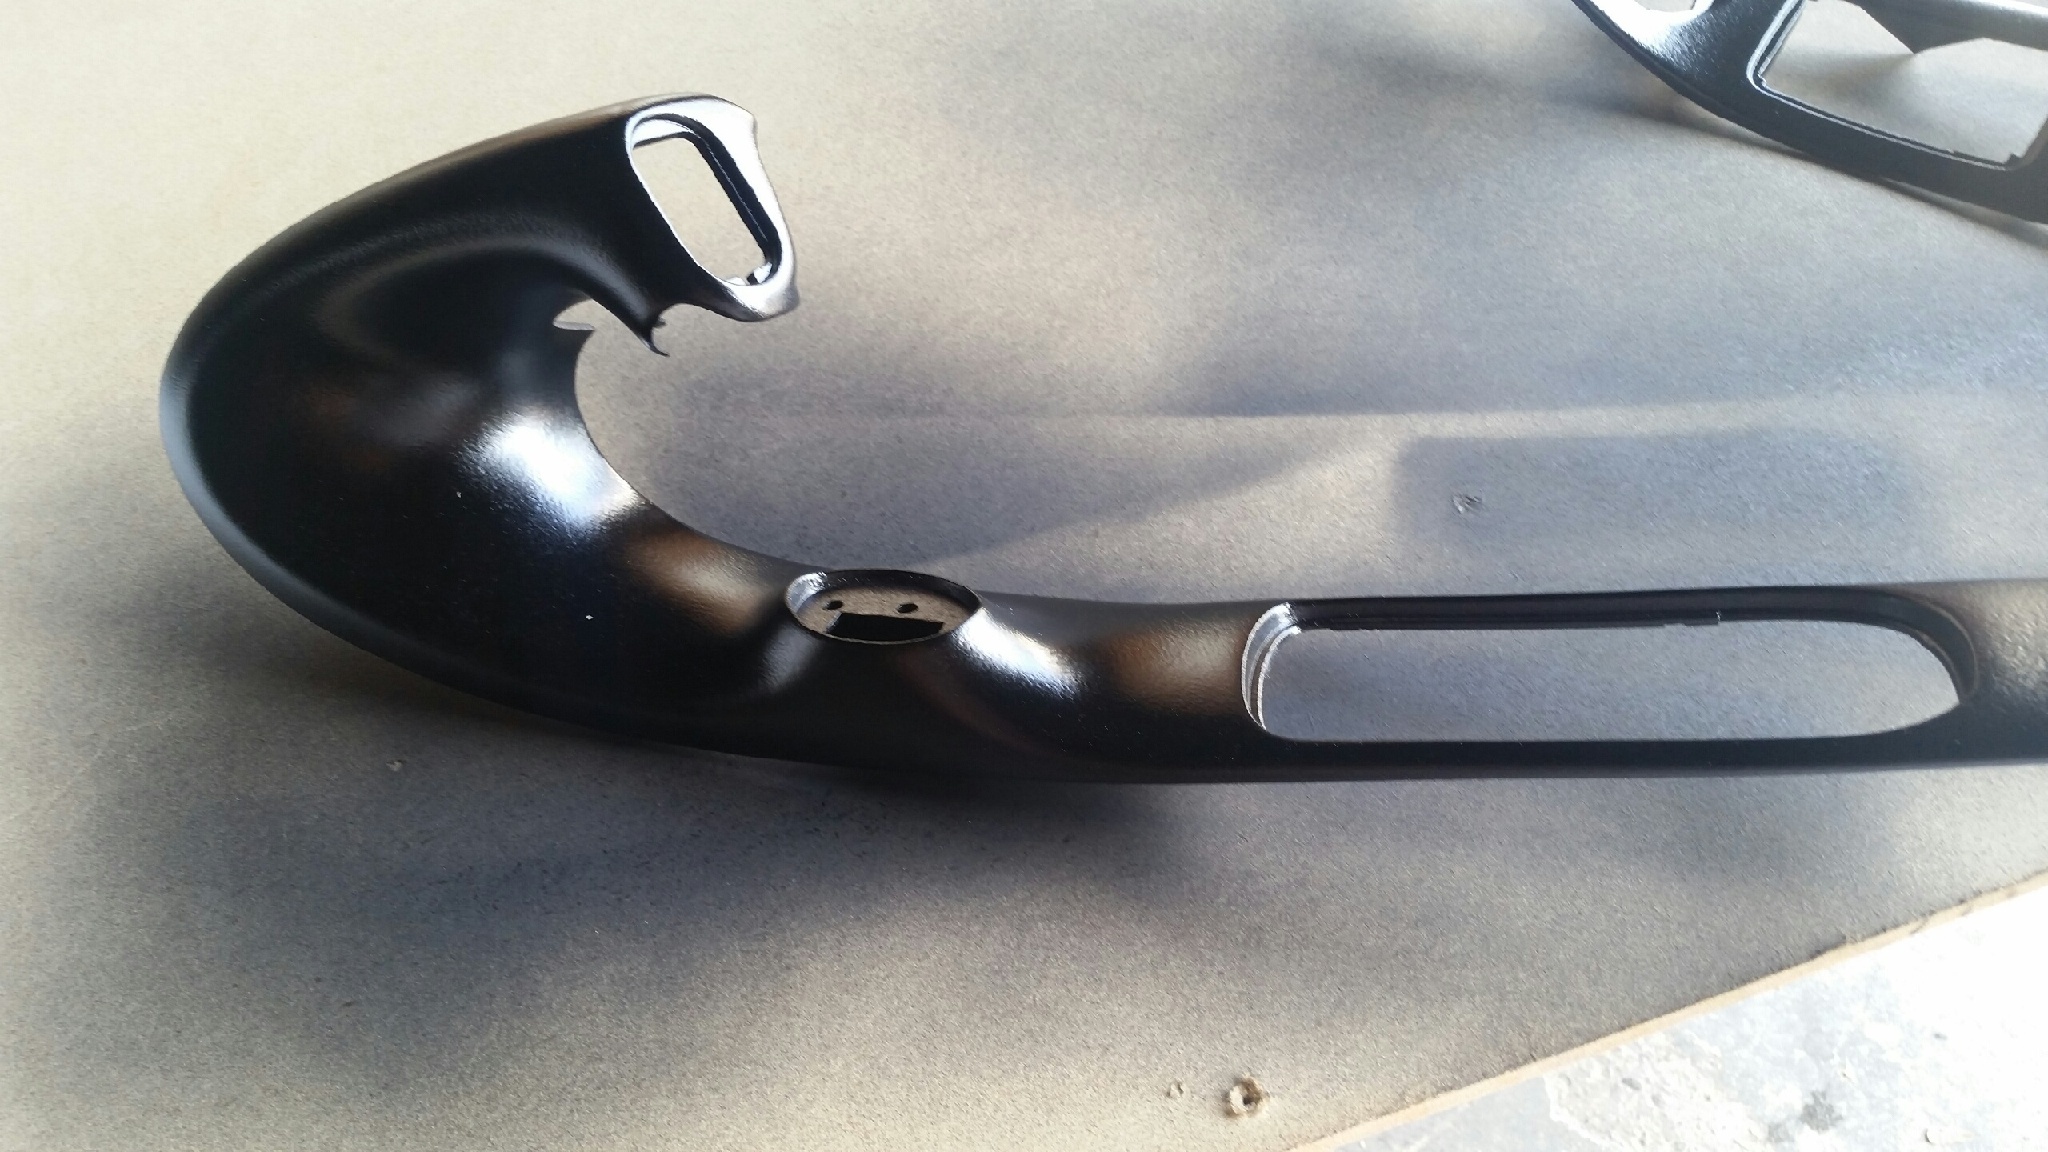
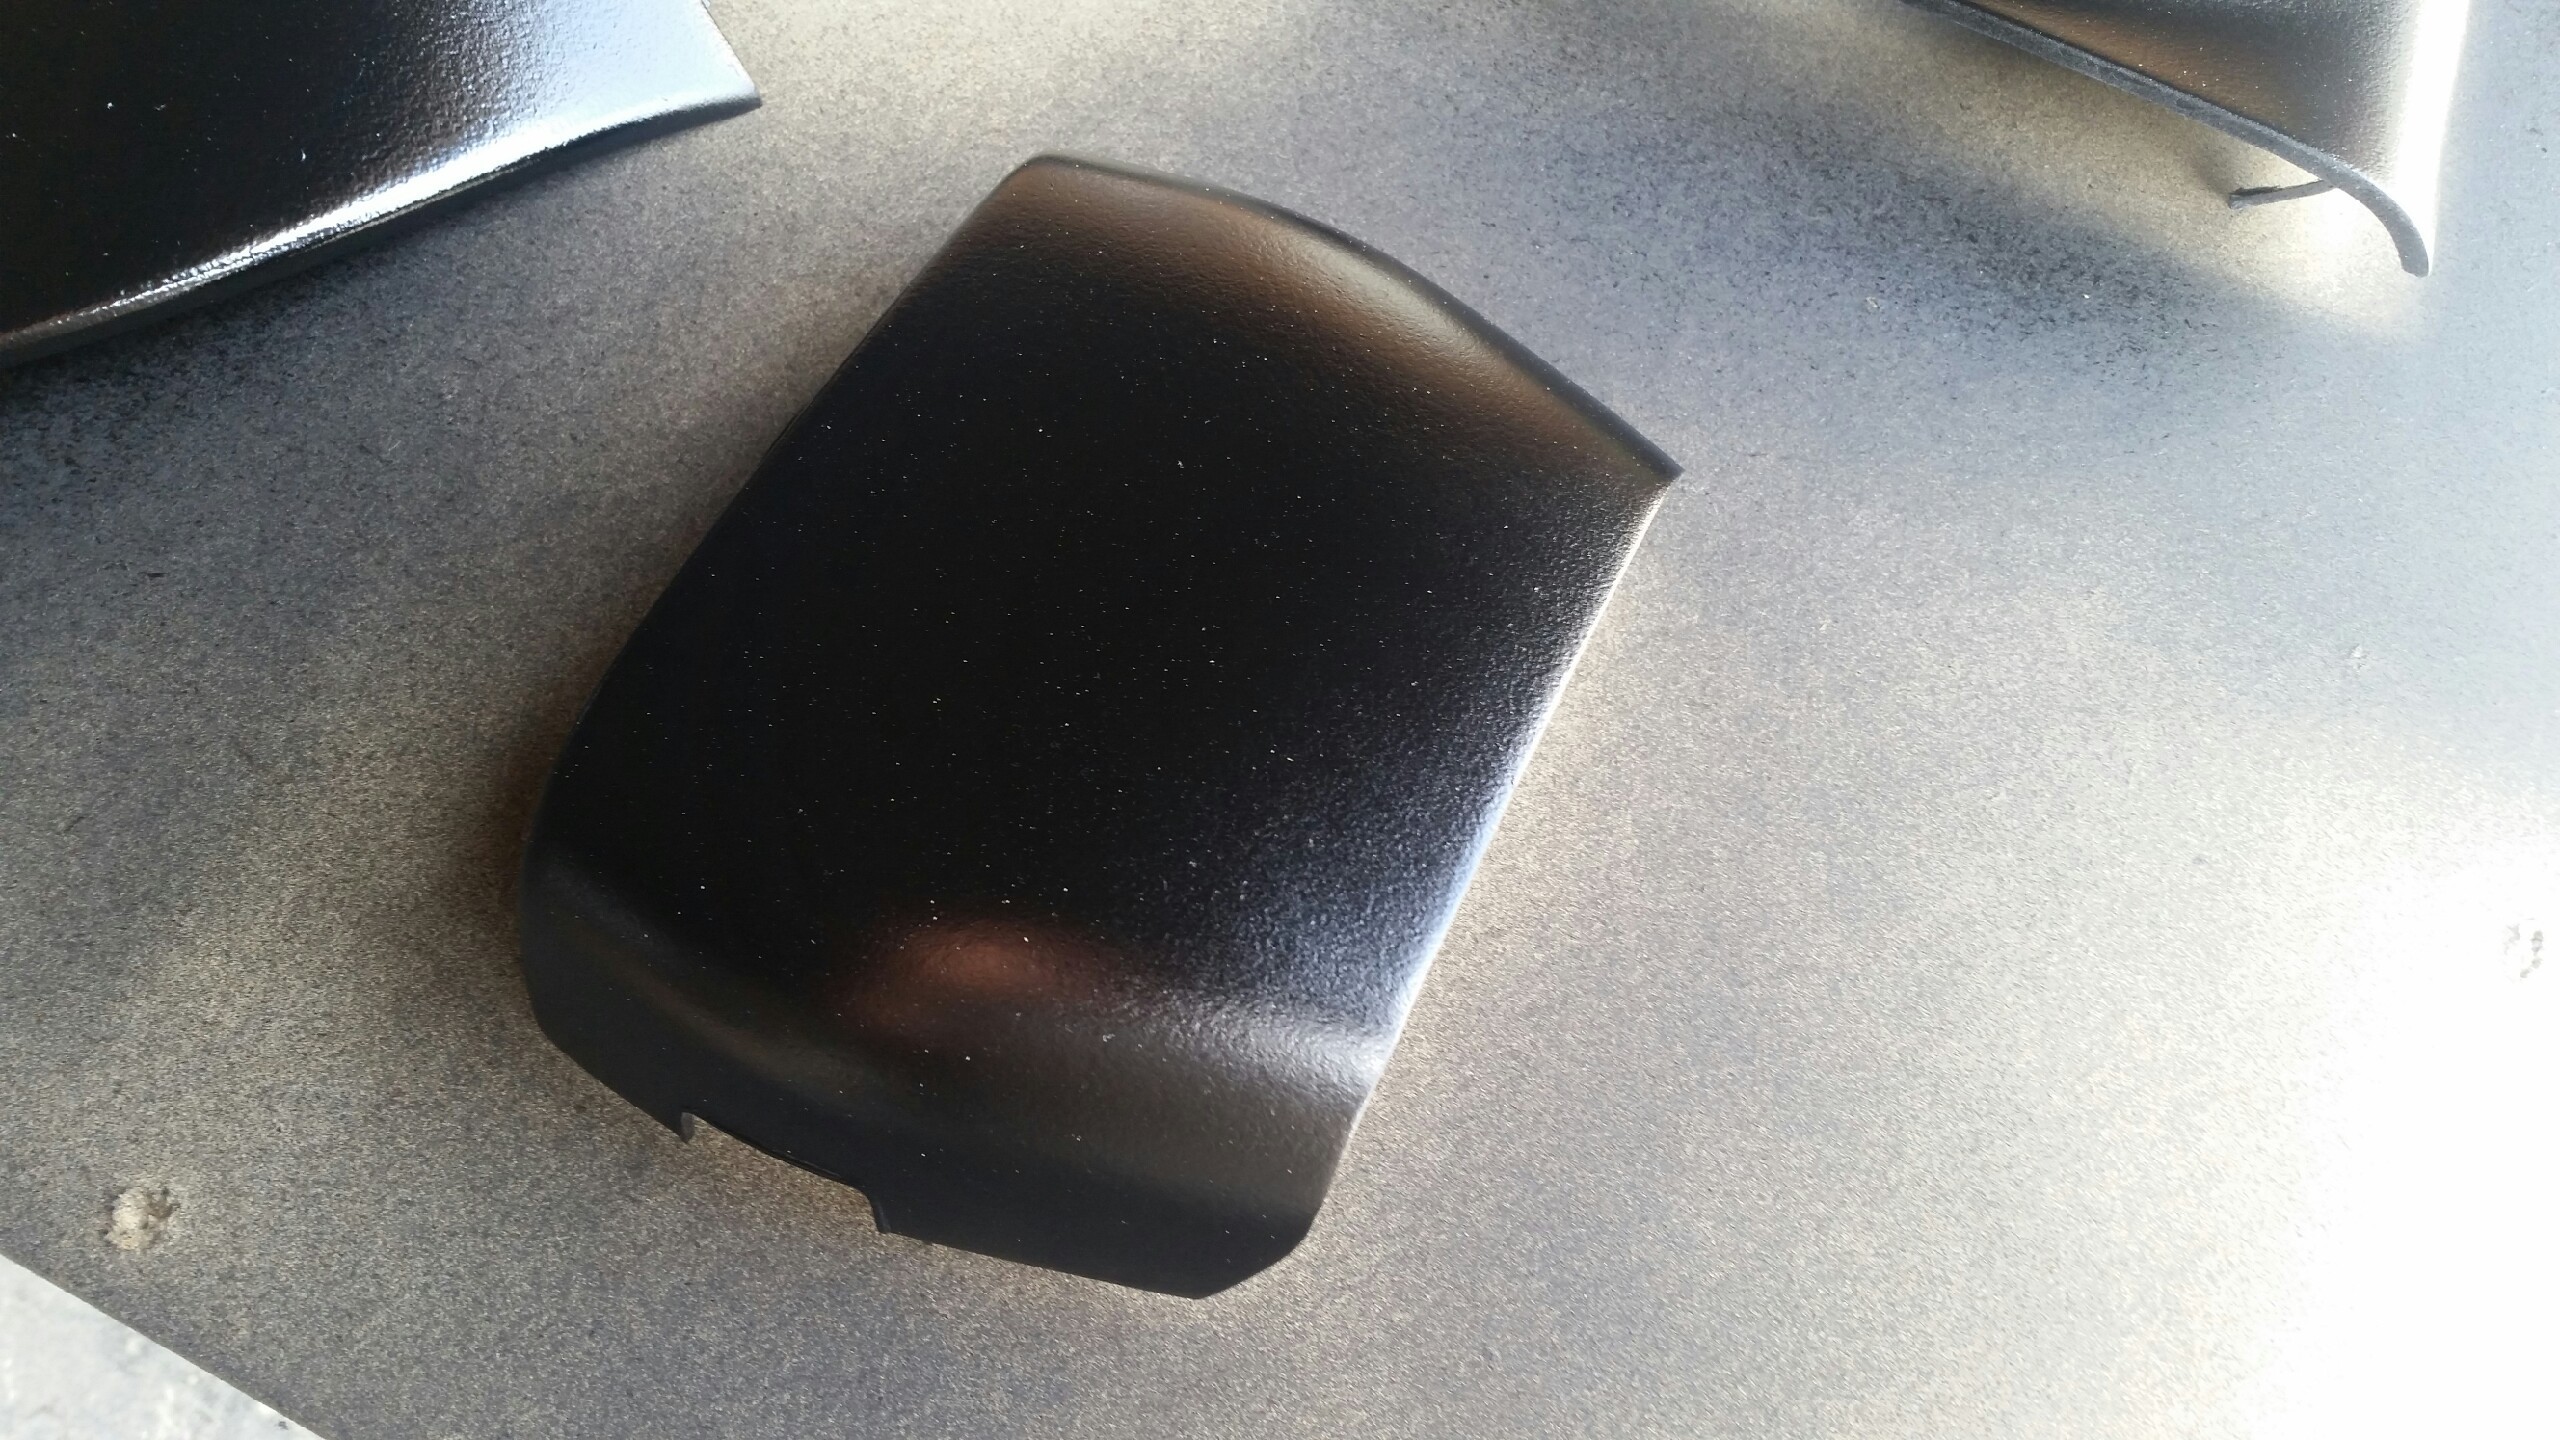


Really liking the texture and the fact that its so jet black! The pics above are wet pics so we're waiting to see how matte the topcoat gets as it cures
Exciting developments today! Out of the blue John jumped on knocking out the final polish and buffing. With the help of a friend they got a very nice start on getting the main parts of the body done. If you ask me, it looks finished, but he says "It is getting there" lol!
Oh yeah. Try and ignore my dirty *** tires. They were like that when I brought them to him. I think it may be the tire dressing I use. After all this time I think it's yellowed. Either that or their just filthy *** dirty.


The last shot is off a fender, which is unbelievable to me as they were in rough shape when I brought them do him (my dad literally fell on one the day I brought the car to John lol)

Lane
Tint is in
It's 37% to keep myself in good standing with the local 5-O.
John has also been working on my interior pieces. Here are two shots of the texture base:
It's SEM chip guard applied over a plastic adhesion promoter.
Finally, he topcoated it with a very thin two part PPG semi-gloss paint (I think that's right... it's been a couple months since we talked through the details):
Really liking the texture and the fact that its so jet black! The pics above are wet pics so we're waiting to see how matte the topcoat gets as it cures
Exciting developments today! Out of the blue John jumped on knocking out the final polish and buffing. With the help of a friend they got a very nice start on getting the main parts of the body done. If you ask me, it looks finished, but he says "It is getting there" lol!
Oh yeah. Try and ignore my dirty *** tires. They were like that when I brought them to him. I think it may be the tire dressing I use. After all this time I think it's yellowed. Either that or their just filthy *** dirty.
The last shot is off a fender, which is unbelievable to me as they were in rough shape when I brought them do him (my dad literally fell on one the day I brought the car to John lol)
Lane
Nice, nice progress!!! Interior is gonna look as good as the exterior man! Don't worry about the tires, you can clean them: Tuf Shine tire cleaner will do the trick. Will clean them right up! http://www.autogeek.net/tuf-shine-tire-cleaner.html
As always, keep us posted!
As always, keep us posted!
Quote:
As always, keep us posted!
Thanks Siz Originally Posted by Sizzle Chest
Nice, nice progress!!! Interior is gonna look as good as the exterior man! Don't worry about the tires, you can clean them: Tuf Shine tire cleaner will do the trick. Will clean them right up! http://www.autogeek.net/tuf-shine-tire-cleaner.htmlAs always, keep us posted!
My parts box is almost empty and it's looking like John and company are definitely going to wrap this month :drive:
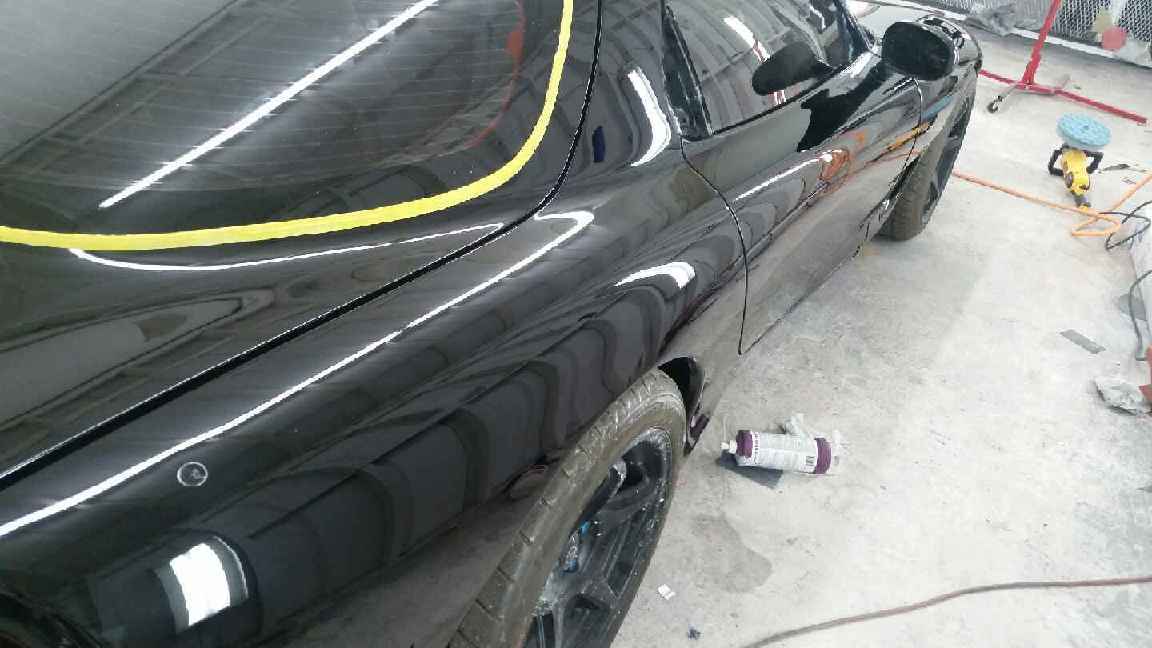
Here's a pic of the buffing/polishing progress (passenger light cover is just sitting in-place)
Body is finished!
Mmmmmhmmmm
Now its just down to getting the bumpers done.
Lane
NICE! Looking sooooooo good! Paint is super deep, wet and glossy...and it's not even fully detailed yet!
Looking forward, as always, to more progress and pics!
Looking forward, as always, to more progress and pics!
You wish is my command Siz :P
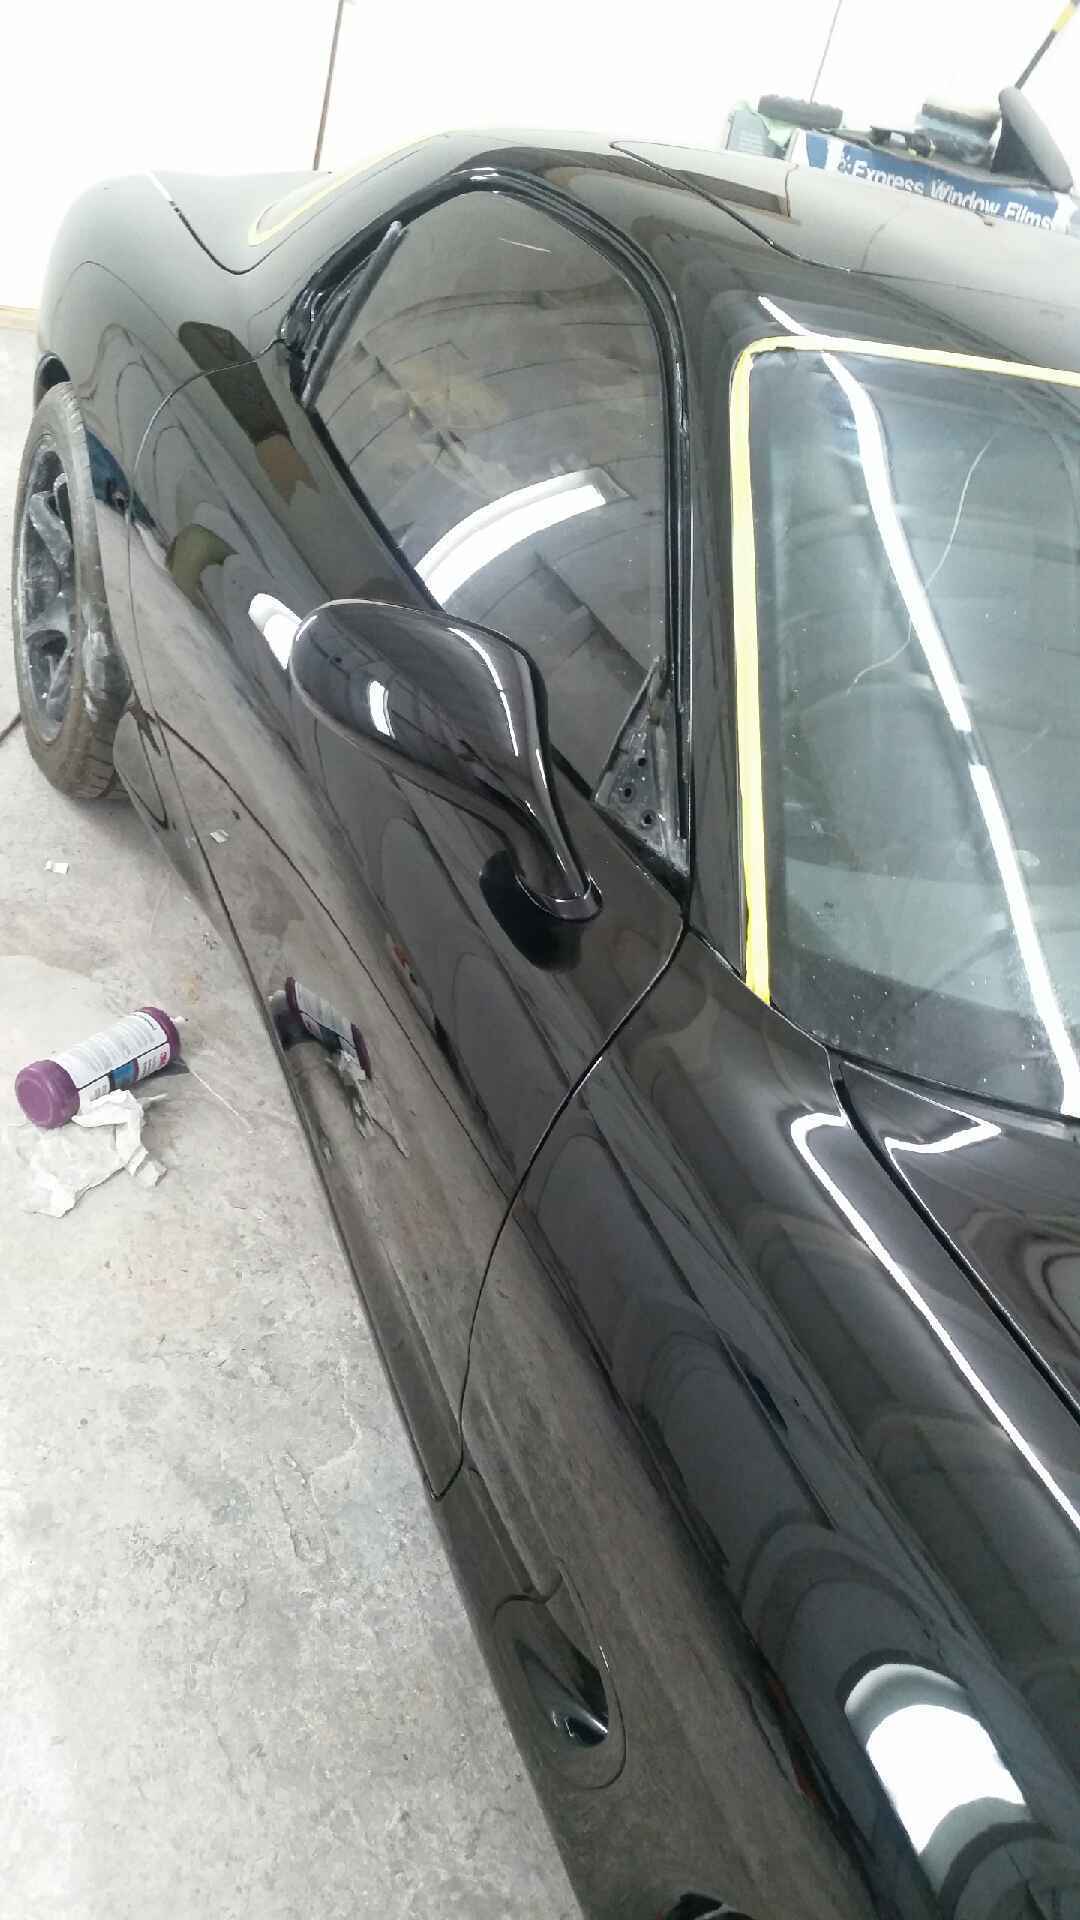
This day just keeps getting better and better. John must be pulling a 24hr RX7 binge because he keeps sending be sneak peeks:


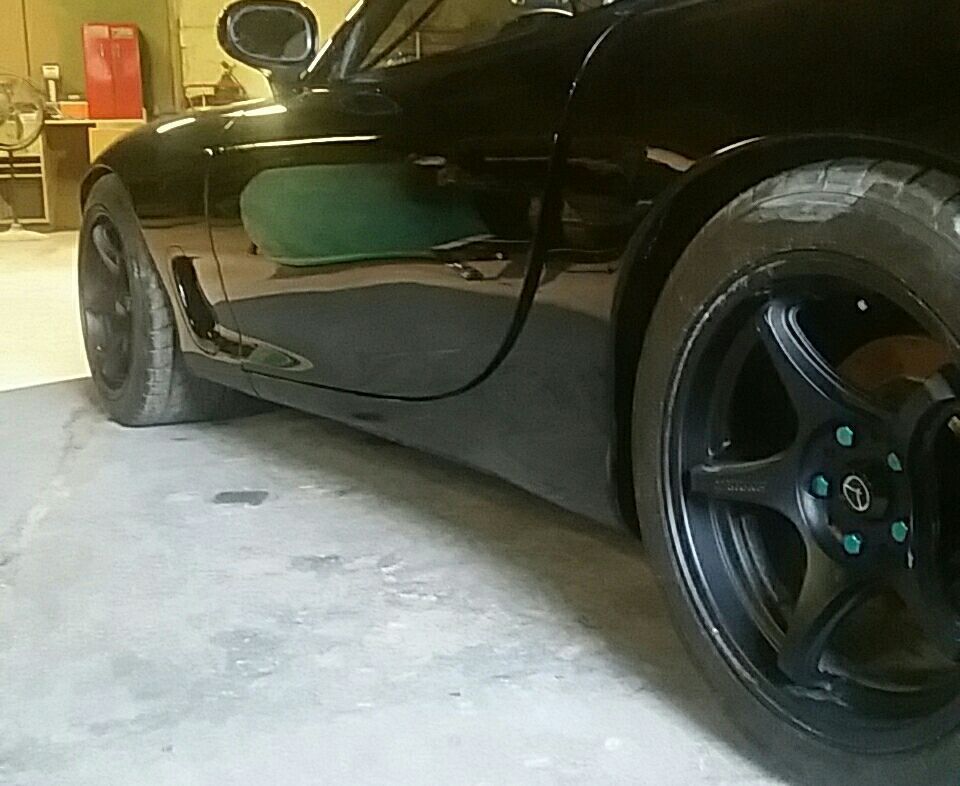
Blowing me away. Bumpers are back on and look at that rocker panel! John convinced me to ditch the rock guard and now I'm convinced it was the right call! I know its going to worry me, but that's what clear bra is for. I'll have to protect it, but for now I'll continue drooling over these pics
Lane
This day just keeps getting better and better. John must be pulling a 24hr RX7 binge because he keeps sending be sneak peeks:
Blowing me away. Bumpers are back on and look at that rocker panel! John convinced me to ditch the rock guard and now I'm convinced it was the right call! I know its going to worry me, but that's what clear bra is for. I'll have to protect it, but for now I'll continue drooling over these pics
Lane
The side shot is super sano man! Way clean. I think it was the right call too! Wrap that area up and call it a day!
Great progress bro!
Great progress bro!