Aston Martin DB7, DB9, DBS, Vantage V8, Vanquish, and Classic models

2006 Vantage battery replacement photos

Thread Tools
 
Rate Thread
 
Old Jan 21, 2018 | 06:05 AM
  #1  
Danno62's Avatar
Thread Starter
|
Registered User
Joined: Mar 2017
Posts: 56
From: Louisville Ky.
Rep Power: 12
Danno62 is infamous around these parts
2006 Vantage battery replacement photos

Just sharing some photos from the battery replacement I did.
I used 1/4" drive for easier access to the lower mount torx screws(T27 size), a long and a short extension, 8,10 and 13mm sockets and phillips head screwdriver.
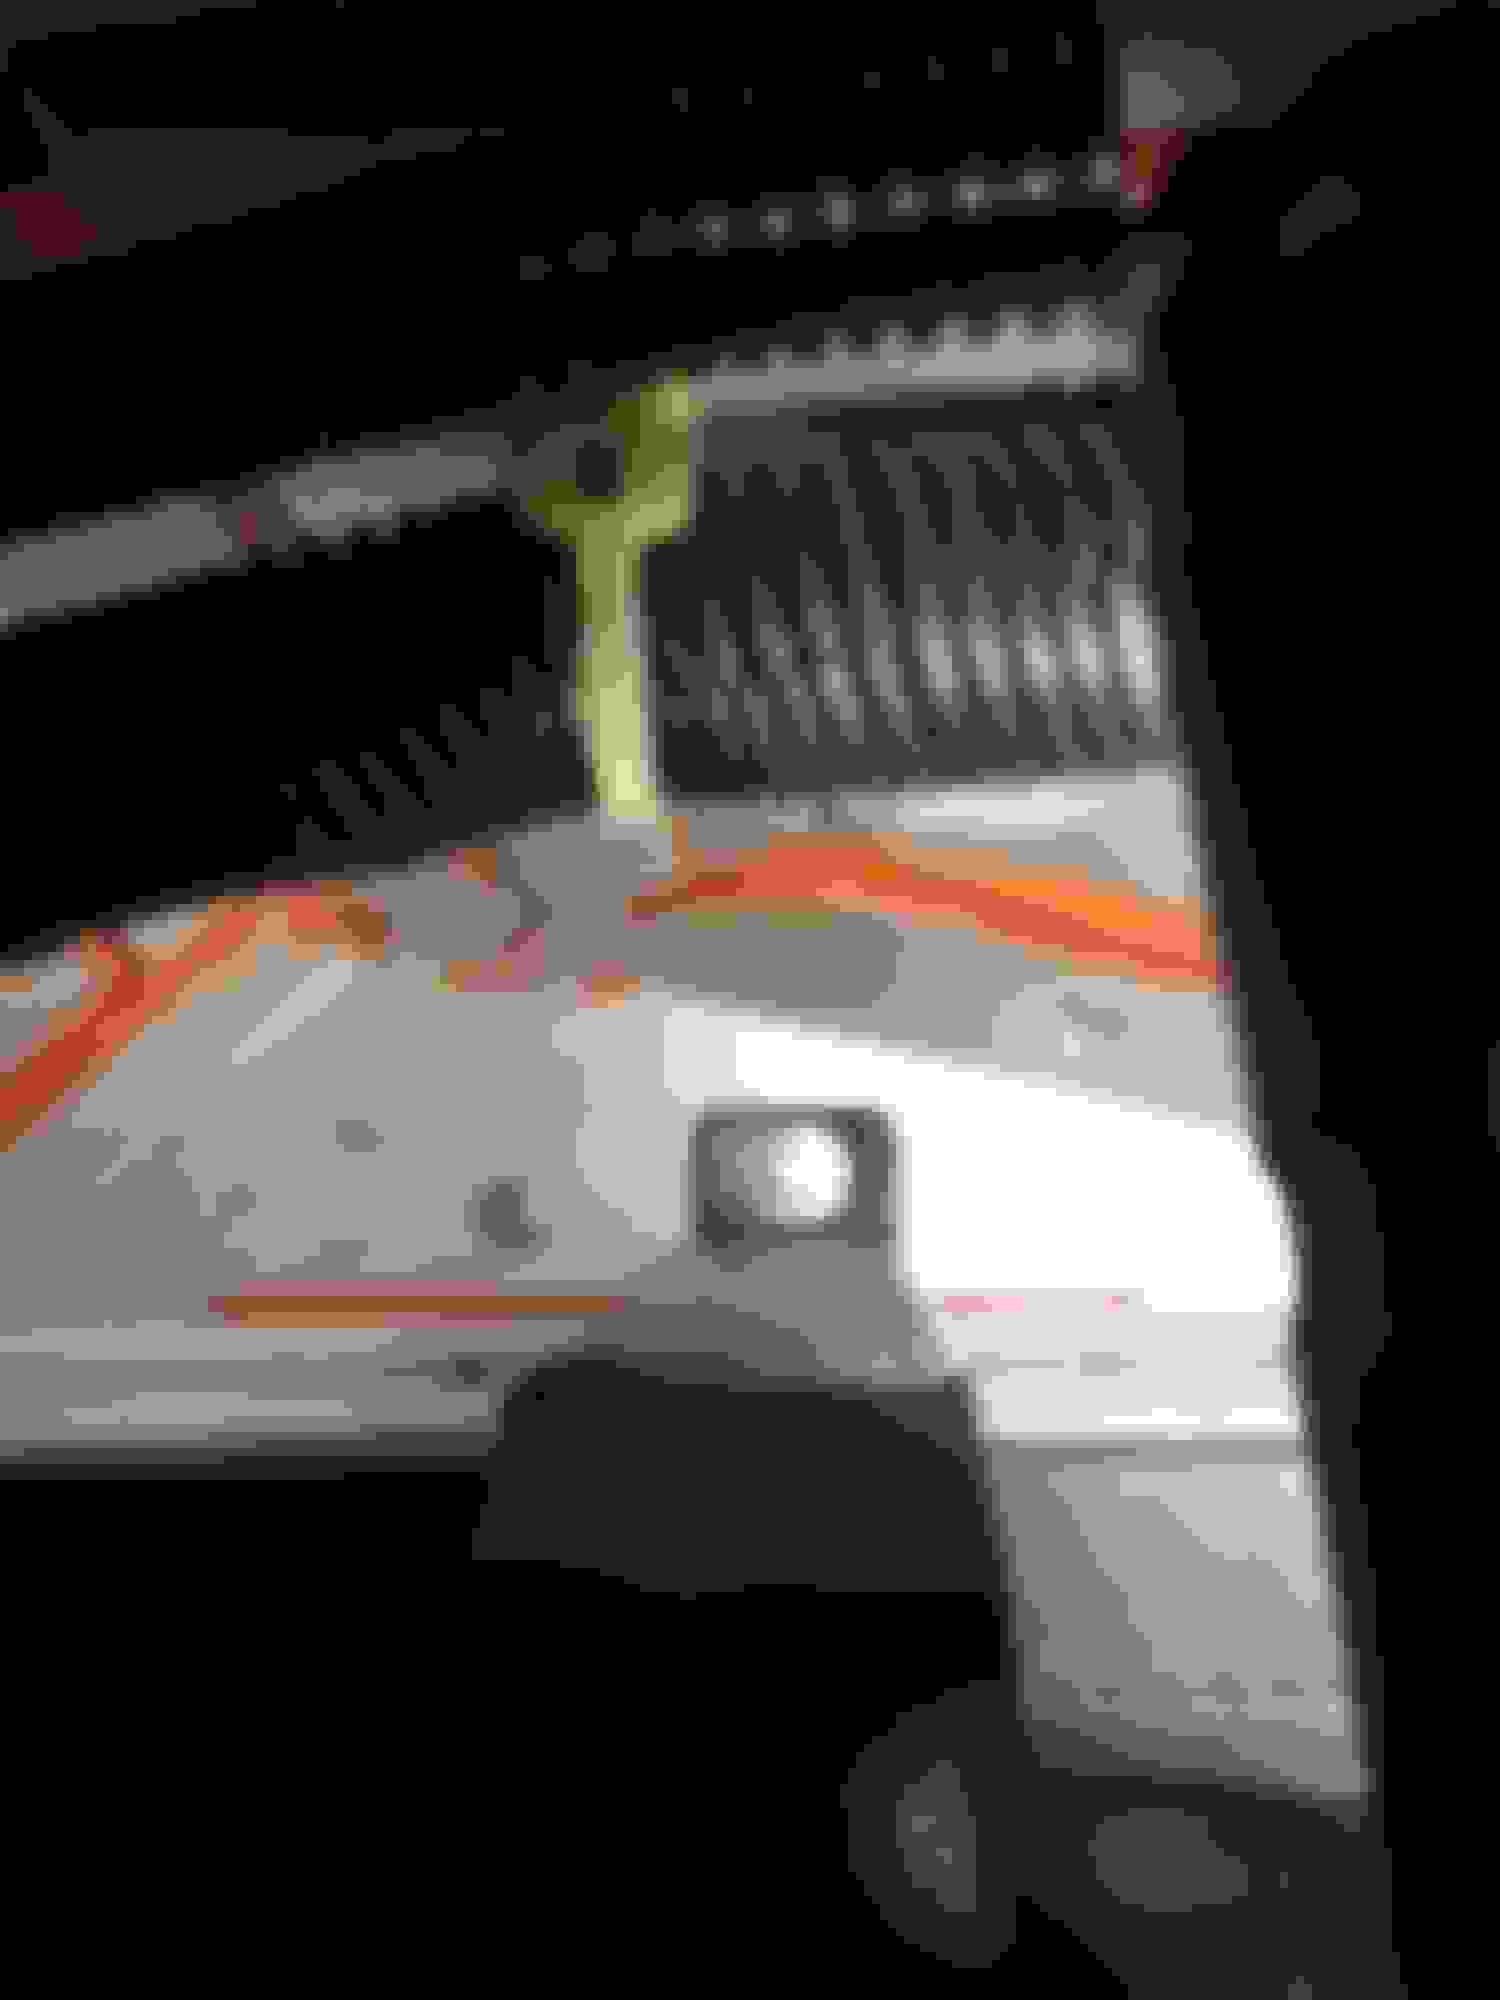
After removing the shelf lid, foam around the battery and metal finisher, you can move the carpet section a bit out of the way for access to the front of the battery where the lower mount is located.


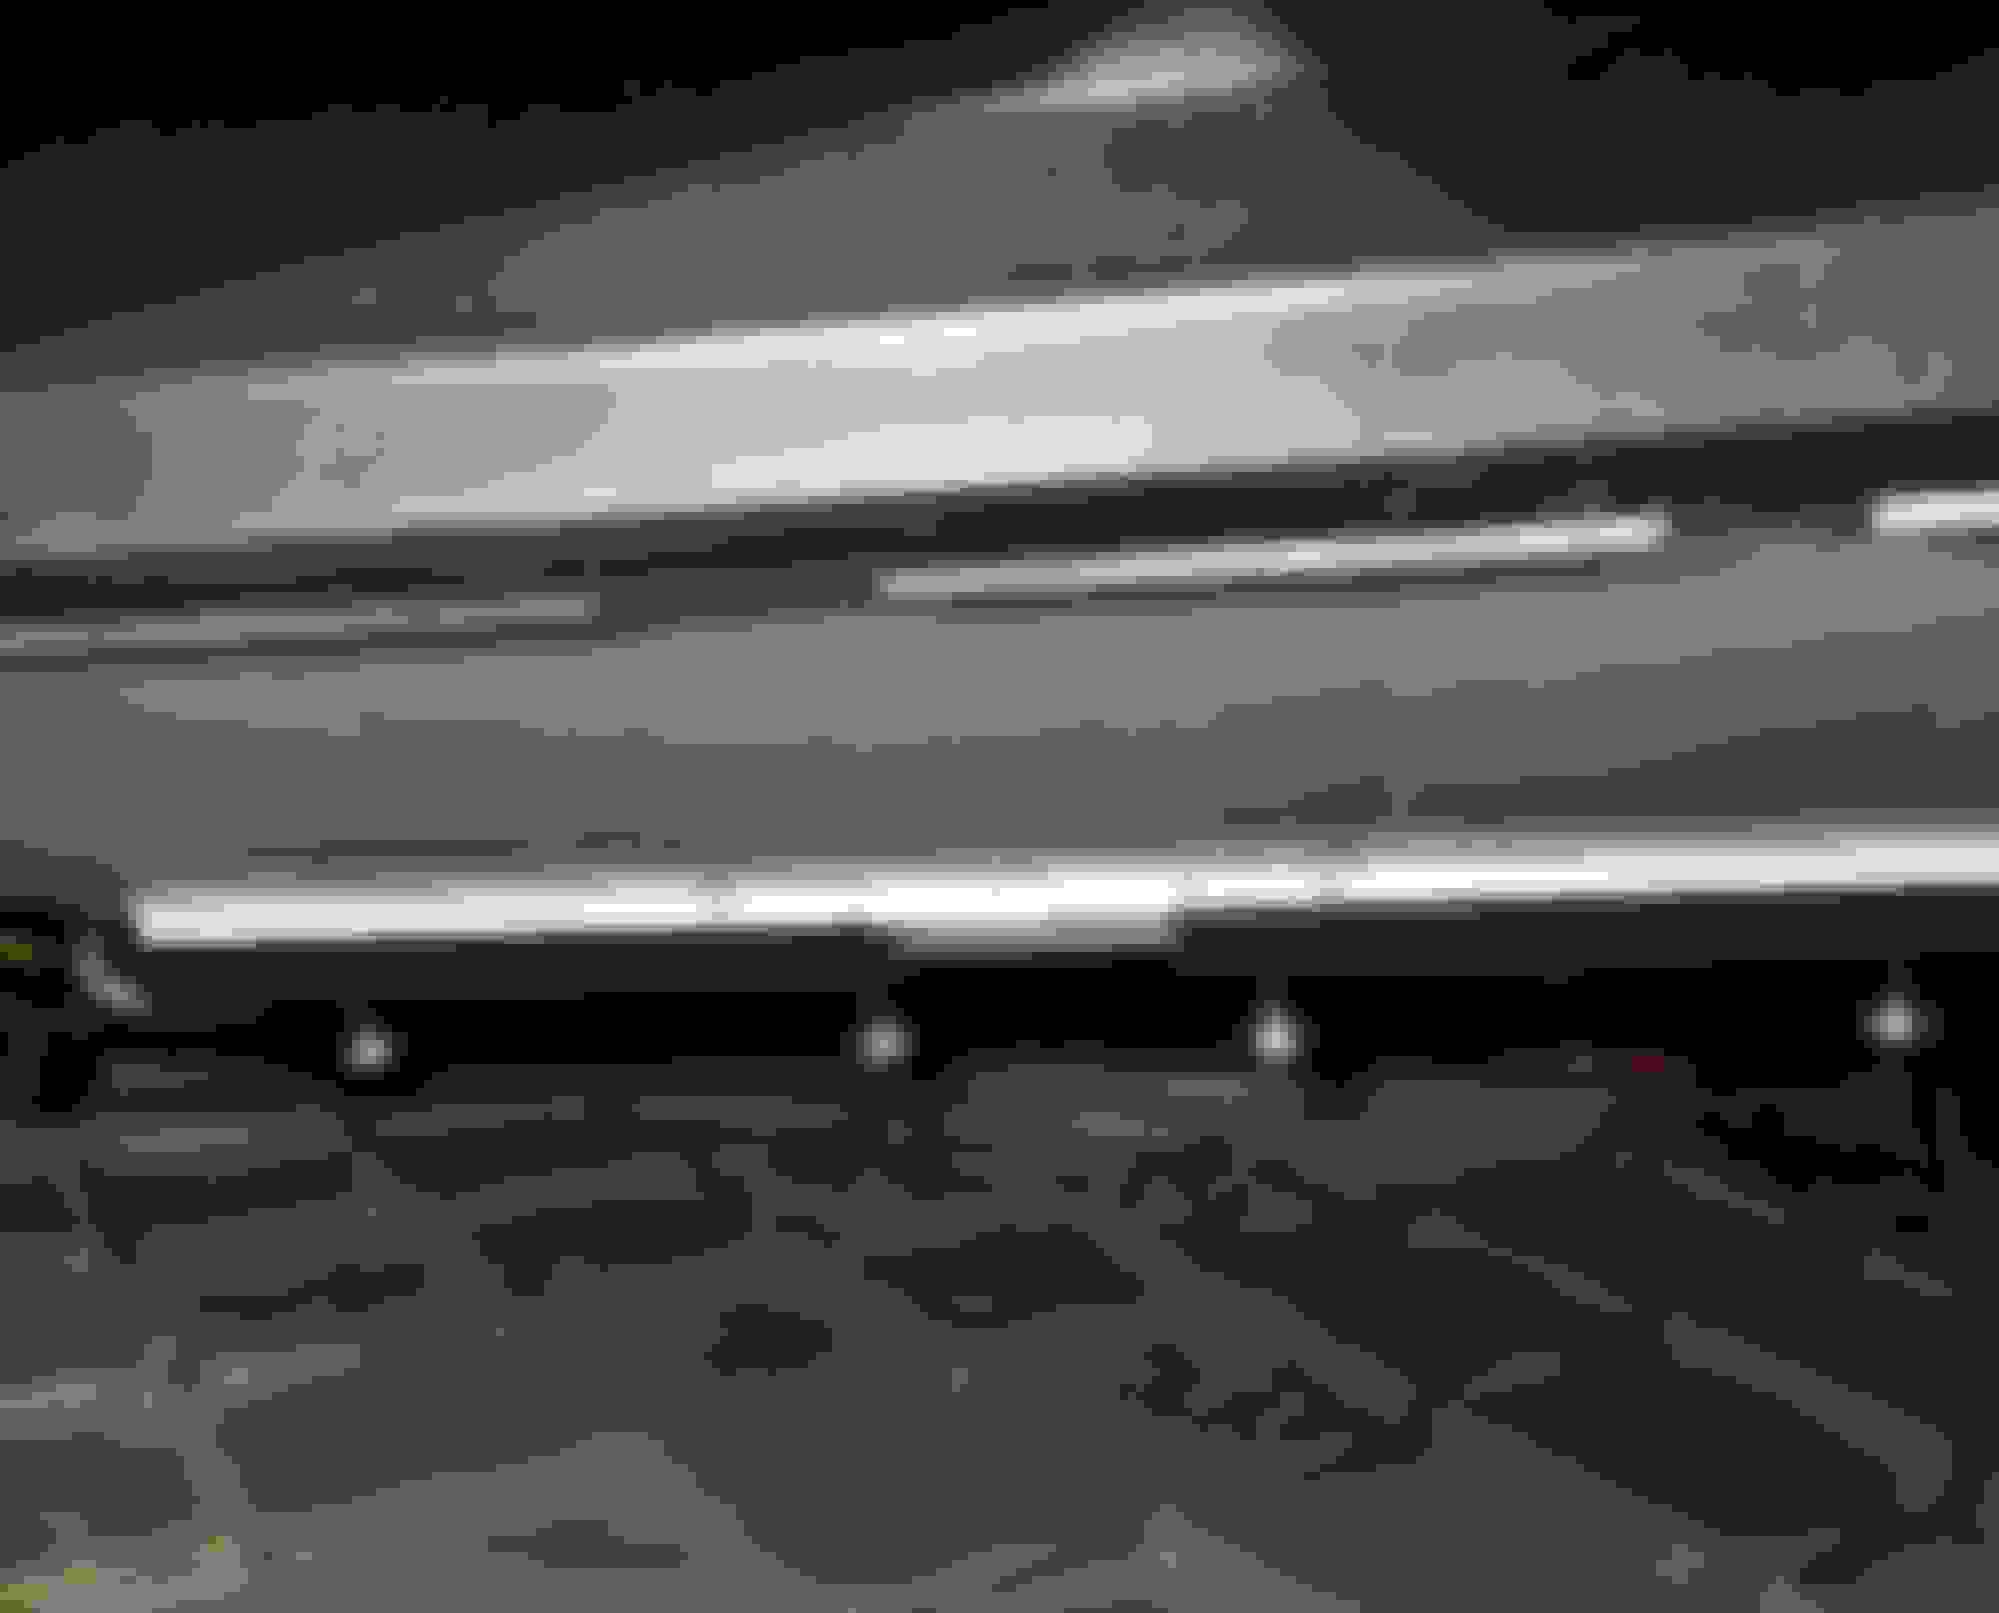
Rear bracket mounting bolt


Rear bracket mount bolt removed


Bracket mount removed, notice the left lower corner is angled, this is the front mount bolt location


The four T27 torx screws. No need to remove completely and the bracket WILL NOT come off, just loose enough to slightly slide battery aft to tilt out of the holding brackets


It's a tight fit, be careful removing/installing.

Cheers
 
Old Jan 21, 2018 | 07:04 AM
  #2  
air993's Avatar
Registered User
Joined: May 2017
Posts: 44
From: Baton Rouge
Rep Power: 0
air993 is infamous around these parts
Great write up and pictures. I'll be doing this soon I think. Thanks!
 
Old Jan 21, 2018 | 07:19 AM
  #3  
David W's Avatar
Registered User
Joined: Oct 2017
Posts: 7
Rep Power: 0
David W is infamous around these parts
Danno
Did you connect an alternative power source to save codes and window settings?
DW
 
Old Jan 21, 2018 | 07:29 AM
  #4  
Danno62's Avatar
Thread Starter
|
Registered User
Joined: Mar 2017
Posts: 56
From: Louisville Ky.
Rep Power: 12
Danno62 is infamous around these parts
Dear air993 and DavidW,
Thanks, Redpants also has a DIY video if you have any other issues.
David, I did yes, it was on a battery tender/charger.
 
Old Jan 23, 2018 | 10:32 AM
  #5  
RolexDaytona1's Avatar
Registered User
Joined: Mar 2010
Posts: 348
From: West Palm Beach FL
Rep Power: 32
RolexDaytona1 has a spectacular aura aboutRolexDaytona1 has a spectacular aura aboutRolexDaytona1 has a spectacular aura about
I like knowing you could get the battery out without completely removing the two clamps at the bottom... I did slide them to the 'left' and get them off the rail by loosening the interior panel and holding it out of the way. Overall not a fun job! I did not connect alt power, just reset the windows when you are done. (Hold both down buttons till you hear a 'tick' then power all the way up .. hold up till you hear a 'tick'.)


Be cautious if you are powering the car and still have a live battery wire hanging around. Wiring is pretty tight in there.
 
Old Jan 23, 2018 | 10:59 AM
  #6  
rocketboots999's Avatar
Registered User
Joined: Sep 2017
Posts: 72
From: Chester County, PA
Rep Power: 11
rocketboots999 is infamous around these parts
Originally Posted by RolexDaytona1
...I did not connect alt power, just reset the windows when you are done....
Don't you also lose the misfire coding?


What recommendations does anyone have for a memory code maintainer? Can you trust the ones that just have a little plug-in 9V battery?
 
Old Jan 23, 2018 | 12:26 PM
  #7  
Danno62's Avatar
Thread Starter
|
Registered User
Joined: Mar 2017
Posts: 56
From: Louisville Ky.
Rep Power: 12
Danno62 is infamous around these parts
Using the battery tender/charger didn’t help or hurt anything, I reset the windows as stated above as well.
 
Related Topics
Thread
Thread Starter
Forum
Replies
Last Post
telum01
Aston Martin
43
May 16, 2021 11:15 PM
Falcon75
Aston Martin
6
Oct 7, 2014 12:53 PM


You have already rated this thread Rating: Thread Rating: 0 votes,  average.


All times are GMT -6. The time now is 05:48 AM.