
DIY - How to redying your vinyl car parts (steering wheel in this case)


Thread Starter
|
Registered User
Joined: Apr 2013
Posts: 221
From: Winnipeg, MB
Rep Power: 23

DIY - How to redying your vinyl car parts (steering wheel in this case)
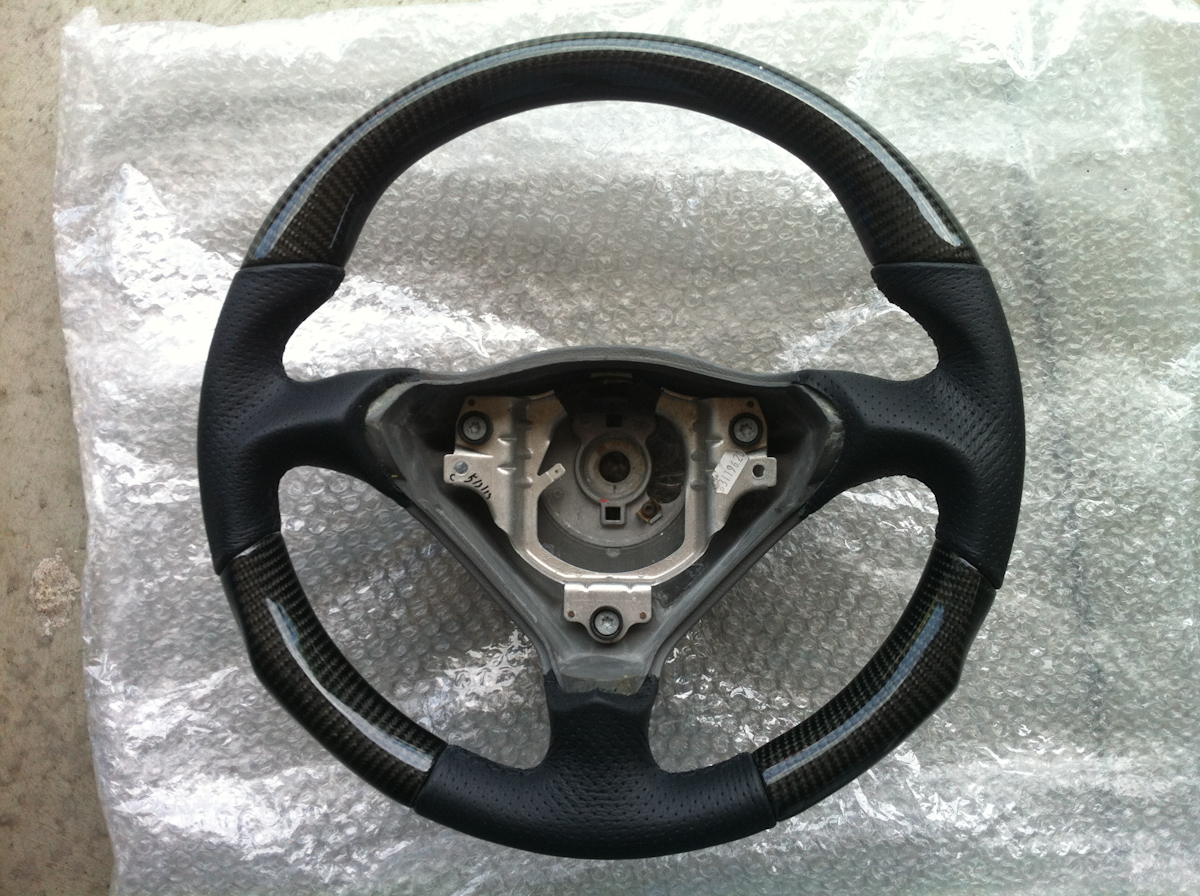
I recently redyed a steering wheel I bought for my 996 Turbo, and I thought that this would be a useful guide to write up. I will do the write up above, and photos with descriptions will follow below. My steering wheel was a mix of black leather and carbon fiber with a grey vinyl component. In this guide I'll show and explain how I redyed this grey vinyl a black color.
What you will need:
- Leatherique Steering Wheel Kit (http://leatherique.org/detail.aspx?ID=39)
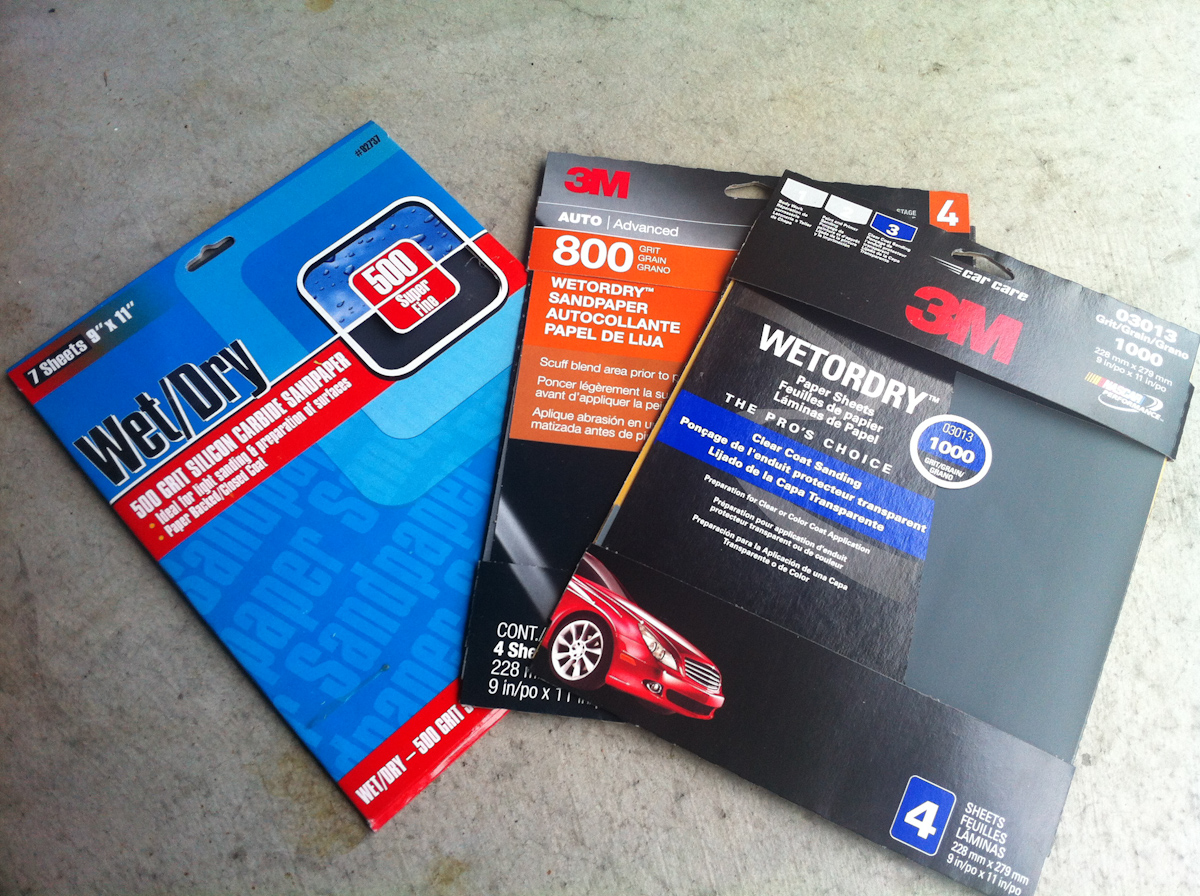
- A few sheets of varying grit wet/dry sand paper from 500 to 1000 grit
- Roll of thick painter's tape
- Roll of thick clear Scotchtape
- Two clean rags
- Small plastic tupperware container
- Gloves
The Leatherique Steering Wheel Kit includes 4oz of each of the following: Prepping Agent, Black Dye, and Klear Kote. For my purposes I only used the prepping agent and the black dye. I did not use the klear kote as it would make the vinyl more shiny, and I was happy with the look I achieved after just the dye.
Step by Step:
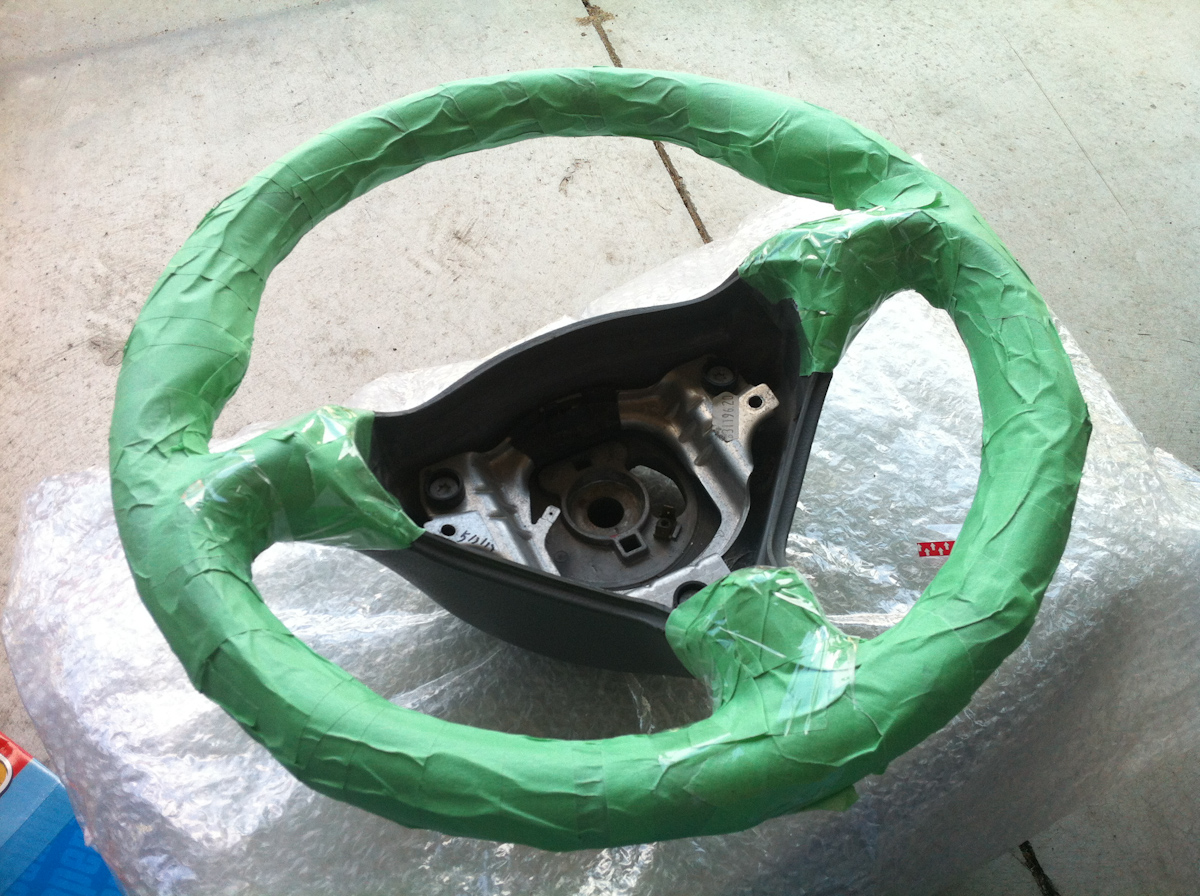
1. Tape off any areas that you do not want to get dye on. In my case I taped off everything else on my wheel. While not totally necessary, this was helpful for two reasons. It avoids any panic if you accidentally spill cleaner onto a non-covered area, and it makes it possible to handle the wheel and easily maneuver it later in dirty gloves later while dying. Make sure to get the tape as far as you can into cracks (this was a difficult area on my wheel as the vinyl met the leather and went deep into the crack).
2. Use clear Scotchtape over top of painter's tape in areas where tape is not holding strongly. In my case, I had to only use it on the three spokes of the steering wheel to keep the painters tape in place. I went around the painter's tape twice and it worked very and held everything in place.
3. Sand down any areas you want to dye with the 500 grit sandpaper (I chose to use 500 grit first as my vinyl was slightly textured. If it was totally smooth I probably would have went with a higher grit). Sand it down enough to where you see a slight change in color with the vinyl (This is not all that obvious and hard to see - basically just sand over the surface but don't go crazy. I used two by two inch squares to make it easier to handle).
4. Put some of the cleaner on a rag and wipe down the surface you just sanded. USE GLOVES! You will see some of the color come off on the rag (Again, I found it hard to say how much to do)
5. Sand the surface again with 500 grit sandpaper
6. Apply cleaner to entire surface again
7. Sand the surface with 800 grit sandpaper (I spent the majority of my time using the 500 grit. I used the other two grits to make sure the surface would be adequate for dying, however I was happy with how much color was stripped after using only the 500 grit).
8. Apply cleaner to entire surface again
9. Sand using 1000 grit
10. Apply cleaner to entire surface again
11. Give half hour to dry out completely
12. Pour a bit of dye into a small tupperware container (It says do not agitate on the bottle. However, I inverted it gently maybe 20 times just to mix it up slightly)
13. Using a clean rag (a different one, NOT the one you used for the cleaner), dip it into the dye and then blot the surface of the vinyl. Since my surface was textured, I found the best technique to dye it was to simply blot the surface over and over again. After several blots I would do circles using the rag to even it all out.
14. Squeeze some dye into the ridges. I found this necessary to do in the area where the vinyl met the leather. I simply took some dye on the rag and then literally pressed harder over that area to squeeze the dye out of the rag into the ridge.
15. Repeat this for the whole surface until color is to your liking and consistent. I wasn't doing thick coats, and I found it necessary to go over the entire surface perhaps three times. This goes much quicker than it sounds and is quite simple.
16. Allow the vinyl to dry for half an hour.
17. Redye the surface again, making sure the color is consistent throughout
18. Allow the vinyl to dry for 24 hours for the dye to fully cure.
19. Apply Klear Kote if desired (I chose not to as I was happy with the look of my vinyl. I felt it would be too shiny if I applied the Klear Kote).
20. Remove tape
21. Admire your handiwork and give yourself a pat on the back!
To be honest, its quite easy to do. Not including the breaks for waiting for things to dry, I would estimate it took me a total of four hours. I only used 1/3 of a bottle of the cleaner, and only a 1/4 of the bottle of dye - so one kit can go a long way!)
Photos below: (Taken using my iPhone, so please excuse the quality - or lack thereof)
These were the varying types of sandpaper I used:
Steering Wheel Before - Front
Steering Wheel Before - Back

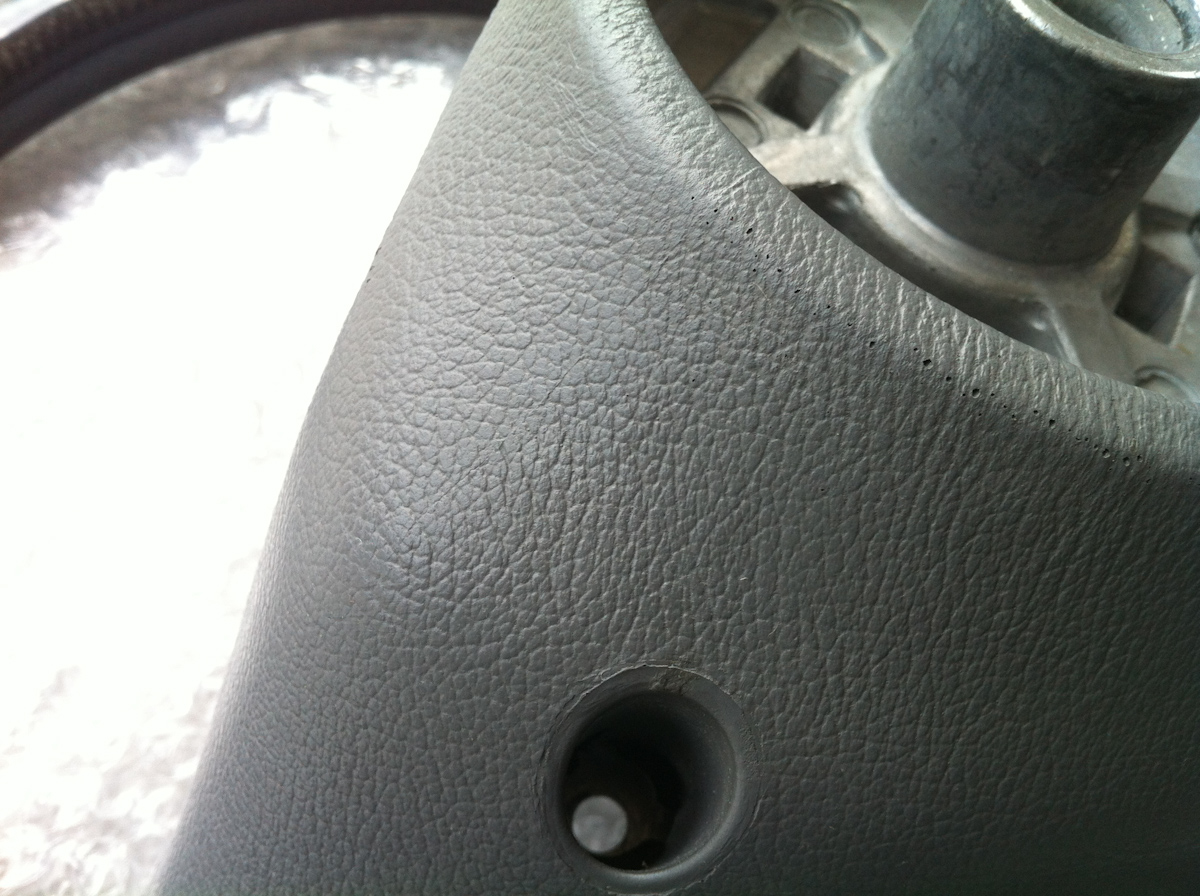
Steering Wheel Before - Close up of the vinyl
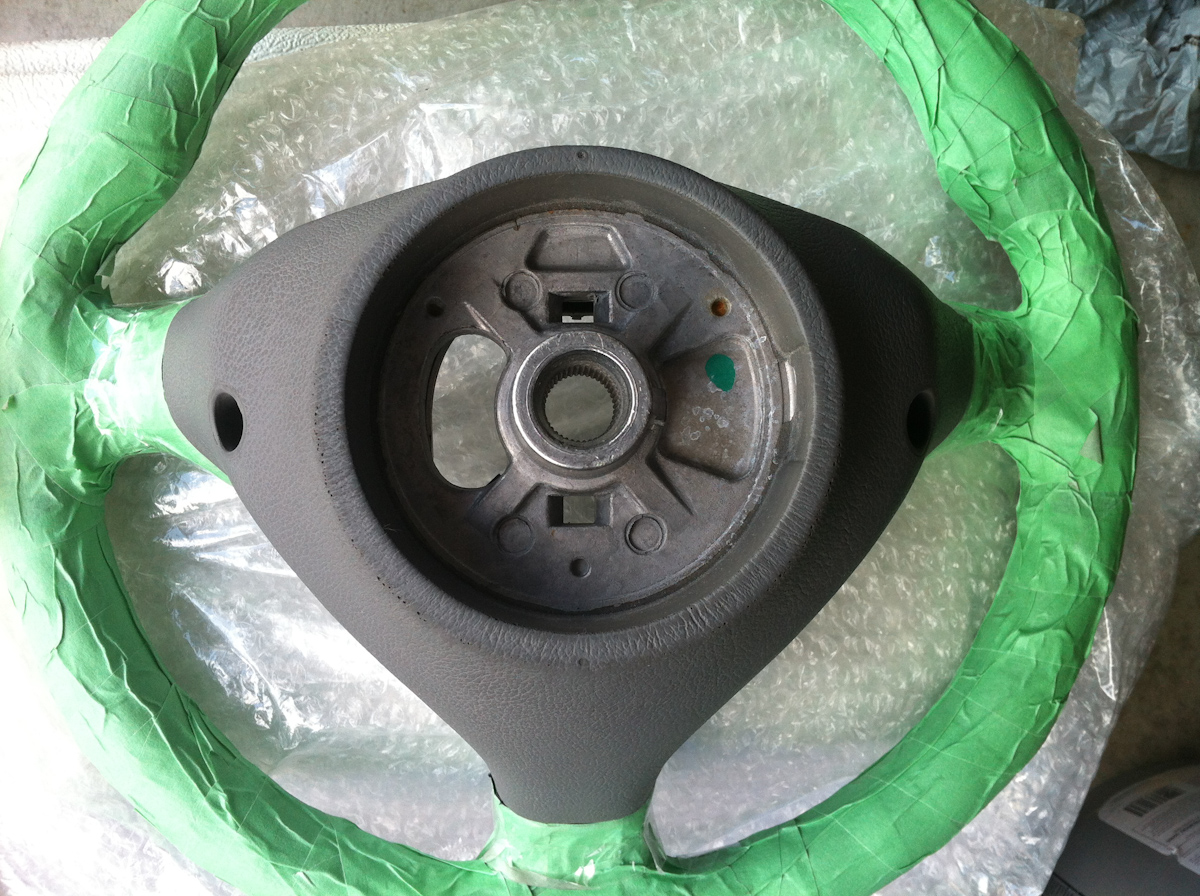
Everything taped off and ready to go
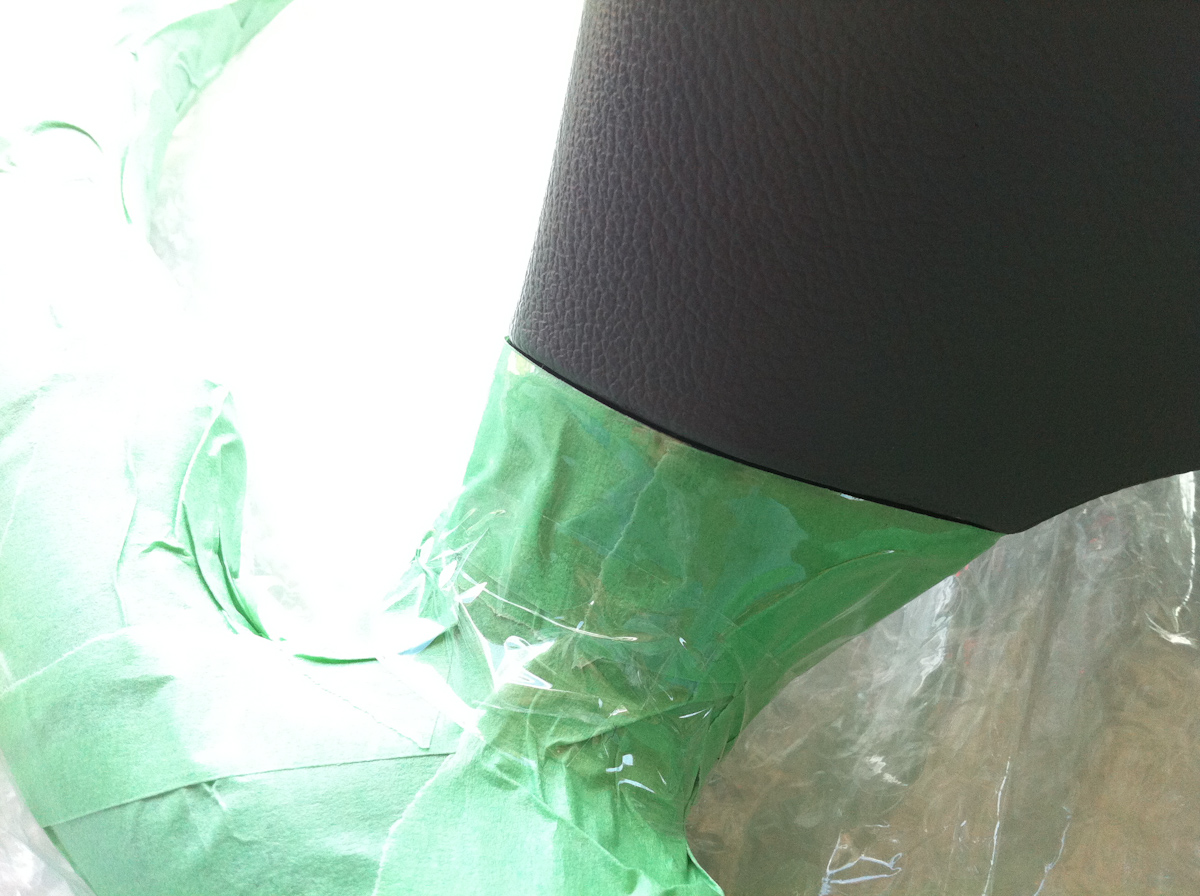
Close up of taping showing clear tape over areas where painter's tape was holding weakly
The vinyl after one round of sanding and cleaner.
Back of the steering wheel after the first round of sanding and cleaner. I didn't show any more photos after the second or subsequent sandings as it looked very similar. It just "felt" smoother after running your fingers over it.
Steering wheel after two rounds of dye (in the first round I went over it about three times)
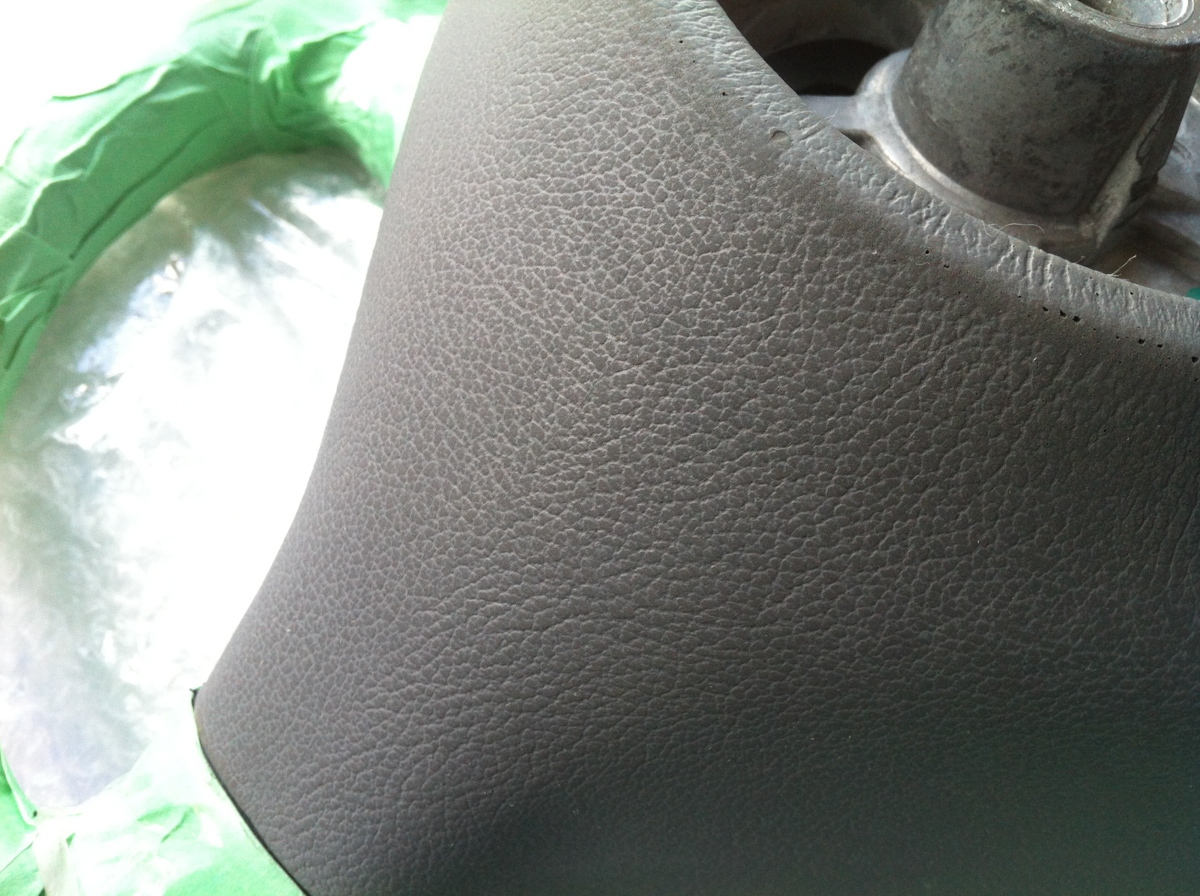
Close up of the vinyl after two rounds of dye. As you can see, the ridges are completely colored in and no grey remains.

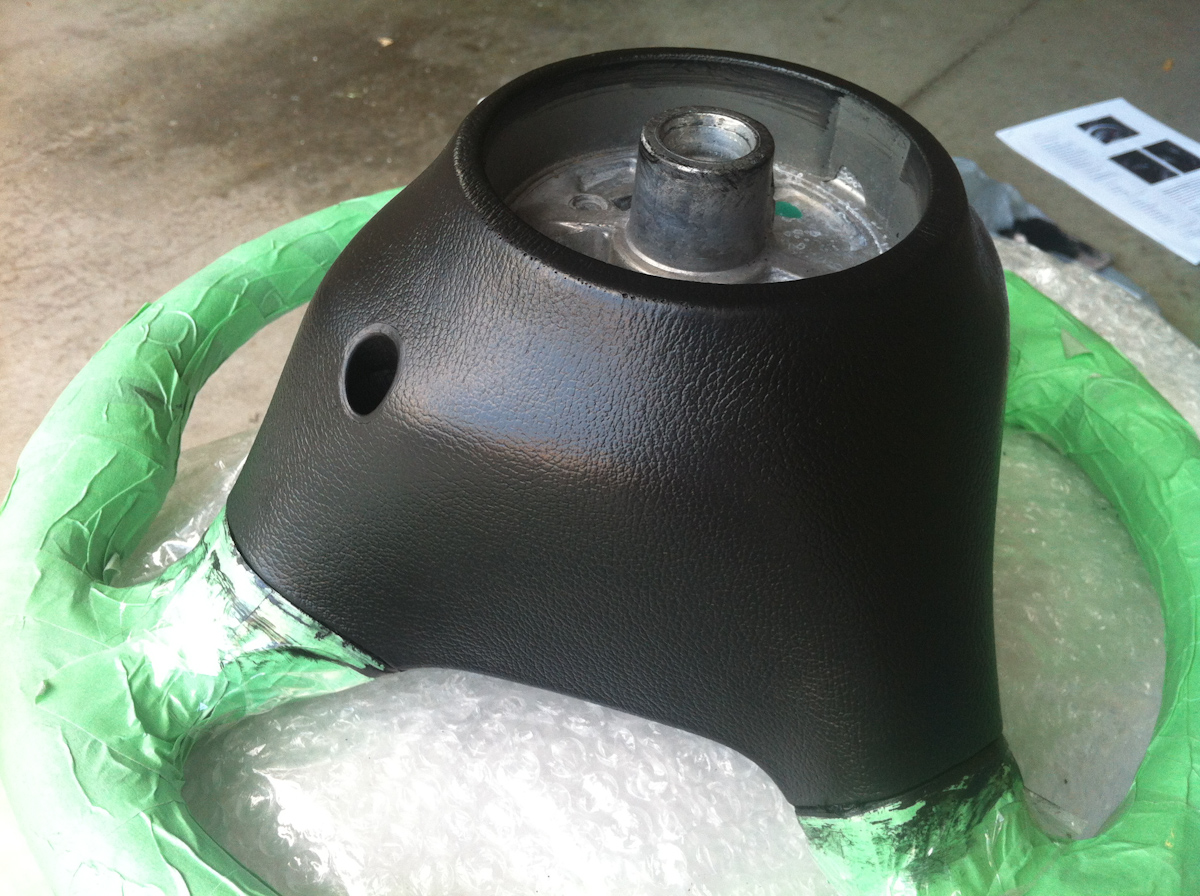
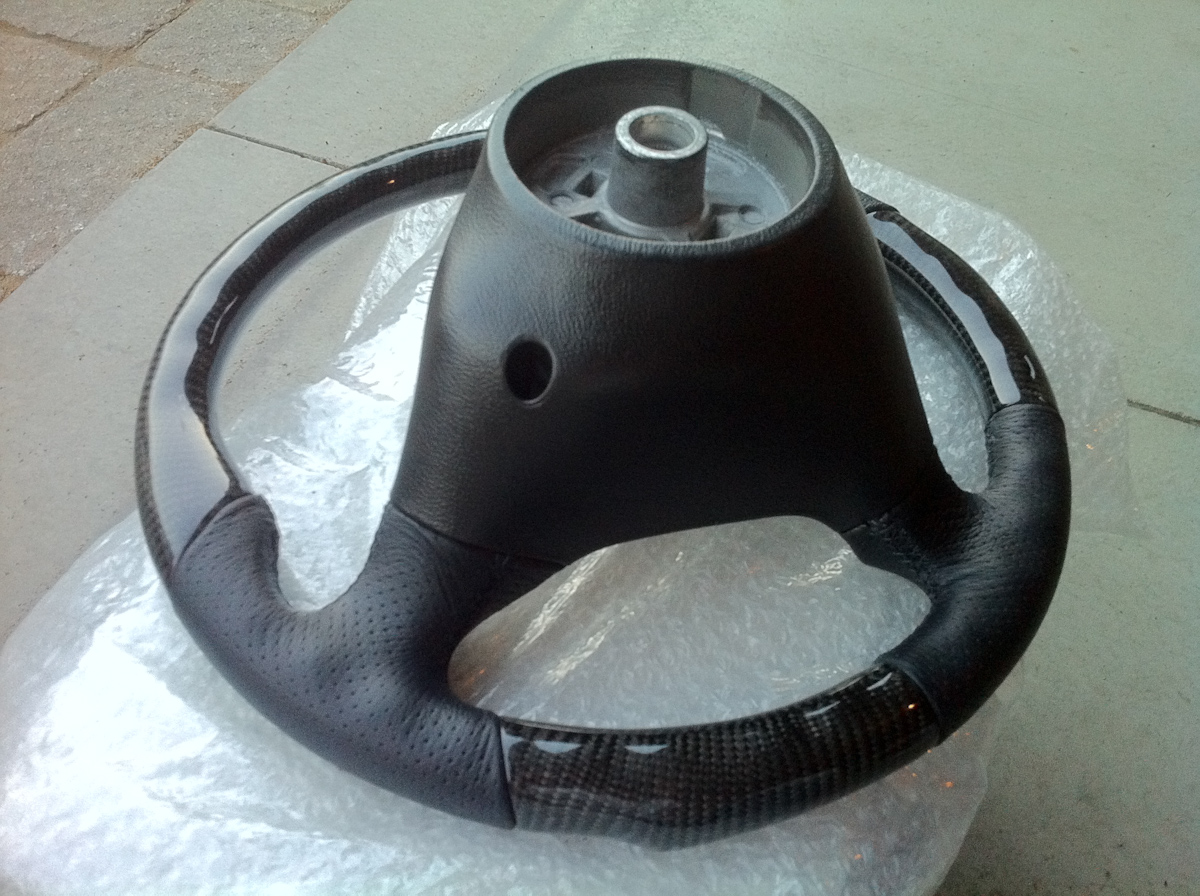
Here is the steering wheel untaped and fully dried. I think it looks awesome!


What you will need:
- Leatherique Steering Wheel Kit (http://leatherique.org/detail.aspx?ID=39)
- A few sheets of varying grit wet/dry sand paper from 500 to 1000 grit
- Roll of thick painter's tape
- Roll of thick clear Scotchtape
- Two clean rags
- Small plastic tupperware container
- Gloves
The Leatherique Steering Wheel Kit includes 4oz of each of the following: Prepping Agent, Black Dye, and Klear Kote. For my purposes I only used the prepping agent and the black dye. I did not use the klear kote as it would make the vinyl more shiny, and I was happy with the look I achieved after just the dye.
Step by Step:
1. Tape off any areas that you do not want to get dye on. In my case I taped off everything else on my wheel. While not totally necessary, this was helpful for two reasons. It avoids any panic if you accidentally spill cleaner onto a non-covered area, and it makes it possible to handle the wheel and easily maneuver it later in dirty gloves later while dying. Make sure to get the tape as far as you can into cracks (this was a difficult area on my wheel as the vinyl met the leather and went deep into the crack).
2. Use clear Scotchtape over top of painter's tape in areas where tape is not holding strongly. In my case, I had to only use it on the three spokes of the steering wheel to keep the painters tape in place. I went around the painter's tape twice and it worked very and held everything in place.
3. Sand down any areas you want to dye with the 500 grit sandpaper (I chose to use 500 grit first as my vinyl was slightly textured. If it was totally smooth I probably would have went with a higher grit). Sand it down enough to where you see a slight change in color with the vinyl (This is not all that obvious and hard to see - basically just sand over the surface but don't go crazy. I used two by two inch squares to make it easier to handle).
4. Put some of the cleaner on a rag and wipe down the surface you just sanded. USE GLOVES! You will see some of the color come off on the rag (Again, I found it hard to say how much to do)
5. Sand the surface again with 500 grit sandpaper
6. Apply cleaner to entire surface again
7. Sand the surface with 800 grit sandpaper (I spent the majority of my time using the 500 grit. I used the other two grits to make sure the surface would be adequate for dying, however I was happy with how much color was stripped after using only the 500 grit).
8. Apply cleaner to entire surface again
9. Sand using 1000 grit
10. Apply cleaner to entire surface again
11. Give half hour to dry out completely
12. Pour a bit of dye into a small tupperware container (It says do not agitate on the bottle. However, I inverted it gently maybe 20 times just to mix it up slightly)
13. Using a clean rag (a different one, NOT the one you used for the cleaner), dip it into the dye and then blot the surface of the vinyl. Since my surface was textured, I found the best technique to dye it was to simply blot the surface over and over again. After several blots I would do circles using the rag to even it all out.
14. Squeeze some dye into the ridges. I found this necessary to do in the area where the vinyl met the leather. I simply took some dye on the rag and then literally pressed harder over that area to squeeze the dye out of the rag into the ridge.
15. Repeat this for the whole surface until color is to your liking and consistent. I wasn't doing thick coats, and I found it necessary to go over the entire surface perhaps three times. This goes much quicker than it sounds and is quite simple.
16. Allow the vinyl to dry for half an hour.
17. Redye the surface again, making sure the color is consistent throughout
18. Allow the vinyl to dry for 24 hours for the dye to fully cure.
19. Apply Klear Kote if desired (I chose not to as I was happy with the look of my vinyl. I felt it would be too shiny if I applied the Klear Kote).
20. Remove tape
21. Admire your handiwork and give yourself a pat on the back!
To be honest, its quite easy to do. Not including the breaks for waiting for things to dry, I would estimate it took me a total of four hours. I only used 1/3 of a bottle of the cleaner, and only a 1/4 of the bottle of dye - so one kit can go a long way!)
Photos below: (Taken using my iPhone, so please excuse the quality - or lack thereof)
These were the varying types of sandpaper I used:
Steering Wheel Before - Front
Steering Wheel Before - Back
Steering Wheel Before - Close up of the vinyl
Everything taped off and ready to go
Close up of taping showing clear tape over areas where painter's tape was holding weakly
The vinyl after one round of sanding and cleaner.
Back of the steering wheel after the first round of sanding and cleaner. I didn't show any more photos after the second or subsequent sandings as it looked very similar. It just "felt" smoother after running your fingers over it.
Steering wheel after two rounds of dye (in the first round I went over it about three times)
Close up of the vinyl after two rounds of dye. As you can see, the ridges are completely colored in and no grey remains.
Here is the steering wheel untaped and fully dried. I think it looks awesome!

Thread
Thread Starter
Forum
Replies
Last Post