My DIY rear linkage (picture heavy)
#1
 09-13-2011, 11:35 AM


Join Date: Dec 2008
Location: California
Posts: 107
Rep Power: 22 
My DIY rear linkage (picture heavy)
Greetings everyone, just thought that I would share a little project that I just finished up. I picked up a 996 GT3 about a year ago, and I love everything about the car. I do track my cars quite a bit and through the feel of the rear end, the tire wear and the lack of alignment adjustment range, it is pretty obvious that changing out the rear 'dogbones' would be rather rewarding. I always kind of balked at the pricing of some of the kits out there considering how simple the parts actually are, so as a mechanical engineer with a little experience in motorsports, I decided to tackle this on my own as a hobby.
So I decided to design, prototype and test my own adjustable rear linkage for my GT3. My intention was not to copy what was already out there, but for such a simple part there are only so many ways to skin a cat.
This is all better shown using pictures, so here you go:
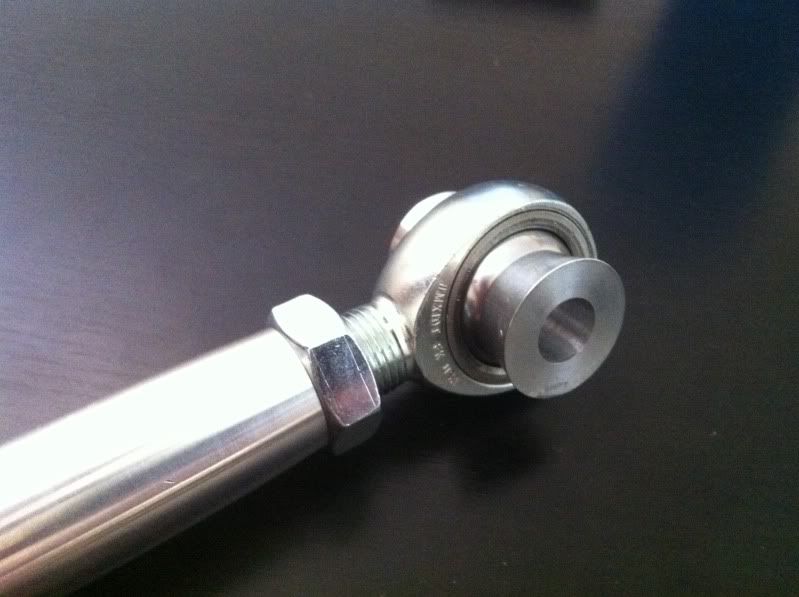
The first thing to do was to take some measurements and to decide which rod end would work best for this application. It gets pretty dirty under there, huh?
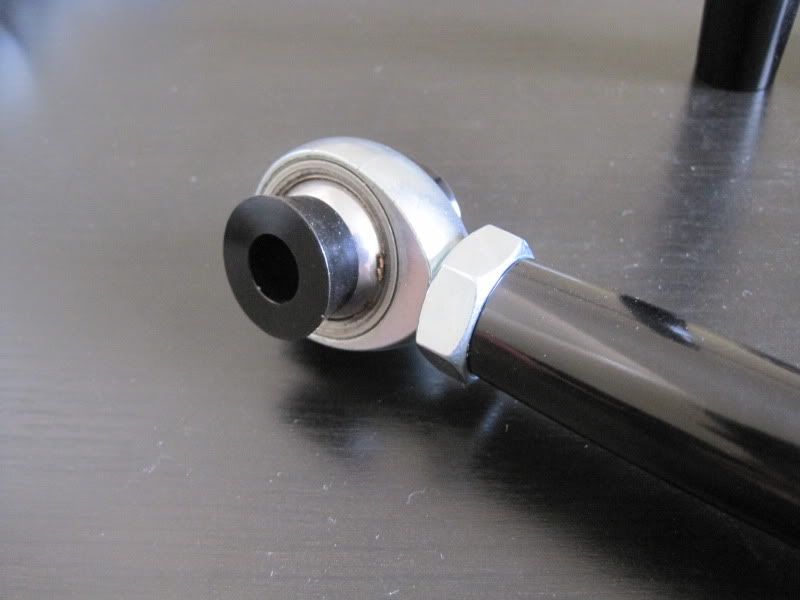
I decided to go with one of FK's higher end products, as they offer a very high performance rod end, were dimensionally easy to incorporate, were easy to purchase/replace if necessary, and are rated for an appropriate radial load. Once I had selected the rod ends, I could design the rest of the parts. Here is an assembly:
Next, some quick calculations and FEA to ensure that the linkages will not buckle or fail under use.
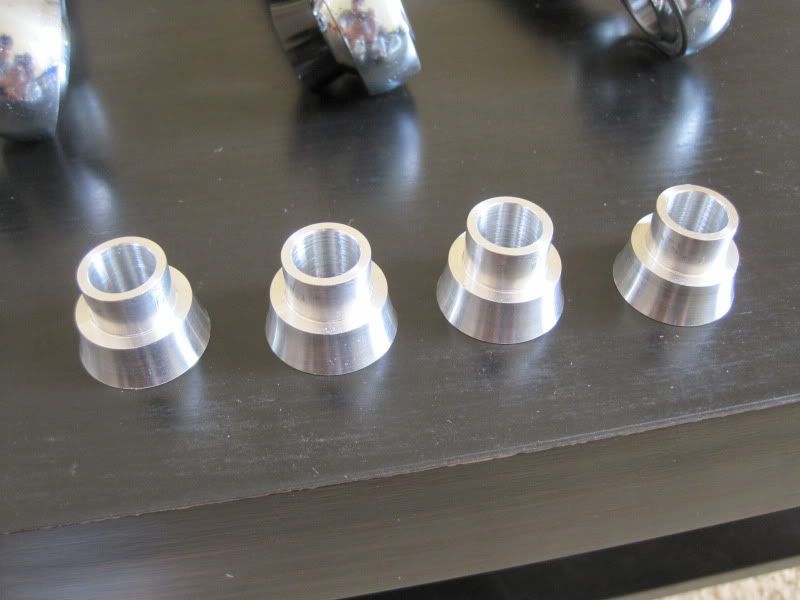
Time to program the lathe and mill and start making parts:
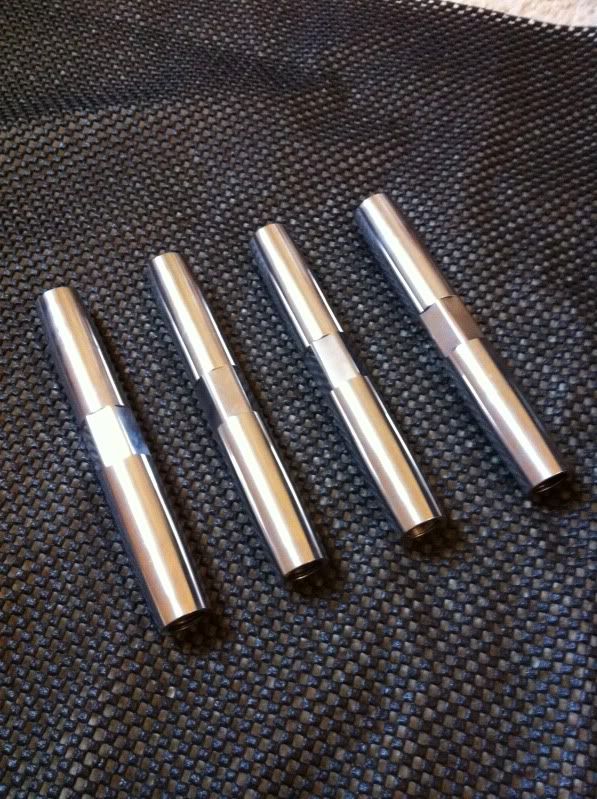
And here they are, unfinished:
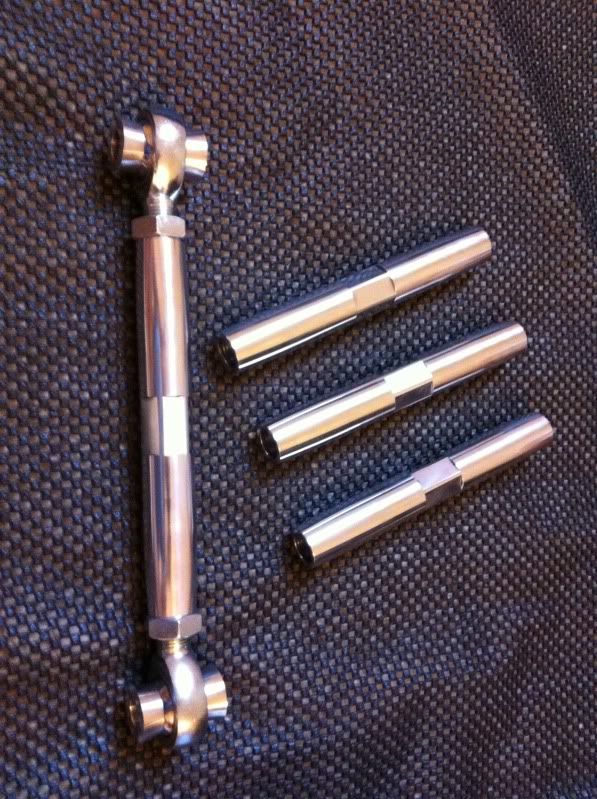
For these I decided to polish the aluminum and then send them out for anodizing. In the future I may just leave them a machined finish or bead blast them. I went with a black anodizing (also clear on some parts), might try something different later. Finished parts, ready to install:
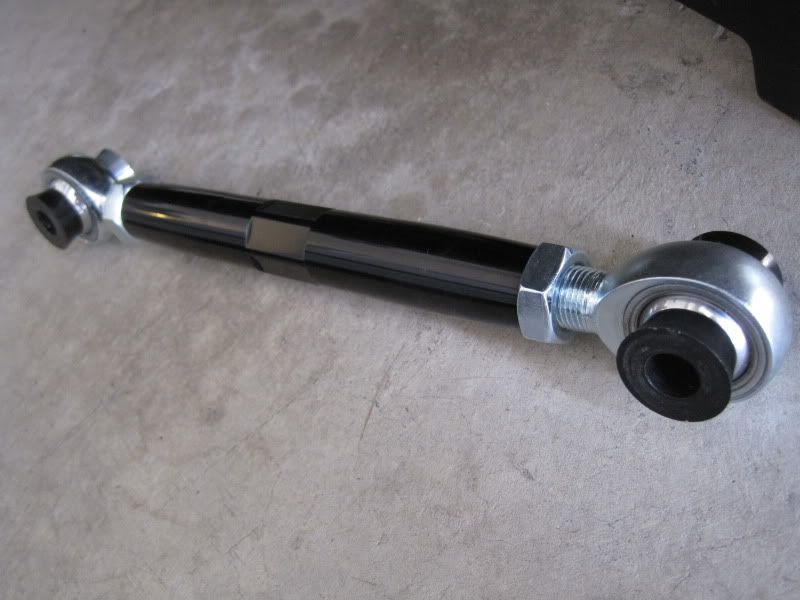

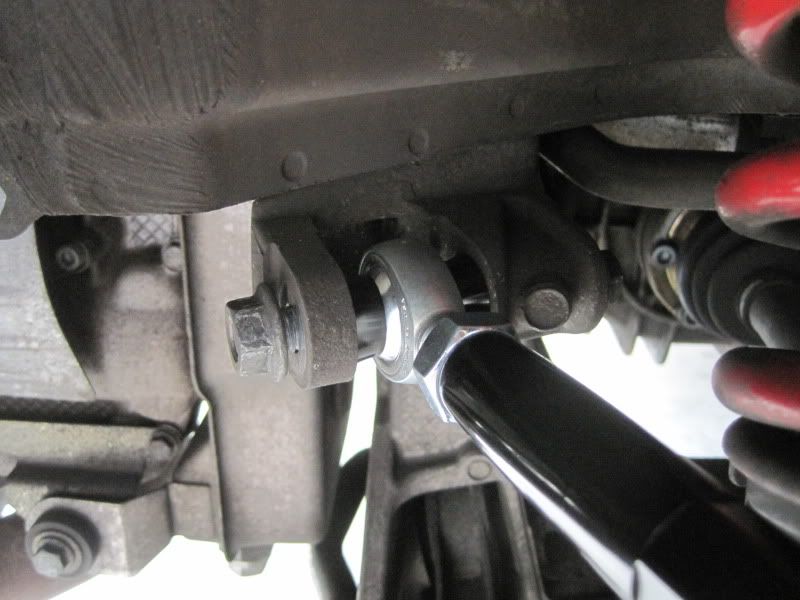
Time to put them on the car and test them out!
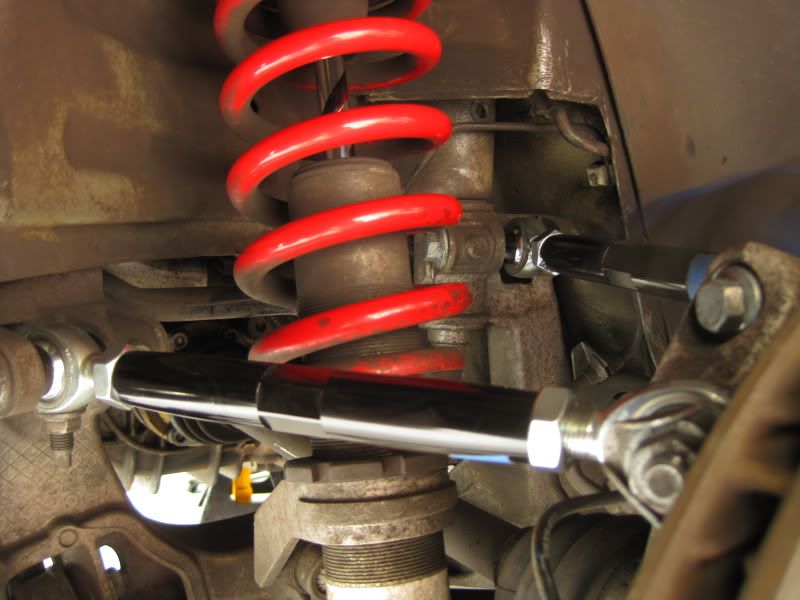
Well if you are still awake after all of that, here are my conclusions... The feel of the car is WAY better in my opinion. Losing those rubber bushings on the dogbones makes a big difference in how the rear end of the car reacts. Once it was all said and done, I probably didn't save very much money on these over some of the discounted kits out there (mainly due to my choice of rod ends), but I had fun.
Cheers -
So I decided to design, prototype and test my own adjustable rear linkage for my GT3. My intention was not to copy what was already out there, but for such a simple part there are only so many ways to skin a cat.
This is all better shown using pictures, so here you go:
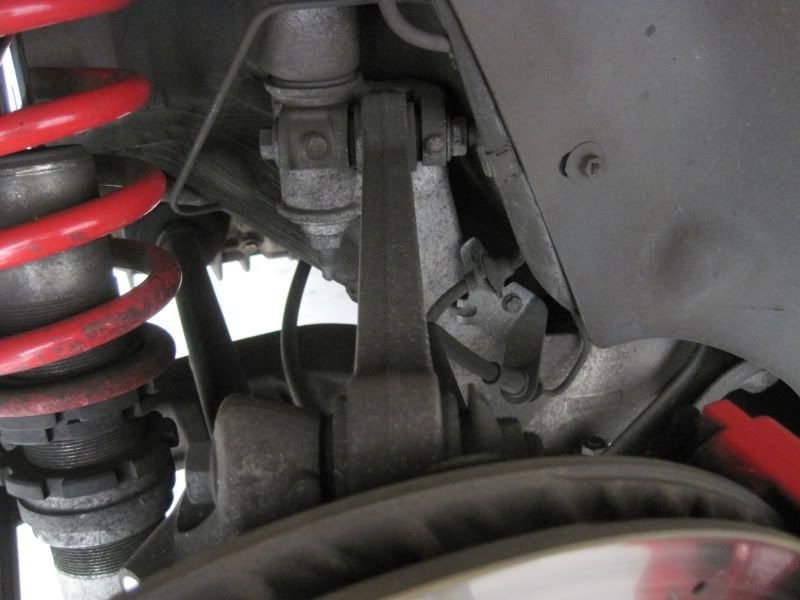
The first thing to do was to take some measurements and to decide which rod end would work best for this application. It gets pretty dirty under there, huh?
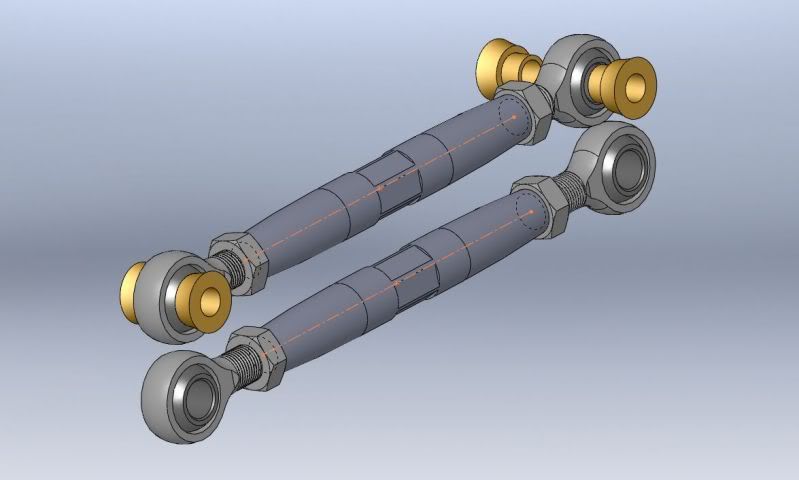
I decided to go with one of FK's higher end products, as they offer a very high performance rod end, were dimensionally easy to incorporate, were easy to purchase/replace if necessary, and are rated for an appropriate radial load. Once I had selected the rod ends, I could design the rest of the parts. Here is an assembly:
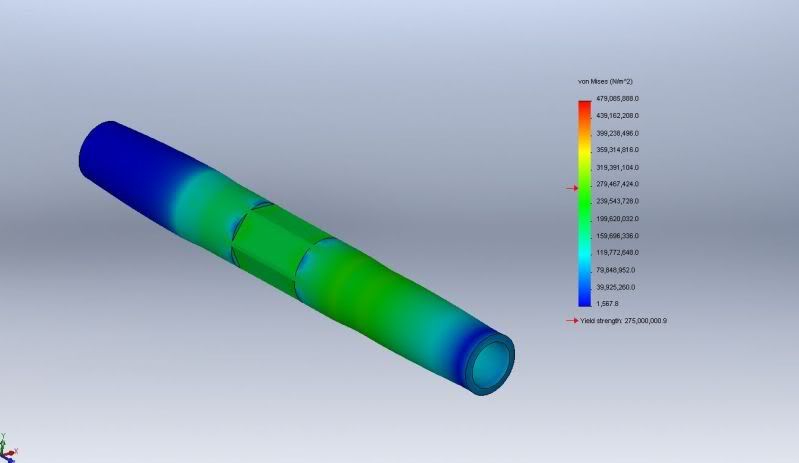
Next, some quick calculations and FEA to ensure that the linkages will not buckle or fail under use.
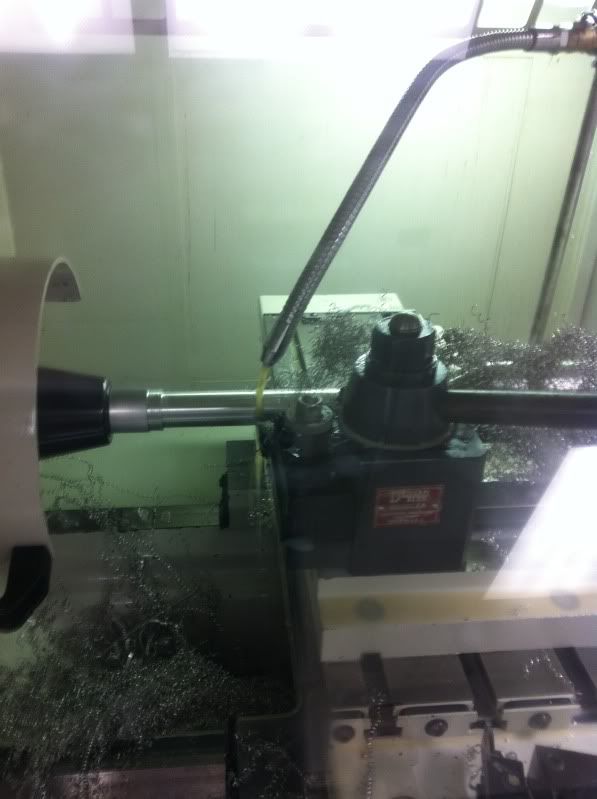
Time to program the lathe and mill and start making parts:
And here they are, unfinished:
For these I decided to polish the aluminum and then send them out for anodizing. In the future I may just leave them a machined finish or bead blast them. I went with a black anodizing (also clear on some parts), might try something different later. Finished parts, ready to install:
Time to put them on the car and test them out!
Well if you are still awake after all of that, here are my conclusions... The feel of the car is WAY better in my opinion. Losing those rubber bushings on the dogbones makes a big difference in how the rear end of the car reacts. Once it was all said and done, I probably didn't save very much money on these over some of the discounted kits out there (mainly due to my choice of rod ends), but I had fun.
Cheers -
Last edited by GT3 Chuck; 09-13-2011 at 11:47 AM. Reason: not as a registered user
#2
09-13-2011, 11:47 AM
Registered User
Join Date: Feb 2010
Location: Sactown, California
Posts: 249
Rep Power: 28
Wow!!!!!!
Great write up!!!!!
Looks great and I bet it handles waaaaay better!!!!!
Thanx for sharing!!!!
Great write up!!!!!
Looks great and I bet it handles waaaaay better!!!!!
Thanx for sharing!!!!
#3
09-13-2011, 12:14 PM
Registered User
Everybody's gotta have a hobby! Most of my hobbies don't involve engineering, design and custom machining / fabirication, however. Kudos to you for taking the initiative to DIY such critical components. Well done. I'll wager that you get at least a dozen PM's asking for a set. 
#4
09-13-2011, 12:18 PM
Join Date: Dec 2008
Location: California
Posts: 107
Rep Power: 22 Everybody's gotta have a hobby! Most of my hobbies don't involve engineering, design and custom machining / fabirication, however. Kudos to you for taking the initiative to DIY such critical components. Well done. I'll wager that you get at least a dozen PM's asking for a set.

#5
09-13-2011, 11:37 PM

Beautiful job! I've got SolidWorks, too, as well as machining and turning centers. I've been tempted to make all kinds of suspension and other parts for my 993 Turbo, if I only had the time. I'm curious - which alloy did you use?
#6
09-14-2011, 09:21 AM
Join Date: Dec 2008
Location: California
Posts: 107
Rep Power: 22
I went with 6061 for these. I was debating whether a 7075 or a titanium alloy would be worth it, but 6061 is perfectly adequate.

Trending Topics

#10
09-15-2011, 09:07 AM
Join Date: Dec 2008
Location: California
Posts: 107
Rep Power: 22
Thanks everyone!
In the near future I will probably be making some other suspension components (toe linkage, thrust arm bushings). I've had some thoughts about making a more simple shift **** assembly for more track oriented use.
In the near future I will probably be making some other suspension components (toe linkage, thrust arm bushings). I've had some thoughts about making a more simple shift **** assembly for more track oriented use.

#13
12-31-2011, 03:49 PM
"Thanks. Just got scolded offering these though [/quote]"
Nice stuff. You'll have to become a sponsoring Vendor to get the Mods off your tail. It is all about the $$$$
[/quote]"Nice stuff. You'll have to become a sponsoring Vendor to get the Mods off your tail.
It is all about the $$$$
Last edited by Inverterman; 12-31-2011 at 03:51 PM. Reason: typos
#15
01-06-2012, 01:14 AM
Registered User
Join Date: Nov 2011
Location: Toronto AREA of CANADA
Posts: 1,019
Rep Power: 61 
great thread, very nice work. I admire your ambition to produce your own suspension pieces. Looks like a great idea for someone with metal fabrication skills such as yourself.
I would go into business if I was you. they look like top notch adjustable rear link and toe kit. I would go for an alighnment tho to get the best results. I think you should'nt stop at that, You could make them for others and finish the kit off with contol arms and other pieces. Mono ***** wouldnt be that hard for you. Great looking finish on them also. i used to know some metal fab freinds before i moved when I bought my first house. This just reminded me that I should try to look for them on facebook.
Honestly bud, Great job. +1. Credit is due.
go into business, ill be your first customer.