
996 Aluminum Gauge Rings- $100 or less...


Thread Starter
|
Registered User
Joined: Dec 2010
Posts: 247
From: Huntington Beach, CA
Rep Power: 25

996 Aluminum Gauge Rings- $100 or less...
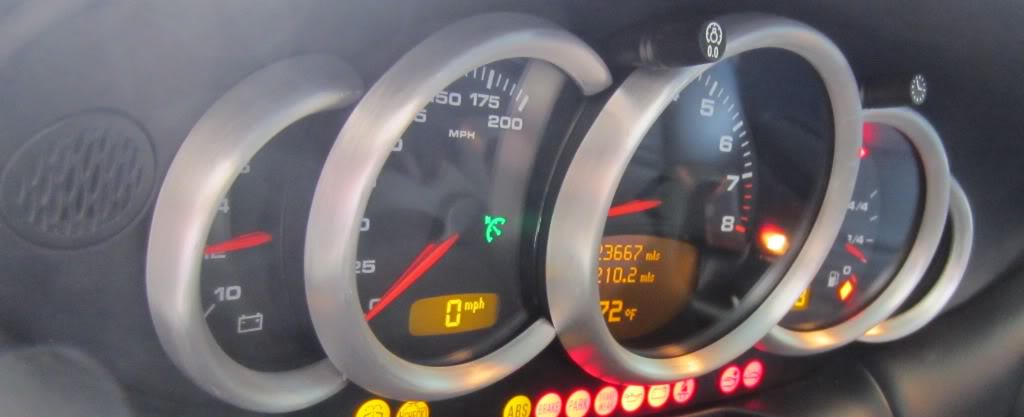
Hello - Just wanted to share my experience with installing Aluminum Guage rings in my 996 C2. I ordered hideously red (clown nose looking) rings from Automotion.com with the intent of repainting them to Silver.
Product Link:
http://www.automotion.com/gauge-deco...nd-boxter.html
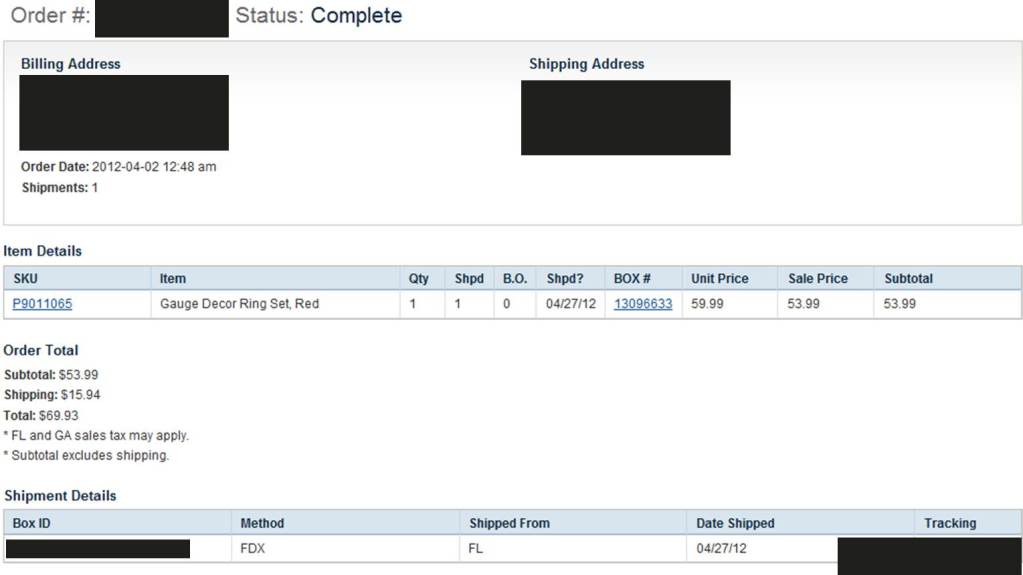
I got very lucky in that they were on sale and I found a coupon so I got them delivered for around $70. So don't just pay the $99 regular price..look around for coupons or try using my receipt to get a price match. (Pictured)
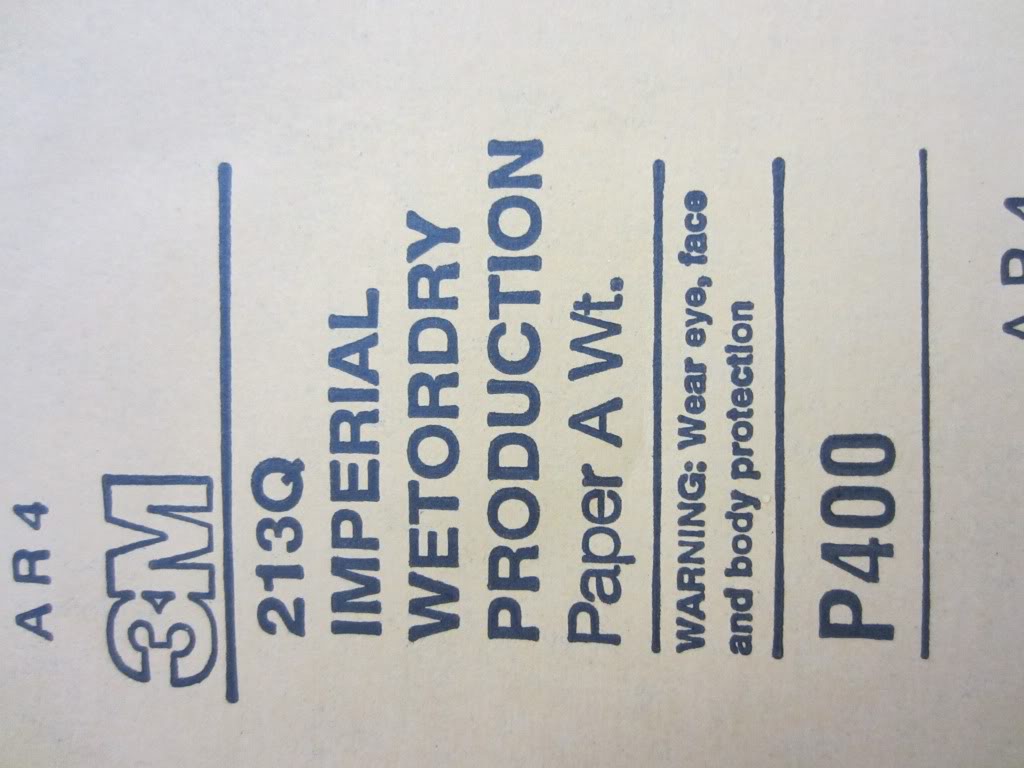
I started scuffing them with 400 Grit Sand Paper by wet sanding with plenty of water and Dish Soap. This takes time and patience. Like nearly 30 minutes each. I may come back with 600 grit to hide the fine brush marks before doing a final install.
As I did this, I realized they look even better unpainted but stripped of the red paint. At this point I scrapped operation "Repaint" and hand sanded each ring to a brushed finish.
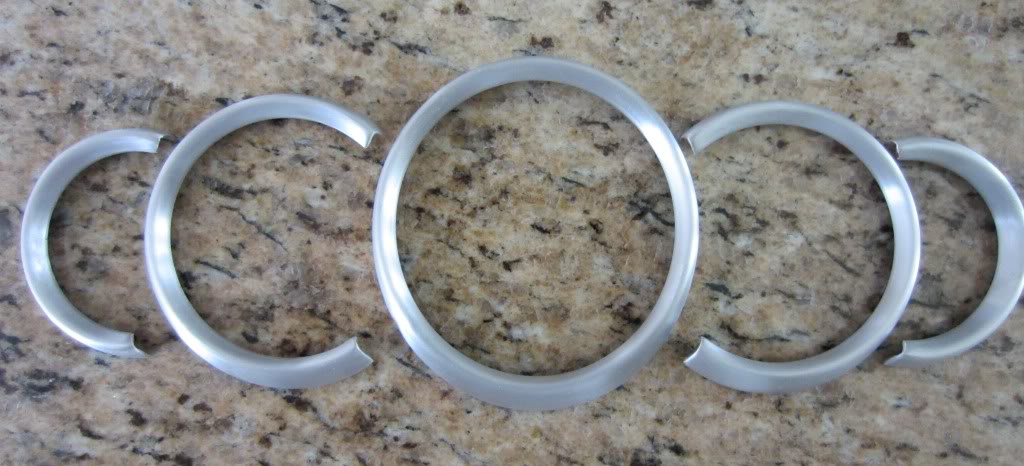
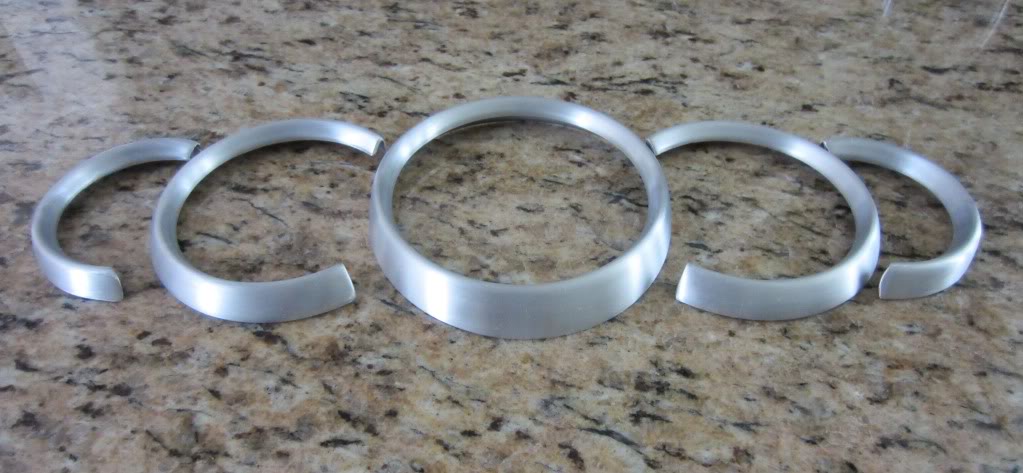

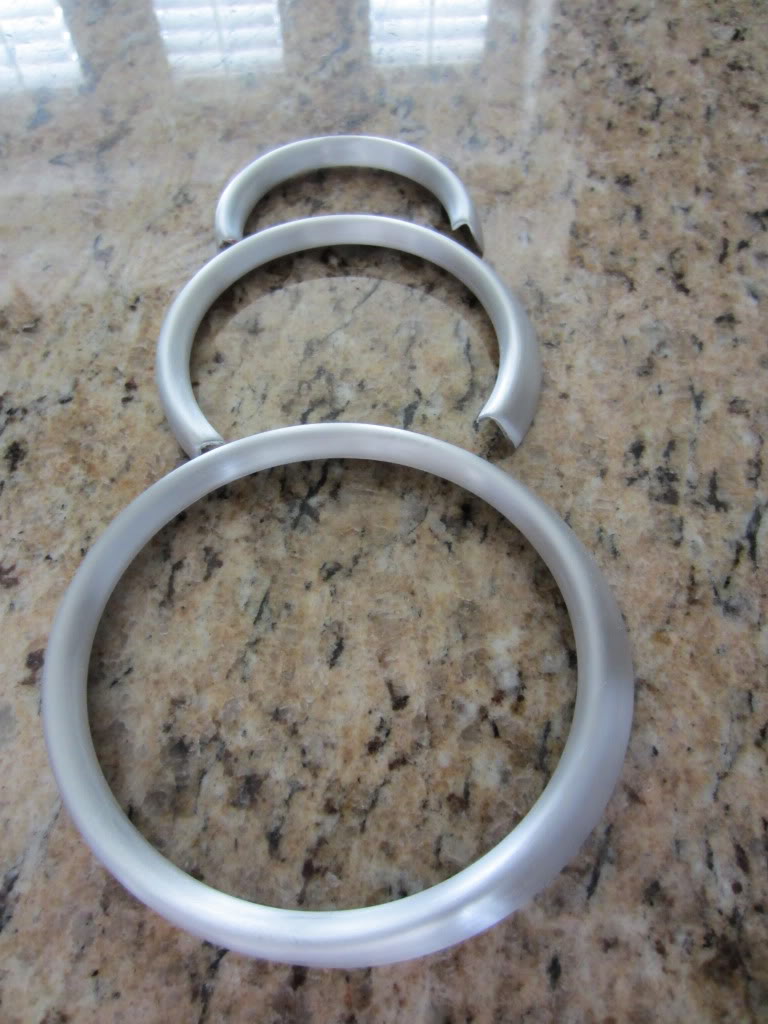
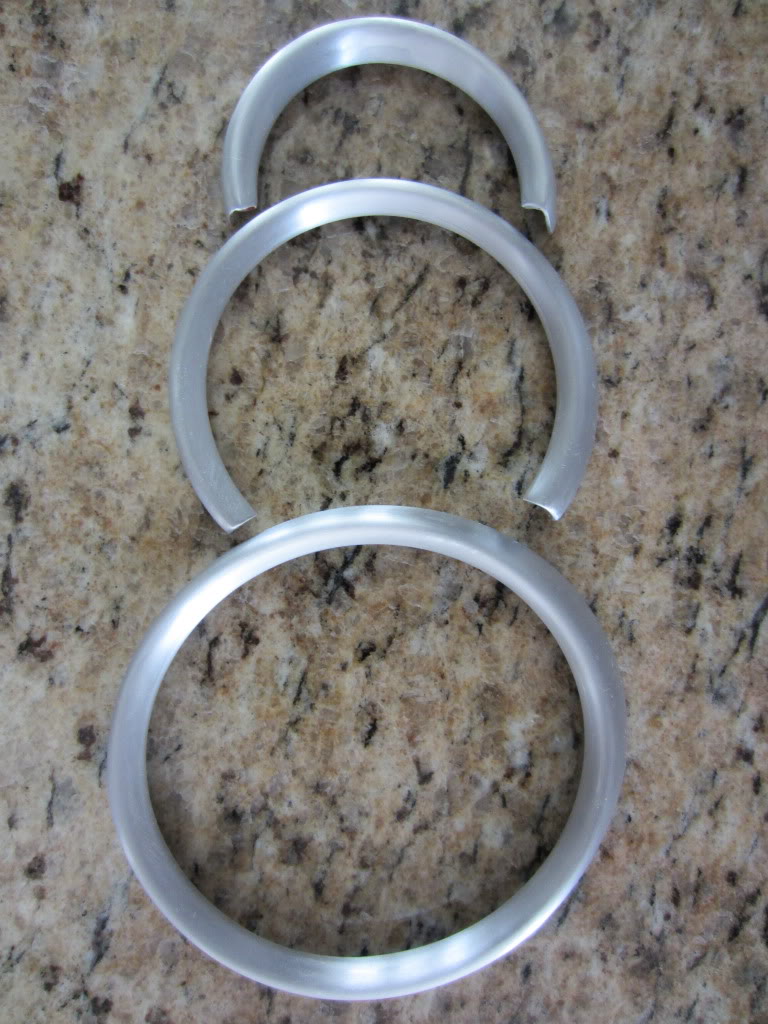
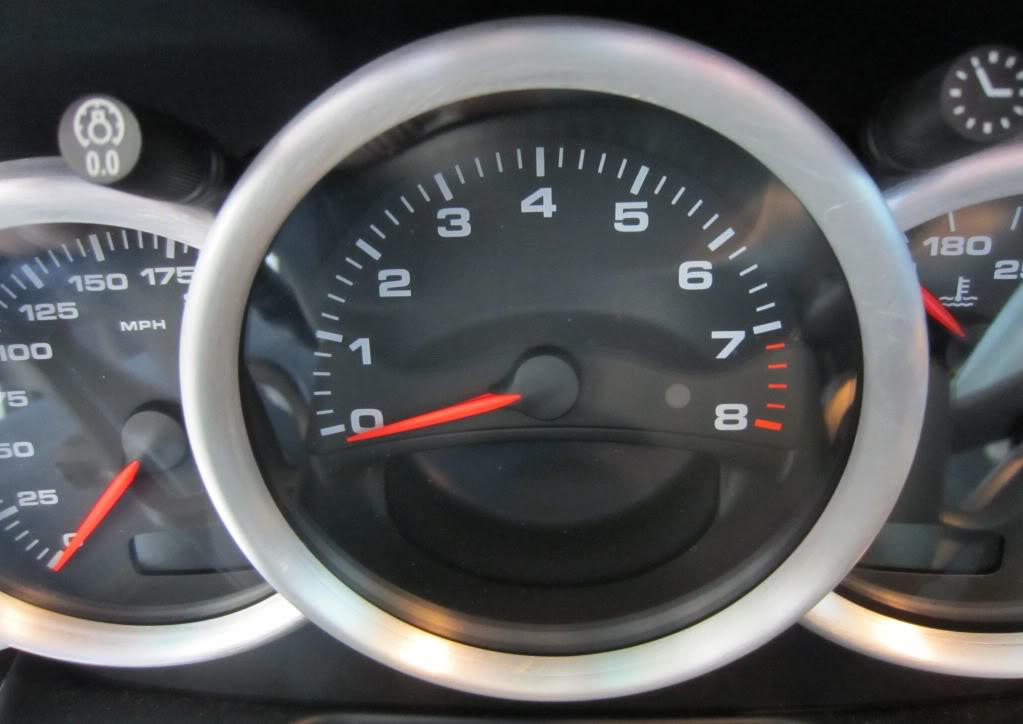
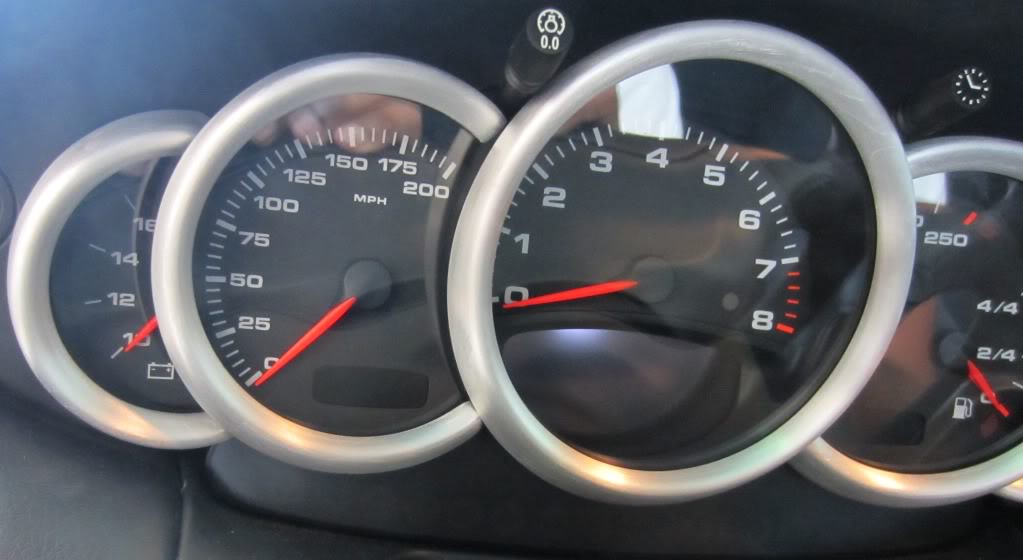
I temporarily pressed them into place for these photos but have not permanently secured them. I want to sand them with 600 grit with the hope of making all scratches invisible to the eye. The 400 grit scratches are actually attractive and they sit far enough in the dash that you can't really even see them in detail.
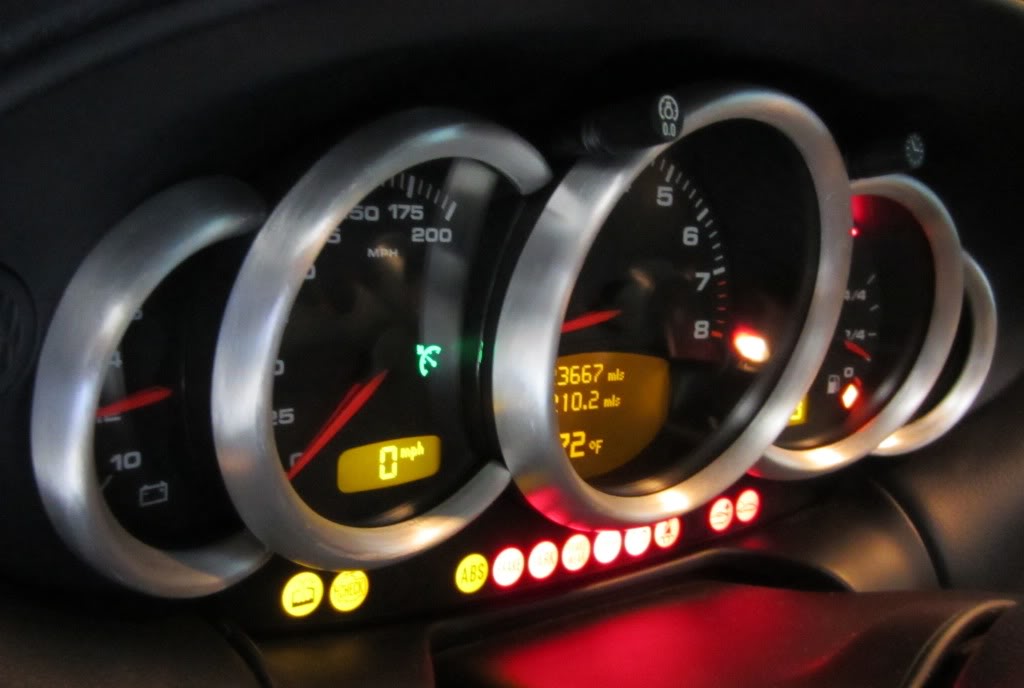
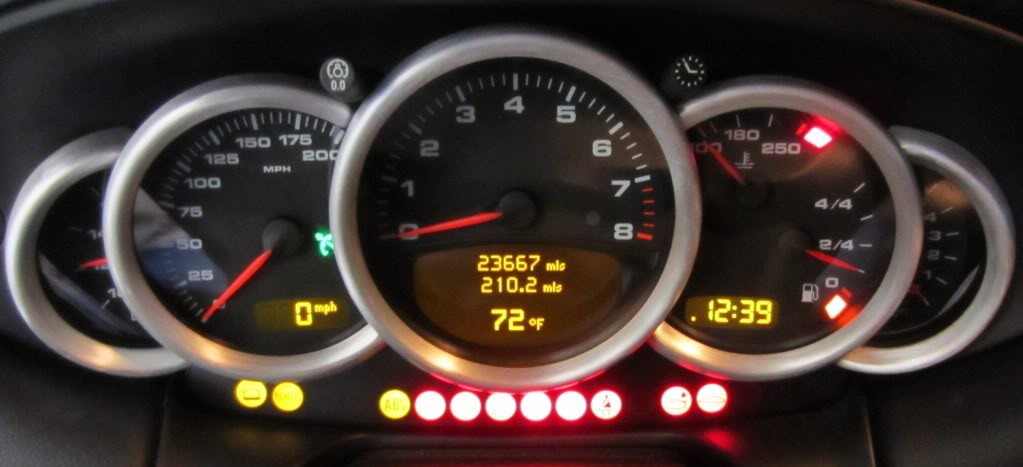
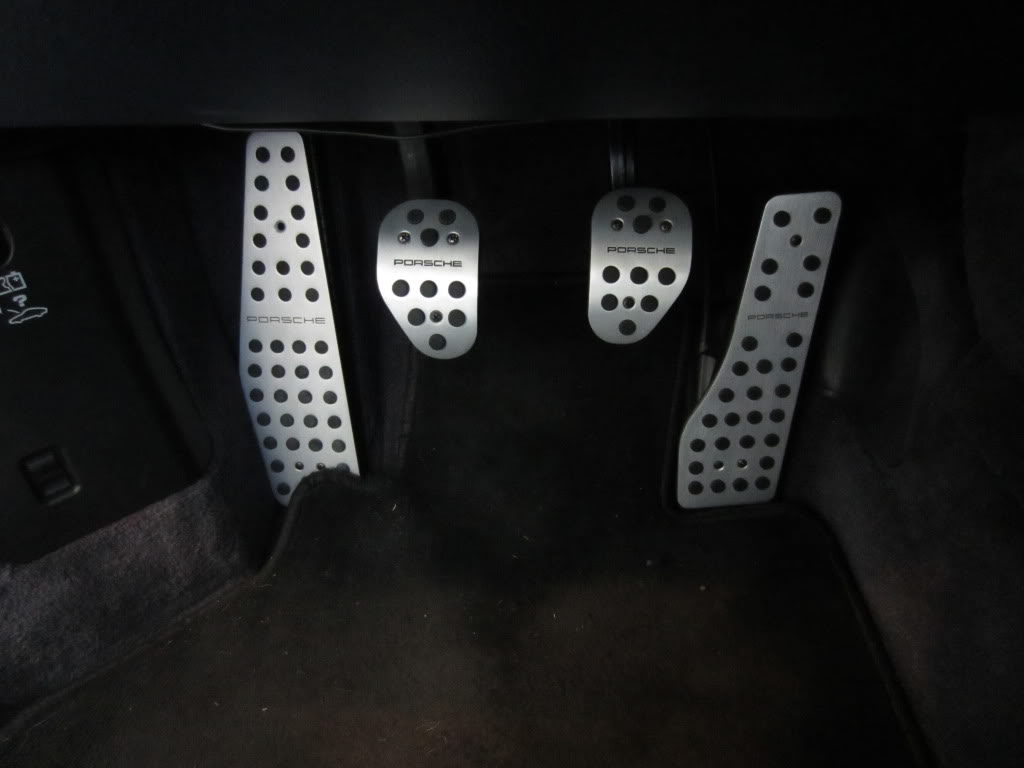
And they match up nicely with the ebay Aluminum Pedals I picked up last week. The trick to installing the pedals is to get a high strength bit, and turn the engine on to allow you to depress the brake pedal all the way. I sat in the driver seat and was able to reach down and drill the brake pedal with it pushed all the way in. I have long flexible arms. The other trick is to throw away the fasteners they give you and use self-taping #6 (possible #8) black philips head screws. This way you don't have to reach behind the screw with a washer and nut and get it all aligned. With this you screw them in and go. Plus the black screwhead matches the rubber grippers on the pedals. Does the stock clutch pedal sit lower than the brake? I believe it does as in my picture below but always wondered?
What do you guys think? I hope this helps others as I always get great advice on this forum and I know the guage rings are tough to find on the cheap.
Product Link:
http://www.automotion.com/gauge-deco...nd-boxter.html
I got very lucky in that they were on sale and I found a coupon so I got them delivered for around $70. So don't just pay the $99 regular price..look around for coupons or try using my receipt to get a price match. (Pictured)
I started scuffing them with 400 Grit Sand Paper by wet sanding with plenty of water and Dish Soap. This takes time and patience. Like nearly 30 minutes each. I may come back with 600 grit to hide the fine brush marks before doing a final install.
As I did this, I realized they look even better unpainted but stripped of the red paint. At this point I scrapped operation "Repaint" and hand sanded each ring to a brushed finish.
I temporarily pressed them into place for these photos but have not permanently secured them. I want to sand them with 600 grit with the hope of making all scratches invisible to the eye. The 400 grit scratches are actually attractive and they sit far enough in the dash that you can't really even see them in detail.
And they match up nicely with the ebay Aluminum Pedals I picked up last week. The trick to installing the pedals is to get a high strength bit, and turn the engine on to allow you to depress the brake pedal all the way. I sat in the driver seat and was able to reach down and drill the brake pedal with it pushed all the way in. I have long flexible arms. The other trick is to throw away the fasteners they give you and use self-taping #6 (possible #8) black philips head screws. This way you don't have to reach behind the screw with a washer and nut and get it all aligned. With this you screw them in and go. Plus the black screwhead matches the rubber grippers on the pedals. Does the stock clutch pedal sit lower than the brake? I believe it does as in my picture below but always wondered?
What do you guys think? I hope this helps others as I always get great advice on this forum and I know the guage rings are tough to find on the cheap.
Last edited by 996_911C2_Dhru; May 12, 2012 at 02:37 PM.

Thread Starter
|
Registered User
Joined: Dec 2010
Posts: 247
From: Huntington Beach, CA
Rep Power: 25
My guages don't have seperate rings per se OEM but the finish on them is black. If they were silver as stock I would have definitely left them as is! The add on rings do add increased size to the rings compared to stock as well. (If one prefers it)
Matt - I don't know of any codes off hand but PM'd some to test out. I would advise you to google for them and you might get lucky!
Matt - I don't know of any codes off hand but PM'd some to test out. I would advise you to google for them and you might get lucky!
Registered User
Joined: Jun 2010
Posts: 556
From: L.I., NY
Rep Power: 40
I added the silver rings to my gauges and I think I paid about $130 for them. Yours look nicer. Looks like a lot of work but the results look great. Nice job. If you haven't attached them yet, I suggest using clear silicone. My set came with a tube of superglue and I used it. The rings all fell off during the winter. I reattached them with silicone and they've been on solid ever since.
Thread Starter
|
Registered User
Joined: Dec 2010
Posts: 247
From: Huntington Beach, CA
Rep Power: 25
Thanks everyone for the feedback. I tried 800 grit on one and it got too shiney. So I resanded it with 400 and will leave it be. If you are starting from scratch, give 320 grit a shot. I'd be curious if that looks even better. Thanks for the suggestion of Silicone. I want to be able to take them off easily and reverse them should I want to refinish them again later. As such I'm think 3M 2-sided tape or velcro? The Aluminum trim inside becomes an addiction once you see how it contrasts against the dark black and blue 
BTW - this is an Easy/Foolproof DIY but just takes a bit of time and patience
BTW - this is an Easy/Foolproof DIY but just takes a bit of time and patience
Registered User
Joined: Jun 2010
Posts: 556
From: L.I., NY
Rep Power: 40
I've read that 2 sided tape is good too, but haven't tried it. I'm very happy with the silicone. Both would be easily removable. If using silicone, just put a small drop inside the ring about every inch or so.
Last edited by wyovino; May 13, 2012 at 02:09 PM.
Trending Topics
Thread Starter
|
Registered User
Joined: Dec 2010
Posts: 247
From: Huntington Beach, CA
Rep Power: 25
Well I ended up doing the 3M 2 Sided Tape and it worked perfect. They are not going anywhere. So I'd definitely say Silcone or Tape but never crazy glue.
Now on to the Fister exhaust..I have the mod bug. Window tint, K&N Filter, Aluminum Guage Rings, Xenon lights, Aluminum Pedals, AGM Battery, Full Audio Makover with Kenwood Nav/Bluetooth/DVD, 3 way speakers and custom sub....next is the exhaust.
Now on to the Fister exhaust..I have the mod bug. Window tint, K&N Filter, Aluminum Guage Rings, Xenon lights, Aluminum Pedals, AGM Battery, Full Audio Makover with Kenwood Nav/Bluetooth/DVD, 3 way speakers and custom sub....next is the exhaust.
Registered User
Joined: Sep 2010
Posts: 36
From: Alexandria, VA
Rep Power: 17
Do these simply overlay the existing rings? I wanted to paint my stock black rings silver, so I gave a half-assed try one night to remove them, with no luck. If these are overlay, that would save my lazy self the trouble.
Thread Starter
|
Registered User
Joined: Dec 2010
Posts: 247
From: Huntington Beach, CA
Rep Power: 25
These are aluminum overlays that press fit and require adhesive. (3M Tape or Silicone). The $99 ones I linked will come painted red. Ecklers/Automotion doesn't have them in Silver or Unpainted. If you want to match Aluma Look just sand them to a brushed finish as I have done. Good luck.


Thread Starter
|
Registered User
Joined: Dec 2010
Posts: 247
From: Huntington Beach, CA
Rep Power: 25
Hramos - The rings were not removed from the dash. These are overlay rings that stick over your cluster.
Scantu - Awesome idea. I was being cheap and should have bought stripper. The original paint is terrible. They should easily strip off. I think 400 grit is perfect and remember to use a mechanical motion to get "machined" looking lines.
Good news folks a coupon for 15% landed in my email box. code: NUY
It has a minimum purchase price greater than $100. So try finding some other things you might need. I threw two sets of rings in the cart and it worked.