
My Black headlight DIY

Thread Starter
|
Registered User
Joined: Sep 2008
Posts: 205
From: Vancouver
Rep Power: 27

My Black headlight DIY
I originally wanted to do the 997 conversion but rather spend the money on a supercharger and black the headlights to refresh it abit.
It took me a total of 2 full days to complete, could have been shorter but i wanted everything to dry and cure completely!
I don't have any pics of them on the car just yet as im about to wet sand and re polish the lenses due to scratches that are a lot more visible with the painted trim!
I missed some minor steps along the way, plastic welding the trim back together, blowing the pieces off once you sand them etc, however it will be easy to figure out once you got it all opened up!
Anyways, here are some pics
Enjoy!
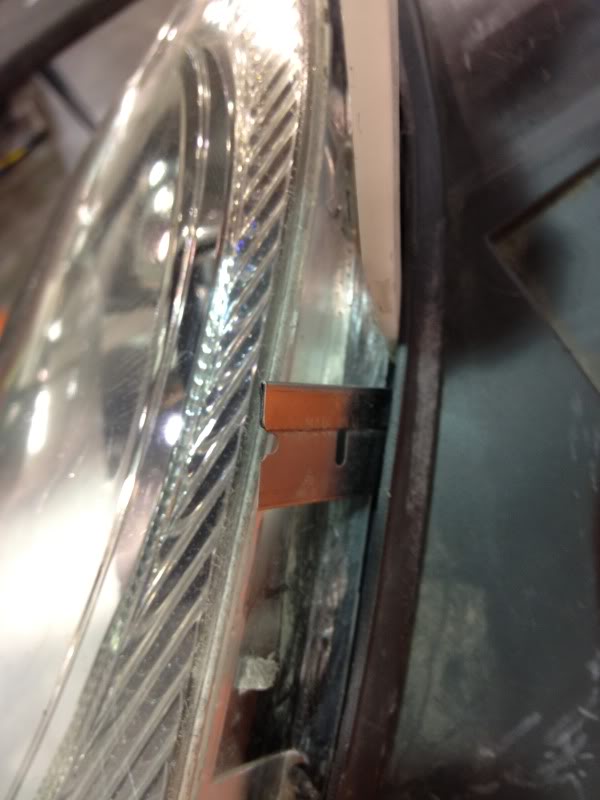
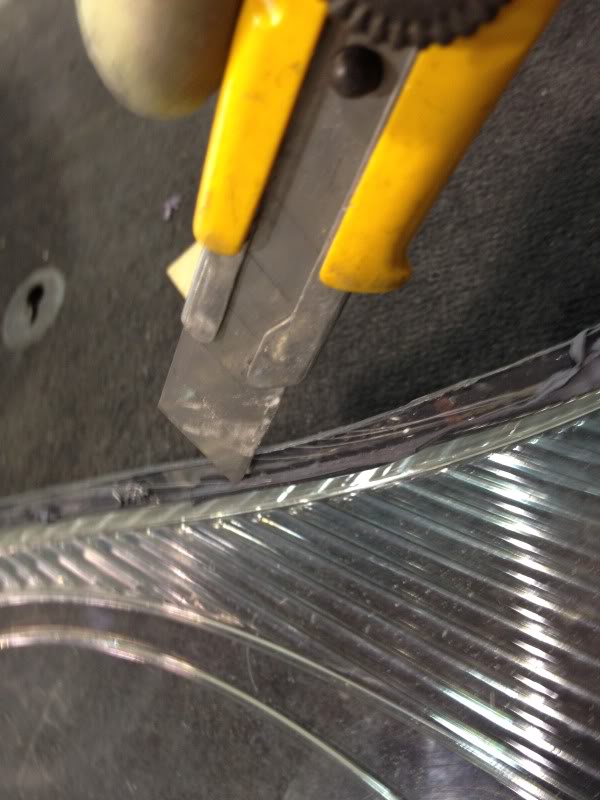
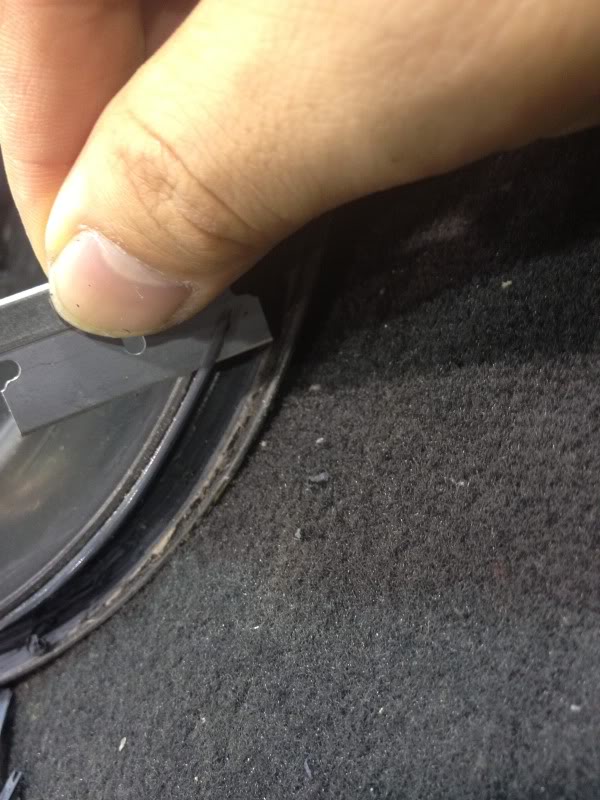
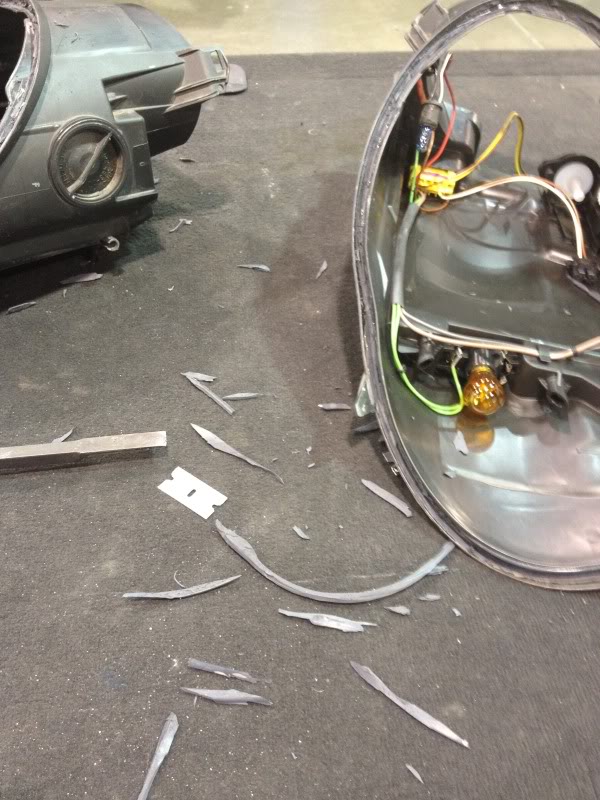
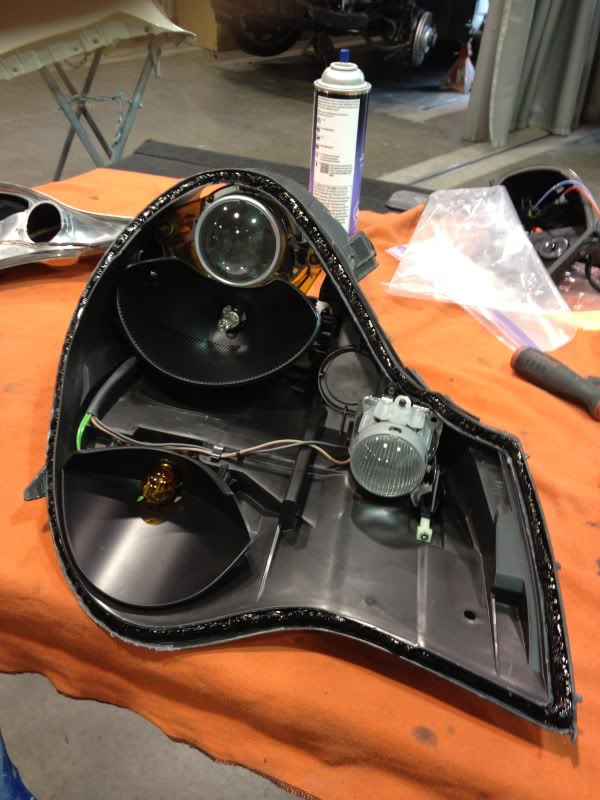
This was after i heated them up in the oven for 20mins at 225 degrees. Slice and pry away from the housing! Careful not to slice to hard or pry to hard it can and will break!
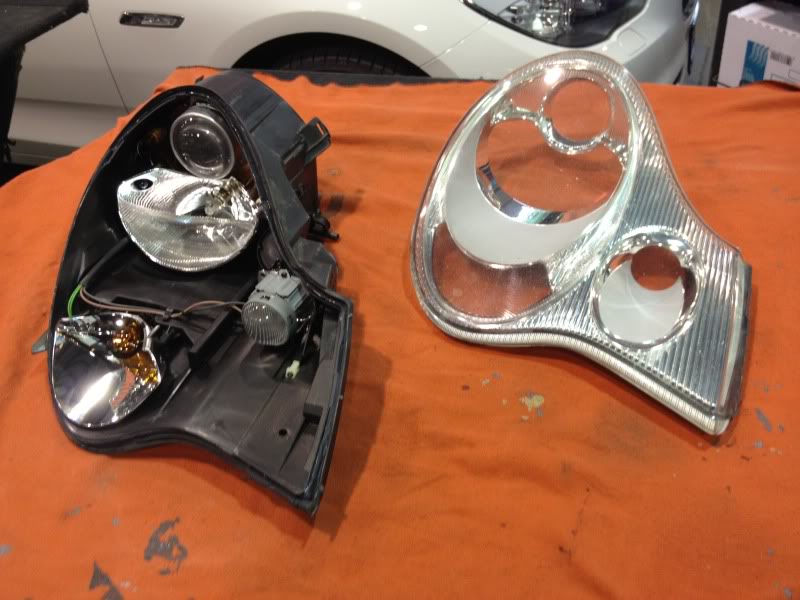
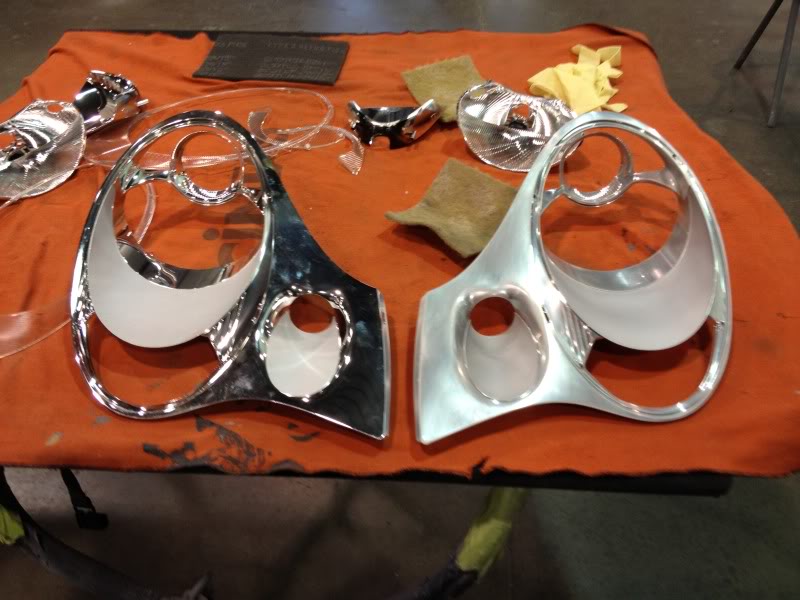
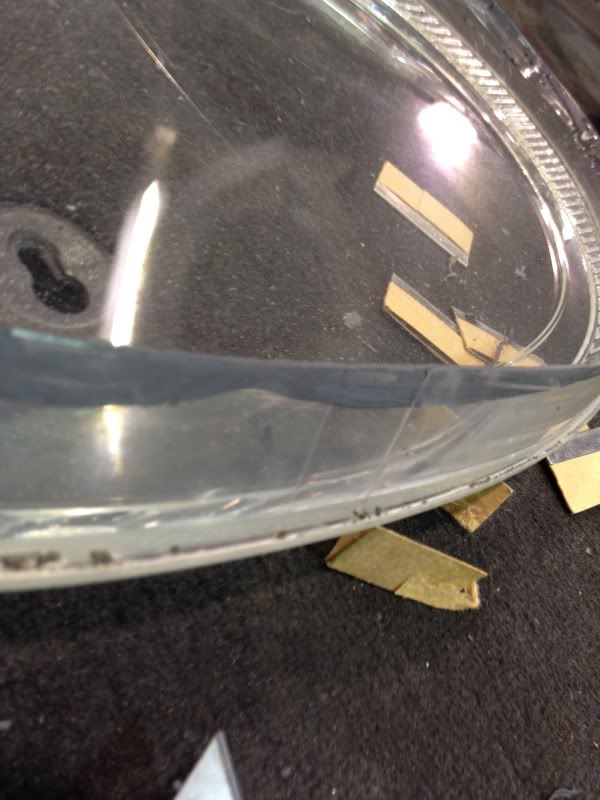
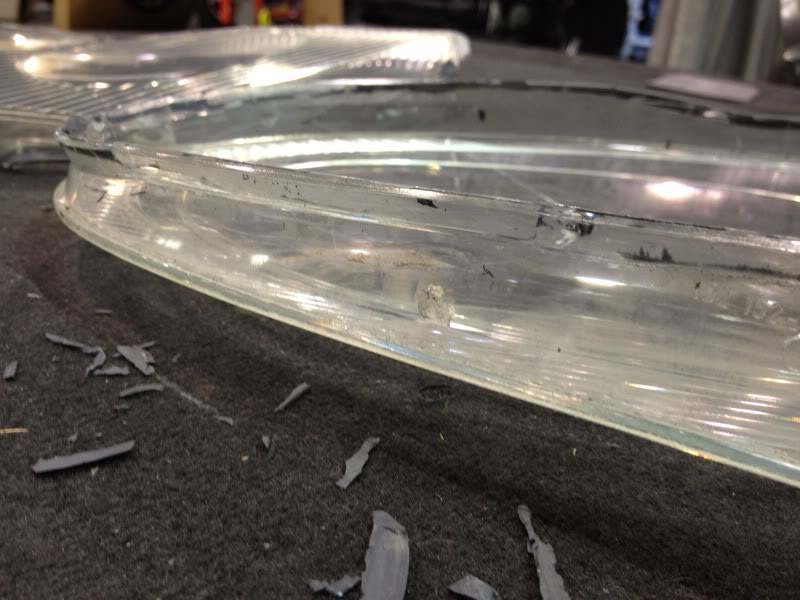
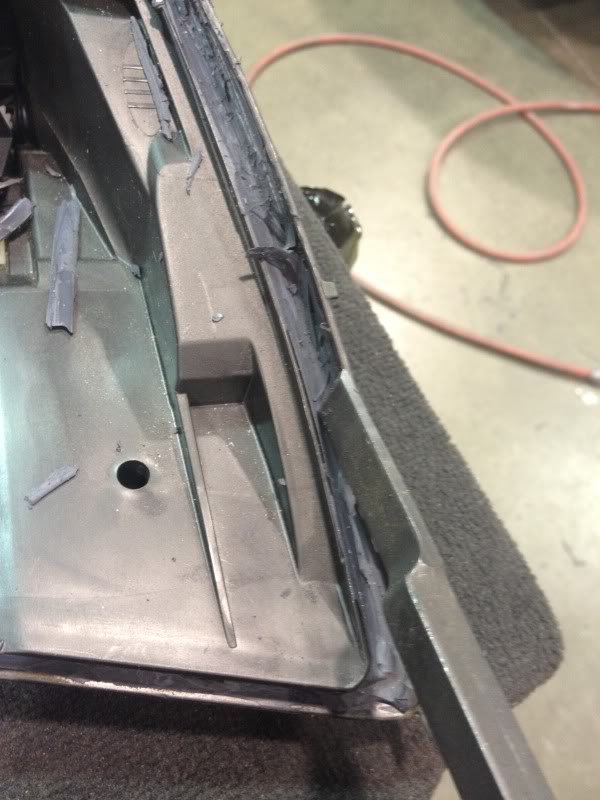
This is what you will have once you gone through slicing the entire lap around the headlights
Becareful when removing the trim, it pops right now but is very easy to snap!
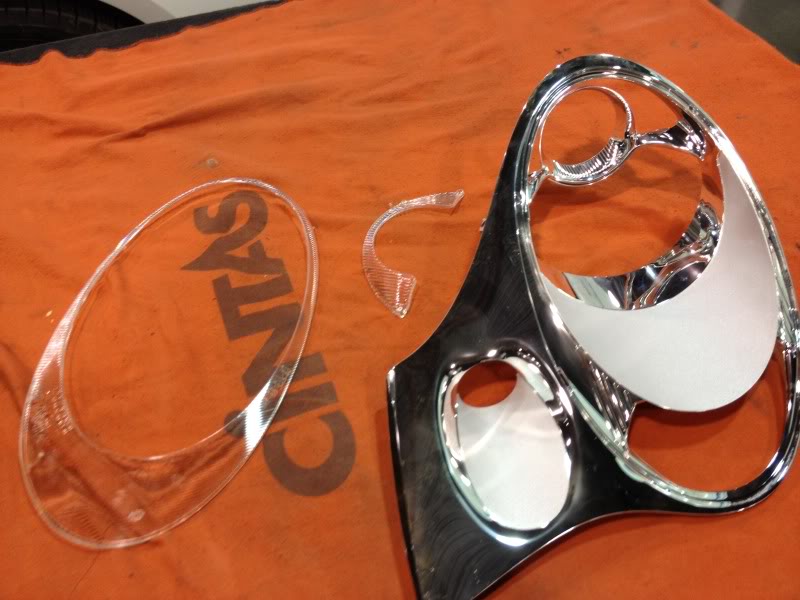
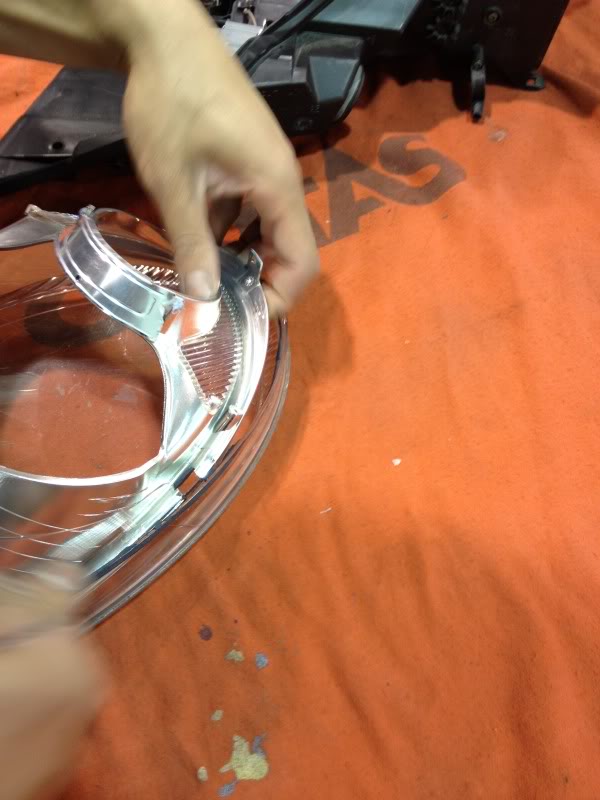
Next you need to remove the clear trim off the silver trim, they are plastic welded, i just carefully pry them apart.
Now the fun begins!
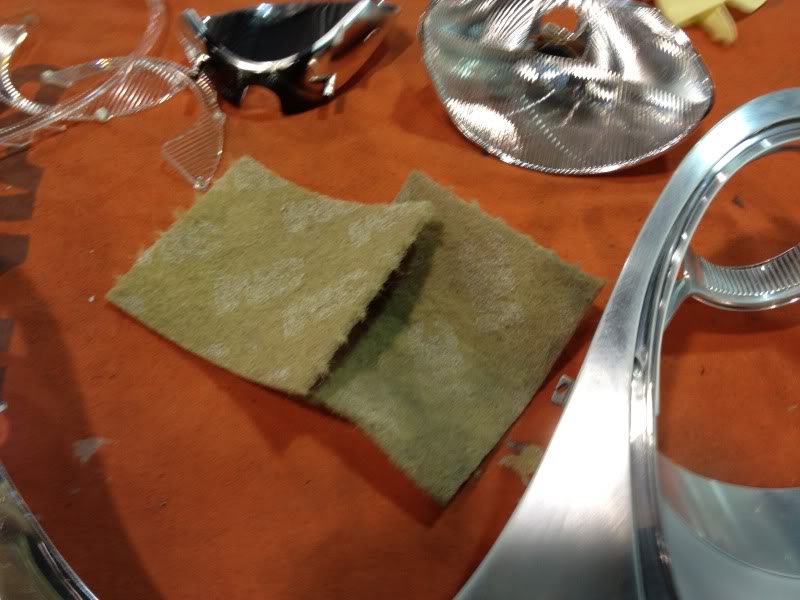
Preping for paint, i used 3M scruffing pad. Scruffing in long strides to cover as much surface possible, make sure to get every shiny section and you should be left with something like this!(i did this for every piece being painted)
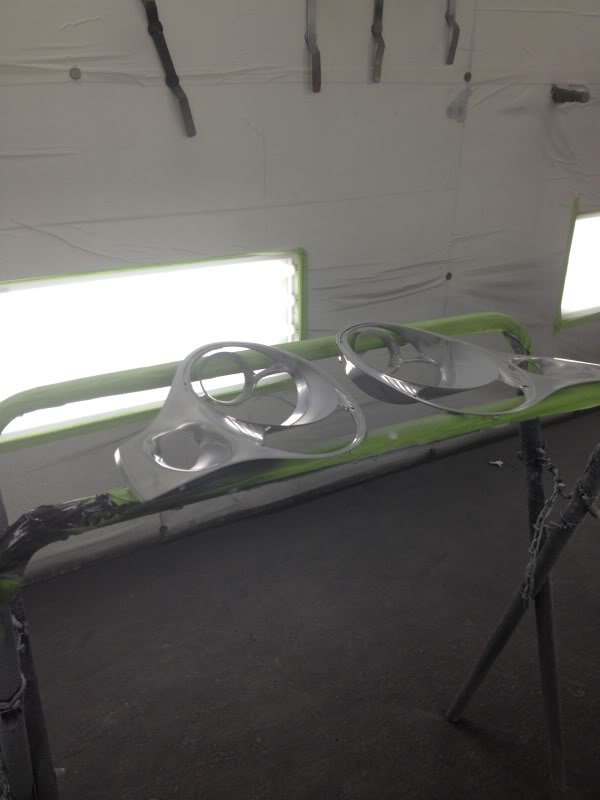
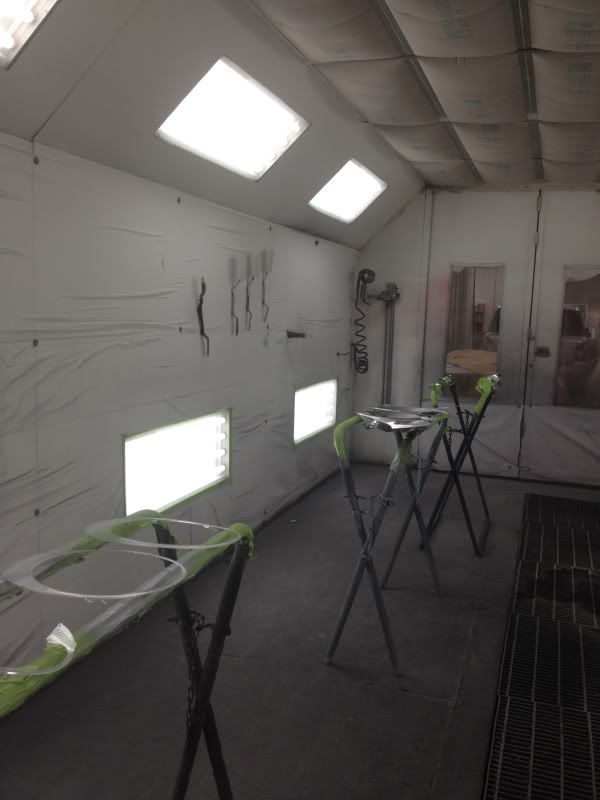
Ready for paint!!
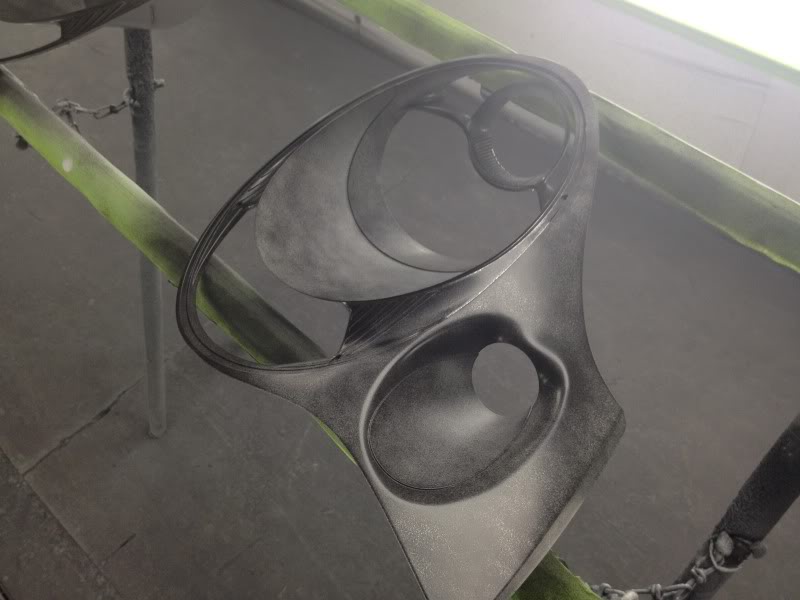
First coat!, all black everythingggg, how ever I smoked the clear trims!
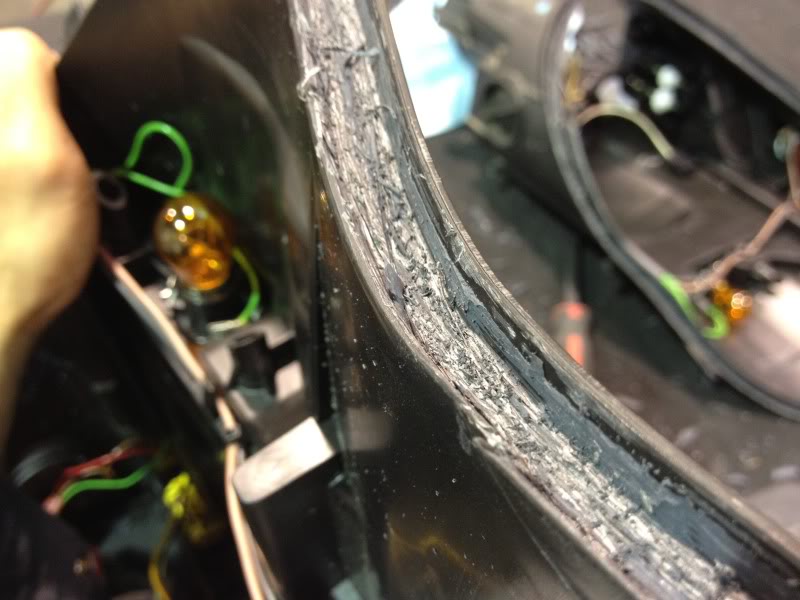
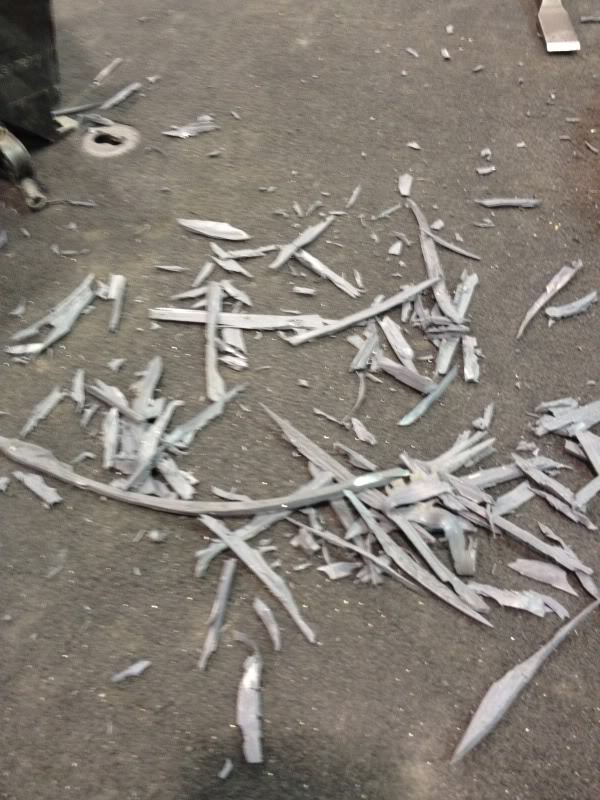
As i let the coats dry, between coats, go back and start removing ALL or most lol, the old silicone or what ever it is on the headlight housing and lense. This will be good for resealing, the more the clean surface, the more for the new sealant to bond a tight seal.
After the paint coats and silicone peeling, you should be done all your coats and be left with this ! I let the paint dry over night!, i spent the rest of the time cleaning the housing of silicone.
Now that you have everything cleaned and dried, time put everything back together for sealing! I forgot to take pics but removing the parts in the headlight is pretty straight forward.
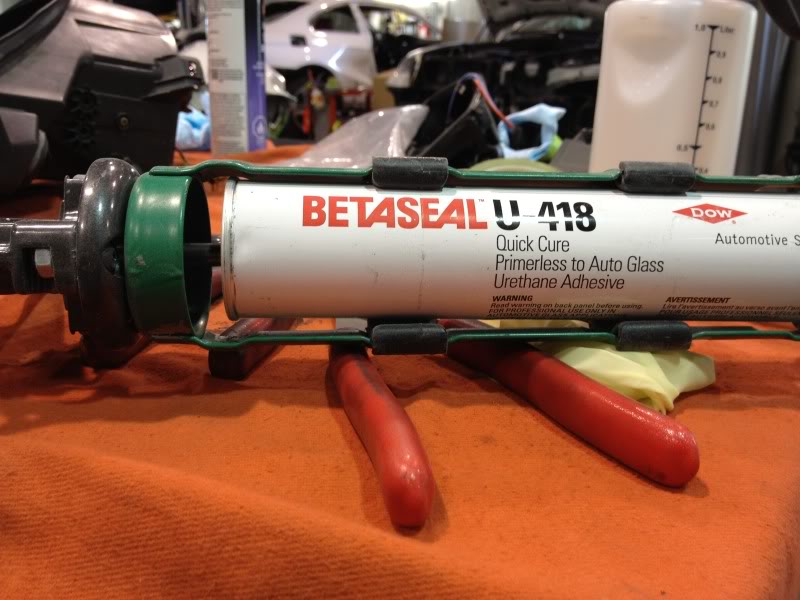
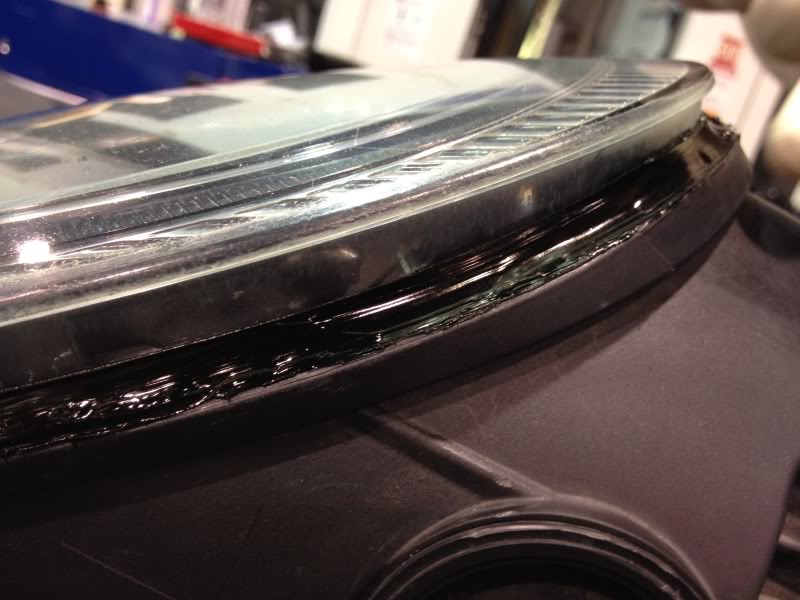
I used urethane for sealing up the headlights, makes for a nice seal.
Slowly work your way through the lap for an even application.
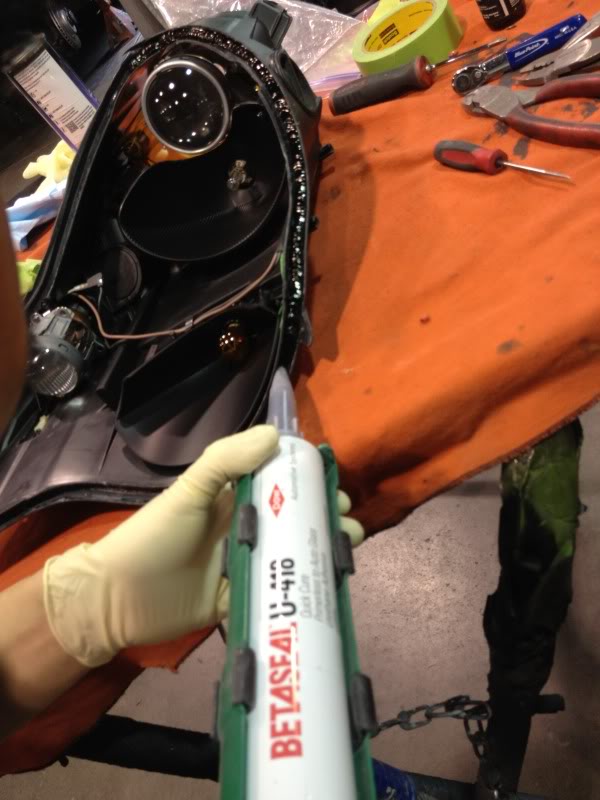
Once complete you will have something like this!
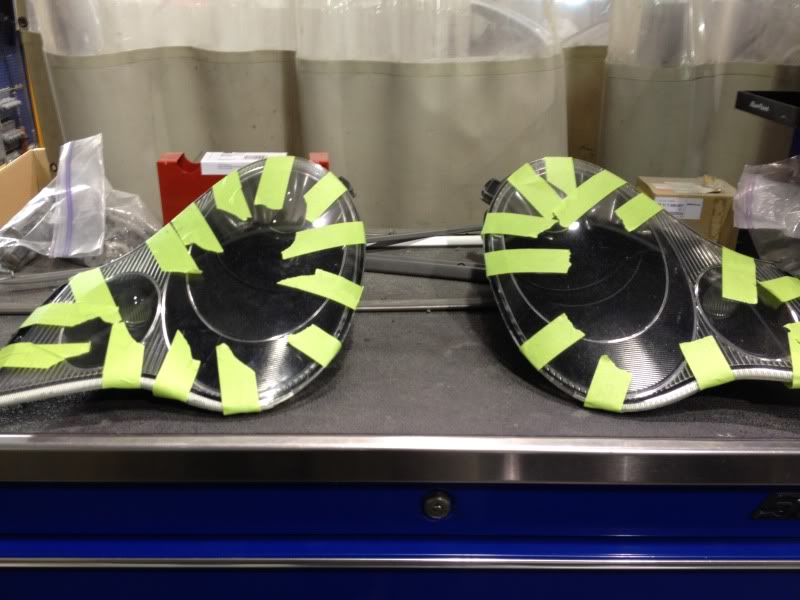
Now have the lense clean and dry and ready to reinstall!
I pressed it in tightly and taped it in to hold its position in place!
Now let it cure over night!
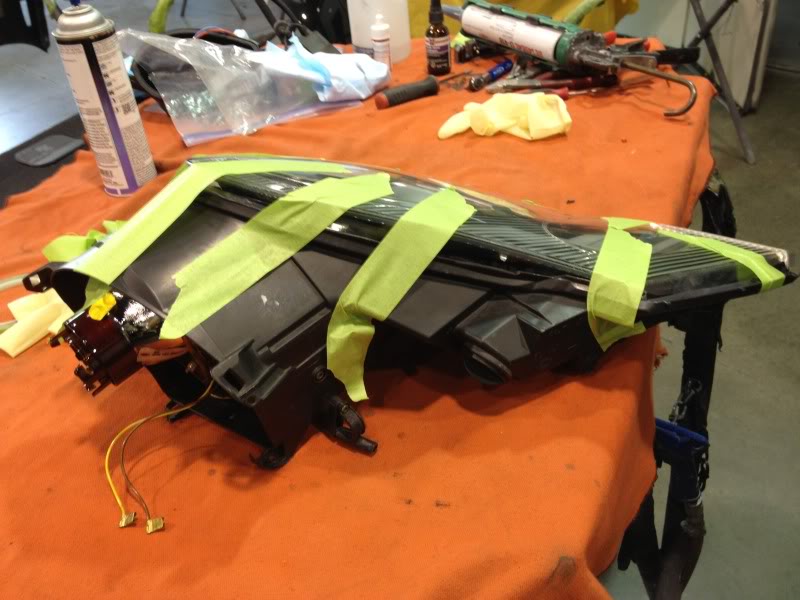
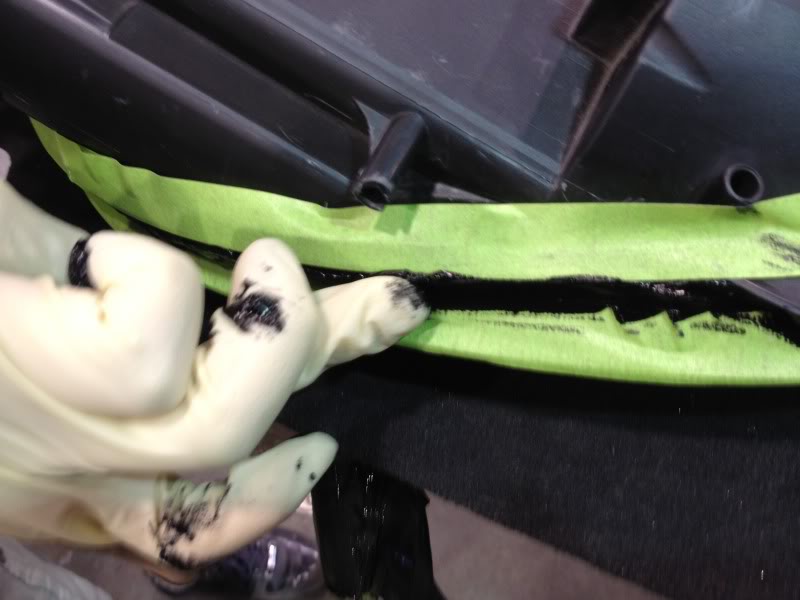
Once you let the urethane cure over night, Mask around where the sealant goes, as we will be adding another bead layer of urethane to ensure the seal is tight.
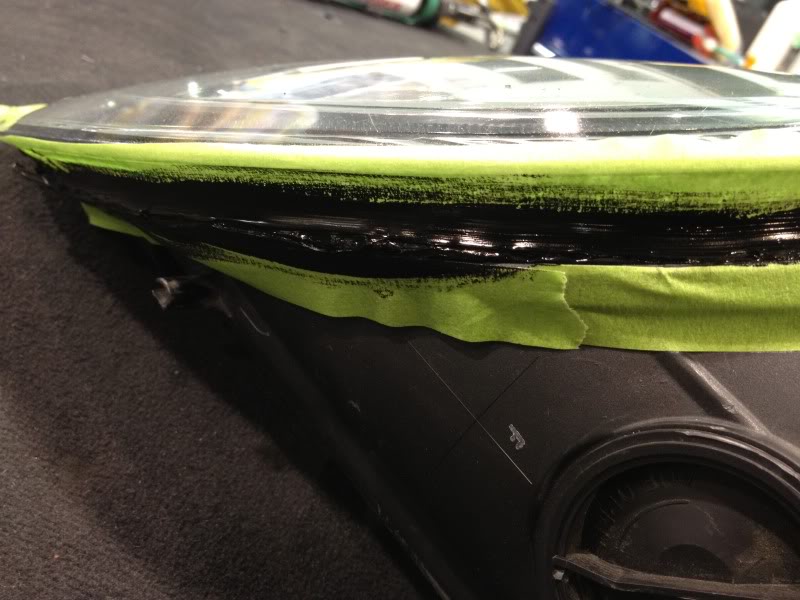
Now with the urethane, go along and make a lap on top of the existing urethane. You should be left with something like this!

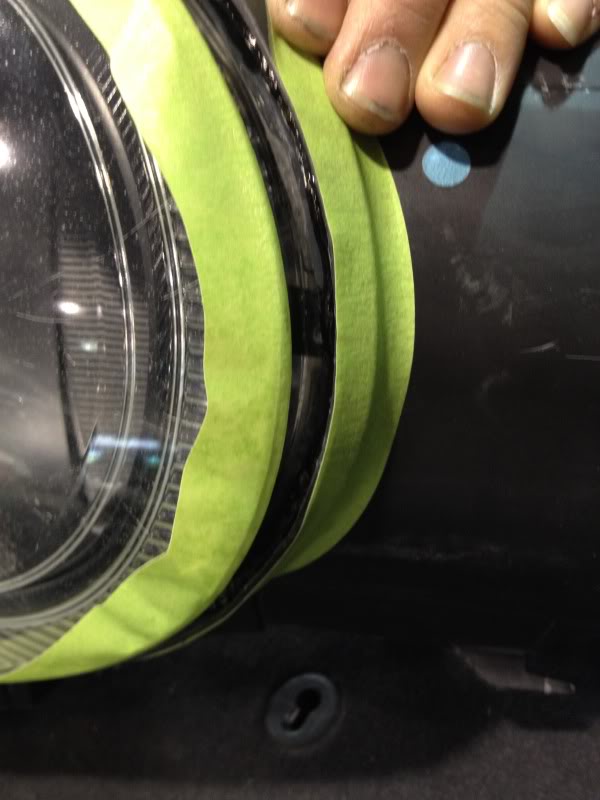
Now run your finger along the edge to smooth out the surface of the urethane to fill in all the little gaps and have a cleaner look
Let it dry for a few hours and remove the tape!
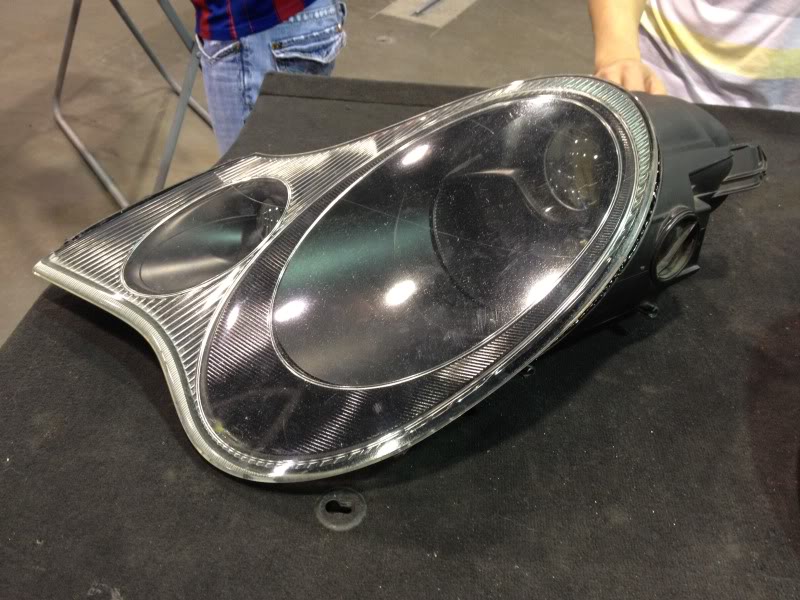
Voila! Heres your new and improved headlight.
Depending on how fast your urethane dries you can install it on the car. I will be cleaning up my lenses of scratches so im not quite done!
It took me a total of 2 full days to complete, could have been shorter but i wanted everything to dry and cure completely!
I don't have any pics of them on the car just yet as im about to wet sand and re polish the lenses due to scratches that are a lot more visible with the painted trim!
I missed some minor steps along the way, plastic welding the trim back together, blowing the pieces off once you sand them etc, however it will be easy to figure out once you got it all opened up!
Anyways, here are some pics
Enjoy!
This was after i heated them up in the oven for 20mins at 225 degrees. Slice and pry away from the housing! Careful not to slice to hard or pry to hard it can and will break!
This is what you will have once you gone through slicing the entire lap around the headlights
Becareful when removing the trim, it pops right now but is very easy to snap!
Next you need to remove the clear trim off the silver trim, they are plastic welded, i just carefully pry them apart.
Now the fun begins!
Preping for paint, i used 3M scruffing pad. Scruffing in long strides to cover as much surface possible, make sure to get every shiny section and you should be left with something like this!(i did this for every piece being painted)
Ready for paint!!
First coat!, all black everythingggg, how ever I smoked the clear trims!
As i let the coats dry, between coats, go back and start removing ALL or most lol, the old silicone or what ever it is on the headlight housing and lense. This will be good for resealing, the more the clean surface, the more for the new sealant to bond a tight seal.
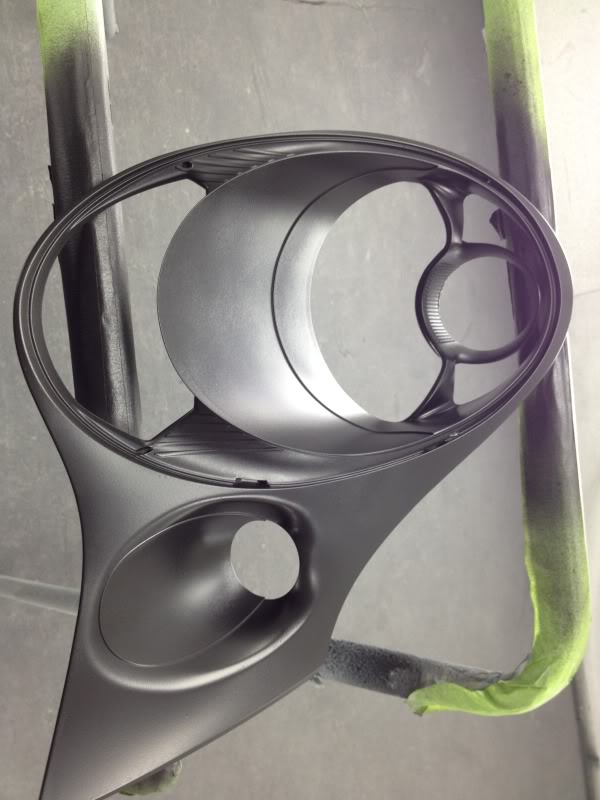
After the paint coats and silicone peeling, you should be done all your coats and be left with this ! I let the paint dry over night!, i spent the rest of the time cleaning the housing of silicone.
Now that you have everything cleaned and dried, time put everything back together for sealing! I forgot to take pics but removing the parts in the headlight is pretty straight forward.
I used urethane for sealing up the headlights, makes for a nice seal.
Slowly work your way through the lap for an even application.
Once complete you will have something like this!
Now have the lense clean and dry and ready to reinstall!
I pressed it in tightly and taped it in to hold its position in place!
Now let it cure over night!
Once you let the urethane cure over night, Mask around where the sealant goes, as we will be adding another bead layer of urethane to ensure the seal is tight.
Now with the urethane, go along and make a lap on top of the existing urethane. You should be left with something like this!
Now run your finger along the edge to smooth out the surface of the urethane to fill in all the little gaps and have a cleaner look
Let it dry for a few hours and remove the tape!
Voila! Heres your new and improved headlight.
Depending on how fast your urethane dries you can install it on the car. I will be cleaning up my lenses of scratches so im not quite done!
Last edited by MadeInPorshe; Jul 2, 2012 at 07:21 PM.

 lol.
lol.
Thread Starter
|
Registered User
Joined: Sep 2008
Posts: 205
From: Vancouver
Rep Power: 27
I agree!, I will be doing so very soon and along with a reventon gray wrap, just need to get some engine and suspension mods in first!
Trending Topics

Thread Starter
|
Registered User
Joined: Sep 2008
Posts: 205
From: Vancouver
Rep Power: 27
However this look is not for me

Registered User
Joined: Jul 2012
Posts: 125
From: Toronto
Rep Power: 19
This is great!
i wana do the same thing O_O
but just a few questions:
1. Did you black-out your High beam reflector?!? it looks like it.. does your high beam still work?
2. Are those HIDs you have in the projector? Is it a halogen projector or HID projector?
3. what paint did you use
i wana do the same thing O_O
but just a few questions:
1. Did you black-out your High beam reflector?!? it looks like it.. does your high beam still work?
2. Are those HIDs you have in the projector? Is it a halogen projector or HID projector?
3. what paint did you use
Thread Starter
|
Registered User
Joined: Sep 2008
Posts: 205
From: Vancouver
Rep Power: 27
This is great!
i wana do the same thing O_O
but just a few questions:
1. Did you black-out your High beam reflector?!? it looks like it.. does your high beam still work?
2. Are those HIDs you have in the projector? Is it a halogen projector or HID projector?
3. what paint did you use
i wana do the same thing O_O
but just a few questions:
1. Did you black-out your High beam reflector?!? it looks like it.. does your high beam still work?
2. Are those HIDs you have in the projector? Is it a halogen projector or HID projector?
3. what paint did you use

I will have to double check on the paint, but i believe it was matte black plastic trim paint. Its used for exterior car plastics so they don't fade.