
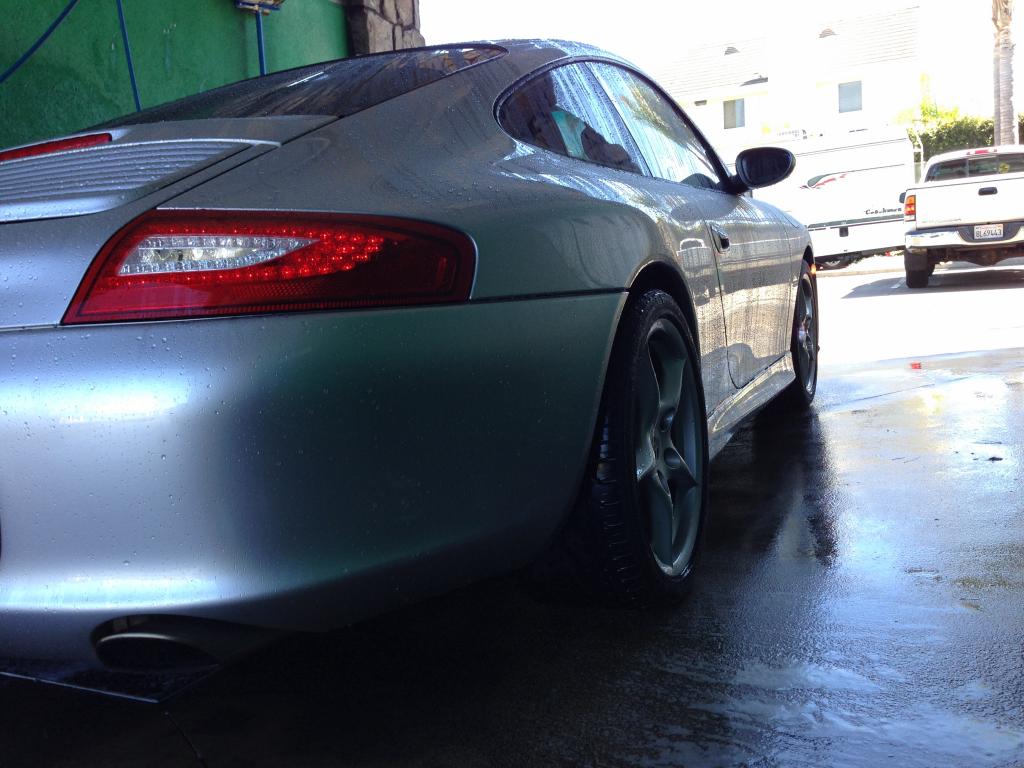
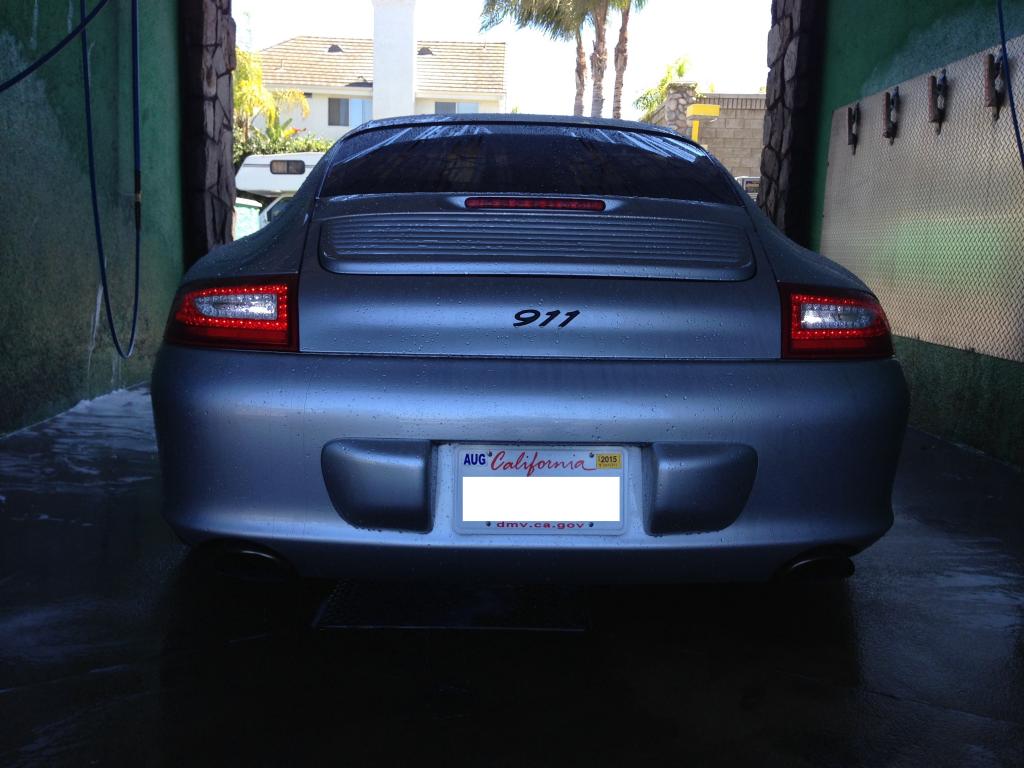
Updated the rear lights to Depo LEDs on my 996 C4


Registered User

Joined: Mar 2015
Posts: 506
From: Apalachin, New York
Rep Power: 40


I was just thinking about going through with the engine lid emblem change like you did with the Porsche letters, did you ever find a template for placing letters or did you have to measure all of them?
Registered User
Joined: Mar 2012
Posts: 277
From: Santa Monica, Ca
Rep Power: 26
Hi, yes I had to measured them all one by one and took about 2.5 hours to make sure they were straight and make any corrections. Here are few pictures from a different member so I don't take credit for them. I just used them to have a better idea and make sure I lined them up correctly. Very happy with the end result. The last letter E think doesn't go completely straight so I had a bit of trouble with that. Good luck and post your pictures when you are done. 

Registered User
Joined: Dec 2010
Posts: 247
From: Huntington Beach, CA
Rep Power: 25
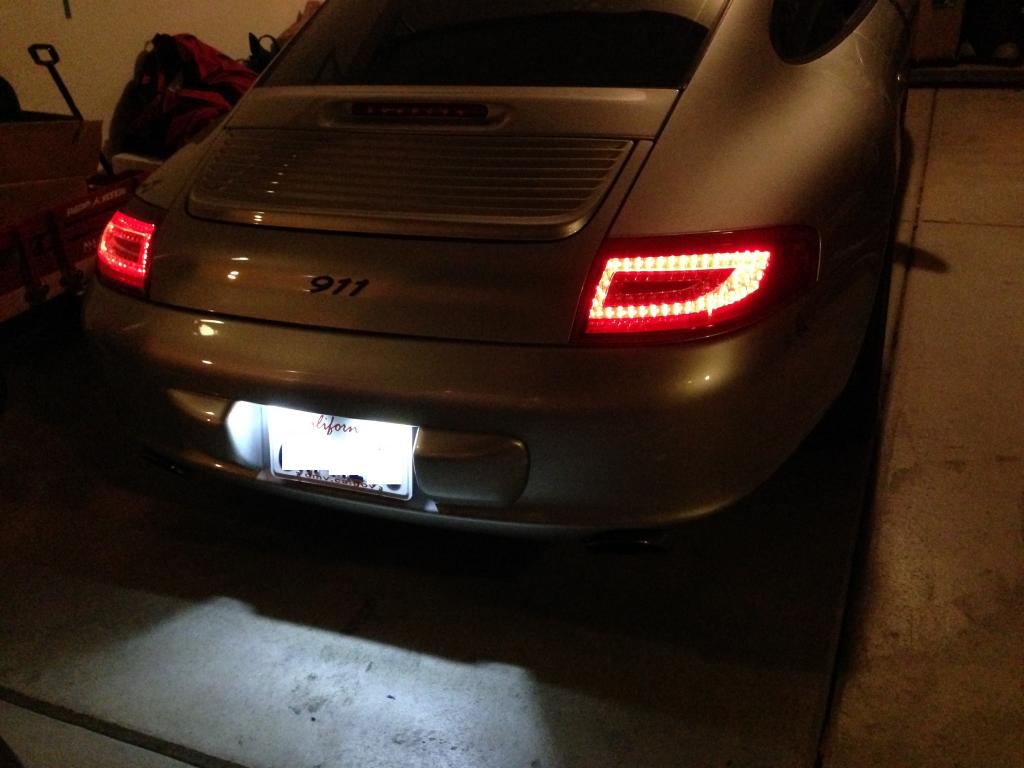
Looks great.
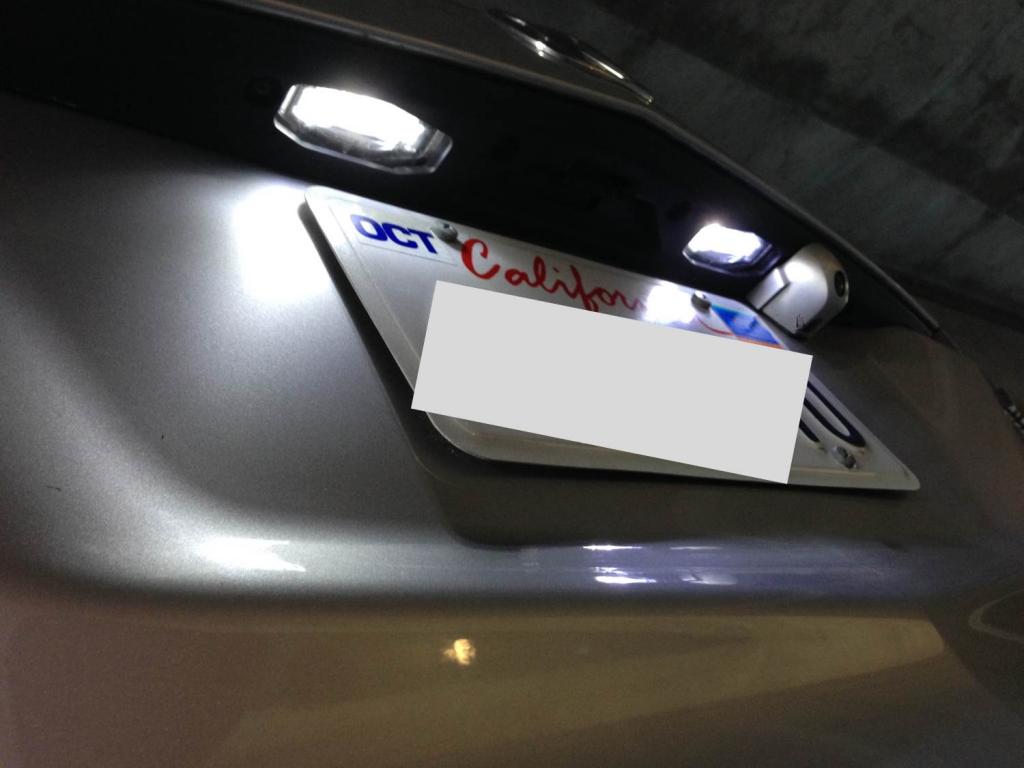
I added some LED reverse light bulbs and license plate bulbs to complete the look. And flush mounted a rear view camera over the license plate (last picture). I also get occasional condensation in the LED third brake light. I'm going to take it out, make sure it is dry and seal it with silicone. (assuming mine still works, haven't checked)
I added some LED reverse light bulbs and license plate bulbs to complete the look. And flush mounted a rear view camera over the license plate (last picture). I also get occasional condensation in the LED third brake light. I'm going to take it out, make sure it is dry and seal it with silicone. (assuming mine still works, haven't checked)


Trending Topics
Registered User
Joined: Dec 2010
Posts: 247
From: Huntington Beach, CA
Rep Power: 25
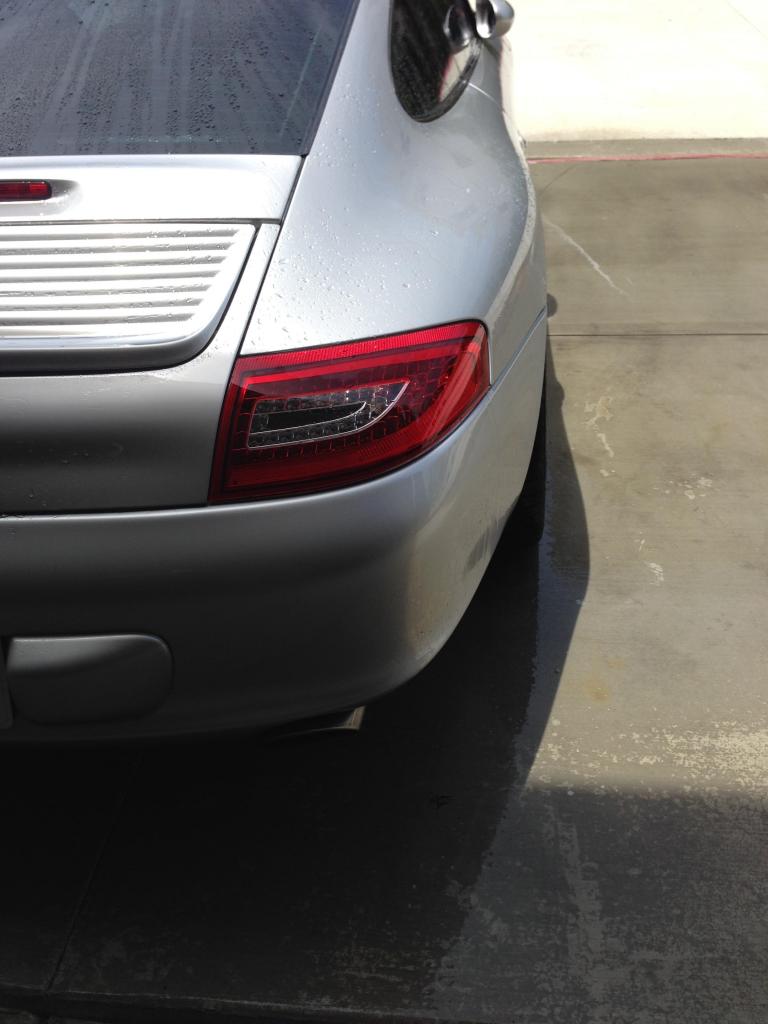
Manufacturer build quality.
The build quality is good in the sense of fit and finish and looking the part of a Porsche component. However the gasket/seal may not be the best. When the temperature changes, the plastic and seal itself can expand/contract and at different rates. If this happens in the presence of enough moisture, moisture can get in. This is why I would advise anyone to preseal it with silicone before installing it. Thought about doing so myself and didn't end up doing it
The good thing is my light still works and is now dry. So I will go ahead and seal both the spoiler and inner mounted units.
Registered User
Joined: Mar 2015
Posts: 506
From: Apalachin, New York
Rep Power: 40
Hi, yes I had to measured them all one by one and took about 2.5 hours to make sure they were straight and make any corrections. Here are few pictures from a different member so I don't take credit for them. I just used them to have a better idea and make sure I lined them up correctly. Very happy with the end result. The last letter E think doesn't go completely straight so I had a bit of trouble with that. Good luck and post your pictures when you are done.
")
Registered User
Joined: Dec 2010
Posts: 247
From: Huntington Beach, CA
Rep Power: 25
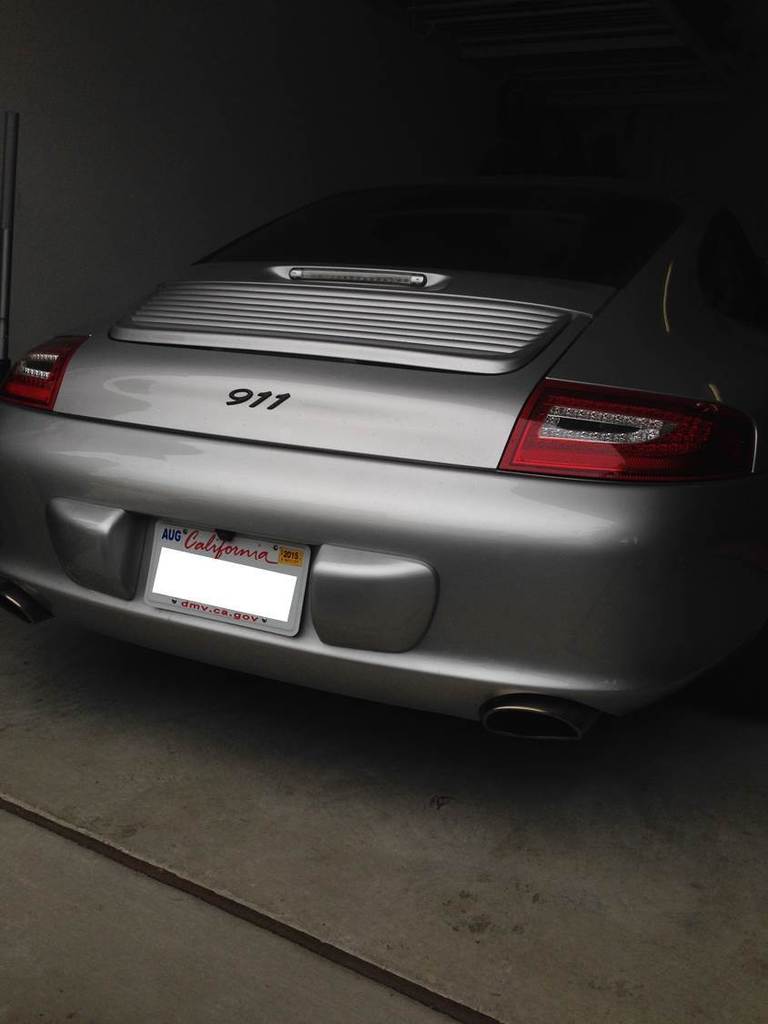
Another tip. Use blue painters tape and a level to make your template or boxed area where the label goes. That is how I got my 911 script installed with exact spacing, properly leveled and dead center from left to right. Once the letters/numbers were on, I just peeled away the blue tape.


Thread
Thread Starter
Forum
Replies
Last Post
tommyboy214
Automotive Parts & Accessories For Sale/Wanted
8
Apr 4, 2016 07:31 PM
Clearlaker
Automotive Parts & Accessories For Sale/Wanted
4
Mar 26, 2016 08:30 AM
Polar993
Panamera
0
Mar 24, 2016 01:04 PM
bdschet
Automotive Parts & Accessories For Sale/Wanted
9
Mar 24, 2016 06:50 AM
Mp5o
Automotive Parts & Accessories For Sale/Wanted
4
Mar 21, 2016 10:41 AM