When you click on links to various merchants on this site and make a purchase, this can result in this site earning a commission. Affiliate programs and affiliations include, but are not limited to, the eBay Partner Network.
So with only 9000 miles on my 2010 911 turbo, I noticed that the manual calls for this belt to be changed every 4 years. Seams a bit excessive to me, so I asked my local P dealer mechanic why this was. He said that these bests tend to stretch a bunch due to high revs and H.P. He said symptoms would be overheating if the belt tension pulley runs out of throw. Anyway, new belt about $80 bucks at my local P dealer and I was off. The belt change is pretty much easy, removing the bumper, heat shield, air box, rear wheels and splash guard is a bit of a pain.
So, to start, put the rear of the car on jack stands and remove the rear wheels. To access one of the screws holding the rear bumper on, you have to remove the rear splash guard in the wheel well.
Next, remove your tail lights. To do this, loosen, don't remove the two screws in the engine compartment.
Gently remove the the taillight and unplug the connector. Pull out and up as you wiggle the plug.
Remove all the screws along the bottom of the bumper and than the one in the corner of where the tail light was. this one is plastic and once out, pull out the plastic plug.
Now remove the screw in the wheel well from the corner of the bumper.
Now that these are out, remove the screws from the top along the engine compartment.
work the bumper off slowly, it helps if two people do this, one on each side. Once off, gently lower to the ground careful not to pull on the tail light wire.
I use a piece of cardboard to keep track of where all the screws go.
Once the bumper is off, remove the rear heat guard by removing the two large bolts at the top and the two small screws on the sides. Sorry, forgot to take photos of this.
Next remove the air box by removing the cover than removing the filter by the four screws along the top. I know, there are two more on the other side of the photo......
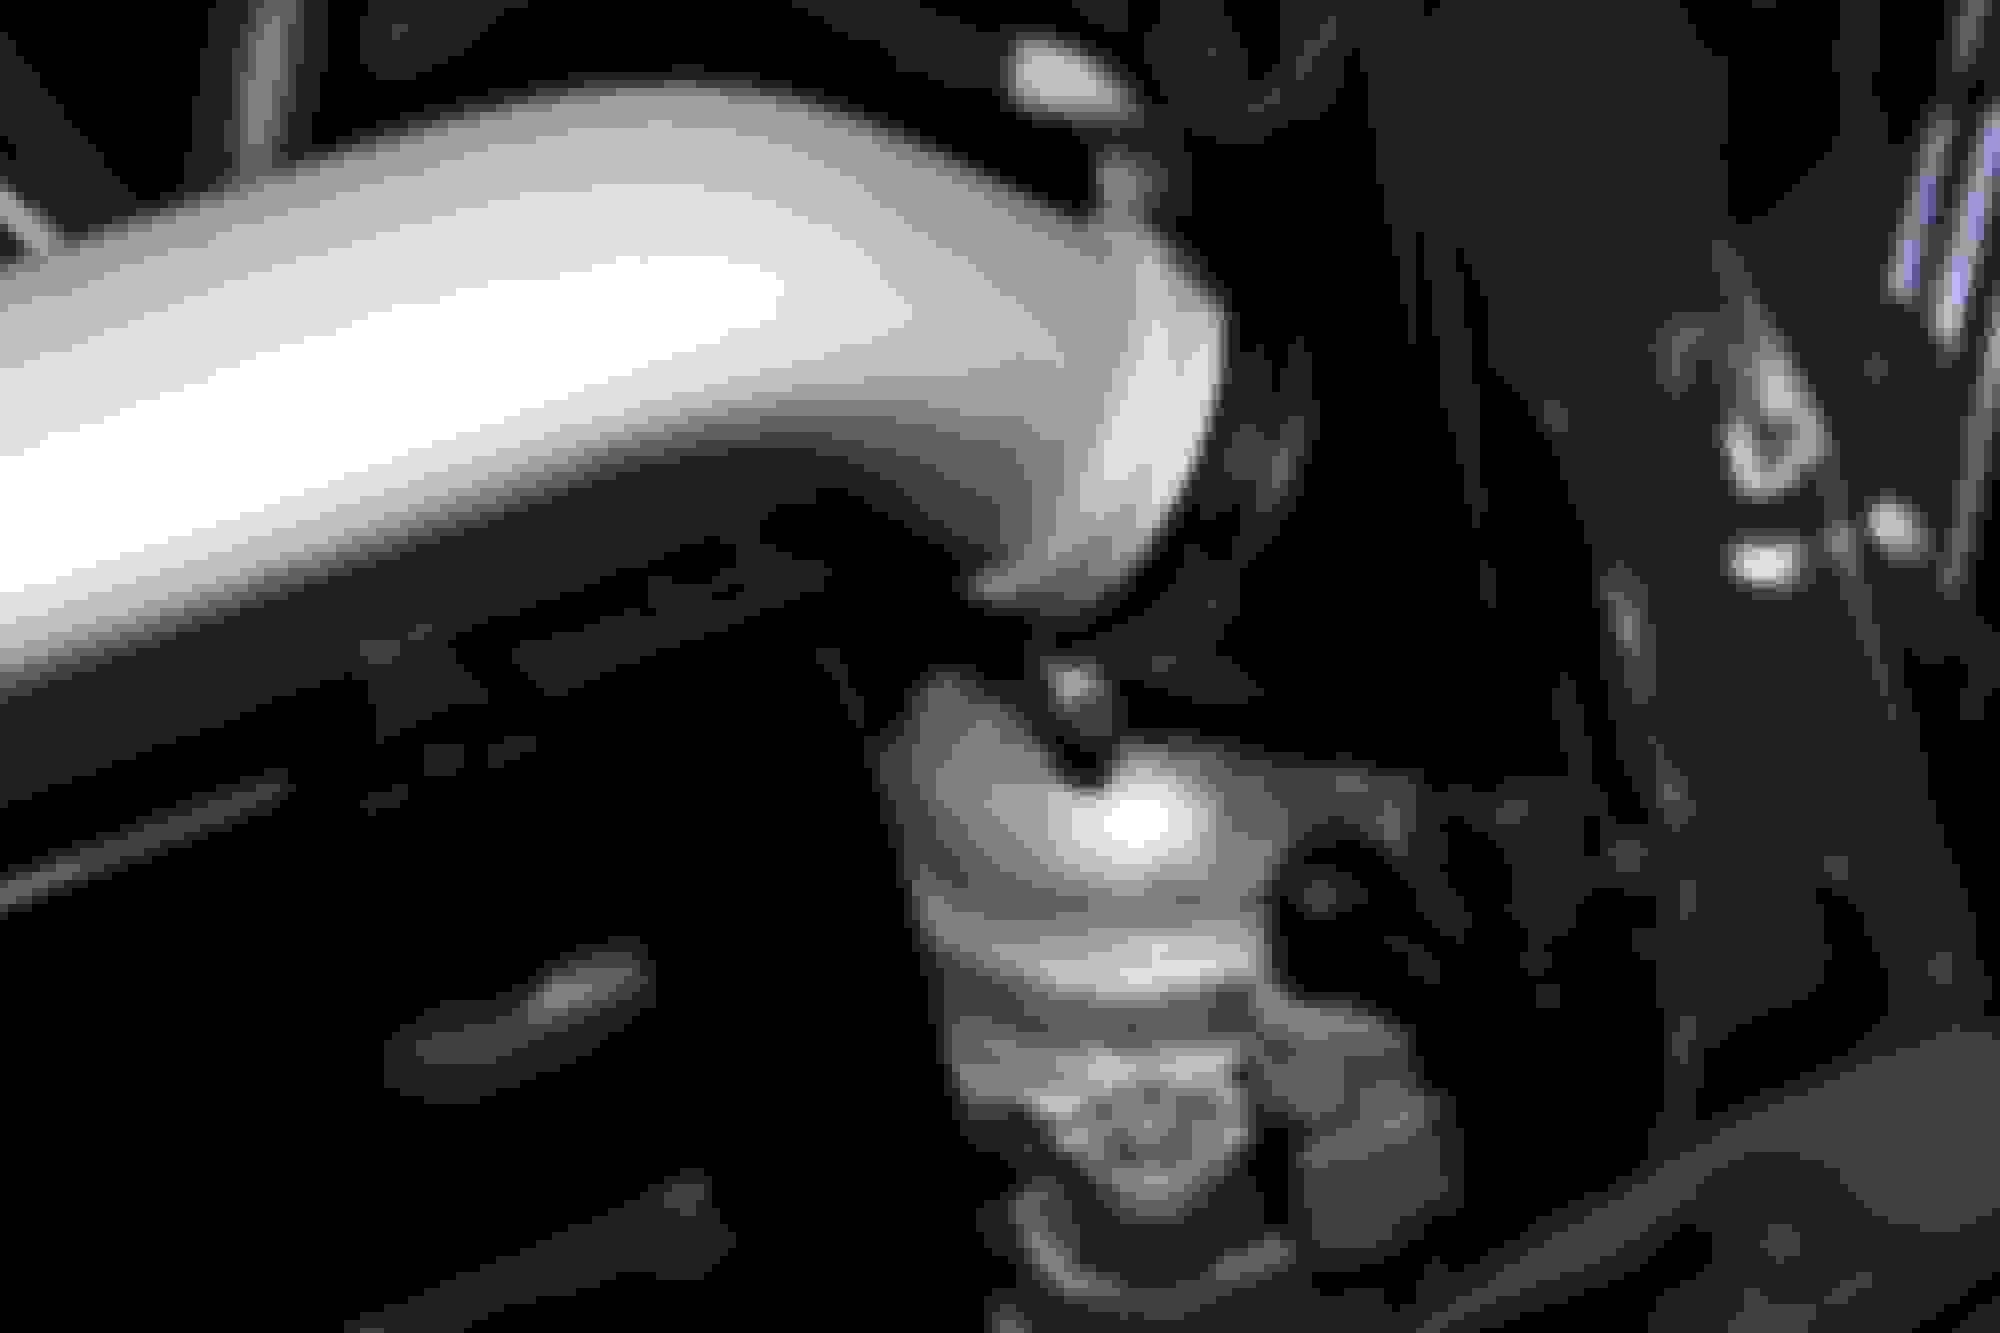
Next the tricky bit. The back of the air box is simply wedged between the frame and the silver air intake. To get it out, first loosen the hose clamps on each end of the silver air intakes coming from the inter coolers.
remove the pipe from the inter cooler hose by lifting up
Once both sides are free, loosen the hose clamps on the back of the air box.
once both of these are loose, gently wiggle the air box out. This will give you a good view of your belt and pulley.
Before you can remove your belt, you have to remove a engine mount bolt and spacer that goes through the center of the belt. This is done with a long extension through an access hole.
To remove your belt, I used a crescent wrench to off load the belt and placed it on the alternator to hold the pulley while removing the belt.
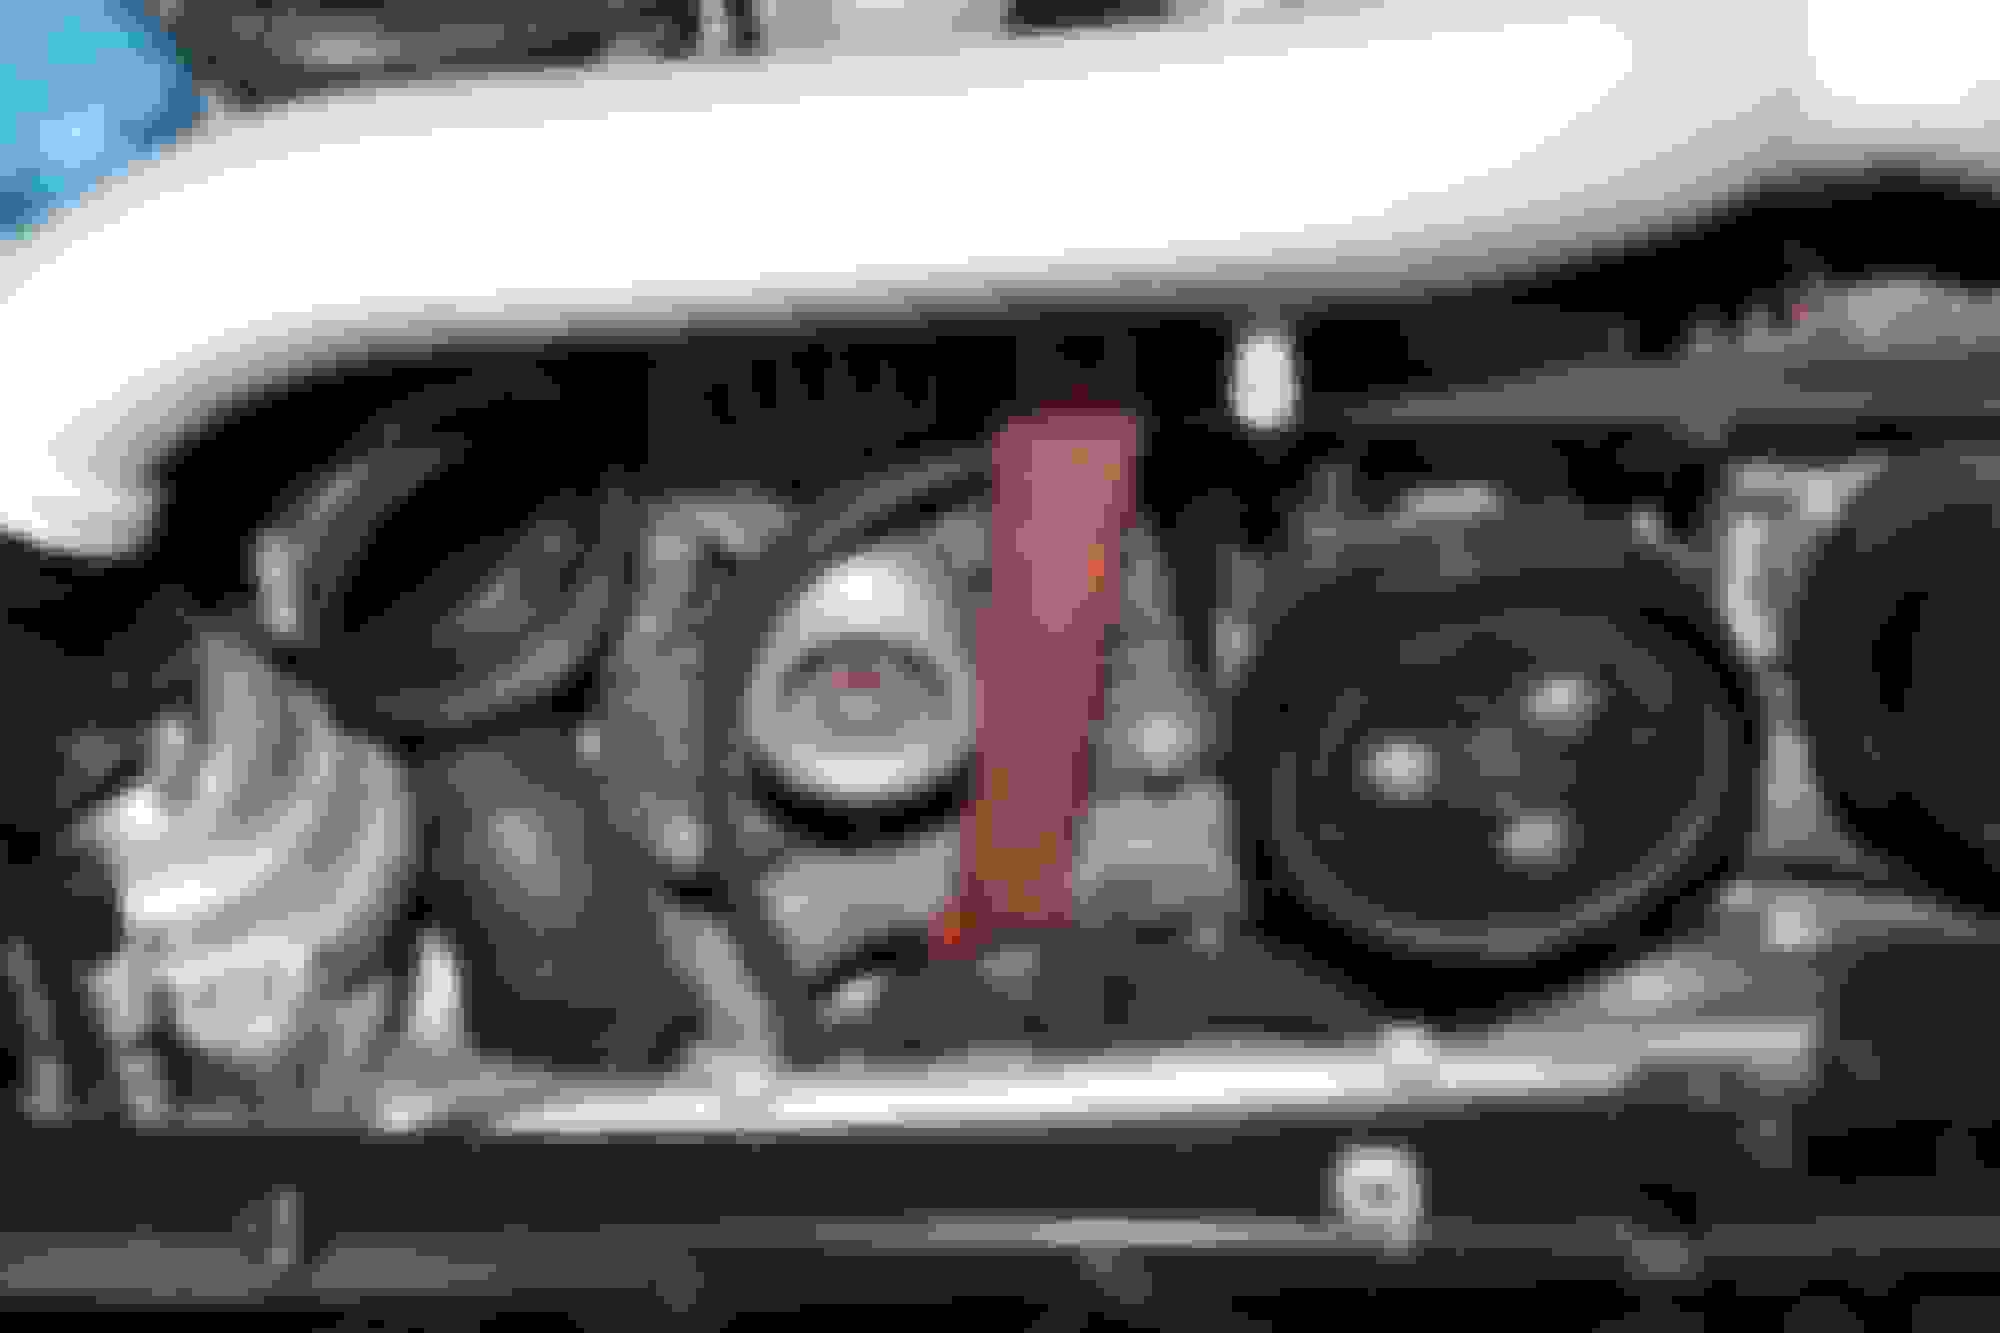
The most difficult part is getting it by the crank pulley. Once this is accomplished, route it around the pulleys as it was. You did make a diagram of the routing, right? If not, this is mine.
So, while I was doing this, I thought, how can you tell if the belt is stretched. So I made the following clearance measurements between the tension pulley and the A/C compressor pulley and came up with the following.
With new belt installed. 34.5mm
With old belt installed. 29.2mm
With no belt installed 13.8 mm
So this answers my question; did the belt stretch? Yes, 5mm. Did it have more room to stretch? Just a bit, 14mm before the tentioner no longer provided any pull on the belt. Personally, unless your belt is showing signs of cracking, I'm not convinced that the stretching thing is a big problem. If you want to change it anyway, its not that tough to do your self. Good luck
Last edited by 911sccab; Feb 24, 2015 at 08:17 PM.
Not sure on your stretching issue, but you should be able to change the belt by just removing the Air-Box. I have done a few like that and it is pretty straightforward. Maybe for next time. Also you would likely need to use a large box end wrench instead of a Crescent wrench, as it will fit in there more easily..
need to get access to the engine mounting bolt which requires removal of the bumper and heat shield. Not sure if this could be done any other way. At least my P dealer said they had to come off.
Additional maintenance – drive belt Check drive belt at 40,000 mls, but no later than every 4 years Replace drive belt every 60,000 mls, but no later than every 6 years
Not sure on your stretching issue, but you should be able to change the belt by just removing the Air-Box. I have done a few like that and it is pretty straightforward. Maybe for next time. Also you would likely need to use a large box end wrench instead of a Crescent wrench, as it will fit in there more easily..
Good photos and documentation..
DC
Originally Posted by 911sccab
need to get access to the engine mounting bolt which requires removal of the bumper and heat shield. Not sure if this could be done any other way. At least my P dealer said they had to come off.
Agree with rock, I've done this job before and didn't have to remove the bolt you mention.. Could it be that it's a difference between the .1 and .2 engines? I believe both mine and rock's are .1.
I love these kinds of threads.. Great job and pictures!
Thanks, I stand corrected on the interval. It is check at 4 years, and replace after 6 years. Mine is a 2010 launch car, so I am a bit easily for this. I am running VIR next month and making sure there is nothing that can go wrong. As for doing it with only removing the air box, I'll be curious if you are seccessfull. You definitely have to remove that 4inch engine support bolt, because it's in the middle of the loop. Could you do this with the bumper on, I have my doubts. With the bumper off, you also have a large access hole for the crank pulley which is the most difficult part. You have to twist the belt flat to slide it between the pulley and the rear frame. With out having that access, be prepared for some bloody knuckles........thanks again for the feedback, I enjoy working on cars, and I am trying not to be intimidated with this car. It's a recent purchase replacing an 83 911 Cab. Talk about easy to work on.........
Thanks for this...great write up. I was just contemplating this...mine is a 2007 and has 28k miles still has original belt....looks brand new but I hadn't considered stretch.
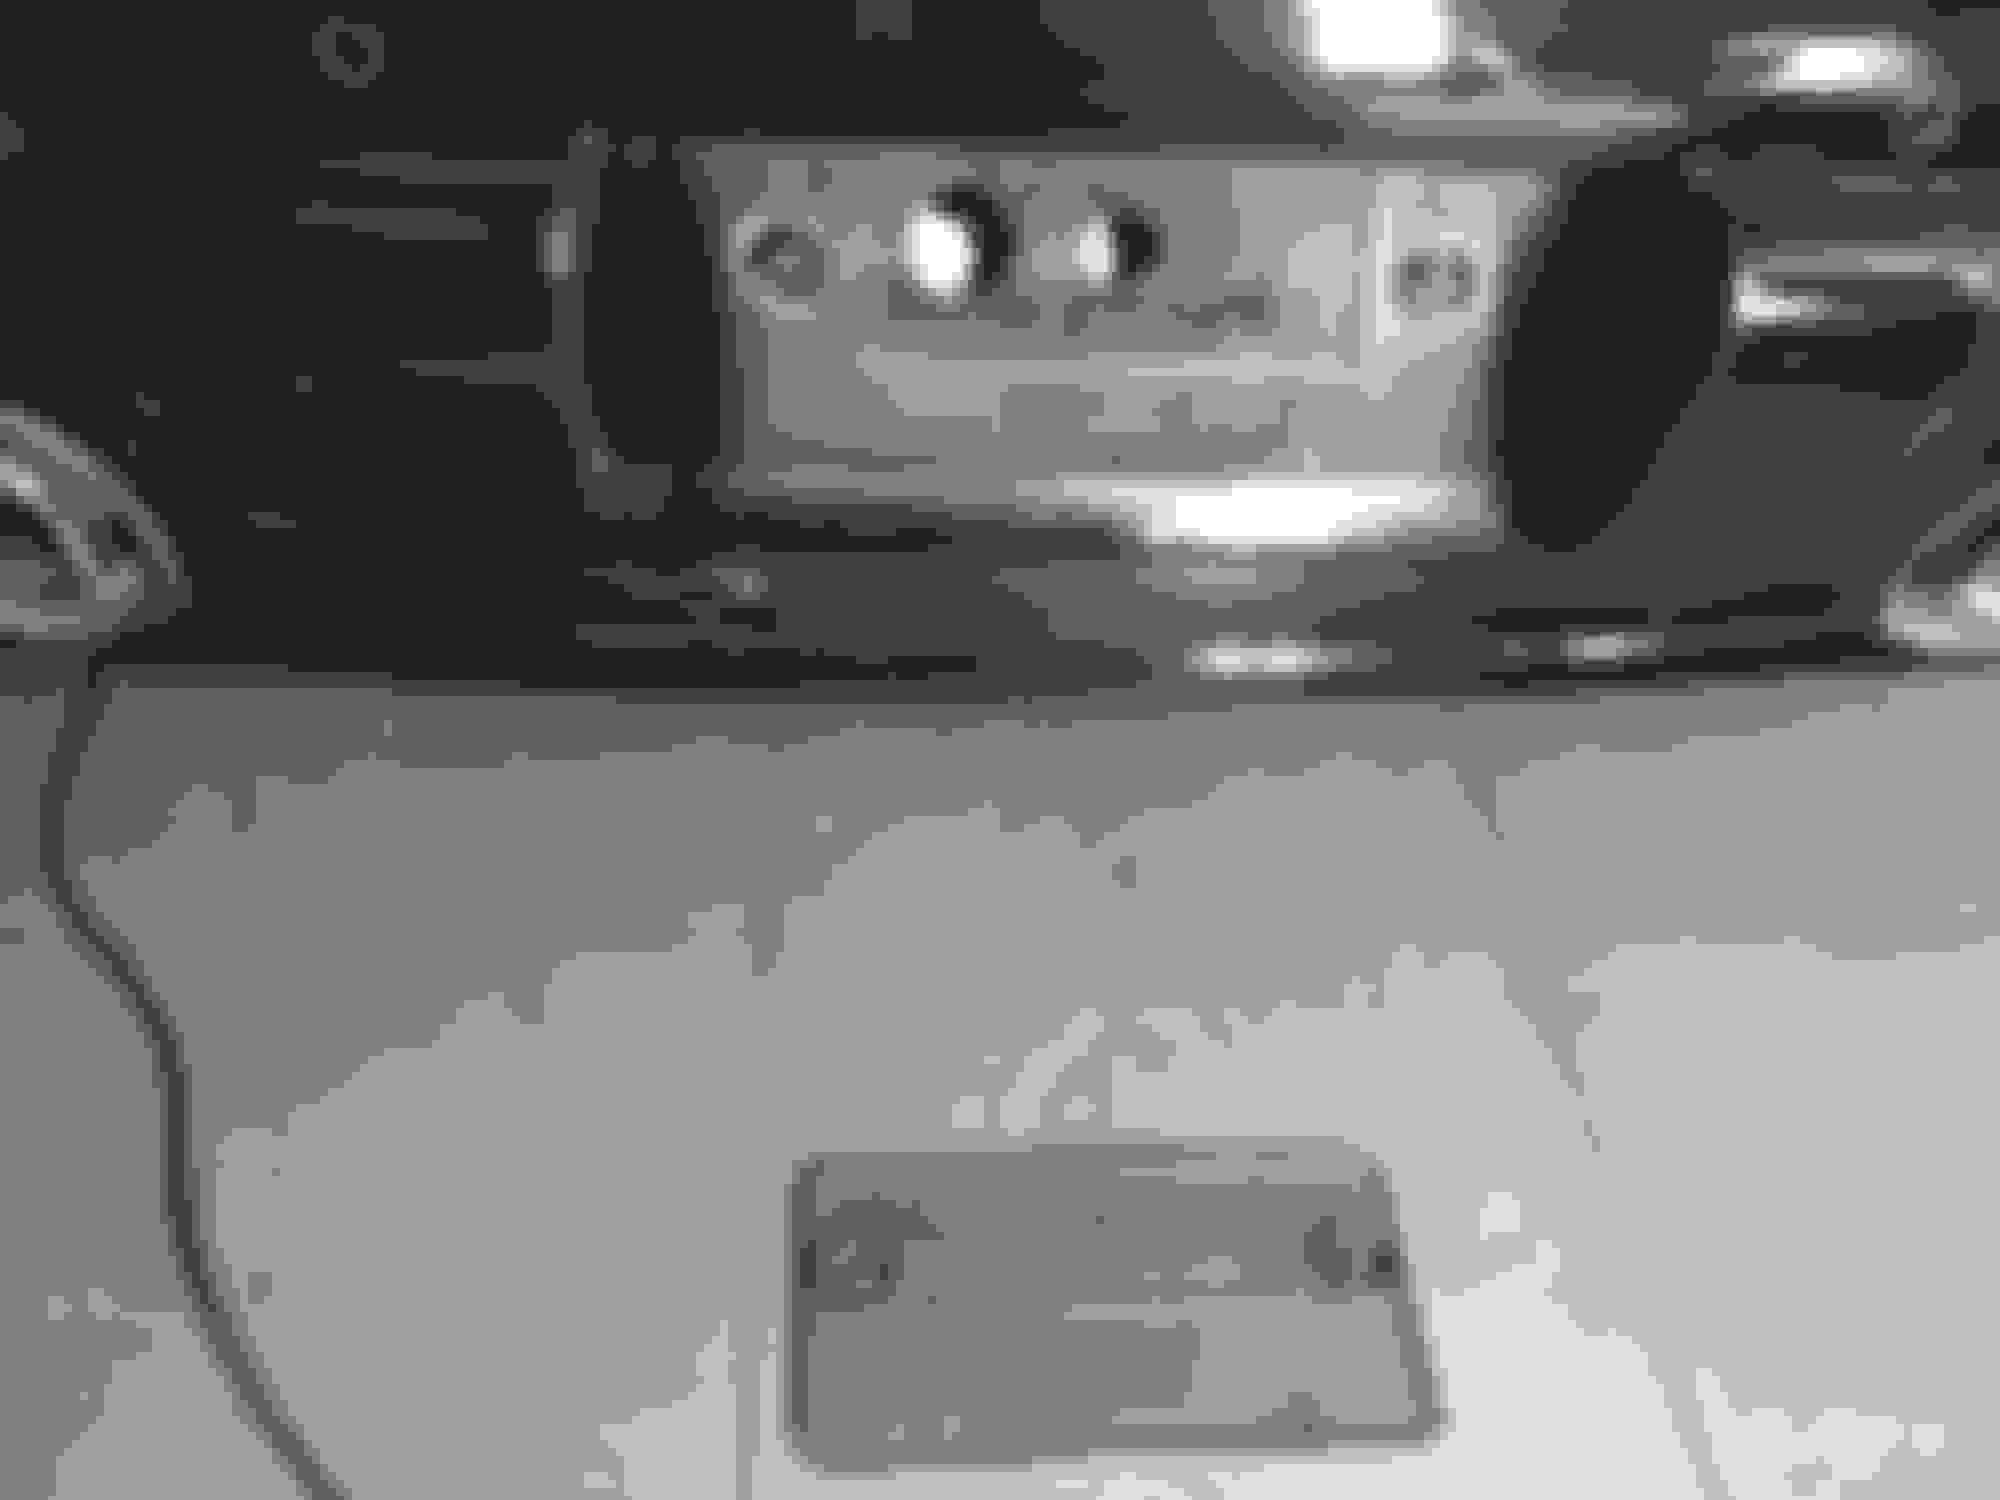
Was reading several sites looking for belt swap DIY, this was best documentation I could find. Was holding off to make it to 60k mile spark plug change where I'd have to remove the bumper and kill 2 birds with one stone. Then it dawned on me, I wonder if Porsche Engineers were nice enough to have an alternate access route to that bolt? Low and behold here we have it - remove your license plate, remove the plastic plate mount, and you will expose 2 holes in the rear bumper cover. Right hole must be for tow hook as it is threaded. Left hole is the one we want for the belt change. Perfect access!!
Rear bumper with license plate mount removed (2 screws). Left hole is access to long bolt for belt change.
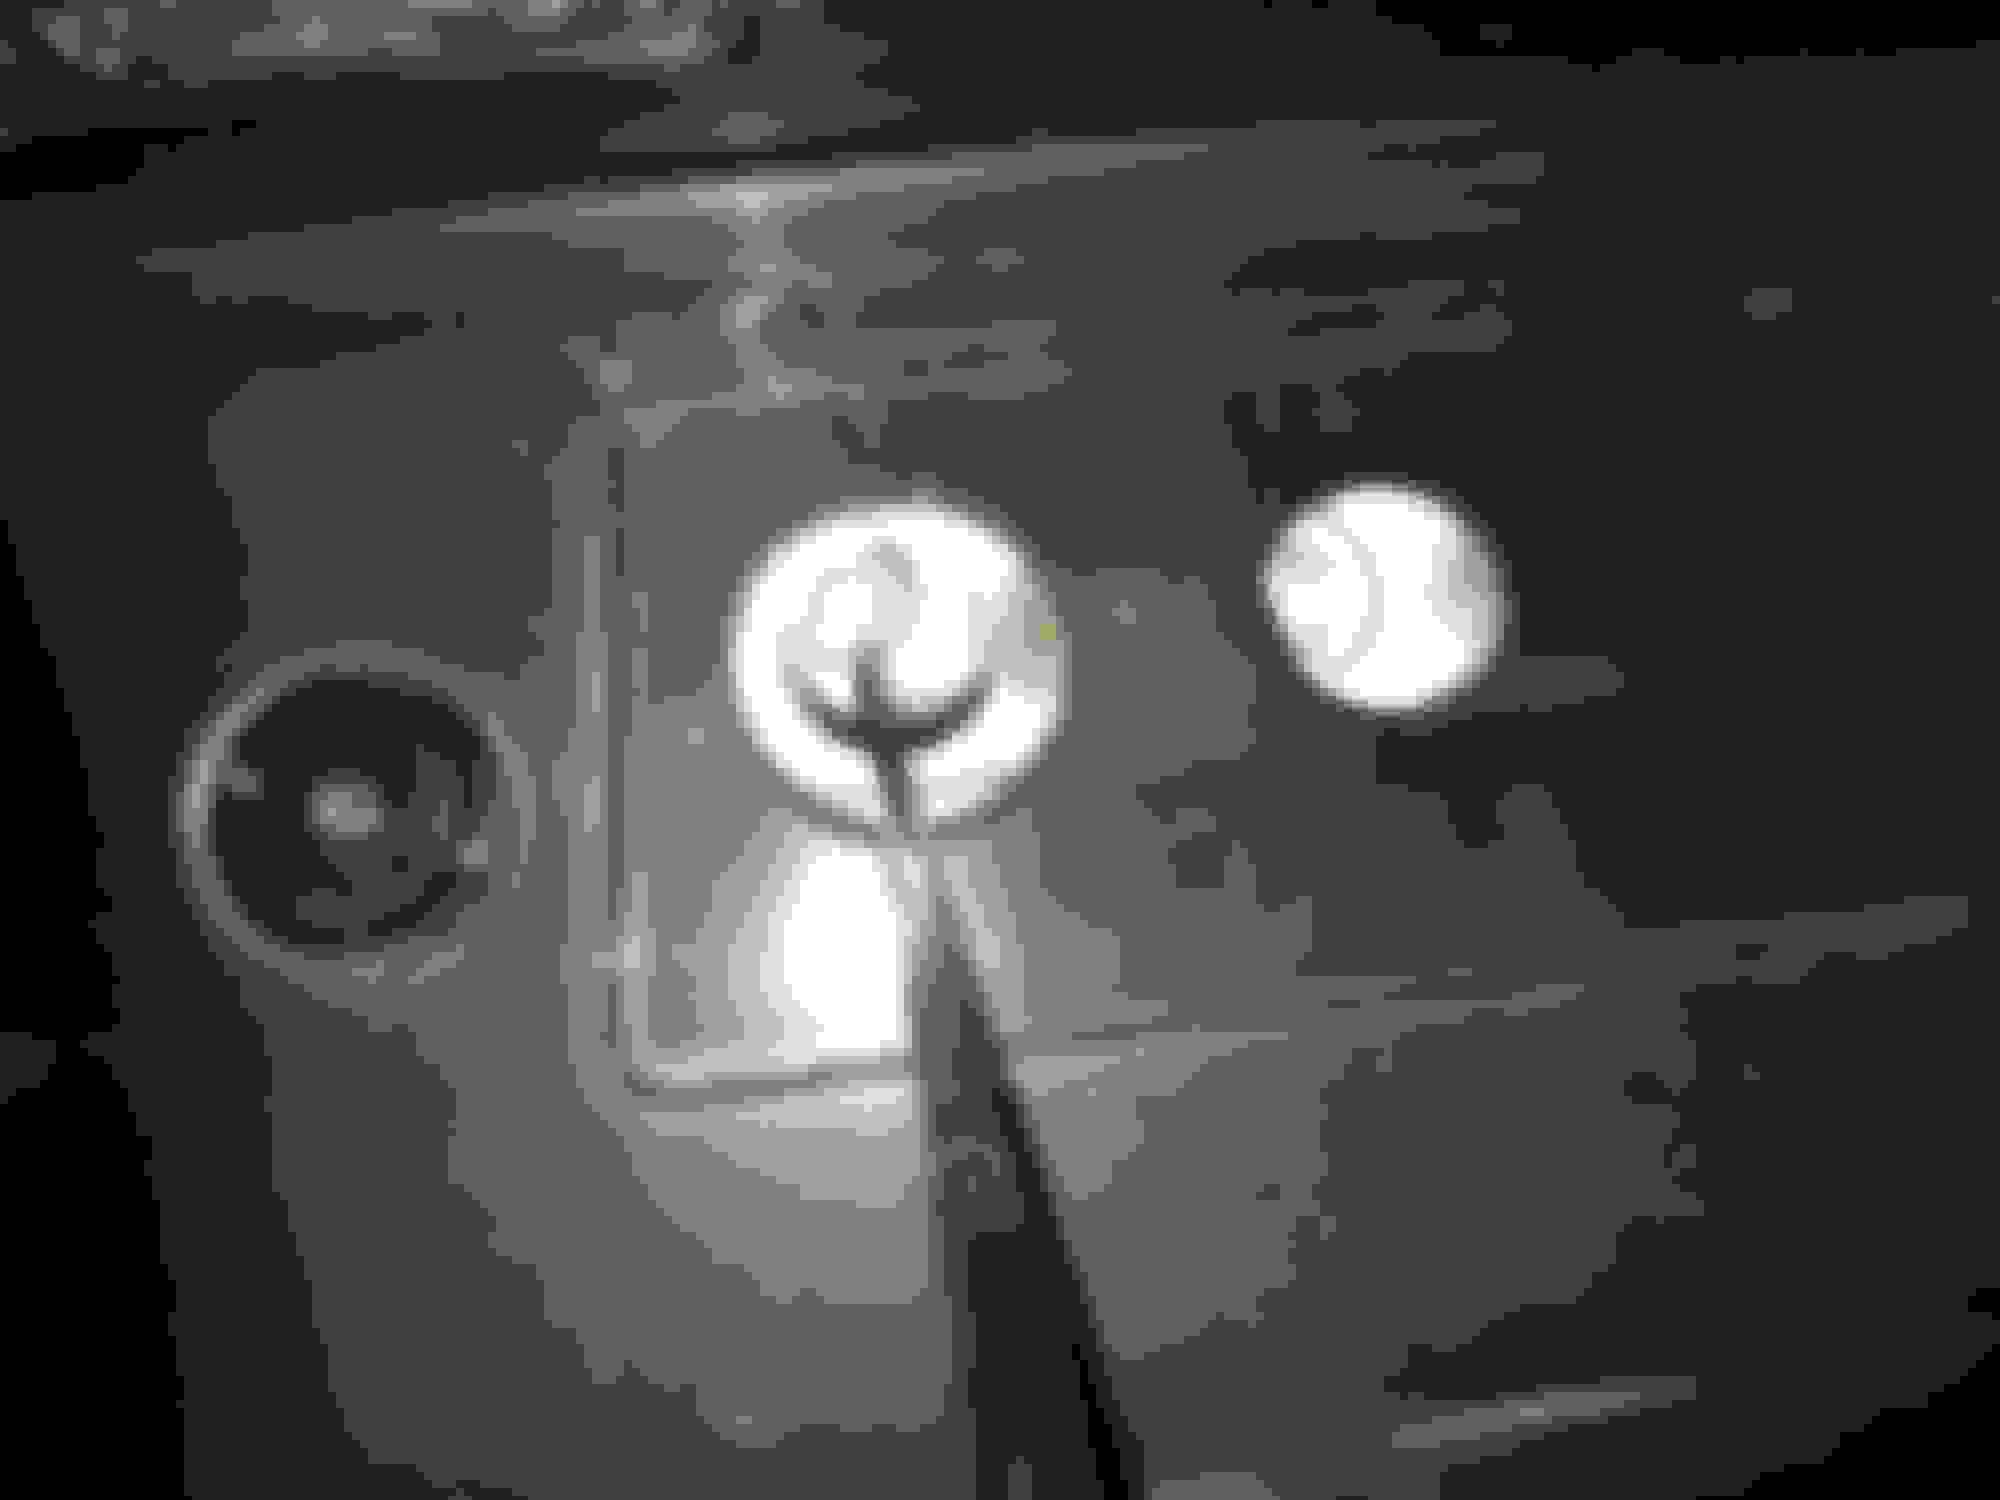
Slip long socket extension through left hole. Top down view of long bolt and spacer accessible through the left bumper hole.
Just need to remove air box and raise Y pipe to be able to get belt swapped out.
Hope this saves everyone the headache of unnecessary bumper removal.
Happy driving! My signature below needs updating, these pictures are of my 2012 997.2 TT (manual trans).