When you click on links to various merchants on this site and make a purchase, this can result in this site earning a commission. Affiliate programs and affiliations include, but are not limited to, the eBay Partner Network.
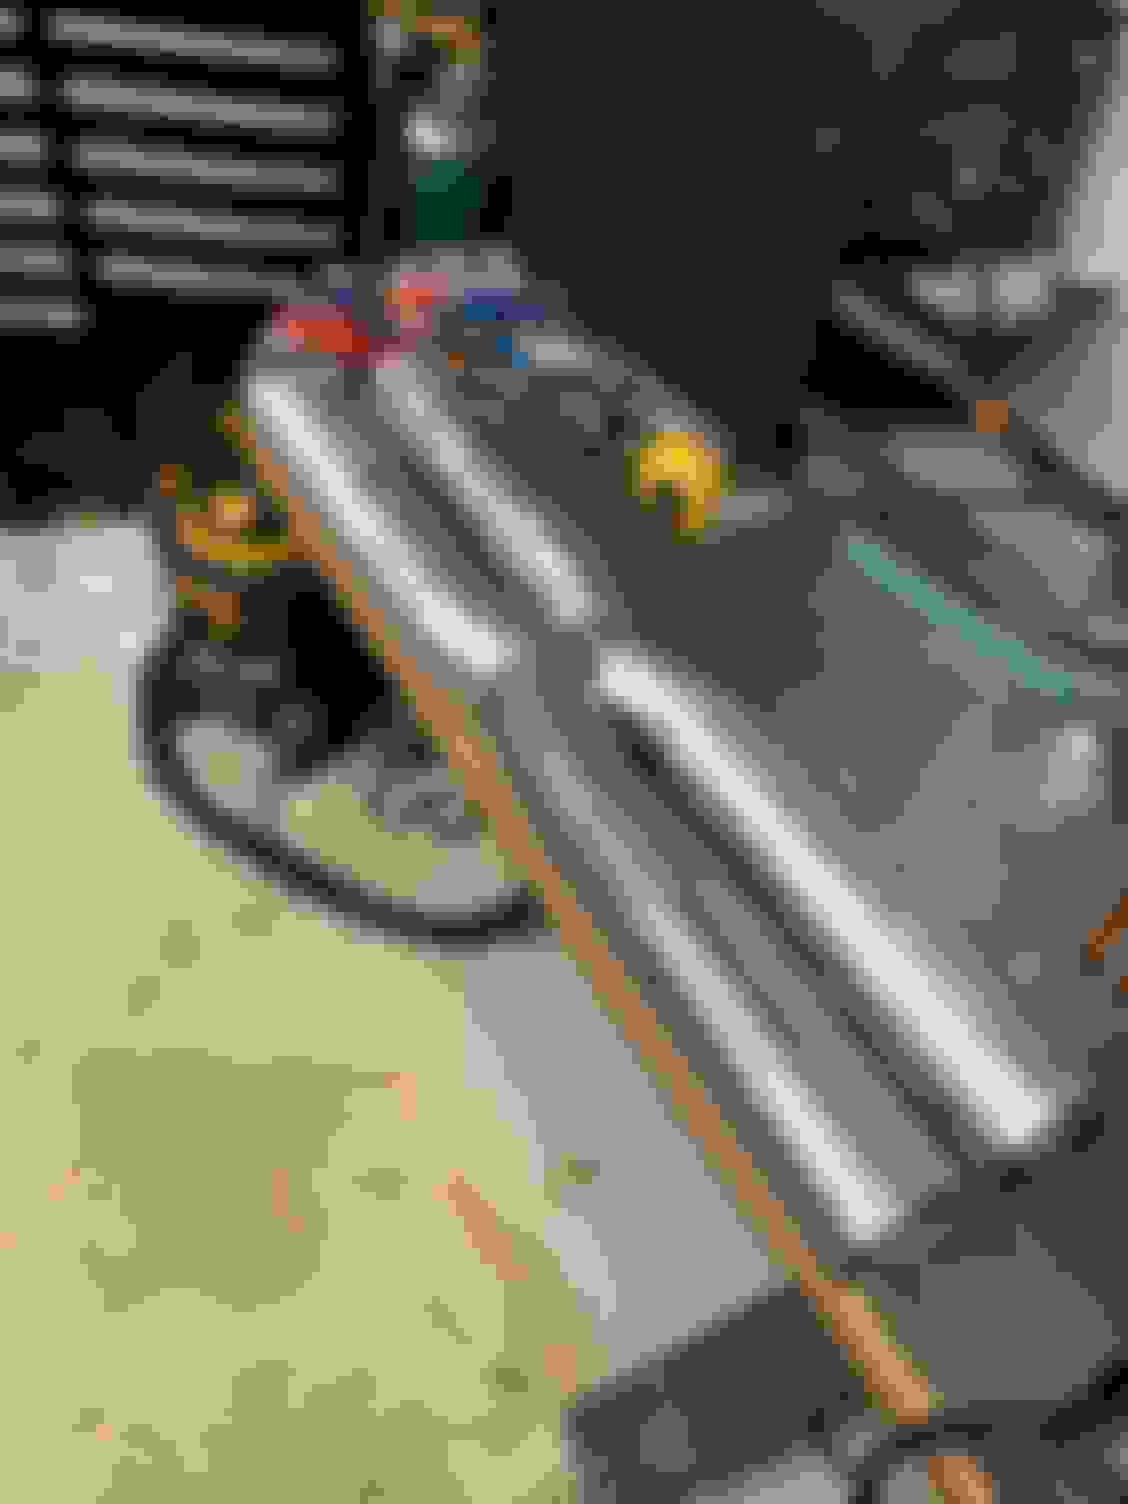
Got a bit of work done today. Got my cross pipes fabbed and tacked together. I know there is a bit of burn through on some parts near the tip. Still rusty but getting there. I will be cutting off those sections to create the x-patter cross. Flanges worked out great and need to be cleaned up from the machining process.
One question - why the acute angle and merge depth on the intersection?
I had understood the whole purpose of an X-pipe to be a shallow merge for balancing the exhaust streams, and that being on a curved section allows for less obstructive flow characteristics than an H-pipe... With this design however, unless you've constructed channel plates inside that assembly, you're effectively trying to cross over the flow from the two banks - IE, right bank's flow would primarily flow down the left exhaust from the X, and vice versa.
I've noticed a similar design with a perfect 90� merge interval from SpeedTech, and can't help but wonder why.
I'm sure some of the custom exhaust guys can weigh in here and lend some perspective - but wouldn't this design cause turbulence and in effect, restriction where the two exhaust streams meet?
You want to evacuate those gasses as efficiently as possible - which is why a conventional X-pipe works, by virtue of the crossed pulses assisting in a scavenging effect... Would this accomplish anything more than simply slamming both exhaust streams into one another, and having them find their own way out into a lower pressure zone further down the exhaust?
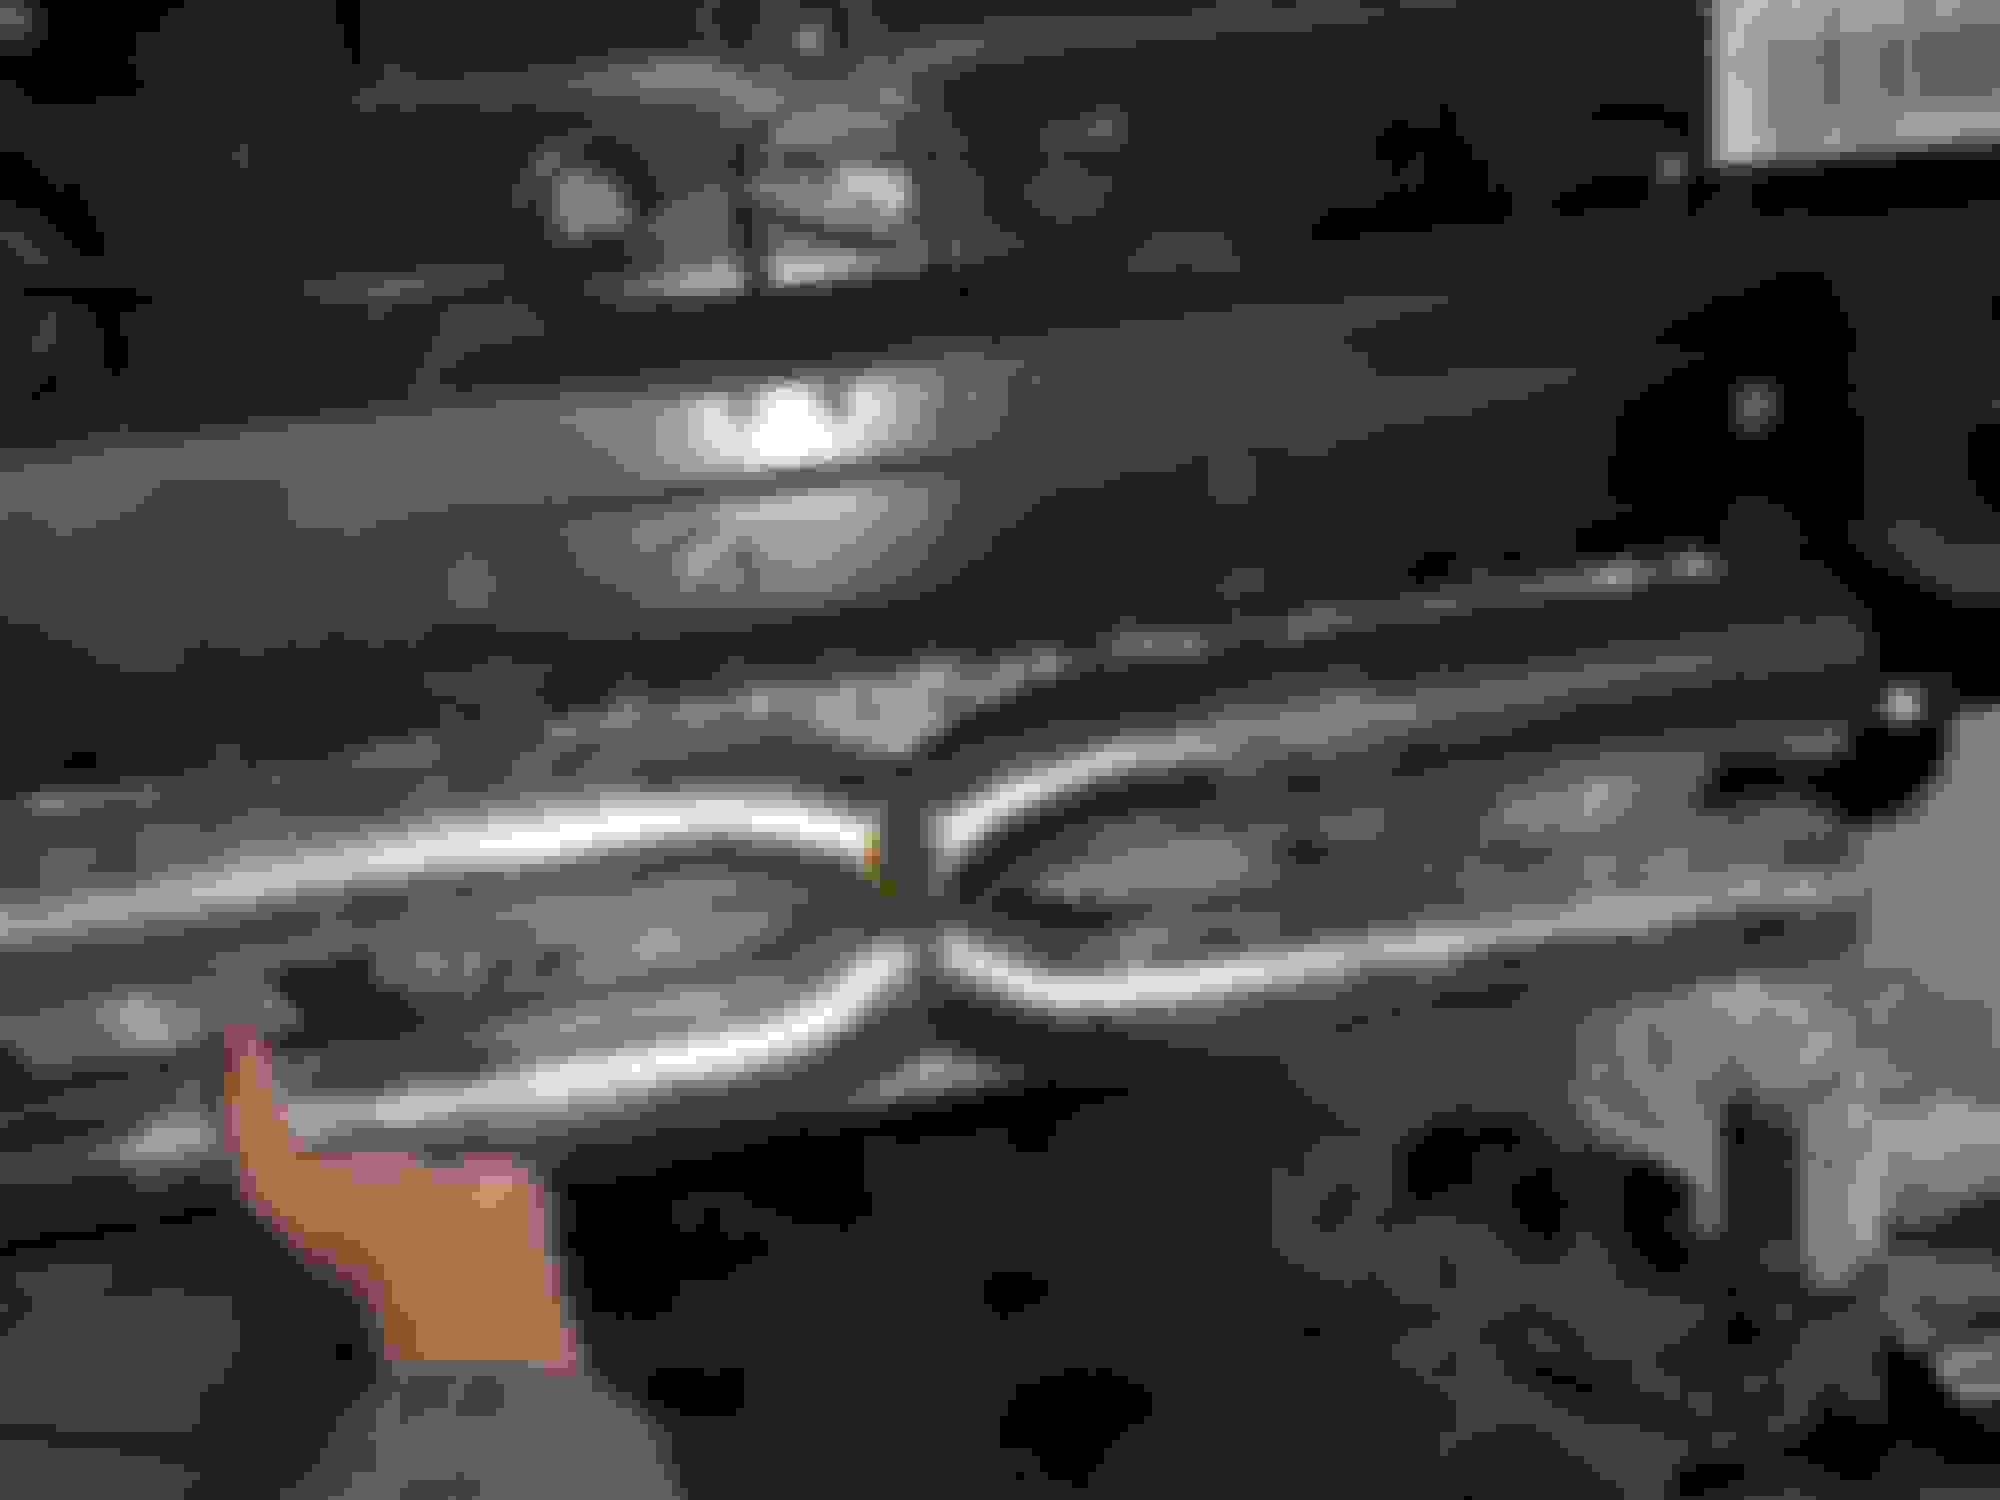
To put it into picturess, why this X-Pipe design:
instead of this one?
*** Not criticizing - genuinely curious and willing to learn.
Hi BillyBawb! Thanks for following along and for the question. I welcome all constructive criticism! I am doing this just as a project to learn more about the car and get a more pronounced exhaust note. I was originally going to do it more like the second picture you showed but I wanted a more exotic sound. I have heard some other exhausts, especially other enthusiasts' builds where they were just straight pipe going out and I thought is sounded like a lawnmower. I didn't take pictures of the actual merge point and I'm kicking myself for that and the curvature of the piping is more pronounced than it looks in the picture. I re-did the cross pipes because of spacing under the car and for a more flow-through design. I put 2 different welding passes on the merge as I want the connection to be secure. I am TIG welding the whole thing but have been out of practice for over 10 years. I know my welds are not pretty but they will be strong and last a very long time. With the Porsche engine firing order being: 1-6-2-4-3-5 I feel that design, as exemplified by many quality shops like Speedtech and GMG, etc will give me more of the exhaust note I'm looking for. Straight pipes are very easy to make but the drone and obnoxiousness of that exhaust note is not what I am looking for. I'm also using a much larger exhaust pipe as compared to the stock setup (I'm using 3" throughout) which should provide a much larger volume of air capacity and hopefully offset any potential choke point at the merge. If I have to cut it up and do it again, I will. I am planning to wrap this exhaust once I'm done to contain the heat and provide a bit of a deeper tone.
At the end of the day, I'm having a blast working on this project. If it ends up not working out then I have the stock exhaust to put back on but a lot of experience that I can take away from the exercise. A huge thank you to all those who contribute to this wonderful forum. Big shout out to TheRock who has put out numerous guides to help us all out. Also to thank all the sponsors and shops that provide insight to these beautiful cars.
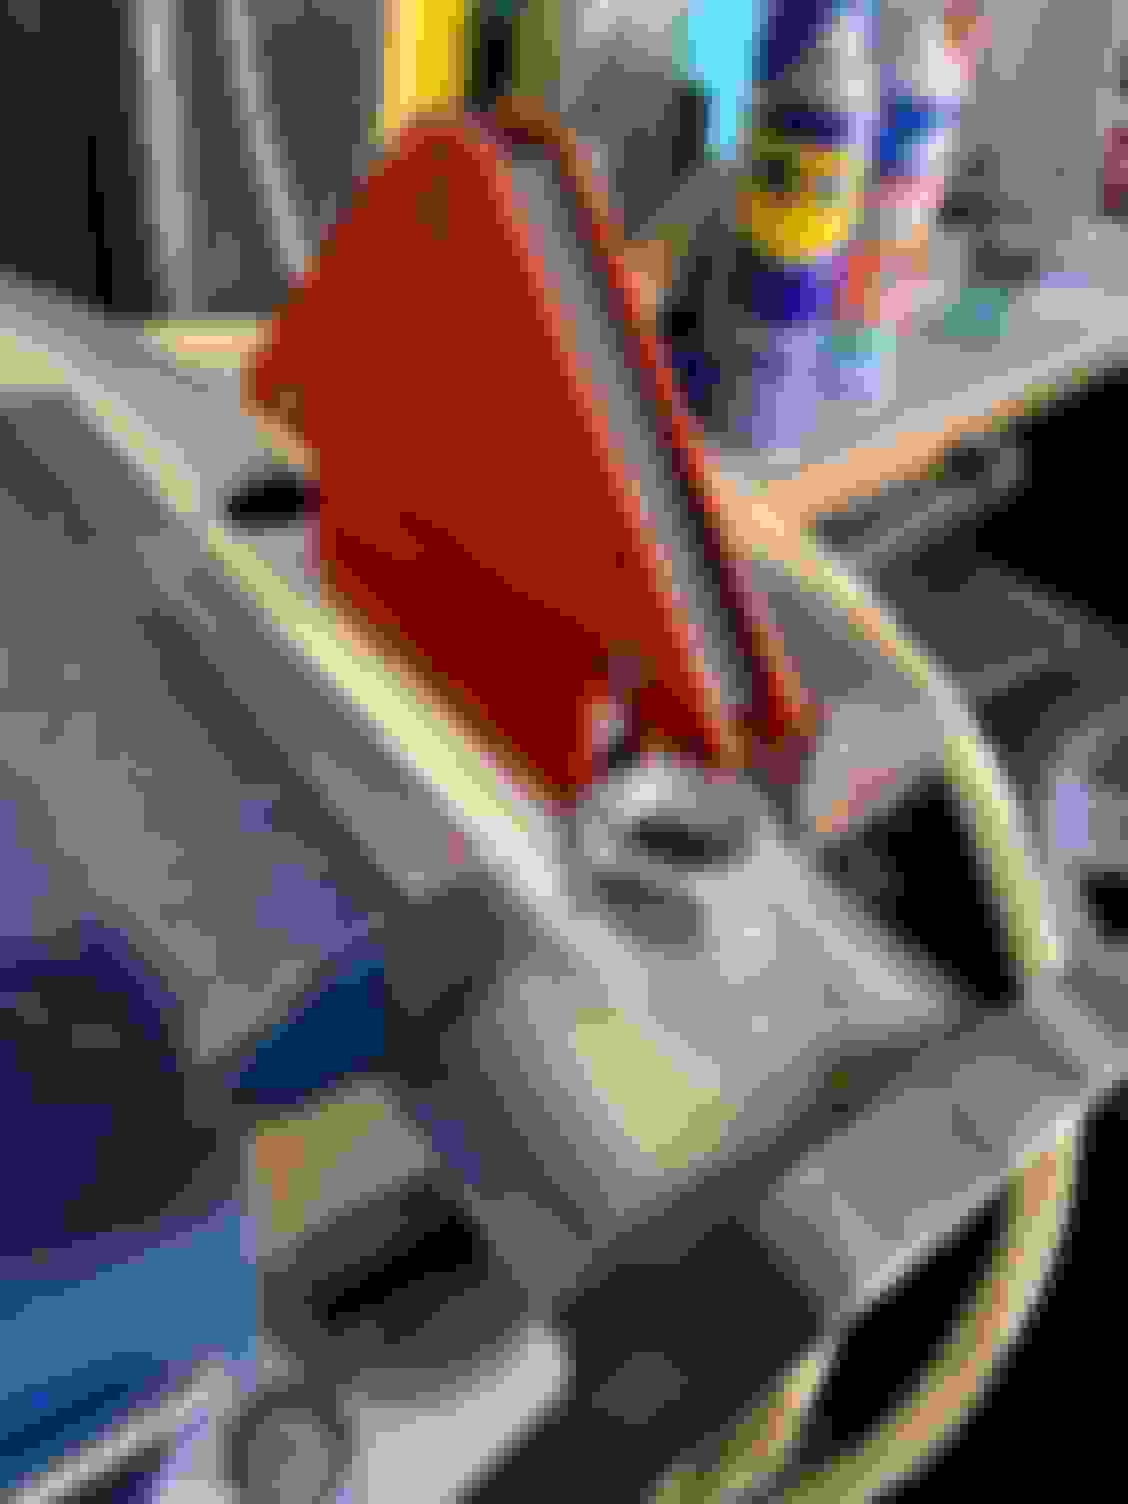
So no major updates. Got the plugs done gapped to 0.028. Coils were inspected thoroughly and looked good so I re-installed them. I also go the fuel filter replaced. I had to lower the engine to get the plugs and coils done so I figured while I�m in there I should get it done. It was a bit tricky getting tools in there to loosen the fitting as it needed another 19mm wrench to hold the filter while you used another 19mm to loosen. Even with the engine lowered there was very little space. I ended up using a 19mm crow�s foot on a ratchet with an extension to hold the filter. I had to loosen the clamp holding the filter to get enough access to get both wrenches in there as the coolant reservoir is in the way.
On the exhaust front the x-pipe has been fully welded around. I will be spending sometime this week and next to fab up the pipes coming from the turbos and join to the x-pipe.
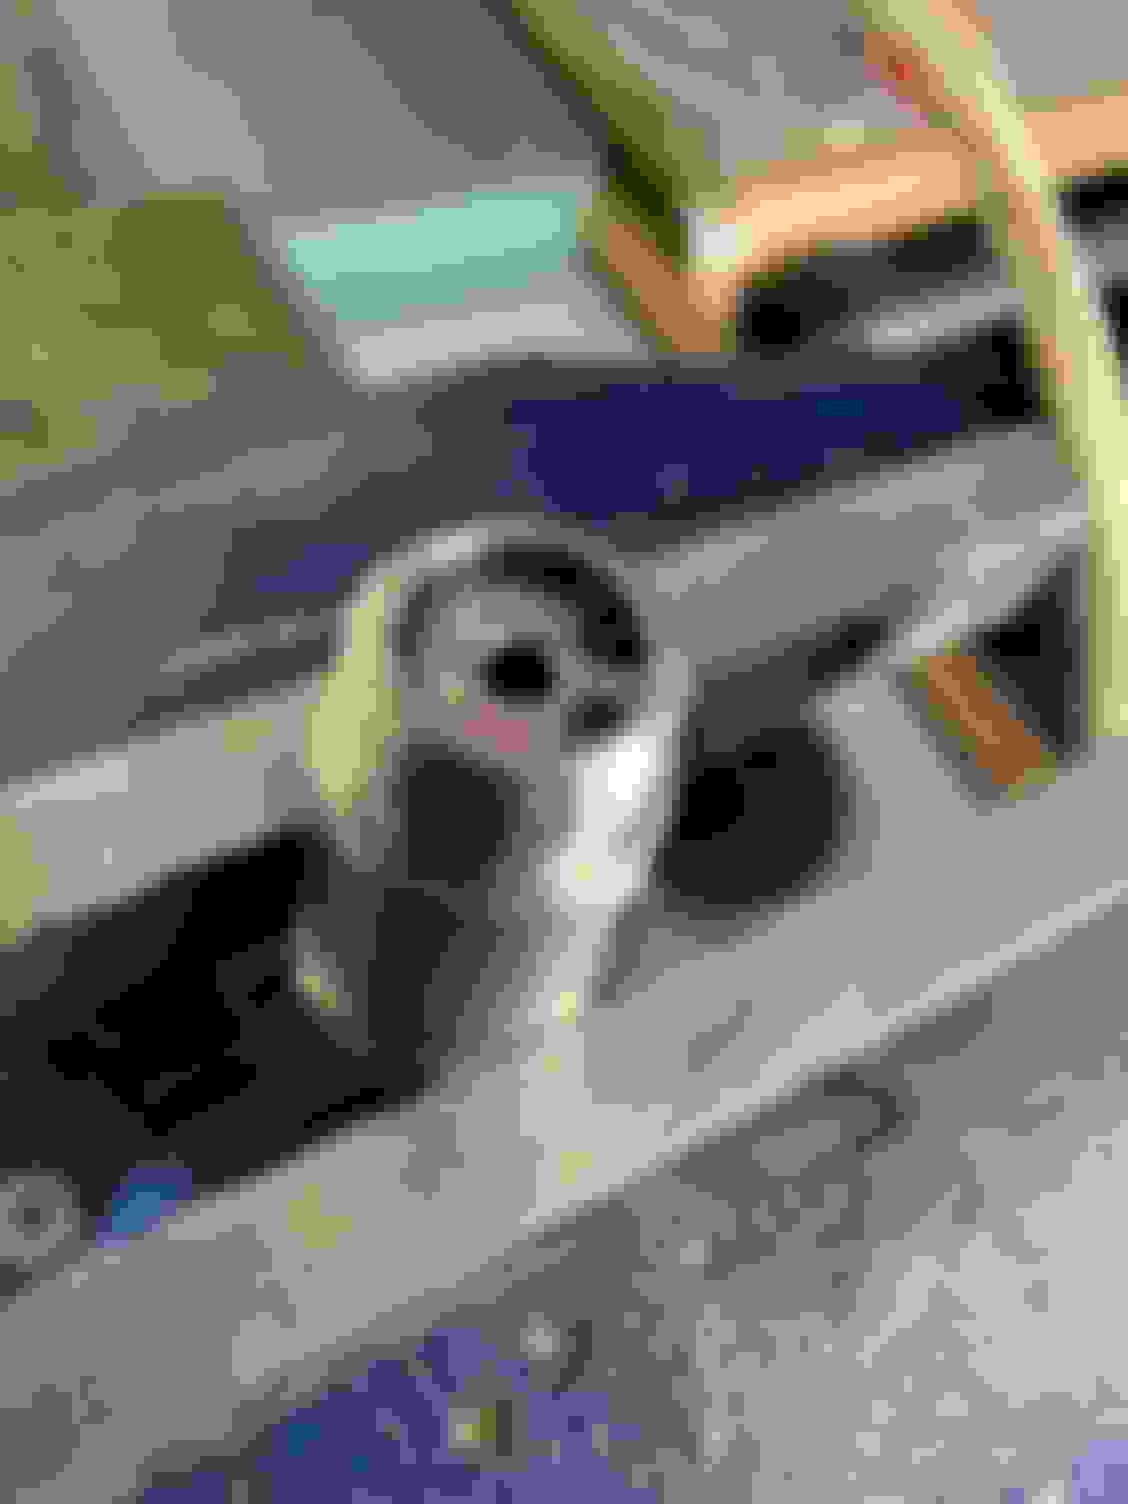
One thing I regret doing was removing the left side turbo Iinlet pipe that connects to the MAF. I did this so that I could maneuver the pipe and get the coil/plug out (cylinder 1position). While it made that job a lot easier, getting that hose back on to the MAF was a total nightmare. Spacing is non-existent and I struggled to get that hose on for about an hour. I finally got it done but cut my hands up pretty bad in doing so.
Coles notes: don�t take that damn hose off unless you REALLY want to test your patience.
Last edited by Edgemonty007; 02-14-2019 at 10:42 AM.
I face that dilemma many times I do something for the first time. I read as much as I can and then observe the area as completely as possible using my previous experience and skills I have acquired as well as the tools I have available to decide what approach I will take.
Most of the time that serves me well, others, usually somewhere midway through the task, I wind up scratching my head and wondering why the hell I did what I did.
Case in point, I was replacing the wiring harness on my Audi C6 S6 from the brake wear sensor and speed sensor. While the passenger side told me where it terminated on the way to the ABS unit, the driver side did not. I wound up pulling the plenum wiper cover attached to the window and a fuse/relay holder to get to a few junction boxes that had nothing to do with the harness!!!! Ugh. While it was easier than getting to the correct junction station in the driver A pillar (had to remove all sorts of trim back to the B pillar) it was a complete waste of time.
So no major updates. Got the plugs done gapped to 0.028. Coils were inspected thoroughly and looked good so I re-installed them. I also go the fuel filter replaced. I had to lower the engine to get the plugs and coils done so I figured while I�m in there I should get it done. It was a bit tricky getting tools in there to loosen the fitting as it needed another 19mm wrench to hold the filter while you used another 19mm to loosen. Even with the engine lowered there was very little space. I ended up using a 19mm crow�s foot on a ratchet with an extension to hold the filter. I had to loosen the clamp holding the filter to get enough access to get both wrenches in there as the coolant reservoir is in the way.
On the exhaust front the x-pipe has been fully welded around. I will be spending sometime this week and next to fab up the pipes coming from the turbos and join to the x-pipe.
One thing I regret doing was removing the left side turbo Iinlet pipe that connects to the MAF. I did this so that I could maneuver the pipe and get the coil/plug out (cylinder 1position). While it made that job a lot easier, getting that hose back on to the MAF was a total nightmare. Spacing is non-existent and I struggled to get that hose on for about an hour. I finally got it done but cut my hands up pretty bad in doing so.
Coles notes: don�t take that damn hose off unless you REALLY want to test your patience.
Here is a nice write up on how to remove the fuel filter. It seem you should have left that pipe on until you remove it from the car. https://www.6speedonline.com/forums/...el-filter.html
Good luck and thanks for sharing your progress.
looks great thanks for the update.
I saw your lift and found out there one town over from me,got a great deal on local pick up. Assembled and mounted it last week.
Don't have the skill or tools to try this exhaust build.
So no major updates. Got the plugs done gapped to 0.028. Coils were inspected thoroughly and looked good so I re-installed them. I also go the fuel filter replaced. I had to lower the engine to get the plugs and coils done so I figured while I�m in there I should get it done. It was a bit tricky getting tools in there to loosen the fitting as it needed another 19mm wrench to hold the filter while you used another 19mm to loosen. Even with the engine lowered there was very little space. I ended up using a 19mm crow�s foot on a ratchet with an extension to hold the filter. I had to loosen the clamp holding the filter to get enough access to get both wrenches in there as the coolant reservoir is in the way.
One thing I regret doing was removing the left side turbo Iinlet pipe that connects to the MAF. I did this so that I could maneuver the pipe and get the coil/plug out (cylinder 1 position). While it made that job a lot easier, getting that hose back on to the MAF was a total nightmare. Spacing is non-existent and I struggled to get that hose on for about an hour. I finally got it done but cut my hands up pretty bad in doing so.
Coles notes: don�t take that damn hose off unless you REALLY want to test your patience.
Is there a set expiration date on the coils or did you replace them due to age? I have a misfire on cylinder 3.
Did you need the slimmer Bosch coil packs for cylinders 3 and 6, about to swap mine, seems the upgraded Berus are thicker than the ones that left the factory.
Here what I ordered from FCP Euro.
seen the gap at .025 will double check however it's pretty close to what you used.
Great work on the MaxJax. It is the best tool I own!!
My car was a CPO car and new plugs/coils were done when I picked the car up. My parts are the OEM Bosch ones which are super expensive. Cylinder one and two were the tightest fitting in my experience with little to no clearance. I had to drop the motor a few inches to get them out and even then it was a super tight fit.
Good luck on your diagnosis of the misfire. I would try swapping coils first from cylinder to cylinder to see if it coils then move on to the plugs.
 01-29-2019, 09:55 PM