When you click on links to various merchants on this site and make a purchase, this can result in this site earning a commission. Affiliate programs and affiliations include, but are not limited to, the eBay Partner Network.
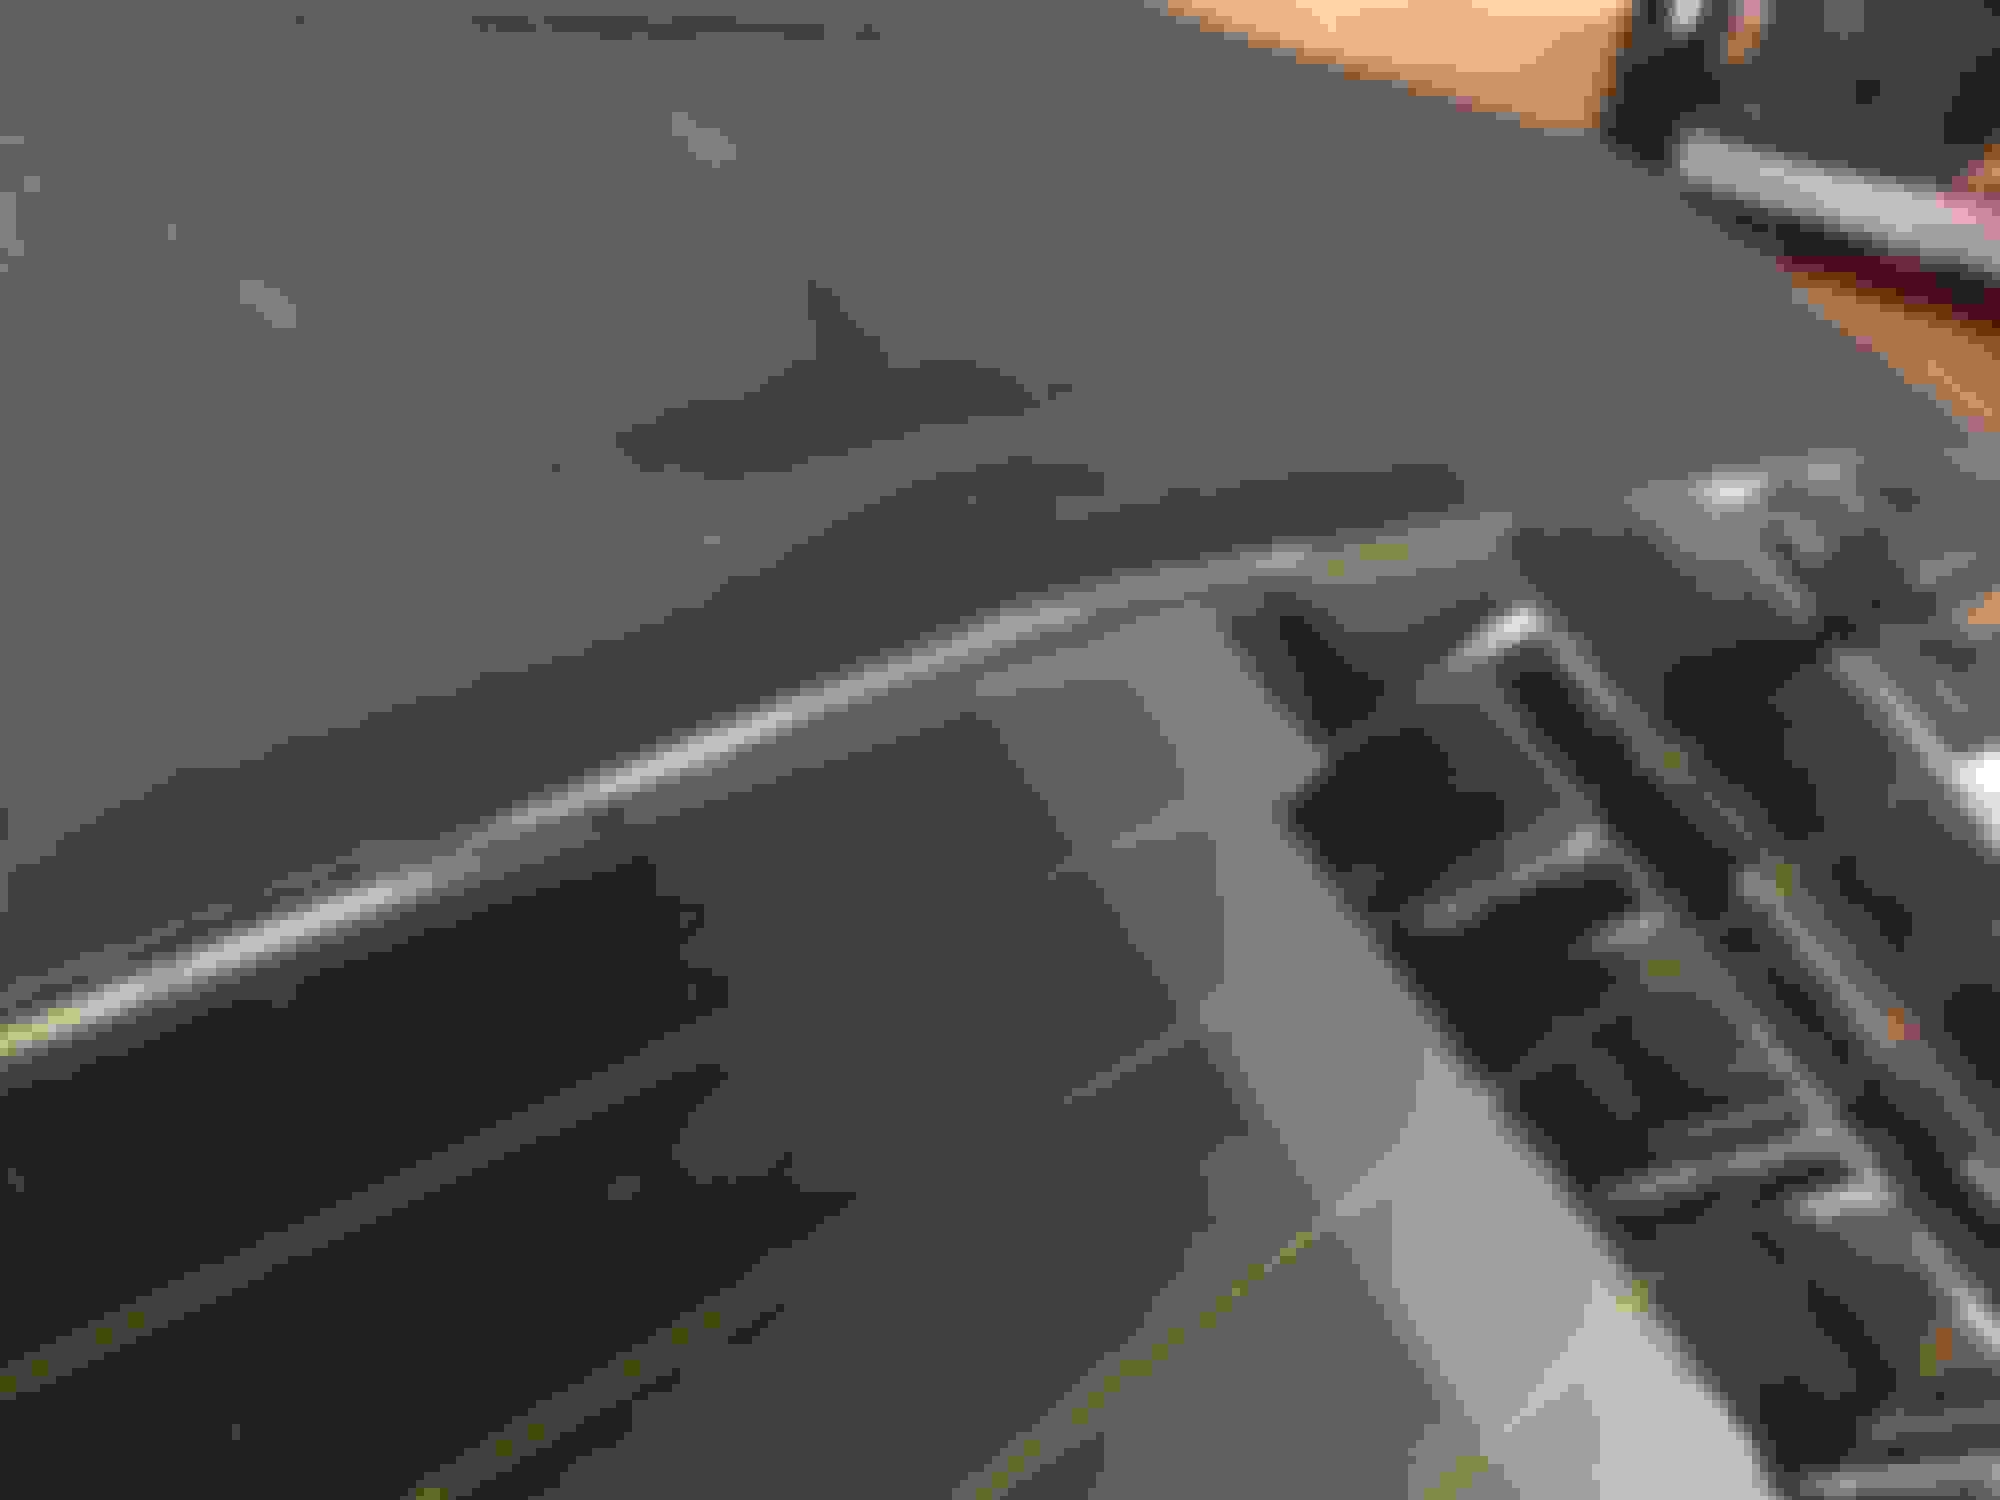
So the top is separating right above the back window. Looks like an easy enough fix. Release the tension, glue it back together, let it dry and done.
Anyone else dealt with this? Recommendations as far as glue?
Honestly, in several years of being on various AM forums, you are the first person I've ever seen with this problem. Of course that doesn't mean it hasn't happened to some owners, but none that I've ever heard about. Maybe AMFixer can shed light on this, but to me that looks bad since you can't chalk it up to 'they all do that'...
My 2009 Volante has exactly that problem, in the same spot.
I haven't pursued having it repaired yet, my only point of reference at this time is from my dealer - who tells me it's $1350 and 3 to 4 days to have it addressed, and although not common - is not unique to my car.
For that kind of money and time, other than the fact that it's likely got a dealer surcharge on it, I wonder how much labor is really involved to fix it.
So the top is separating right above the back window. Looks like an easy enough fix. Release the tension, glue it back together, let it dry and done.
Anyone else dealt with this? Recommendations as far as glue?
Same problem here with a 2005. It's been steadily worsening for a year or more, started as a little separation at the top of the window and has progressed to several inches wide now.
Stealership said the top had to be replaced for $$$$. Tried a few window and upholstery shops, they didn't want to touch it.
So I did some research and found many posts for other cars with similarly-affixed glass windows in soft tops, with similar problems.
Seems like, as the OP said, you could work from the Shop Manual's top replacement instructions to ease off the tension, then use one of these adhesives and the tricks in the thread above.
I haven't done it myself - it's not that I'm not unwilling to play guinea-pig for the greater good, it's just that I haven't got around to it and in the meantime, wanted to share the info with whomever might find it useful.
There is a cable attachment for the top just above the glass in the middle of the window where the screw backs it's way out over time and starts to press outwards from under the top and causes wear and separation. Undo the head liner and resecure the screw. I started to see an issue on my '05 DB9 Volante and addressed it.
There is a cable attachment for the top just above the glass in the middle of the window where the screw backs it's way out over time and starts to press outwards from under the top and causes wear and separation. Undo the head liner and resecure the screw. I started to see an issue on my '05 DB9 Volante and addressed it.
NoRush, can you be more specific as to how you took down the headliner and where the screws are, please?
Done this several times on several types of tops including Aston's. I've always used 3M WindowWeld along with 3M 08682 one step primer
Timodc, I'll look into that as well. Only thing is, when I pull down on where it's pulling up it pulls back, almost as it something is tugging it up into that upside down V shape, so I'm not sure how to keep it down while the glue is curing.
I actually had the AM dealer diagnose and fix this screw issue and I watched.
Started up on the left front side corner molding above the driver's side window and got under it to pop the push snap connectors loose that secure the side trim. There were screws in the corners , so do those first. Then get under the trim and pop the Xmas tree clips or push type securing plugs out of the metal roof frame. Go slow. You'll see them all. They used several types of clips and screws, but they aren't difficult to see or figure out and look for that occasional screw among the clips. After the upper side trim was off, the corner screw was accessible for the large front trim piece above the windshield. Most of the other clips were all metal xmas tree type. Only popped the driver's side of the front headliner trim piece loose and let it hang down while leaving the passenger side mostly attached. The fabric headliner is secured around a small rod that is concealed and fits snugly in the front headliner frame piece. The rod just comes out of the recessed slot that holds it in place once the headliner trim piece is loose. Then let it drape down on the passenger side of the car and accessed the cable screw from the back seat. Replaced the screw with one that used a nut and taped it.
any more details on this NoRush?
I have the front third of the headliner hanging but cannot see how to get to the back without removing some glued in parts around three bars.