When you click on links to various merchants on this site and make a purchase, this can result in this site earning a commission. Affiliate programs and affiliations include, but are not limited to, the eBay Partner Network.
Wow. Absolutely gorgeous. Much more modern looking. Well done.
And thanks Johnny for the updates. What a dreadful fault to have to find. Glad you got it sorted.
That's crazy! The brake light switch caused all those problems? Bentley should pay for all the parts and repair!
I can't stand all these electronics....they are mostly useless and just add cost and aggravation.
FYI....the first time I took my GTC to the office the landscaper decided to let his scagg roll into the boot. Almost a year latter and we are still in court.
Nice work. How do we remove the dash panel ?
My key barrel is kind of dangling & I think I have to take the front dash panel out . Not sure how to do this
Do not know the locations of any screws or tabs to pull the dash
Can you help please
Nice work. How do we remove the dash panel ?
My key barrel is kind of dangling & I think I have to take the front dash panel out . Not sure how to do this
Do not know the locations of any screws or tabs to pull the dash
Can you help please
Thanks
Nash
2005 GT
Hello @nash123 ,
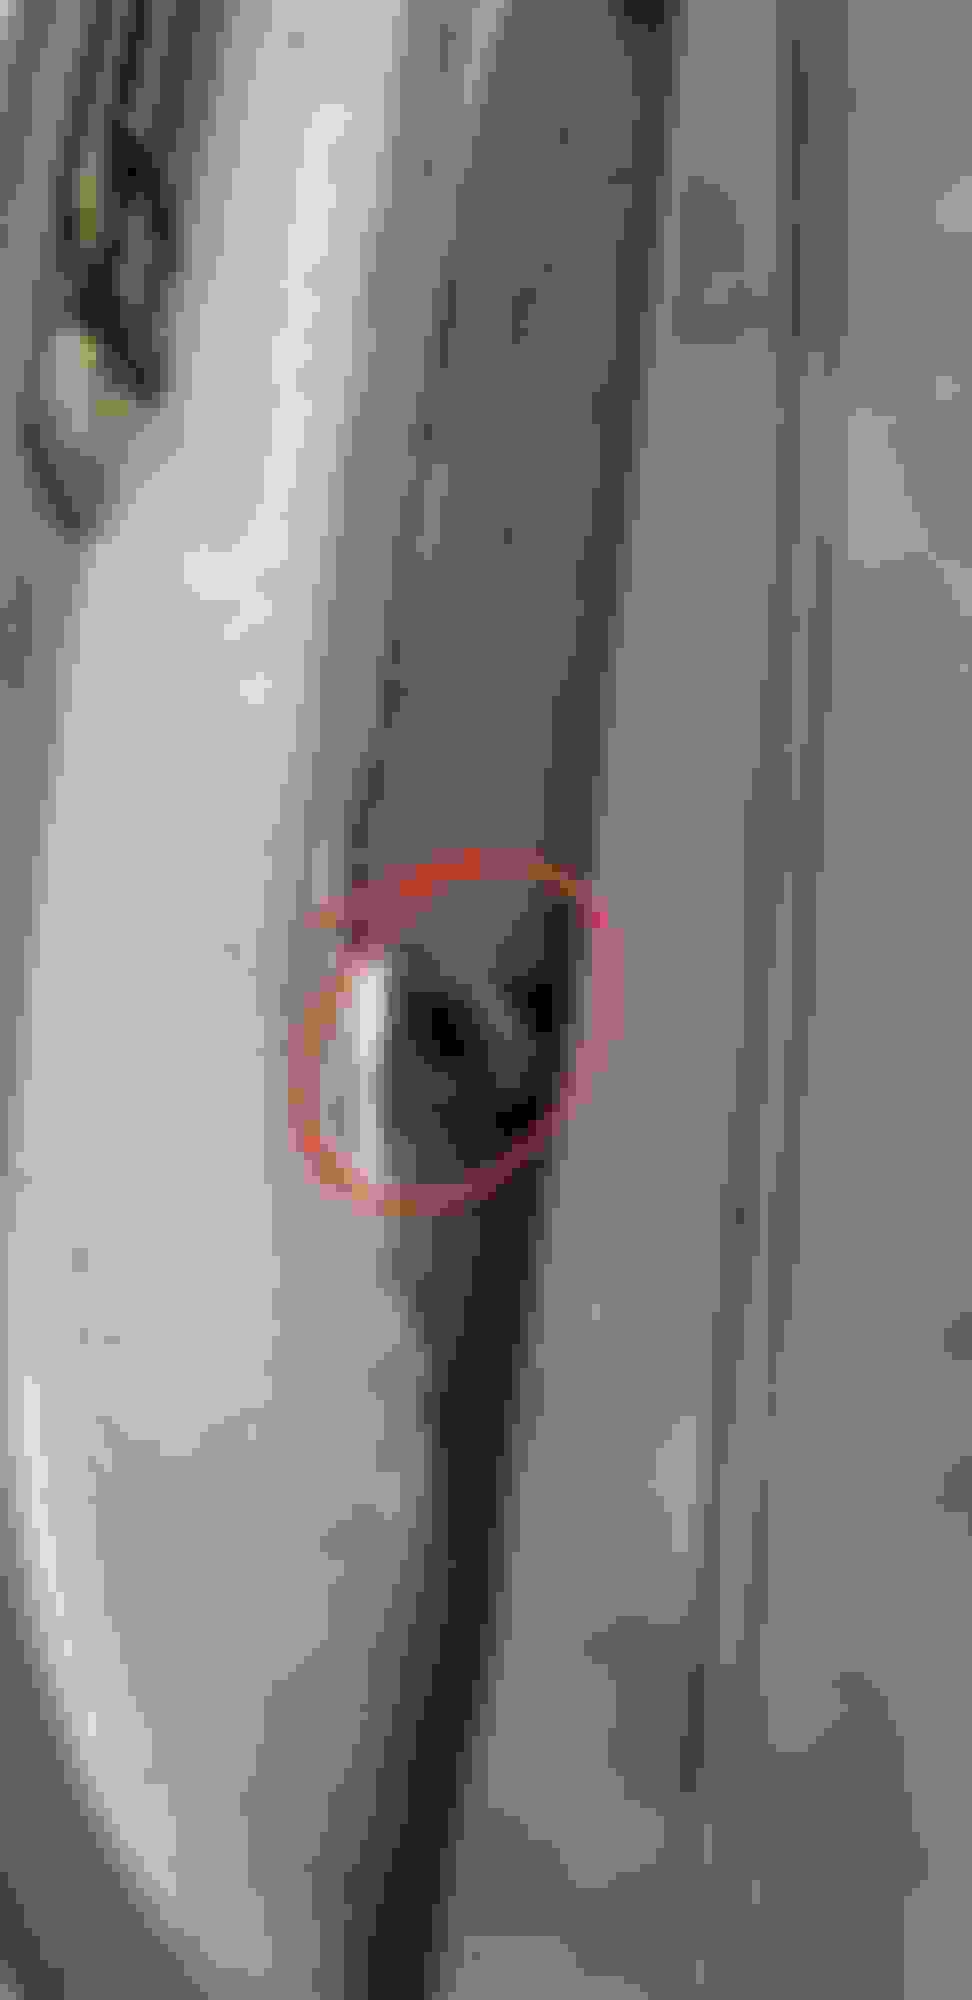
There are no screws, it a simple pulling straight towards yourself to remove the Instrument cluster trim, lower the steering column to the lowest position, then insert 2 fingers in the air vent as shown by the green circles, and grasp the side of the trim in the speedometer area and pull both sides evenly, or if you have to, concentrate your pulling power to either side first, most likely the vent side, but, do NOT pull to hard, be ready to put the brakes on your pulling power, you do not want to bend the pins by pivoting one side to far.
.
EDIT:
Also, I might add as I can not fully remember at this moment to weather I put the ignition switch in from the top, or the bottom, I am 90% it was from the top, but if I am wrong, then the bottom is quite simple also, being that you have a 2005, you just pull the lever to fold down the dash to expose the fuse panel, and you will see all the screws holding the black plastic housing to the dash itself.
Johnny
.
Last edited by Johnny Hotspur GT; 09-23-2021 at 12:44 PM.
I haven’t been on in over a year, but Johnny, damn!. I’m super super impressed with your effort, hard work, and sharing your progress. It’s taken me 3 months to get the front bumper repair going on my GT, I can feel the love you must have for your project. Inspirational. Thanks
Awesome determination! What strikes me is the breadth of what you have done. From upholstery to engines!
Well done, I hope you are enjoying the fruits of your labour.
Hello @RobBCS ,
Thank you for your comment, and yes, I am very much enjoying the ride !
Johnny
Originally Posted by dulay
I haven�t been on in over a year, but Johnny, damn!. I�m super super impressed with your effort, hard work, and sharing your progress. It�s taken me 3 months to get the front bumper repair going on my GT, I can feel the love you must have for your project. Inspirational. Thanks
remy
Hello @dulay Remy,
Thank you !
I hope the injector plugs worked out for you.
Hello All,
I am in the process of removing and installing the third brake light (CHMSL), with the new no lip style, I had read the procedure done by @Zaos a while back, https://www.6speedonline.com/forums/...ent-howto.html a very good detailed write-up, then I read one by @Copperline today, https://www.6speedonline.com/forums/...air-chmsl.html
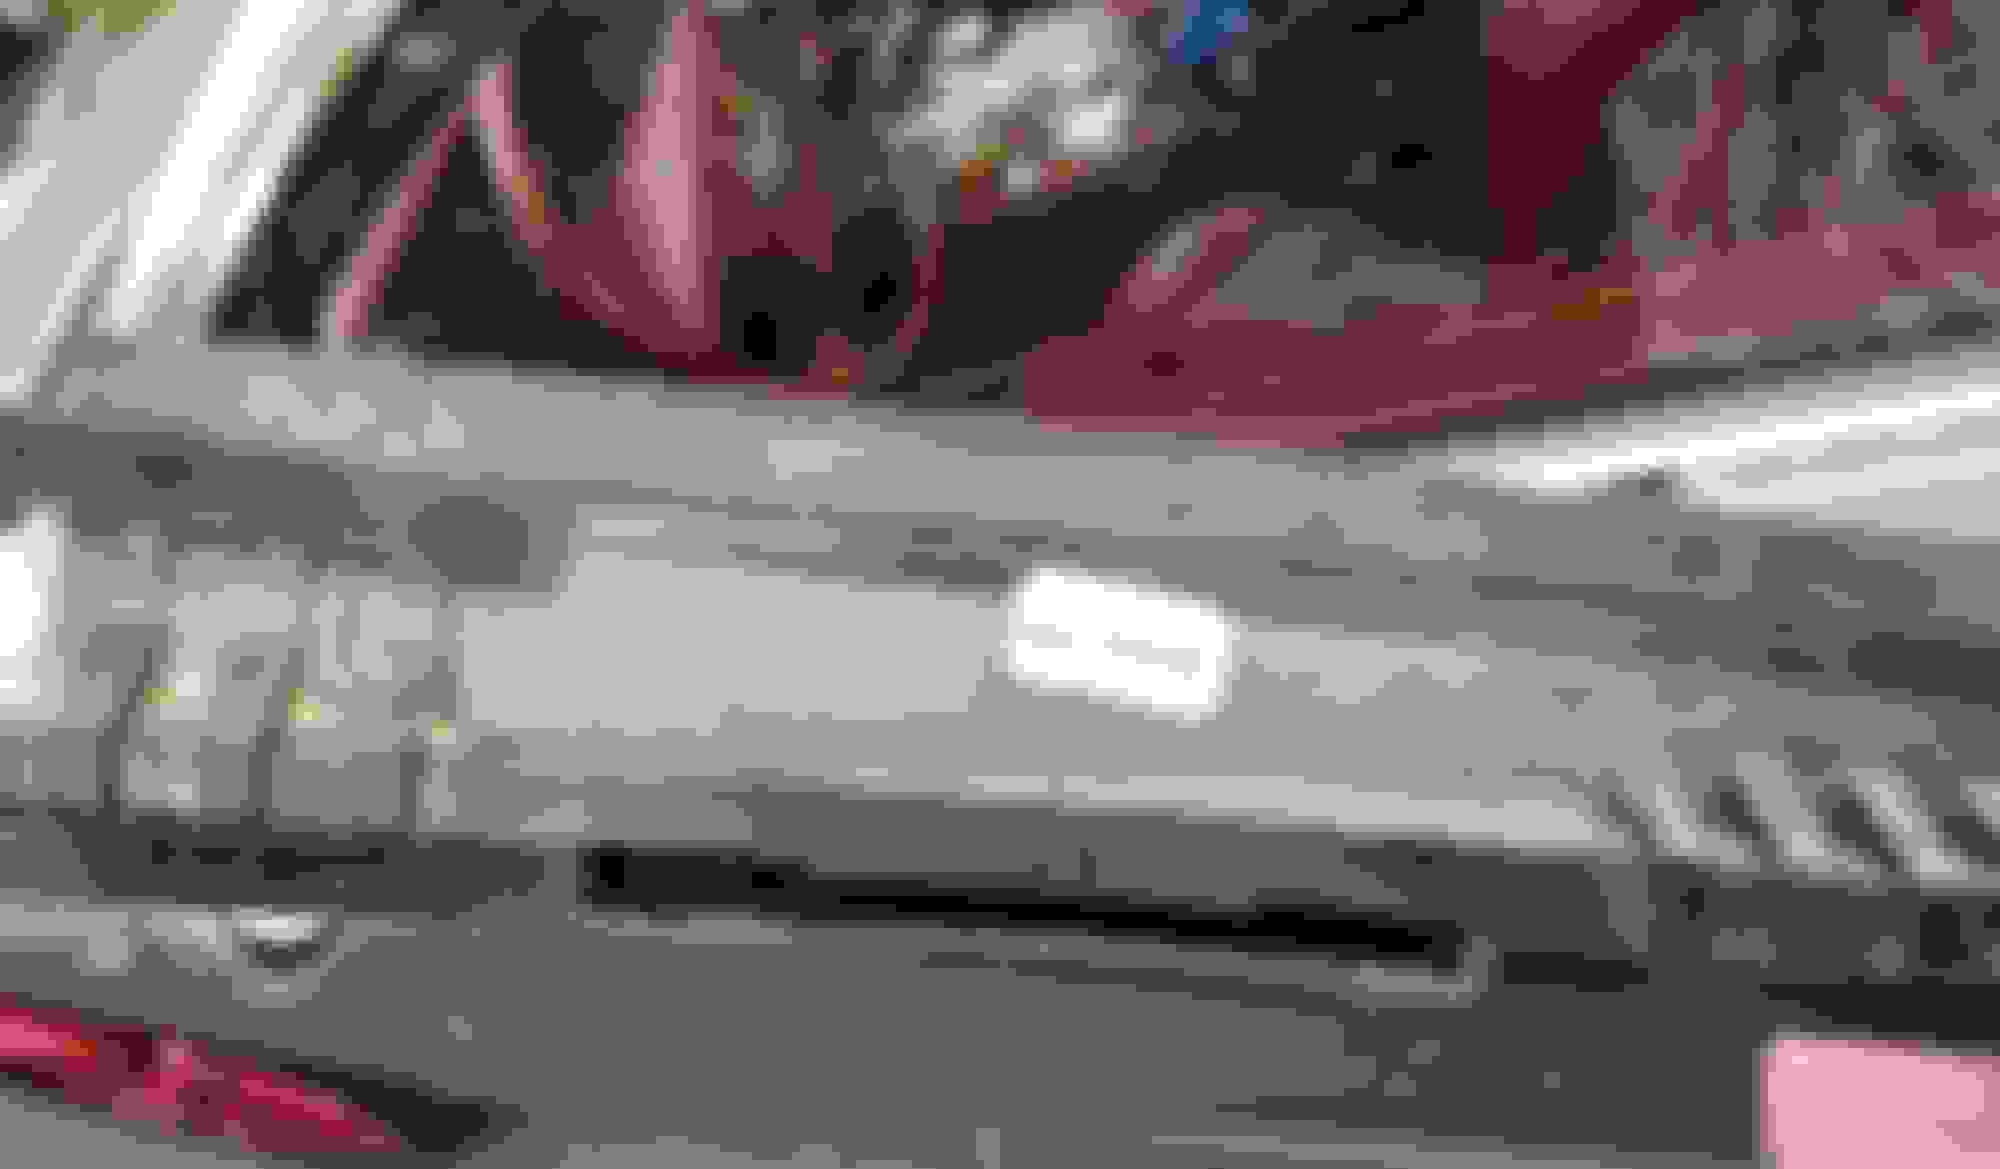
and I had some questions for Copperline, as anyone who read the how to by Zaos, knows that he had the original light with the lip he cut off with a saw, Copperline on the other hand only used plastic tools, well it turns out that Copperline's light had no lip, so it was already a replacement style, BUT Copperline's post still got me thinking, so I went out with my plastic trim tools and gave it a try, now mind you, my third brake light is the original from the factory with the lip that is said to go under the glass, I always took that to mean that the lip stuck into the butyl sealant, hence that is why the dealership insist on the rear window being removed for the light replacement, well, I used a plastic tool just to test movement of the light itself and also to see if the lip moved freely with the light, or was it stuck in the butyl tape, the lip moved freely, so I started on the passenger side (LHD) and tried to lift it, no go, at least not easily, so I decided to start in the center off to the right a bit, the center approach gave much more play in lifting the light gradually, I only used the plastic tool between the body and the light, nothing on the glass side of the light, so I worked it back to the passenger side and got that side lifted enough to rotate the light counterclockwise to lift the front portion up off of the clips, while rotating the lip down and away from the glass, I then went over to the driver side and worked it from the center to the driver side, now to be fair, my light had some cracks in it from the heat/sun, which may of aided in the little play it had, I then gave a good cleaning to the area the light is recessed in to, it was very dirty, just shows how much water and dirt gets in there, now that the light is removed, I am having second thoughts about forcing the wires through the butyl where the flat power ribbon comes through, and I am seriously thinking of drilling a very small hole in the area I marked with a red dot to fish the wires through, instead of doing anything under the glass.
Your thoughts on the drilling and sealing in the area depicted by the small red dot.
Thank You again Zaos and Copperline.
Johnny
.
Last edited by Johnny Hotspur GT; 06-12-2022 at 09:25 PM.
Reason: Spelling
Im.waiting for my mechanic to get back to usa. His grand father passed away so he has been out since then but hopefully he will be bavk mondayband ill drop parts off to him.hoping ill be able to give you good news once he's back
Remy
Originally Posted by Johnny Hotspur GT
Hello @RobBCS ,
Thank you for your comment, and yes, I am very much enjoying the ride !
Johnny
Hello @dulay Remy,
Thank you !
I hope the injector plugs worked out for you.
Great stuff on the CHMSL Johnny! Given the cracks in yours, do you have any suspicion that it may have been removed and replaced, and therefore not adhered to the butyl tape?
With regard to the wiring, I've wondered if a waterproof butt connector to the existing wiring might be better than compromising the water sealing and having to remove the interior portion. Just wasn't sure how much room there is underneath the light bar for the less flexible parts of the joint.
Was thinking these might be good.... 'solder seal' shrink tubes with water seals on the ends and a bit of low temp solder in the middle that I've been using for automotive and marine duty.
Hello @sam08861 ,
As to it being the original light, at first I thought it was, because it is definitely NOT a no lip style replacement unit, but, I am not sure when the no lip replacement light became available, as even a 2009 GT has the lip from the factory, I say this because this light I removed does have a date sticker of "wk 50/06" and my vehicle was manufactured during 02(Feb) of 2005 according to the information plate on the door jam, so it must have been replaced at some time, yet I never saw any record of that service, the vehicle was a one owner with no accident history and only 10,380 miles on it at the time of it's demise due to HS, and the light was not cracked to the point of how it is now, it had very slight almost unnoticeable little lines in it, I put the severity of the cracking on myself for leaving the vehicle shell outside in the sun during my rebuild, lesson learned...
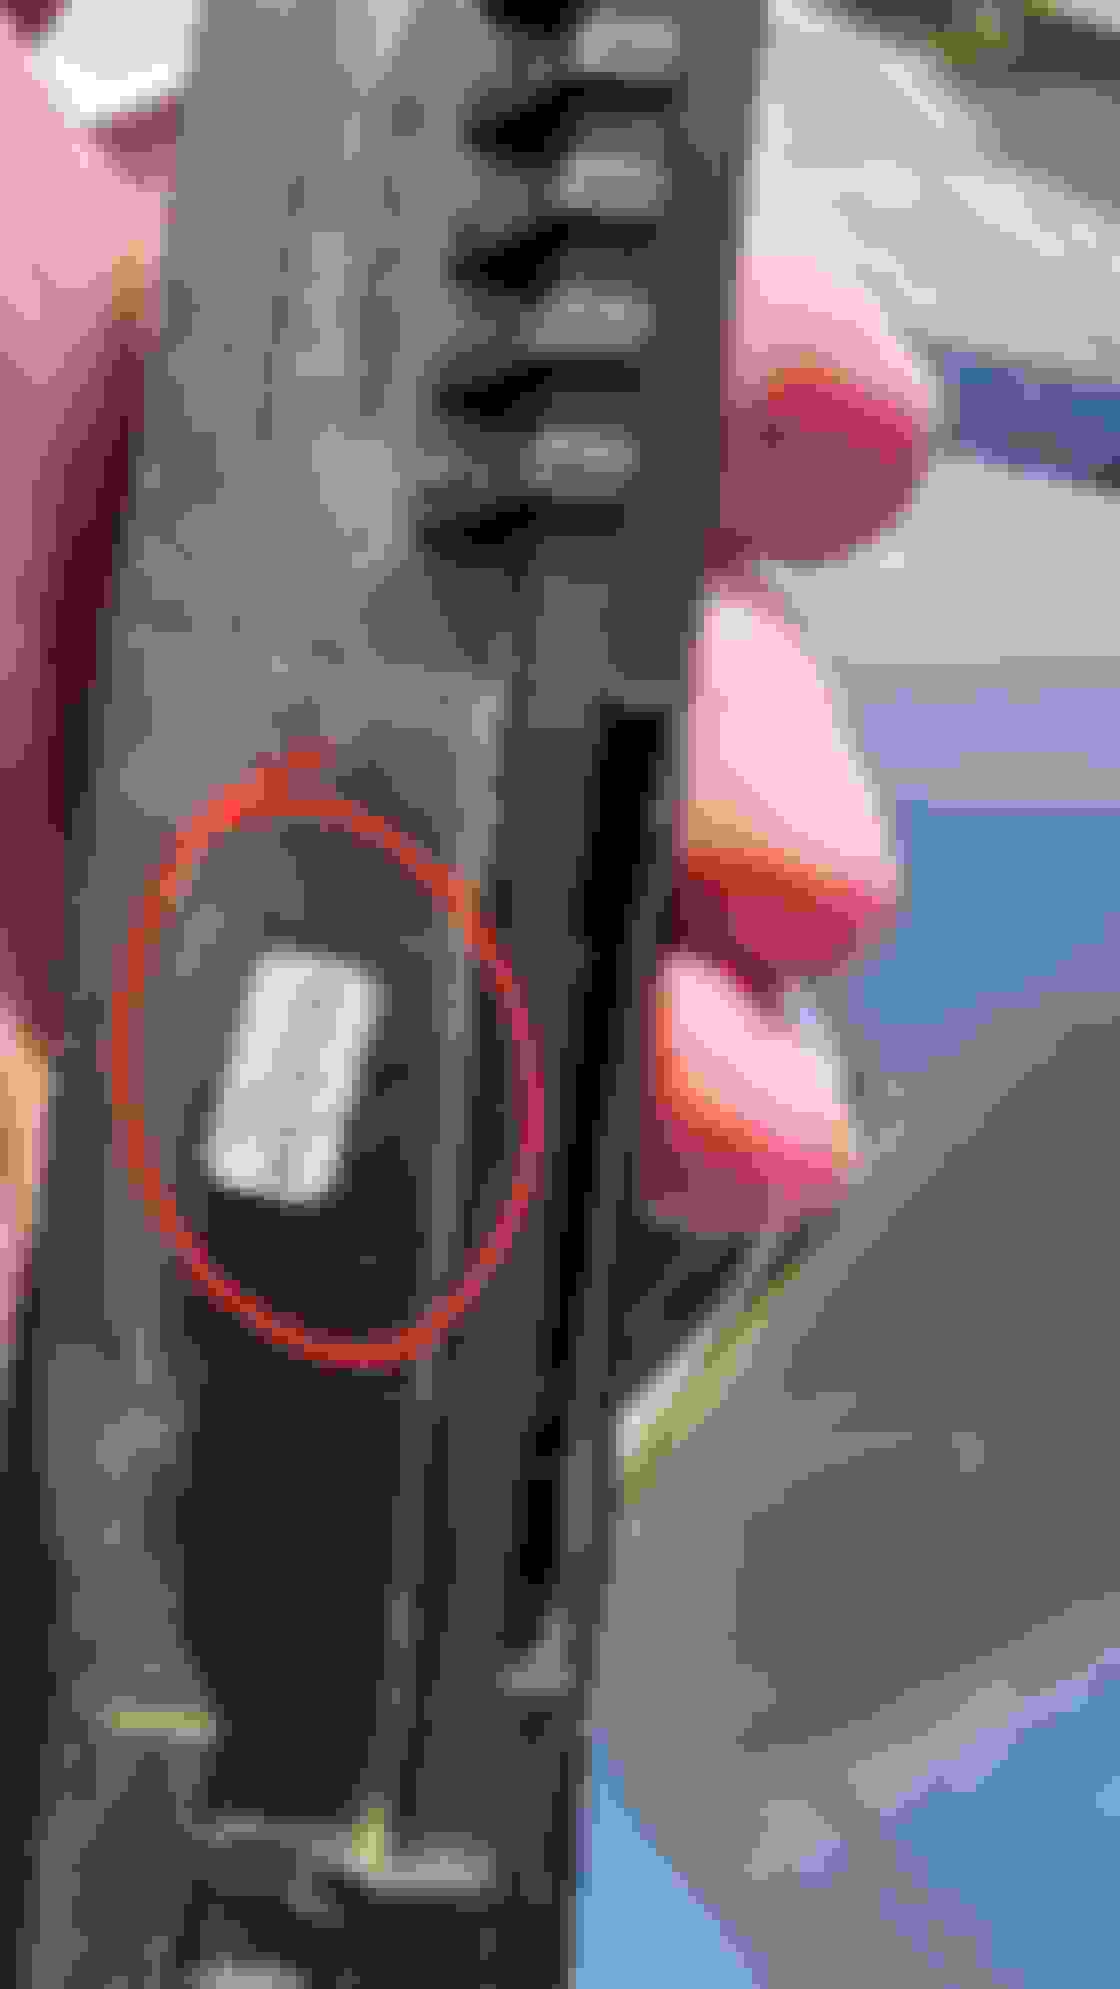
If you look closely at the pictures of the light I removed from my GT, you can see that there is some type of rough film on top of the lip, and you can see it is uneven as shown by the two red lines I added, YET, if you look at the 2006 light with the same lip that I removed from the 17K mile parts car, it has no film, nor was it stuck in the butyl tape either, as I now recall after looking at the clean 2006 lip, these lips are only so long, and the butyl under the glass is not visible at the edge of the glass, it is recessed a small amount, the light from the 2006 has a sticker of "wk 09/06", so older then the light in my 05.
As to the wiring, the is no wiring so to say, meaning that the original style light does not have the 2 wires like the replacement no lip unit does, the light I removed from my 2005 GT and the 2006 GT parts vehicle both have the flat ribbon power supply as shown in my previous pictures, AND I must add, there is no way to remove the light or the glass without destroying the flat ribbon power supply, as there is no play/slack at all, and it just rips, very easily I may add, and if you using a hot knife and or piano wire to cut out the rear window, there is no way to avoid cutting this ribbon power supply as it is buried in the butyl tape, believe me, I tried to save the ribbon when I was cutting the rear window out of the 06, so there is no butting of any wires, or repairing or using the flat ribbon, as it is extremely short in length.
Sorry for the long response, but if I may, can anyone give a picture of their rear window, my windows are not tinted as far a an aftermarket tint, yet the rear window has a tint to it shown in my pictures, yet the top portion as shown is not tinted, nor is the any tint film lip on the inside or outside, I checked it with my finger nail and also a razor blade, the upper tint line is perfect against the built-in antenna rear defrost lines, I just find it odd.
I never saw any broken glass at all in the vehicle when I stripped the vehicle, nor any signs of the glass being removed or replaced, yet the light has a newer date and the ribbon, I will have to see now when I go to install the new light how the ribbon mates to it's power harness, is it like a PC, or our infotainment head unit screen were the ribbon just slides into a port and clamp, if so, I can see the ribbon being fed through the butyl just like the new replacement light wires, but if it has a big non removable plug that can not fit through the butyl, then my glass would have been removed.
Johnny
.
Originally Posted by sam08861
Great stuff on the CHMSL Johnny! Given the cracks in yours, do you have any suspicion that it may have been removed and replaced, and therefore not adhered to the butyl tape?
With regard to the wiring, I've wondered if a waterproof butt connector to the existing wiring might be better than compromising the water sealing and having to remove the interior portion. Just wasn't sure how much room there is underneath the light bar for the less flexible parts of the joint.
Was thinking these might be good.... 'solder seal' shrink tubes with water seals on the ends and a bit of low temp solder in the middle that I've been using for automotive and marine duty. https://www.amazon.com/Kuject-Connec.../dp/B073RMRCC3
Last edited by Johnny Hotspur GT; 12-18-2022 at 12:10 PM.

 09-21-2021, 04:00 AM