When you click on links to various merchants on this site and make a purchase, this can result in this site earning a commission. Affiliate programs and affiliations include, but are not limited to, the eBay Partner Network.
Following on from maintaining the loom killer scuttle drain there a few more to attend to .
Fuel filler - Bentley could not make a smaller more block able one .
I have seen mine blocked a few times with just dust , forms a kinda mud .Thankfully the surrounding rubber can be plunged with your finger tip .
Accidental water ingress into the filler neck while refuelling is not funny .
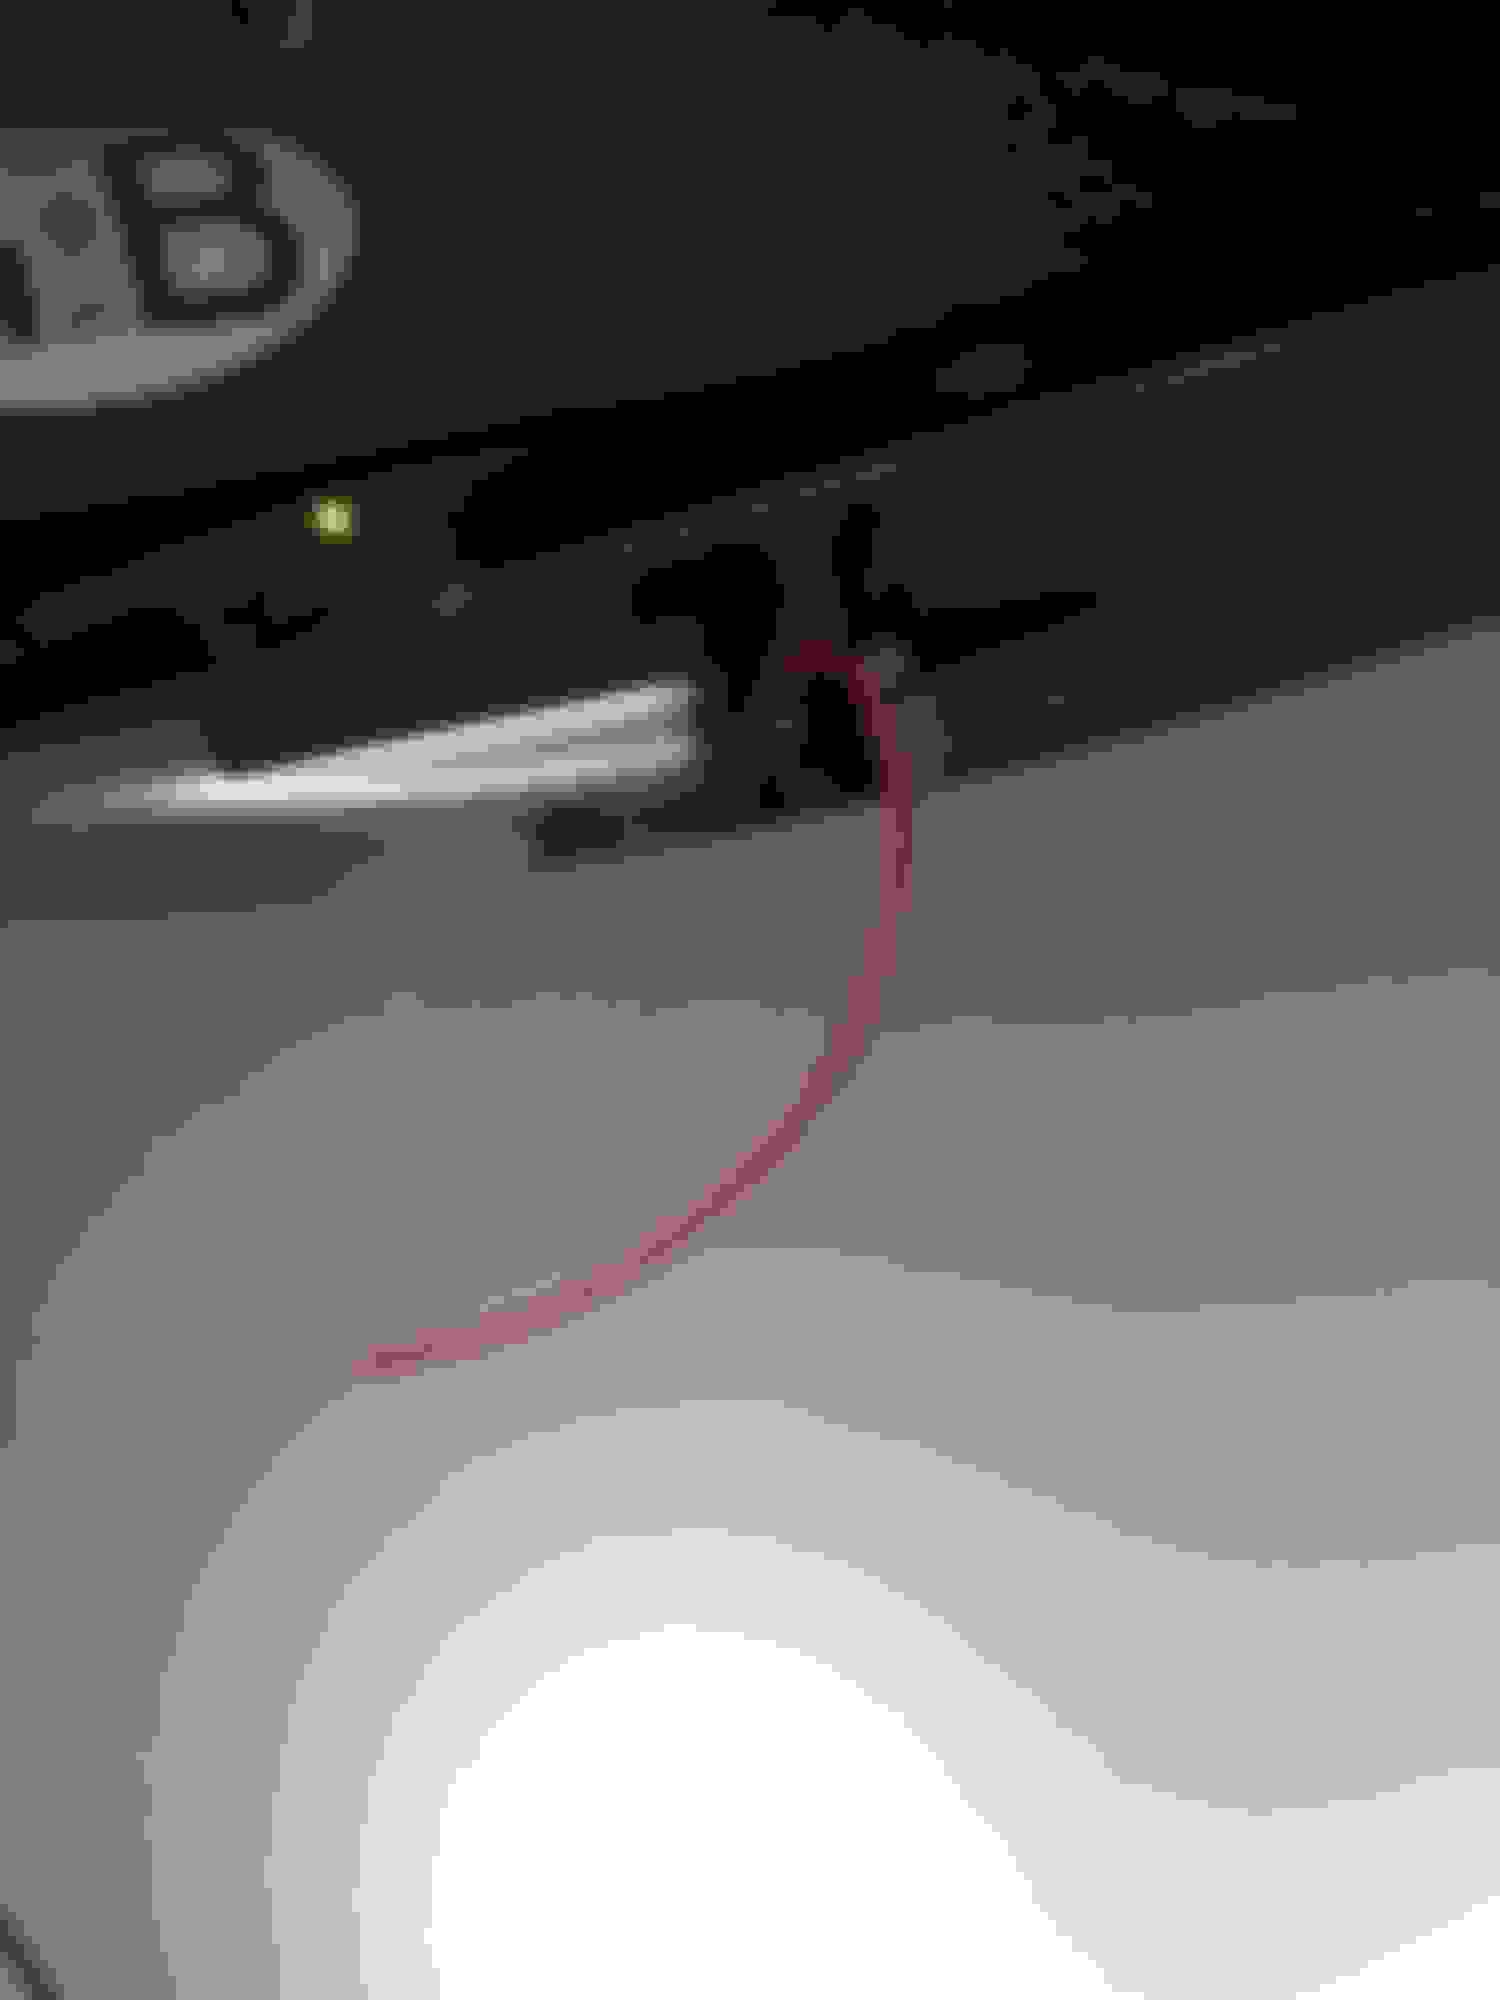
Rear spoiler
discreetly packs away and blends into the rear glass base .Its actually attached to the front edge of the boot / trunk lid .
Two drains are located just behind the hinge mechanism.They run via tubing through the lid and exit water at the lower edge .This water just then runs down the bumper from water under the lid .
If blocked or the internal pipage comes apart the trunk can fill up as well as soak the contents of the boot / trunk liner .
The liner has the spoiler control and motor wires in , to be at best corroded ,worst destroyed, the bottom of the trunk has many water sensitive components like your air suspension air pump waiting to be destroyed.
Theres obviously your batteries a bit higher in the lateral compartment s + crucially many ECU ,s not particularly partial to damp seeping up from the lake in the spare wheel well you are carrying around .
Air Con evap pan .
Humidity drips onto this pan situated unde the cabin side of the HVAC unit .The water should drain out into the trans tunnel via two rubber elbows .
If these block or the orifices ( one each side ) the water level can rise and spill over the pan wetting the carpet and water runs as well as air through the ducting to the rear passenger compartment.
Damp carpets no real biggie apart from misting up and foolish odours .
The biggie is wetting any sensitive stuff in the centre console = corrosion.
But and it’s a big BUT in the passenger foot well there’s another fuse box , actually a relay box with a poorly fitting lid .
In there lives the Keyless Entry Exit Starting System , ( KESSY ) relays - Get that baby wet is serious hassle .
Apart from the obvious starting hassle , if the starter motor won’t shut off it and burns out this necessitates the engine out to replace .
Its an easy job to pull the elbow vertically and rod out the drain hole .
Two arguably THE most important tools for a GT Continental Strimmer cord and a pipe cleaner .
The worlds smallest fuel drain hole , right in the bottom corner .Use the cord or compressed air to clear .
1970,s Ferrari with a nice size fuel filler drain highlighted in blue .Never clogged
Two exits , one each side under the boot / trunk lid edge . Water should run out and flow over the bumper .
The drains are at the rear of the hinge mechanism.Raise it to access.
Spoiler drains from the top .
Your aircon evaporate drain pan runs out through two rubber elbows into the trans tunnel .
Pull back the carpet to expose them .
Pull off the vertical part off and insert the pipe cleaner to rod out . The AC condensate fills a pan under the HVAC unit .
Full none draining AC pan eventually end up with water sloshing sound and spitting out of theses rear sea vents .
Sensitive switches and pcb,s to corrode from spillages if the AC drain pan can’t drain ,
Last edited by John Fiammetta; Apr 27, 2019 at 10:32 AM.
Following on from maintaining the loom killer scuttle drain there a few more to attend to .
Fuel filler - Bentley could not make a smaller more block able one .
I have seen mine blocked a few times with just dust , forms a kinda mud .Thankfully the surrounding rubber can be plunged with your finger tip .
Accidental water ingress into the filler neck while refuelling is not funny .
Rear spoiler
discreetly packs away and blends into the rear glass base .Its actually attached to the front edge of the boot / trunk lid .
Two drains are located just behind the hinge mechanism.They run via tubing through the lid and exit water at the lower edge .This water just then runs down the bumper from water under the lid .
If blocked or the internal pipage comes apart the trunk can fill up as well as soak the contents of the boot / trunk liner .
The liner has the spoiler control and motor wires in , to be at best corroded ,worst destroyed, the bottom of the trunk has many water sensitive components like your air suspension air pump waiting to be destroyed.
Theres obviously your batteries a bit higher in the lateral compartment s + crucially many ECU ,s not particularly partial to damp seeping up from the lake in the spare wheel well you are carrying around .
Air Con evap pan .
Humidity drips onto this pan situated unde the cabin side of the HVAC unit .The water should drain out into the trans tunnel via two rubber elbows .
If these block or the orifices ( one each side ) the water level can rise and spill over the pan wetting the carpet and water runs as well as air through the ducting to the rear passenger compartment.
Damp carpets no real biggie apart from misting up and foolish odours .
The biggie is wetting any sensitive stuff in the centre console = corrosion.
But and it�s a big BUT in the passenger foot well there�s another fuse box , actually a relay box with a poorly fitting lid .
In there lives the Keyless Entry Exit Starting System , ( KESSY ) relays - Get that baby wet is serious hassle .
Apart from the obvious starting hassle , if the starter motor won�t shut off it and burns out this necessitates the engine out to replace .
Its an easy job to pull the elbow vertically and rod out the drain hole .
Two arguably THE most important tools for a GT Continental Strimmer cord and a pipe cleaner .
The worlds smallest fuel drain hole , right in the bottom corner .Use the cord or compressed air to clear .
1970,s Ferrari with a nice size fuel filler drain highlighted in blue .Never clogged
Two exits , one each side under the boot / trunk lid edge . Water should run out and flow over the bumper .
The drains are at the rear of the hinge mechanism.Raise it to access.
Spoiler drains from the top .
Your aircon evaporate drain pan runs out through two rubber elbows into the trans tunnel .
Pull back the carpet to expose them .
Pull off the vertical part off and insert the pipe cleaner to rod out . The AC condensate fills a pan under the HVAC unit .
Full none draining AC pan eventually end up with water sloshing sound and spitting out of theses rear sea vents .
Sensitive switches and pcb,s to corrode from spillages if the AC drain pan can�t drain ,
That looks like a lot of work, I use a compressor with a long alloy tube I made up, just did all mine the other day now we coming into summer even though its +8 raining cold thunder & lightening ...
Where did you get the plastic piece that's stiff enough to do the spoiler drain?
Miine must be blocked, my installer told me there was a couple of inches of water in the spare wheel well that they drained out. Is that from the spoiler?
Where did you get the plastic piece that's stiff enough to do the spoiler drain?
Miine must be blocked, my installer told me there was a couple of inches of water in the spare wheel well that they drained out. Is that from the spoiler?
The plastic is just strimmer cord or bush wacker line .
The trim from the inside of the trunk lid is removed easily .A few screws and then pull the clips .
Sometimes the pipes / tubes can disconnect as well so well worth a look to eliminate.
You just shove a pipe cleaner vertical to clear any blockage after pulling the elbow down .
I know this is an old post, but I�m trying to figure out �where� exactly is this elbow located? I can�t place the pictures.
Can someone just take a zoomed out picture of this area so I can get a clearer understanding where exactly it is located? To me it looks like the back of the front seat. It doesn�t have to have the carpet pulled back. Just the area.
Drains related, with a pre-drains question.
I'm trying to get access to see the boot drains. Left one is blocked. It's a late 06 GT with non- automated boot opening. Once it's released, via the key/door switch ('B' button open not working - will leave that for another time), you pull the boot up with your hands.
I've released all the clips, bit the panel remains attached by the finger grip. How is it fixed here? Behind here is where the panel remains attached. All the other clips are off.
On the left, problematic side (right drain flows OK), the hard plastic element the pipe connects to isn't fixed to it's surroundings. Is this the bit that needs to be siliconed into place?
The plastic the pipe is attached to isn't attached to car. Assume water will just bypass the 'well' and not go down the pipe.
I have pushed strimmer cable up the drain and it doesn't seem blocked. I assume water isn't flowing down the pipe because it isn't collecting in the 'bowl' under the spoiler.
My spoiler doesn't work, but have managed to manually open it and have oiled the hinges. When I press the spoiler up/down buttons I can hear the motor run for a few seconds, with no result. As per the previous picture, it looks like someone has attempted a fix using 2 cable ties. In the next picture you can see they have done the same on the right side, but the fix seems to have failed. Is this the bit that should be fixed with the the 'metal coathanger' trick? As I haven't been able to get the back panel off, I have not been able to test the mechanism manually using an allen key.
failed bodged fix on right side of spoiler mechanism. top cable-tie not holding anything in place. Appologies for poor picture - have not managed to get back panel fully off yet.
I can't find the drain start point next to the spoiler hinge. Just wondering if you think my spoiler is open fully or should it be in a different position? Yes, I know, my car is filthy. Lots of UK tree pollen and a splattering of rain every other day is doing my head in. My garage is in danger of collapse - another story - so I can't keep it covered for a while. Is this as far as the spoiler opens (manually until I get it working)?
Thanks in anticipation. My first post. Owned the car for about a month and have been so impressed with the knowledge you guys have and willingness to share it. I'm in awe of the work you take on.
Andy
It does not look like the spoiler is all the way up. I also have an 06. It also looks like there is a cover to the right of the hinges that is missing on your vehicle. Here is a picture of mine.
I had a post last summer asking how to remove the cover but did not get a reply. I hate forcing things when I am not sure. I did run water over the spoiler and it flowed from both sides under the car so I just assumed the tubes were clear. I would like to try the weed wacker line. Maybe somebody will respond or I will look again tomorrow. I also had trouble getting the front cowl off to clean the front drain holes. The windshield wiper arms were on so tight I could not get them to budge. I tried several removal tools and some deep creep but that didn't work either. I bought another remover tool and will try it this weekend.
I hope this helps. I will respond after I take another look.
Pete